Behind the Scenes: Venom

My name is Aneesh Chandra.
I started learning 3D Animation and Motion Graphics during my time in school; I had a great interest in 3D animations and making video games.
Inspiration
I watched Venom in the theater and I love the Venom character most in the Marvel universe.
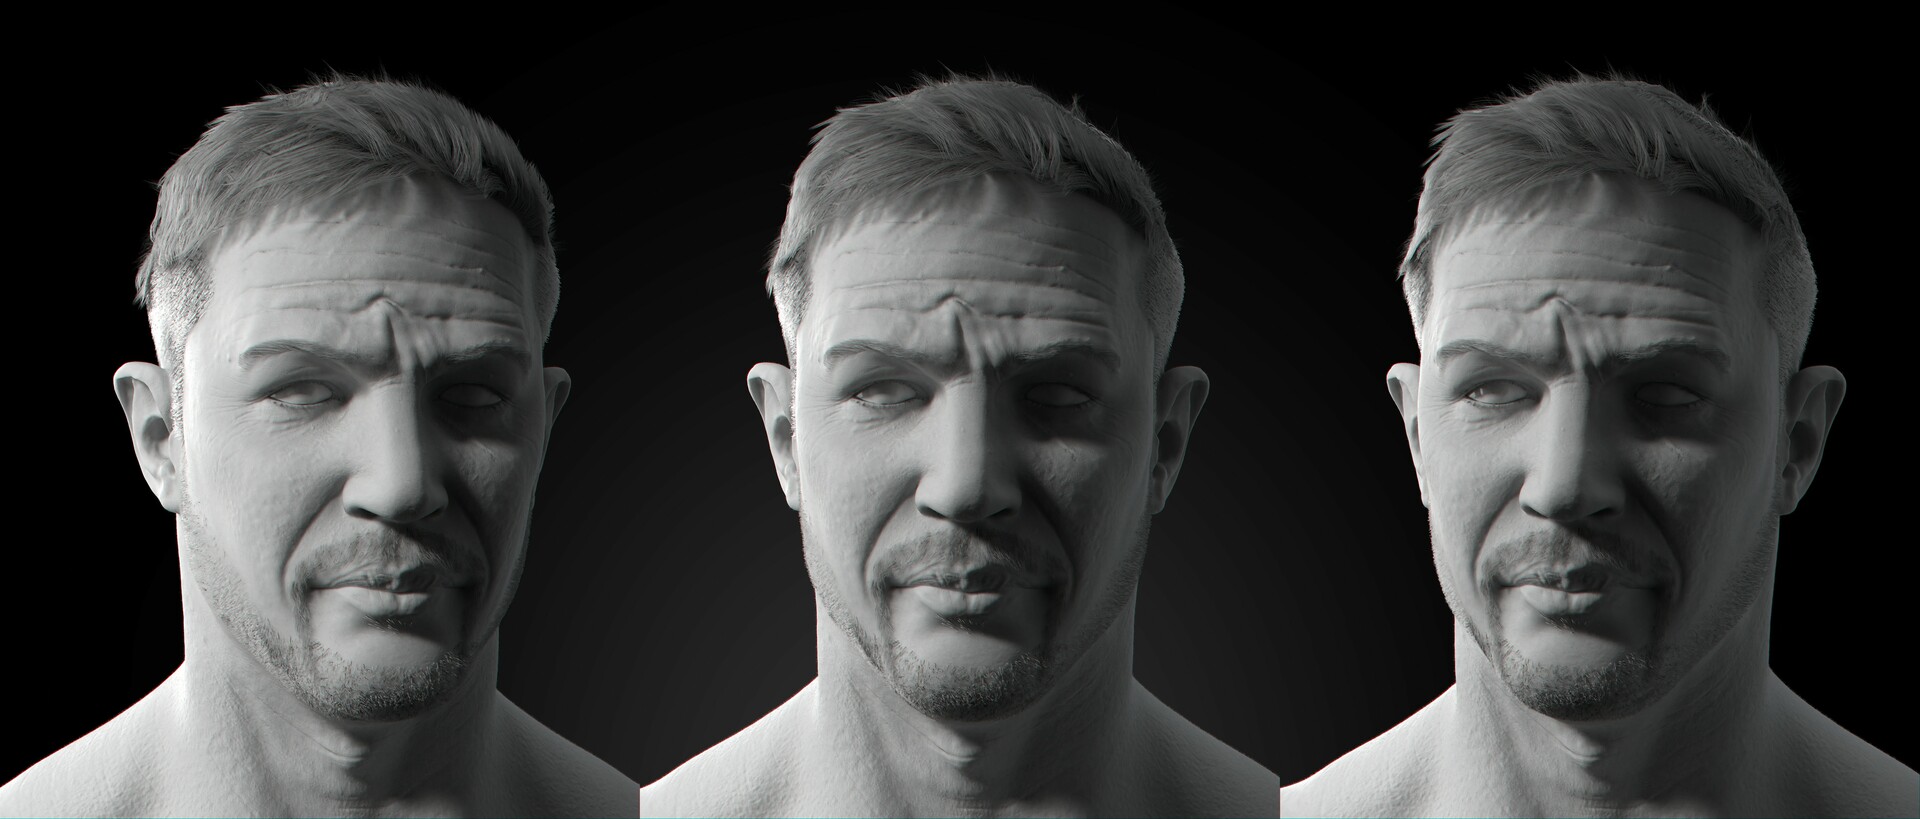
Sculpting
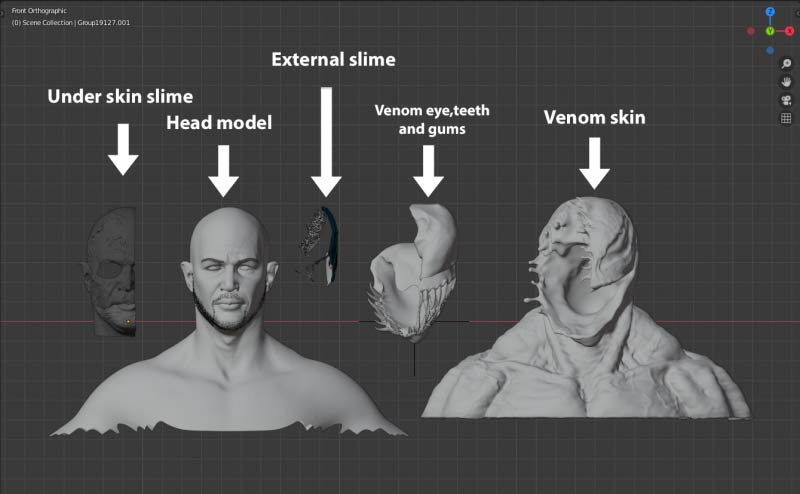
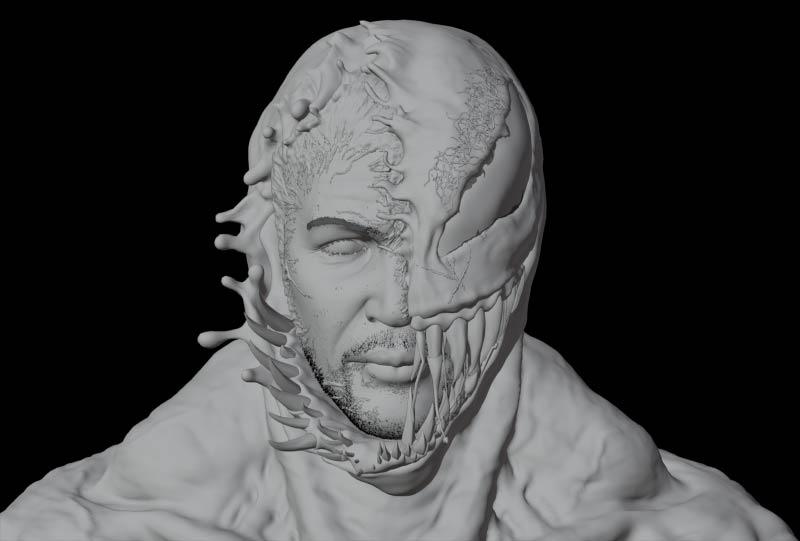
I started sculpting base forms in ZBrush. Then I sculpted the head and, around it, I sculpted Venom’s face with Dynamesh. Then I refined it more and more to get the result I wanted. In the final stage of sculpting, I sculpted the Venom slime separately on the face of the model and also on the mouth of Venom.
Retopology
Then I came to Blender to retopologize the whole mesh. In Blender, I modeled the teeth and the eyes. Then I UV unwrapped it to work on the textures.
Texturing
I textured the model with multiple applications like Substance Painter, ZBrush Polypaint, and Photoshop.
I painted the skin color map for the head in ZBrush Polypaint with projection mapping. For the displacement map, I made it with ZBrush. For the Venom skin, I used Substance Painter and Blender noise texture mixing.
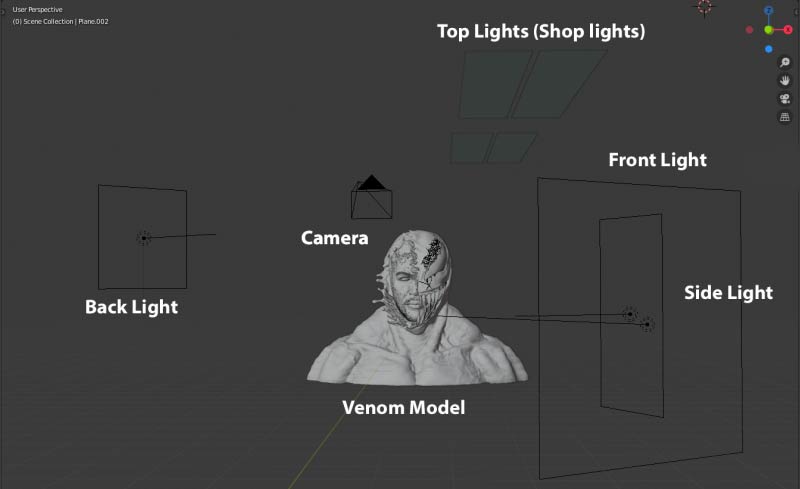
Lighting
I had used an HDRI of a simple shop interior for ambient lighting.
I used mesh planes as light emitters.
Here is an image of the lighting setup:
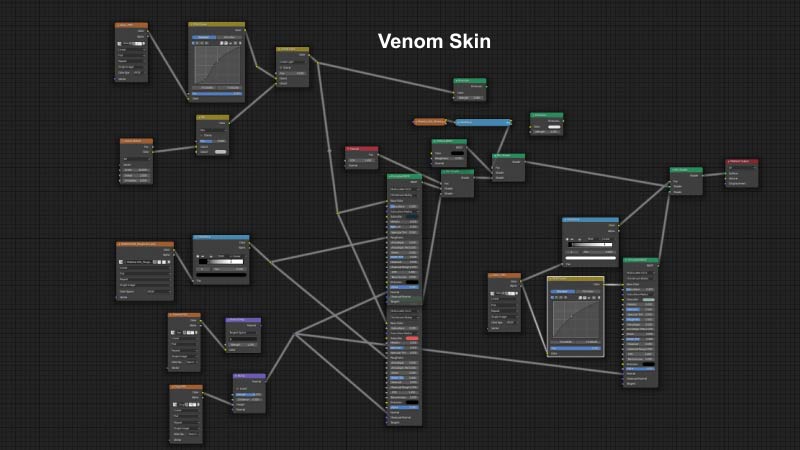
Materials
For Venom’s skin, I used a shiny rubber-type material. I used a bit of subsurface scattering in the Venom skin material.
Compositing
For the background, I used Photoshop editing to include an image from a scene in Venom.
For post-production, I used some light passes to create good color contrast in the image. Then I used some color correction curves, a lens distortion effect, which is my favorite, and added some grains at the end.
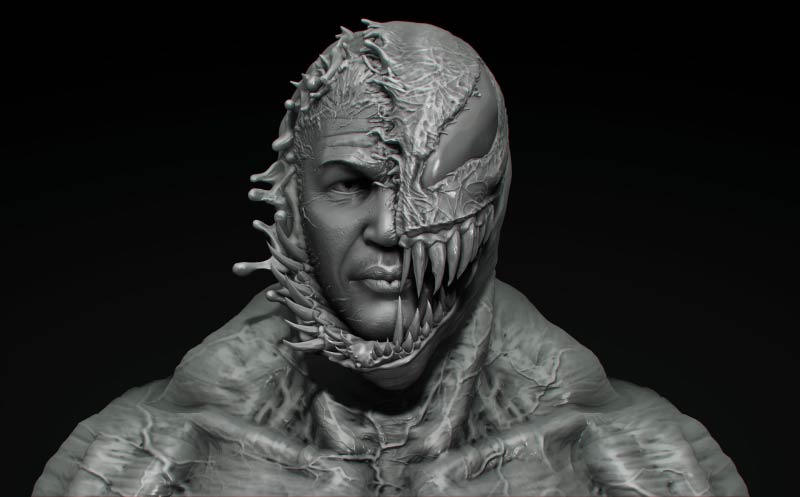
Final Render

Thank you for reading this article!
About the Author
 Aneesh Chandra, 3D Artist


Wow. Extreme quality. I wonder how you export correctly the displacement map from ZBrush and how you don’t get artifacts on seams from it. I can’t get that clean results :/ Thank you for sharing this and awesome work :)
I admire your work sir