

Introduction
Hello, BlenderNation! I’m Mohammed Marwan Al-Atassi, I’m a 24 year old 3D hobbyist from Syria. My first experience with 3D was a couple of years ago with Solidworks in engineering school. After I modeled some stuff I discovered Solidworks’ internal render engine, I applied some basic materials and I just fell in love with the idea of making models look believable. I used Keyshot for a while then started learning Blender 8 months ago; this is my third completed project in Blender!
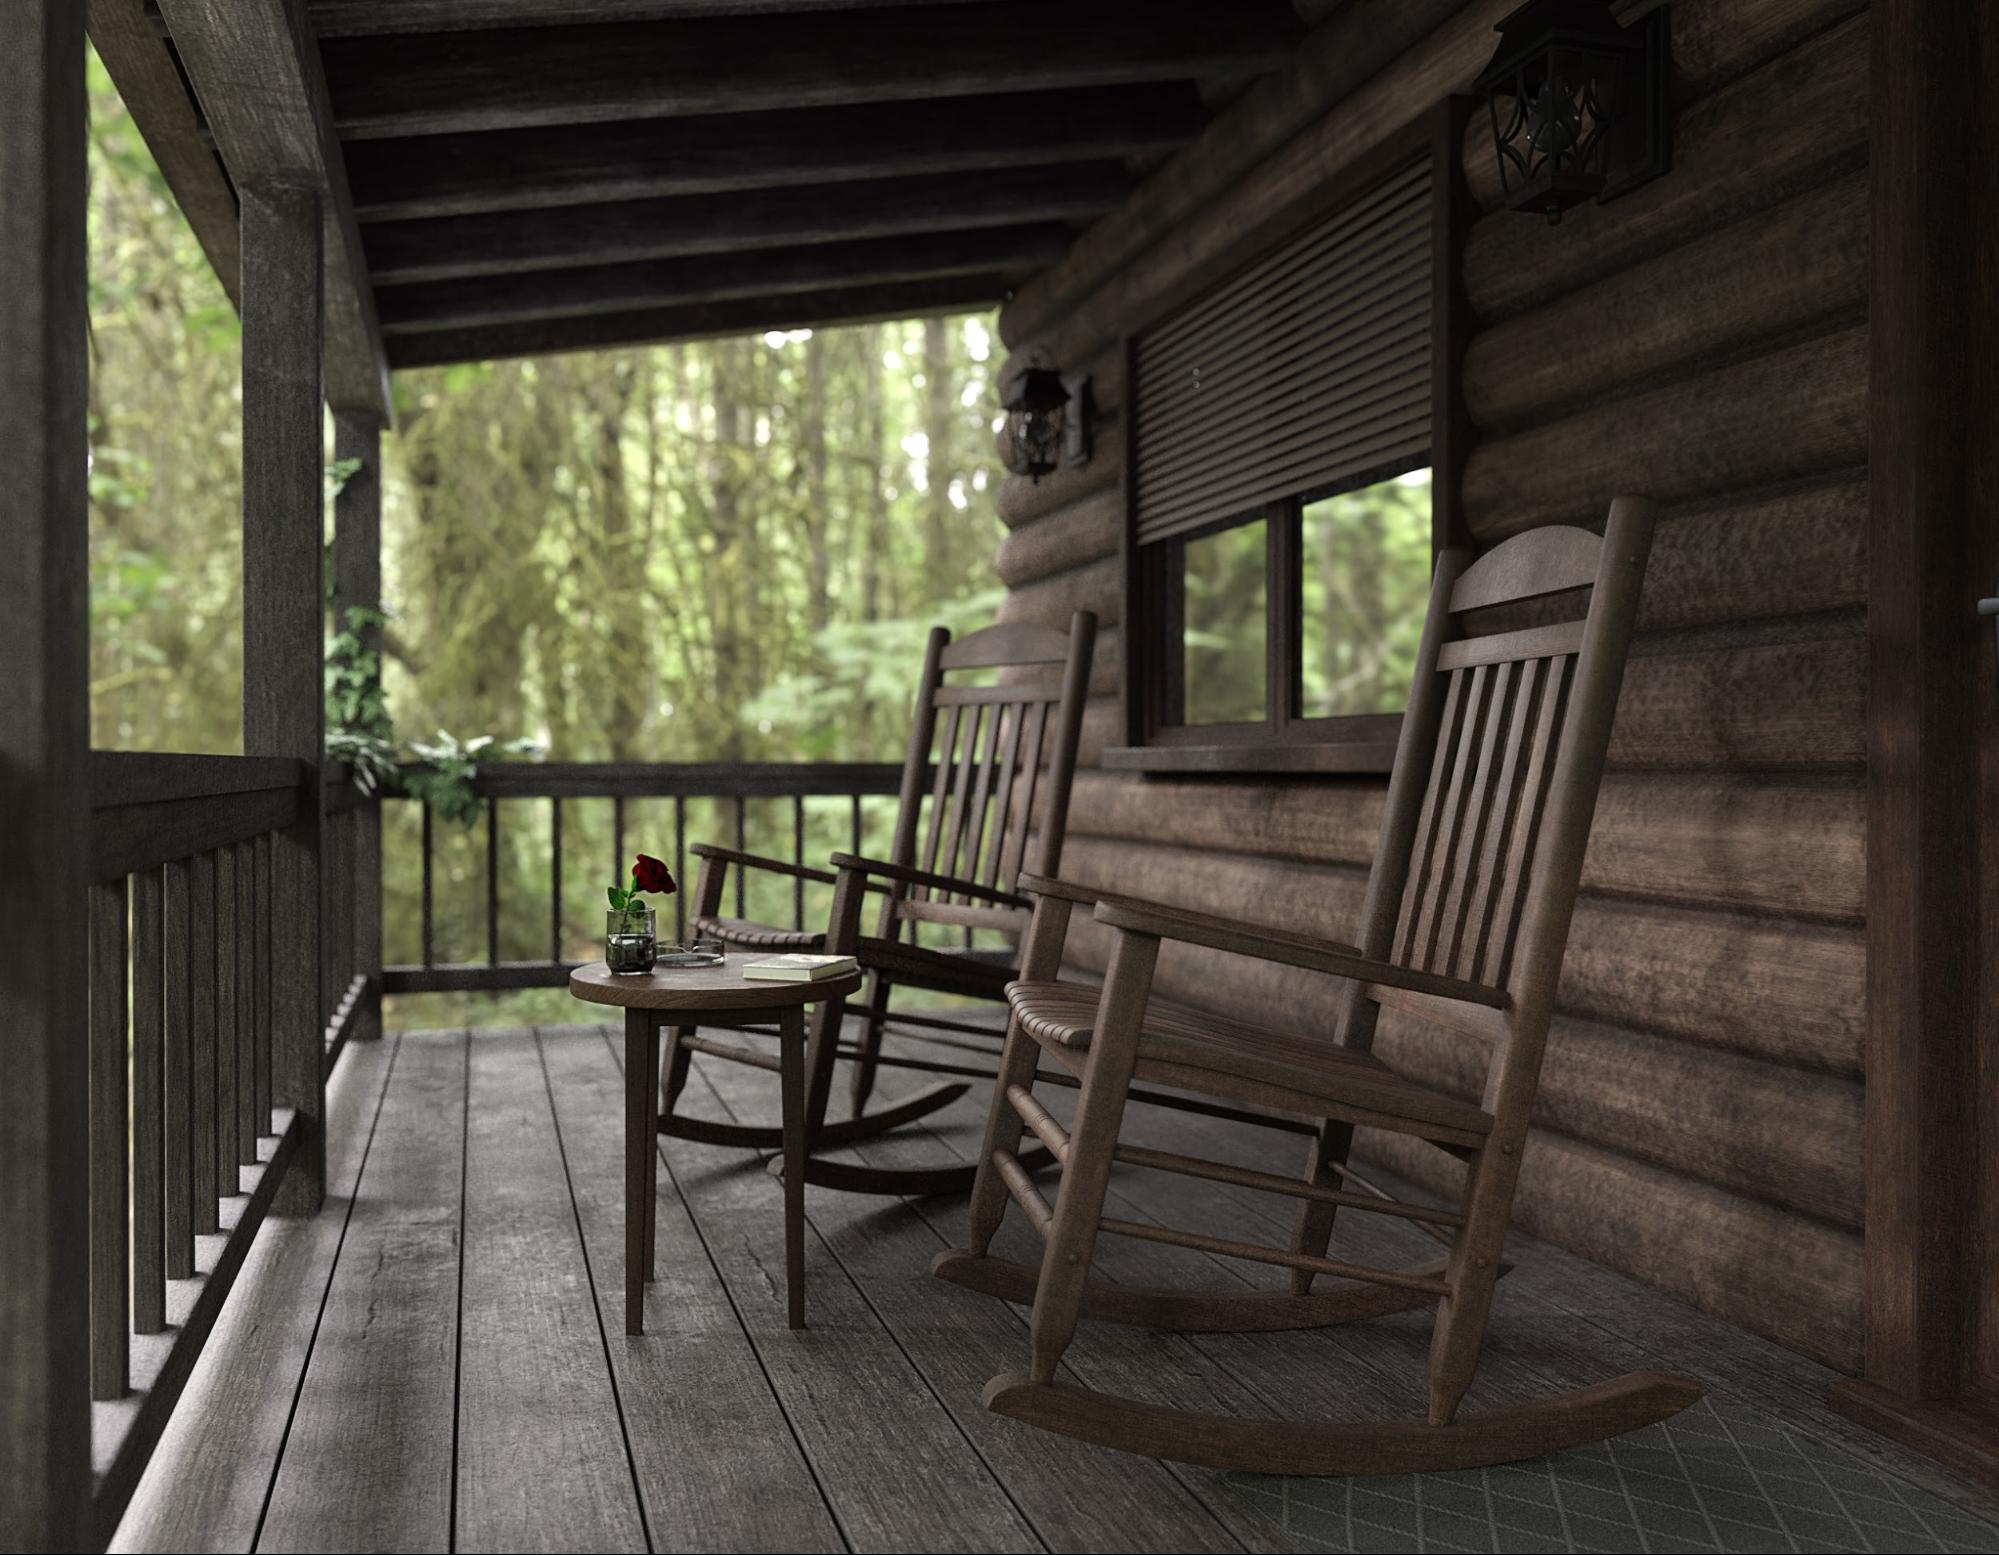
The idea behind this project was something my best friend and I always talked about—that someday, we’re gonna meet again and build a cabin with a porch in the woods and just be at peace for once.
So here it is!
Planning
Since I've never been in such a cabin before, the challenge here was figuring out the correct dimensions for the porch and how it’s made, so I had to do some research and learn a little about woodworking. And of course, a lot of references from Google images!
Modeling
For the floor and the wall I thought that using a displacement map would work just fine. I had actually never tried using displacement before, so I tried it and it did not work the way I thought it would. So I ended up just modeling the basic geometry and using array modifiers. And I blocked out the rest of the porch wood the same way, just simple cubes with array modifiers.
And yes, BEVEL. EVERYTHING.
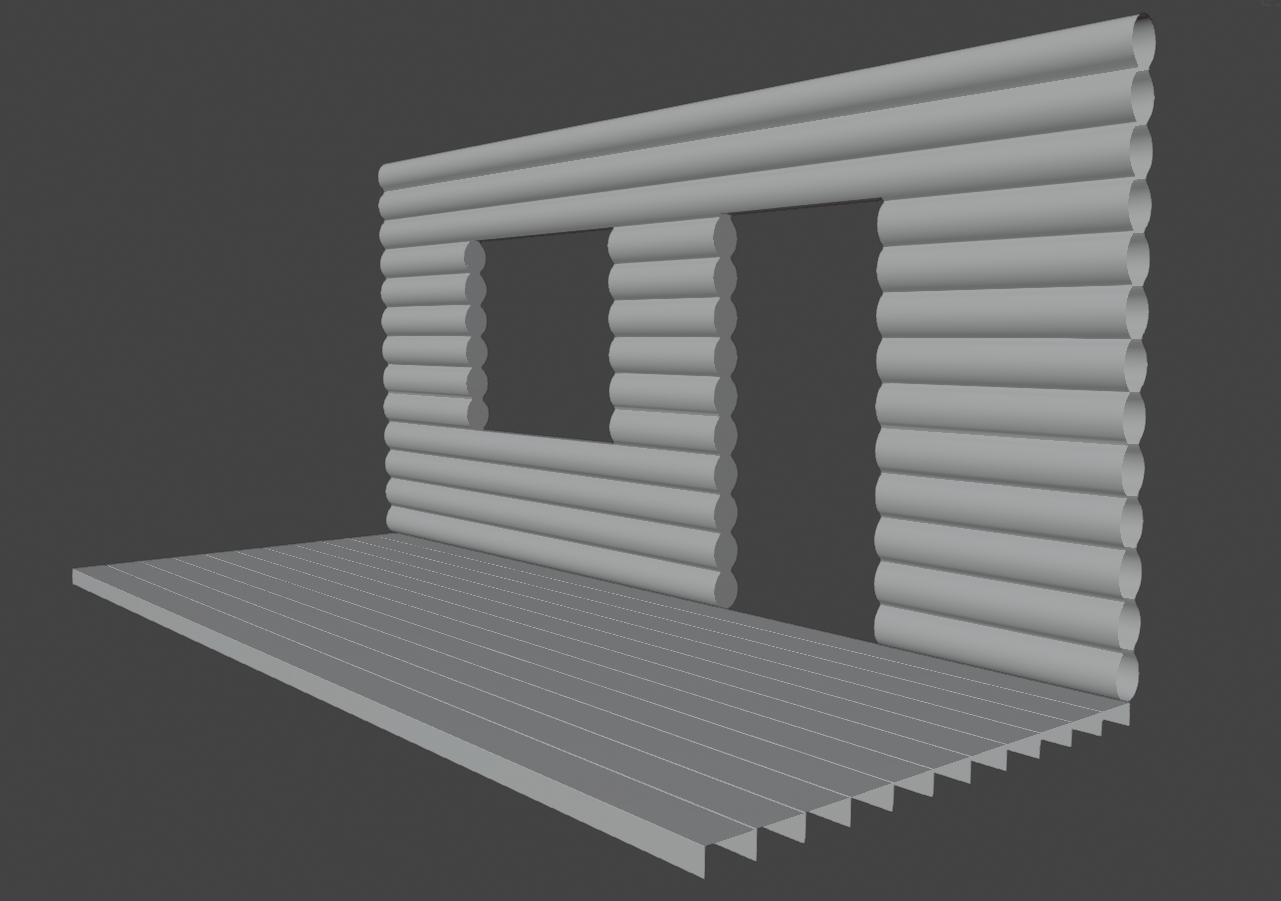
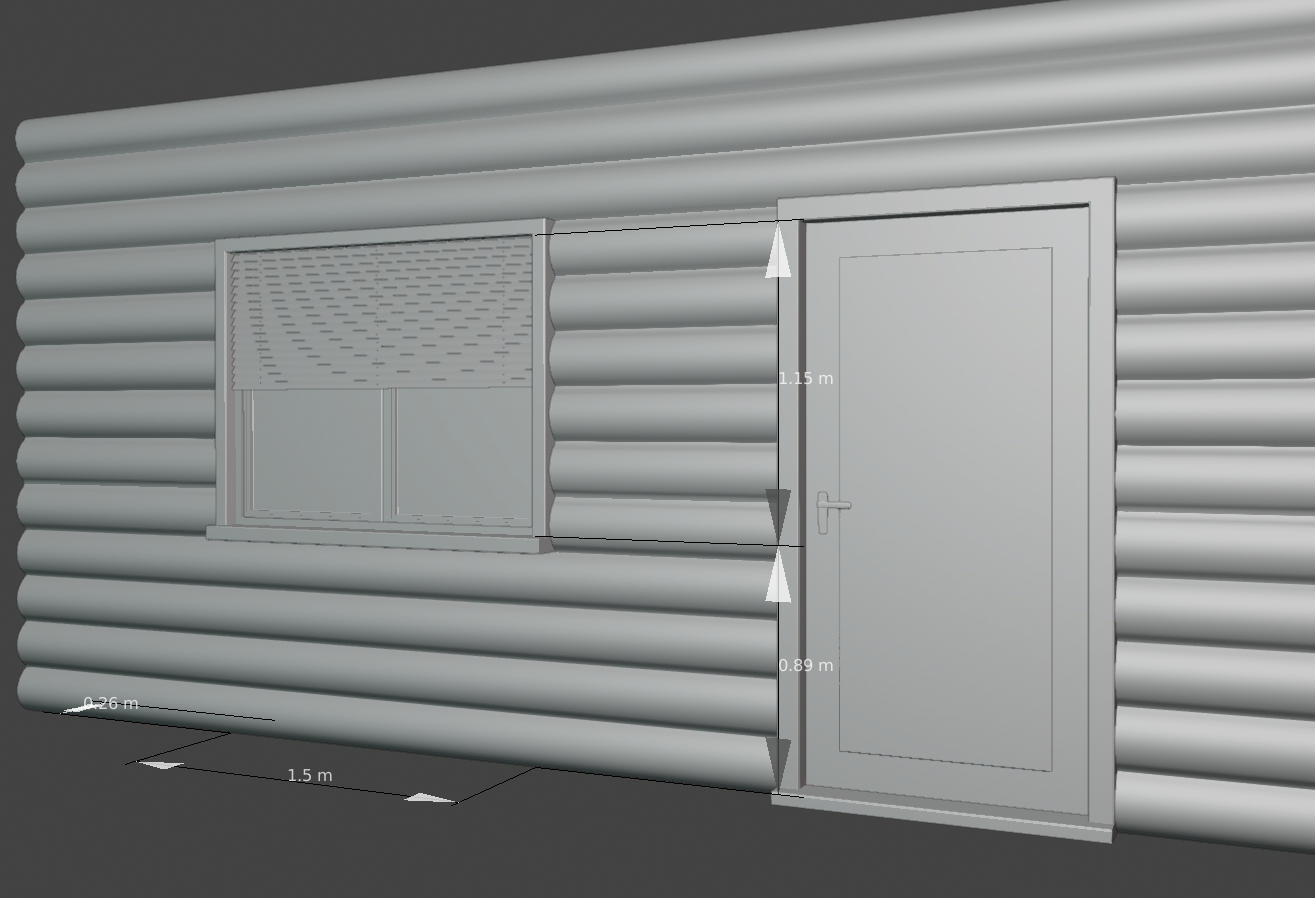
For the door and the window I used the Archipack Addon that comes with Blender. It worked just fine and it’s great, giving full control over the parameters. I just enabled it and played around a bit until I got the hang of it.
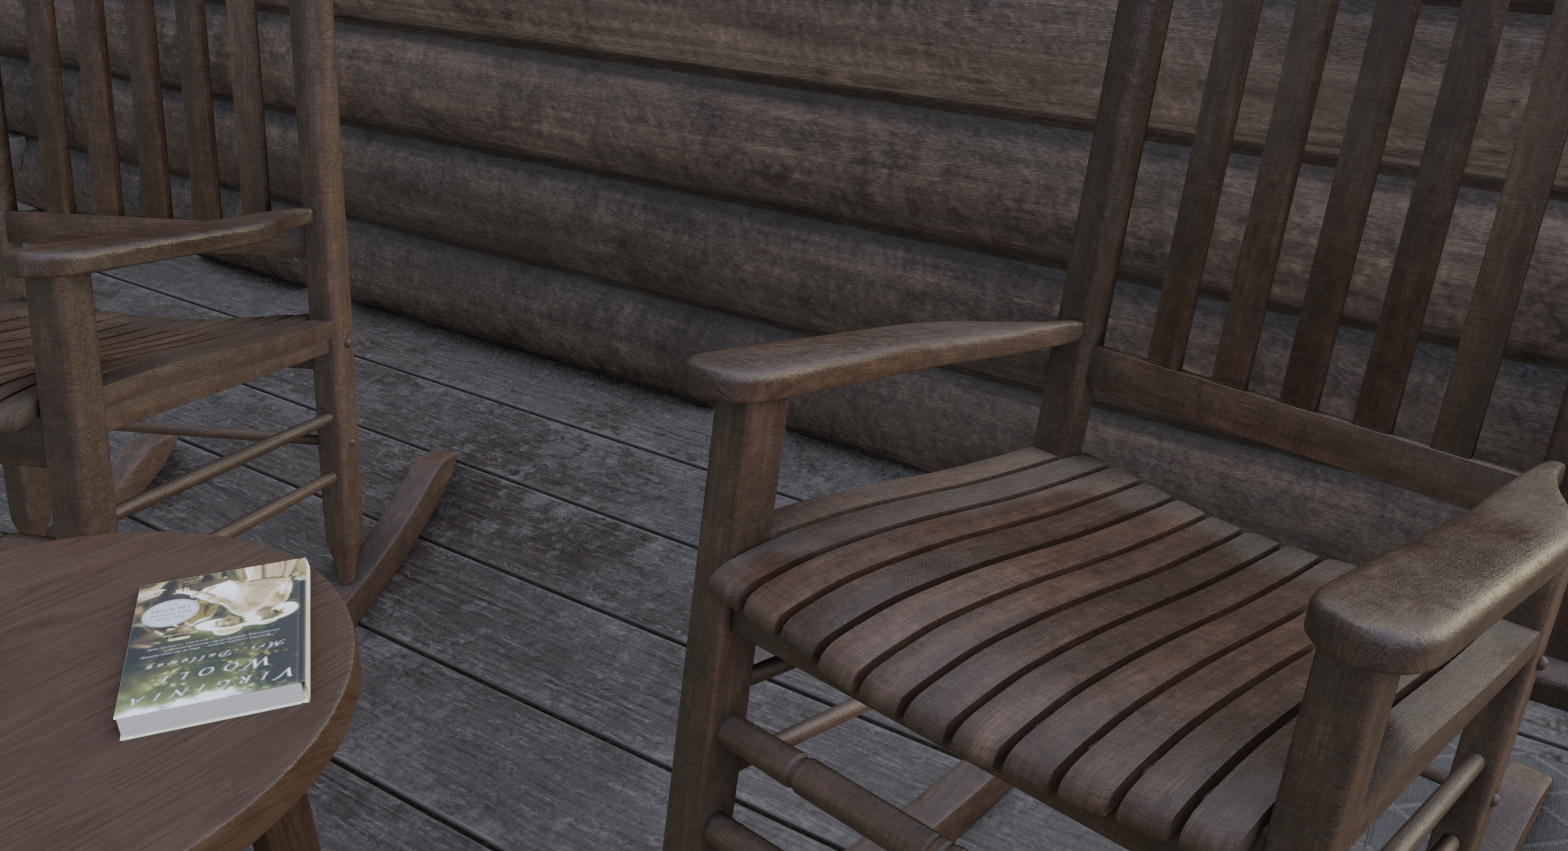
For the furniture modeling I like looking through furniture companies’ websites to get some inspiration, and because they provide multiple pictures with different angles, I am able to figure out how they put the pieces together.
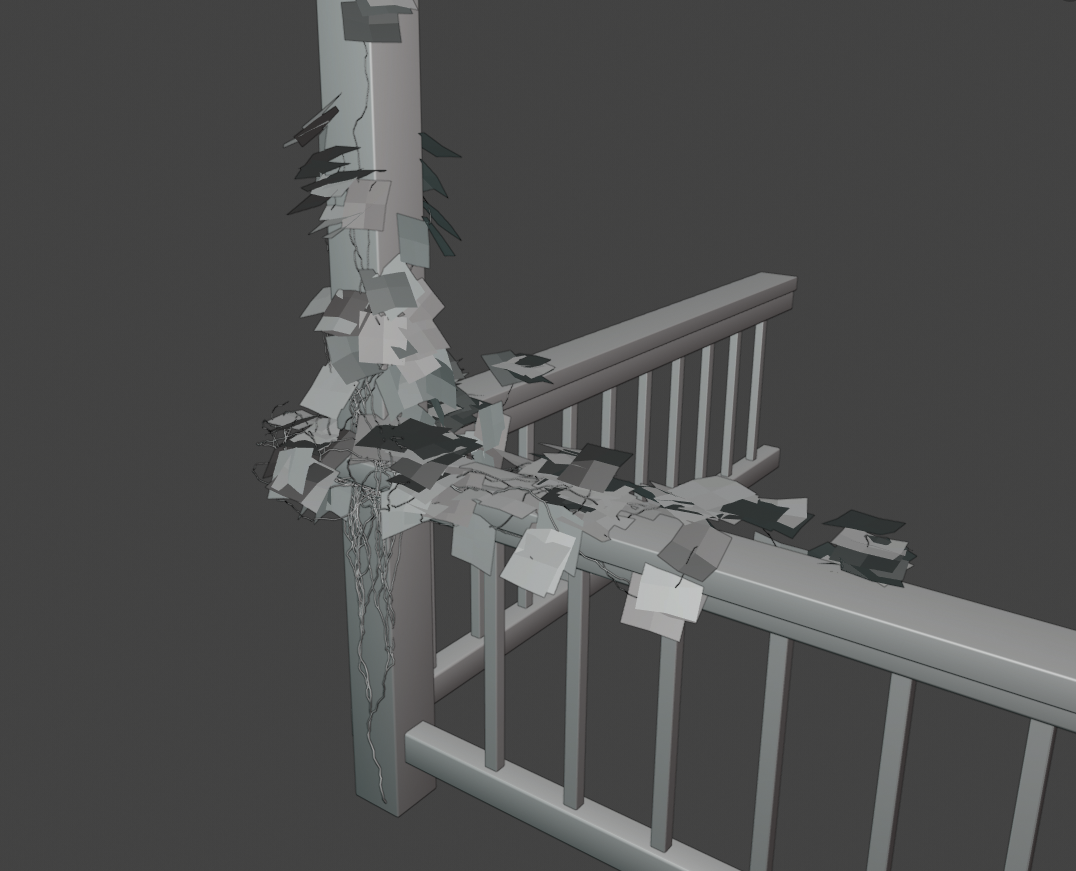
For the ivy I used the built-in IvyGen Add-on; it’s simple and it adds a nice touch to the scene. I had to make a copy of the railings objects that I wanted the ivy to climb on, and then joined them together because the ivy only works on a single object, as far as I know. Then I hid that copy.
I tweaked the leaves manually with the proportional editing tool to bend some leaves randomly a bit after subdividing them once.
To be able to use the add-on you just have to enable it from Preferences > Add-ons. I got the ivy leaf texture from the add-on’s website—it’s free!
Texturing
After Unwrapping everything, I used Substance Painter. I started with base materials and built my way up. I also used some layers from smart materials to play around with them and see what worked, then I added some dirt with the dirt generator, and used some paint layers to add details to my liking, and then proceeded to export the textures.
In Blender I used the Node Wrangler add-on to import the Substance Painter texture quickly with just Ctrl + Shift + T! It’s one of the most useful add-ons and I suggest enabling it to speed up your workflow in the node editor.
Lighting
The fun part, am I right?! I used a forest HDRI from HDRI Haven, and played with the value and the saturation a bit until it looked good in my scene.
The HDRI provided some light but I ended up using a few area lights to improve the scene’s light, and I added fill lights inside the cabin to lighten the shadows and show more details.
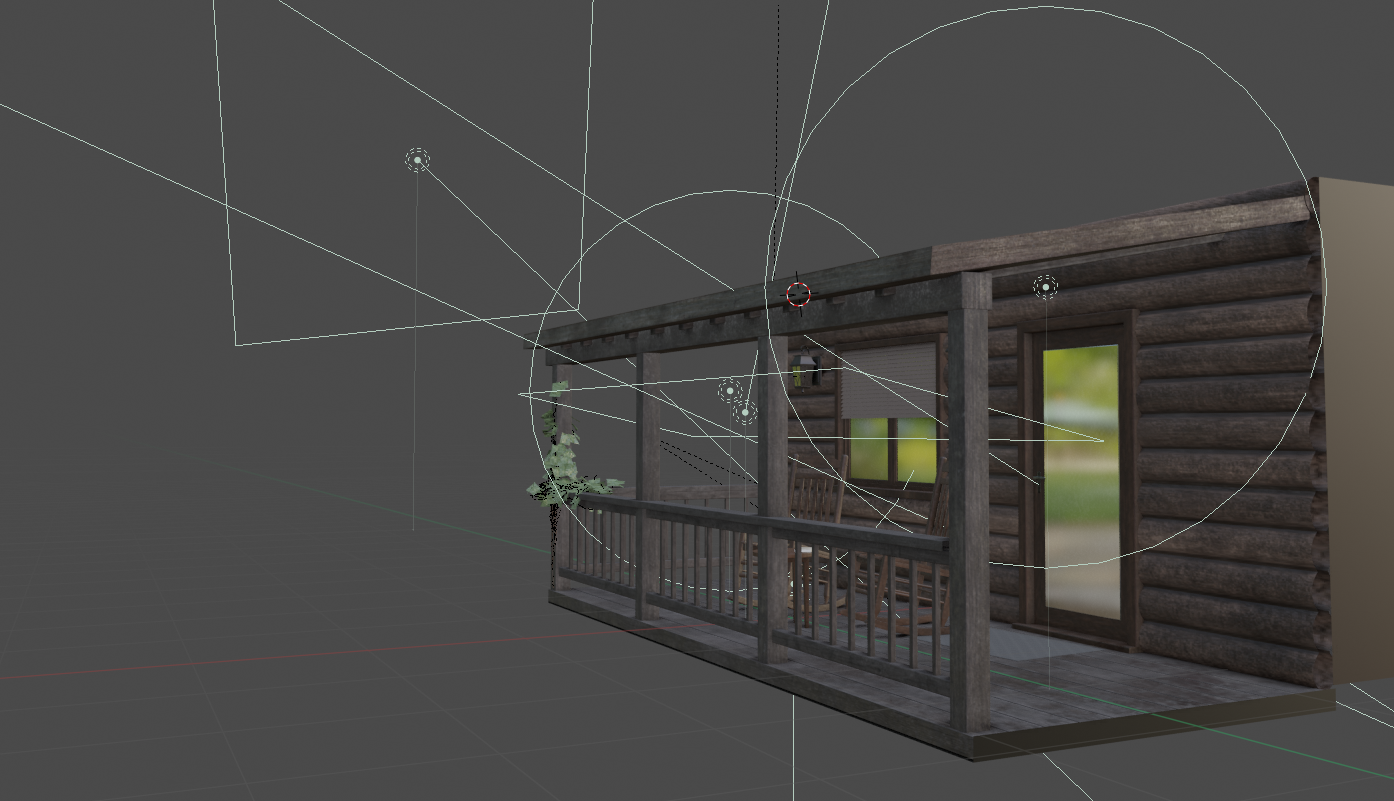
Regarding the camera, I used a focal length of 28mm with depth of field to limit the distractions of the background and mix it better with the scene.
I used 2200 samples for the final render, then corrected the colors and the levels in Photoshop and here’s the final render!
About the Author
 Mohammed Marwan Al-Atassi, 3D Enthusiast & Blender fanatic
2 Comments
The texture looks really good, but it lacks uneven aging (from sun exposure, rain, mold) and also cracks and uneven surfaces. The carpet is very thin.. Checkout some references!
This is truly great piece of work. The thing that really does it off for me is that deep depth of field, so even though the background is blurred you can see exactly what it is. Too much depth of field can really ruin an image for me. Your image is perfect. Keep wishing and you and your friend will be sat on the porch here one day. Thank you.