Behind the Scenes: Brushes Material Practice
About Me
My name is Joakim Tornhill, but I think you might have seen my alias “Blender Insight” that I use when I do tutorials around materials in Blender.
I love to create stuff and have always been writing, sculpting, drawing or making short movies.
I live with my family in the third biggest town in southern Sweden, Malmo, and work in the 3D industry. However, my daily job is not with Blender or 3D. The thing I do is more keeping track of projects and team members so that they do their work in a good way. Blender for me is still just a hobby, even if I hope for more.
Background in 3D
My background is from IT and software development, so I have no education around graphics design or 3D. However, I needed some graphics when I was making a game in my spare time at home, so I started to look into Blender. This was like seven years ago and I was at the age of 45, so you can say that it began rather late.
I quit several times, because it was very hard for me to learn the interface, the short command and the 3D depth using both X,Y and Z. Somehow I finally began to understand it and you can say that for the last three years, I think I have used Blender on a daily basis.
My journey with Blender is not the same as the majority of users, I think. In my case I did not start to do proper modeling or sculpting. Instead I did very simple shapes and spent a lot of time polishing the surface and creating materials.
It took time to find a good modeling workflow and still today, even when I feel that it’s rather easy to do complex models, I often tend to select easy shapes so that I can get to the material and surface part quickly since that is the part I love doing.
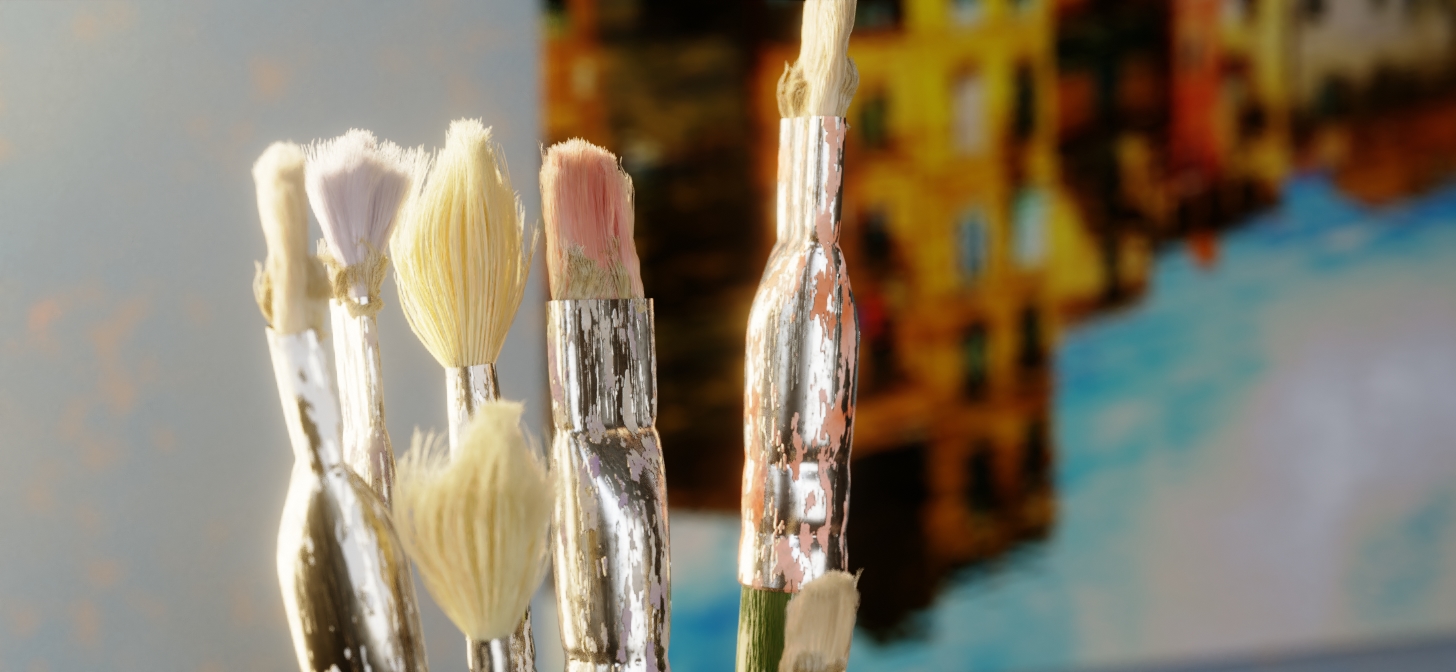
Brushes Material Practice
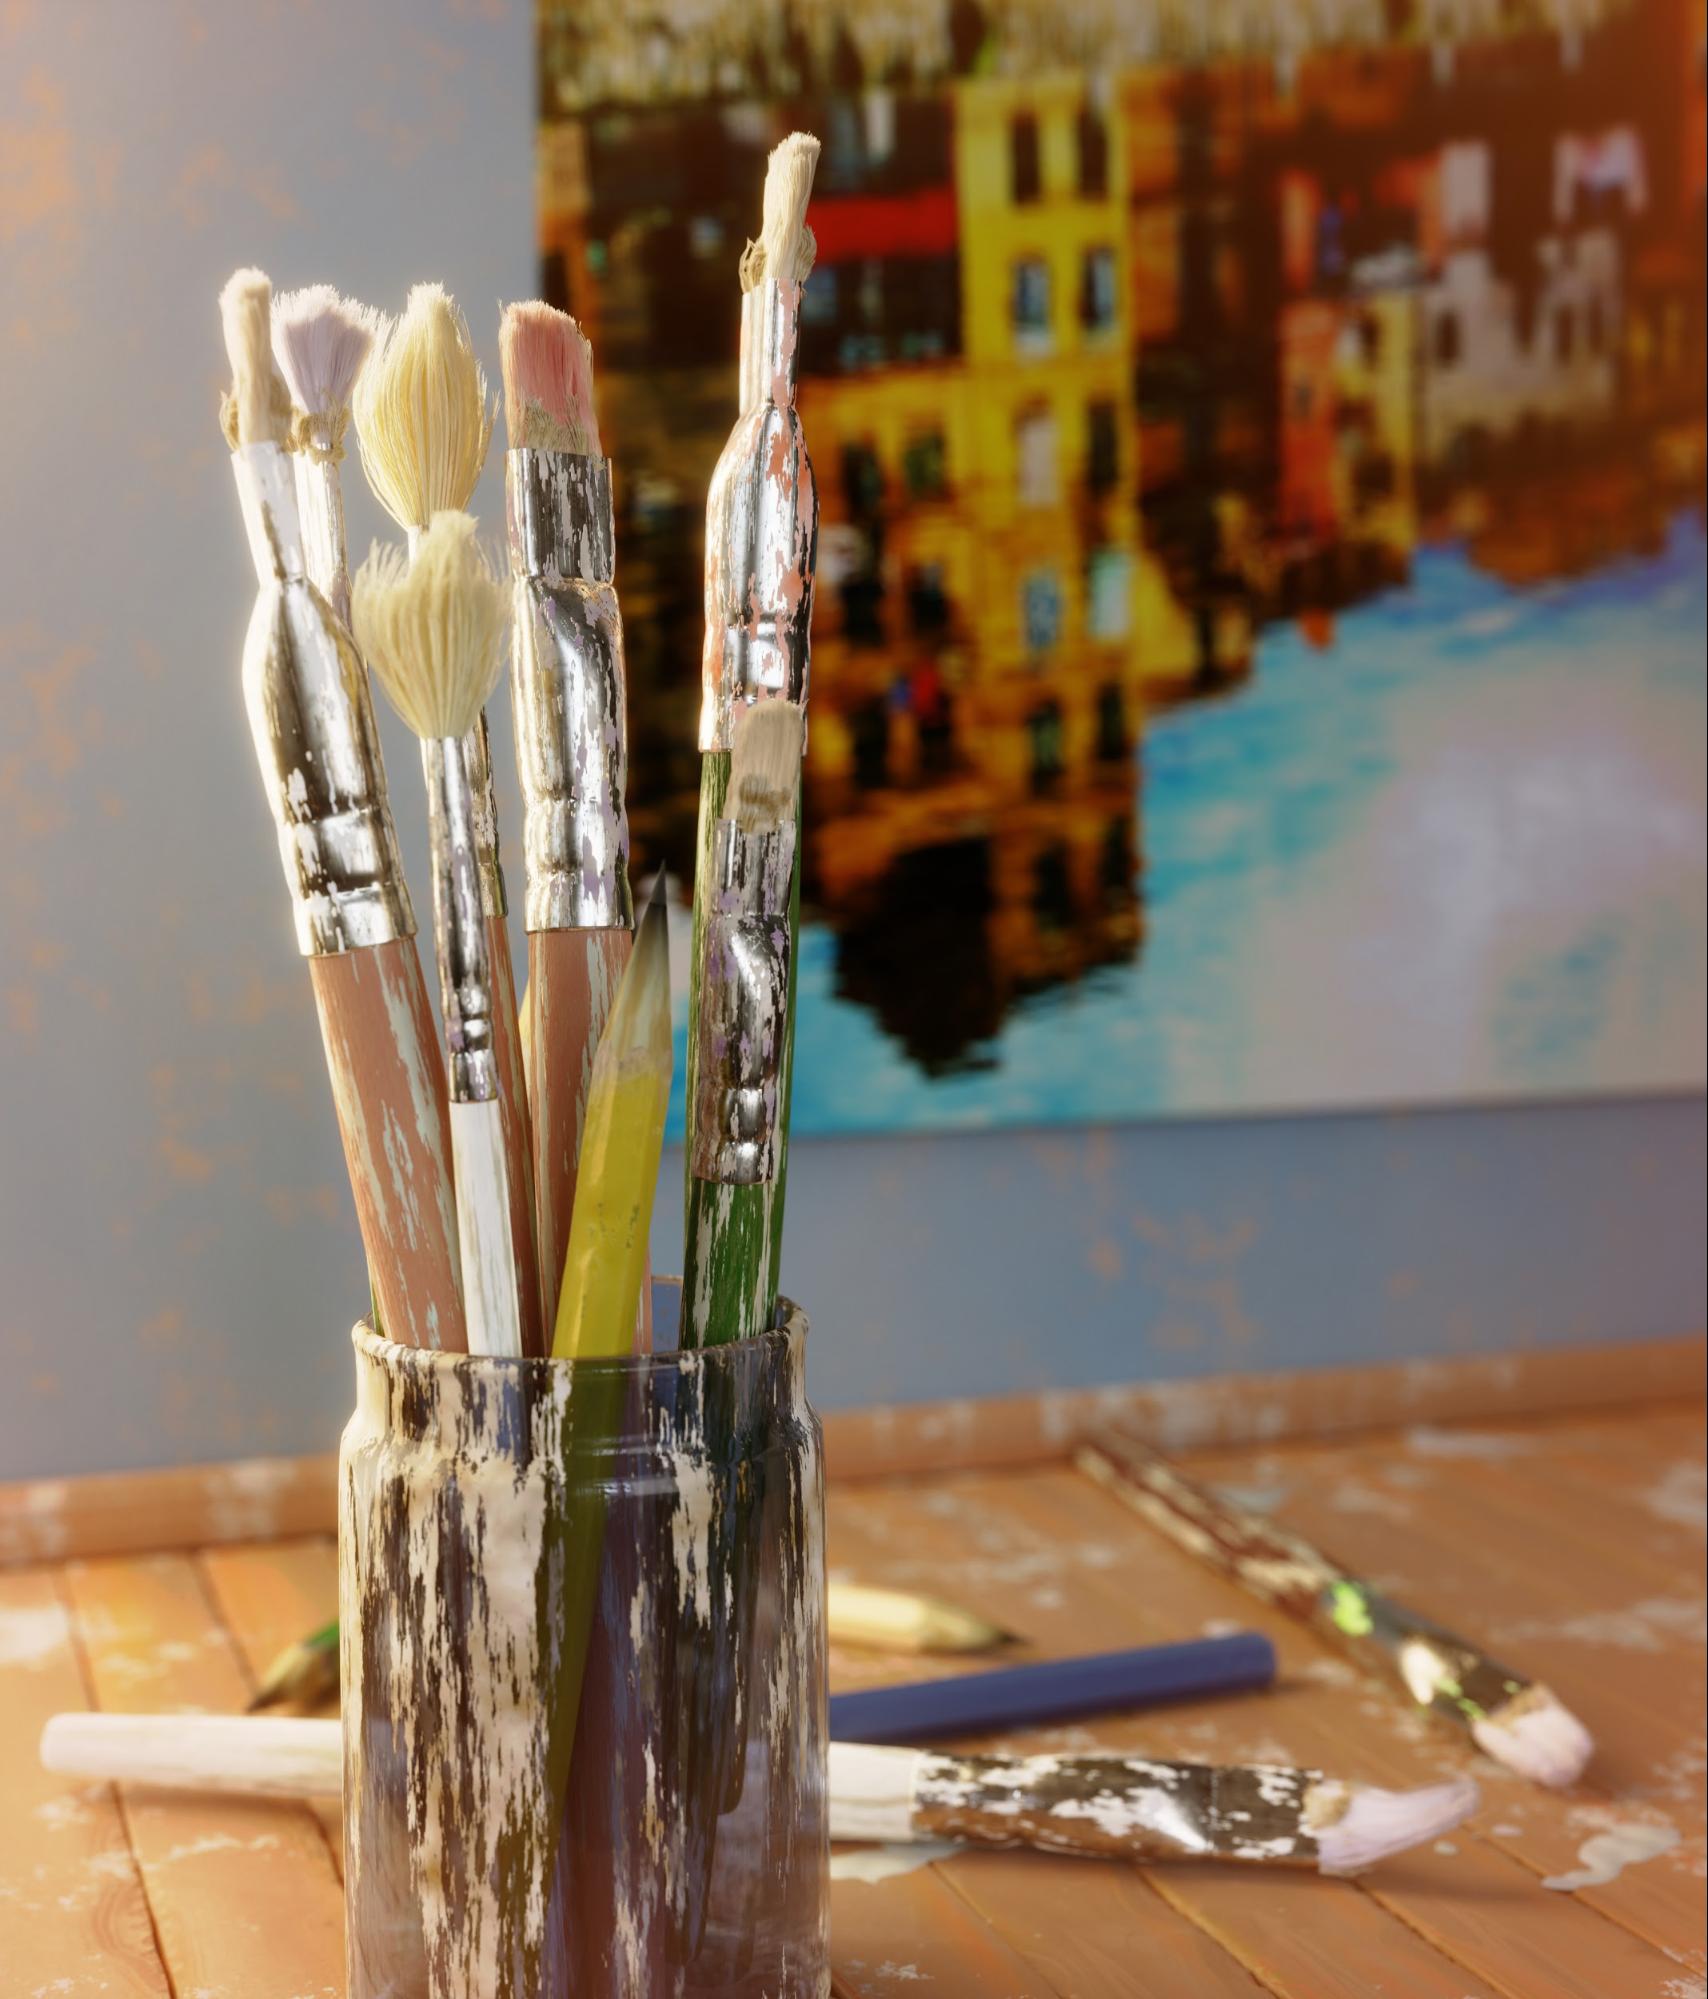
The piece I called “Brushes Material Practice” started out the same way as described above. I was thinking that I would like to come as close to realistic feeling as possible, but without spending too much time on complex shapes.
I was going through what I could do and then my thoughts went to an early piece from Gleb Alexandrov called “The Brushes” and I thought I might do something similar…brushes and pencils.
I use 100% Blender. I have and know both Substance Designer and Substance Painter and can do quite well with them, but since I can do it all in one tool and also love how Cycles handles the shine, reflection, and light on the procedural material, I often stick to just using Blender all the way, including in the post work.
The workflow is similar for all 3D art I make. I start with thinking about the concept and how the end result should look. Then I Google reference images—a lot of them!
In this case I could also use real objects since I had pencils at home.
Then I searched for the correct HDRI. This I do even before I start modeling. I want an HDRI that matches the concept I have in my head when it comes to light, color and environment.
The HDRI can change the material in so many ways that it would be like starting from scratch with the material if I later changed or added the HDRI.
When I have all of these things in place I start to model. One object at a time, so I don’t block out the complete image, but rely on what I have as a concept in the back of my head. I start with very simple shapes and if the object gets too complicated, I just break it into more objects. I have learned during the years that everything is just nicer and easier to handle if you always break the complex into small pieces until each piece/object is simple.
The main thing in this image was the pencils and brushes, so those I did first.
Modeling pencils I had done several times already in my past and I also did a tutorial about it about a year ago.
The brushes are, at their core, just three cylinders. One for the metal part and one for the wooden handle. I needed two different metal types though, since small brushes have round endings and bigger ones have flat endings. The third cylinder is inside the metal as the base for the hair.
I used as few polygons as possible, but enough to make it look realistic and pretty, and then I added some subdivisions as modifier.
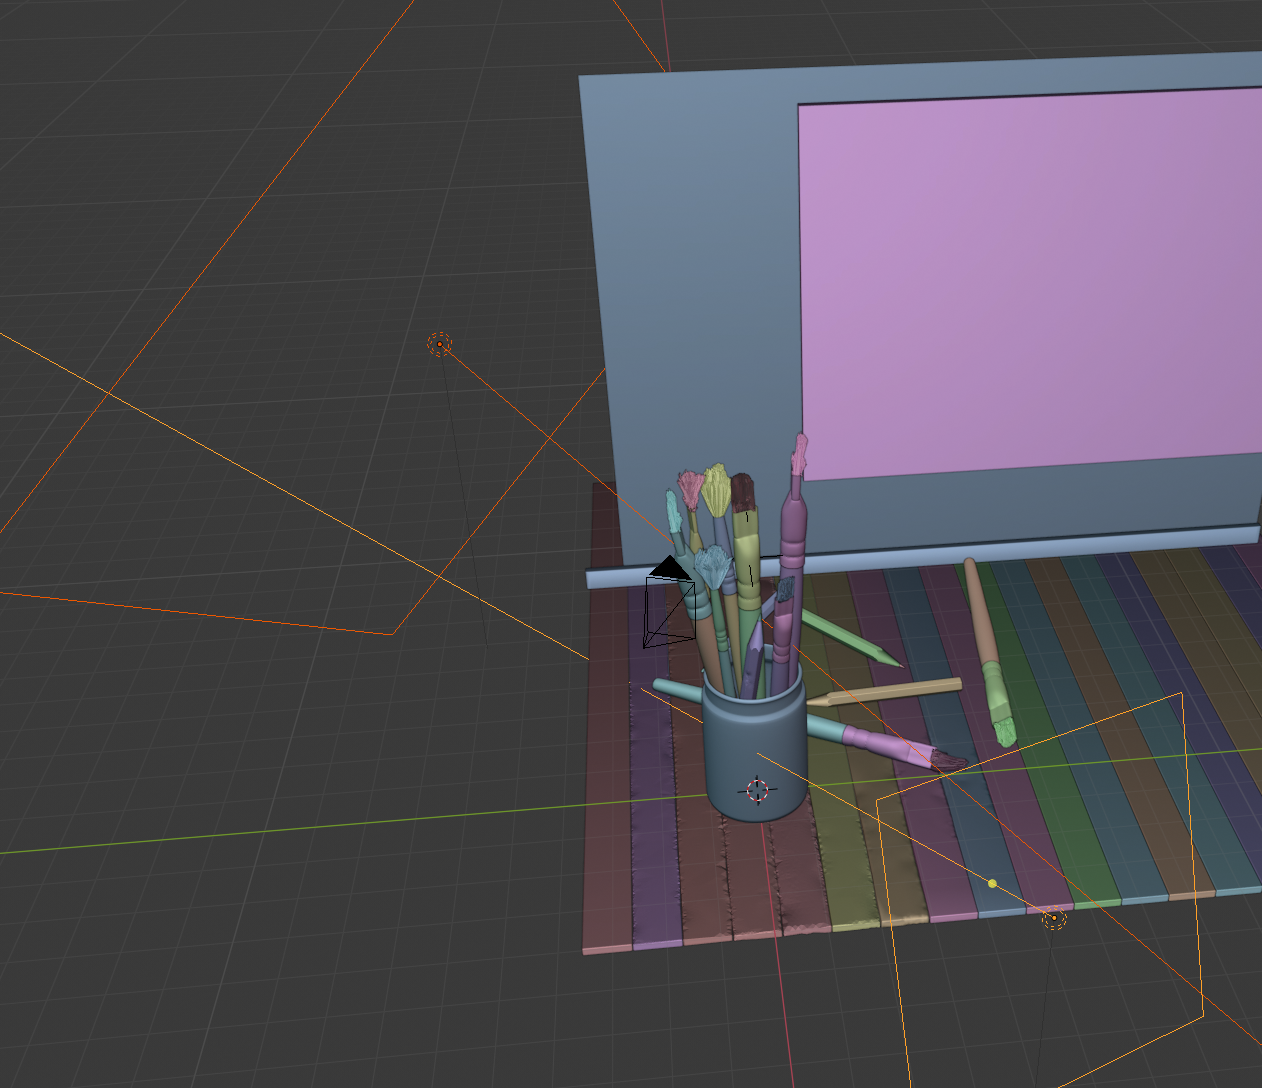
When I feel finished with one object, then I take the next until that one is finished in shape and in the end I have something like this:

After that I start to add materials. I work the material so it is “almost” finished on each part. I add the final touch after I have added additional lights and placed the camera and the objects where I want them.
In this first material step it looks like this:

A Little About the Material
Before I continue, I can describe and talk a bit about the materials, since that is my passion. I can’t teach or show how it works in an article like this, but I can at least give the flow.
Occasionally I use images as texture, but that is the exception (here I used an image for the blurred painting in the back, though).
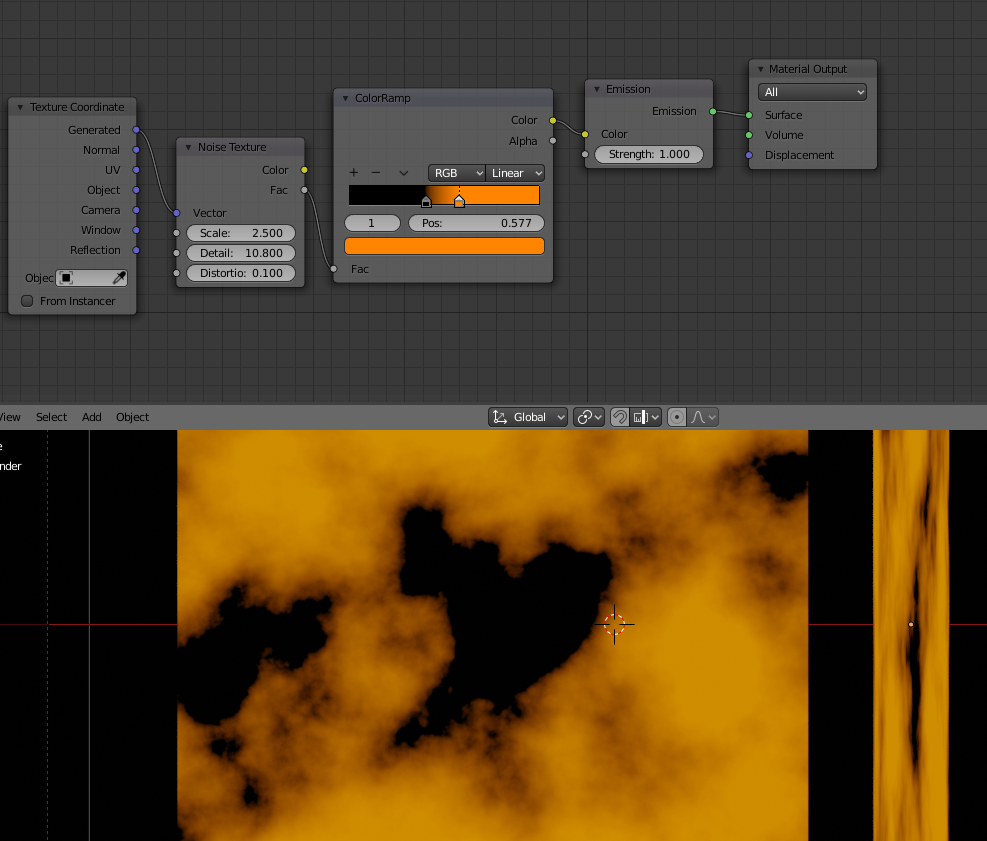
This is how I think when I do it procedurally:
First thing I do when I “attack” an object to get the correct material is to look at the pattern. If it is wood, then the “wave texture” plays a major part. If it is scattered things… like the paint in the above image, then a “musgrave” would be the prime texture, and so on. Often I can see two or three textures that together create the main pattern.
When I have tweaked the pattern as I want to, then I add the structure and bumps. Now it’s vital that I have modeled everything in a good way, because the topology affects how things will be spread on the object.
As an example, I beveled each sharp edge in the pencil with a few extra lines to make it easier for the texture to find the edges automatically. I rarely unwrap things, so I really depend on the shape of the model.
Most of the time, when working with structure it is “noise”, “musgrave” and/or “voronoi” textures together with a filtering ColorRamp that creates a base for a mask or bump map. Conveniently, you can scale the texture placement according to the object shape, so a brush or pencil could get long lines from a “noise” texture.
See example below; cube vs. cylinder using the same material:
When I have the pattern and bump structure in place, I fine tune roughness, subsurface scattering (if used) and all the other parameters on the “principled” shader (which I use 90% of the time). As a last step I then add color. One important thing here is that “the color” is never just one color. A realistic image uses a lot of variations even if it is just a “Yellow pencil”.
If I have made several similar objects, I also add some randomness in the nodes, so that each object or particle will look different in color and structure…even if it is the same material.
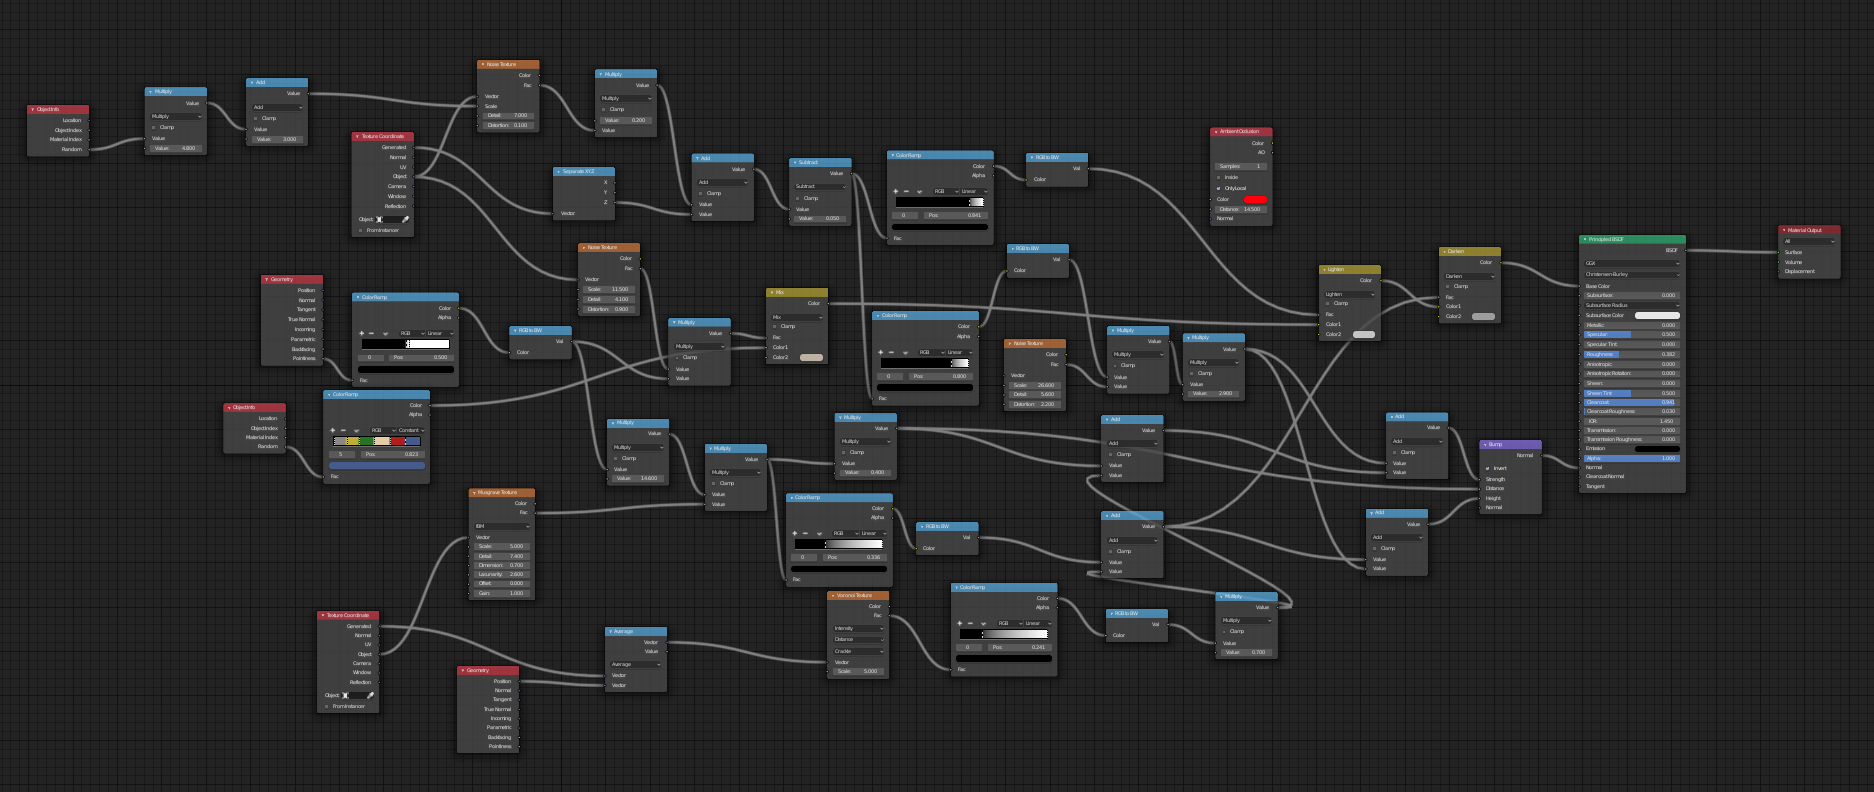
A final material may use a lot of nodes and I’m bad at structuring them into node groups, so it can be a “jungle” sometimes. However, I always place the color in one place, the pattern in another and the structure in a third place, so I know where to look even if I use hundreds of nodes.
The result can be unreadable like this (all the pencils using this one material):
The Strands/Hair on the Brushes
Thank you Blender 2.8!
To make a strand look like hair is so easy when the “principled hair” node arrived in Blender. I only had to add a few nodes to make it work and the reason I had to add them was to create some old paint on the hair of the brushes.
Check it out! This was all I needed to both control color on hair and to get the variation of paint colors for each brush.

The particles for the strands are fairly simple. I don’t use any hair dynamic or anything fancy. I just create the hair particles, weight paint where I would like them to grow, change a few parameters and comb them in the particle Editor.
I used two types. One for the “cleaned” strands and one for the short, thick strands with a lot of paint on them.

Final Touch
Now when I had almost everything done I arranged the image for the viewer. I copied the objects I needed several of, placed them in the correct place, set the camera view and added light. In order to get a warm feeling, a lot of light is needed. The light source should also be rather big so the image gets softer shadows. If the subject you are creating is something the sun or light can shine through, then it is often a good thing to add a rather strong back light as well.
In the case of my image I wanted the light to go through the top of all the strands from behind so you get that warm morning feeling.
Don’t be afraid of light. Add more power than you initially think you might need. You can often double or triple it.
My back light was 3000 W with a strength of 2, and the front light was 400 W. Then I had a lot of light from the HDRI as well.
The color system used to enhance the realistic feeling was of course “Filmic”, but I did not stop with default, but changed to “high contrast” to make the colors “pop” even more in this image.
Then I made small material changes (like adding scratches, changing roughness, and fine tuning colors a bit), added DOF to get a fine blurry background and finally some fog glow and color balance in the compositor to enhance the warm and soft feeling even more.
Those “Extra” Things
When working with realistic images, the most important thing is to make everything “non linear”. You add variations in both color, structure, and placement of objects and geometry.
Thus I often sculpt small details in different places. Many times in a way so that you don’t see it directly…but just get the “feeling” that something is real.
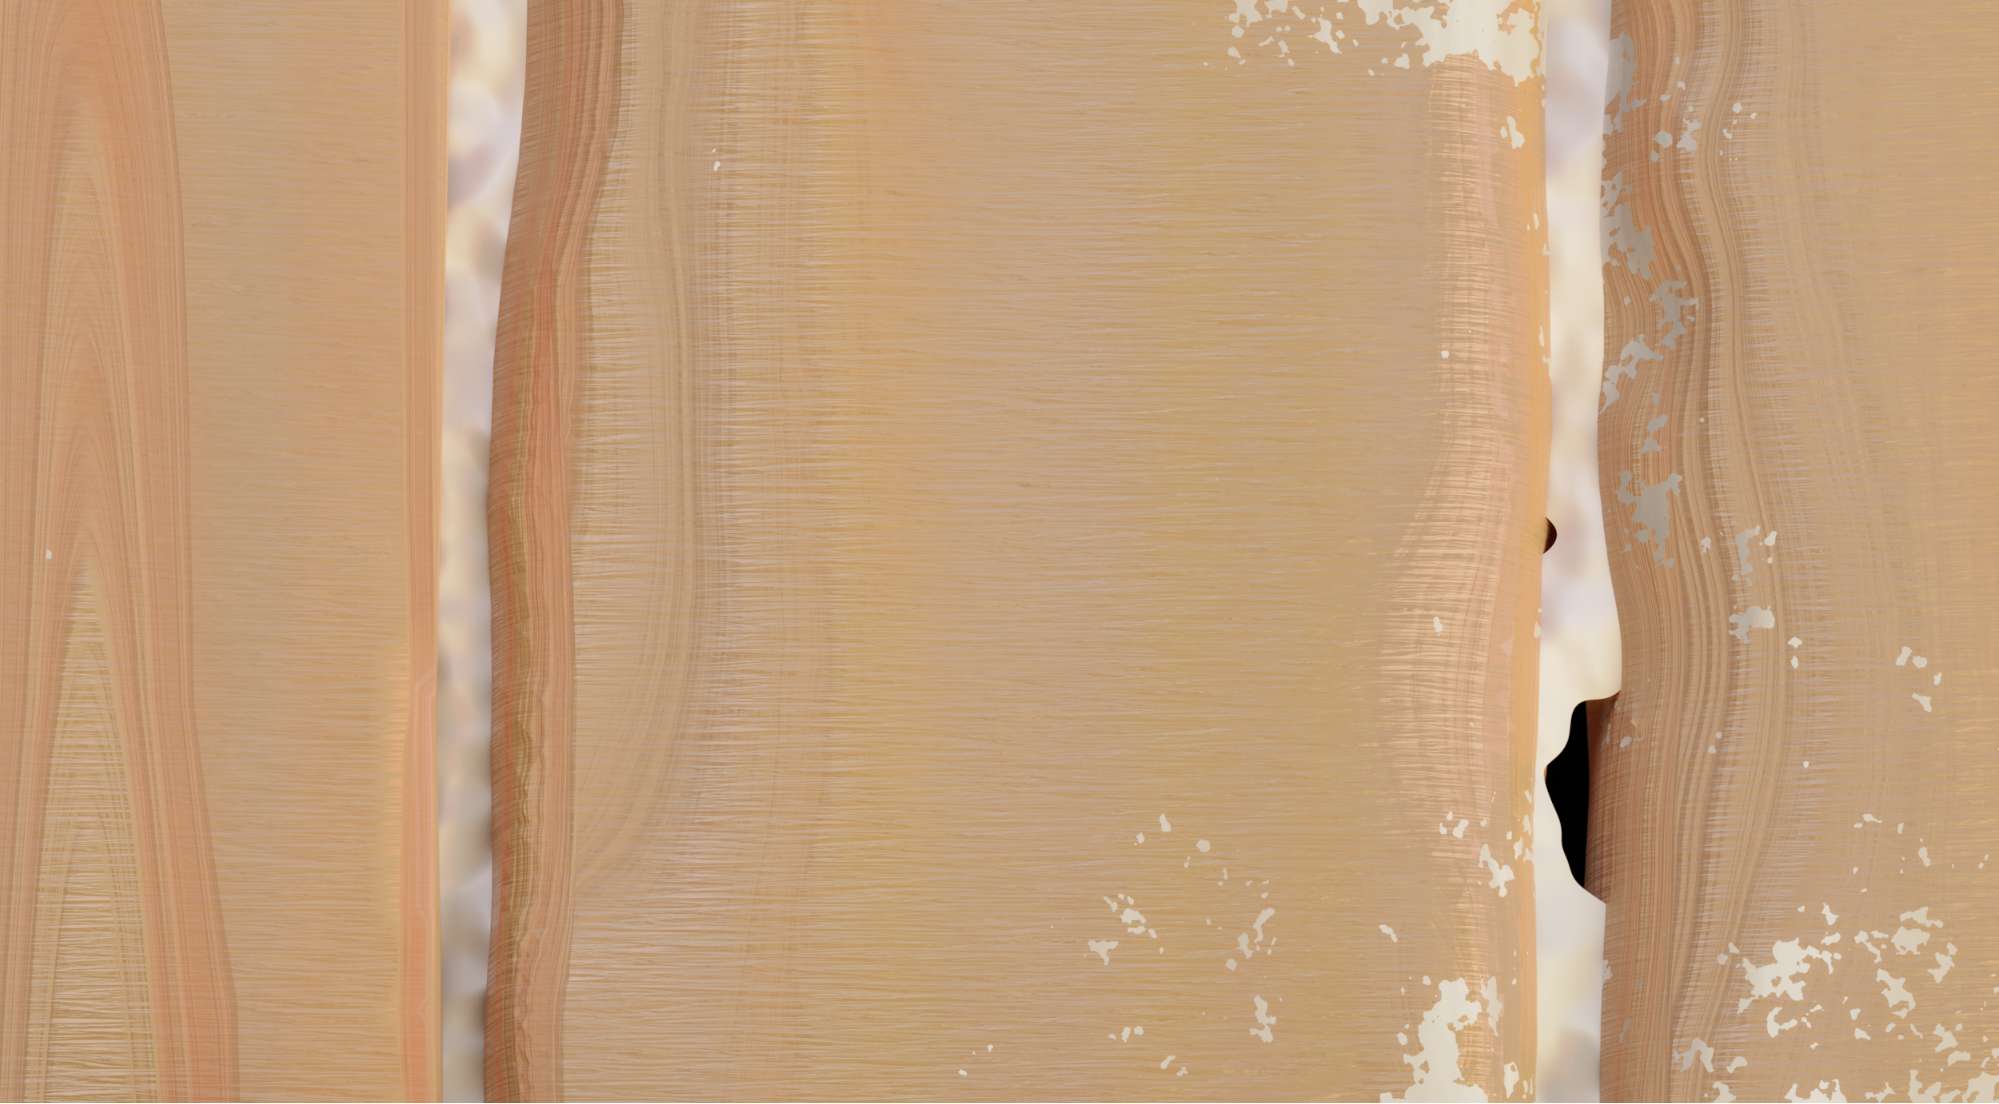
Above is the floor of the scene. As you can see I have sculpted or changed the edges to make the planks uneven if compared to each other.
I also have a second color plane. It is important that some of the paint gets stuck between the planks, so I did one material using “musgrave” and transparency on a plane that I could fasten between the planks to get a genuine feeling.
These are tiny details and you don’t see many of them as a viewer without enhancing the image or looking very closely…but you get a sense of “this is real”.
That is all there is to it.
Thank you for the opportunity I was given to explain more about the workflow for this piece!
About the Author
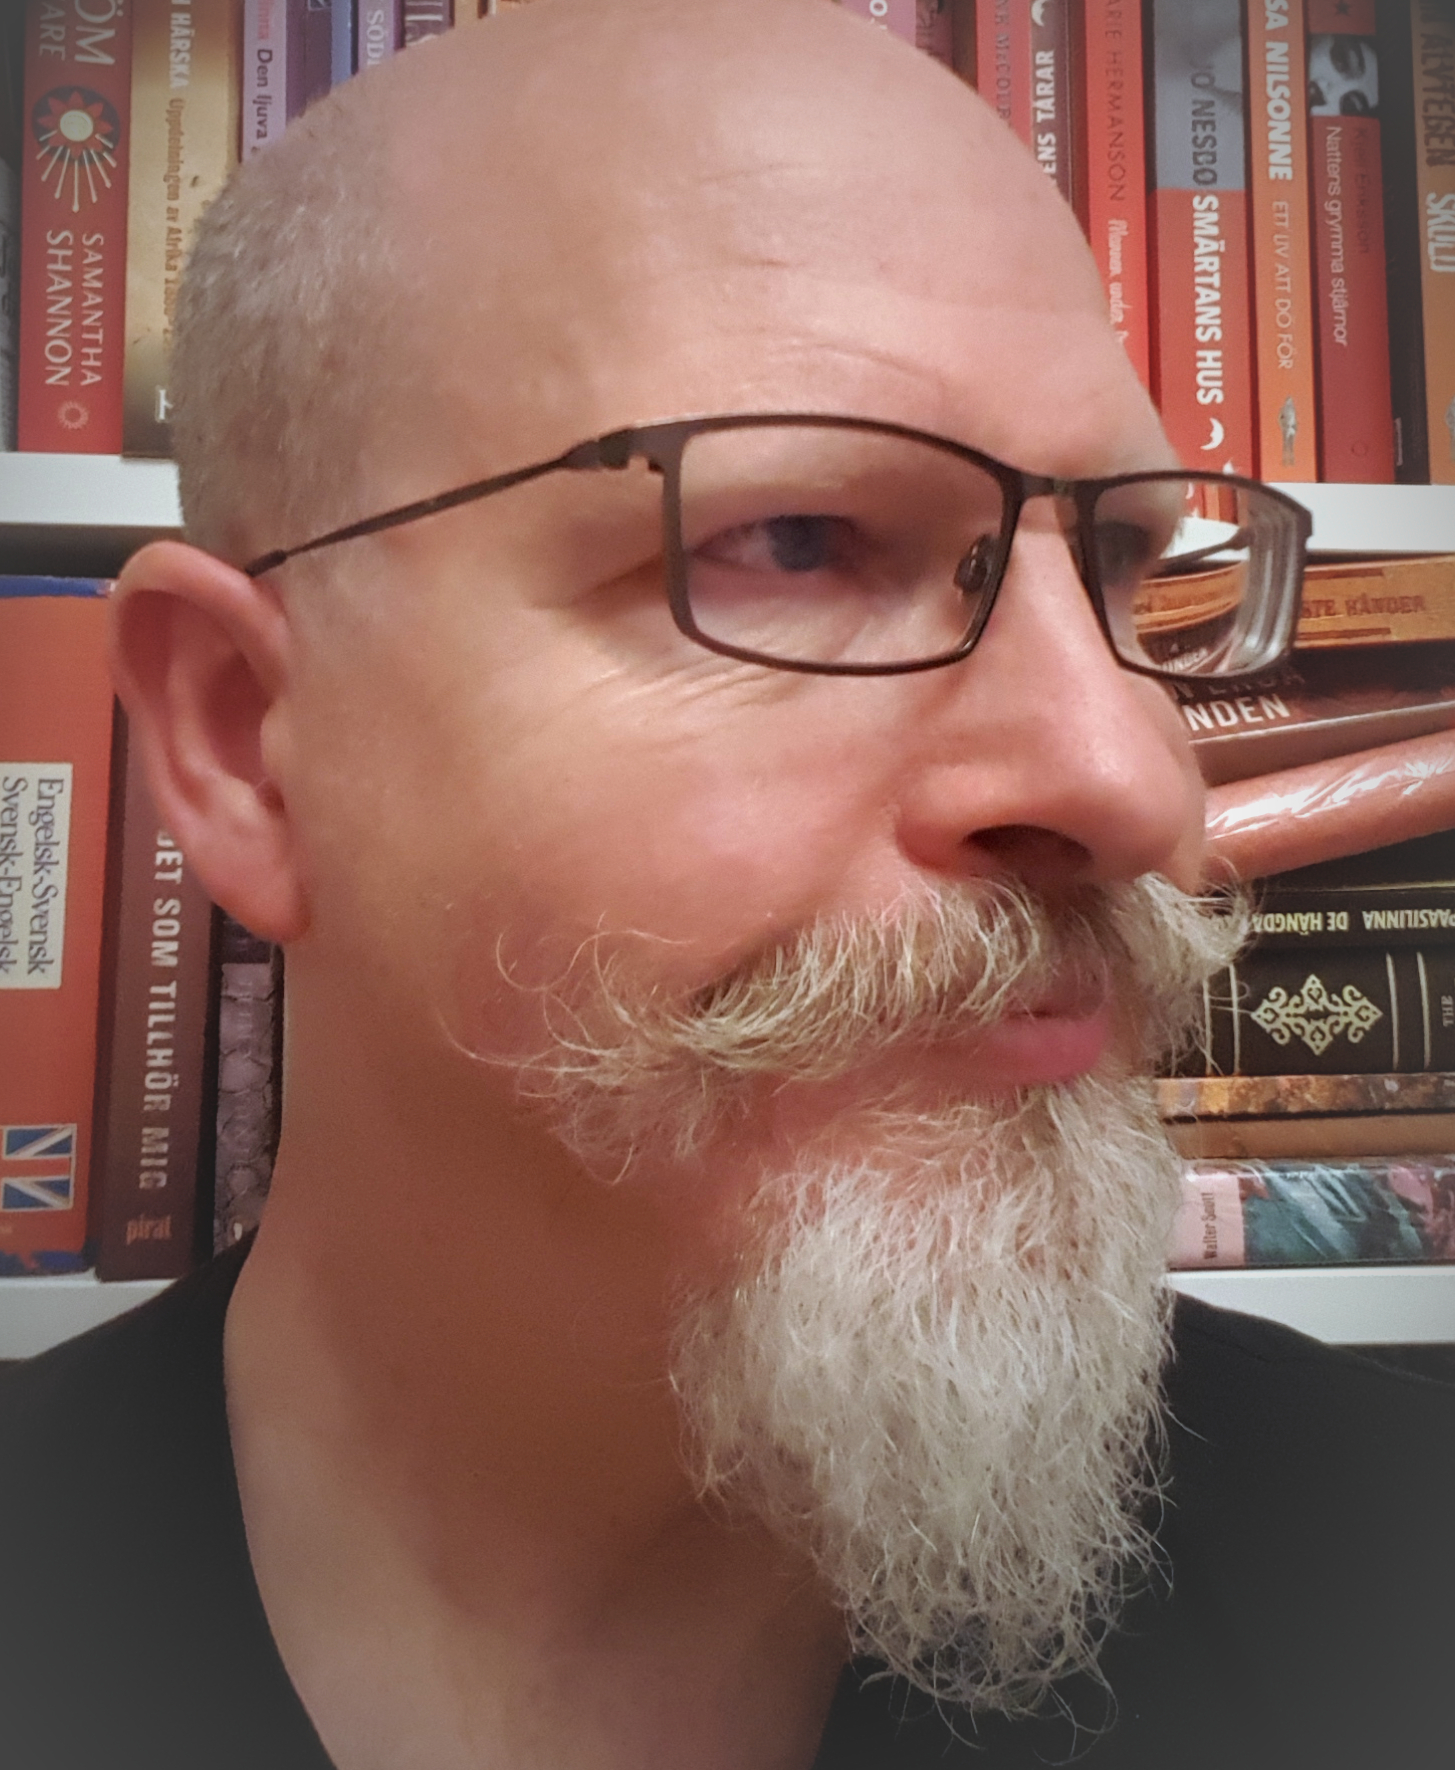 Joakim Tornhill, Blender and material enthusiast.


Wow well formulated behind the scenes. Like the story behind the artist as well. Great job 111
Thank you :)!
It was fun writing it and it made me really reflect for the first time on how much I have learned about the tool.