
Behind the Scenes: Orange Summer Vacation
About me
Hello, my name is Somjade Chunthavorn, I am a Game Artist based in Bangkok, Thailand. I started using Blender seriously in 2008 on release 2.49 and have been using it in both personal projects and studio work ever since. I learnt everything about 3D modeling and the application by myself with some foundation from using Sketchup / 3Dviz back in architecture school.
I started my career in game development with a small indie team and get to work on about every aspect of game graphic creation (2D, pixel art, 3D low and high poly, etc.). Currently I am shifting my role to creating environments for games and focusing on technical art and real-time visual effects in game engines.
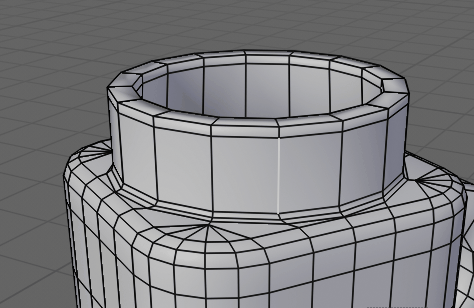
Most of my works involve environment design. So clean topology and light-weight/optimized scene creation has become my habit. I’m not a big fan of sculpting and only use it as needed. Most of the time I make objects with subdivision surfaces and proper support edges.
Tools and Hardware
I’ve done this scene purely with Blender 2.8 since there’s not much texturing involved and most of the surface work was done with shader nodes.
The hardware I used on this one is.
- Intel i5-6600k CPU
- 16.0 GB of RAM
- Nvidia GeForce GTX 1060 6GB
Inspiration
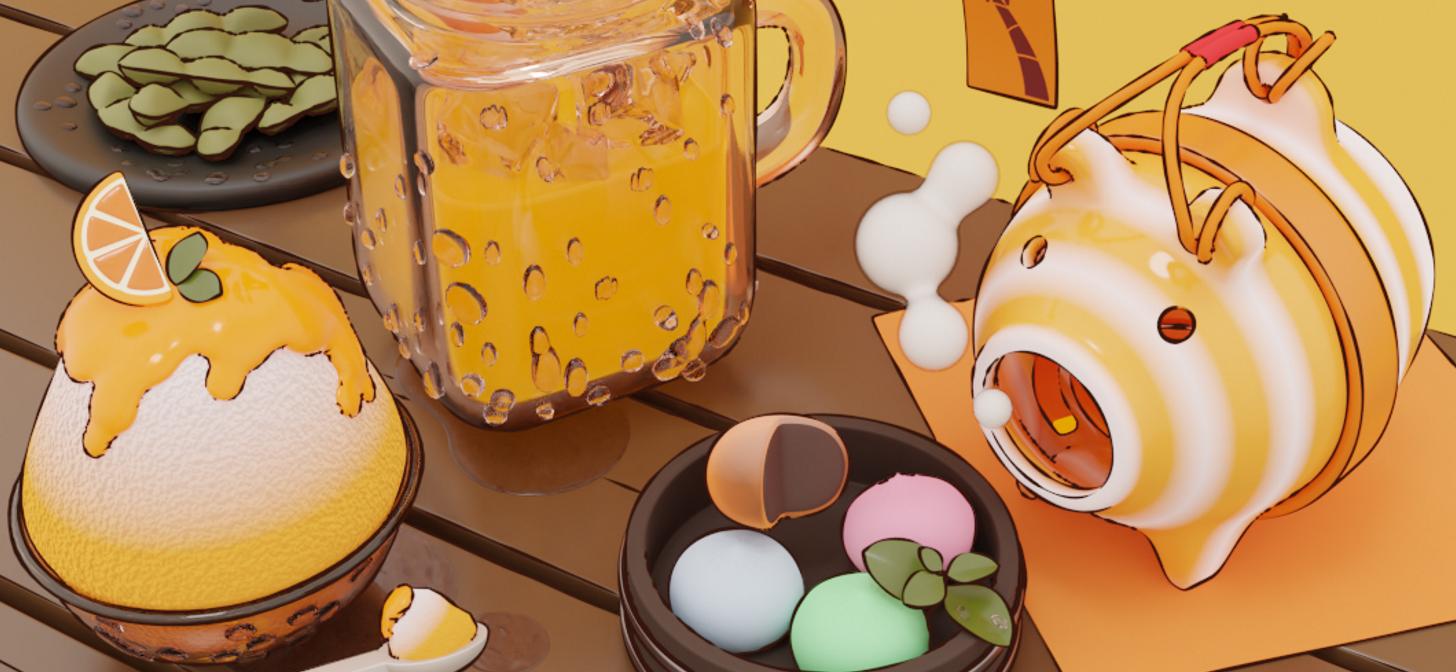
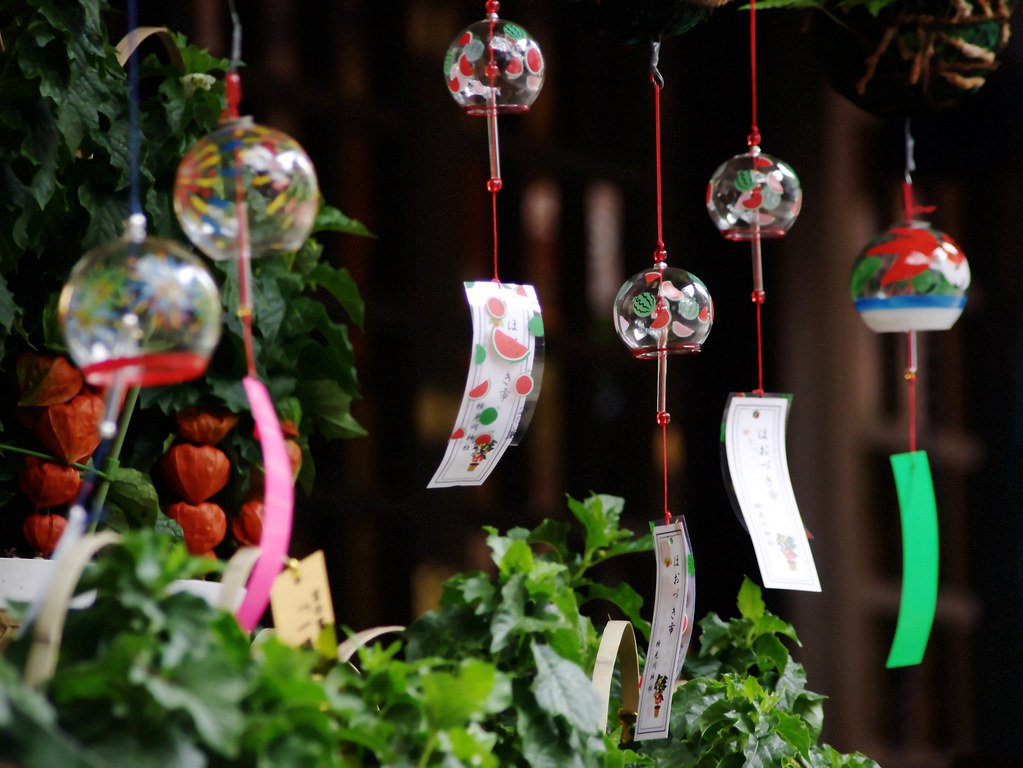
I made this piece during summer here in Bangkok, where the heat shows no mercy at 40 degrees celsius. I found out about Japan’s traditional items and the way they manage to stay cool in the summer, which is very interesting. They have shapes that looked fun to create in 3D such as Fuurin and Katori-Buta.
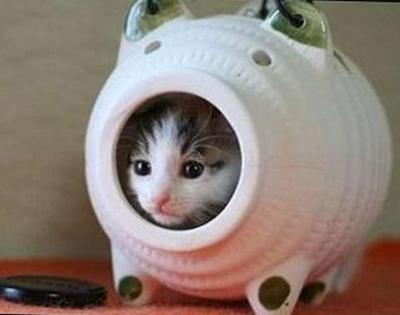
*Well, the cat isn’t supposed to be in the Katori-buta, but ain’t it just cute?
The Process
Since my geometry and shape are very simple, how to make them interesting is on material. For the ‘Summer’ image I want to convey that feeling of sitting in the shade on a very hot day with icy cold stuff and summer items to help you feel breezy, cool, and refreshed. Transparent objects with fresh color can convey that kind of ‘feeling’ well.

Here’s how I put together the mason jar with orange juice.
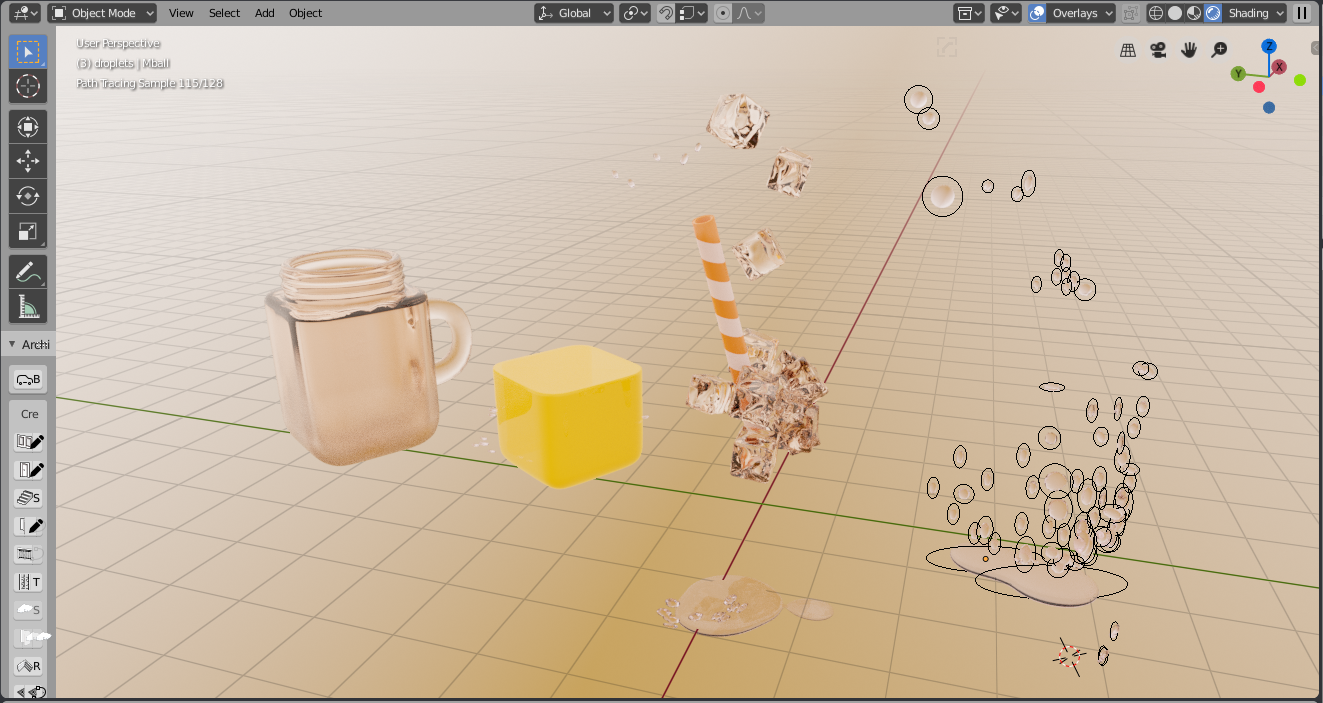
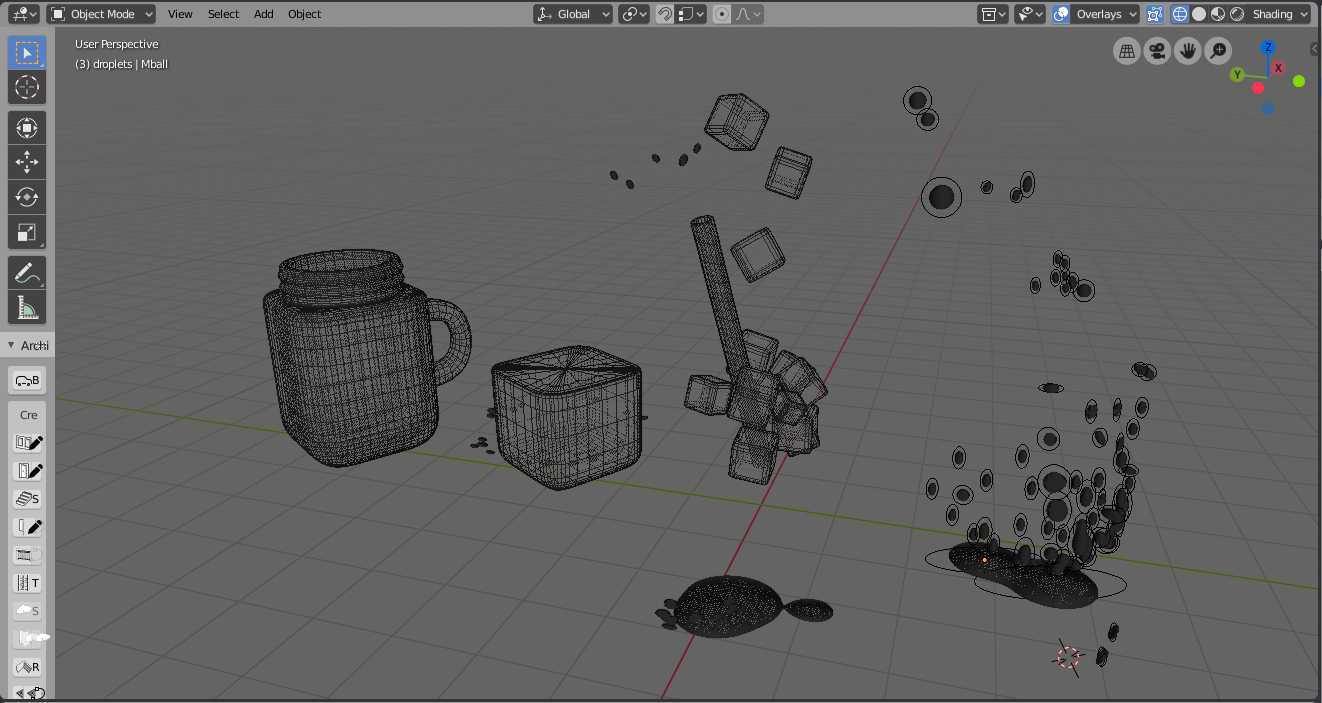
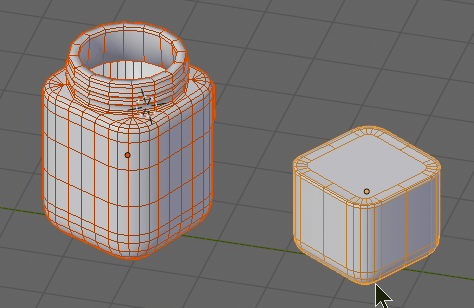
I started with the jar, first with a chamfered cube and solidify modifier applied to it to add some thickness, then I modeled the handle and the lid groove with polygon tools such as bridge, bevel, and shear.
The liquid part of orange juice is just a negative volume inside the jar created by extracting the jar’s inside face and capping the top. Ice and straw are basic primitives with slight modifications. (I use bevel a lot!)
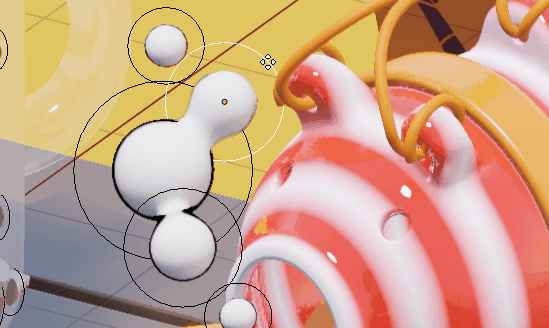
And all droplets of water are created with metaballs, which serve the look and feel of fluid things really well, especially if you are going to create something in a stylized manner.
In order to keep the scene light and quick to render as well as fast to make iterations, I always use simple geometry with subdivision surface modifier.
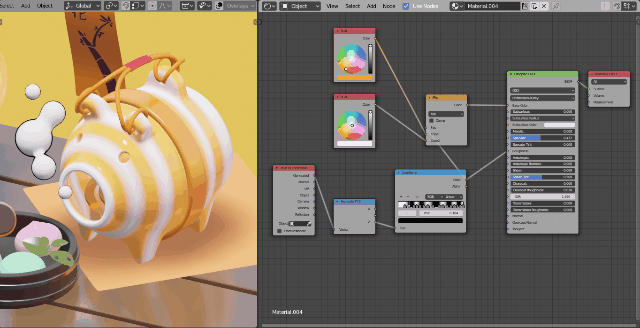
For the Katori-Buta, I used the same approach as the mason jar to model it with the addition of curve object + bevel to create the handles. The shader I created for it is quite simple; I used the position in the Z axis with color ramp in order to apply a color pattern to it, as well as to assign different levels of roughness to each color, mimicking the way pottery glaze does to ceramic.
I got away with trying to make the smoke stylized and used metaballs to create it.
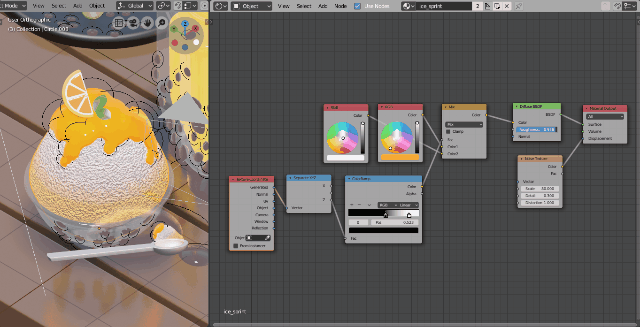
Quick TIP! If you have two sets of metaballs in the same scene and want to apply different materials to them, you have to name each group of metaballs with different names or they will share the same material regardless of what you assigned to them.
Shaved ice【かき水】was done with a UV sphere and the rest is shader’s work. Also, previous position + ramp mixing came in handy here to create a blend of ice color. Toppings were, take a guess, more metaballs. ;)
Rendering
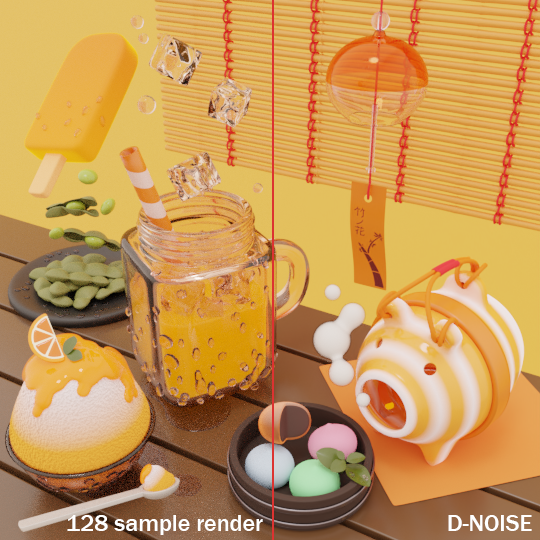
Blender 2.8 ‘s EEVEE is amazingly fast and handy for quick shader iterations. But, at this point in time and with my current skill, I can’t make glassy material look right in EEVEE yet. That’s the reason I chose Cycles for final render.
And luckily, right now there’s a very practical noise reduction plugin from Remington Graphics called D-Noise. I can get away with a clean render with a very low amount of samples (This scene uses just 128 samples), making previewing and iteration even less painful. :)
FreeStyle Line Rendering
FreeStyle lines work, are very simple, and in 2.8 work with collections instead of groups.
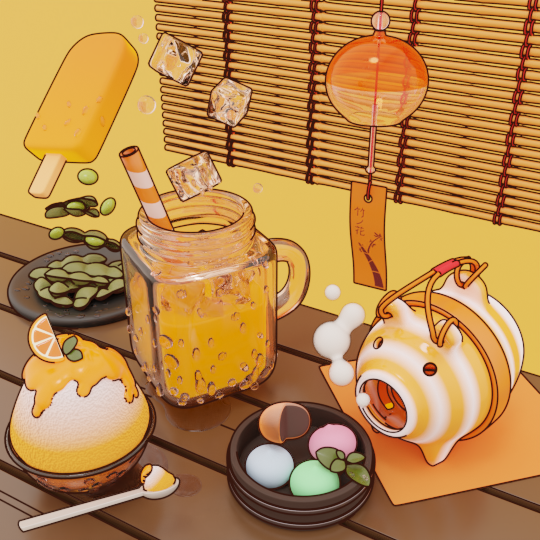
I made lineweight sketchy with multiply noise curve into the thickness with modifier. There’s so much you can do with line works, e.g., let the line weight fade away by camera, object distance and many more.

Bonus
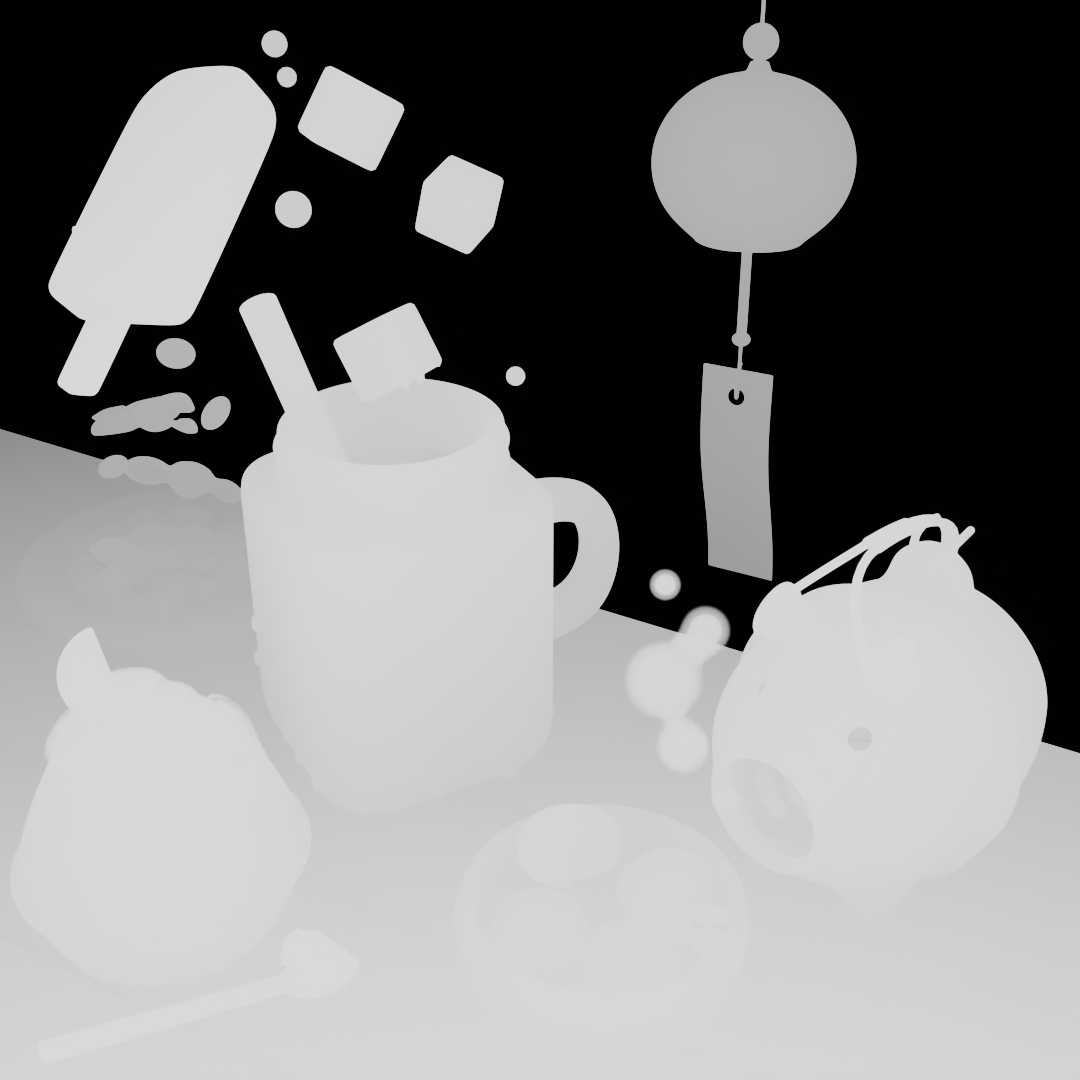
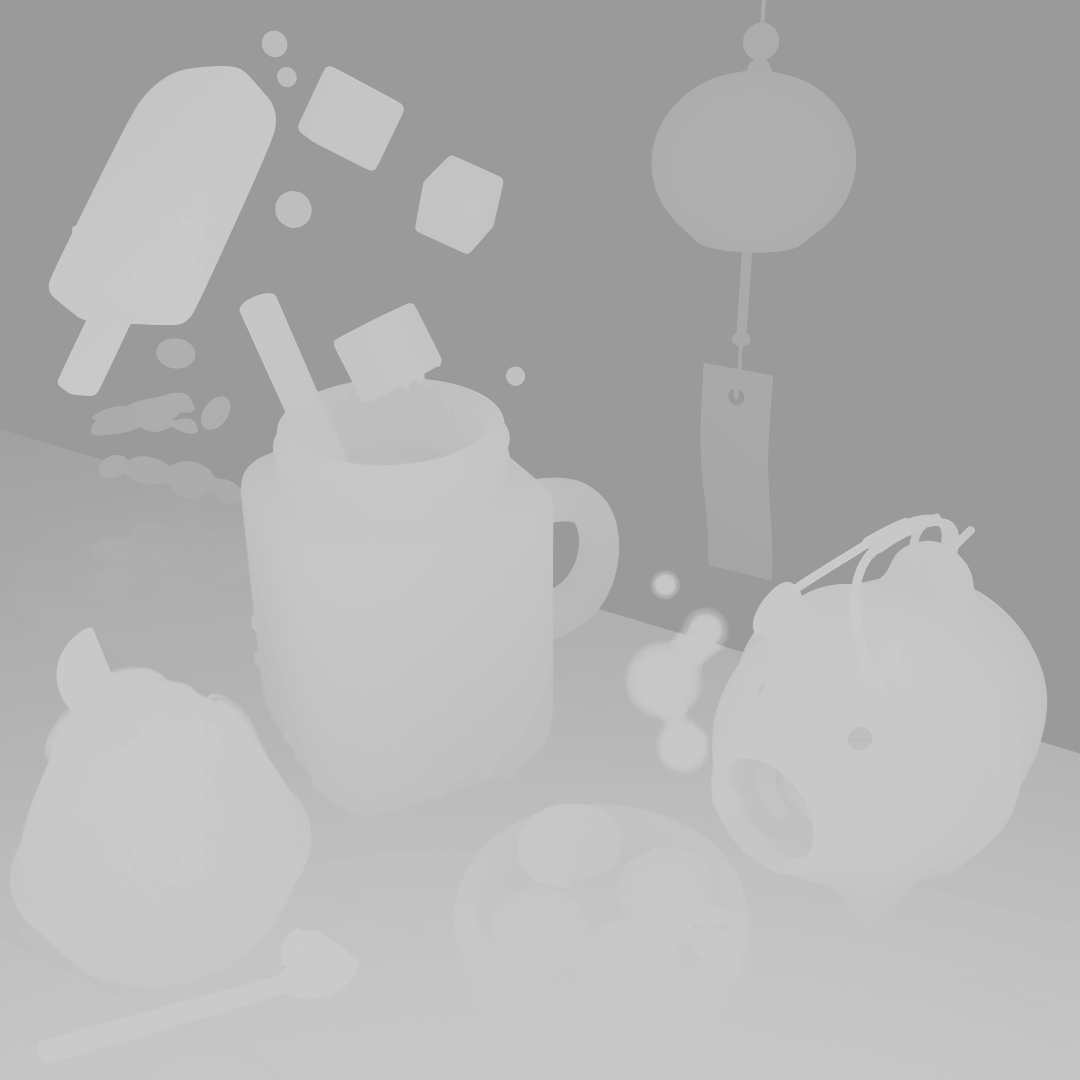
Following Facebook’s 3D image trend nowadays, I tried using ‘Mist pass’ instead of ‘Z’ which provides a somewhat nicer edge around objects.
After fine-tuning the level into something gray-ish, removing the freestyle lineworks, I can get away with this map with minimal artifacts.
About the Author
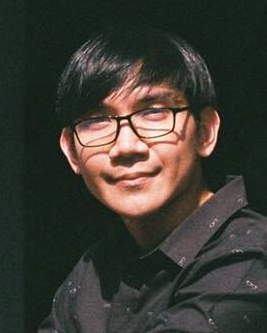 Somjade Chunthavorn, Game Artist


Nice work like the behind the scenes. THe table could use a wooden texture.