Behind the Scenes: Stylized Jamie Fraser
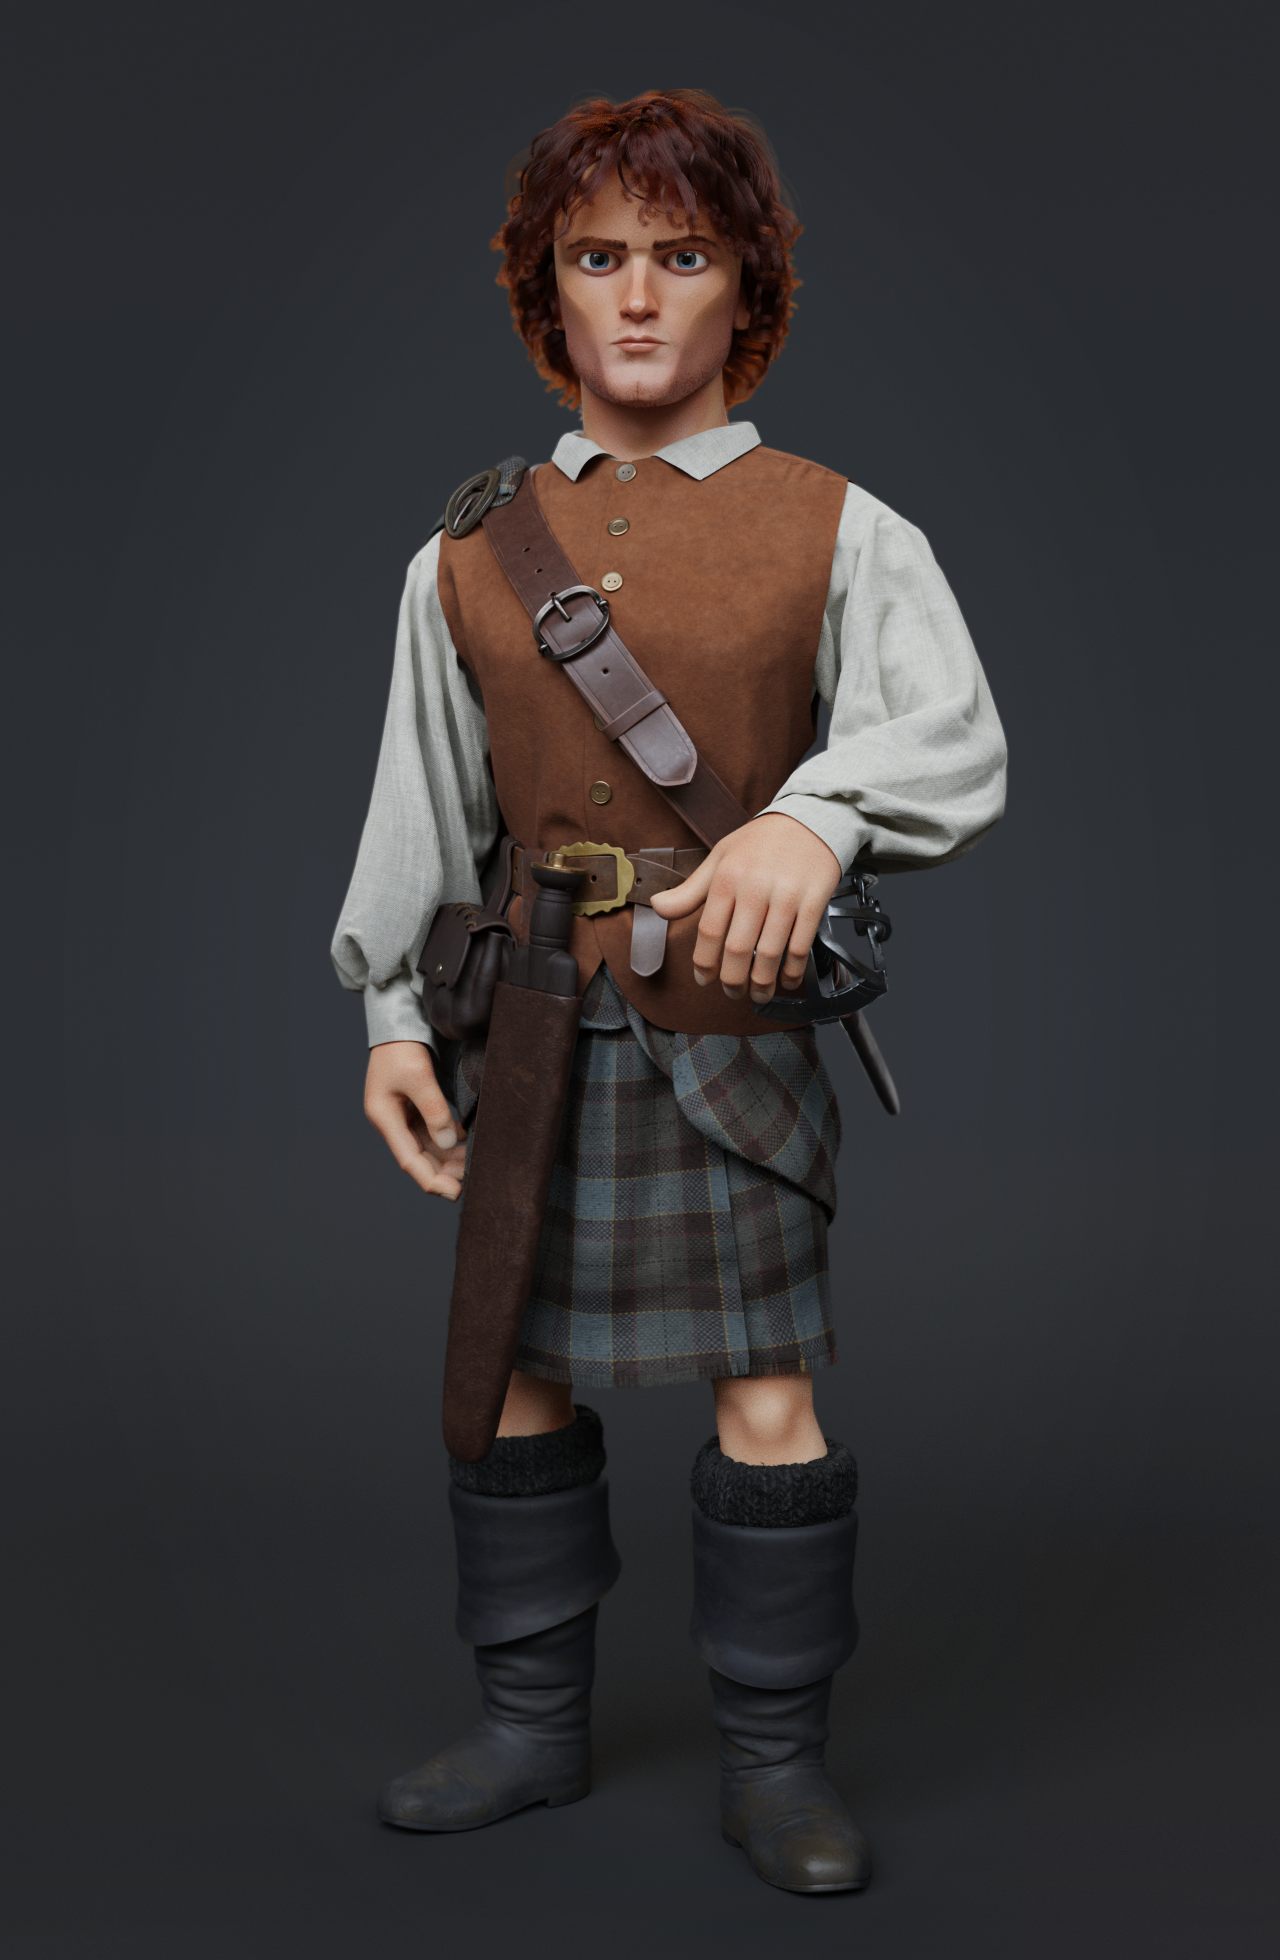
Stylised Jamie Fraser
My name is Isabelle Grandguillot or Itza on CG forums. I’m a freelance 3D artist from France. I’m self-taught in CG: I first learned 3ds Max by following online tutorials, then worked on Maya in a studio in Rio de Janeiro. I started to use Blender for my personal projects four years ago and as a freelancer it has now become my main tool.
I used to be a generalist but what I really enjoy is creating characters, mostly cartoon ones.
With my previous piece “In the Wood”, I had started to learn Marvelous and Substance Painter. Then I decided that I wanted to do a new character with some funny clothes in Marvelous.
As I was assisting with the Outlander series, the idea of doing a stylised version of the Jamie Fraser character came into my mind.
References
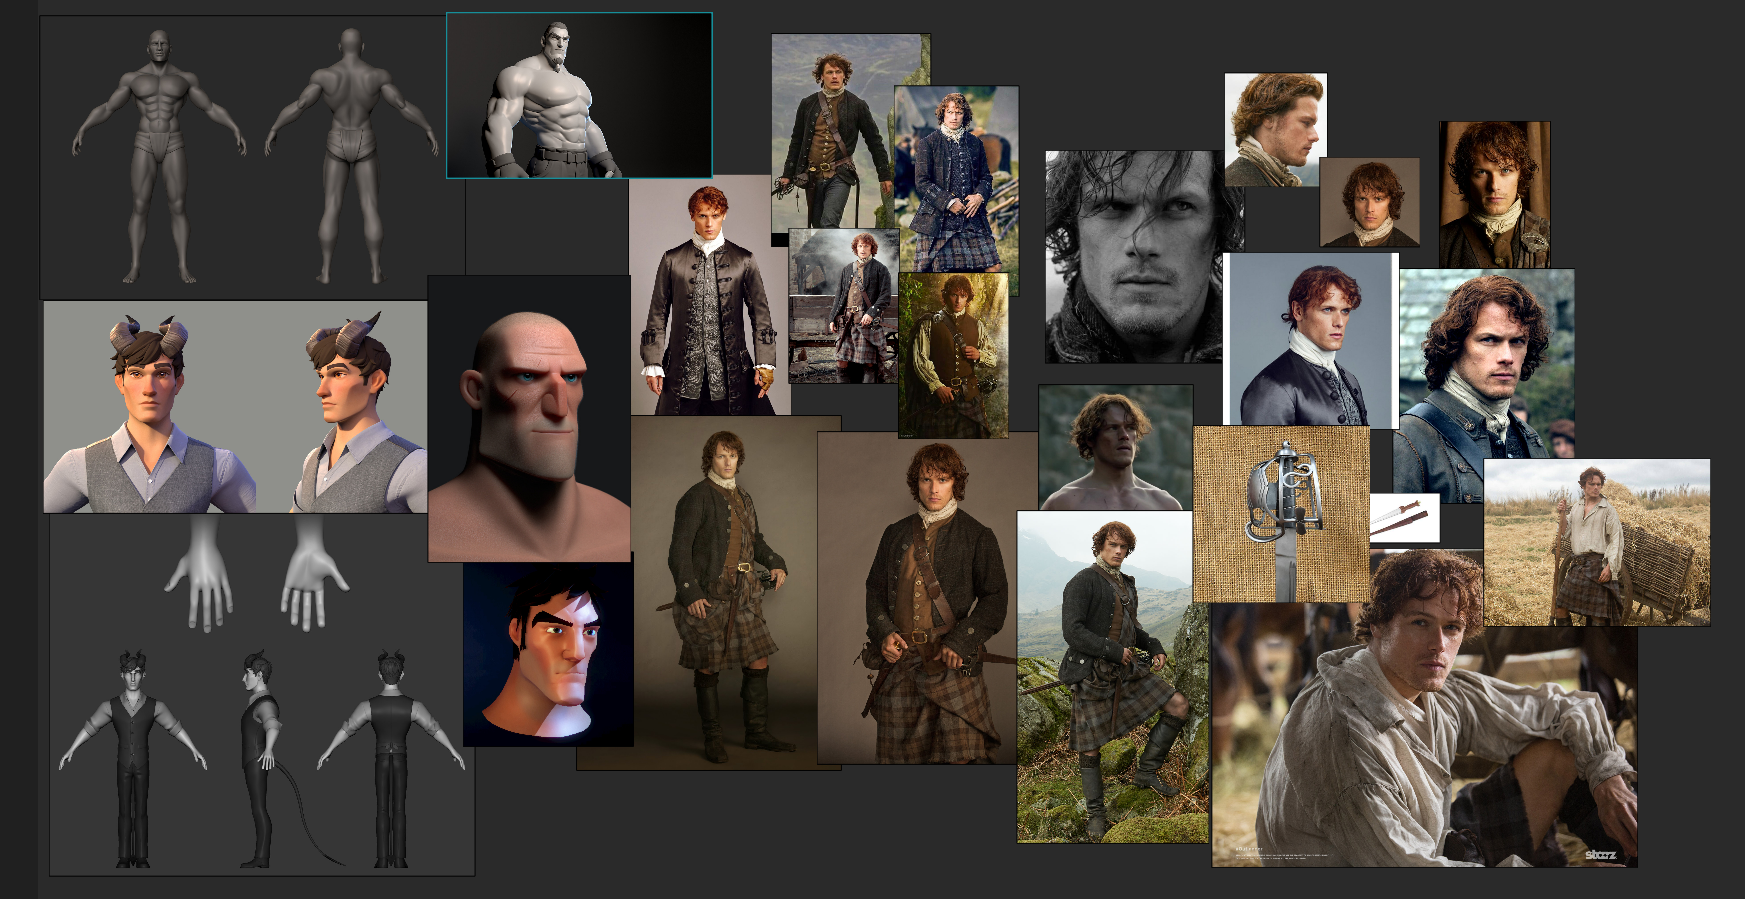
The first step was to find references. I grabbed a lot of pictures on Google of his face, clothes and accessories, then put them and some references of stylised 3d works onto a board with the free software PureRef for inspiration.
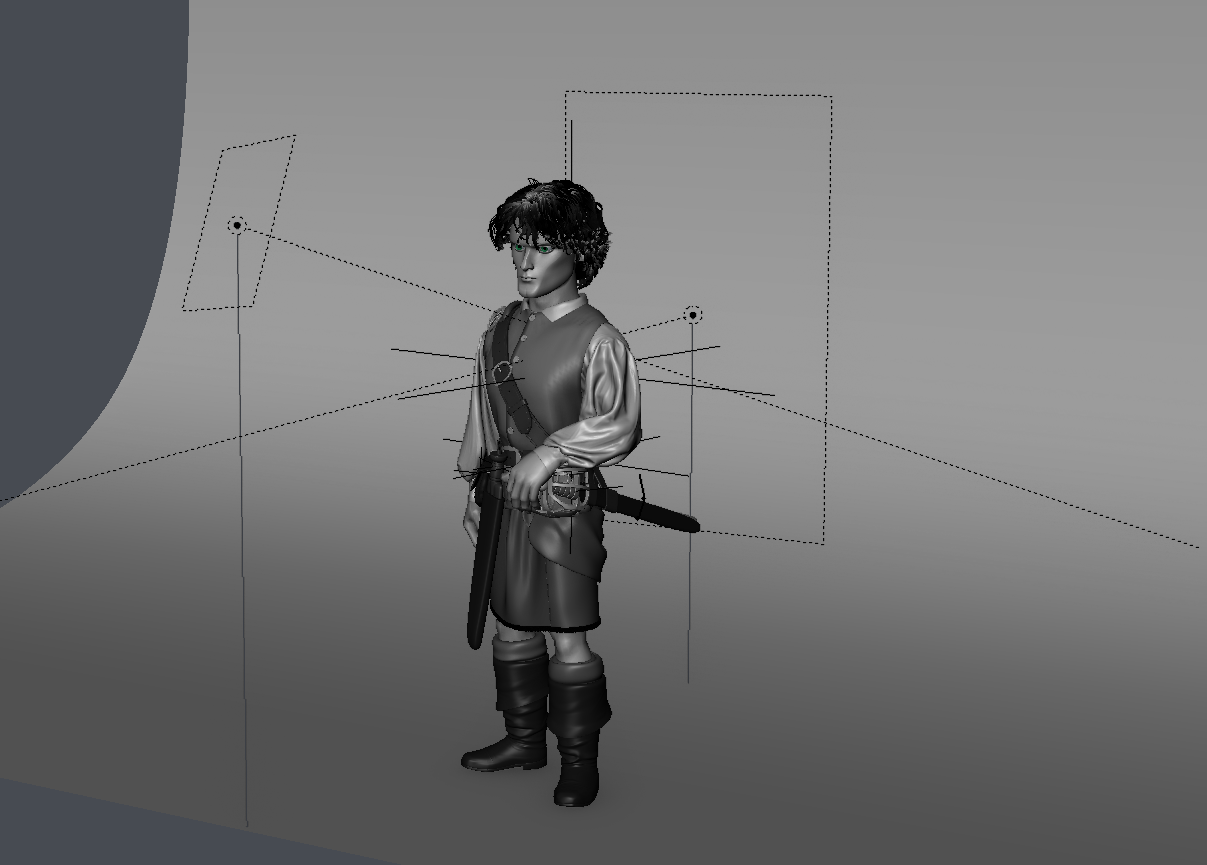
Sculpting
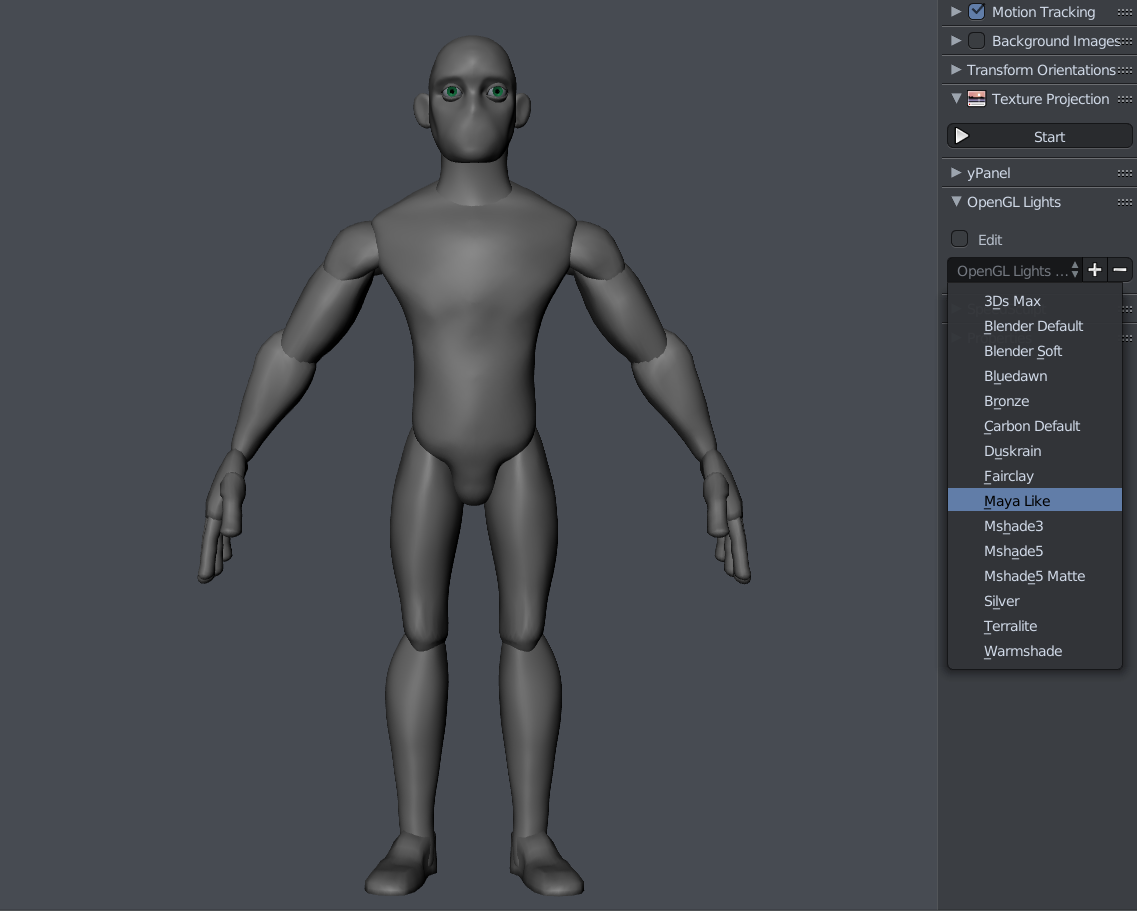
I started making a basemesh from quadspheres to block out the proportions.
I like to use the matcaps provided by the OpenGL Lights addon when sculpting because it allows me to see the forms quite well. The matcap “Maya Like” is my favorite.
When I’m happy with my basemesh I make a boolean to merge everything. I use the addon Speedsculpt for that, but there is a free lite version of it called boolean_sculpt that can do the job.
I sculpted the head with the help of the addon EasyRef, which is very useful for adding references in the 3d view. You can sculpt and move your model and still have the references in your view.
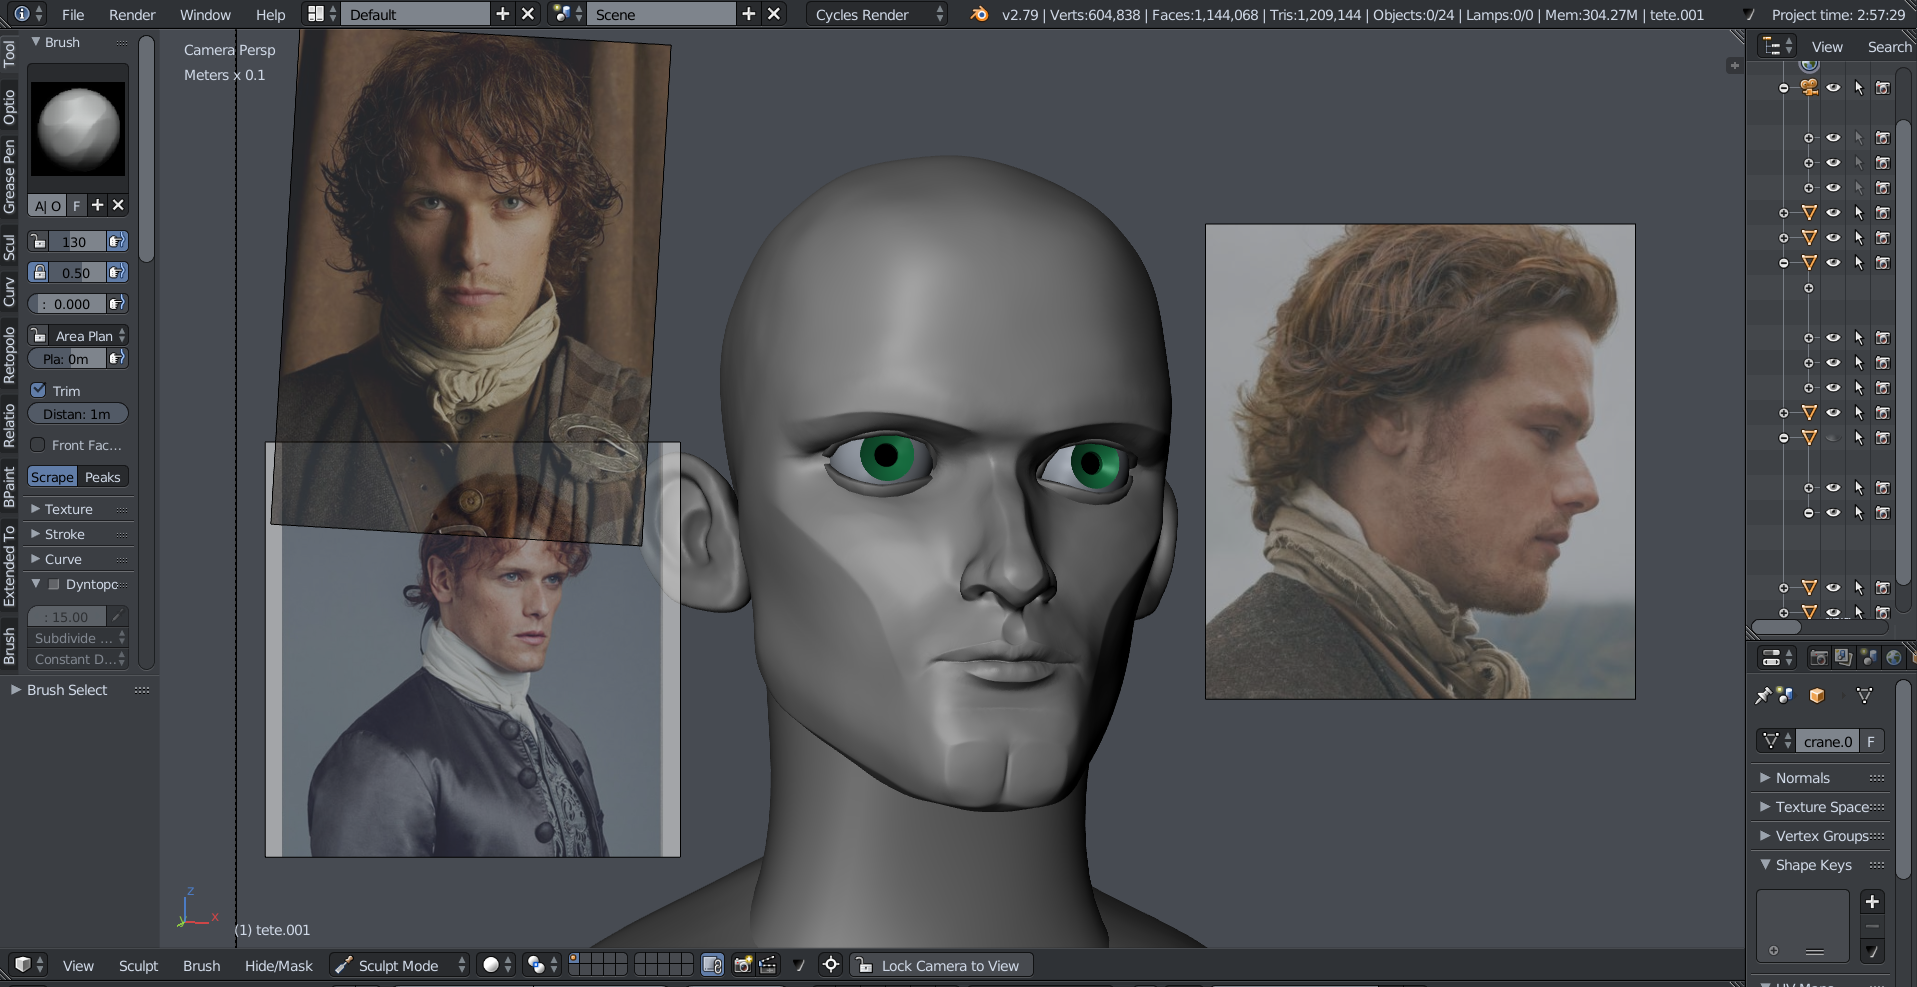
The Extreme Polish brush from the Orb Brushes set was very useful to do the flat and sharp parts of his head and body.
I often use the Tynaud cartoony eyes for my characters. They are really versatile.
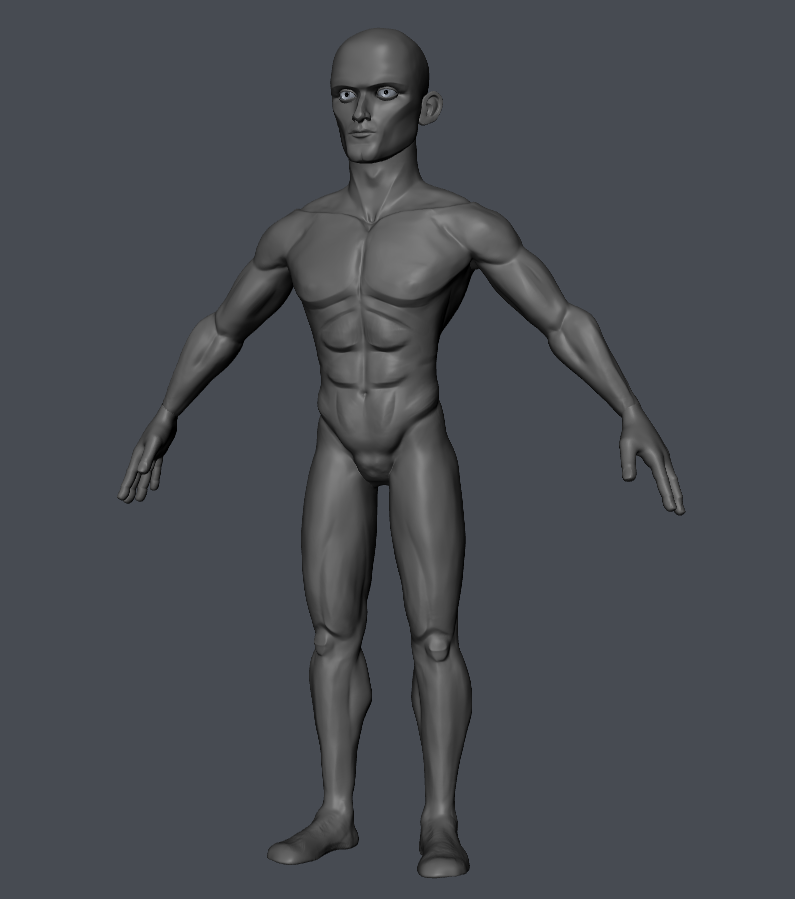
Even though he would be clothed, I sculpted his entire body in a stylistic way, just for practice.
Retopology
I used retopoflow and speedretopo addons for retopologizing my character.
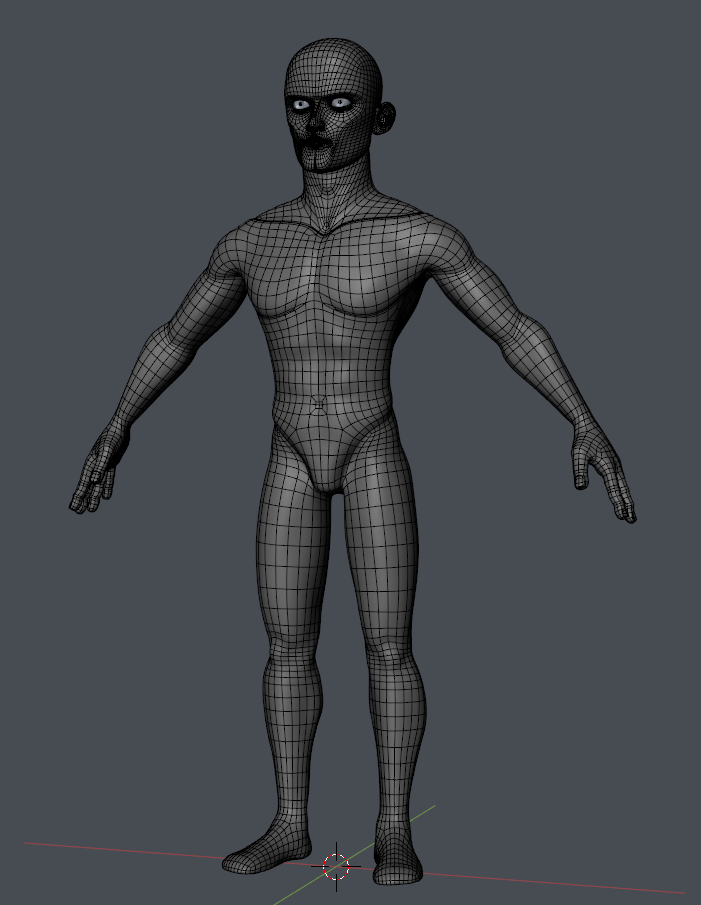
I used rigify to rig the character.
Clothes
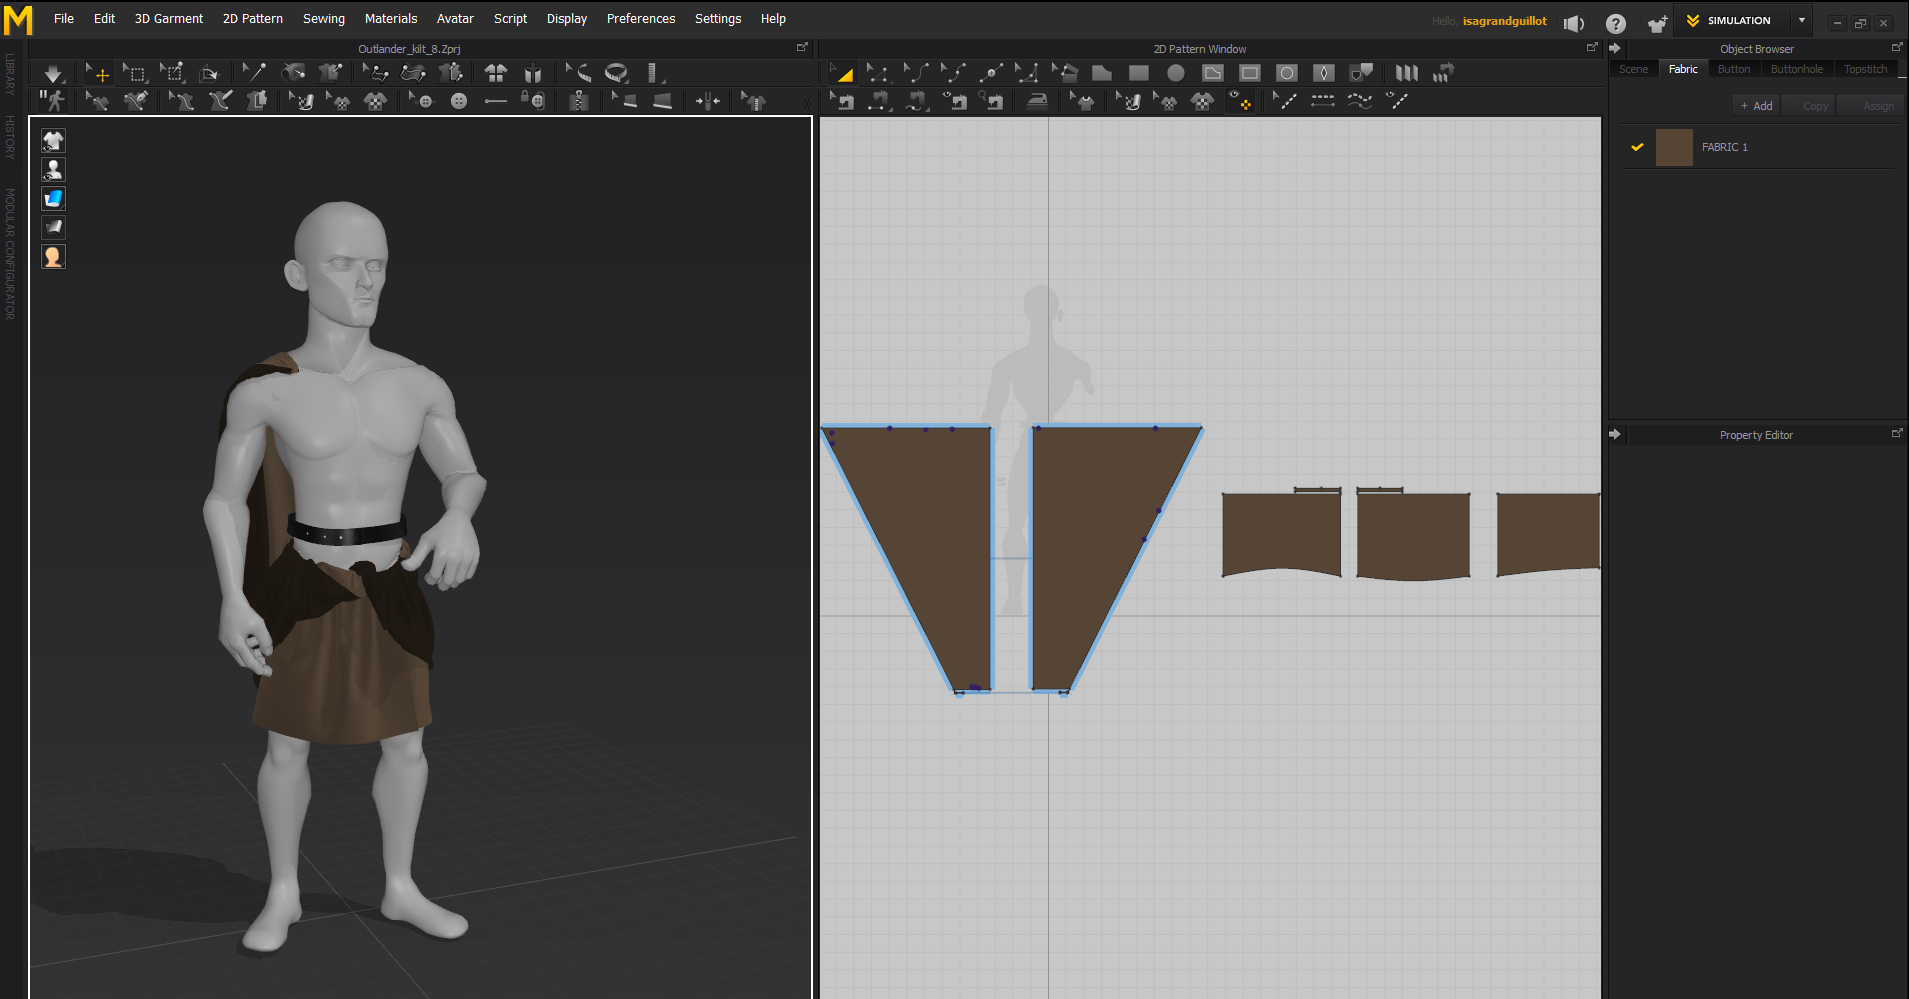
Then I started creating the clothes in Marvelous Designer.
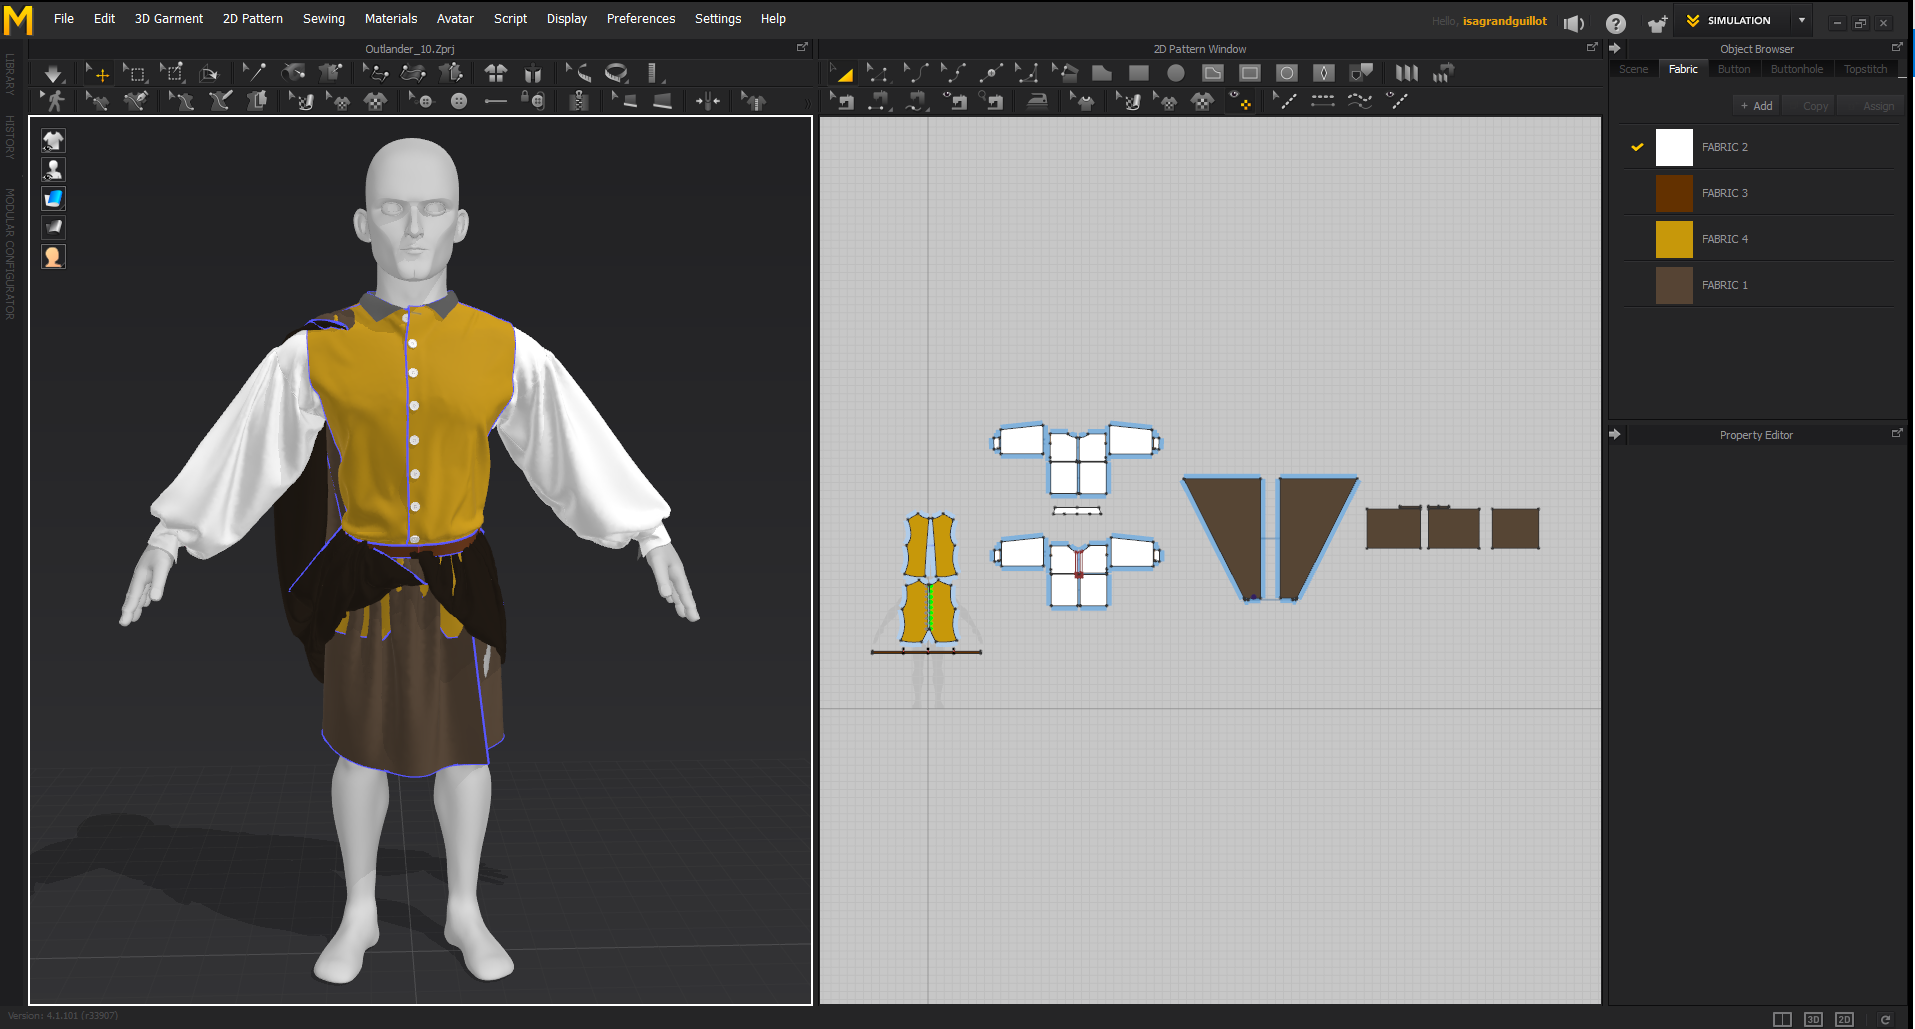
The clothes were first created in T pose. Then I posed the character and imported it into Marvelous Designer as a morph target to simulate the clothes in my new pose.
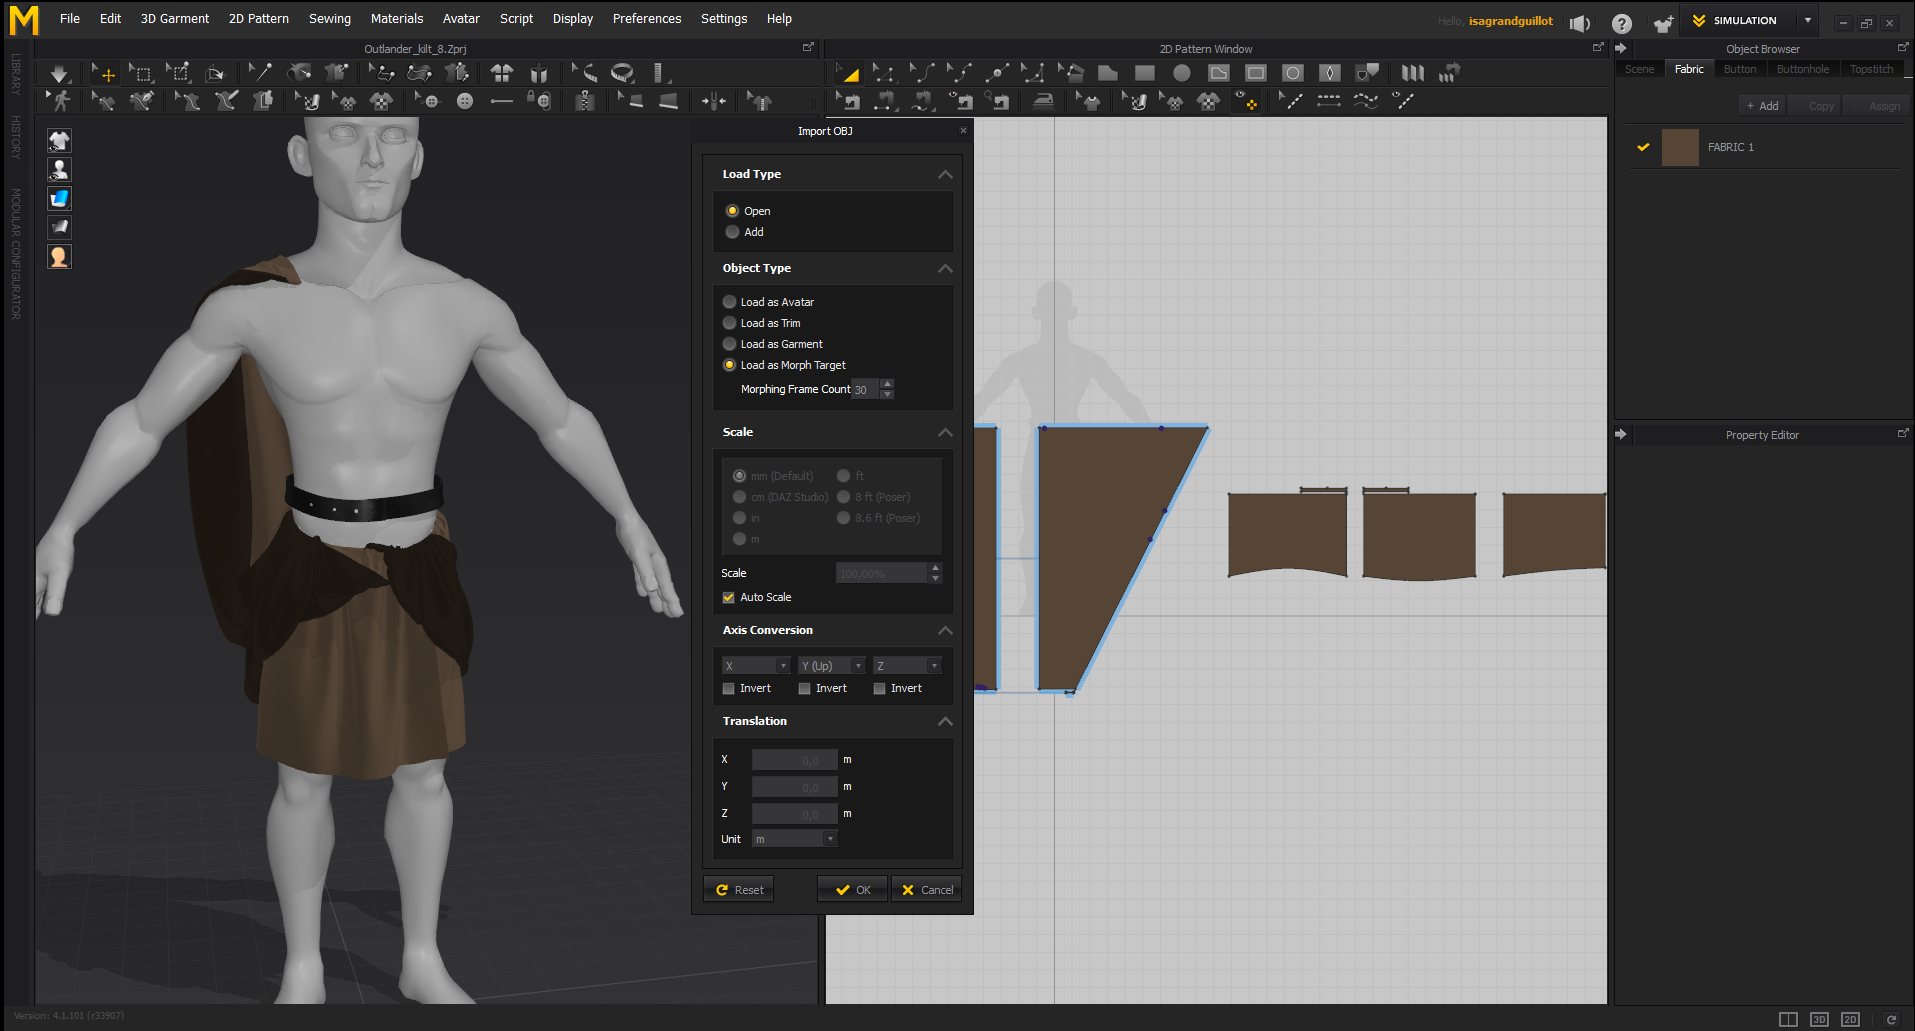
For facility, I simulated the kilt and the other clothes separately.
Texturing
The next step was the texturing, which was mainly done in Substance Painter for the clothes, and Substance Designer for the kilt.
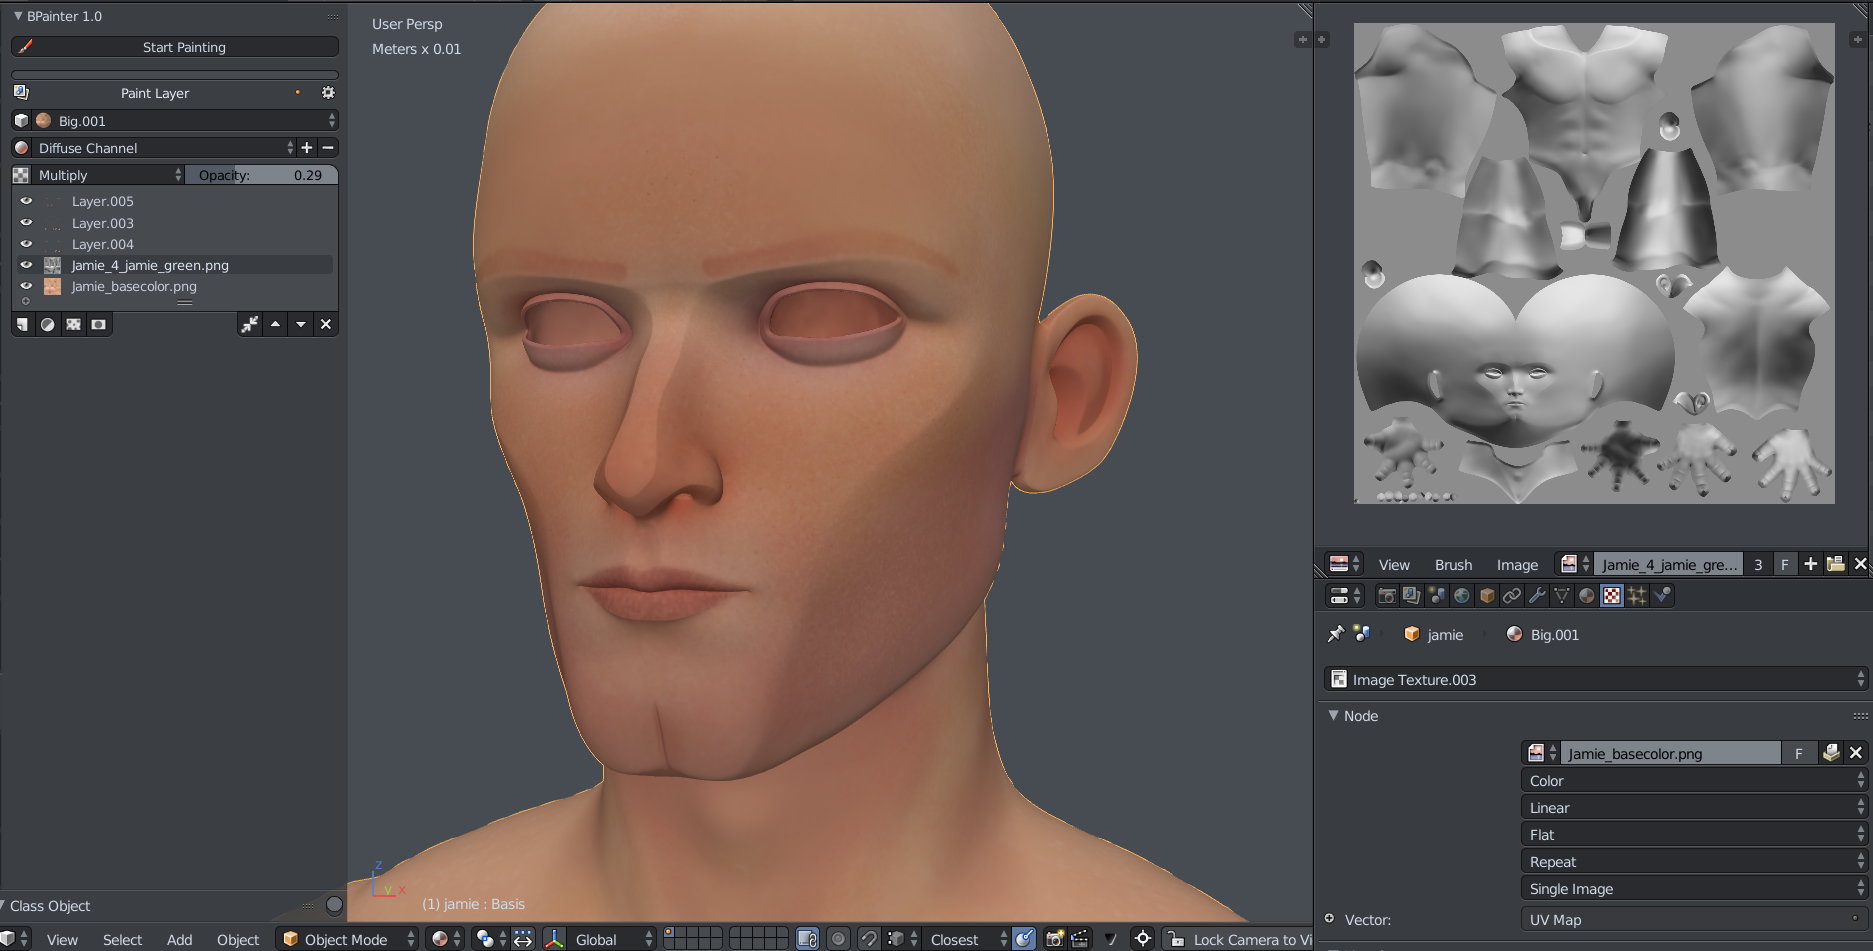
However, even though Substance Painter is great to make procedural textures, I still prefer painting in Blender. I then used Bpainter to paint Jamie’s skin.
One thing I like to do is take the green channel of the normal map and multiply it above my base color to enhance the volume.
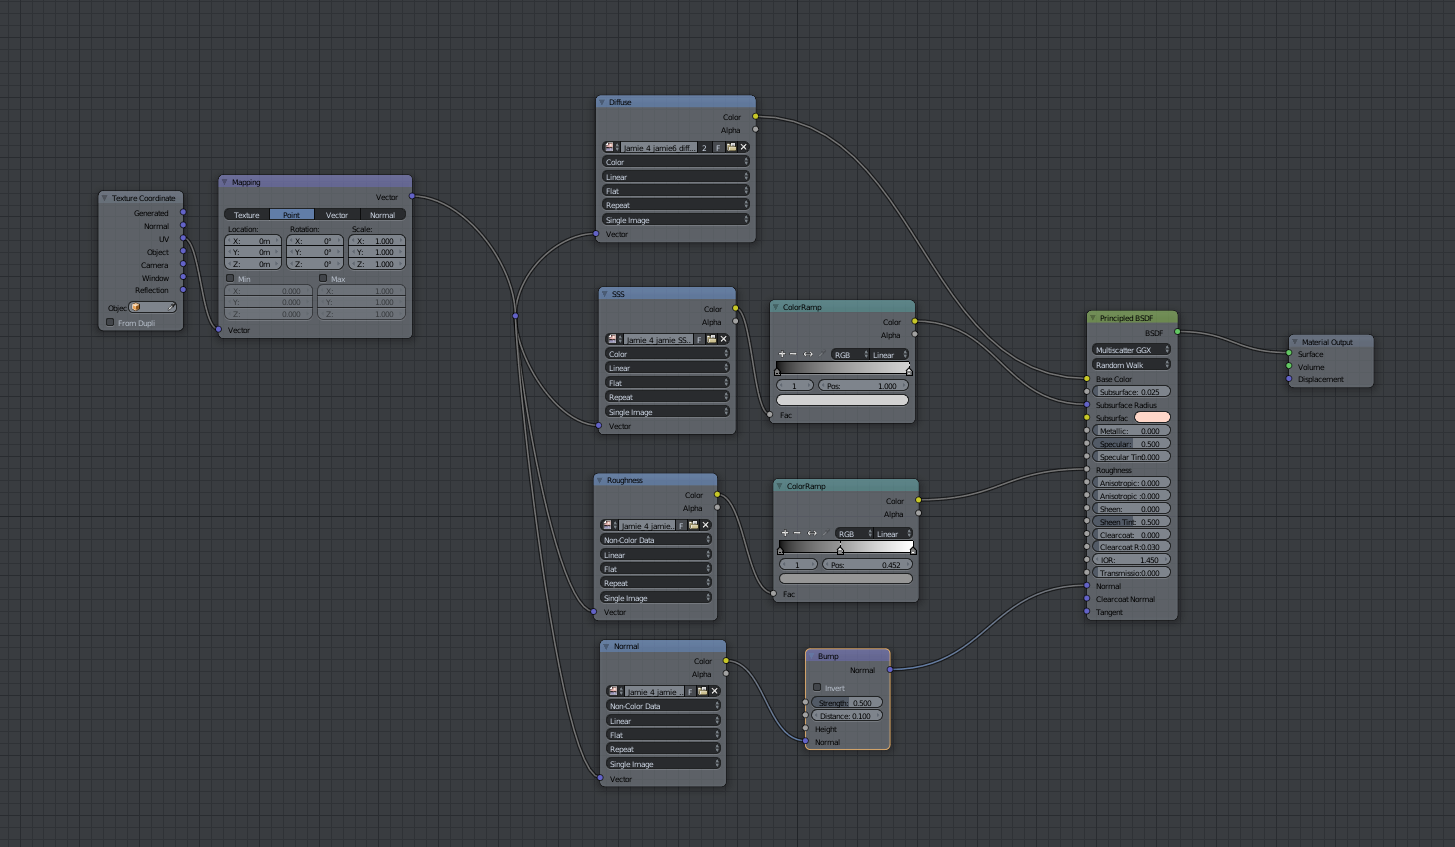
Shading
I used the new hairBDS and SSS Walkrandom for Jamie’s hair and skin. I didn’t use 2.8 as it was still unstable, but instead used the 2.79 release.
Rendering
The set up was quite simple. I used one rim light and one back light with an HDRI. I used the “nad_cafeteria_bright” environment from Maxim Roz’s free HDRI pack.
Compositing
For compositing I used Krita. It was a simple set too: a background, some color correction, a vignette and a very slight color incrustation.
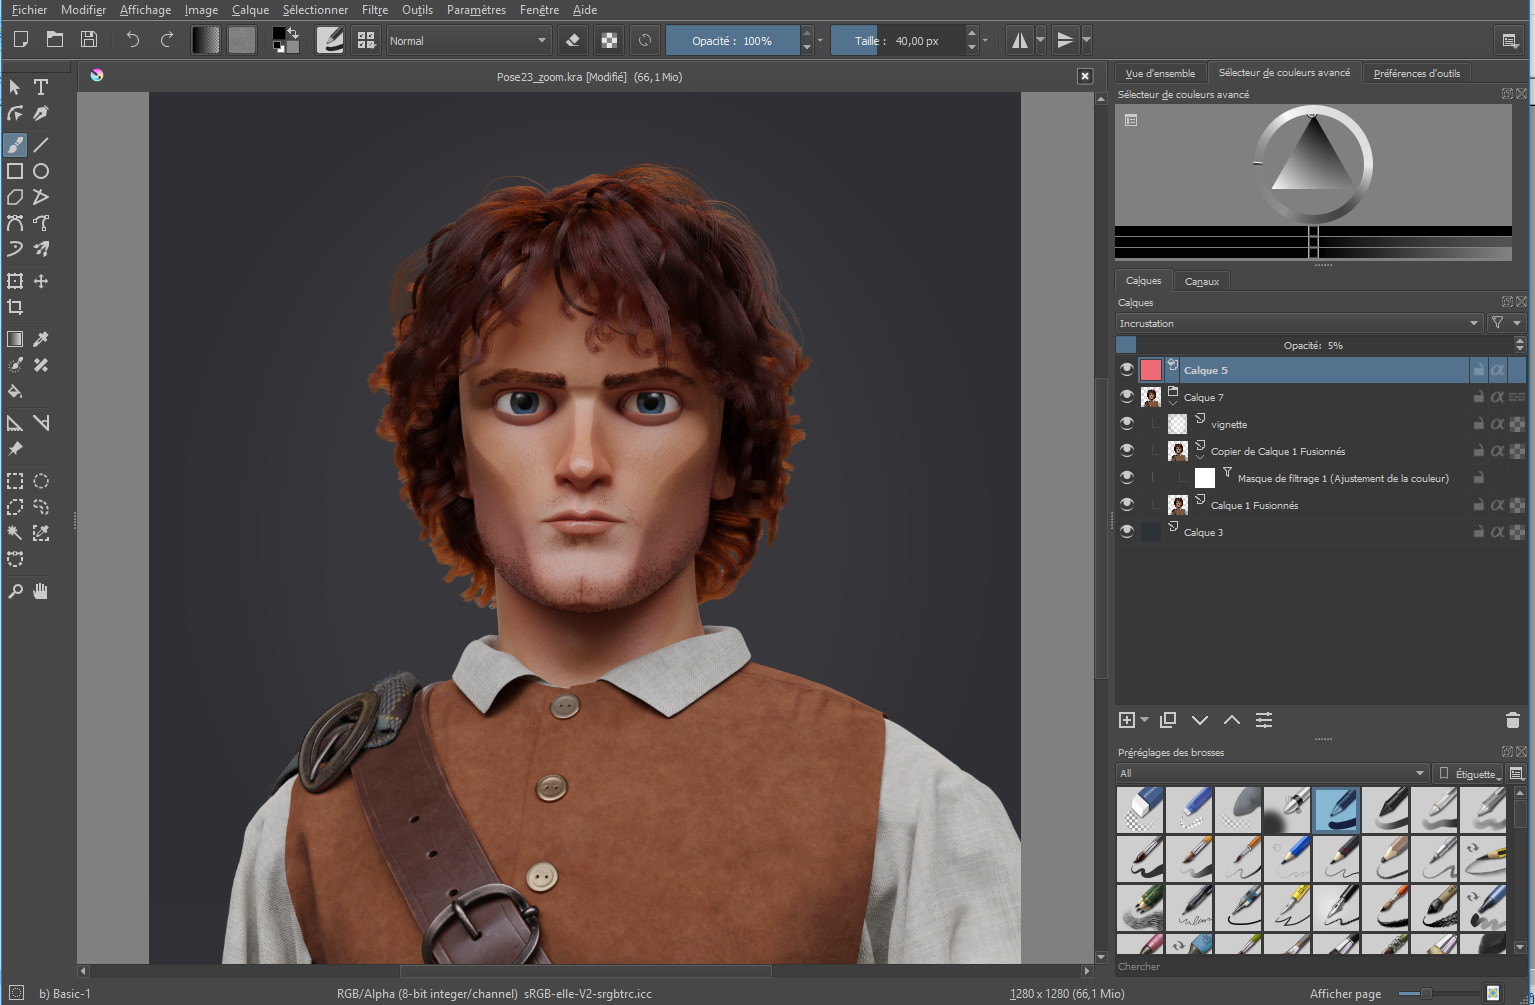
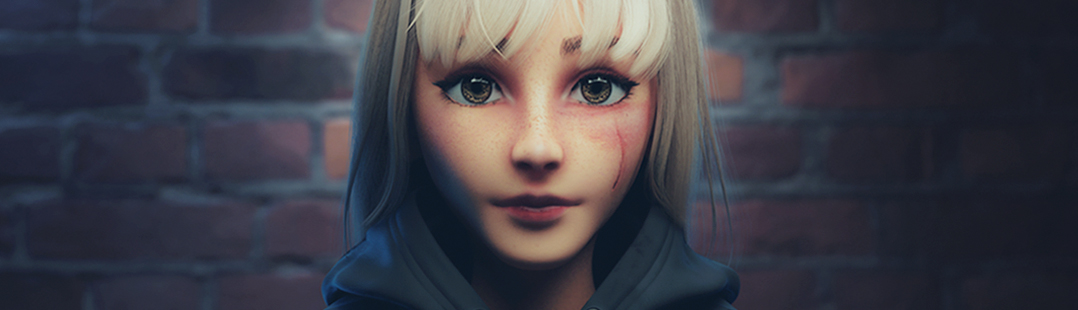
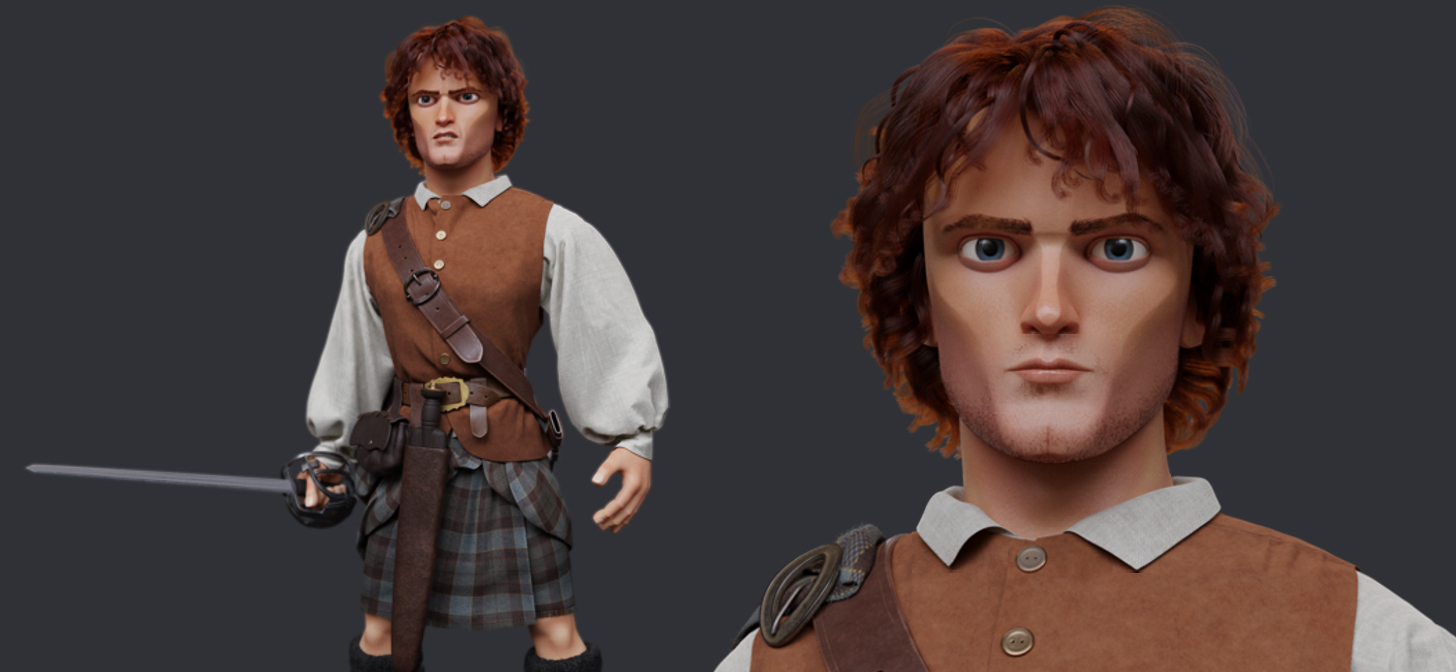
And that’s it! My stylised Jamie Fraser was done.:)
About the Author
Isabelle Grandguillot, Freelance character artist


very interesting! Great workflow. You clearly know what you are doing (and how)!
Thanks for sharing.
I did not know the Jaimie Fraser character before, but In a way the result also reminds me of Frodo :-)
Like the rendition of Jamie! Thanks for sharing!