Behind the Scenes: 2.5D Geometric Punk Drummer

Kicking off our new Behind the Scenes series is Paul Hasas with a look into how he drew and modeled his 2.5D Geometric Punk Drummer scene.
Hey everyone. I’m Paul, an illustrator and graphic designer from California. I started out as a designer 15 years ago, but along the way I began learning 3D modeling for video games, plus 2D illustration. I dropped game modeling after a while, but last year I started learning more about concept art. I’d been using 3ds Max for game modeling, but I switched to Blender, to help me make simple 3D blockouts that I could then paint over in Photoshop. Surprisingly, Blender turned out to be awesome in its own right.
I’d also been doing vector illustration on and off for a while, but more recently, I’d been looking at stylized geometric stuff in the vein of artists like Studio MUTI, Fran Labuschagne, and Kevin Dart. These styles of commercial illustration tend to play fast and loose with the rules of perspective, with weird but charming results. I did a handful of test illustrations like the ones below, including the spaghetti-armed drummer. (By the way: I have nothing against disco.) I first drew these out as sketches on my iPad, then traced and refined them in Adobe Illustrator, a vector drawing program: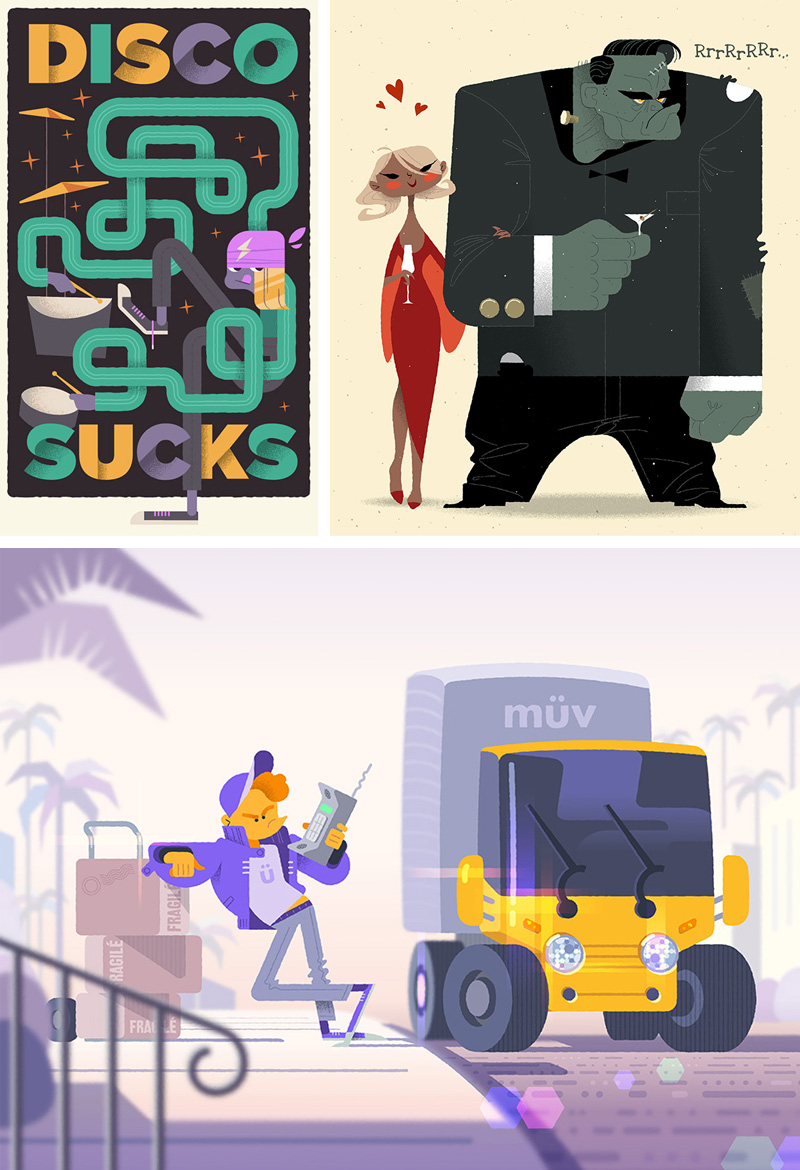 Later, I tried importing some of these vectors into Blender as SVG files and extruding them, to see how they’d look as dimensional objects. This is how the 2.5D drummer scene came about. I’d tried converting the original drummer guy to 3D, but he wasn’t working out, so I went back to the drawing board. I roughed out a new thumbnail sketch, this time starring a girl. Her pose felt bland, but I put the sketch aside and jumped into Blender to get started on the drums, which I’d decided to do in 3D. I used a mix of basic modeling and subdivision to create a simplified drum set. The bump maps for the cymbals were created in Illustrator and Photoshop. For the off-kilter perspective, I played around with the positioning of an orthographic camera. I did a test render, which I sent to my iPad. On top of that render, I sketched out a new pose for the girl, which I then sent back to my PC and refined in Illustrator:
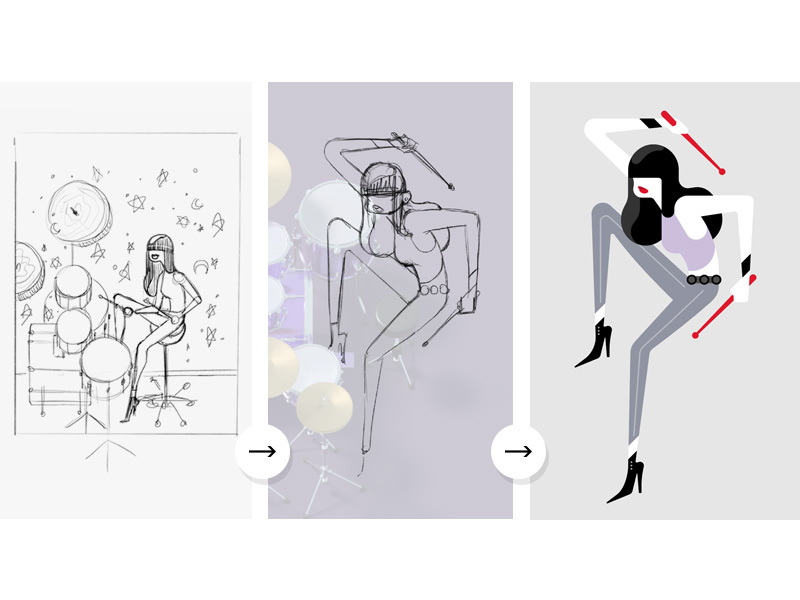 Then, I exported these vectors to an SVG file. After importing to Blender, I used the sliders in the Properties editor > Data tab > Geometry section to extrude the bezier objects and add some beveling. The beveling part is tricky: certain corners result in buggy self-intersecting geometry, and the underlying beziers end up needing to be tweaked. Also, beveling makes the shapes thicker than intended. I used the Offset slider, set to a small negative value, to negate this thickness, but this can introduce even more buggy geometry. It’s possible to adjust the vector shapes to be “skinnier” in Illustrator, before exporting to SVG, but that doesn’t always work out as expected. I need to explore this beveling step more, because it’s probably the biggest pain point in the entire process.
Because the girl is basically just a layered 2D cardboard cutout, and not a poseable 3D character, I needed to cheat her positioning and orientation to make it look as if she was sitting on the seat and her feet were on the pedals, as seen here from the side:
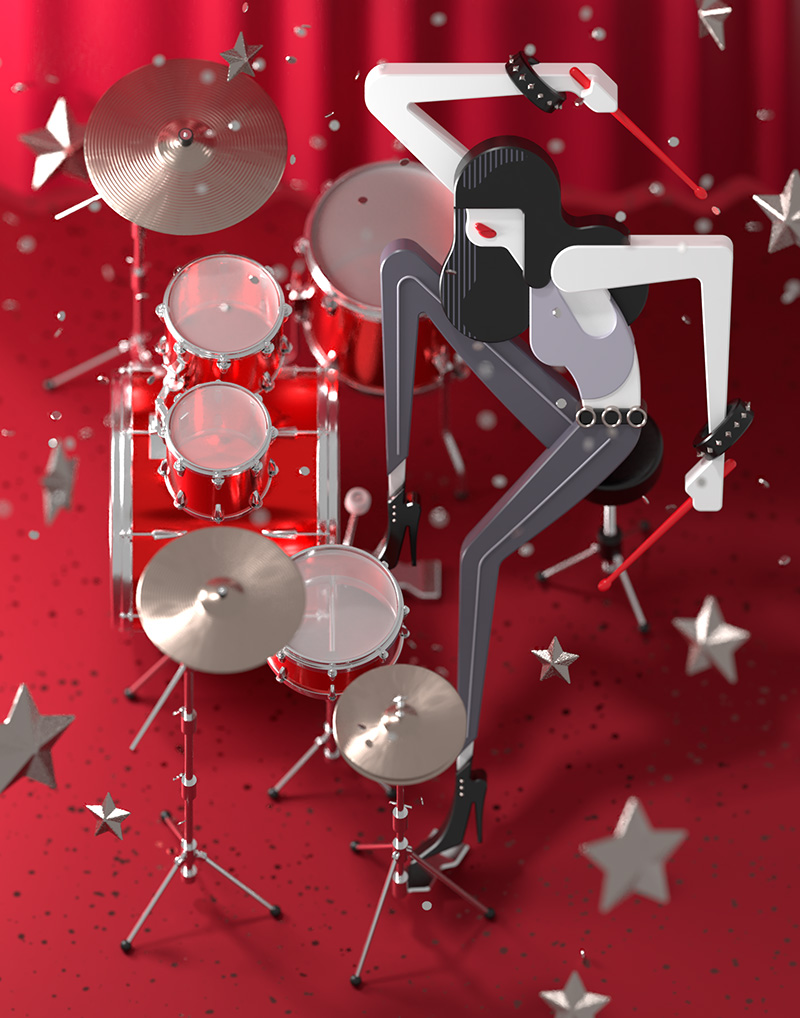
 I replaced the girl’s 2D bracelets with spiky 3D ones, to mix things up. Same for the drumsticks. The stars floating in the air are all instances of one another. As a final touch, I wanted to have glitter raining down on everything. I set up an emitter object above the scene, and assigned it a particle system. But because I’d set the camera to have some depth of field, most of the tiny glitter particles ended up looking like an oatmeal of blurry blobs. I ended up turning the particles into giant sequins or something, which looked better. And that was it.
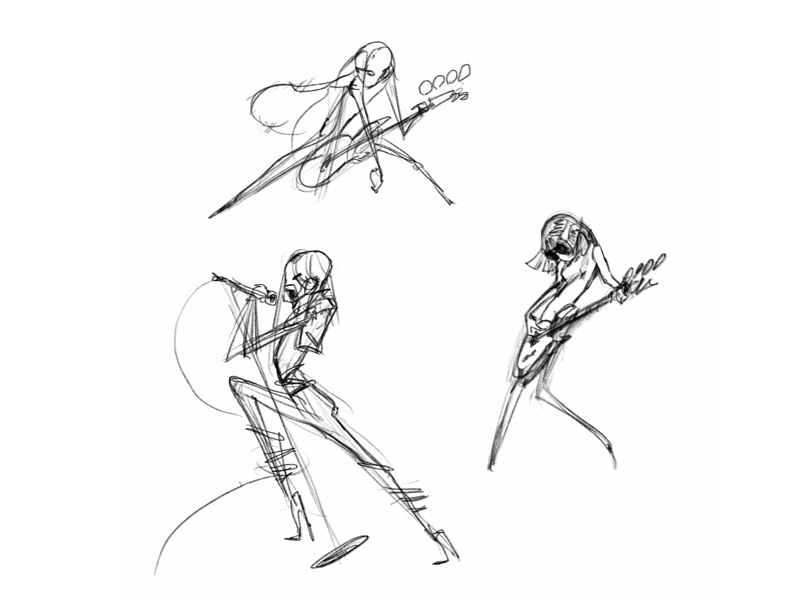
A member of the Blender Artists forum brought up the idea of designing the rest of the band, so I roughed out poses for them, and will get around to vectorizing and 3D-ifying them at some point:
 I’m still experimenting with this process, and I’ve worked on a couple of other scenes since. I’m not the first to do this kind of thing, but I’m looking forward to doing more. Thanks to BlenderNation for the feature!
About the Author
Paul Hasas is an illustrator and graphic designer.


Great article! I remember seeing this image couple weeks back on BA. Nice style.
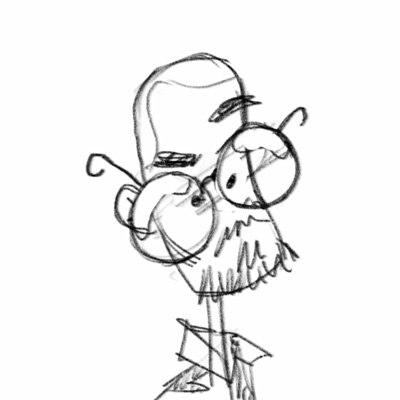
PS that super sweet illustration of Frankenstein and that lady SCREAMS to be made in 3d :) :) :)
Thanks! I might try that one as a sculpt.
Dope work! Loved the explanation and learning how you can cheat 2D etc to make it look like she’s sitting on the chair.
Thanks! Fancy seeing you here.