
Tutorial: The Natural Substance (Realistic Plant Material)
Thomas Berard shares some tips on how to create good looking plant materials.
Have you ever struggled to create realistic plants within Blender Cycles?
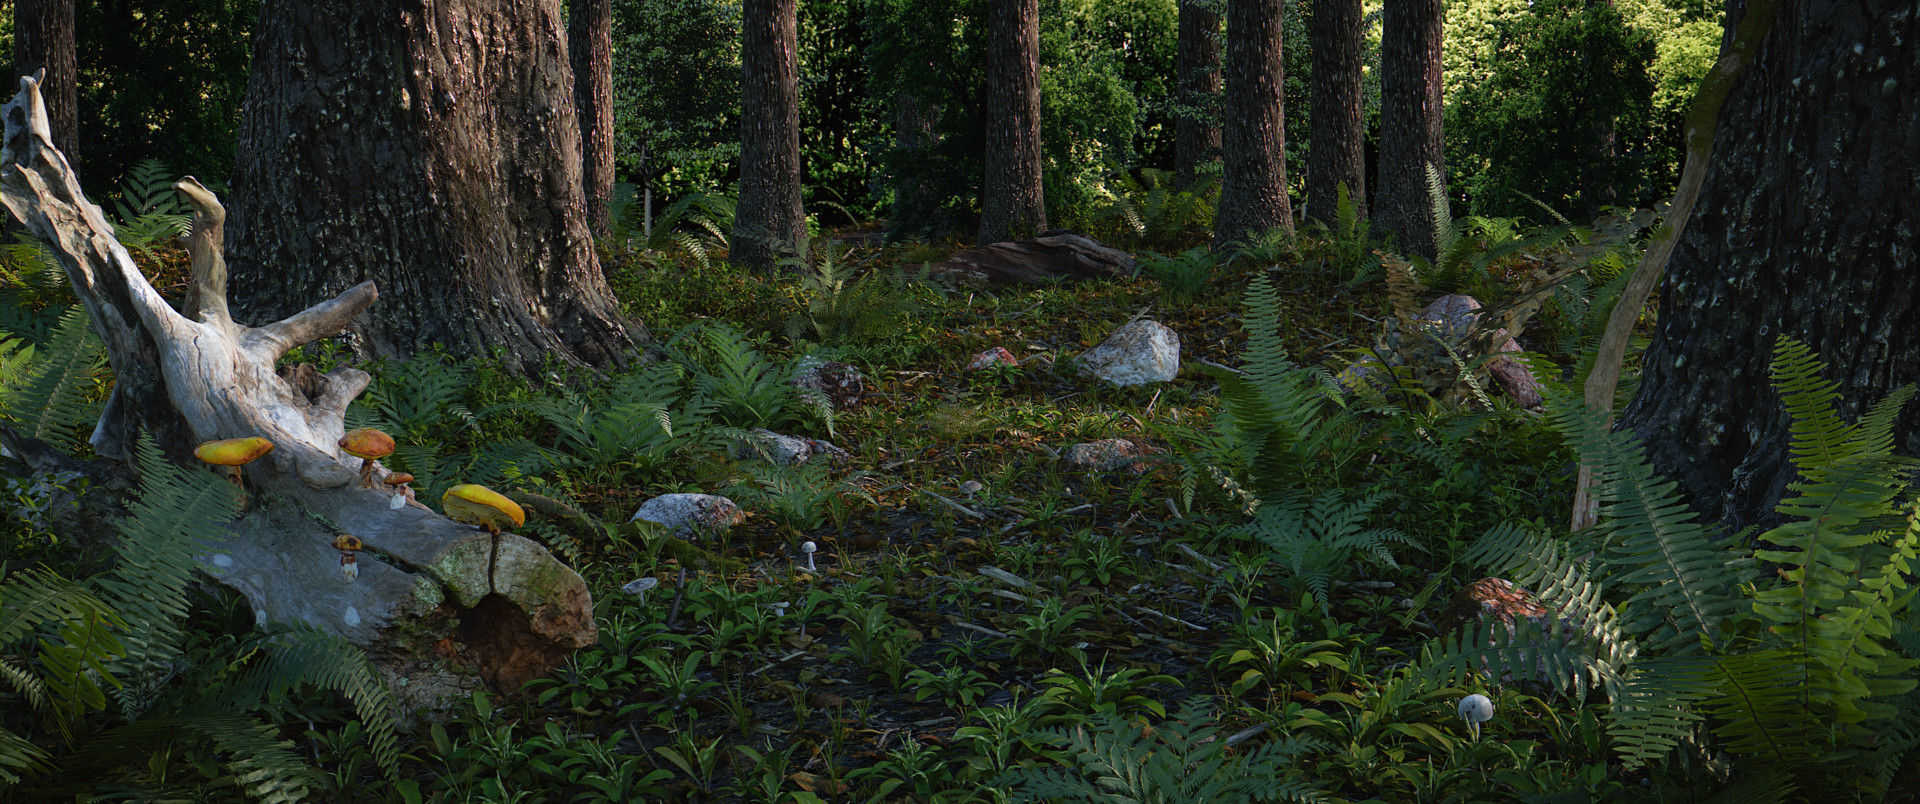
Plants are a very detailed aspect of nature and if it is represented poorly in CGI, your scene can look pretty average.
If you were to inspect a leaf, for example, you can clearly see where the fine bumps bulge, where the texture is more reflective and the material is more translucent. And No matter what angle you take the shot, there is most likely to contain the visible translucency of your plant. Without calculating these particular factors, your renders will turn out unrealistic, flat and boring if you are approaching a photorealistic scene.


I took my time to create a simple, yet effective node setup for both beginners and professionals for creating realistic plant material in seconds. The simplicity of the nodes makes it so you and achieve speedy render times other than having your computer calculate the long elaborate node setup.


All you need is a leaf or plant texture and Blender. Make sure your texture is either alpha mapped or comes with opacity maps. For free textures to use go here: www.textures.com.
- Download the textures and make sure there is a Normal map with it. If not, find a tutorial on how to make one or download ‘crazy bump’ to generate it for you.
- Download the .blend files here.
- 3.Open a new scene in blender. And make sure that you have the ‘Images as Planes’ add-on enabled.
- 4.Whilst you import your image as a plane with your Diffuse texture, check ‘Use Alpha’ and change the straight option to premultiplied (Bottom Right). Now import. Go to the material panel. Delete the material.
- 5.You should be left with an empty plane with no material.
- 6.Depending on what maps you have, Append the correct ‘Plant_Material’ Material to your scene from the PlantMaterial.blend file I provided. (File/Append/Plant.blend/material/Plant/)
- 7.Apply the ‘Plant’ material to your empty plane.
- 8.Fill in the gaps with your own texture Maps.
- 9.Tweak the settings to your likings and Enjoy!

If you have any questions or comments, please write below, on ArtStation or via E-mail: [email protected].


I probably am blind and can’t see it, but the plants in these renders look a little plastic and not really natural at all.
Stick with, “I’m probably blind.”
Just remember, If you’re not satisfied with the node setup, you can customize it to your likings. I just prefer this node setup.
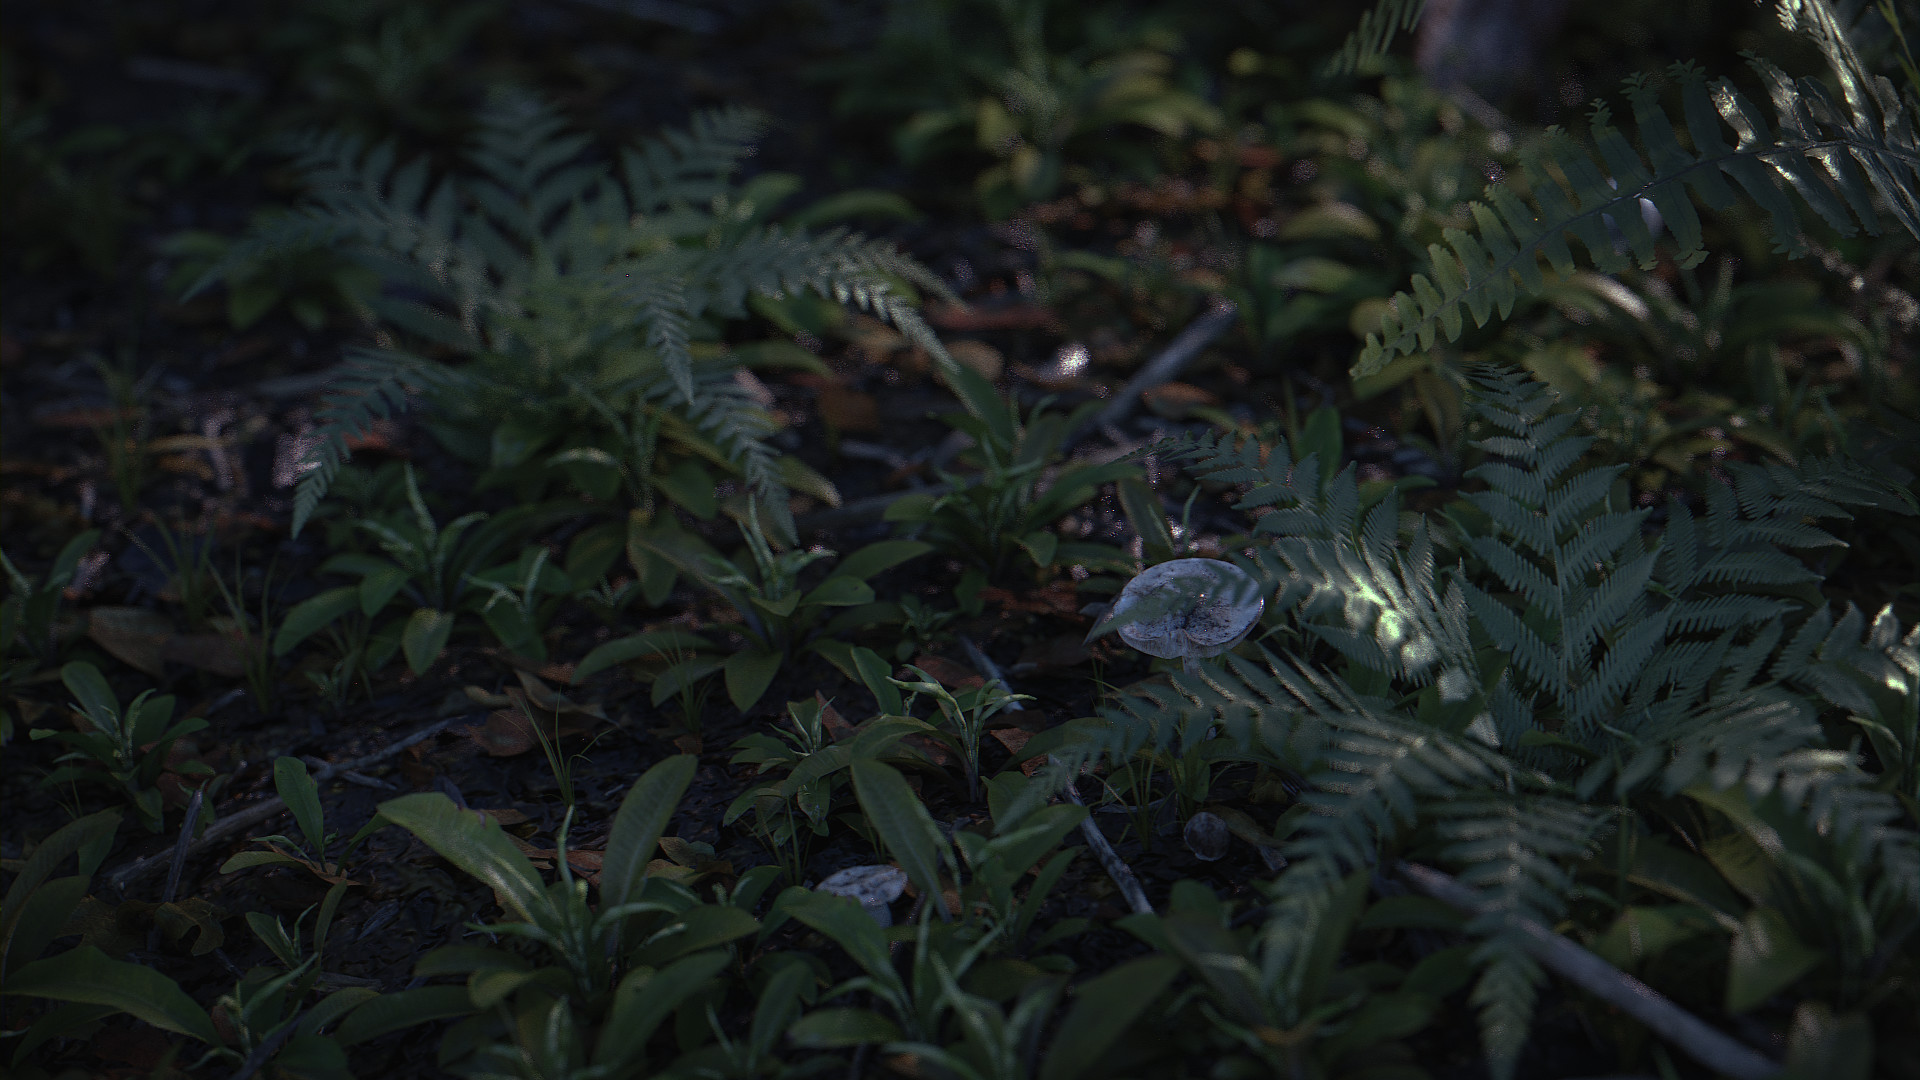
I do agree that the top render doesn’t look too realistic. But the one at the bottom looks great.
I live in a subtropical region of Brazil and I see a lot of ferns and little herbs like these in my own backyard. These materials are really good. The second image in this post is very like a photo of my backyard. Thank you for sharing these materials and textures.
Realmente bueno. Muchas gracias.
Isn’t the real trick simply to use SSS? Plants, like skin, are semi-translucent and reflect light inside the leaf.
The material itself is quite good, however the nodes can be simplified, it would be enough just one transparent node at the end rather than mix them with all nodes, I did a test and the result is the same
(I don’t know if I explained well, I wanted to post a screen but I see no option to upload it here in the comments)
Just curious, why did you use the mix shader instead of the add shader for translucency? :)