Behind the Scenes: Relaxroom

In the Behind the Scenes series, I’m inviting artists to talk about the creation of one of their works. Today, Marco talks about ‘Relaxroom’.
Hi, I’m Marco Beretta alias Berettaamg, I’m an Italian designer for an engineering company and I started to use Blender two years ago just out of curiosity. Now, Blender, is the only 3D software that I use for my work.
Today, I’m here to describe the making of my last 3D model called “Relaxroom”. To do all objects in this scene, I have used only Blender and for the render and for the post-production activities, I have used Cycles and Gimp.
Usually, when I start a new project my fantasy is the first inspiration, but to do all objects that have to be very close to reality, the use of internet pictures or personal photos are needed for the creation of a very good job.
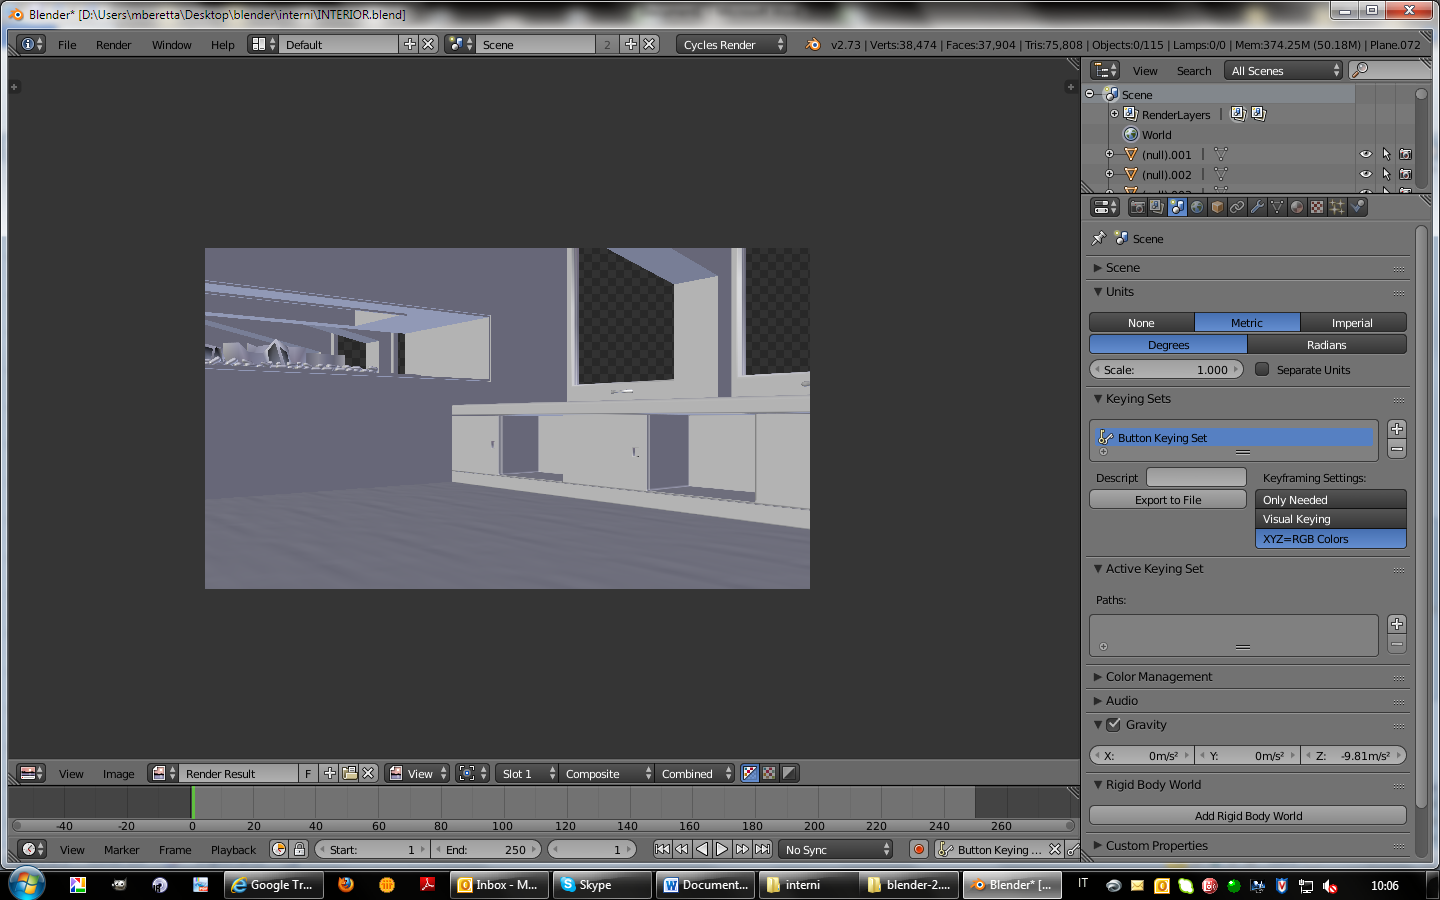
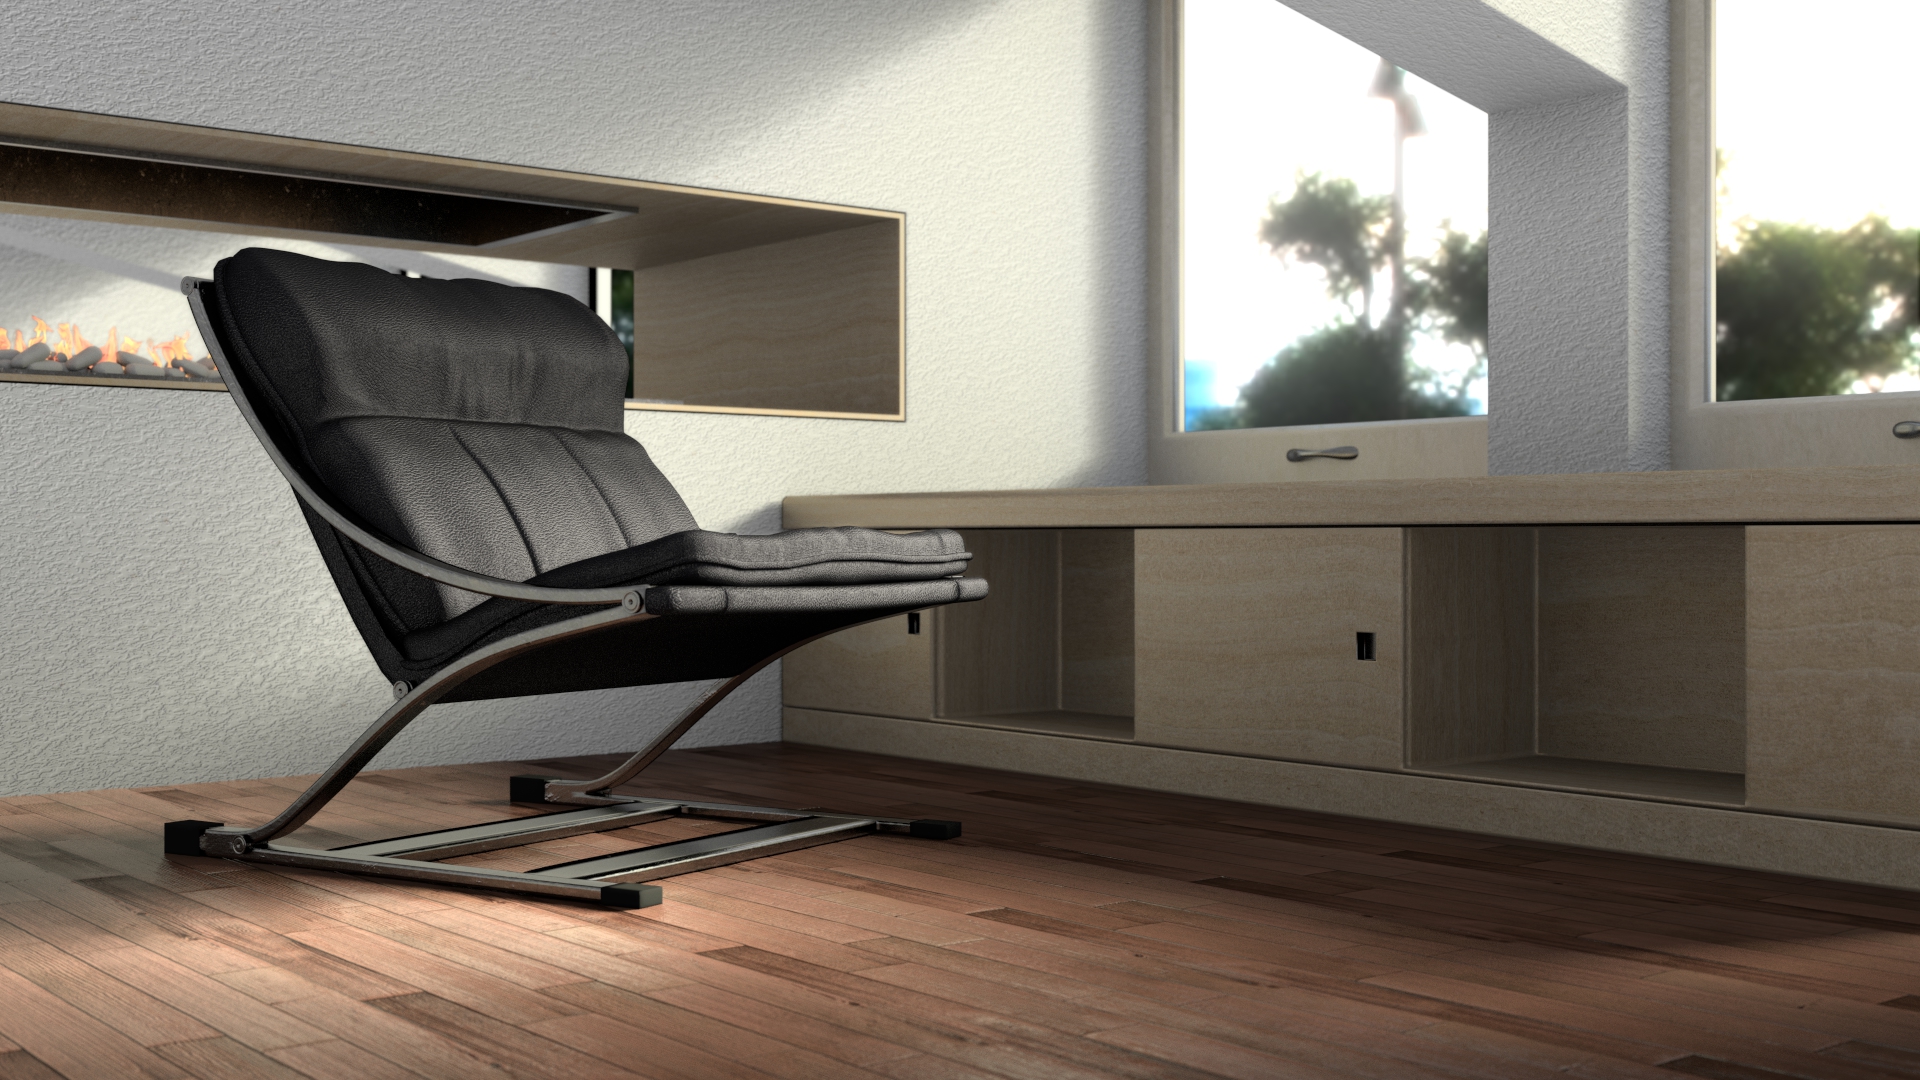
In general, when I start a new project, the first thing that I do is to locate some simple objects so I can define the position of the camera in order to get an idea of the scene that I’m going to do.
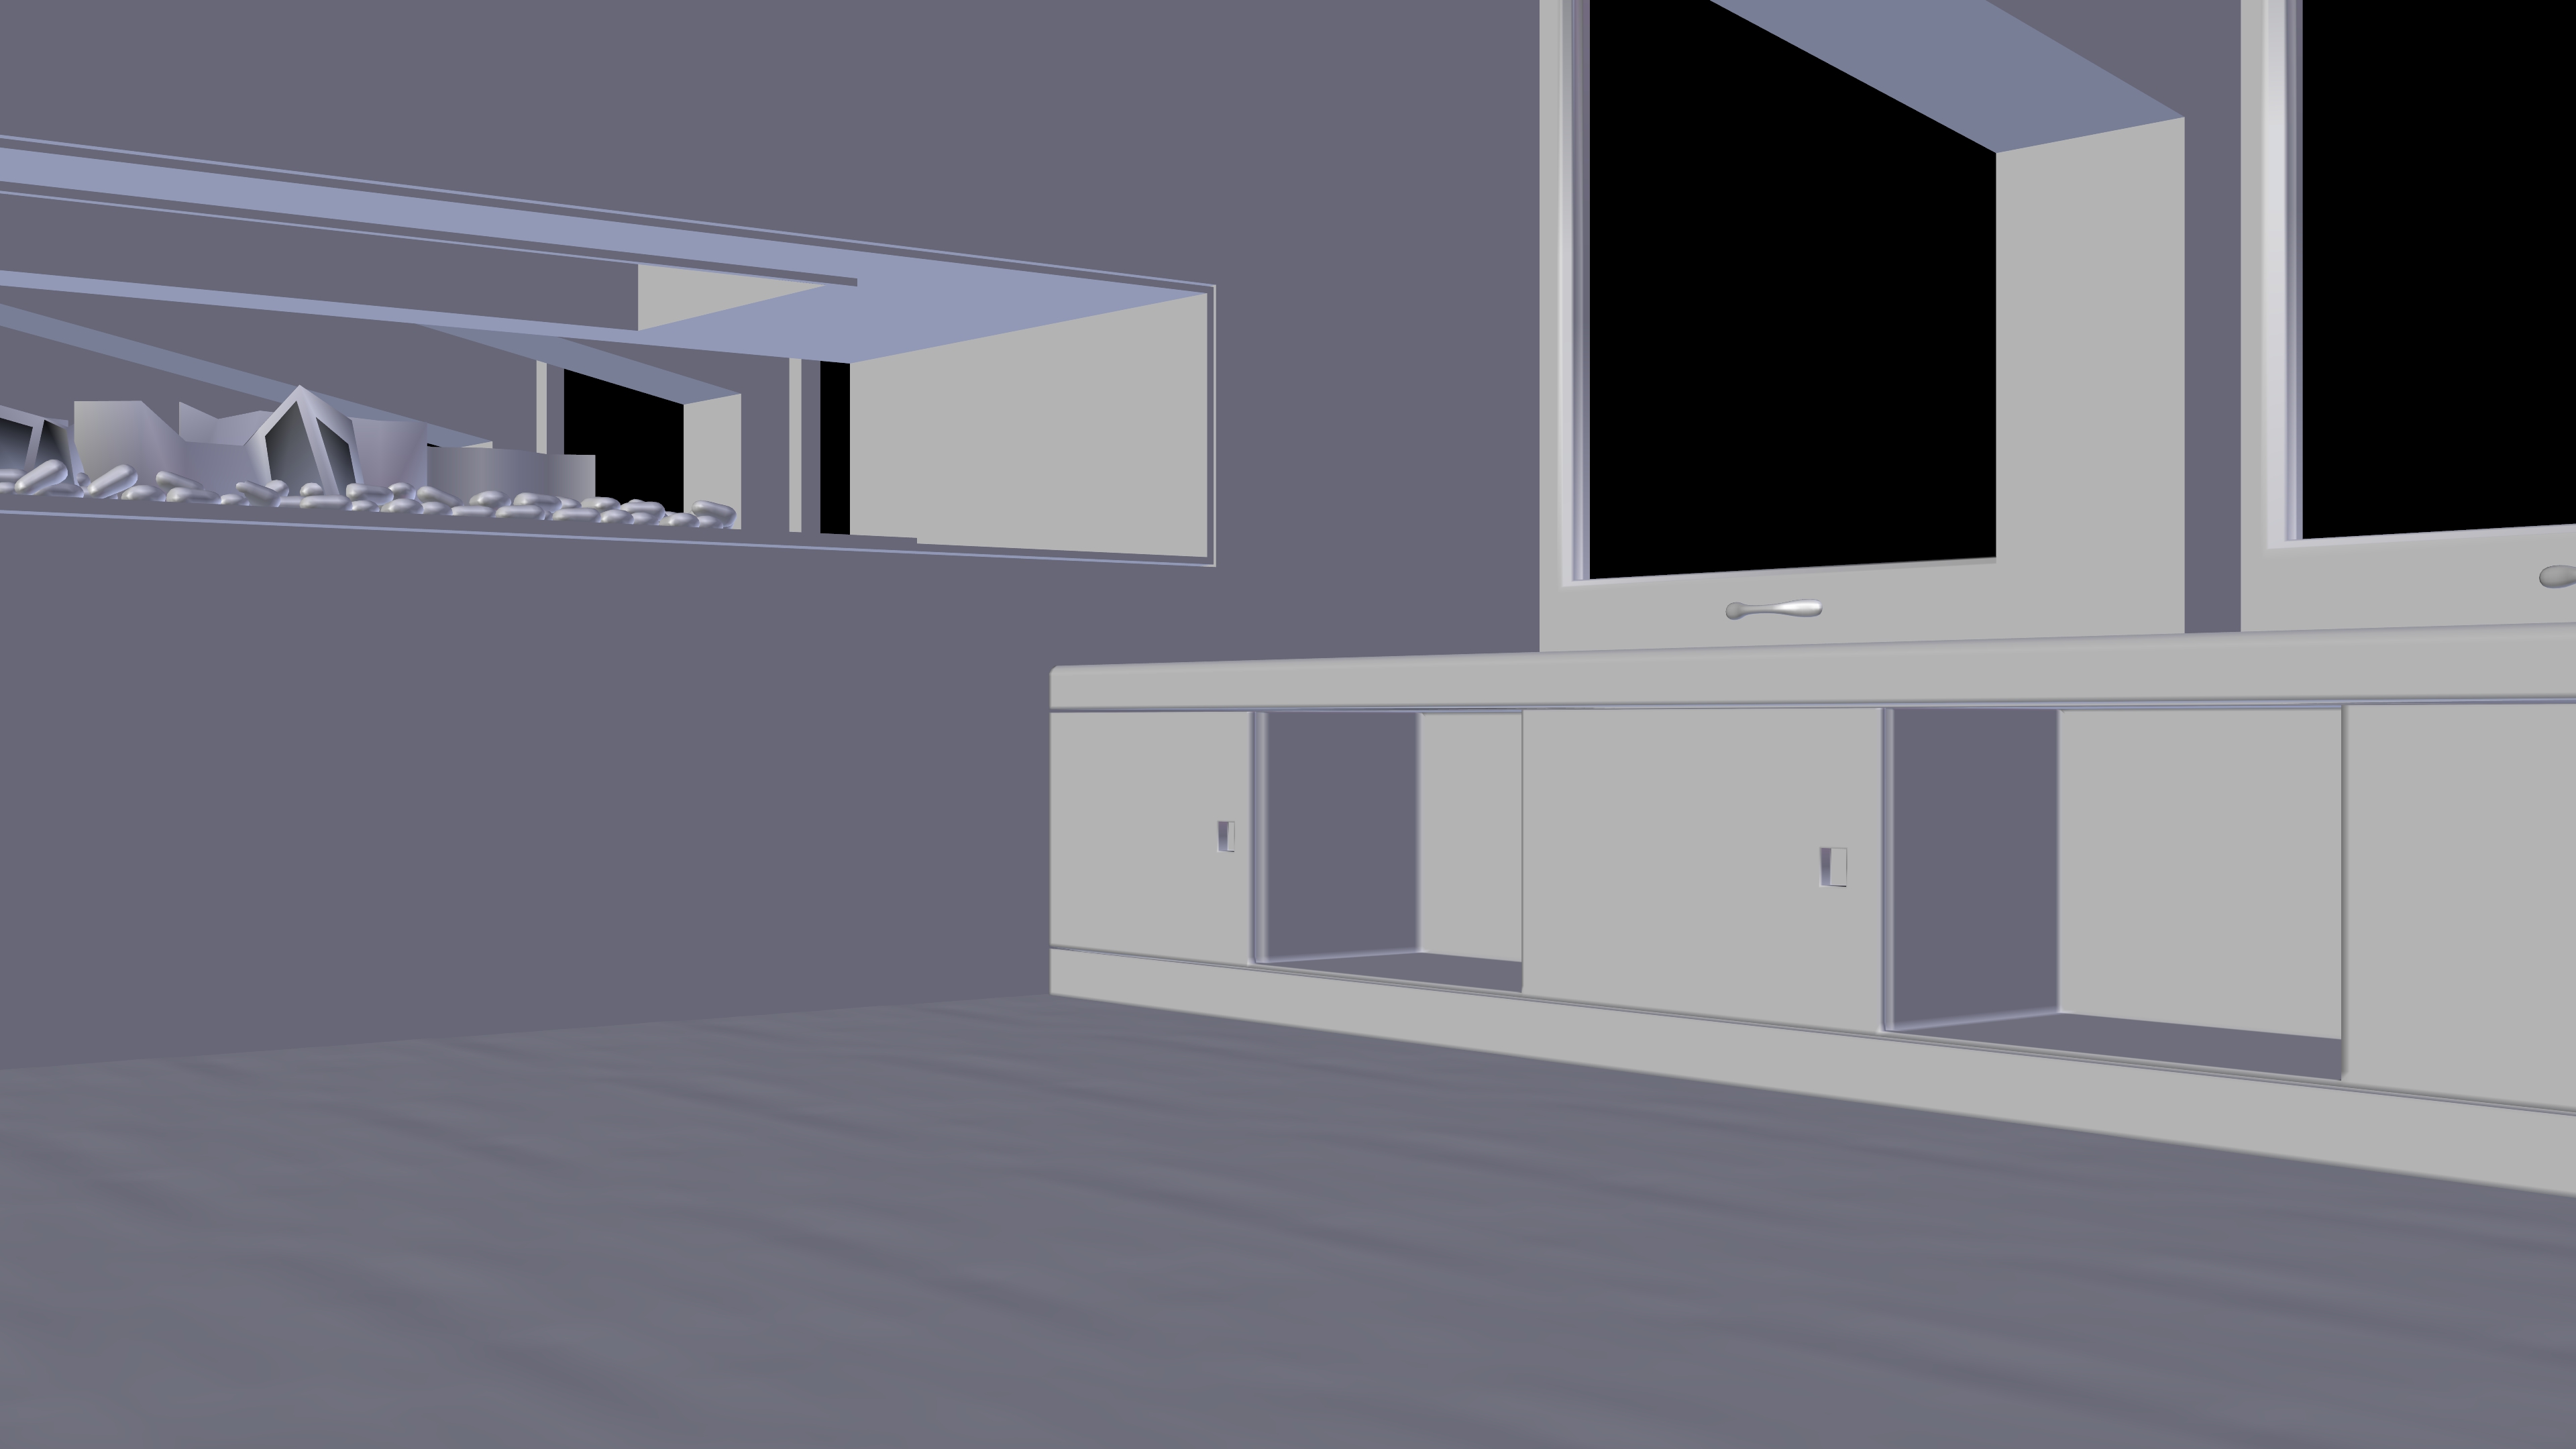
After this set-up phase, it’s possible to start to model all the principal objects that are essential for this work.
For me, the first rule for a good architectural concept, is to avoid different and not adequate dimensions and scale related to all the objects respect the scene already done. To respect this rule, I use to set the metric unit in Blender so I can control and verify that all objects in the model can have good and real proportions.
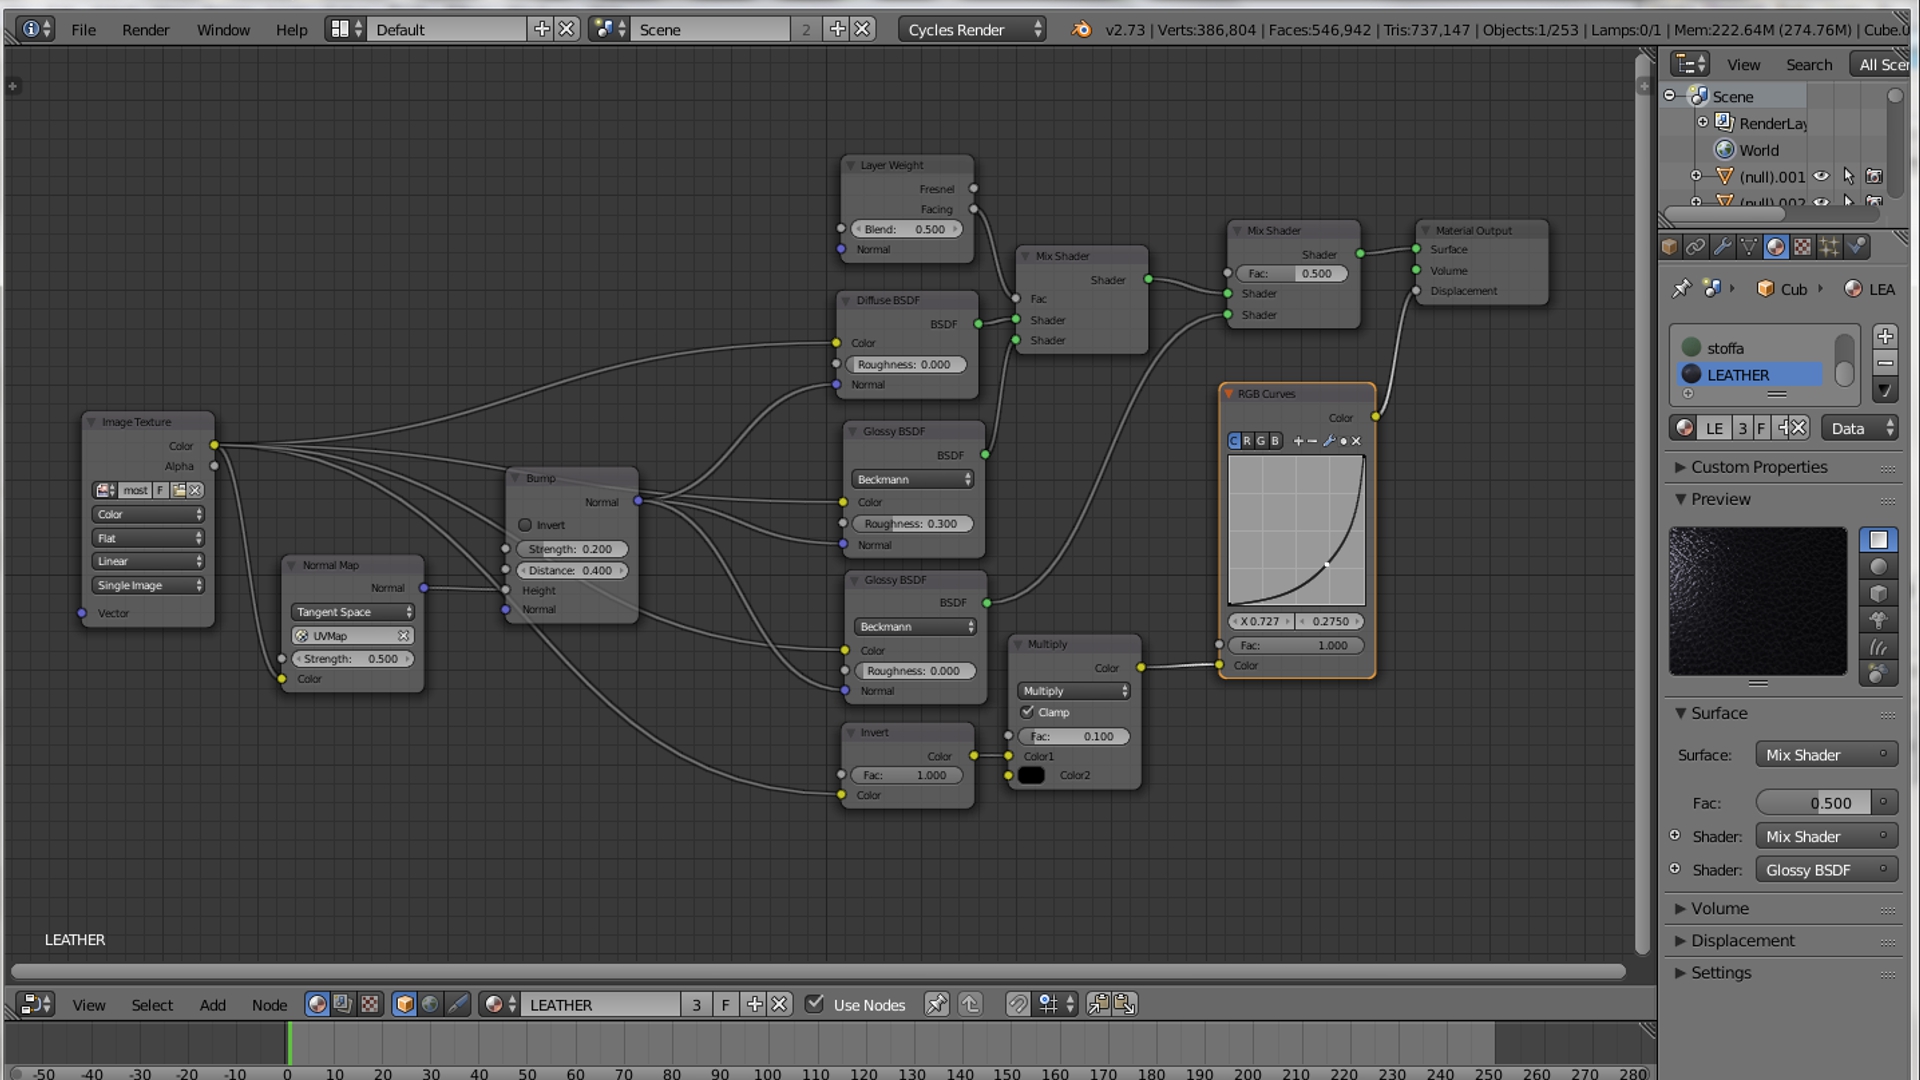
When all objects in the scene are positioned, it’s possible to search all the textures that are needed for each material that I have to apply. Usually, I use seamless textures so there aren’t bad evident junctions on the mesh materials.
When all textures are finally collected, it’s possible to apply materials at all objects.

To see if the selected materials are good, I have added a preliminary sun light so it’s possible to see if the materials are set-up correctly or if they need to be modified.
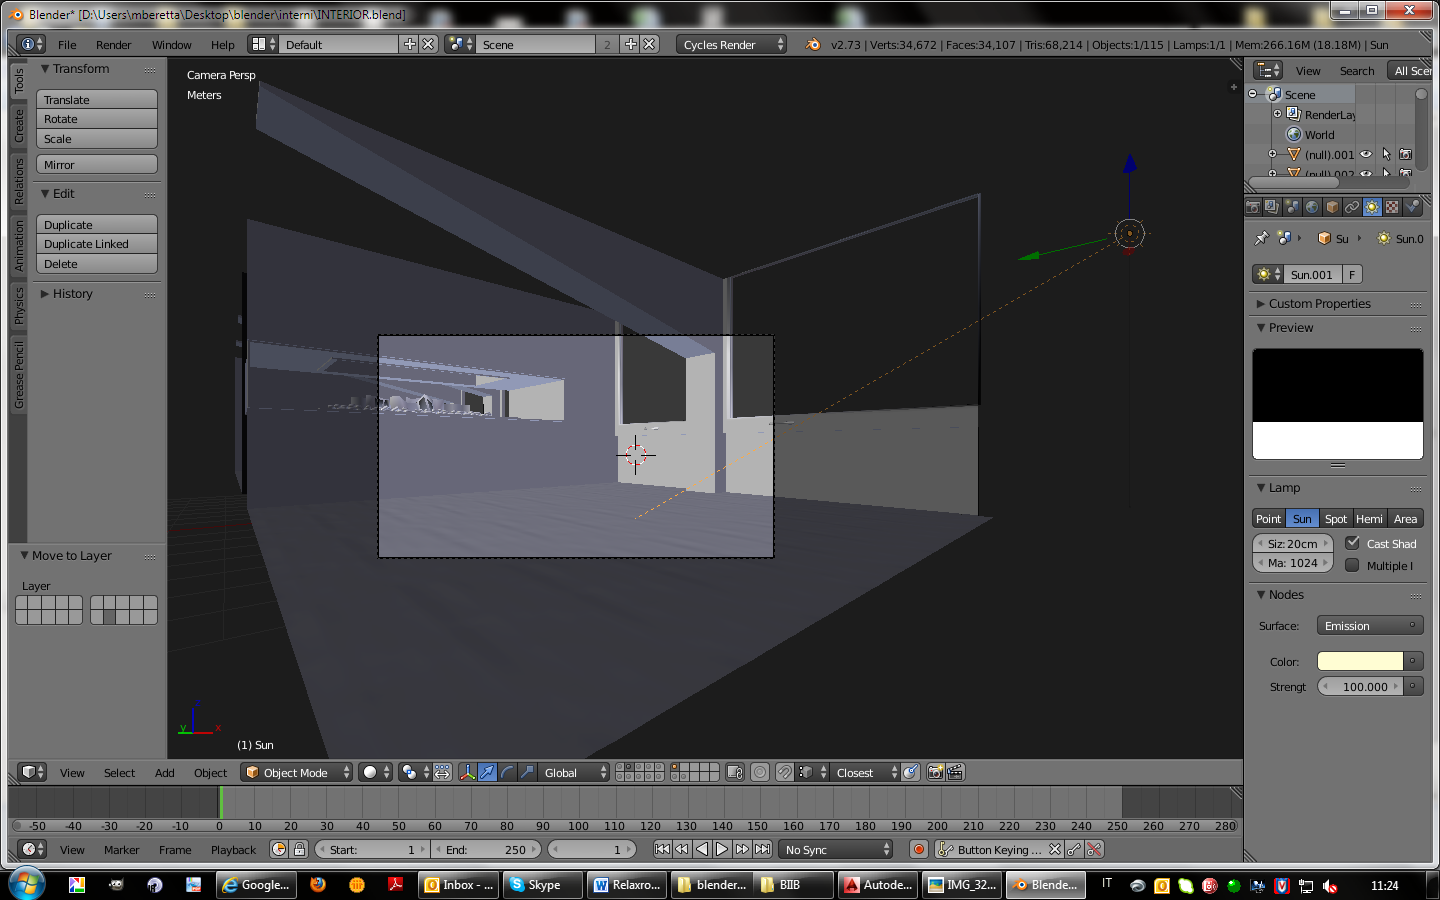
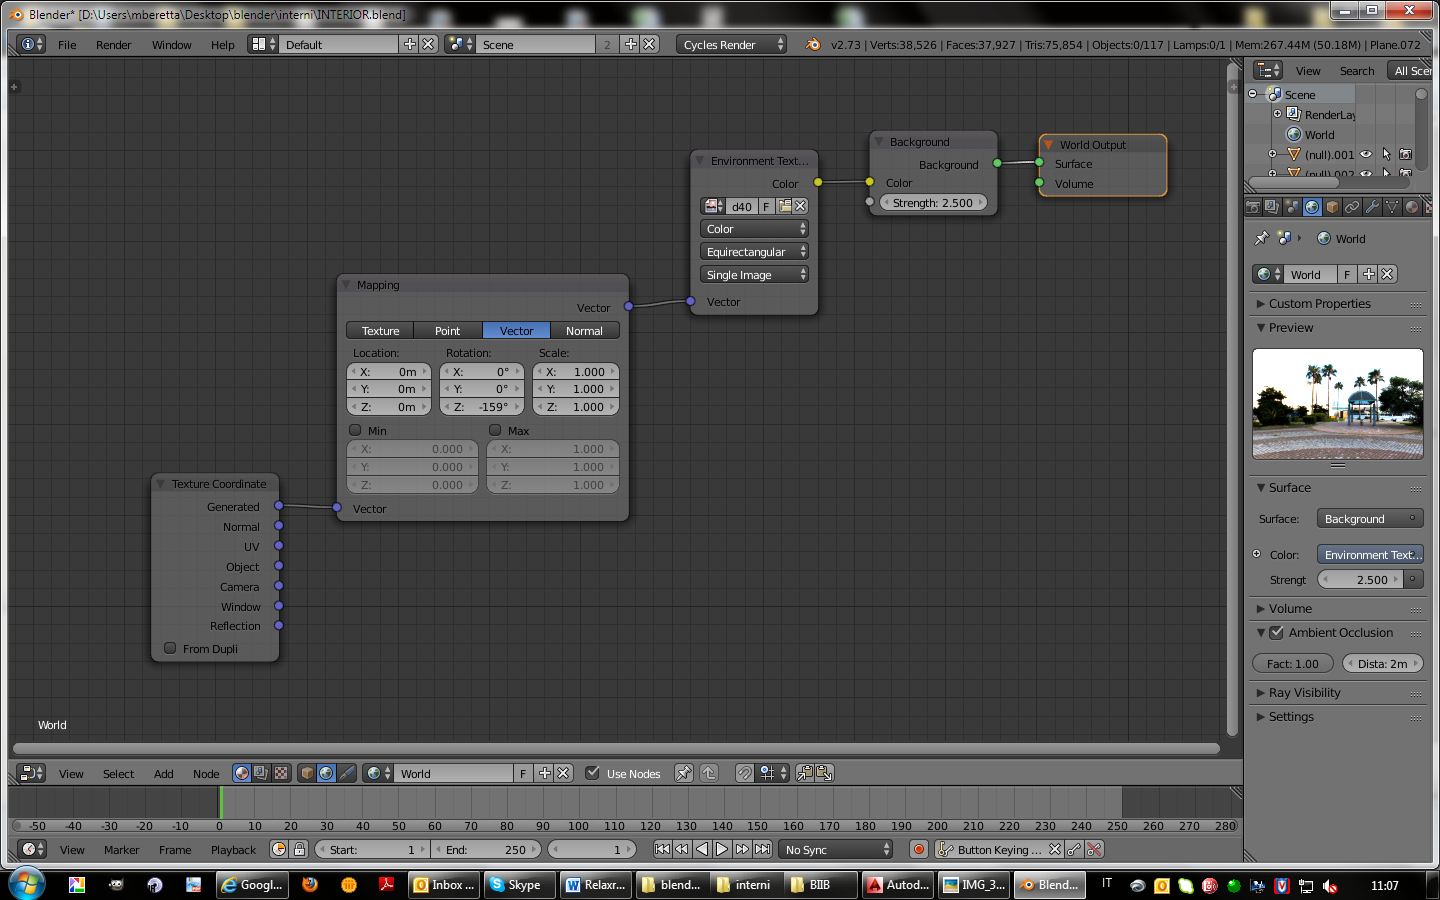
To complete the light scene, I have added an HDRI environmental background texture and I have selected the Ambient occlusion:
When the set-up is ok, it’s possible to see the results with a good render with the adequate number of sampling. In this case 1000 samples is the minimum number of samples that I have used.
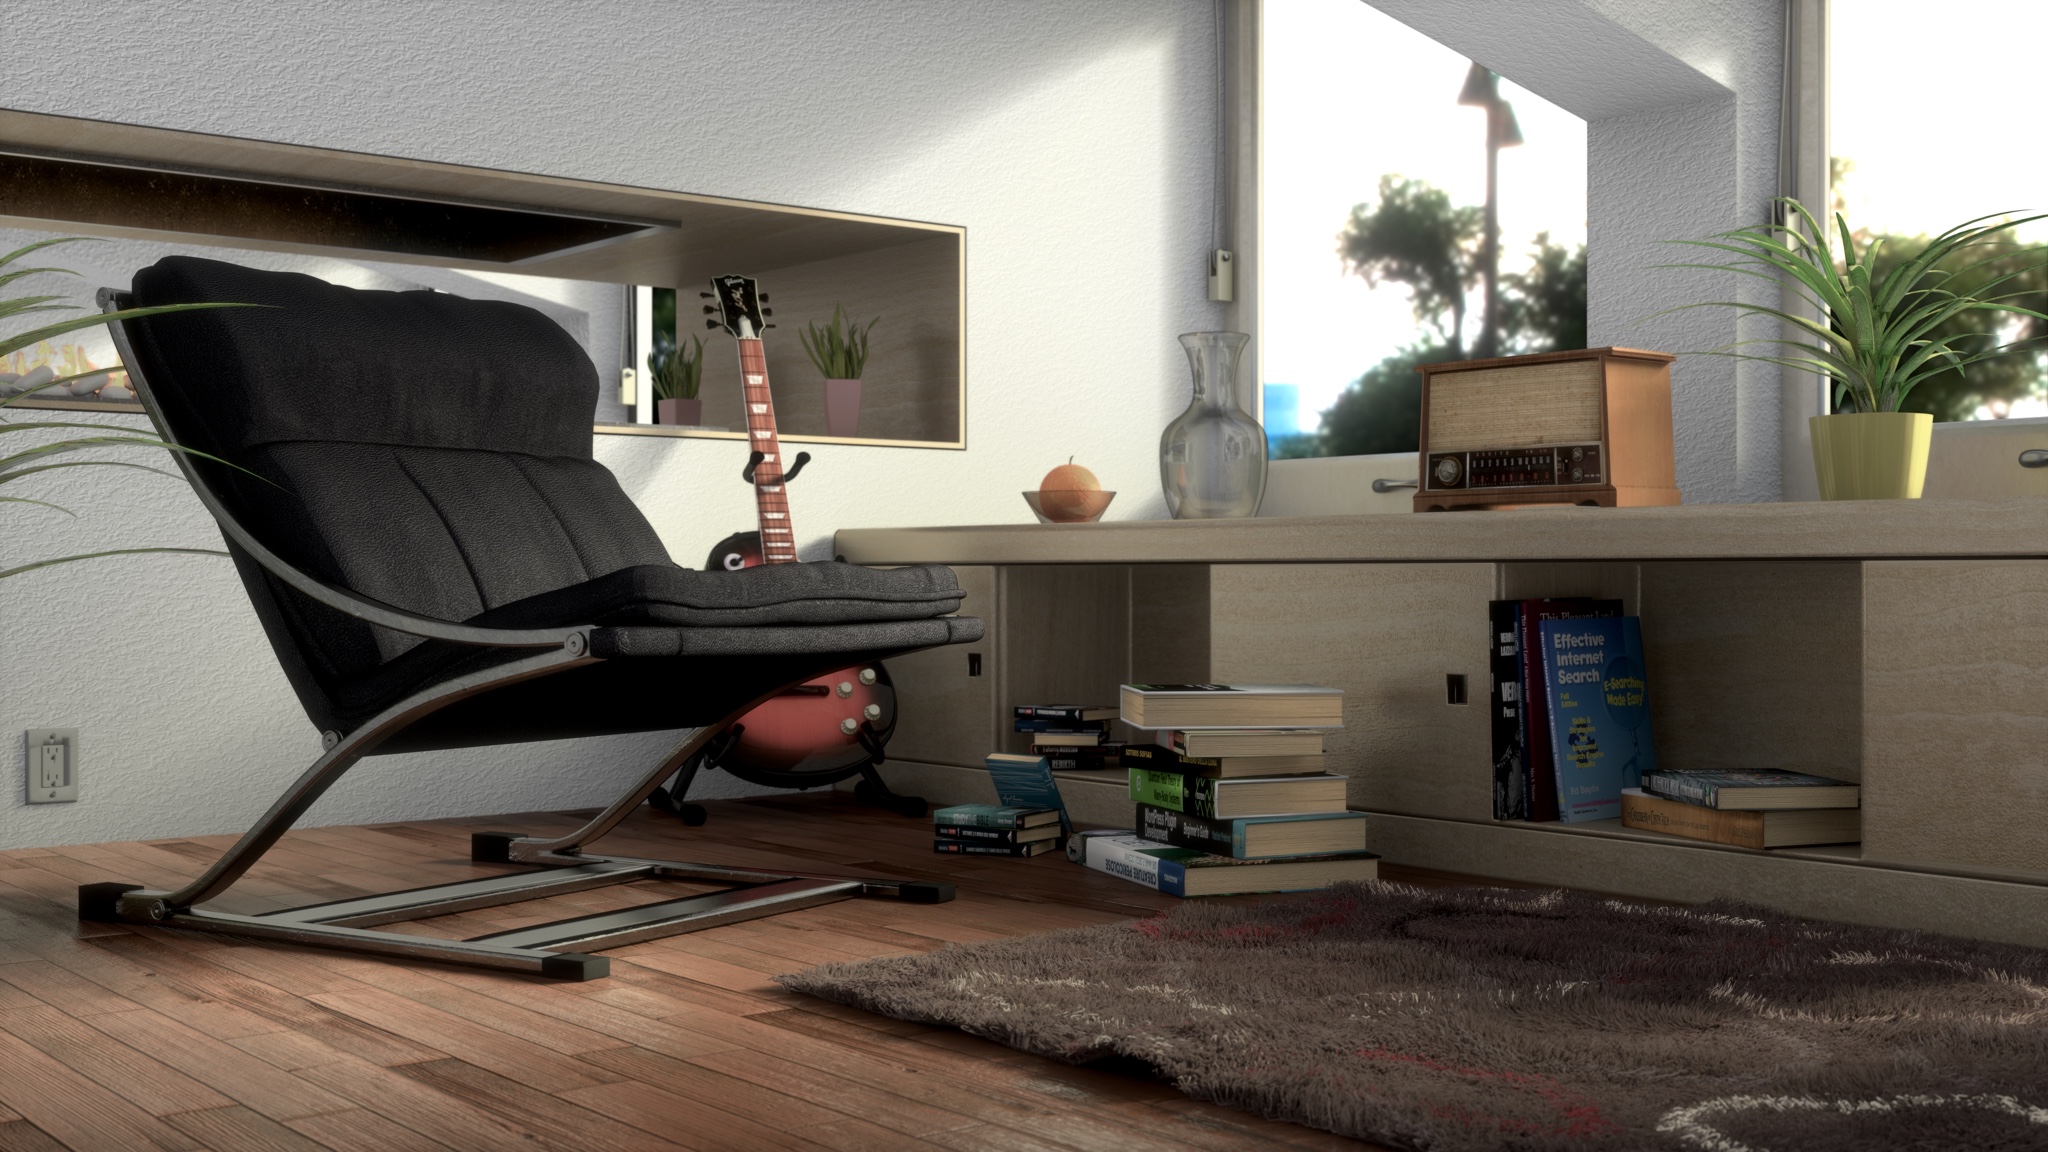
To complete the job, it’s possible to apply more light effects, in this case I have used as a post-production some Gimp filters.
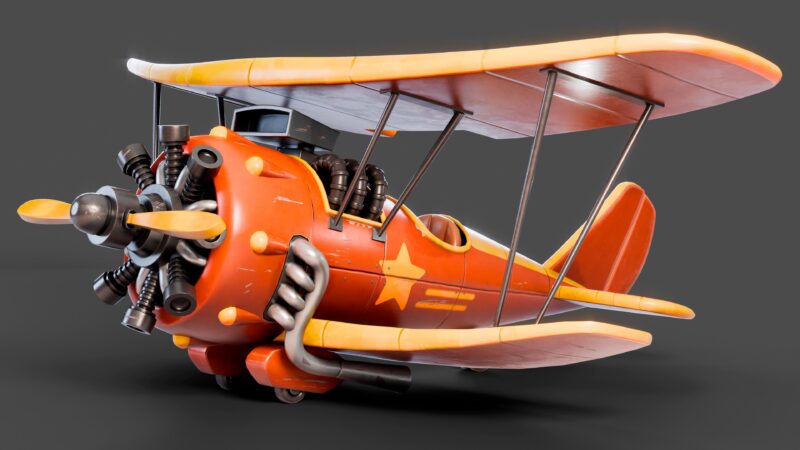
The follow picture is the final result:
Thanks Marco!