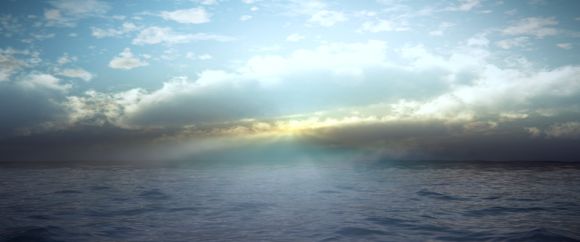
Now that the Ocean Sim modifier is available in the development version of Blender (go and download it from GraphicAll.org) it's time to learn how to use it!
Jonathan Williamson writes:
In this Blender 2.6 video tutorial, we take a look at using the Ocean Sim modifier in conjunction with the Cycles render engine to create a gorgeous ocean scene. This tutorial covers the entire process needed to create the final result, including generation of the ocean, the sky background, rendering in Cycles, and setting up the composite nodes to create the final effect.
Link


13 Comments
Thank you!
"Not that the Ocean Sim modifier is available..." ?
The ocean sim is in trunk goto:
http://www.graphicall.org/
Ocean and sky in image is similar to Terragen.
Does ANYTHING look bad in Cycles??? Looks like I have to start using that exclusively... Sorry BI... :)
It sure looks a hell of a lot better for most things. Problem is the render time, especially if its not playing nice with your graphics card and you have to go CPU.
Yes, I saw some Cycles renderings recently, which look not so great. Eventually, it is the artist not the rendering engine, who creates the art.
Furthermore, It may be fine for still images. But for animations, Cycles is unusable unless you use a powerful renderfarm. Sure Cycles makes things easier. Great GI and powerful shaders out of the box. But images are often noisy, even with a lot passes beyond the thousands.
Having that enormous amount of light from the sky and there is not spectacular effect from the water at all. Specularity from water is a key for a good ocean simulation, specially in animation, specularity should come randomly from different areas of the water, like little pieces of mirrors floating around.
I don't know if cycles has problems with this or something was missed on this composition.
Actually you're absolutely right, this was something that I had added in my initial test and then accidentally skipped over it in the tutorial.
However, this would actually be quite easy to add. All you need to do is place a light in the same relative position to the sun in the image, then brighten the light as needed until you get the desired result.
Does the ocean sim interact with objects? For instance if you had a ship going across the ocean would the waves interact with it? I'm guessing no but I figured I'd ask
Unfortunately not. However you could likely combine the Ocean Sim with Dynamic paint to create some basic interaction.
You mean like this?
http://www.youtube.com/watch?v=Aq03jEz80ok
Wonderful!