
Behind the Scenes: Somnus
Do you know what 8 days without sleep does to a person?
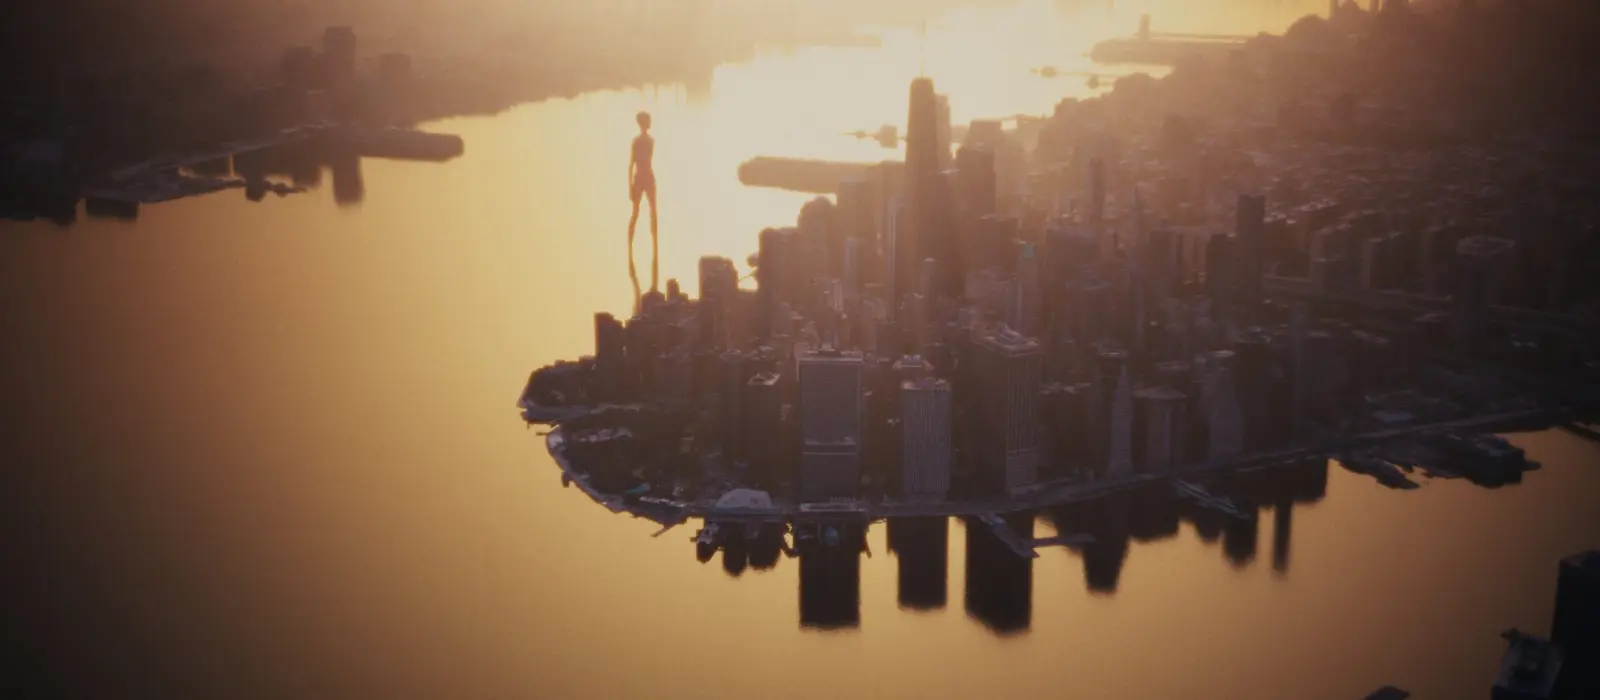
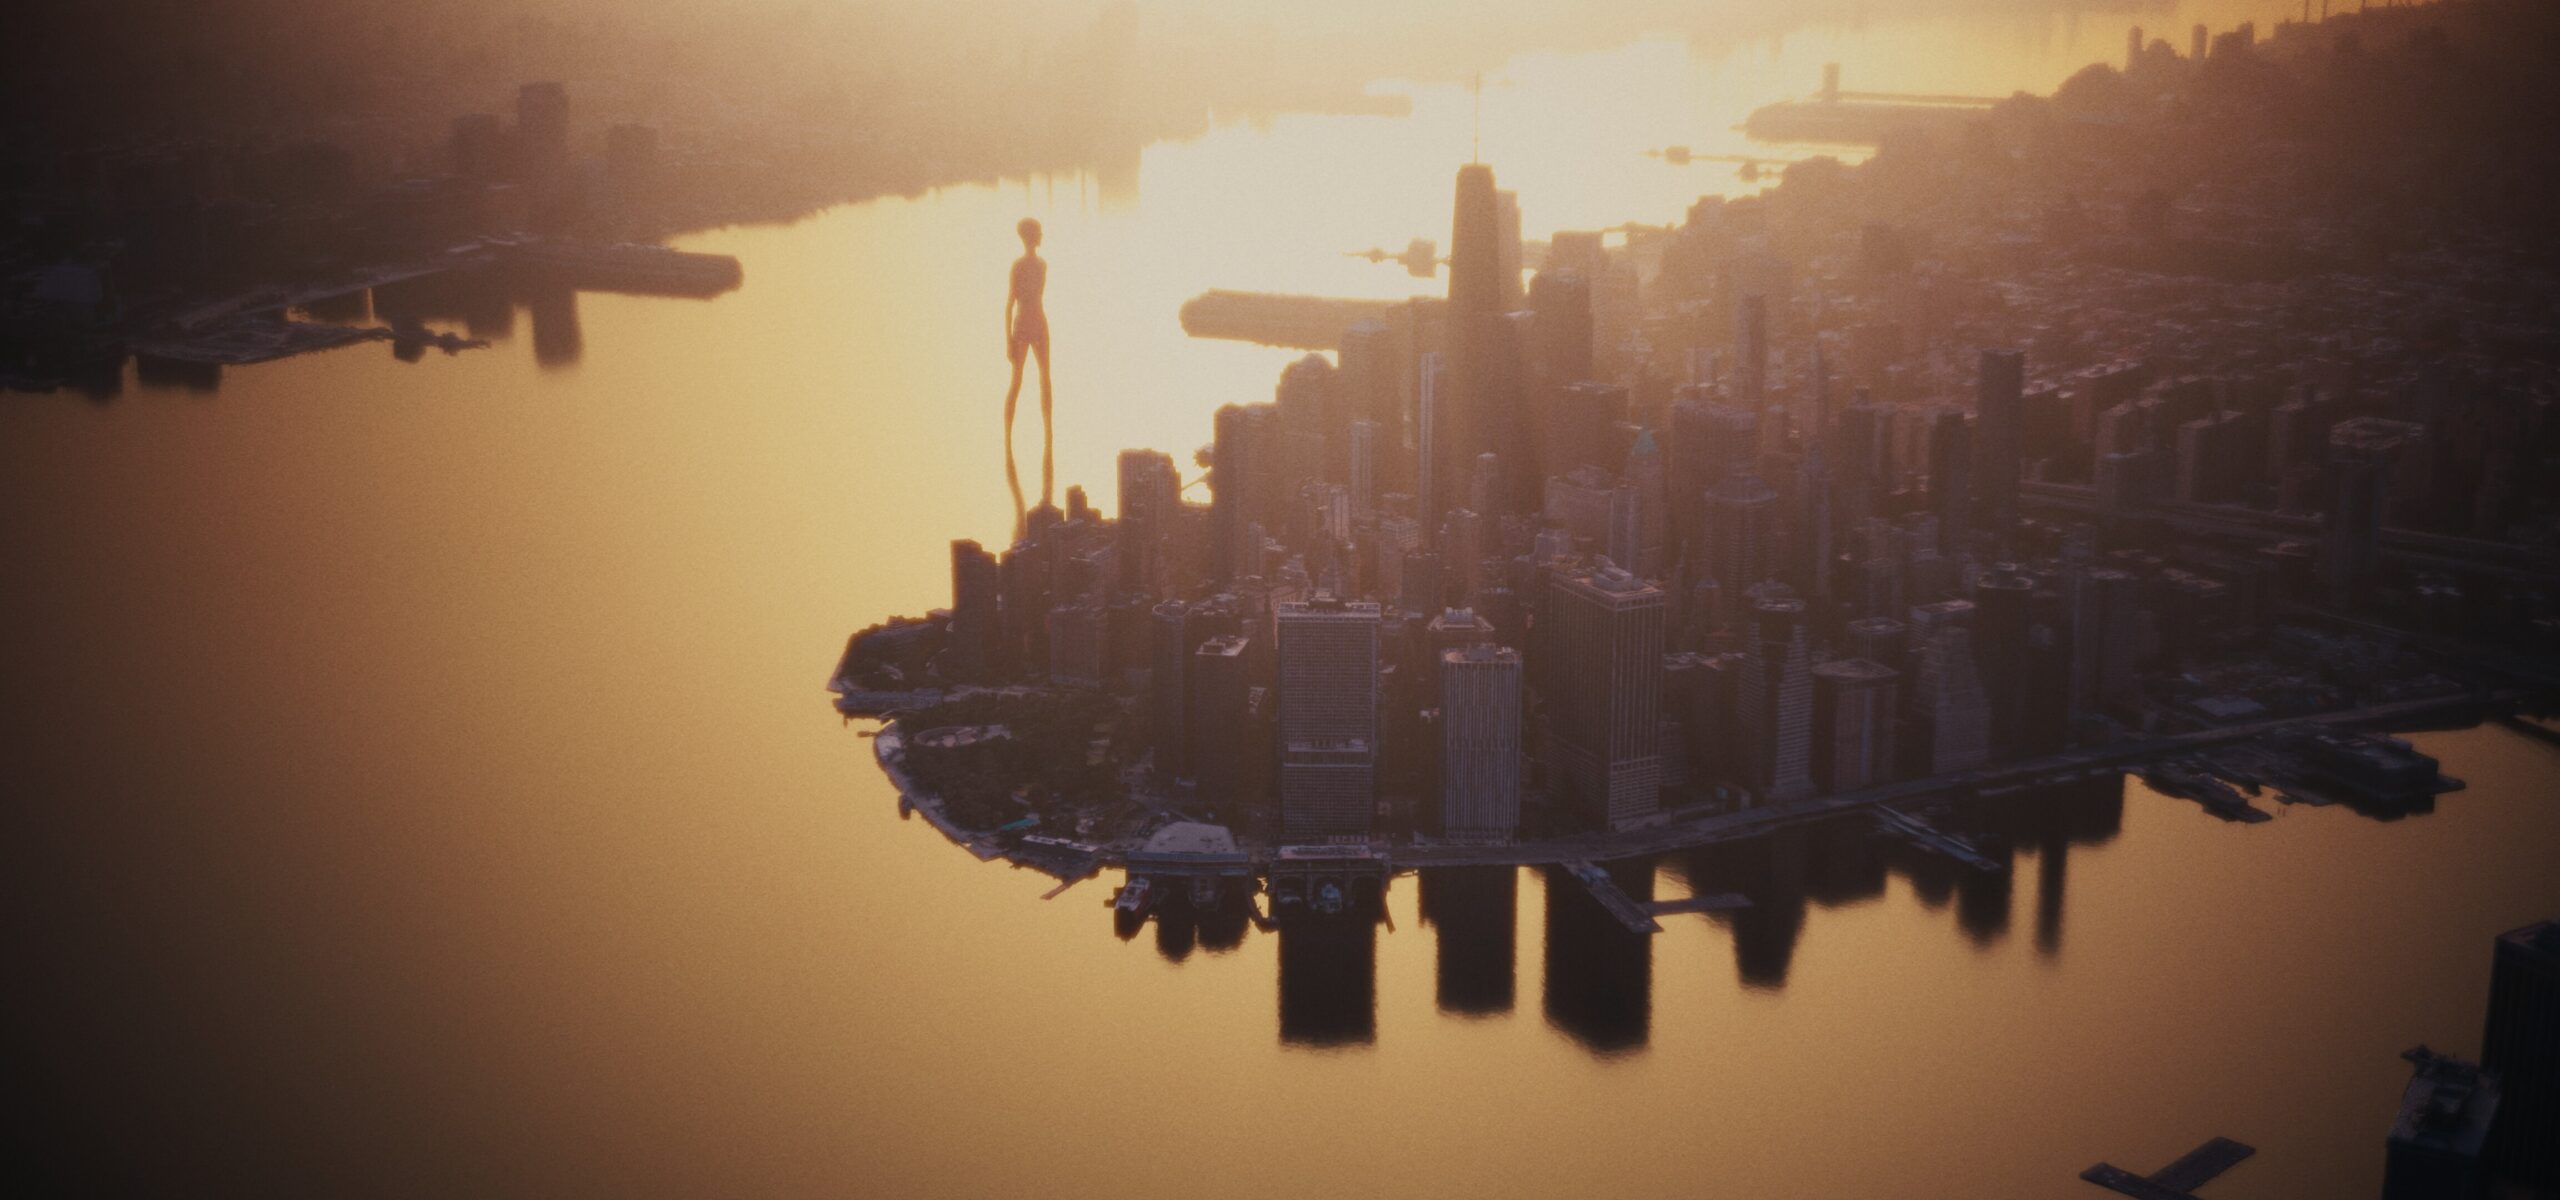
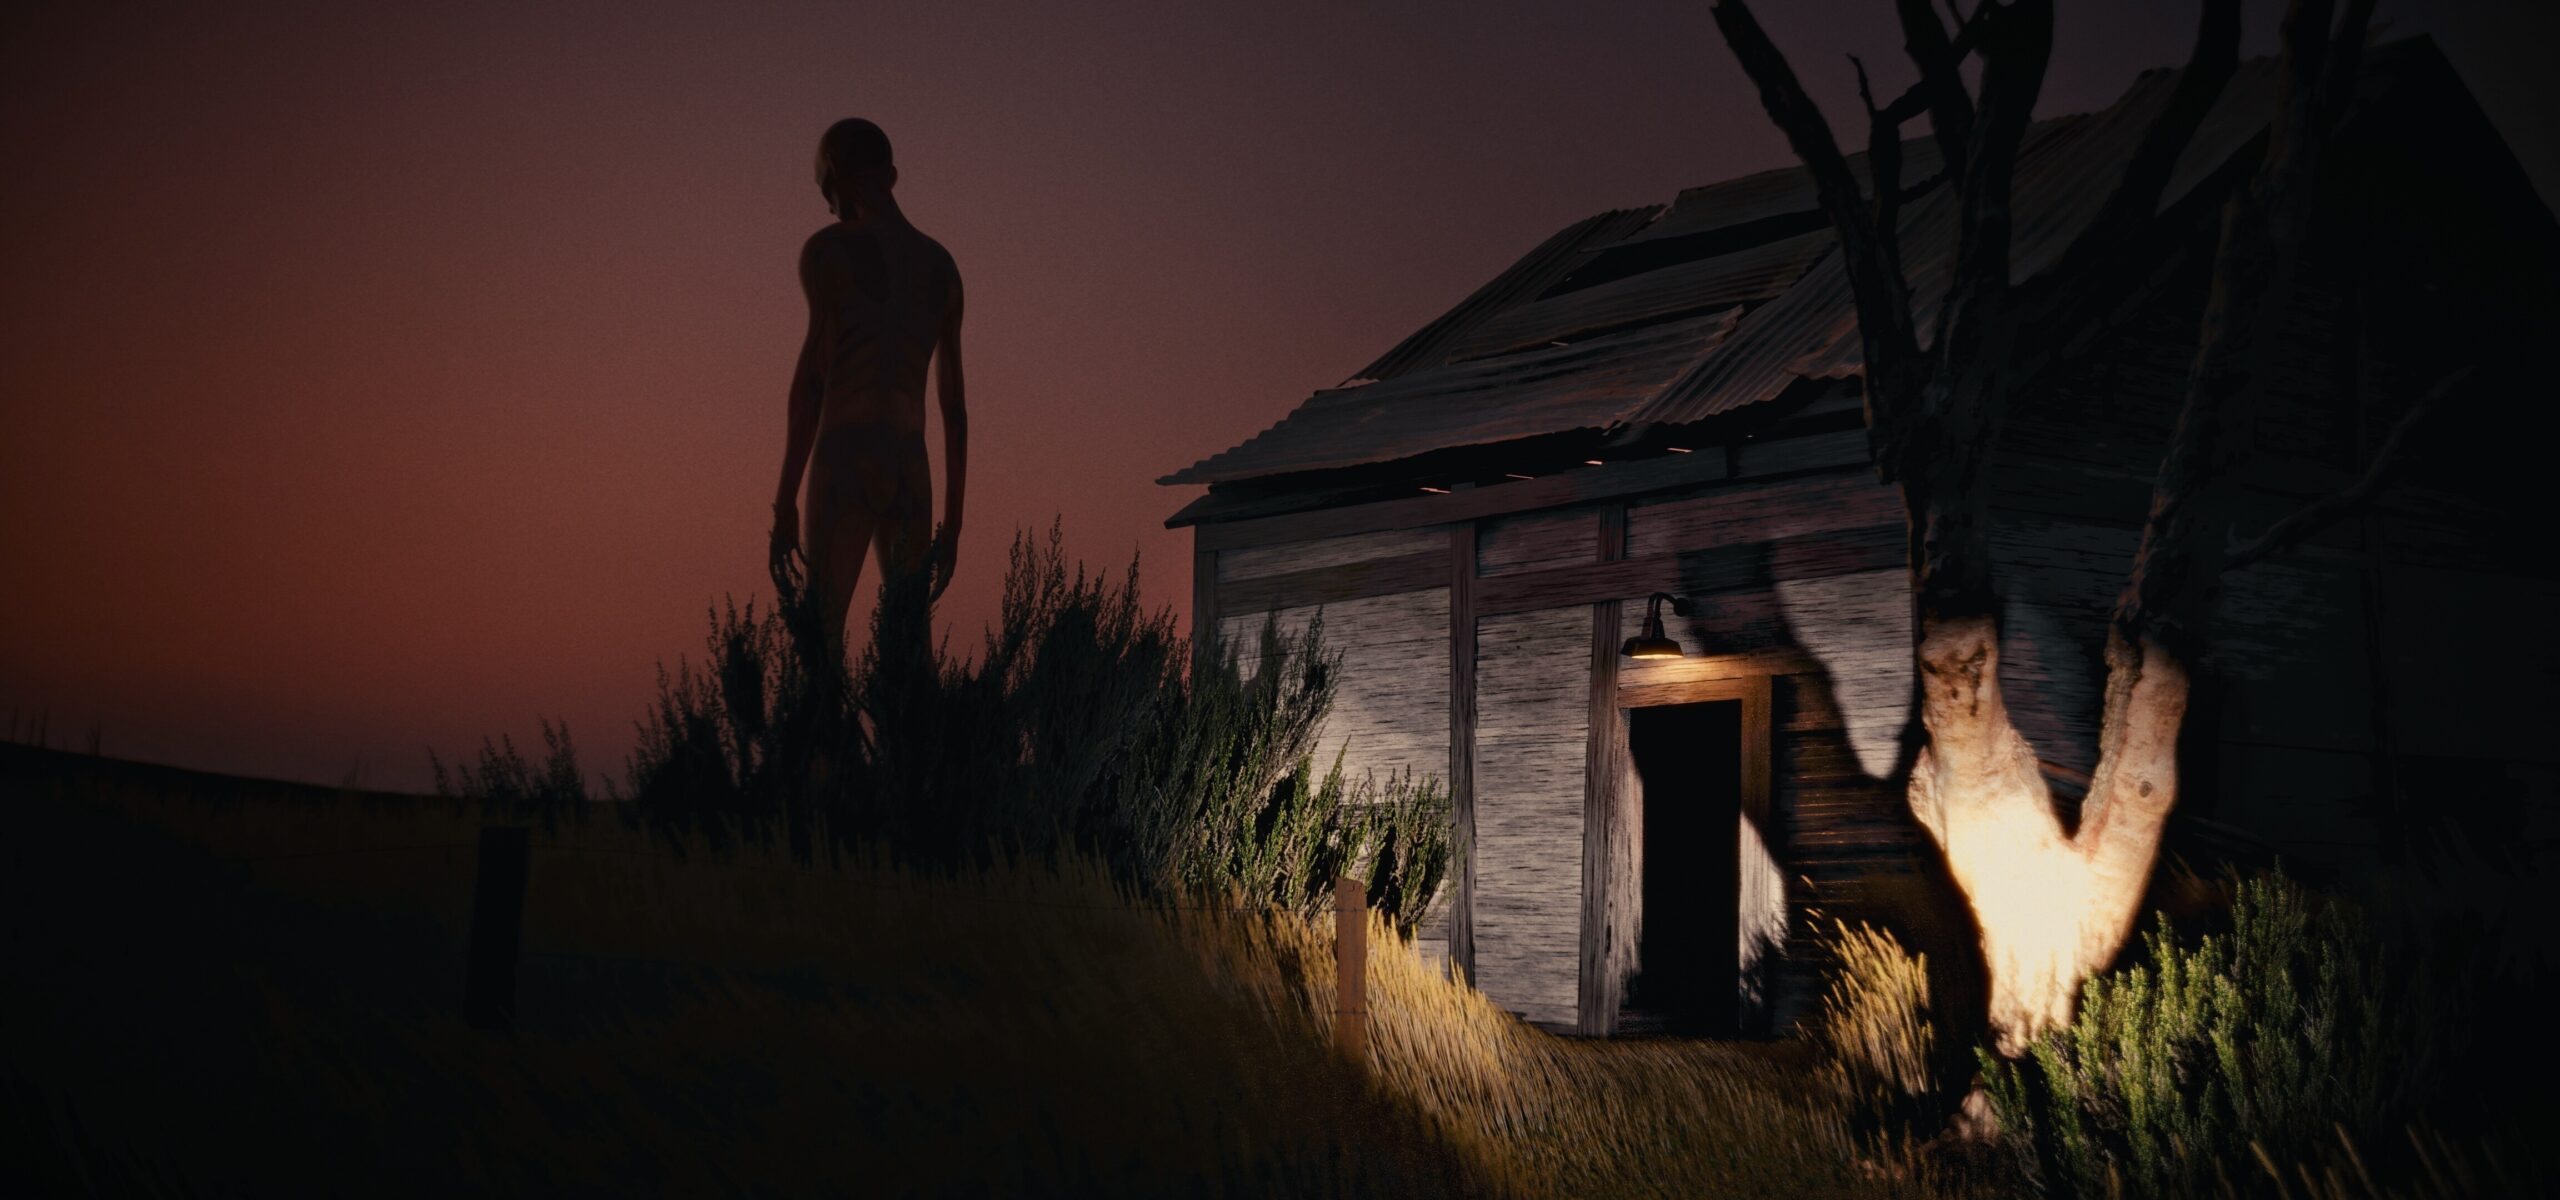
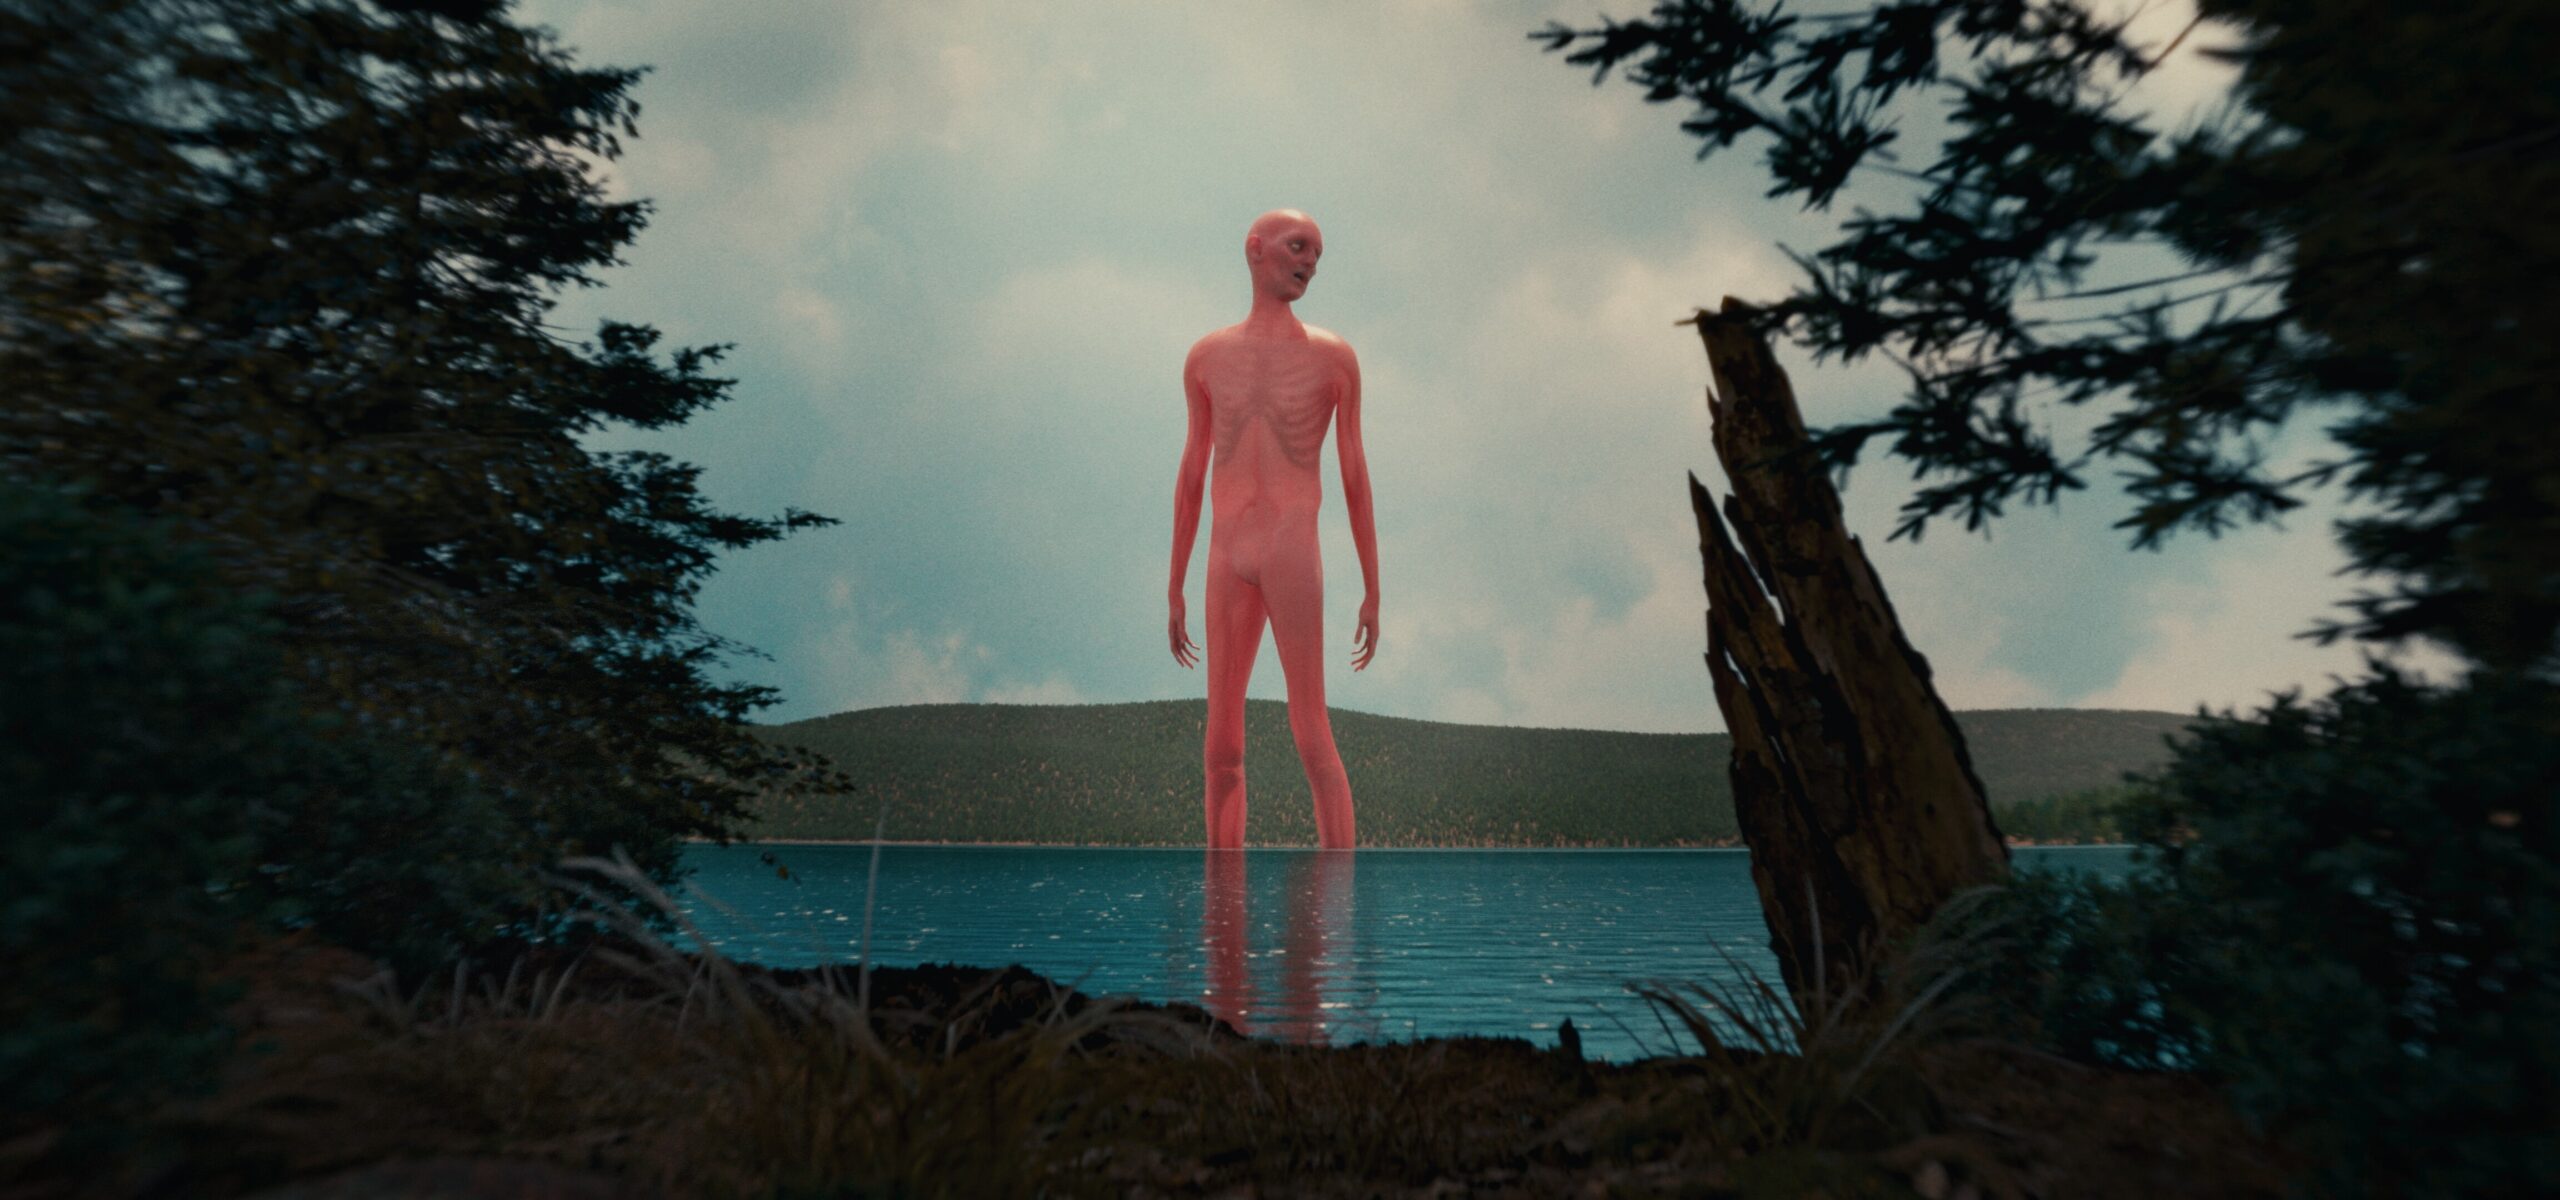
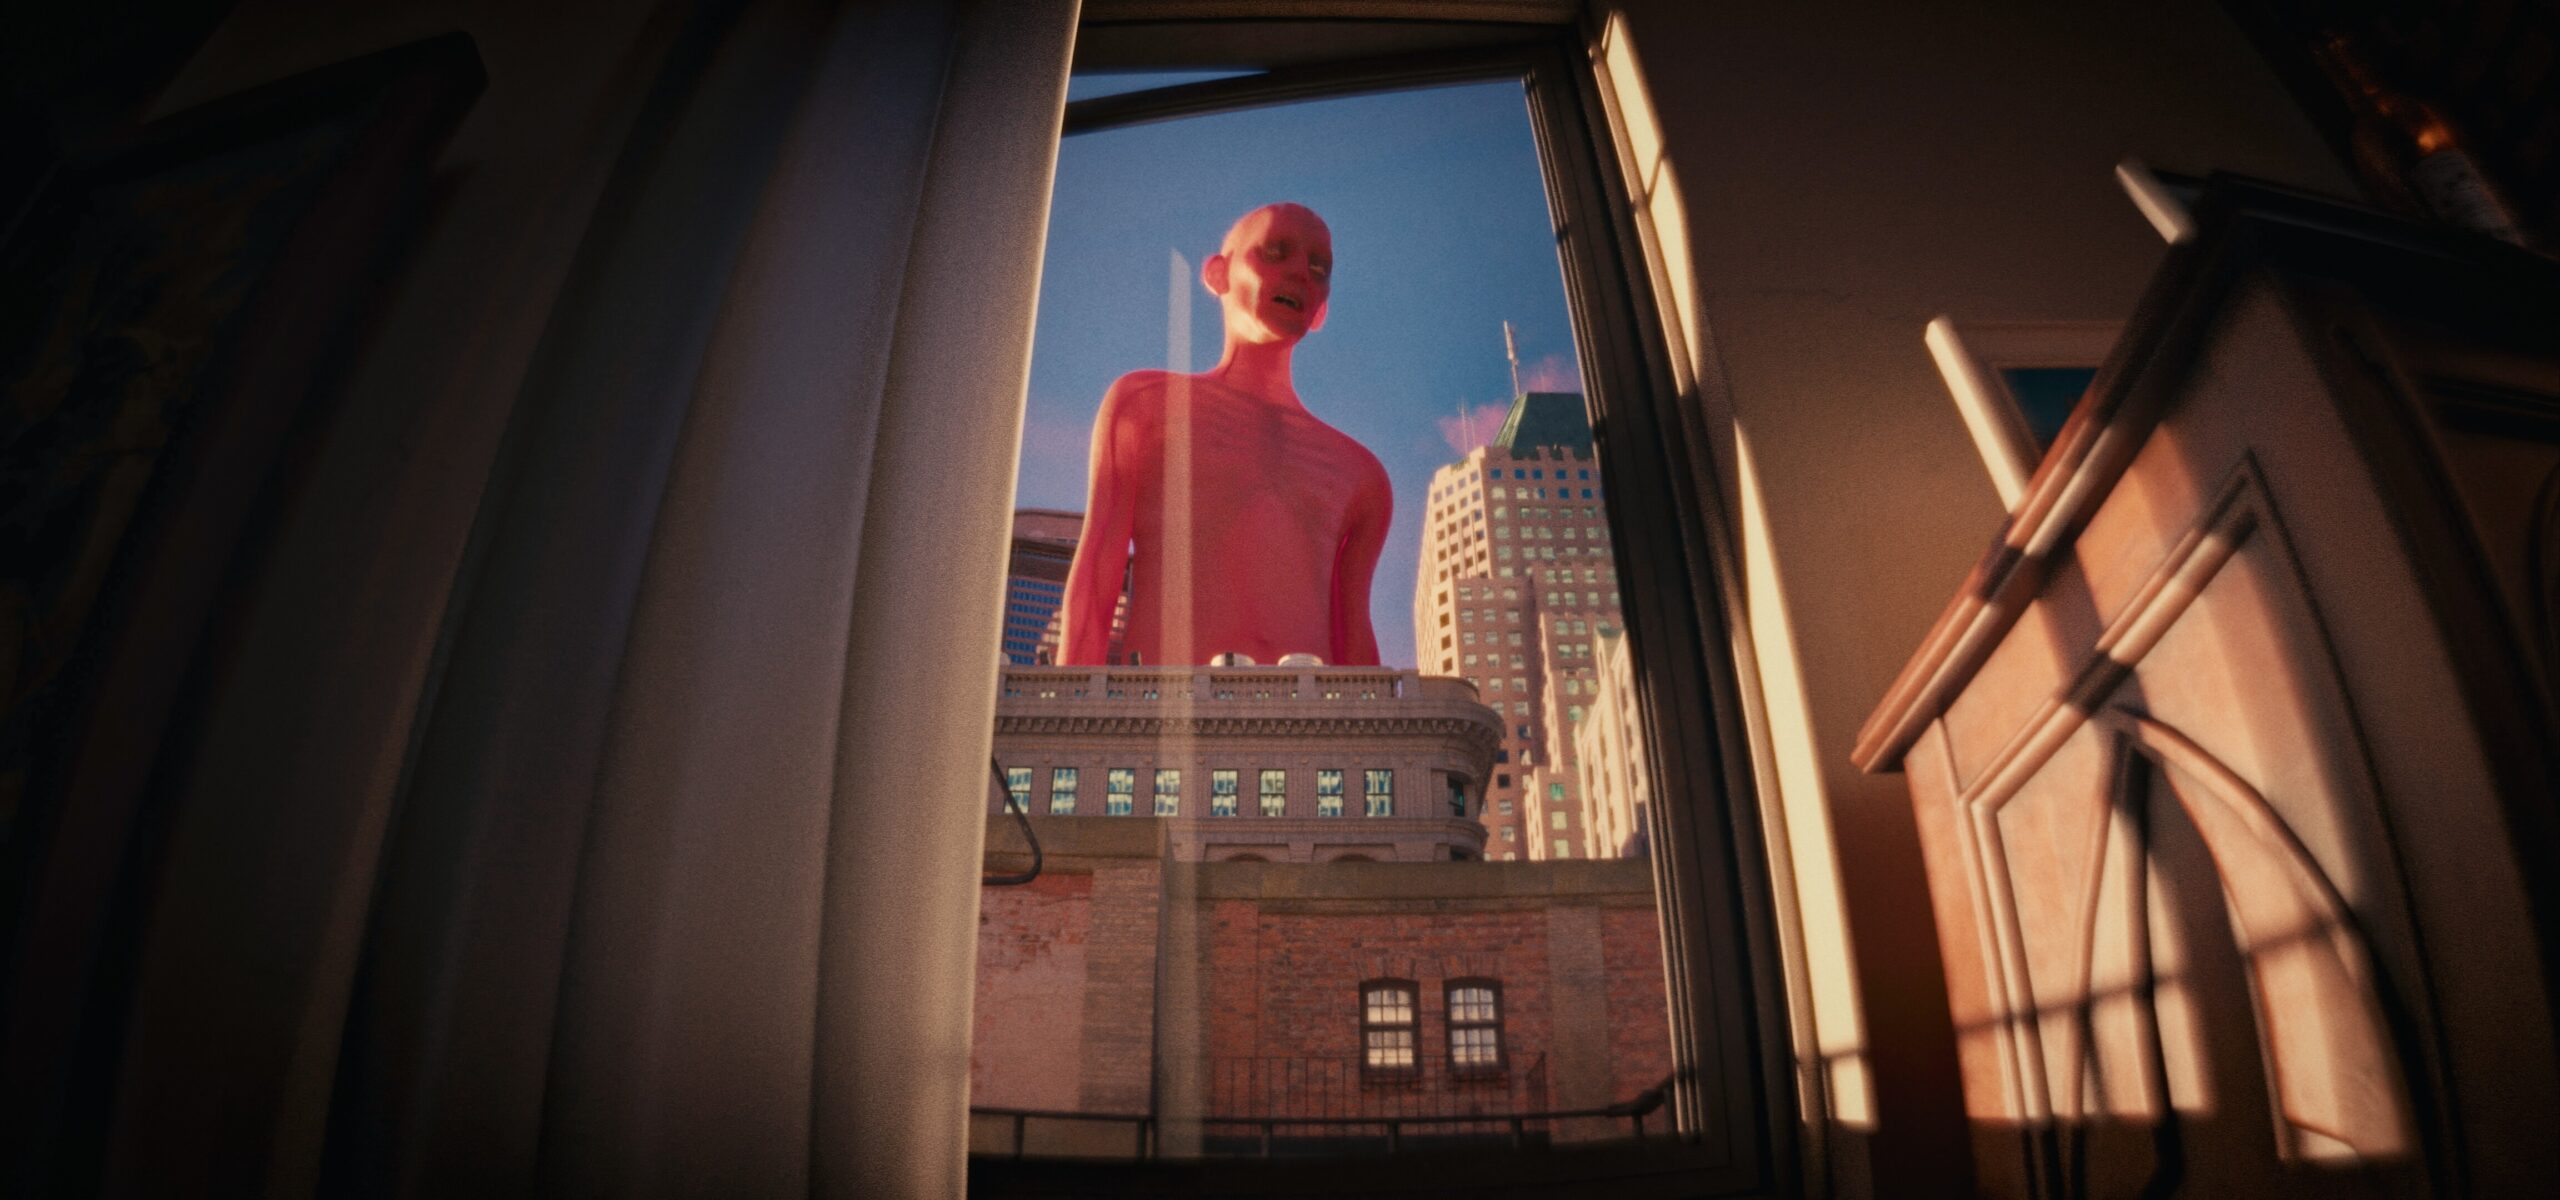
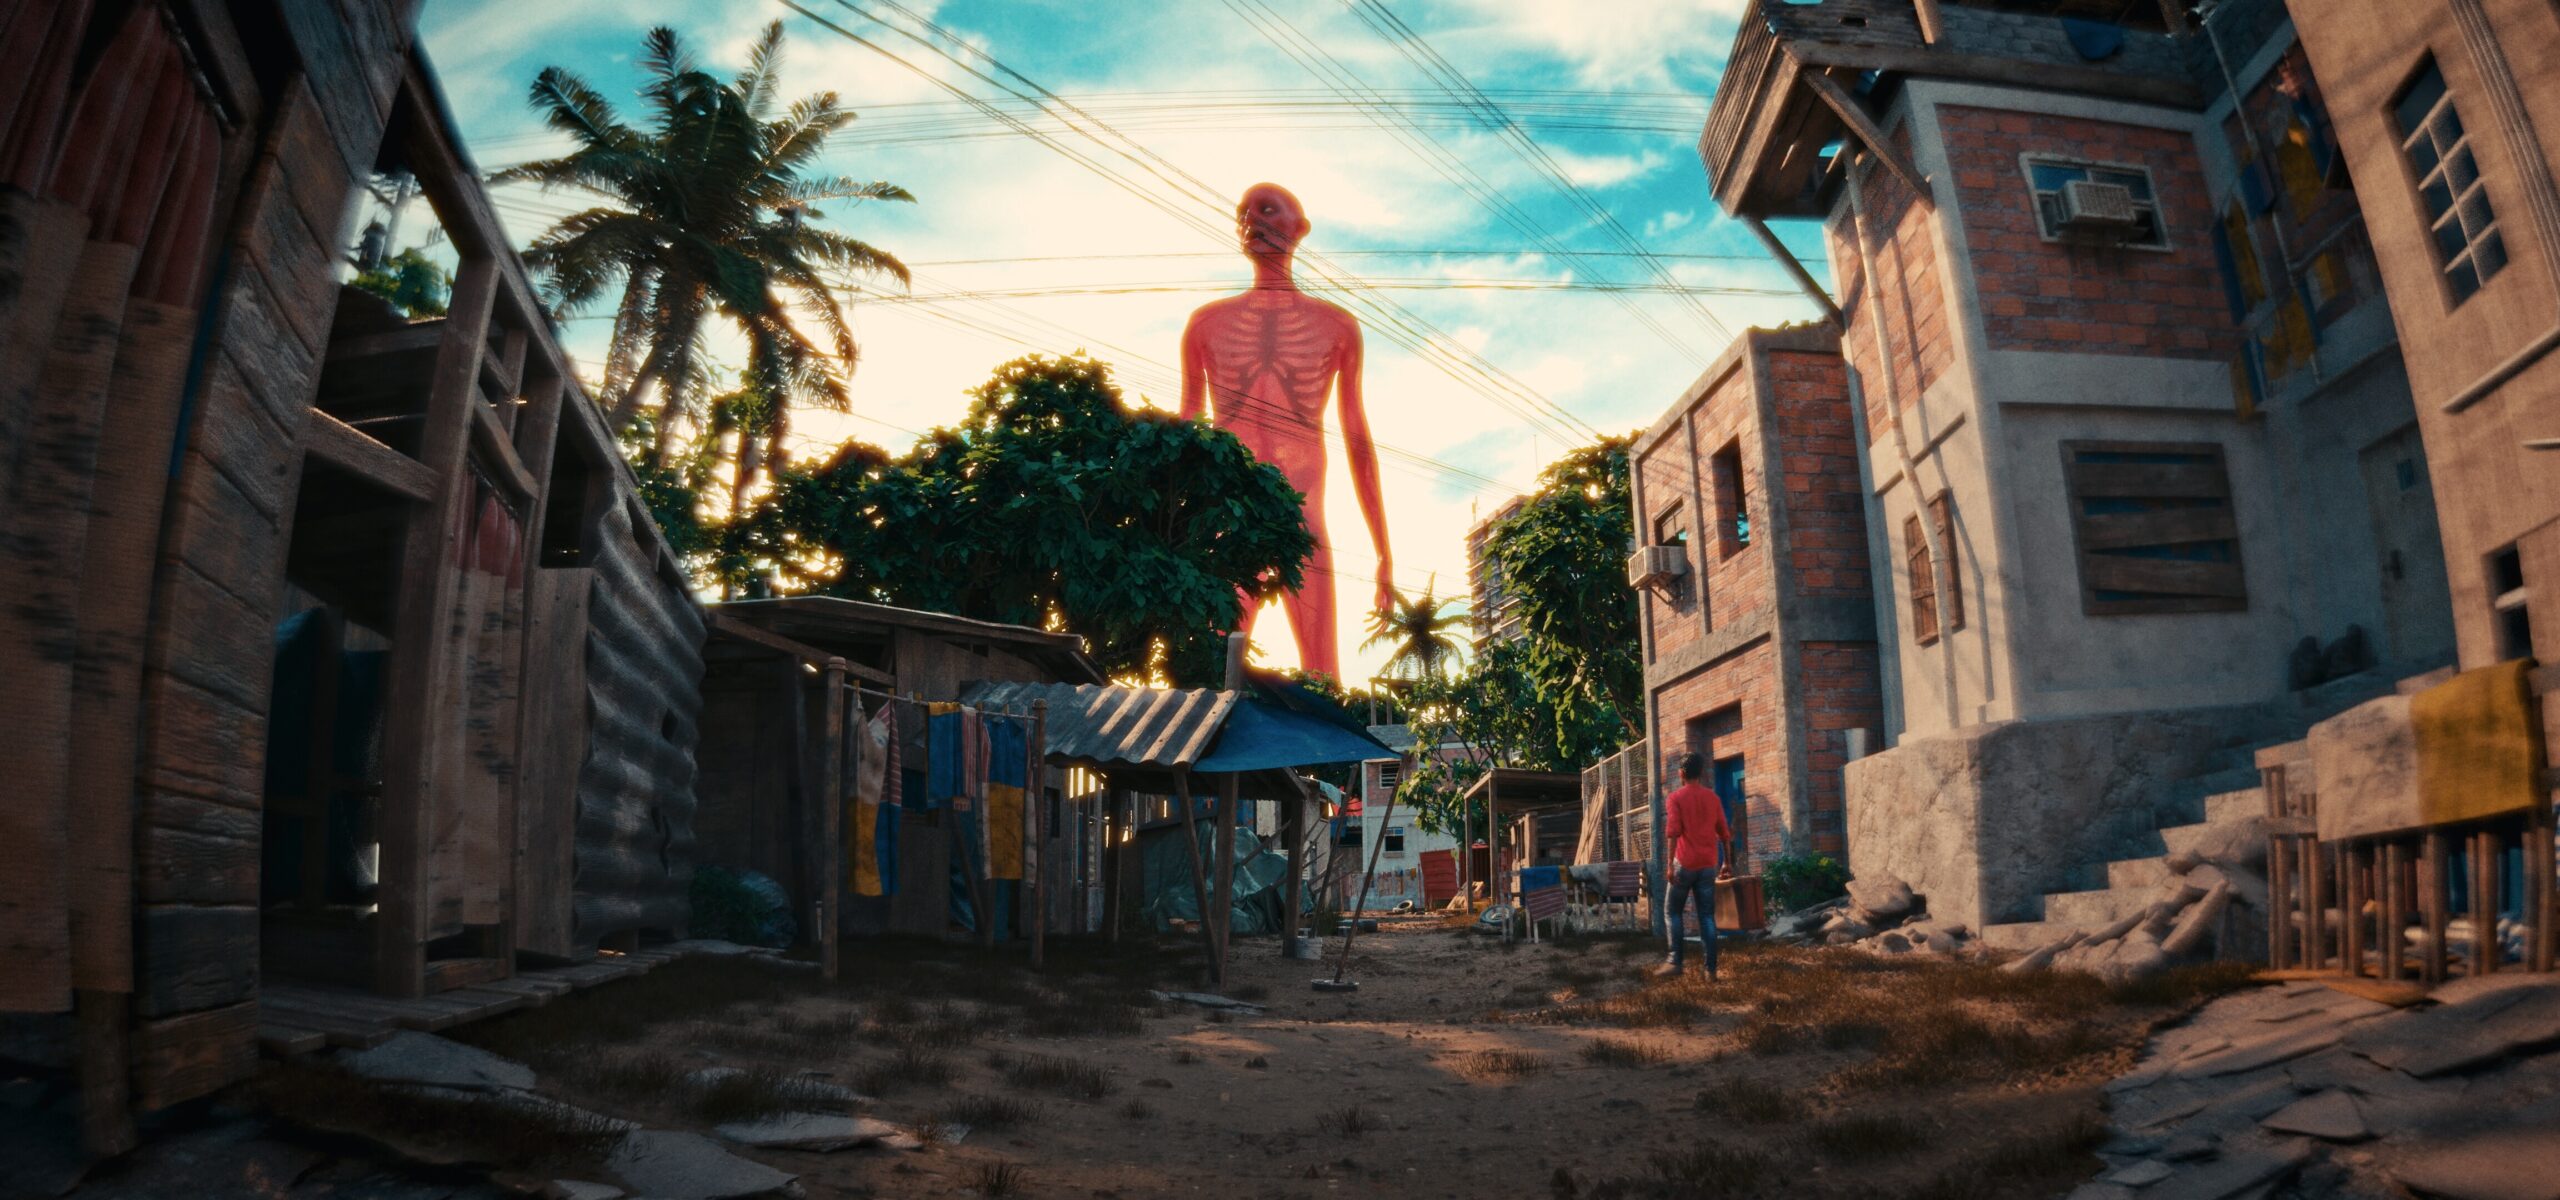
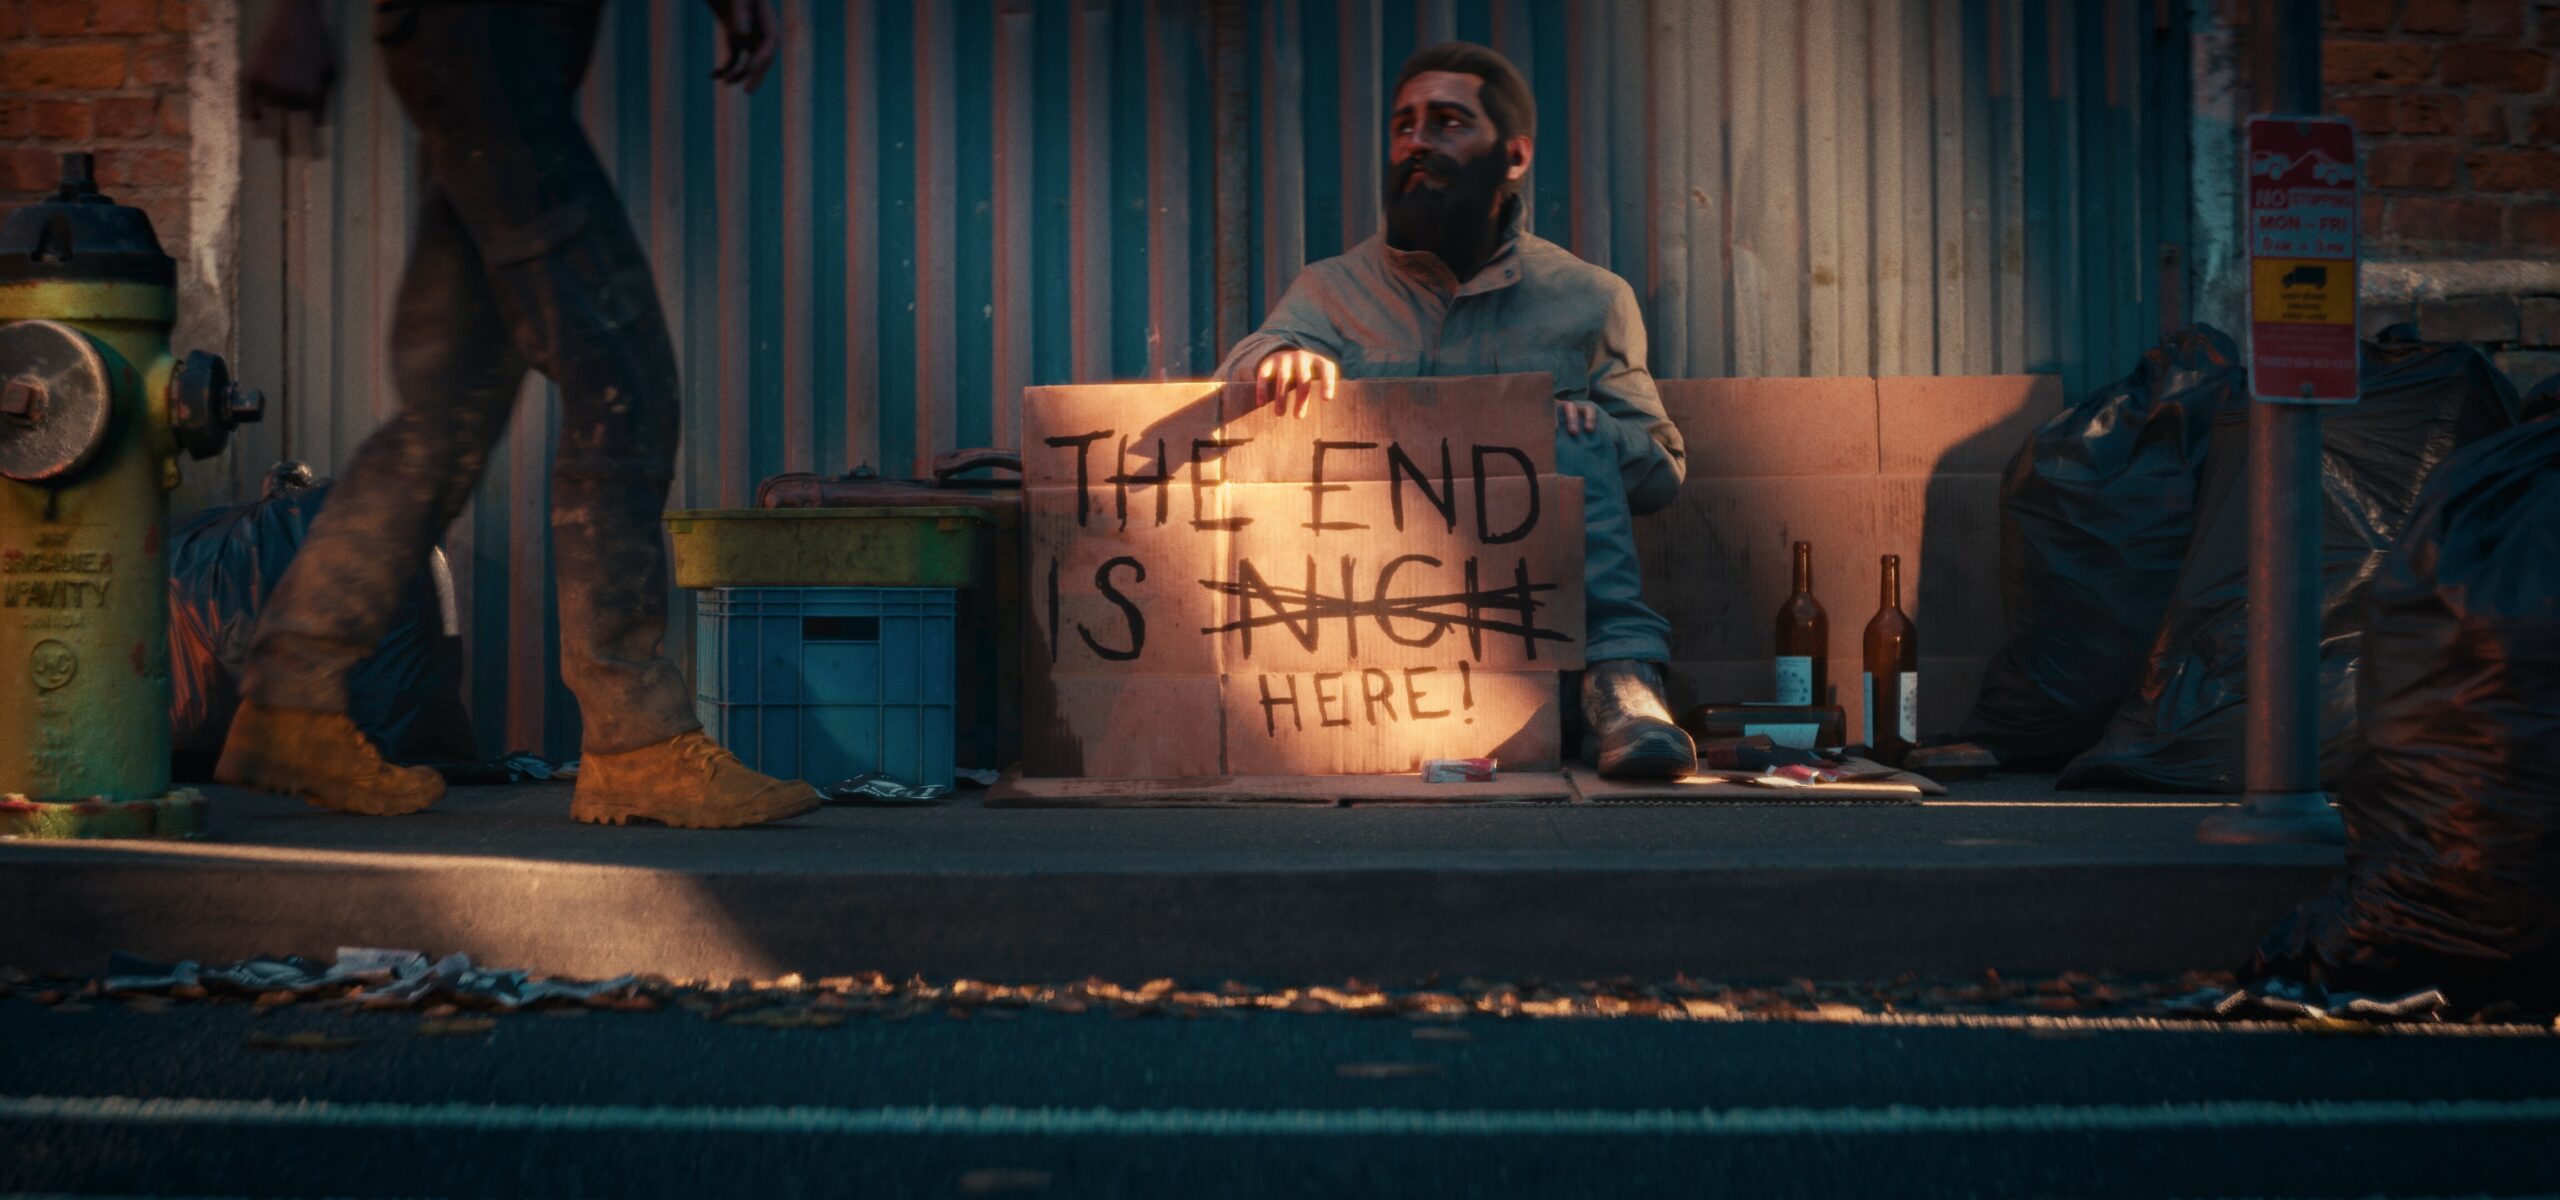
Somnus is a haunting movie by Zane Olson, describing the mysterious arrival of giants and the loss of sleep everywhere on earth.
First and foremost this project wouldn’t have been worth the effort has it not been for Håvard Dalen‘s LensSim addon. I think it might the coolest thing every made for Blender and scratches an itch that 3D never could before for me. I fancy myself a cinematographer, that was my job for about a decade, so anything that brings those results a little closer to reality in Blender is a welcome addition.
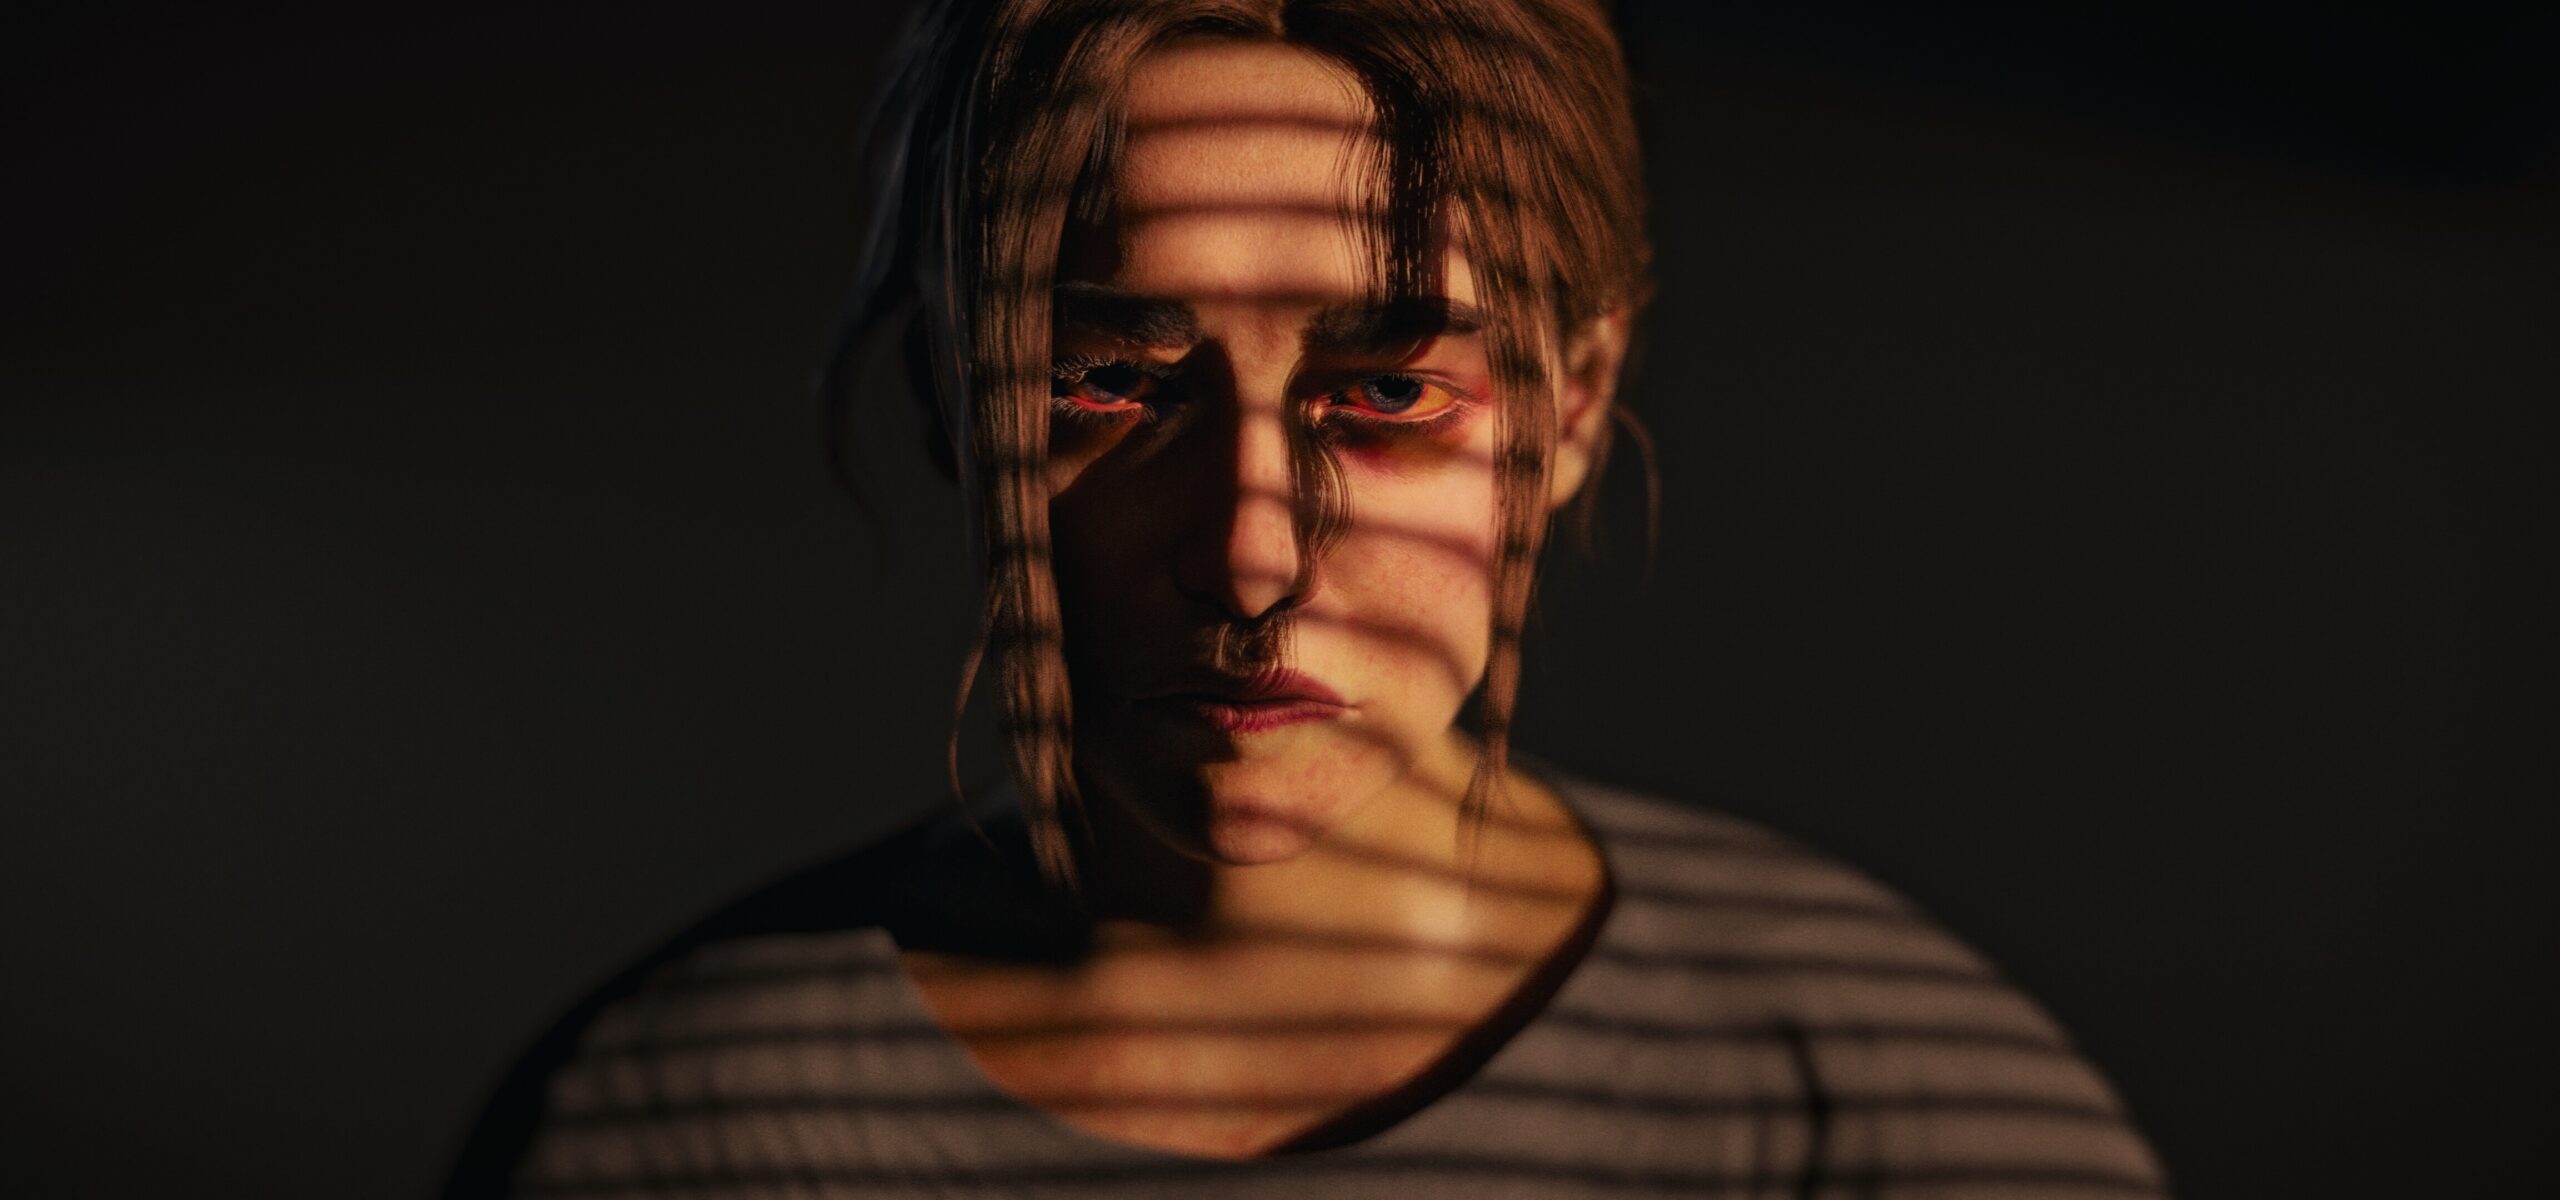
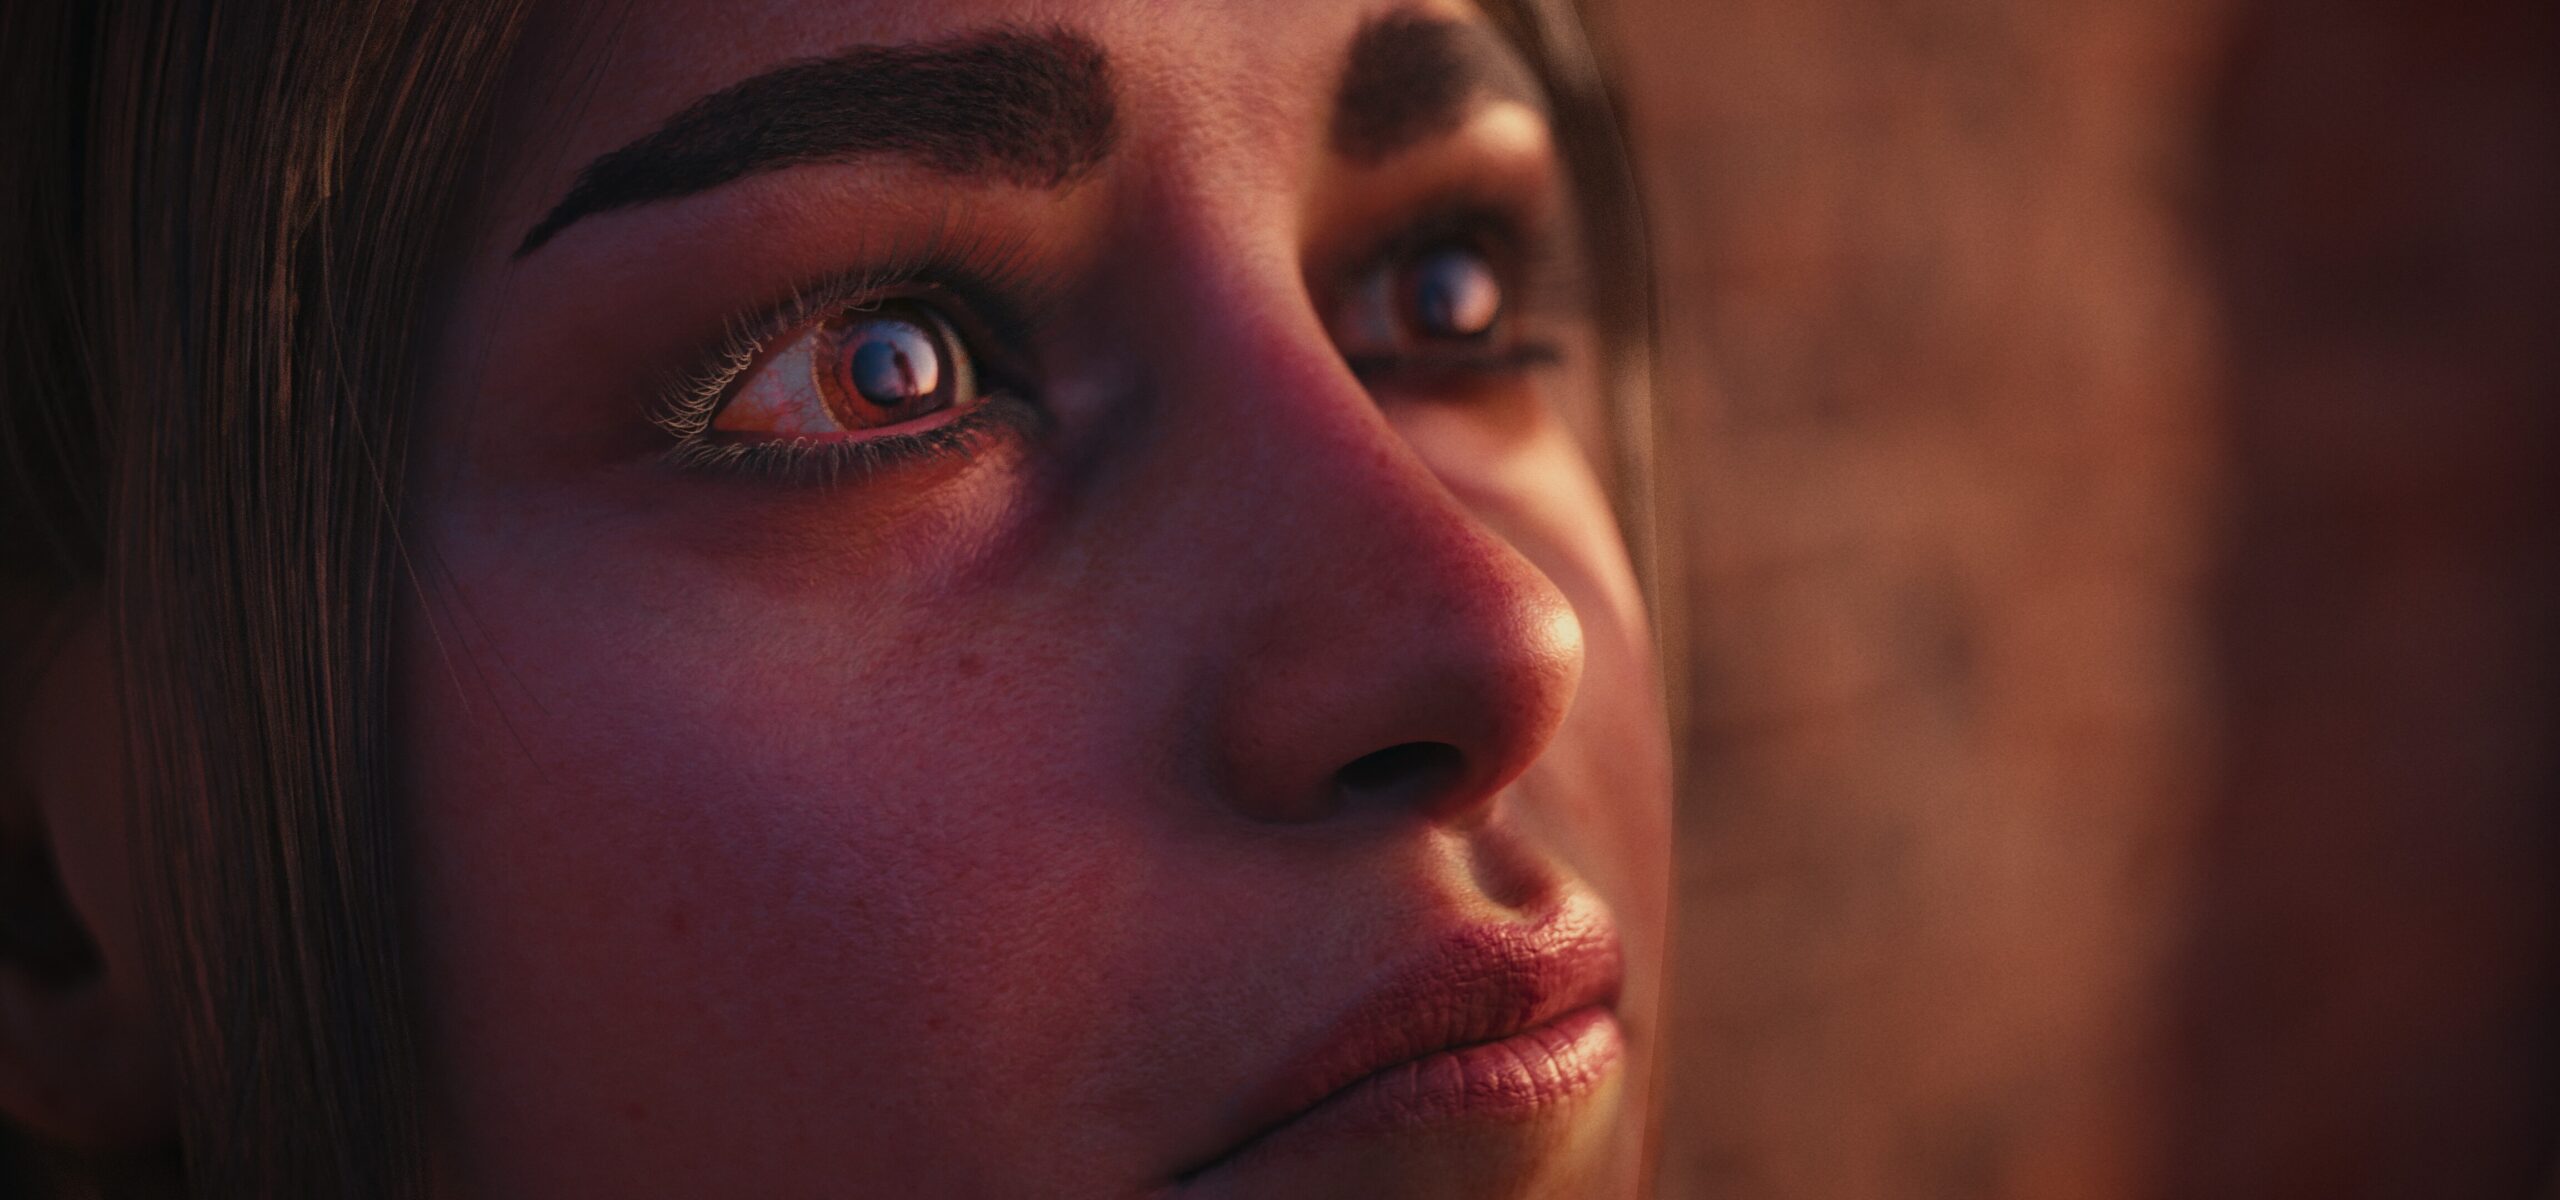
Another addon that made this possible was HumanGenerator. I could create a wide range of unique people fairly quickly. I really like the addon but there are a few major drawbacks. First the options to adjust the characters are a little limited, so I always sculpted on top of the base mesh and used references on a pure ref board to get away from the “HumanGen” look. The second draw back are the skin textures, thankfully GlobalSkin came to the rescue and I think did most of the heavy lifting in making the digital characters looks better. HumanGen also doesn’t have great options for clothing, so I used assets from 3D scan store. HumanGen does have a one button option to enable ARkit motion capture, and I used an app on my phone to streak facial motion capture in realtime and that is always awesome to use, though I would spend about 30-40 minutes for every shot just tweaking curves in the graph editor to get better results.
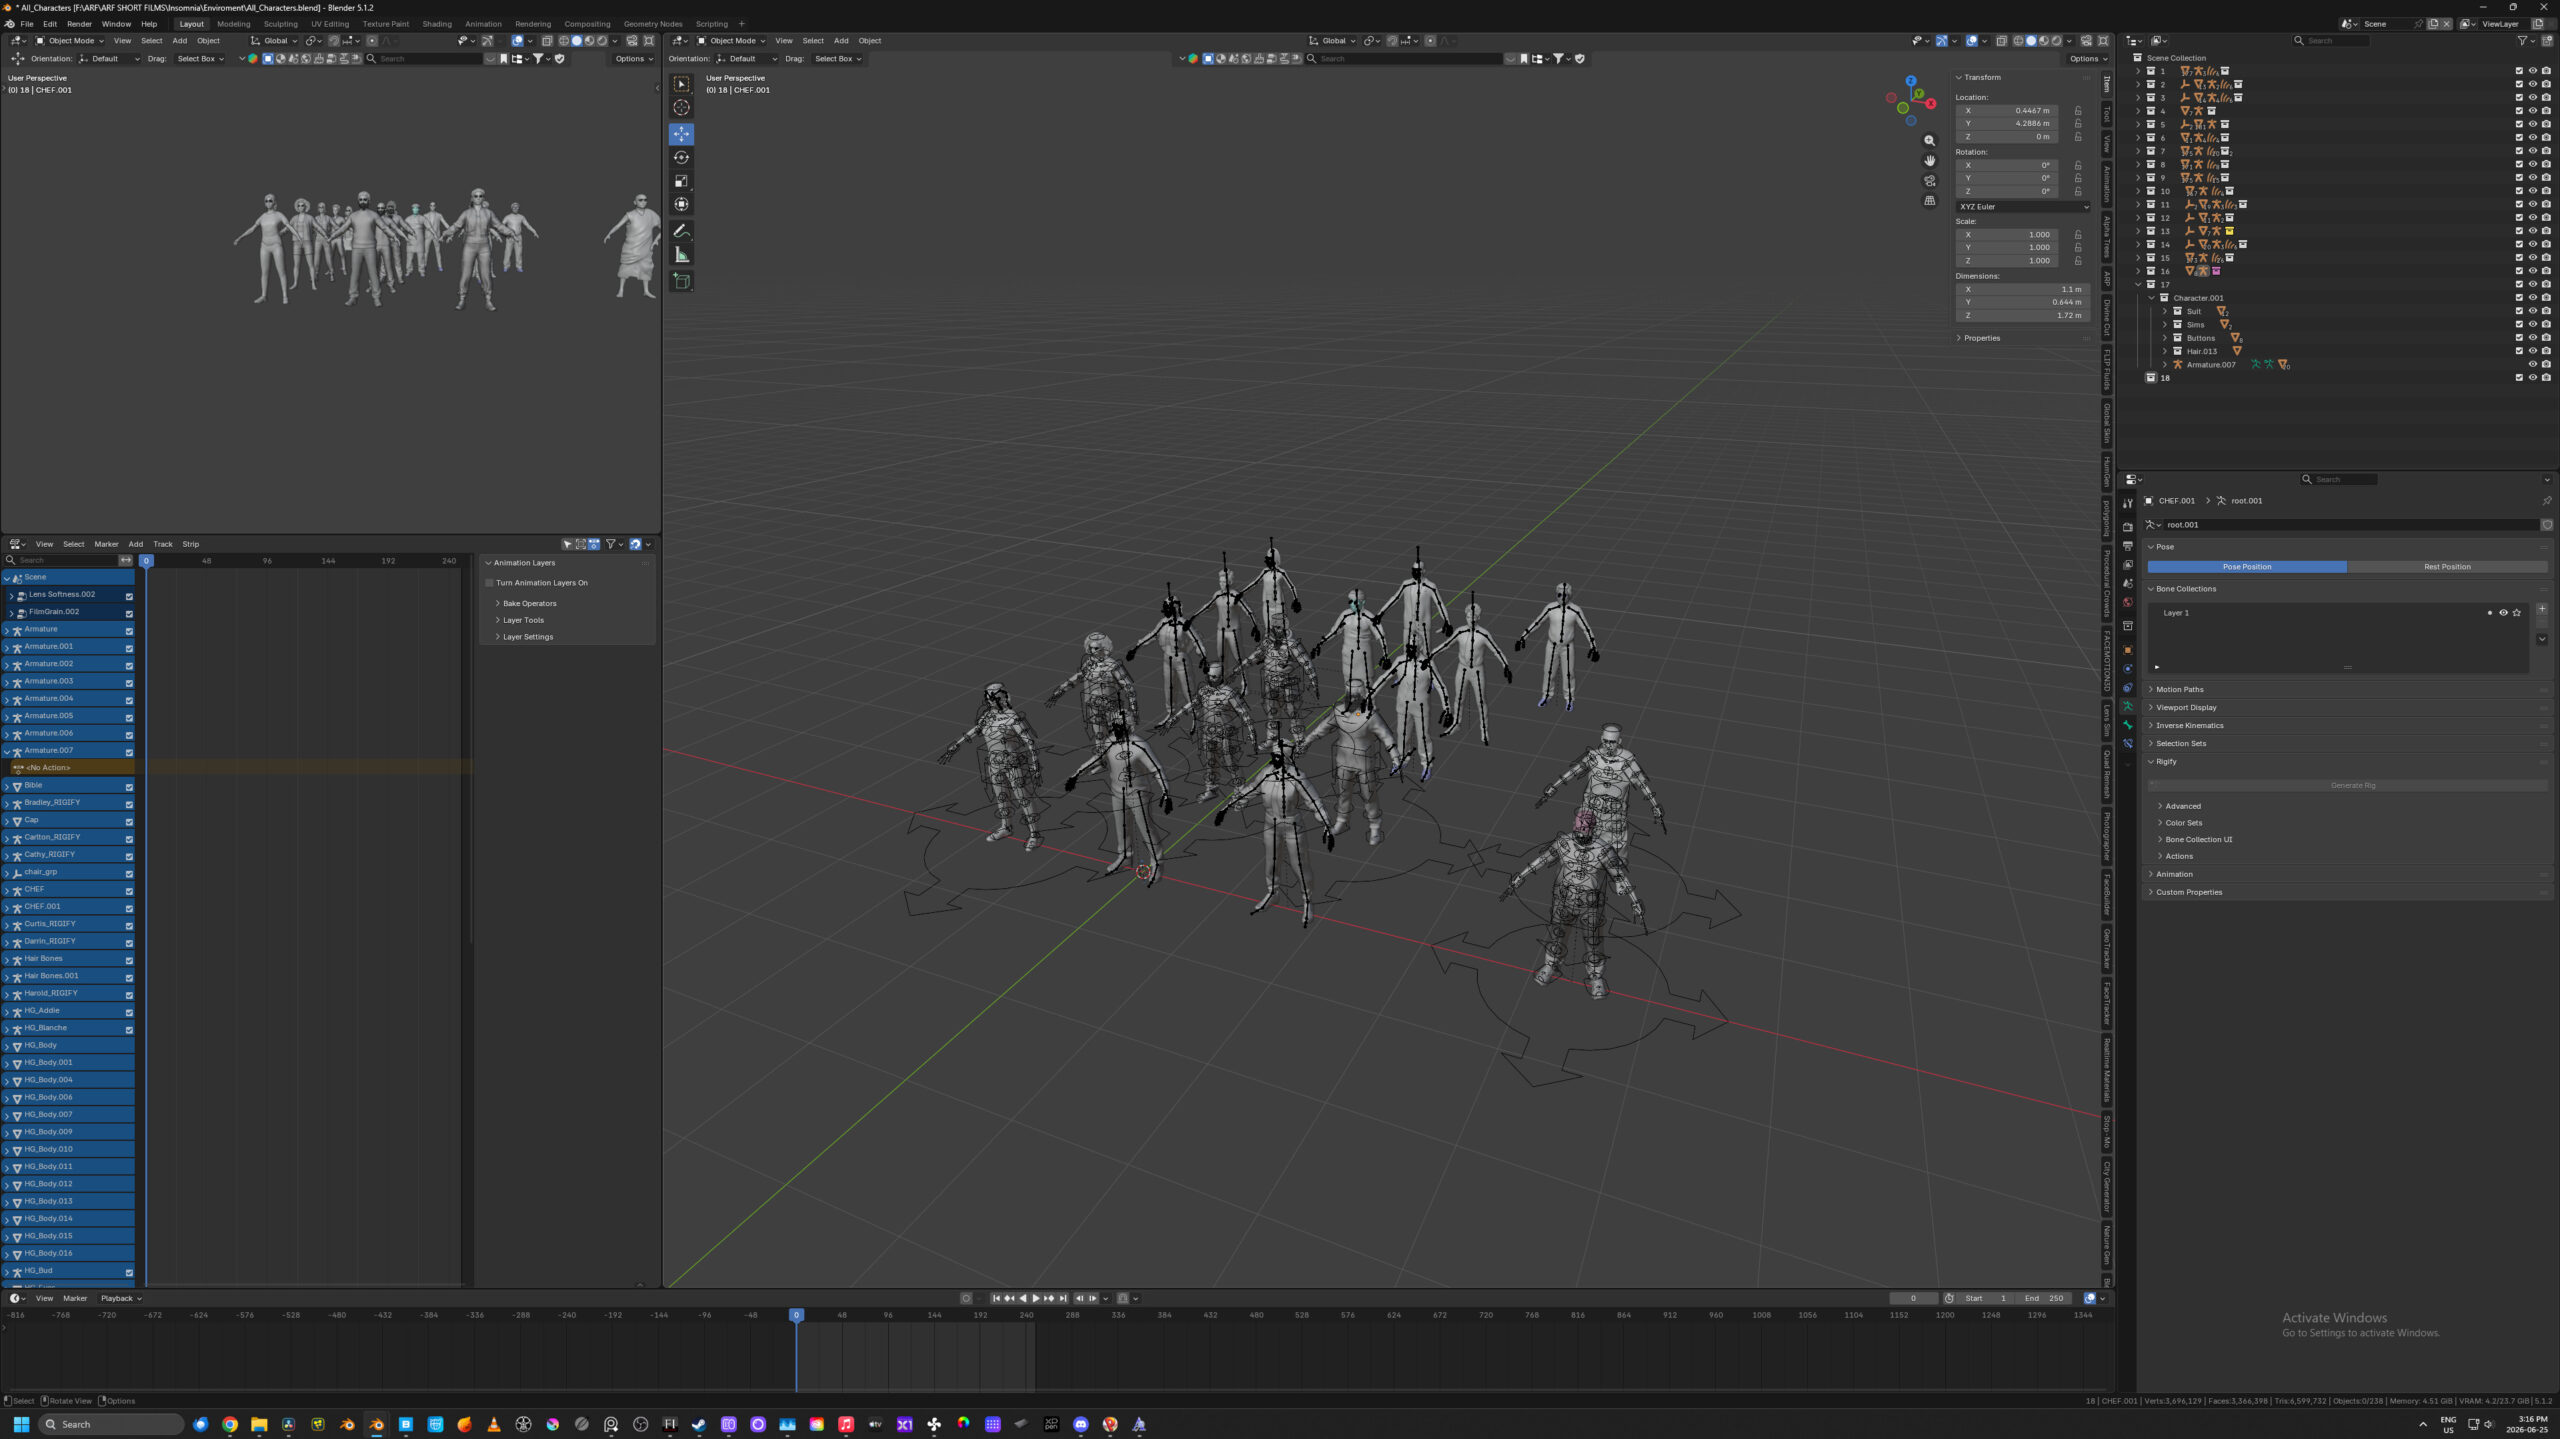
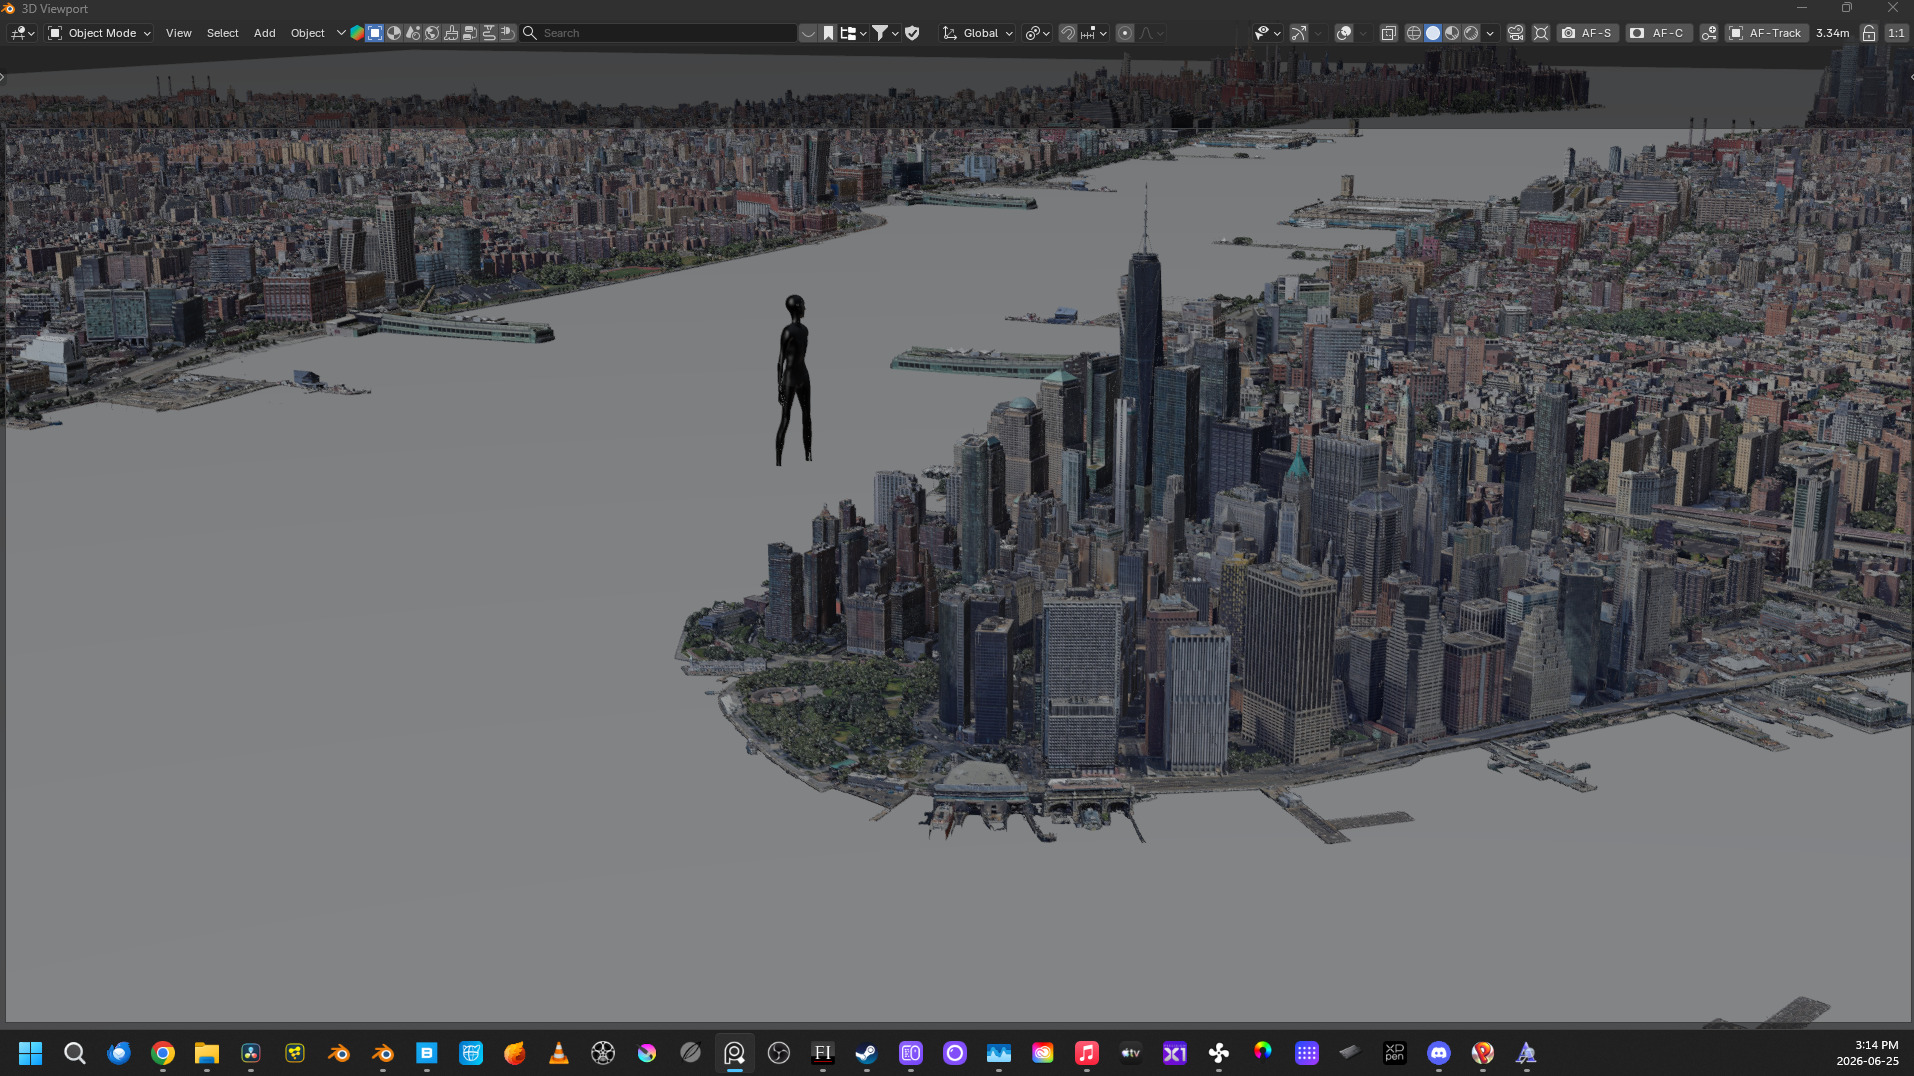
I used a lot of assets from Big Medium Small, Quixle, and Kitbash, as well as the City Generator add-on.


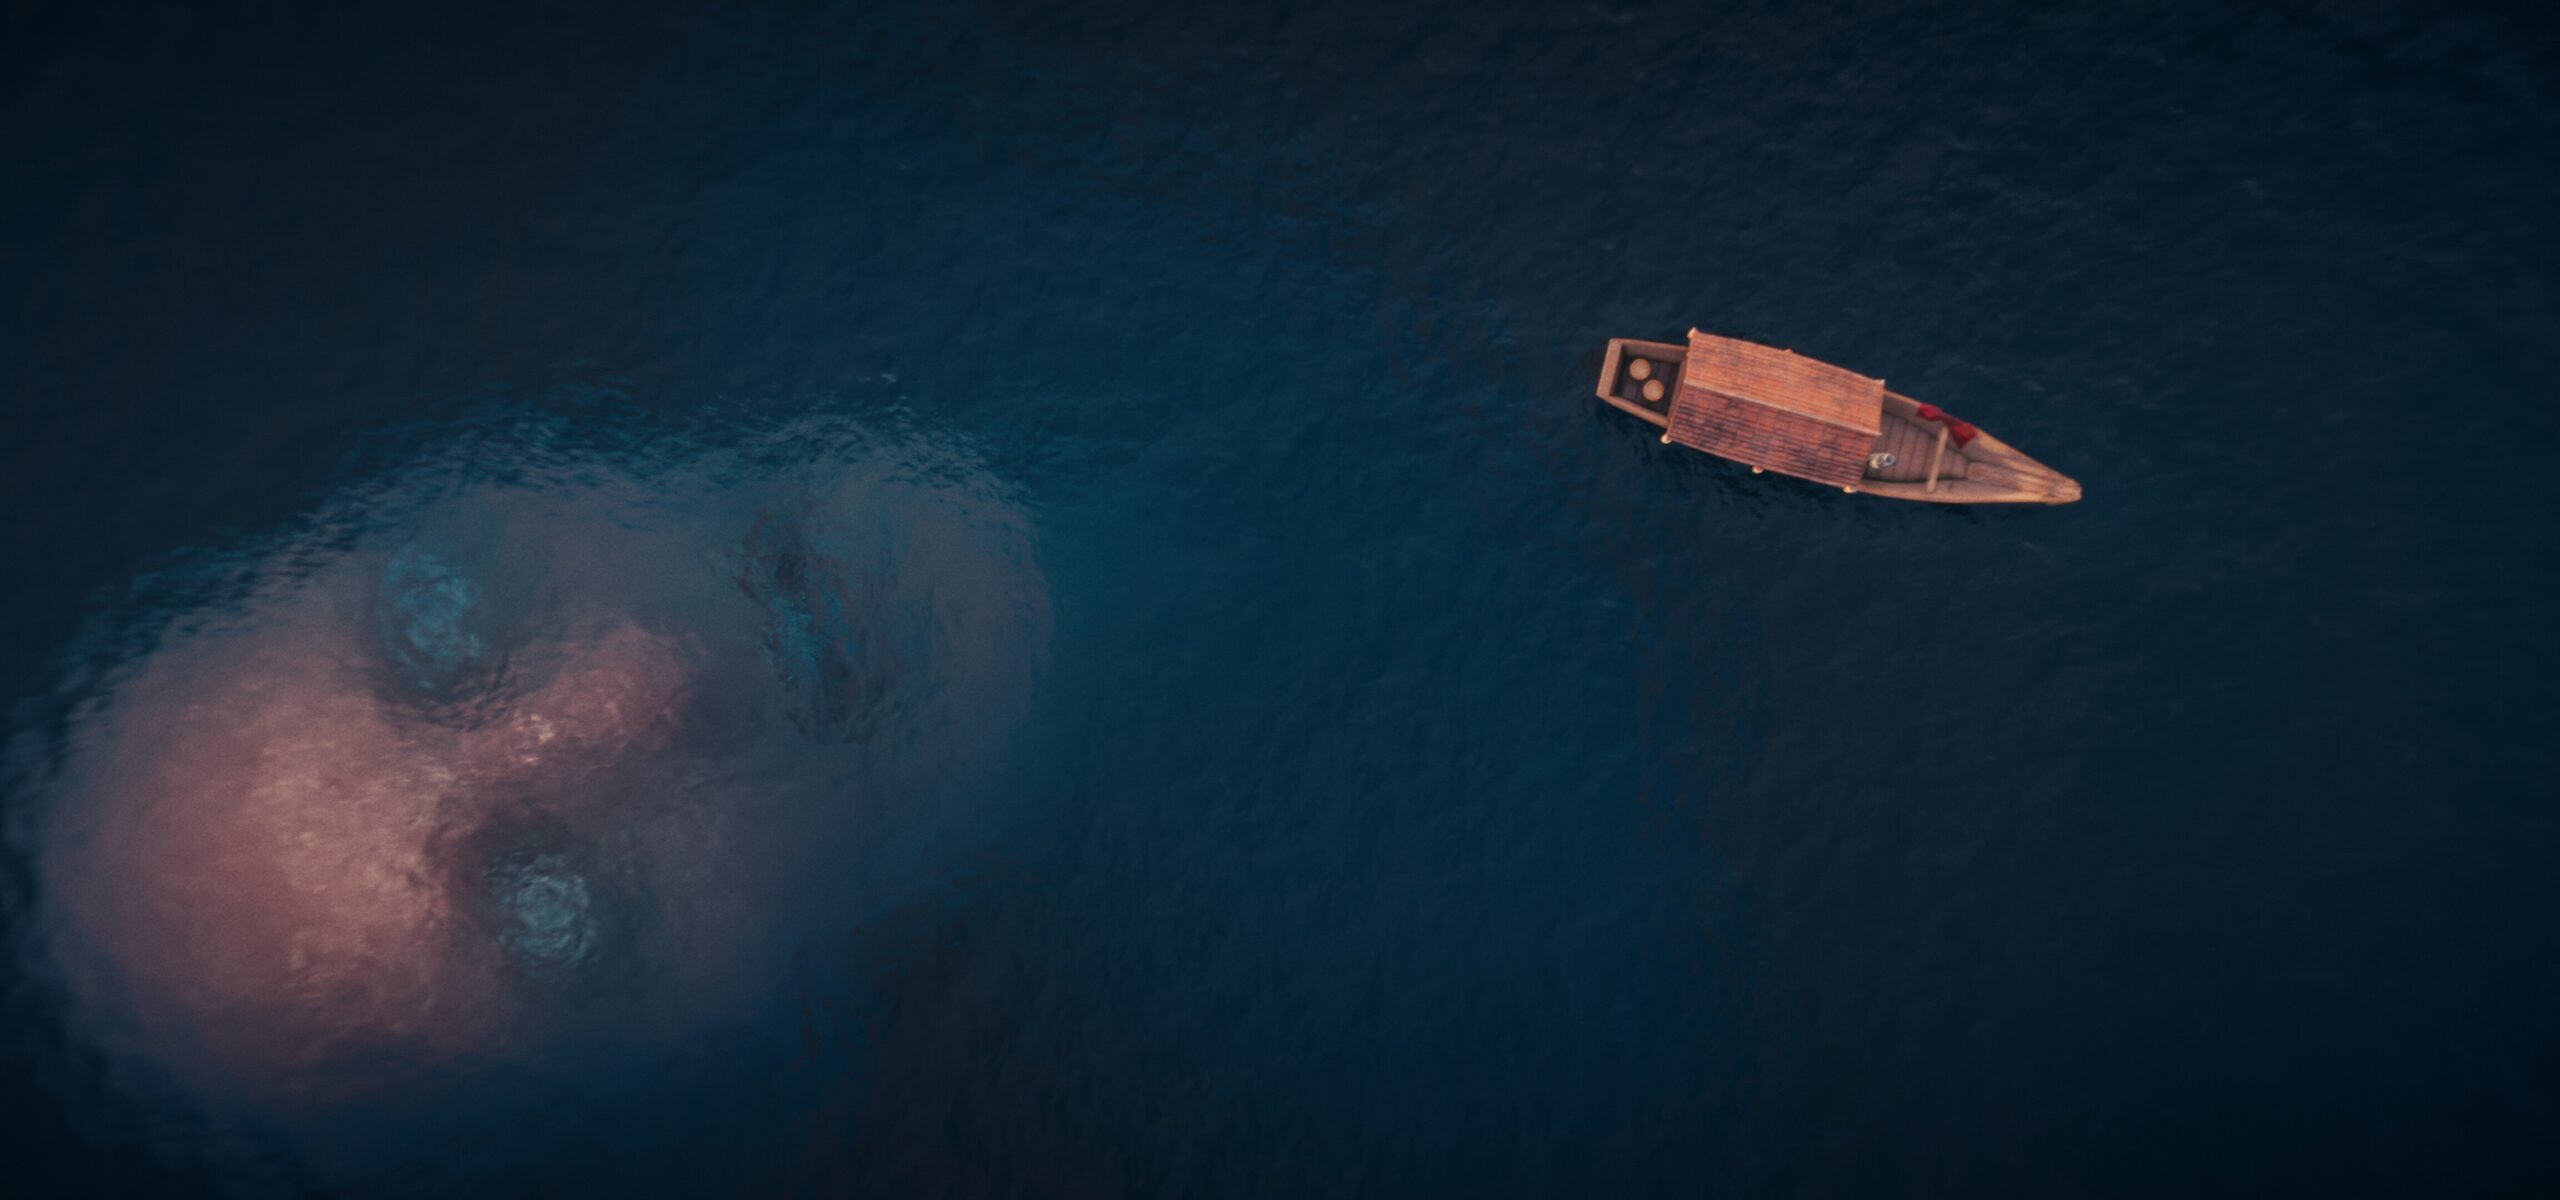
The longest shot to get right was the shot of the big boy (that’s what I called them in the script) underwater. That went back and forth between me and my good friend Michelle Longpre for weeks, she’s an artist and animator and I almost scraped the shot until she pointed out all the was wrong with the first versions.
Pretty much every shot was touched in After Effects but not in the usual compositing way. LensSim did a lot of great work in making the images look like they were captured through real glass, but it also broke render passes. So every shot was rendered as if it were directly from a camera. That being said I did cheat a lot to get as close to a noiseless image as possible. I would render each shot at either 128 or 256 samples depending of the light and if it was an intorior or exterior shot, and then I would re-render patches if I need more samples. I would draw a render box around the part of the image I needed and just render those small bits to a different folder and just slap them in top for the base render. Hair, glass, and vegetation were the main areas that needed extra samples usually.
I also did zero denoising in blender. I had every shot rendered and sent to after effects to comp the different image sections, even the exposure slightly, and then rendered out as a 4444 ProRes file. I then denoised those ProRes files in resolve. I love the blender denoising options, but I hate the smeary look you sometimes get, and it always bothers me looking back at old projects and knowing there’s no fixing that. Resolves image denoising is the best there is in my opinion so I wanted to avoid baking in my denoising.


