From Caricature to Mocap: Building a John Wick 3D Character for Blender with CC5
For many solo developers and 3D illustrators, the “character hurdle” is the most common reason projects remain unfinished. Traditionally, building a high-end character like a John Wick caricature demands a daunting manual workflow: sculpting from a sphere, retopologizing for animation, unwrapping UVs, and weight painting a suit.
This breakdown focuses on a pipeline that skips that technical overhead and gets artists into the Blender timeline faster. By leveraging Character Creator 5 (CC5), iClone’s Video Mocap plugin, and the insights of Thies Grünewald — Researcher at the University of Applied Sciences South Westphalia — it demonstrates how to keep character production deeply integrated with the Blender ecosystem.
Step 1: Rapid Prototyping with ActorMIXER
Rather than sculpting the John Wick caricature from scratch, the workflow begins in CC5 using the ActorMIXER system, which provides a rigged, UV-mapped base mesh as the foundation for the character.
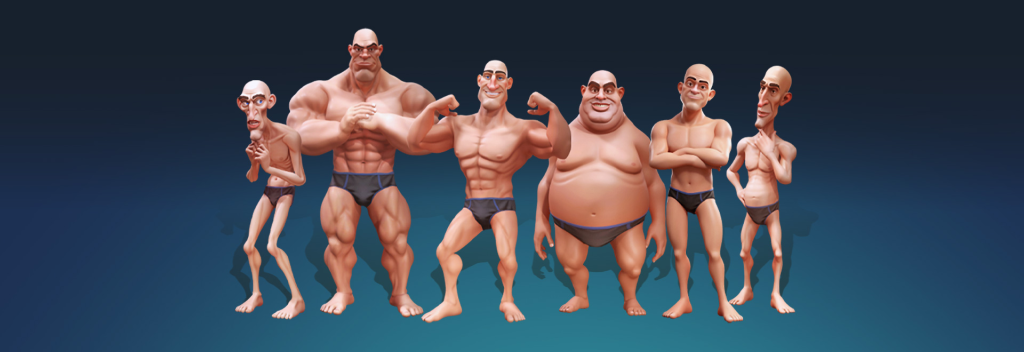
- Defining the Silhouette: The CaricatureMIXER Pack is the natural starting point for a John Wick-style build. Leaning toward the “Thin” shape preset establishes the sharp, lanky frame. Morph Sliders, the Proportion Editor, and the Edit Mesh tool are then used to push the exaggeration further.
- Exaggerating the Head: Caricatures are often defined by a larger-than-normal head. Scaling it up within CC5 is what gives the character its distinctive caricature look.
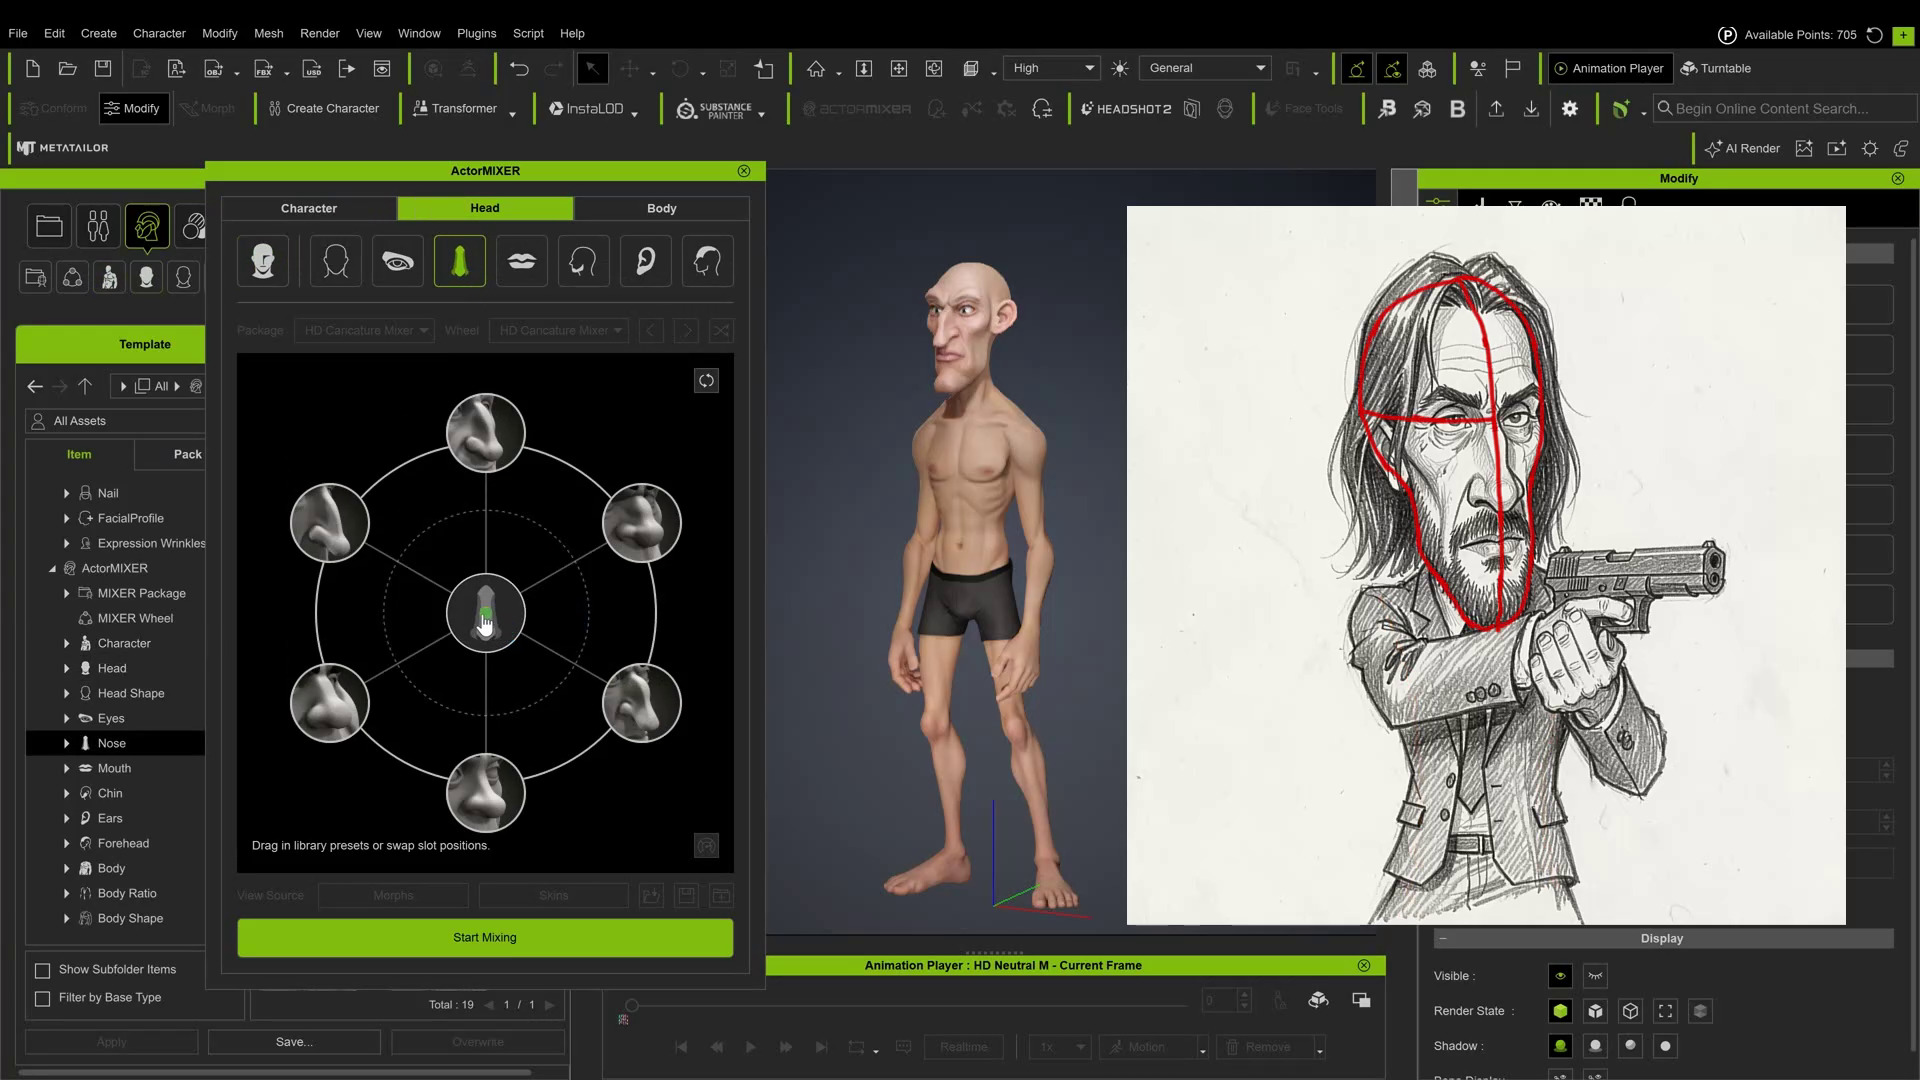
- Topology: Because the underlying topology is consistent, proportions can be radically changed without breaking the edge loops required for clean facial deformations.
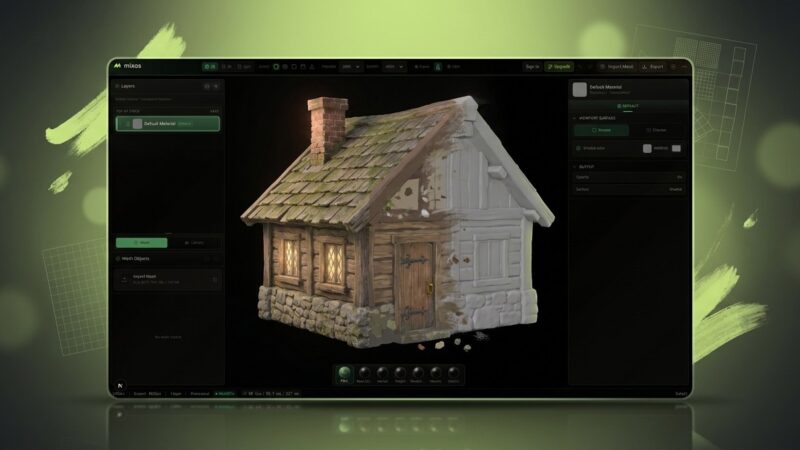
- Clothing: A prefab suit is added from the existing content library, giving the character a base outfit that is ready for animation.
Step 2: The Blender Bridge (Validated by Thies Grünewald)
The most critical part of the pipeline is how the character enters Blender. In his technical review of the CC5-to-Blender ecosystem, Thies Grünewald — a researcher and filmmaker with over 15 years of production experience — highlighted that the free Auto Setup for Blender add-on is what makes this workflow professional-grade. In his words: “As a one-man band, it is essential for me to work with tools that allow me to implement my creative projects faster and more efficiently in a professional manner without compromising on quality. For me, CC5 has become indispensable.”
Performance Optimization:
Before exporting, Thies recommends using the “Create” section in CC5 to bake the character’s normal maps down to Level 0 or 1. This maintains visual fidelity while keeping the mesh lightweight enough for smooth playback in Blender’s Eevee or Cycles viewports, even on less powerful hardware.
The Import Process:
- In CC5, navigate to Plugins > Blender Pipeline > Export Character. Level 1 subdivision is recommended for better playback feedback.
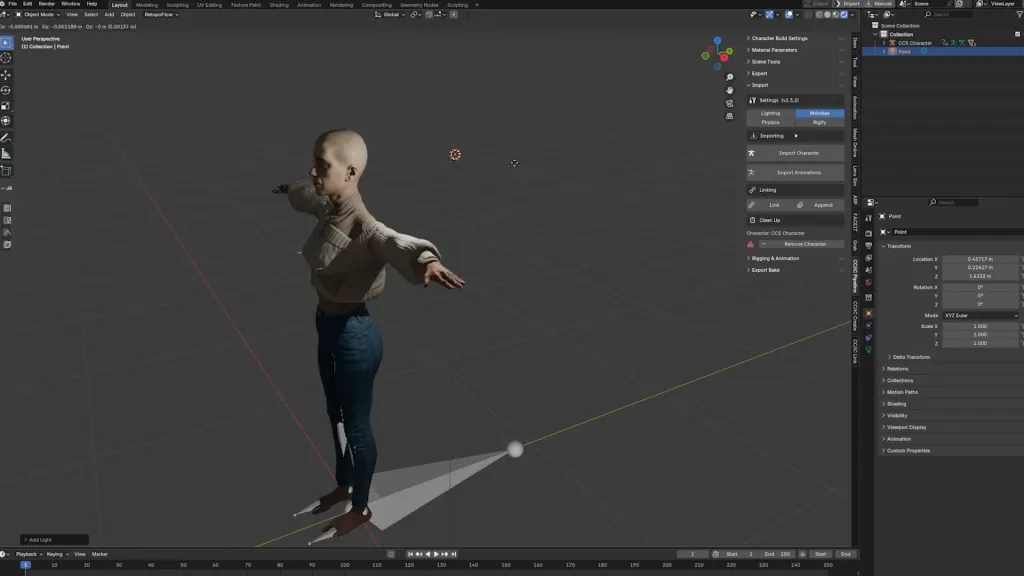
- In Blender, open the N-Panel (tap N) and select the CC3/4 tab.
- Click Import Character and select the exported JSON file.
Why this matters:
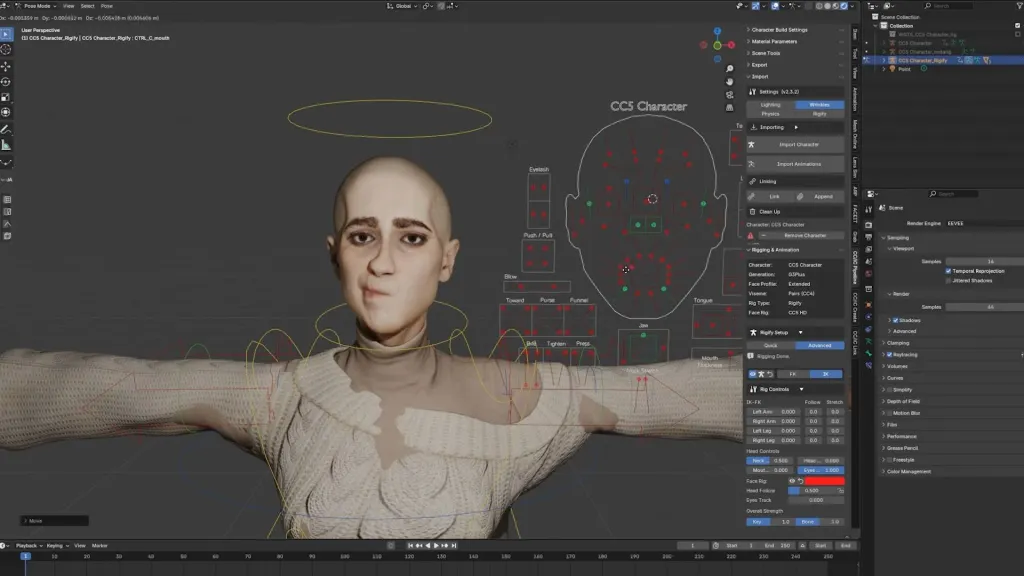
As Thies explains, the Auto Setup for Blender add-on goes beyond a simple file import: it builds the environment automatically. It translates PBR materials into native Blender Shader Node trees and sets up Eevee settings — including enabling ray tracing for the best-looking eyes. Most importantly, it provides a one-click Rigify option in the advanced settings that converts the character’s bone structure into a standard Rigify control rig, delivering full IK/FK controls natively in Blender without any manual rigging.
Step 3: Animation via iClone Video Mocap
Motion capture once meant expensive hardware suits and hours of calibration. This pipeline bypasses that cost by using iClone’s Video Mocap plugin, powered by QuickMagic’s cloud-based engine, to convert video footage into 3D animation data.
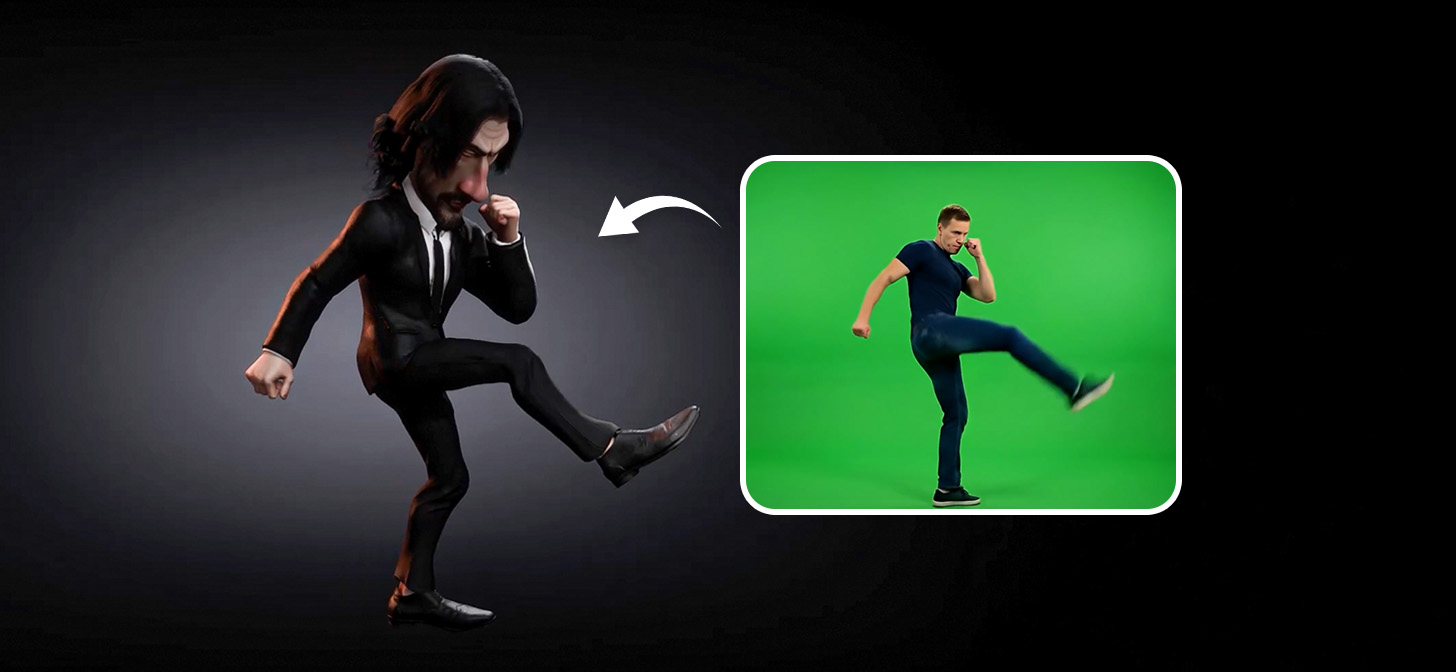
- Source Footage: Any suitable video can serve as the motion source. The John Wick tutorial uses an AI-generated martial arts video (produced with Google Flow/Veo) as input. The plugin is designed to be forgiving of video quality, though keeping the full body in frame and minimizing motion blur produces cleaner results.
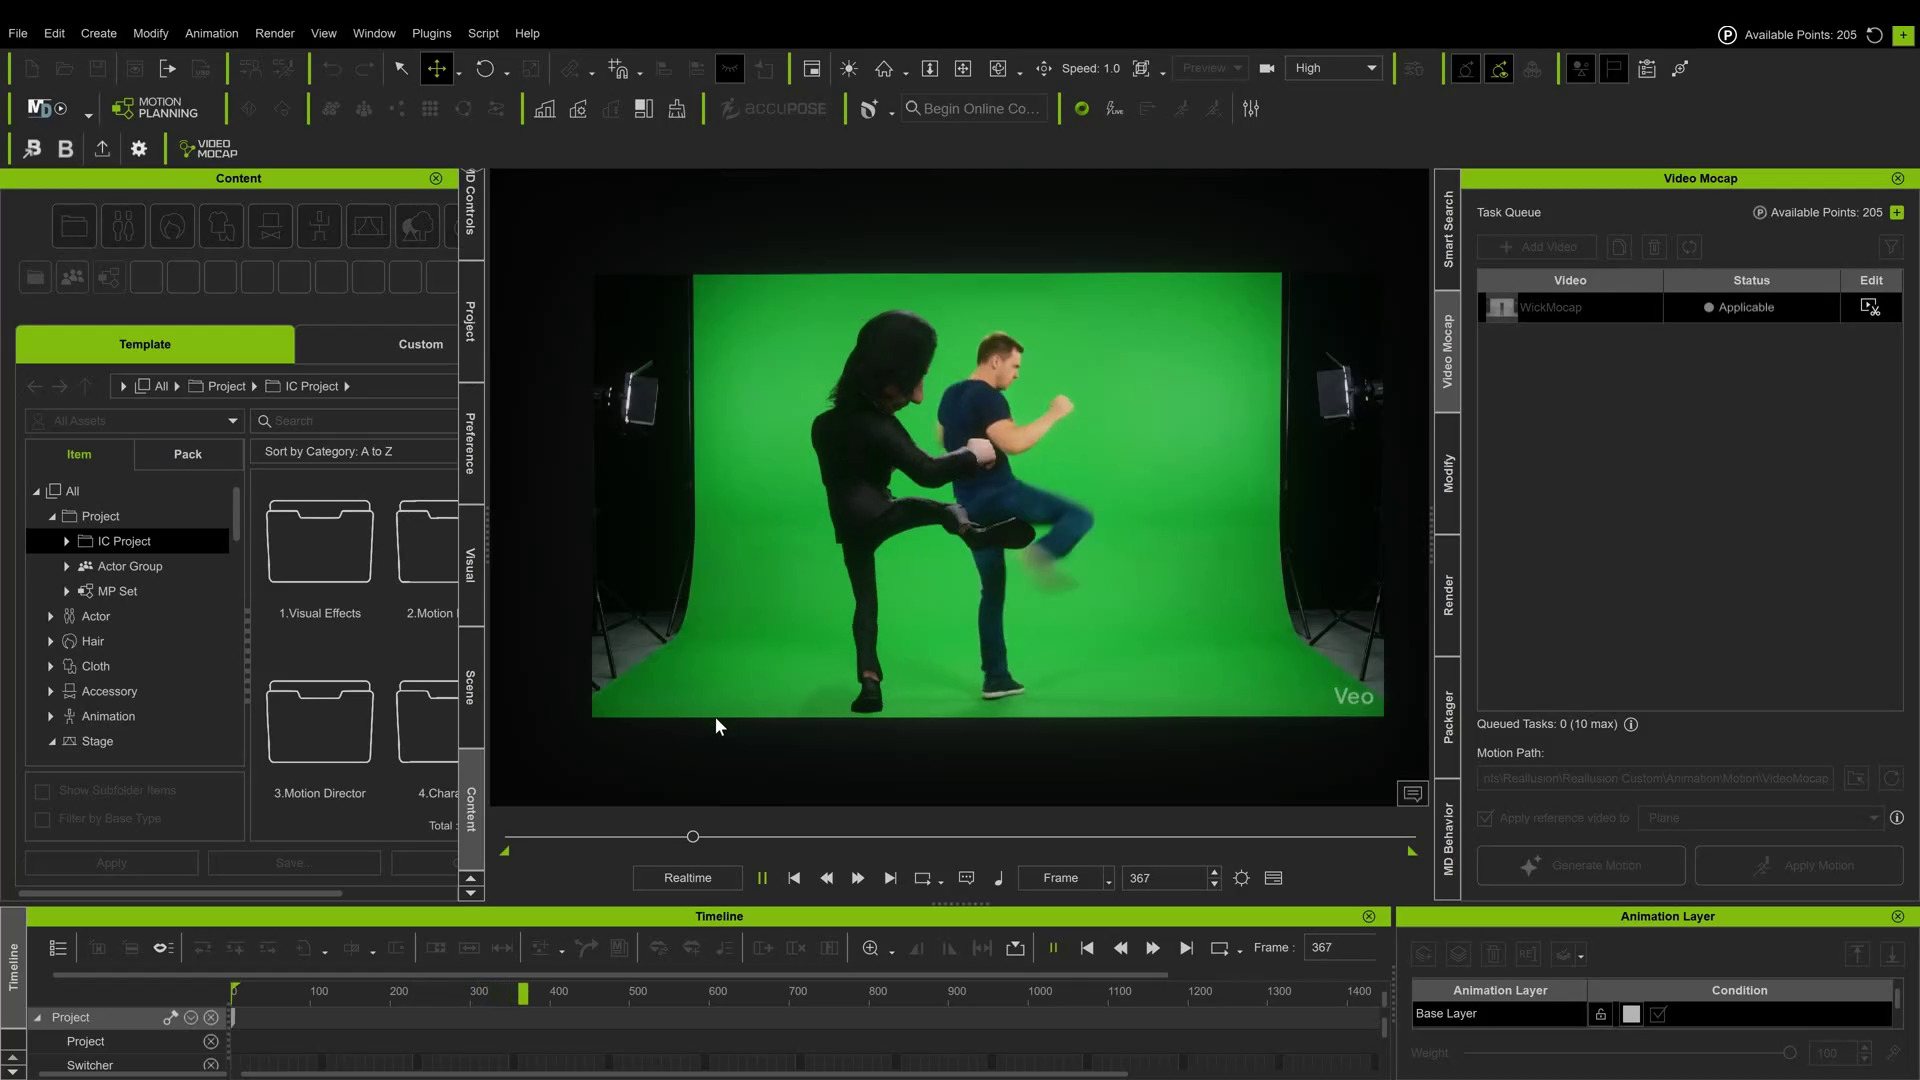
- Extraction: The Video Mocap plugin tracks joints in the 2D footage and maps them to the 3D skeleton. The motion is processed in the cloud and applied to the character automatically. iClone generates a reference plane showing the original video alongside the character for easy comparison.
- Refinement: Because the caricature has exaggerated proportions — longer-than-normal arms, for instance — some cleanup may be needed in iClone’s motion editing tools before the animation data is brought across to Blender.
Step 4: Layering Facial Performance
A caricature isn’t complete without personality. While body motion comes from the Video Mocap pass, facial expressions can be layered on using ARKit face capture. Thies Grünewald’s review confirms that the Auto Setup for Blender add-on fully supports this workflow.
- Setup: Use the free Live Link Face app on an iPhone (the app is exclusively iOS).
- Recording: The Live Link Face app outputs a CSV file. Uploading that file onto the proxy face in Blender applies the mocap data directly to the character’s shape keys.
- Baking: These shape keys can be driven directly in the Blender timeline, allowing the intensity of facial expressions to be matched to the body movements captured in the previous step.
Summary of the Workflow
- Generate the caricature base in CC5 using ActorMIXER to skip manual sculpting and retopology.
- Export via the Blender Pipeline plugin to preserve all technical character data.
- Import using the free Auto Setup for Blender add-on to automate shader setup and Rigify generation — as validated by Thies Grünewald.
- Capture motion from video footage using iClone’s Video Mocap plugin, bypassing the need for expensive mocap hardware.
- Layer ARKit facial data in Blender for expressive character performance.
- Render in Eevee for a stylized look or Cycles for cinematic realism.
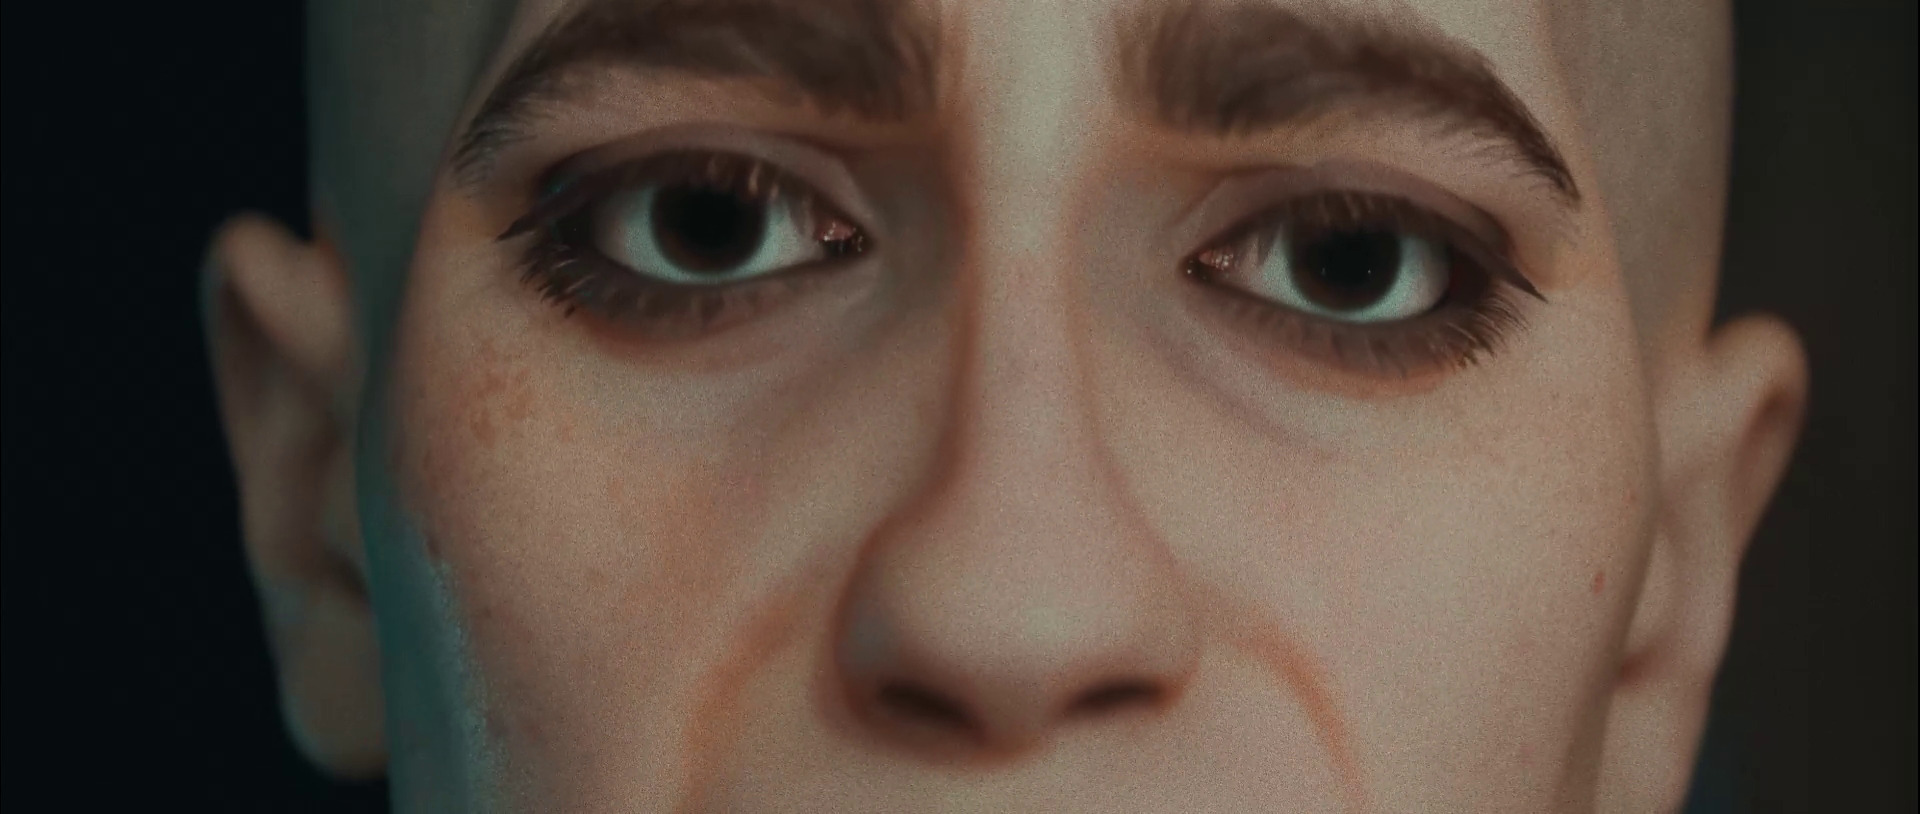
The result is a complete, lifelike animation using a character designed in CC5, brought to life with iClone Video Mocap and facial capture, and finalized in Blender — all without the need for deep technical knowledge of complex character animation.
The Auto Setup for Blender add-on is free to download, and the entire pipeline can be tested with a trial version of Character Creator 5.