
How I Built This Stylized Haunted Street Modular Kit in Blender 5 and Unreal Engine 5.7

3D Tudor writes:
If you have ever modeled a building you were proud of… then tried to turn it into a modular kit and watched it quietly unravel the moment you duplicated it into a full street, this is the post I wish I had when I started taking environment work seriously.
This is a personal “how I built it” breakdown of our Stylized Haunted Street Modular Kit workflow, from the first kit rules in Blender 5 to the final mood pass in Unreal Engine 5.7. I will keep it practical, honest, and focused on the decisions that stop a modular set from becoming a haunted mess for all the wrong reasons.
The real goal (and the mistake I see constantly)
Most people do not fail because they cannot model. They fail because they try to make a modular kit after they have already made “cool pieces”.
A modular kit is not a collection of nice meshes. A modular kit is a system that has to survive:
- duplication
- rotation
- snapping
- lighting changes
- scale checks
- material reuse
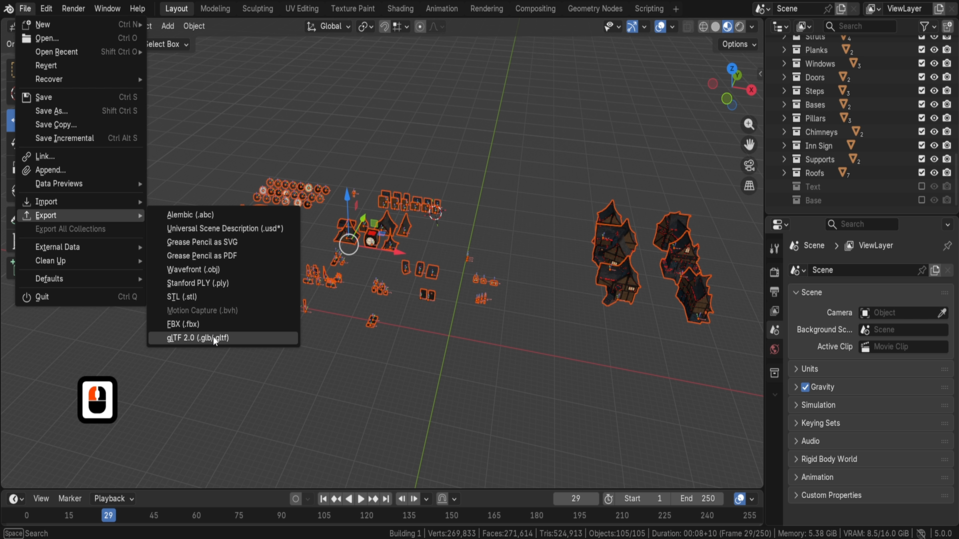
- export and reimport
- last-minute changes when you are tired and annoyed
So the goal from day one was simple:
Build a kit that behaves at street scale. Then prove it inside Unreal, under proper lighting and atmosphere.
What I built (two deliverables, no hand-waving)
I wanted this project to end with two things you can actually point at:
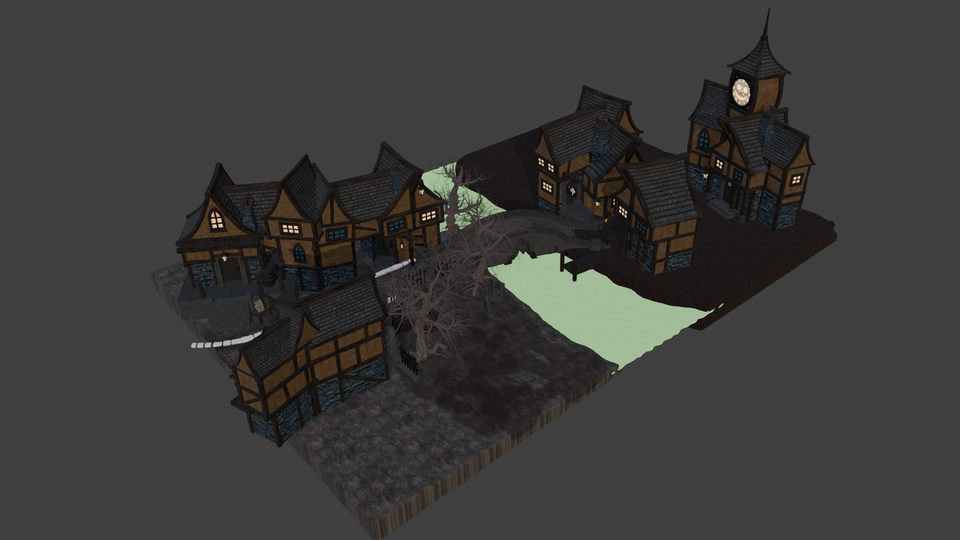
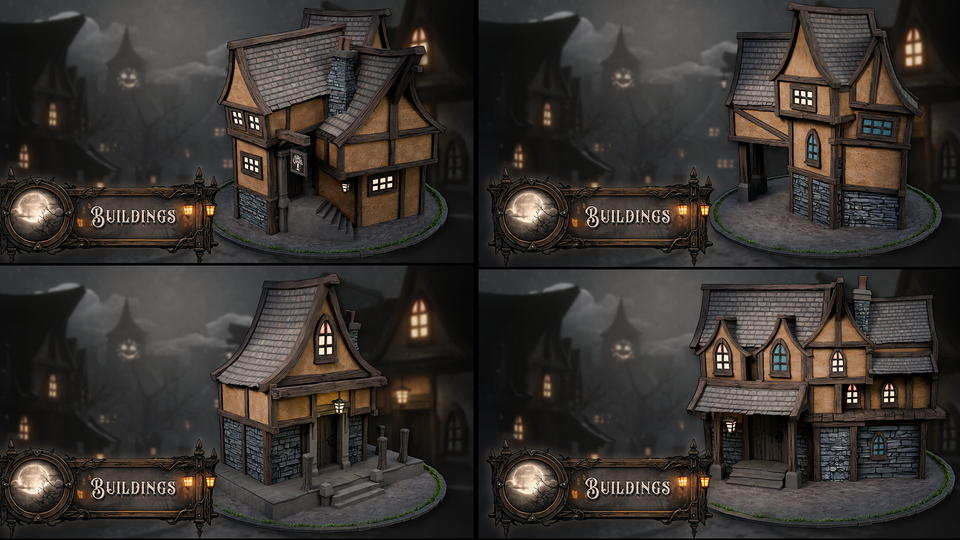
- Deliverable A: a clean, usable modular haunted street kit built in Blender
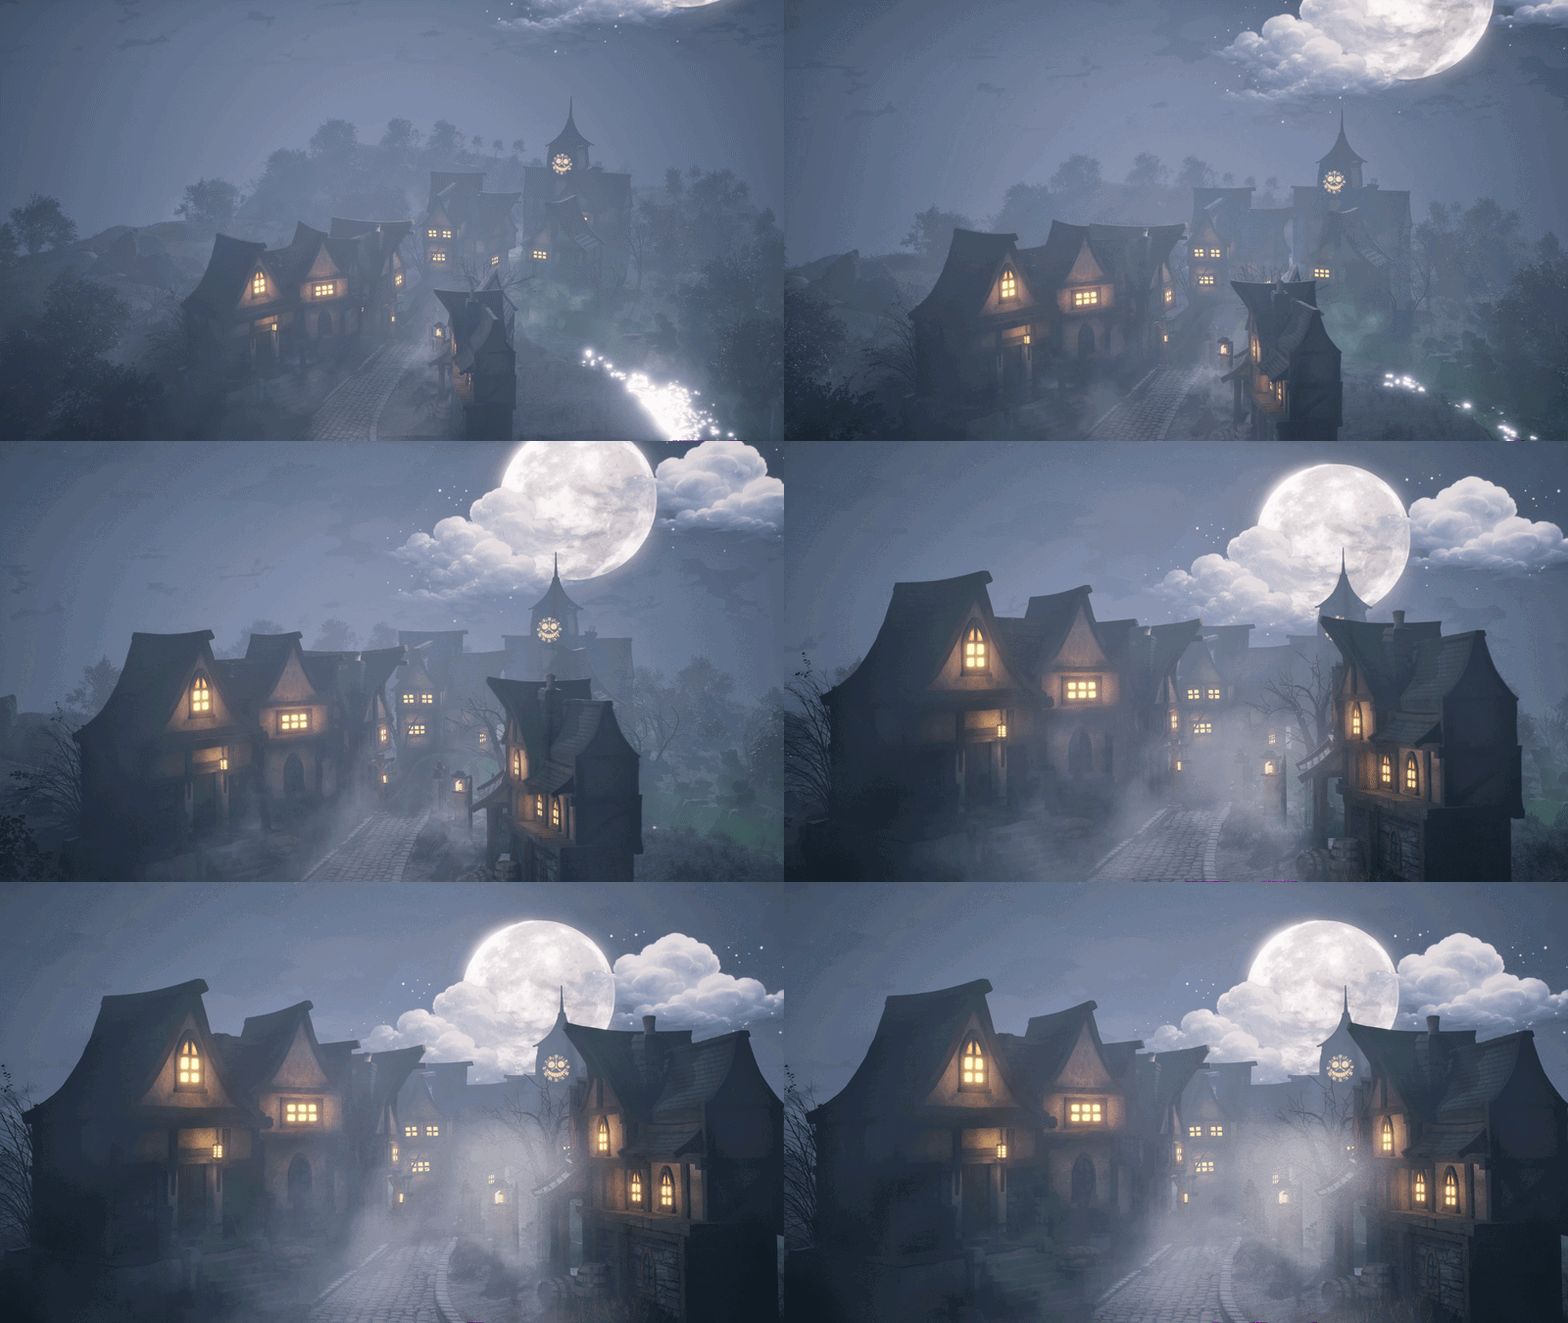
- Deliverable B: a finished Unreal Engine scene that proves the kit works and looks good when assembled into a full environment
If you only do A, you still have not tested the kit. If you only do B, you probably built a one-off scene and called it modular.
My kit rules before I touched detail
Here is the boring bit that makes everything else possible. This is the part people skip, then wonder why their set does not snap properly.
Before I allowed myself any “fun” detailing, I locked:
- consistent scale and human proportion checks
- repeatable grid logic for widths, heights, and story spacing
- pivot discipline so rotation does not produce chaos
- naming discipline so exporting does not turn into archaeology
- UV consistency so materials behave across the whole set
None of this is glamorous. It also saves you from rebuilding half your kit later, which is even less glamorous.
Blender 5: how I built the kit so it stays stable
This first half was about building pieces that can be reused without visual drift.
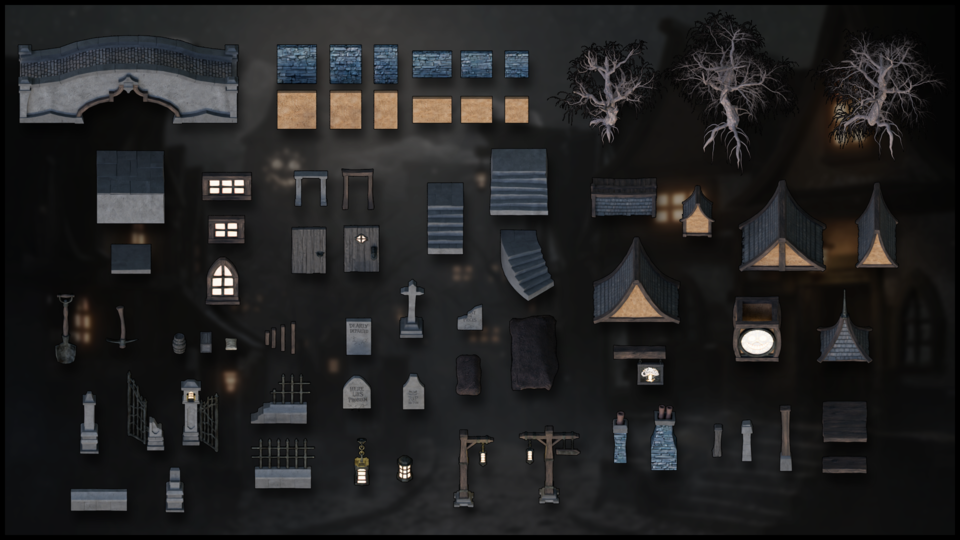
1) I started with the smallest repeatable units
Instead of building one hero building, I began with the boring building blocks:
- wall segments
- corners
- beams and trims
- windows and frames
- roof chunks that can repeat without obvious seams
Once those behaved, the kit started to feel like a toolkit rather than a single model.
2) I controlled stylisation on purpose
Stylised work can trick you into being sloppy because “wonky” looks charming.
The problem is that uncontrolled wonk becomes inconsistent wonk, and the street stops feeling like one place. So I made stylisation a deliberate choice:
- consistent silhouette language across the set
- repeatable bevel logic so edges read similarly
- intentional variation where it adds character, not where it breaks the system
3) UVs were treated as a system, not a punishment
If you want materials to read consistently across many pieces, UV work has to be disciplined. This is where a kit usually falls apart visually.
So I worked toward:
- consistent scale across pieces
- predictable UV orientation where it matters
- a workflow that does not break the moment you duplicate and rotate parts
Not exciting. Extremely effective.
4) Export prep was part of the modelling process
If your export is an afterthought, you will pay for it in Unreal.
I kept export discipline in mind from the start:
- clean transforms
- sensible pivots
- named parts that you can recognise later
- a structure that is easy to update without re-exporting the entire world
Unreal Engine 5.7: how we proved it works (and made it feel like a place)
This is the point where a kit either becomes a proper environment… or it becomes a greybox that nobody wants to render.
The Unreal half is where Luke shines, because he takes the parts and makes a world that actually reads.
1) Terrain and the street bed
We shaped the land so the street sits naturally rather than looking like it was placed on a perfectly flat dinner table.
2) Water and the river pass
Adding water is a brilliant honesty test. It immediately reveals scale issues, composition issues, and lighting issues.
3) Variation without destroying material sanity
We used practical methods to add wear, break-up, and variation while keeping the workflow stable. The goal was not to build a fragile shader jungle that you are scared to touch later.
4) PCG where it genuinely helps
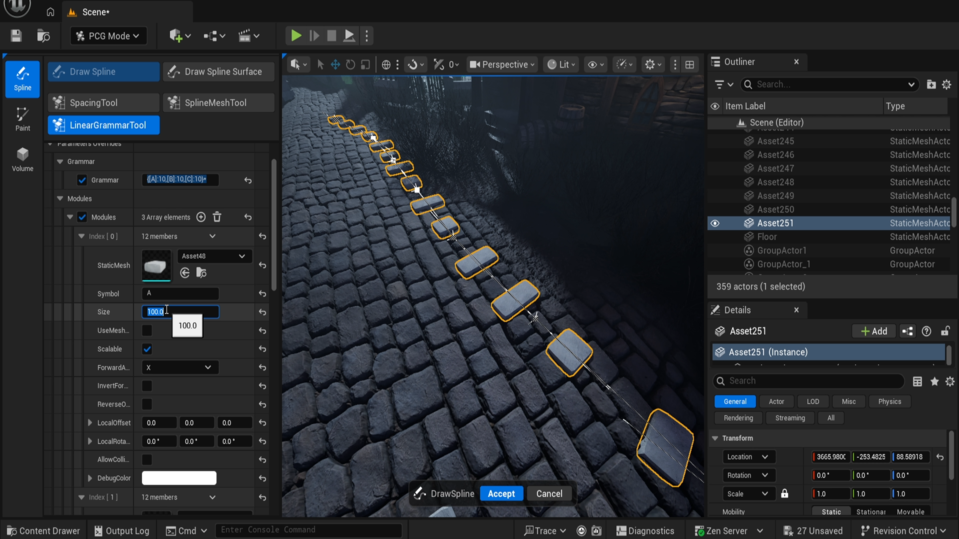
Procedural dressing can be brilliant or it can be a trap. We leaned on it in the places where it saves time and maintains consistency, not where it creates unpredictability.
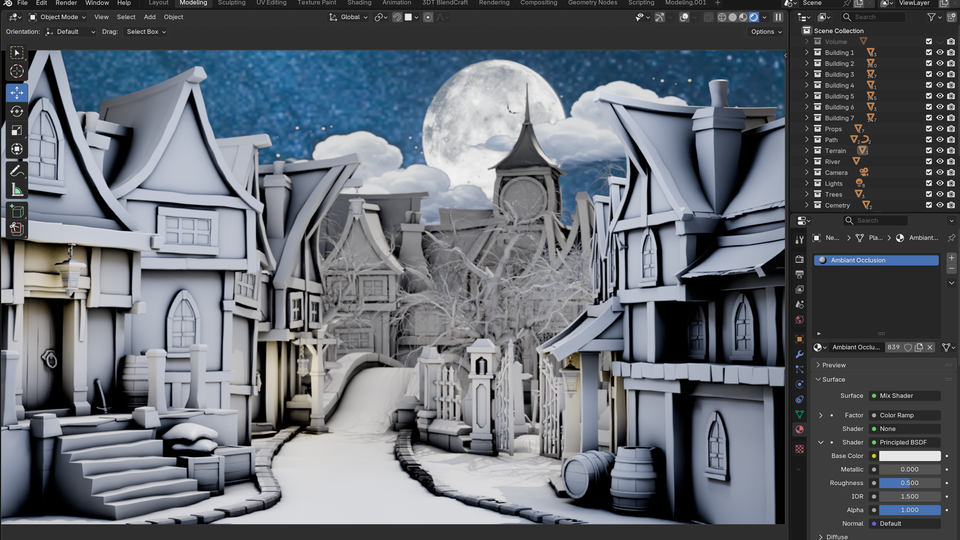
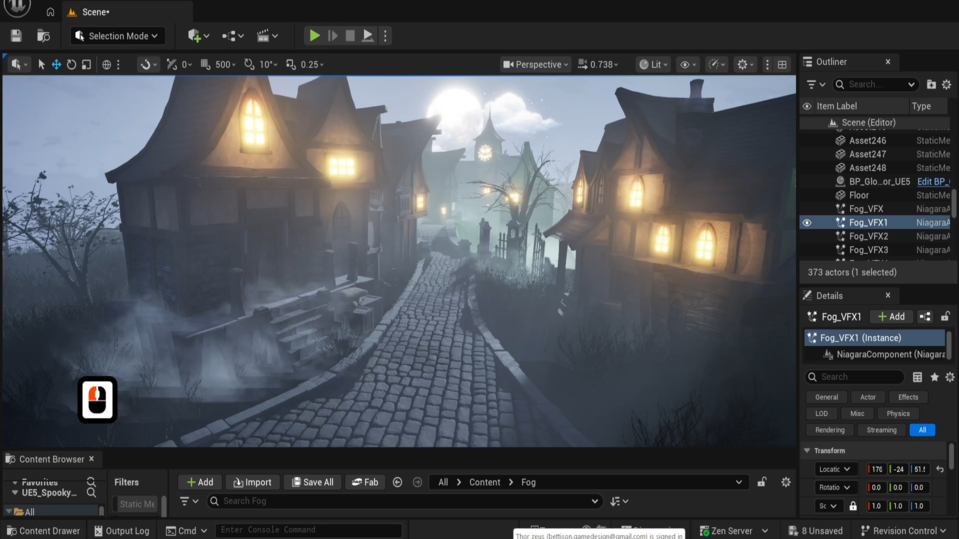
5) Lighting, fog, and the mood pass
This is the part that makes the scene feel finished:
- strong value structure
- readable silhouettes
- controlled fog layers
- lighting that supports the story rather than fighting it
A haunted street lives or dies on atmosphere. Without that, it is just some buildings having a bad evening.
The bits that went wrong (because something always does)
Here are a few honest hiccups that shaped the final workflow:
- Some pieces looked great alone but repeated badly in a full street. I had to simplify shapes and adjust rhythm.
- A couple of pivots were “fine” until rotation in Unreal exposed them. Those got corrected quickly.
- Variation is addictive. I had to keep pulling myself back to the kit rules so it stayed coherent.
The useful lesson: if it fails in Unreal, it was not done in Blender yet.
What is included in the resource pack (and why)
I do not enjoy making people hunt for missing pieces while trying to learn a workflow. So the resource pack is designed to keep you moving:
- materials and shaders used in the project
- human scale reference
- two Geometry Nodes tools: stairs and a stone walkway generator
- prebuilt jumpstart buildings to speed up Unreal assembly
The goal is for you to spend time learning the pipeline, not spending time rebuilding basics that are not the point of the workshop.

Who I built this for
If you are in any of these camps, this workflow will feel familiar in the best way:
- You can model, but your modular sets turn fragile when you scale them up
- You want a clean Blender to Unreal pipeline that does not fall apart during export
- You want to build stylised environments that still feel professional and usable in production
- You want to finish with a proper scene, not a folder of parts and good intentions
Until next time, happy modelling everyone!
Neil – 3D Tudor