Textures still stretching? Here is a straight-forward fix
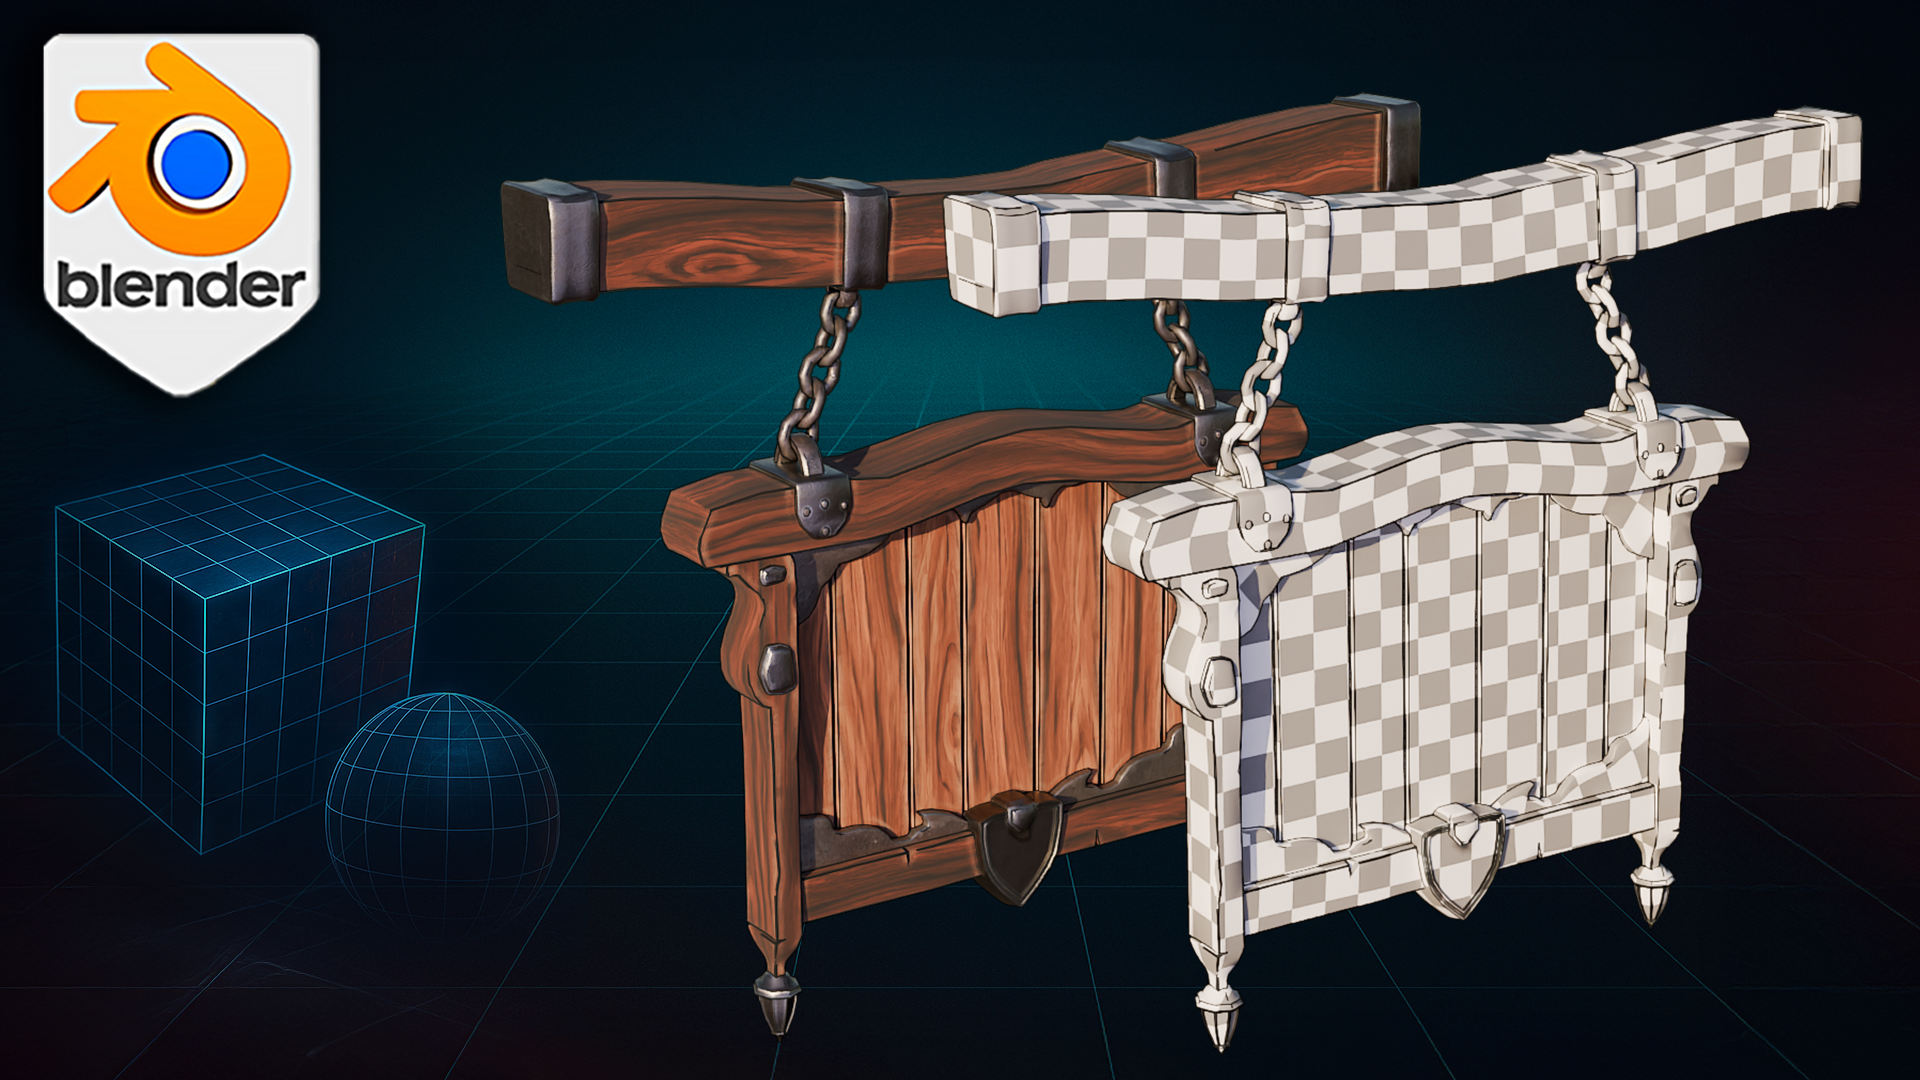
If your checkerboard pattern ripples like jelly or your seams jump out louder than bloom lighting, the culprit is usually the UV map. 3D Tudor’s new class helps you navigate these issues.
I spent years chasing those issues myself, so I built a new class that tackles them head-on: UV Mapping Bootcamp – Master Unwrapping & Texturing in Blender.

The headaches this class ends
- Stretched textures – Learn why they happen and how a single checkerboard test exposes every warped island.
- Rogue seams – See where to cut (and where to hide) so your texture flow stays smooth on both hard-surface props and organic models.
- Messy packing – Get islands tight, padded, and atlas-ready so your Substance or Unreal export behaves on the first bake.
- Wasted texture resolution – Balance texel density across large scenes without guessing, and reuse detail with trimsheets.

What you will actually do
- Compare Smart UV Project to seam-based control on real assets.
- Diagnose distortion in seconds with my go-to checkerboard workflow.
- Build a trimsheet once, then stamp bolts, vents, and panels onto anything.
- Practice on downloadable props and finish with a portfolio-ready capstone model.
The goal is simple: by the final lesson you will spend time creating art, not fighting pixels.

Questions or feedback? Drop a comment—I read every one.
Until next time, happy modelling everyone!
Neil – 3D Tudor