Behind the Scenes: Hidden House

Dive into the art of Krzysztof Dziubek as he equips simple techniques to create a masterpiece that embodies his passion.
INTRODUCTION
Hi, my name is Krzysztof, a self-taught artist (I wouldn’t exaggerate with this artist), from Poland.
My background is actually CAD software such as SOLIDWORKS. In short, I am an engineer. I am learning about Blender thanks to YouTube videos and various courses.
For the last few years, I have been trying to explore the world of 3D graphics. I like creating 3D illustrations the most. Ones like “Hidden House” don’t always come out the way I want, but I still have fun doing it.
INSPIRATION
“Hidden House” is a project created partly for fun, and partly out of irritation, because I was in the middle of creating a completely different project that I got stuck in.
When I started the creative process, I didn’t gather any references; I just opened Blender and started. At least that’s what I thought at first.
There’s this guy Sweeper3D, some of you probably know him. I really like his work, which is why he has paid for access to the materials he shares on his website. One of these materials is the process of creating a piece called “Riverside Reverie.”
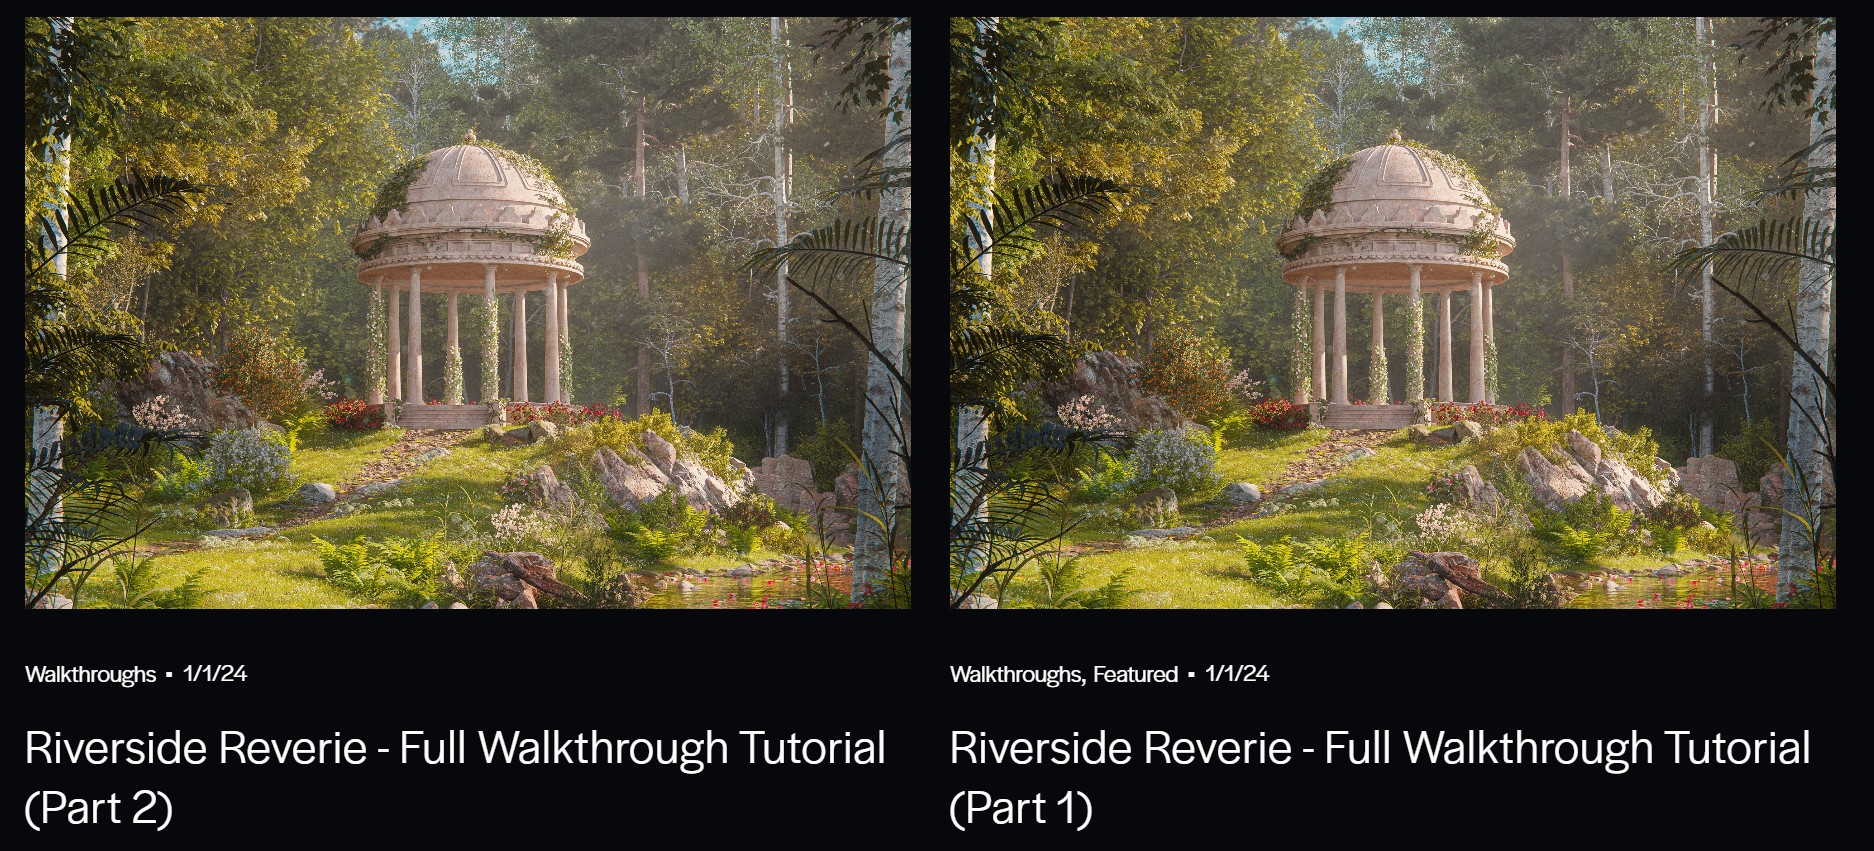
Like it or not, I based it on it, even though I didn’t look at it. I’ve watched it so many times that I know it by heart. Yes, if there’s anything I could consider inspiration, it’s this.
PROCESS
Hardware Information:
- CPU: Intel Core i5-13600K
- GPU: NVIDIA GeForce RTX 4070 Ti SUPER
- RAM: 32GB
Software Information:
- 3D Software: Blender
- Post production: Adobe Photoshop
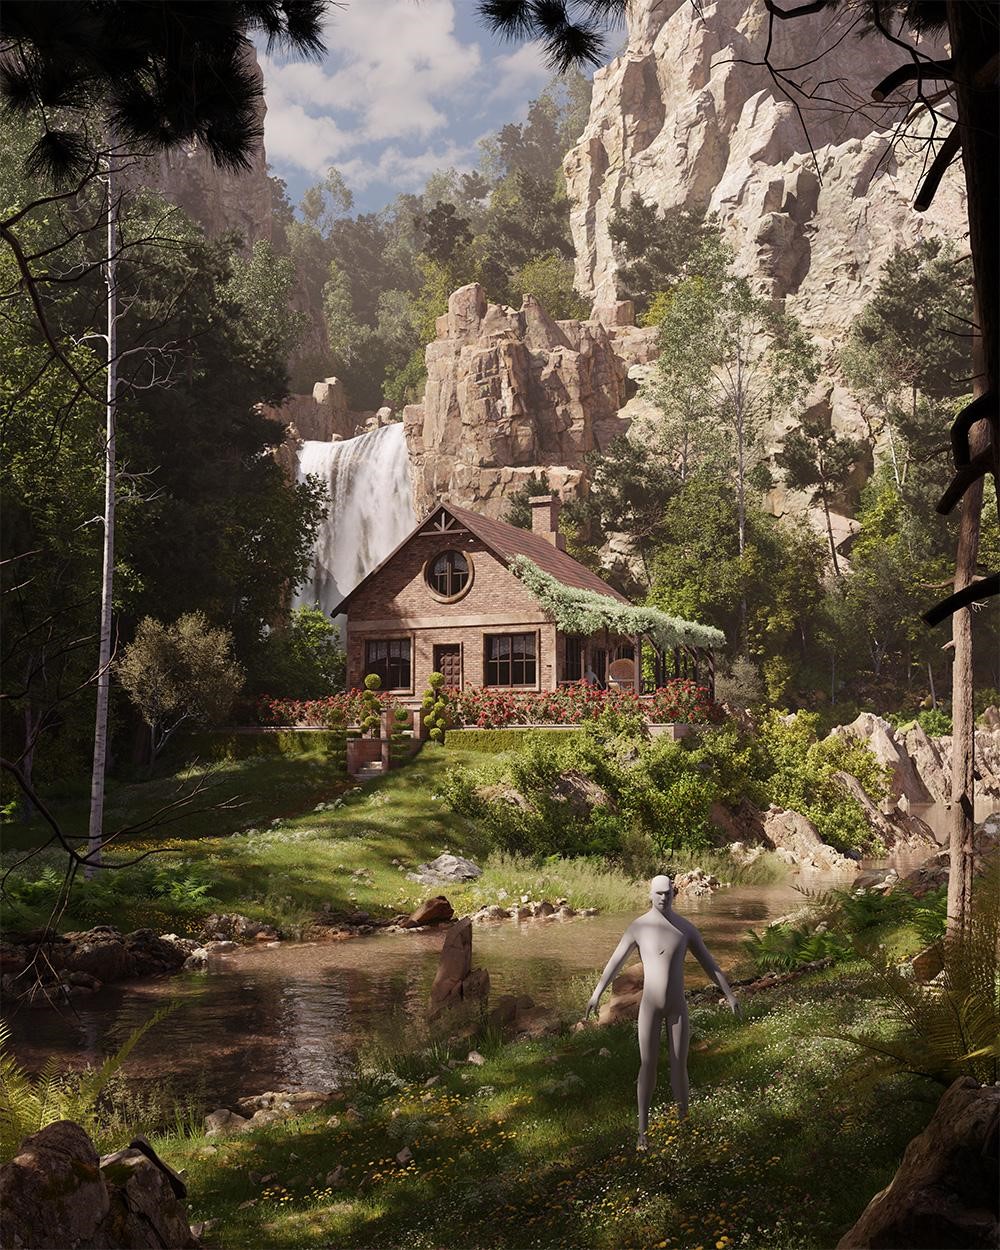
The work you see here is definitely not created in a professional way. The idea was simple and I wanted to create something quick, using all the skills I have acquired so far. I fell on a landscape, where there is a house I would like to live in.
The first two hours
In the end, in the first two hours I managed to create 80% of the final work. I started by modeling a simple house, nothing complicated here. First, a cube, then cutting holes for the windows and a roof. Next, a quick sculpting of the terrain and throwing in models from Quixel rocks, using GScatter for vegetation. I tried to use every resource I have from previous projects. The effect is as follows:
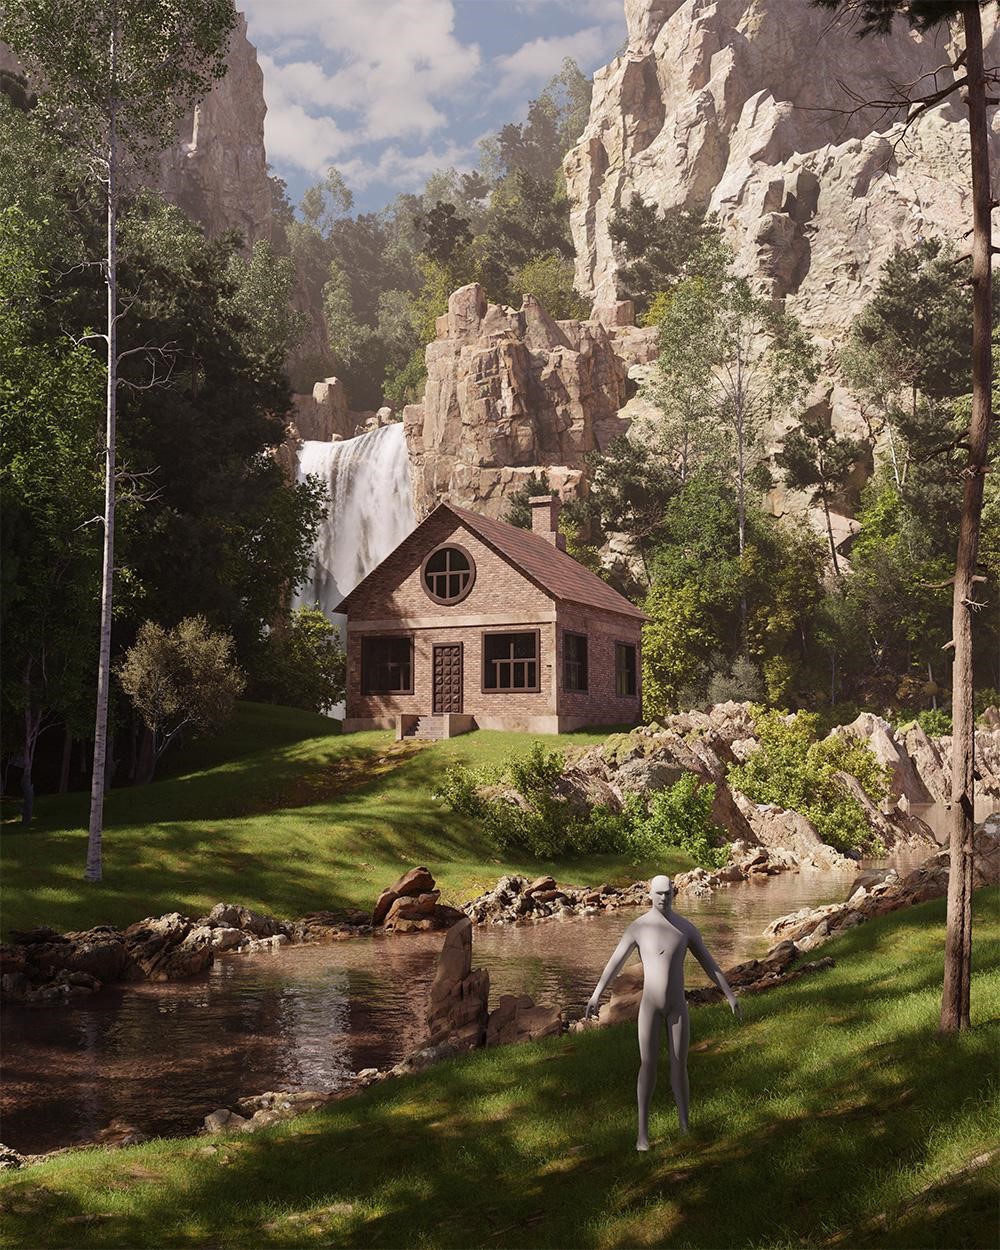
I myself find it hard to believe that so much was done in such a short time, but I was really irritated. Usually, when I create something, I try to make everything perfect. In this case, I didn’t take it in at all.
Refining the work
The next stage is refining the house model. I am not a fan of modeling, so I focused on simplicity (squares are my best friend in Blender). At first, I improved the windows and doors. Later, I added a platform and finished by adding a roof for the terrace. The material for the house is Polyhaven textures with additional dirt added.
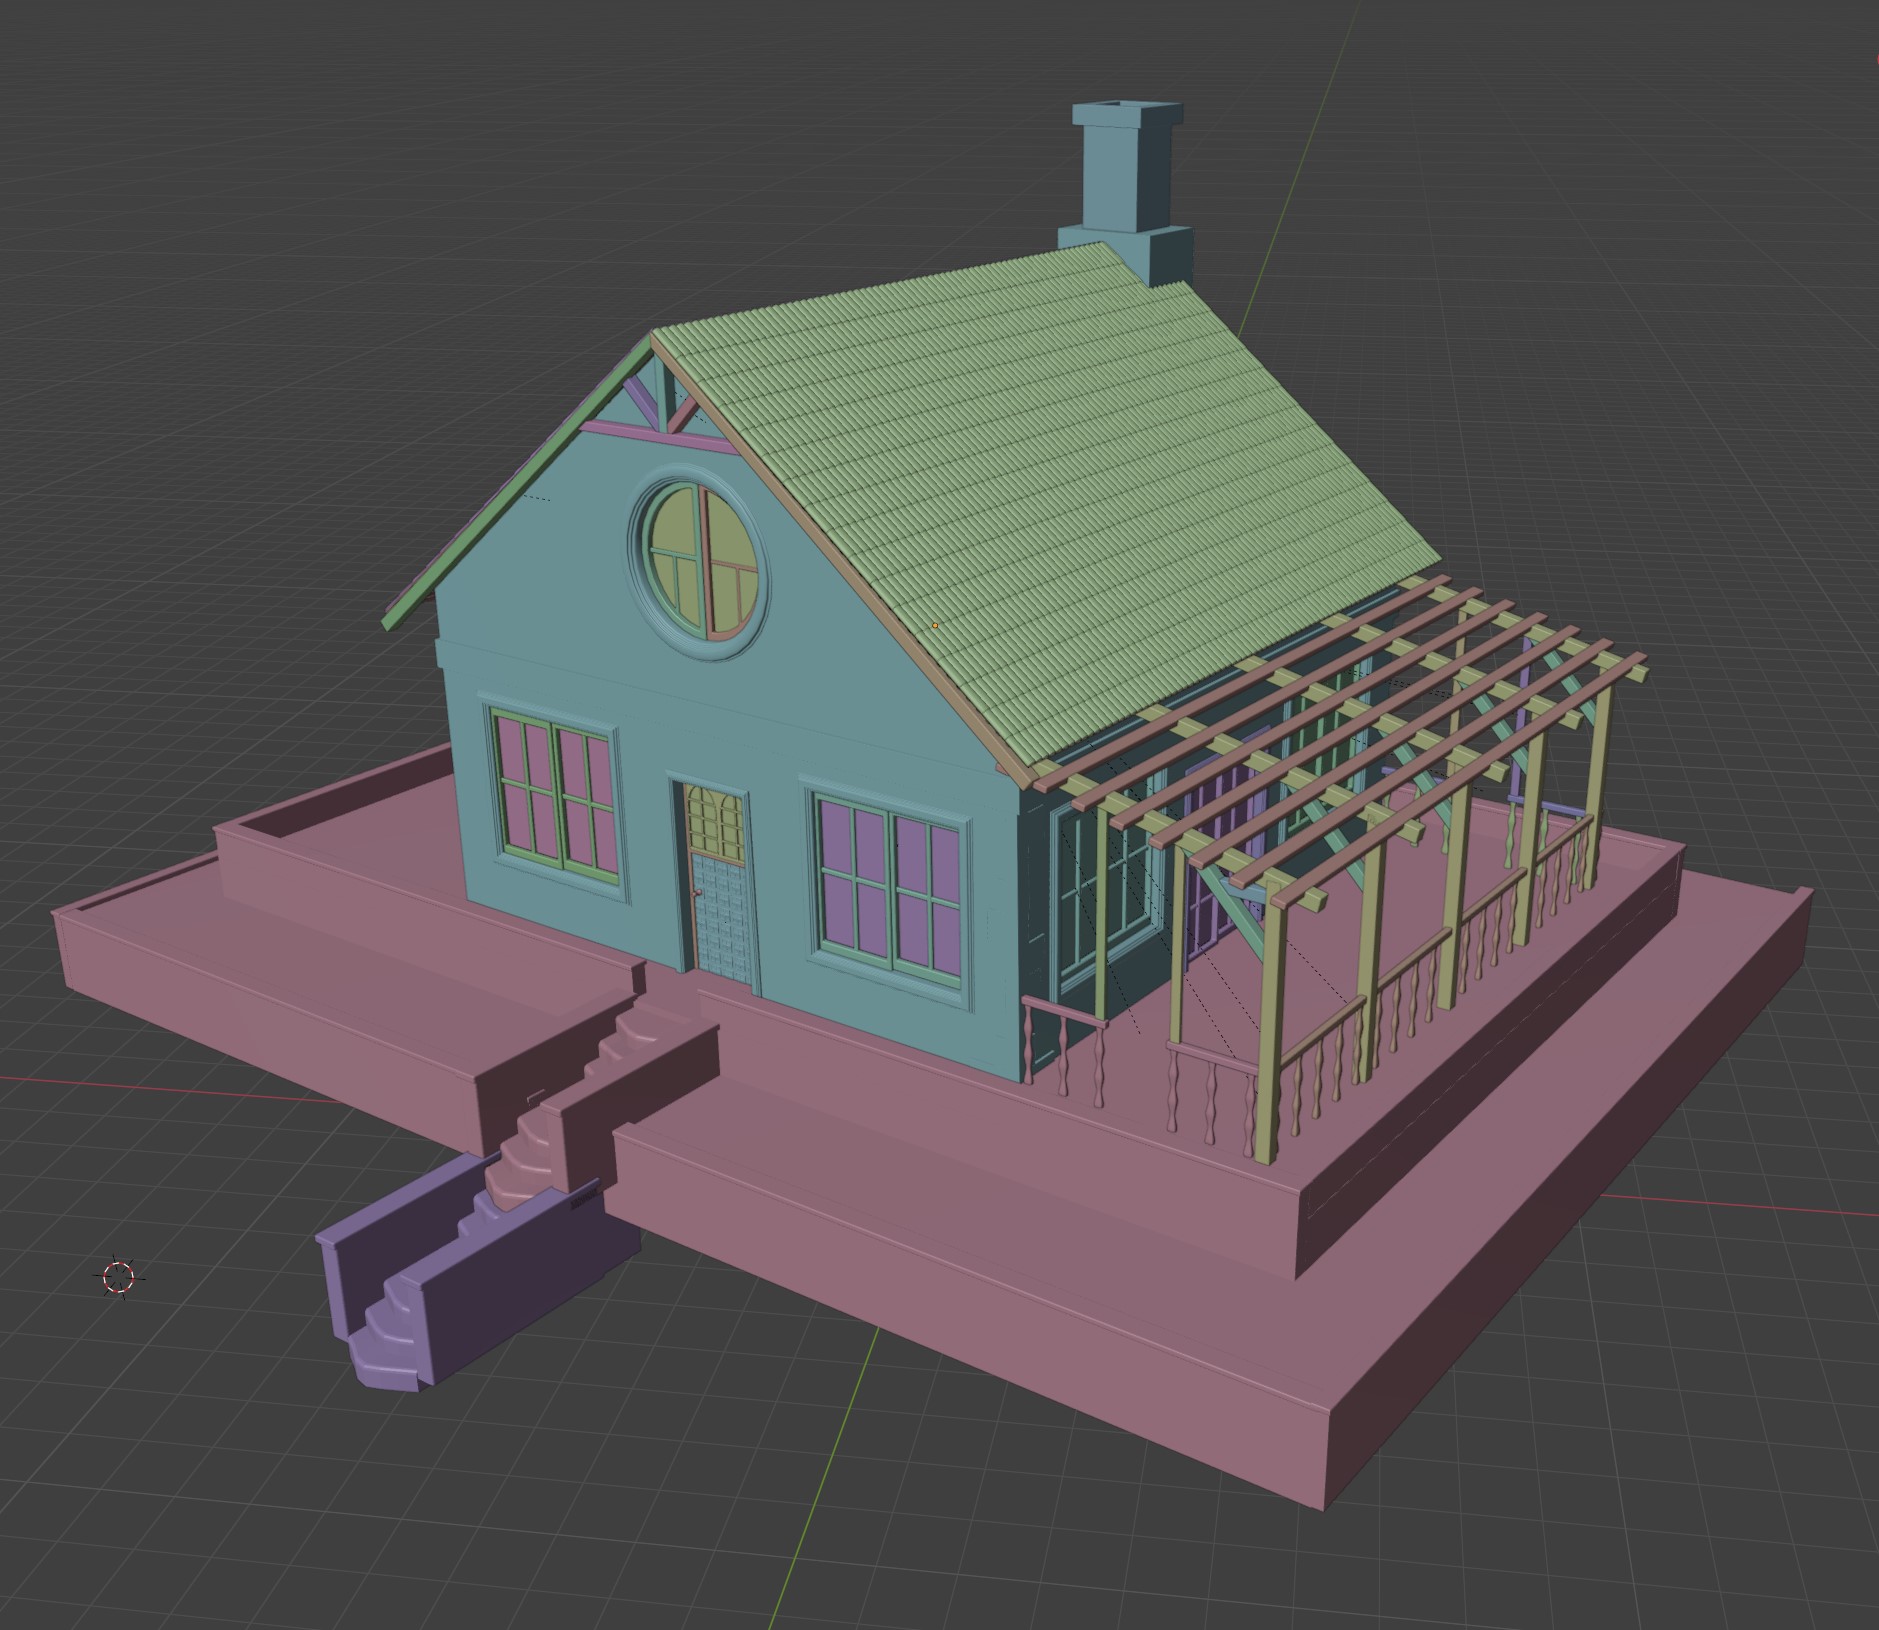
Since I do not like modeling, in the meantime, when I did not know what to do with the house, I slowly added additional details to the project, such as vegetation, stones, and trees. At this stage, I usually do everything by hand. It is very time-consuming, but when creating, it is what gives me the most pleasure.
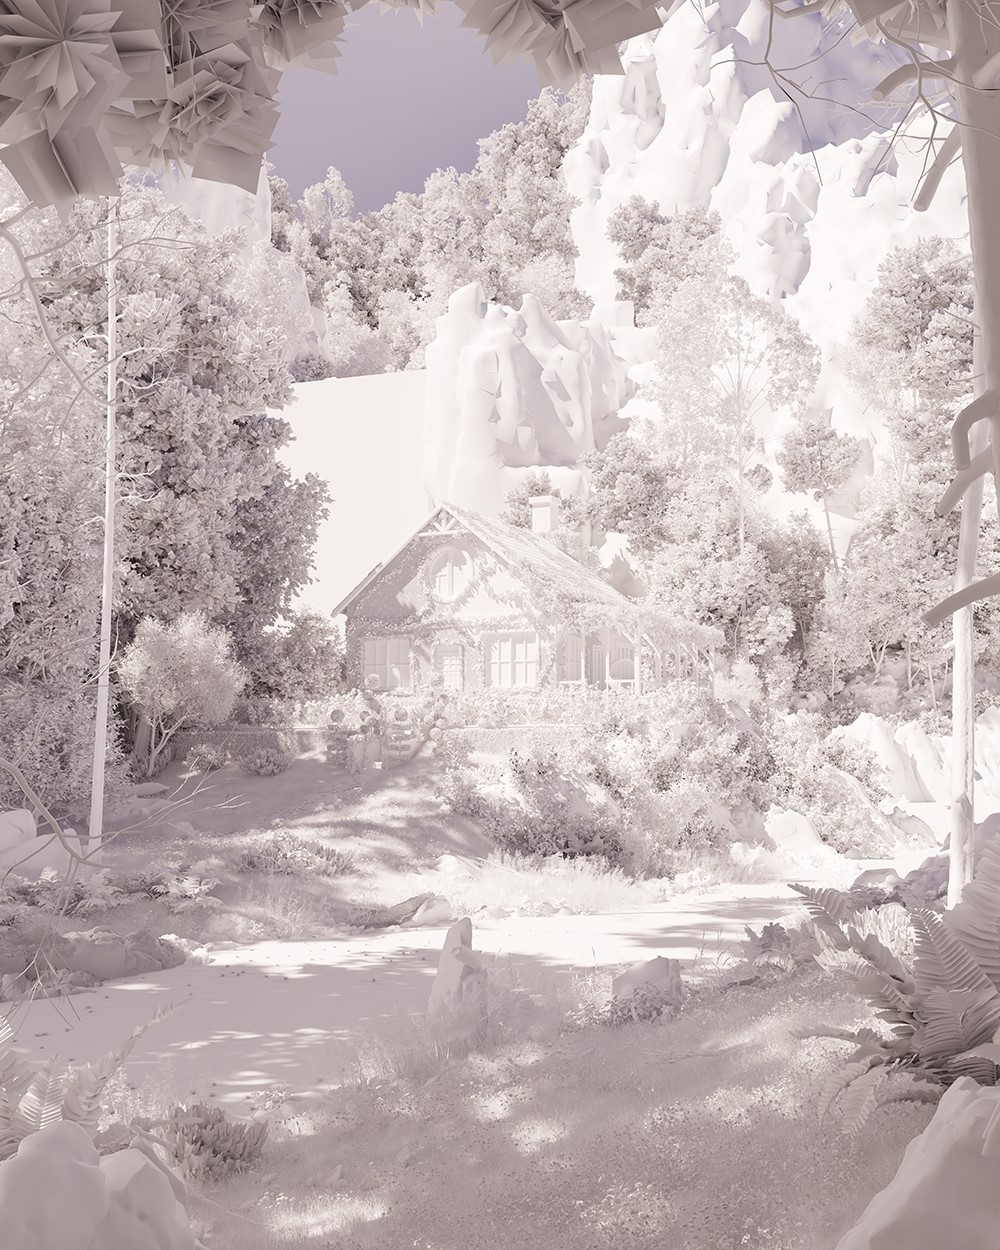
Lighting
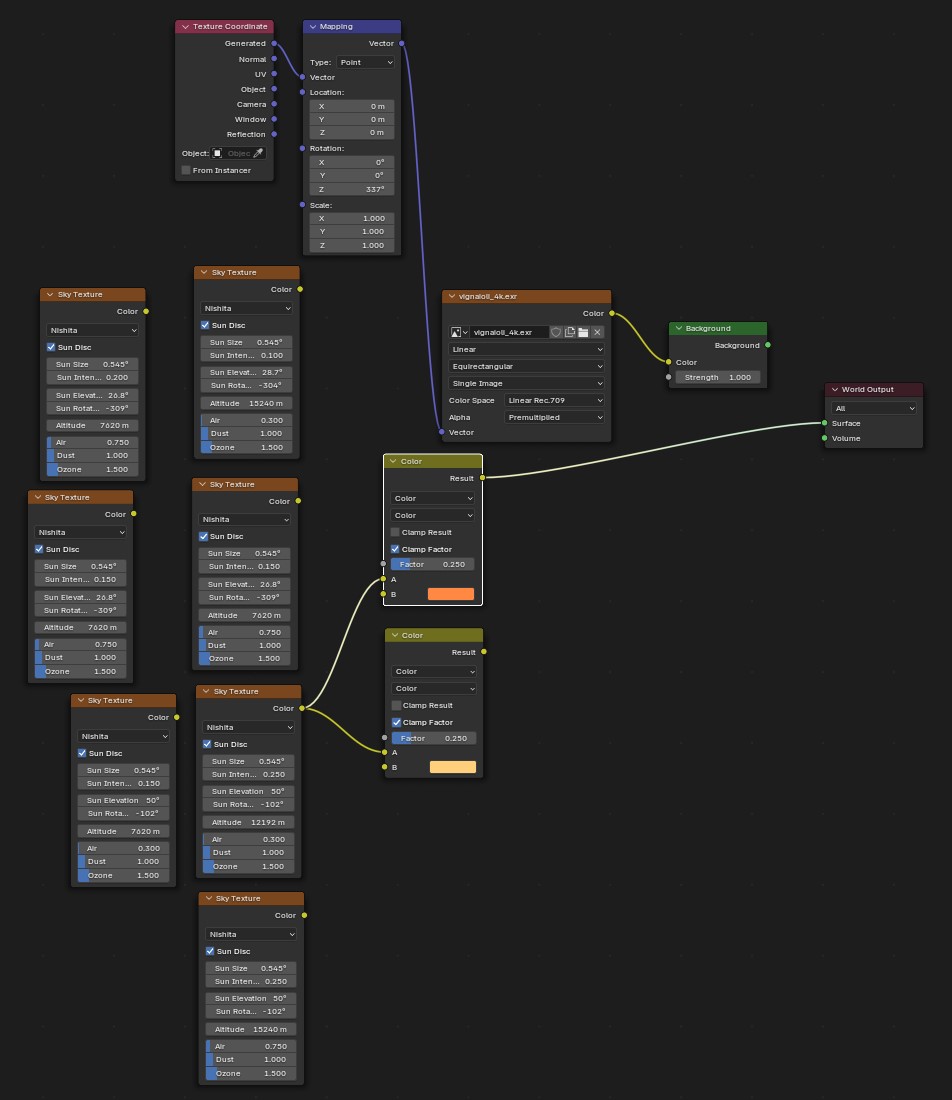
Lighting is my nemesis. It is always difficult for me to find something that suits me 100%. In each of my projects, I try to limit the lights to a minimum. This makes it easier for me to manage this element. The more lights I add to the scene, the harder it is for me to decide later. Too much choice. In this case, I decided on Sky Texture with the addition of Mix Color (a technique I learned thanks to Sweeper3D). I tried many configurations until I finally found something that was good enough for me.
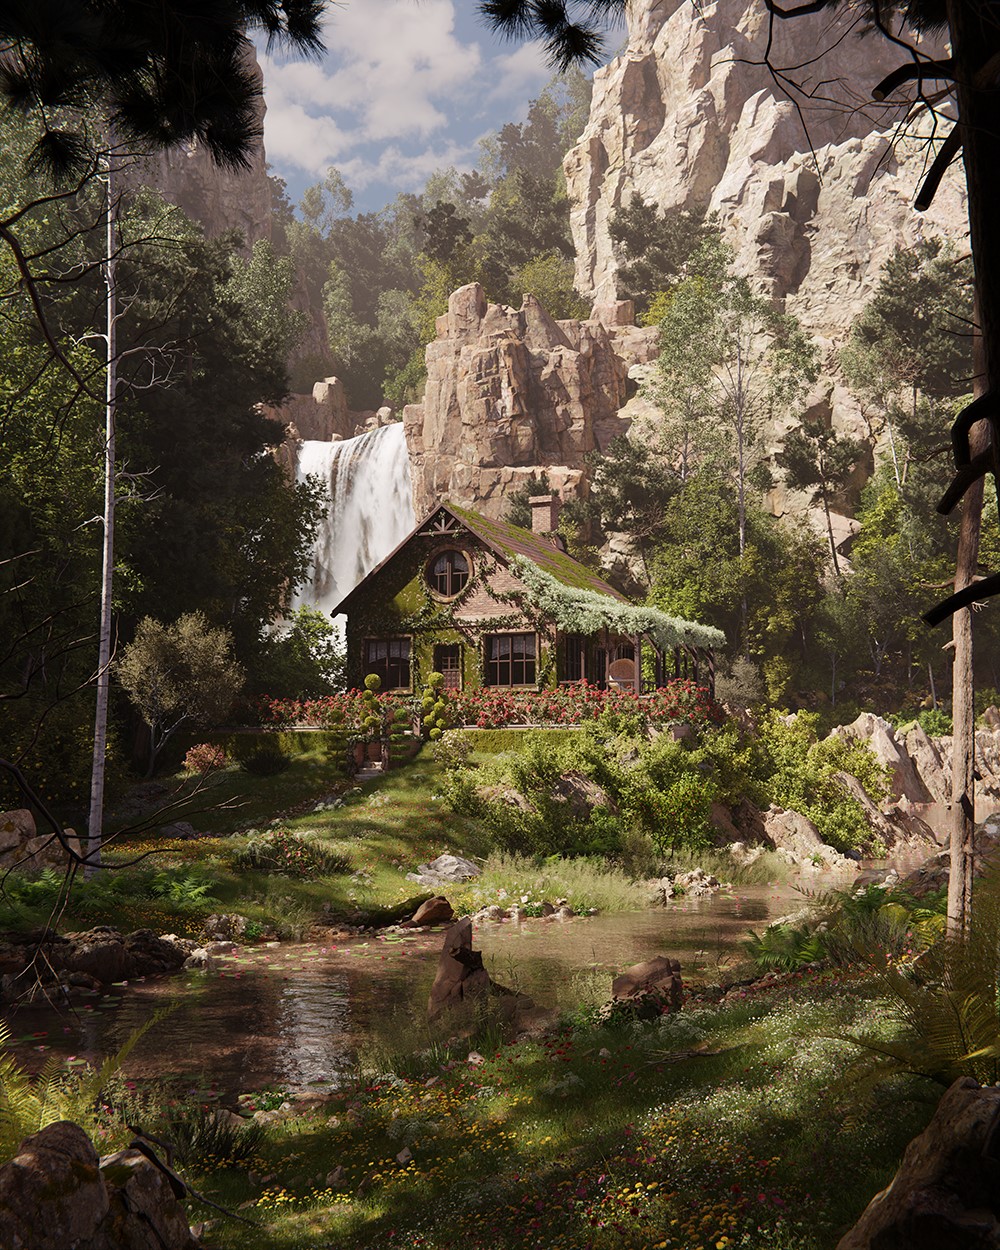
Render settings
Using the Cycles render engine, the final render of the scene was done at 5000px by 4000px, with 1000 samples and denoising with OptiX.
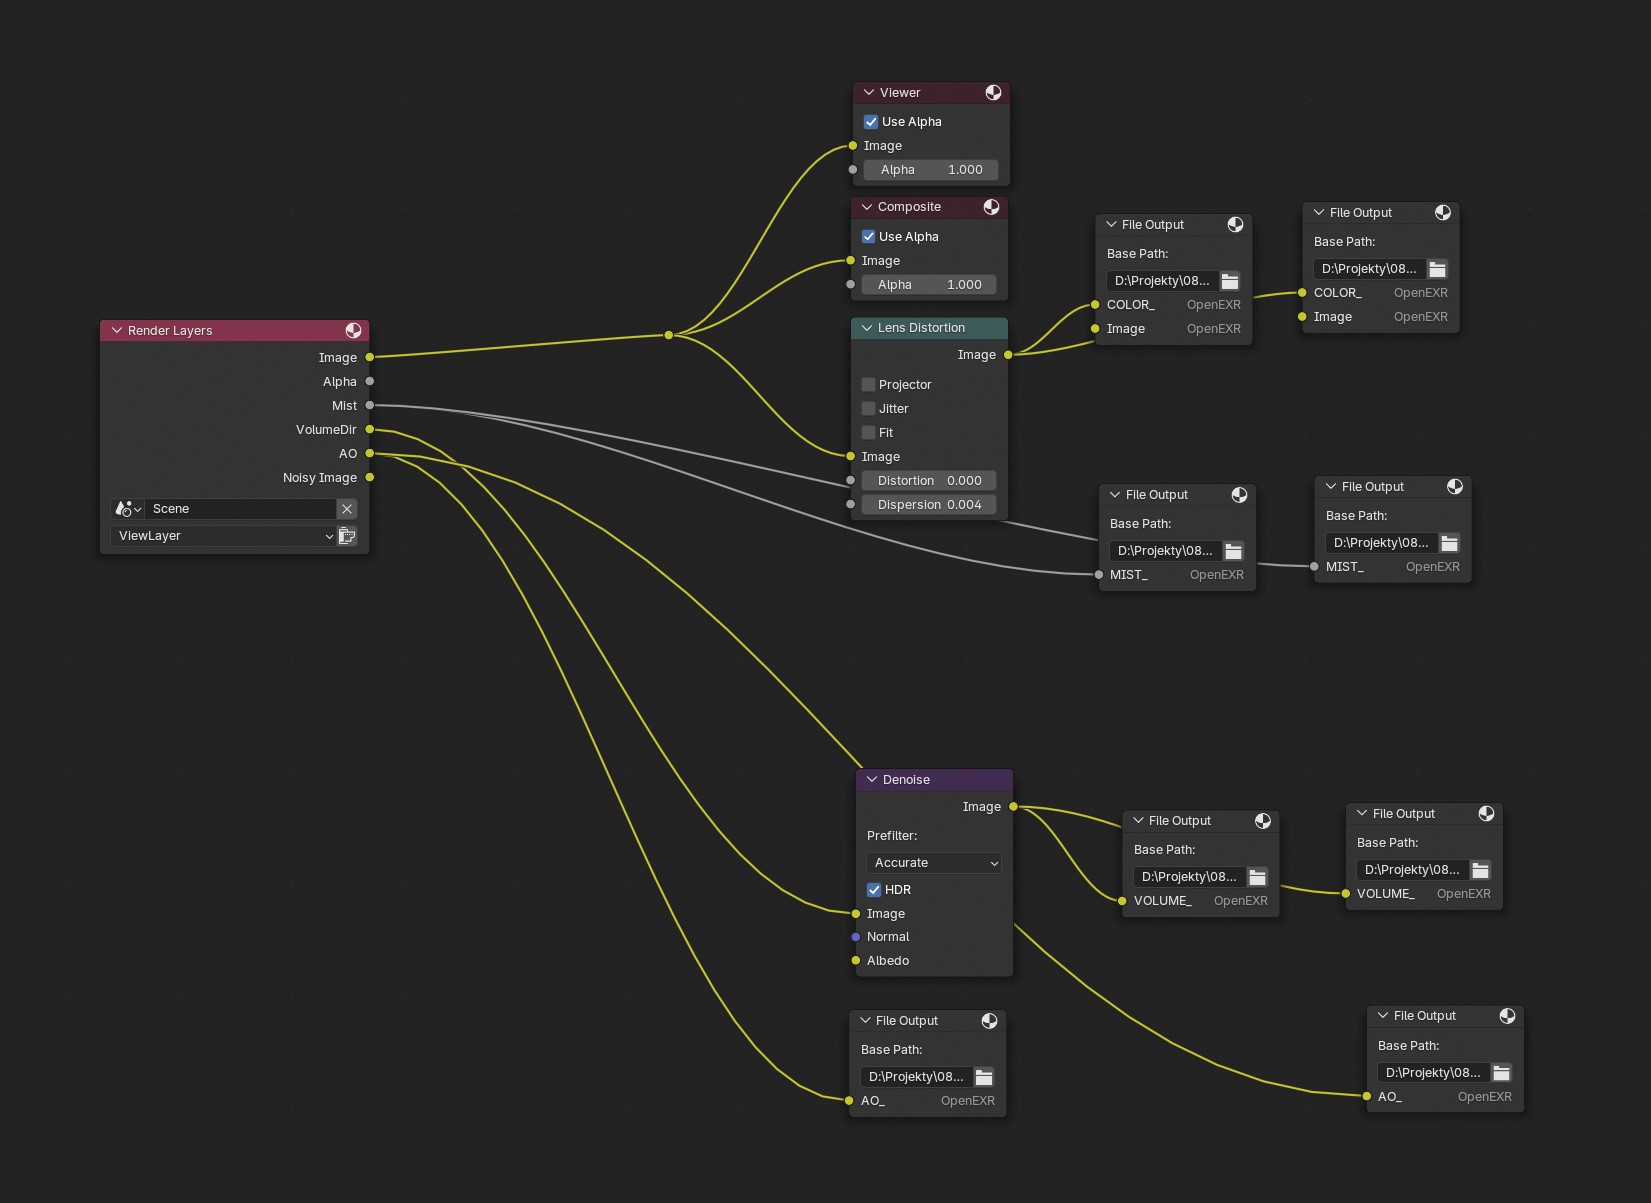
He also rendered a few additional passes, such as:
- AO
- Mist
- VolumeDr
I then used them in post-processing. It is worth mentioning that I added lens distortion here.
The camera in the scene was set to a focal length of 50mm.
Post-processing
At this stage, I used Photoshop. Using the camera raw filter does a really good job. I have been using this program for a while now, and the whole process that I used was learnt from Sweeper.
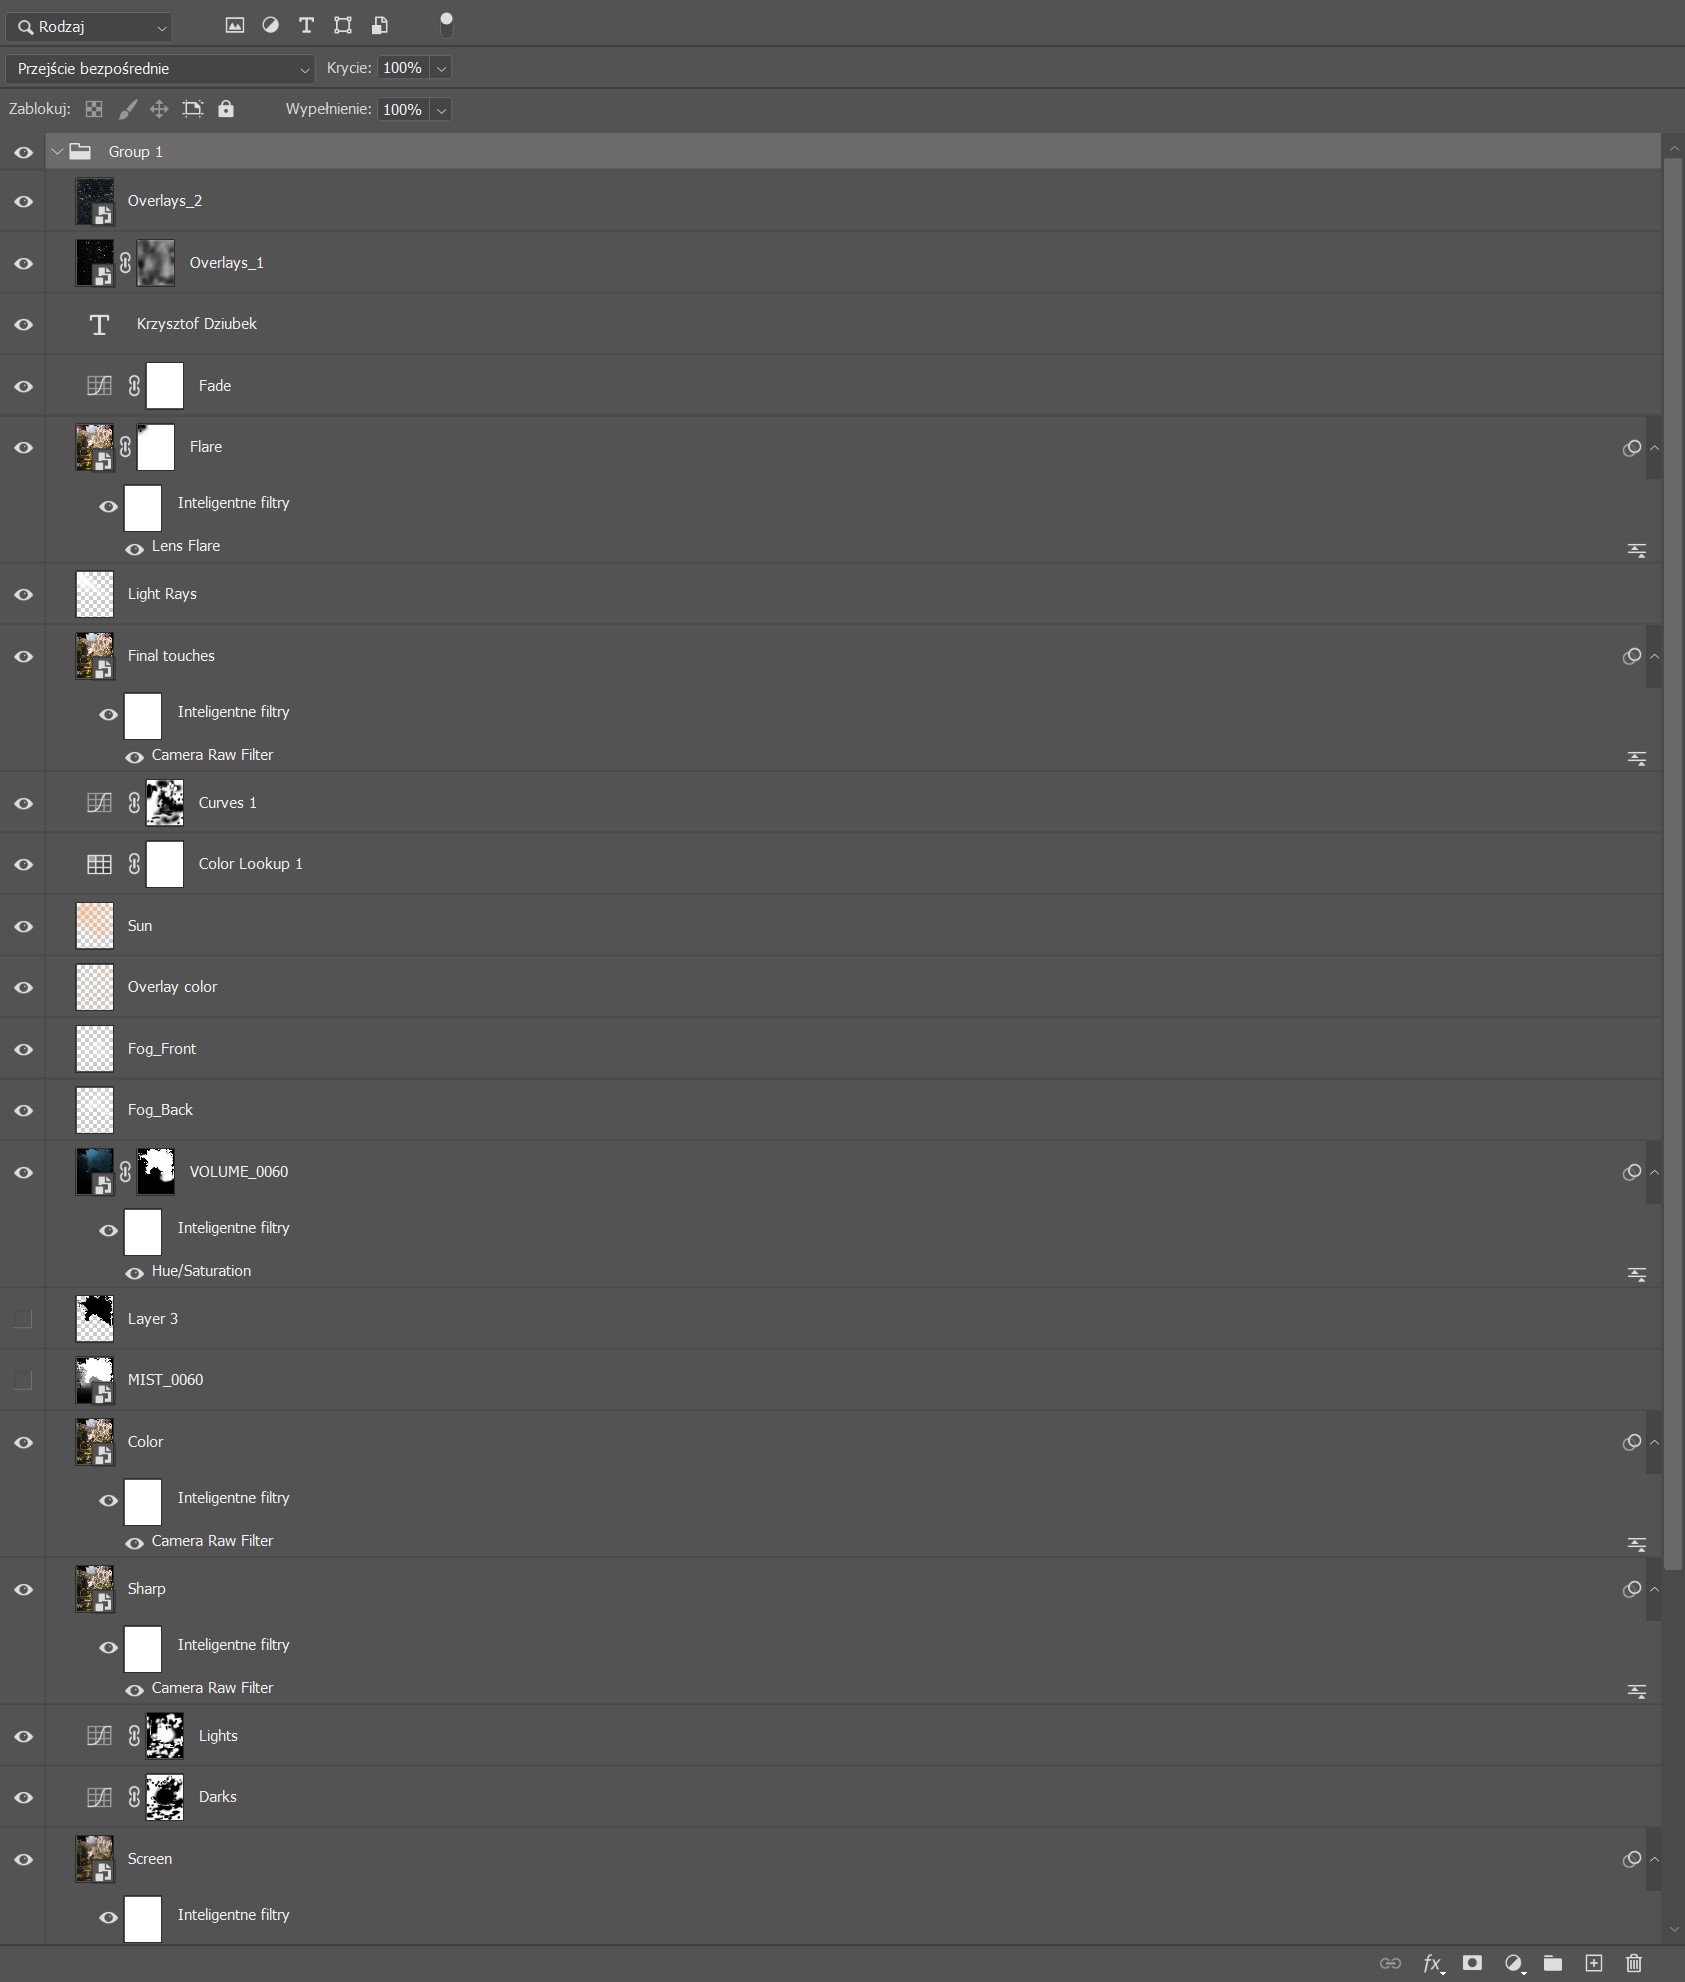
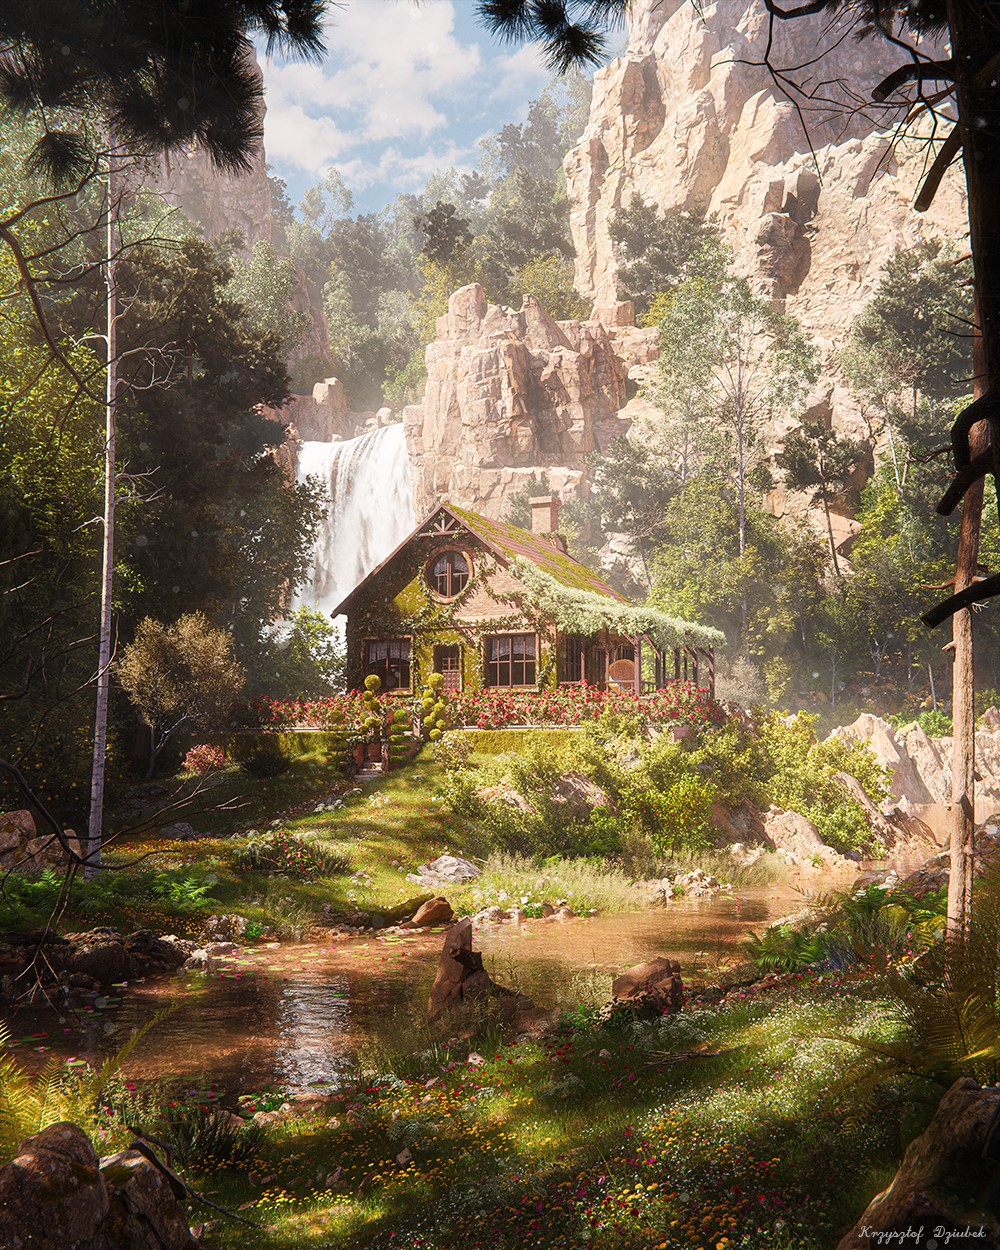
I always try to get the best out of the render, often overdoing the saturation. The advantage of doing this as a hobby is that I don’t have to worry about it.
RENDER: Hidden House
Thank you for reading my article, I hope you liked it. Have a great day!
About the Artist
Krzysztof Dziubek is a 3D graphics hobbyist. His passion for science, art and 3D technology drives the development of his skills.