Behind the Scenes: Miles NYC
Discover the creative process behind the spectacular animation of Spider-Man, with a style inspired by the Spider-Verse movies, created by 3D artist Jack Bowman.
INTRODUCTION
Hello, my name is Jack Bowman, and I’ve been working as a 3D artist in Blender since 2022.
This project was my submission for Pwnisher’s month-long challenge, “Kinetic Rush.” The objective was to take a templated animation and craft a unique scene around it. While the camera movement was allowed, the main character had to stay in the same position, and the run cycle had to seamlessly match the first and last frames. This ensured that all submissions could be combined into one continuous, massive montage video.
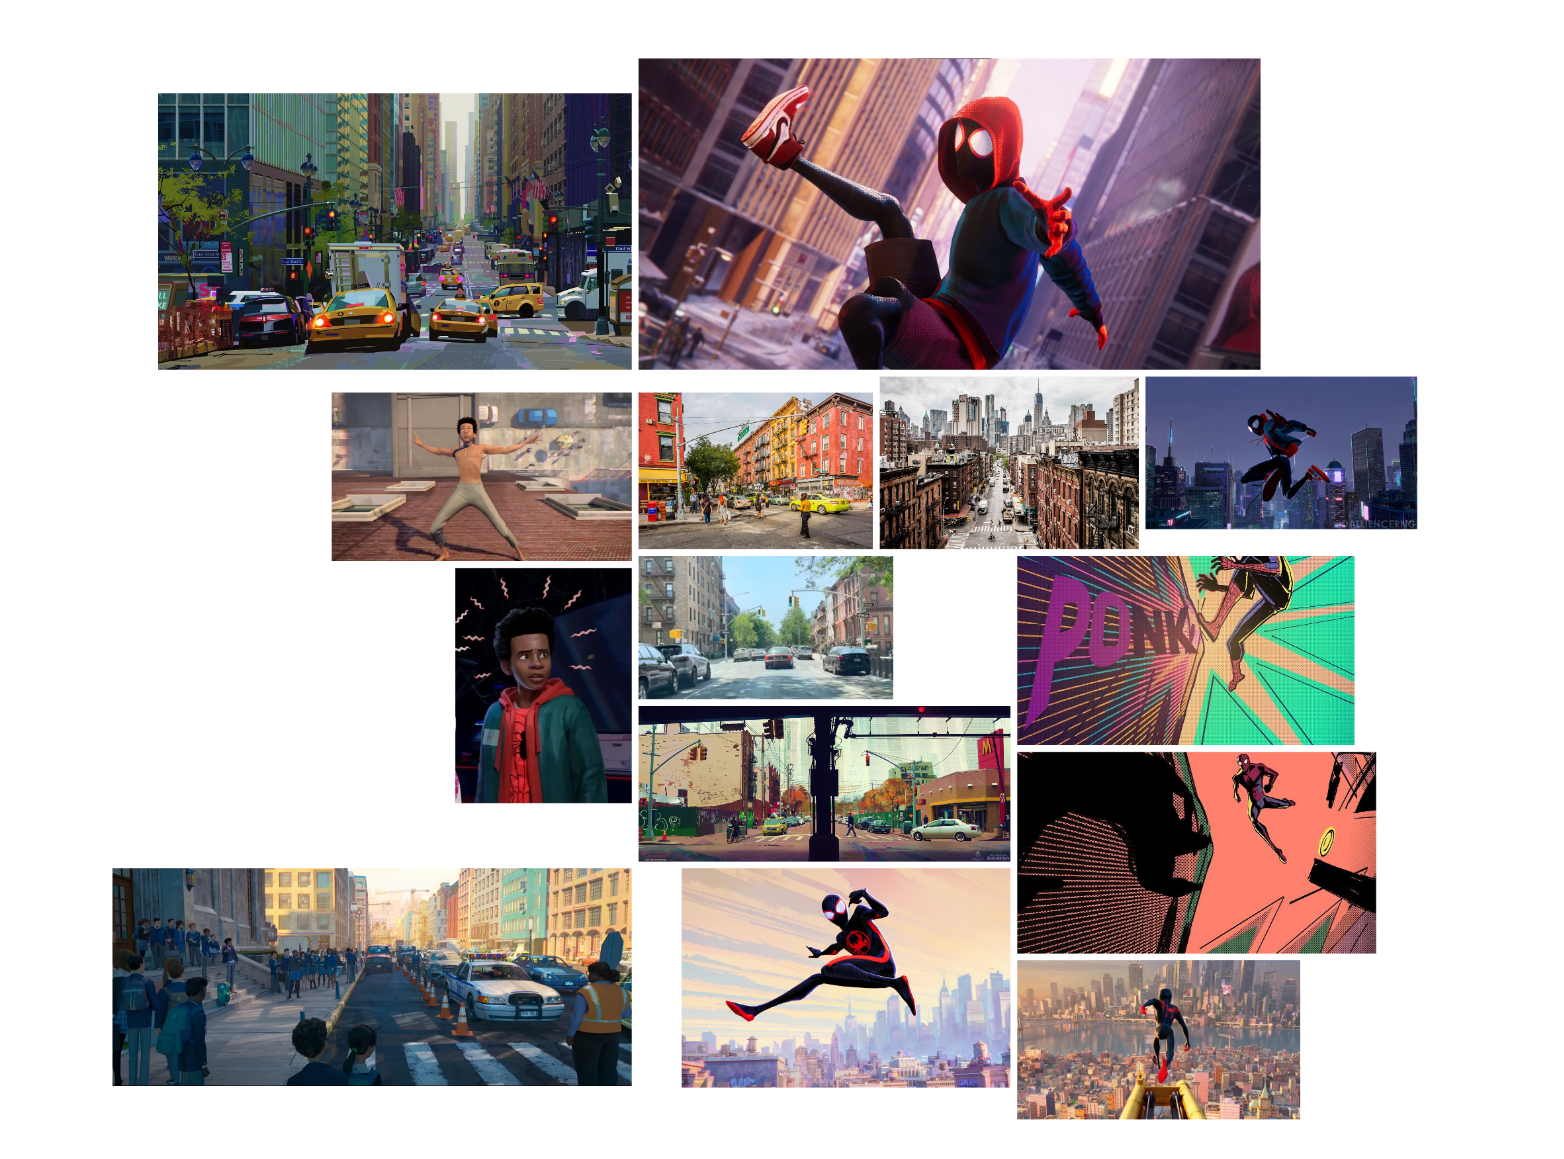
INSPIRATION
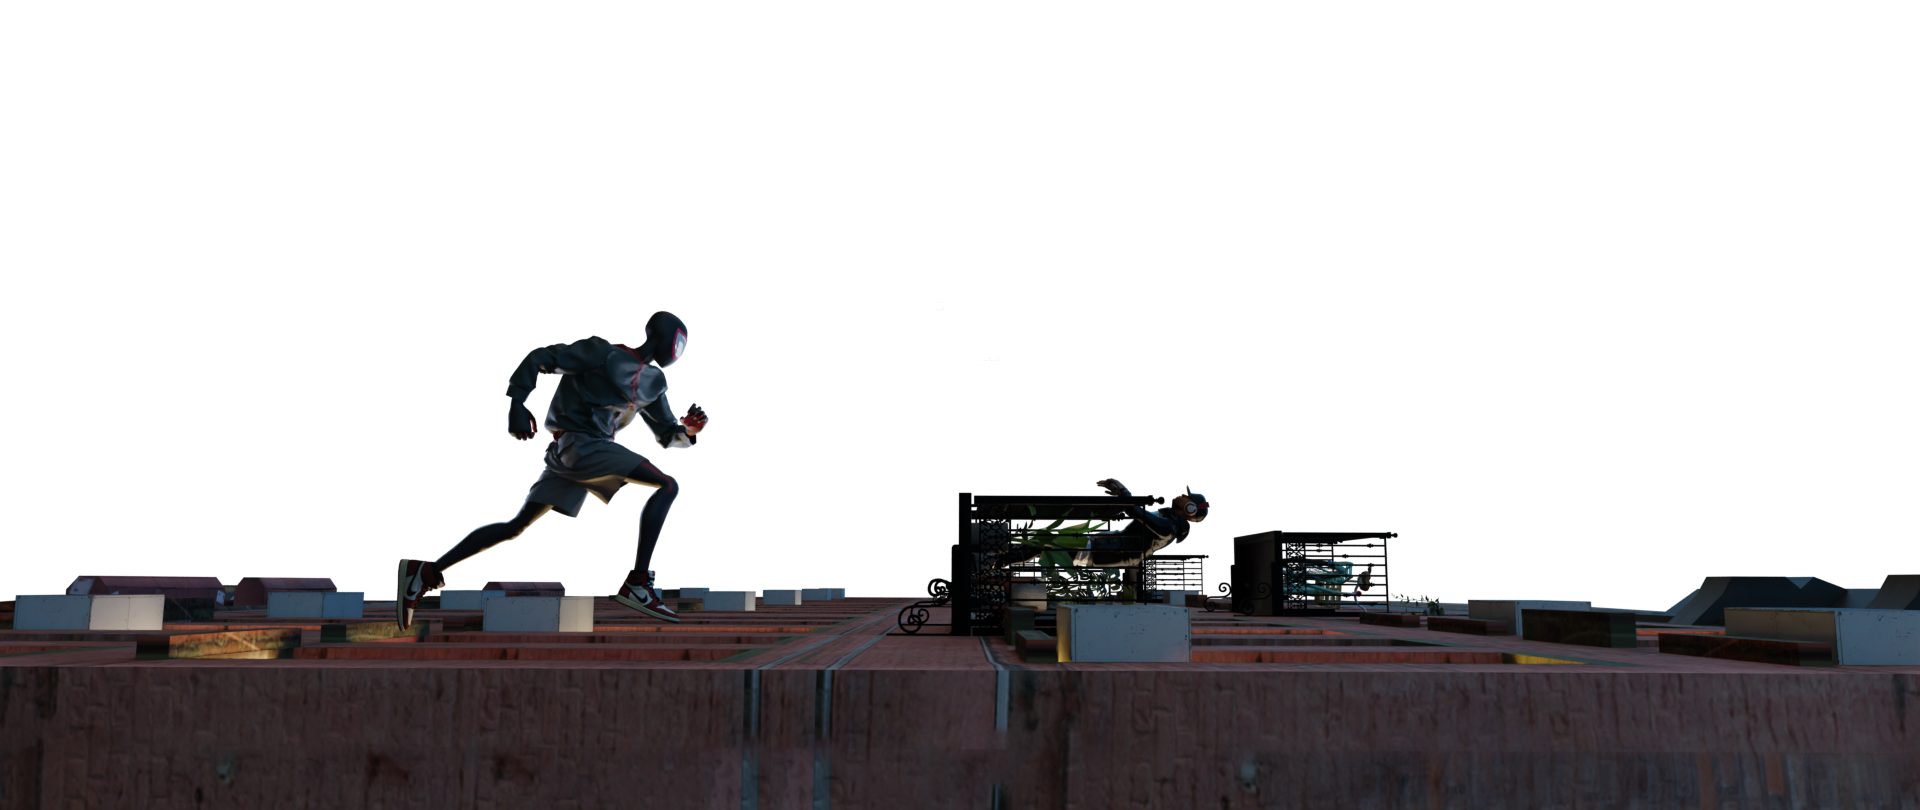
I’ve loved Spider-Man ever since I first watched Tobey Maguire’s version back in 2002. I even tried to climb my family’s home with glue on my hands and feet, though I failed miserably. When brainstorming for this project, which centered around five animation templates, each with parkour elements, my mind instantly went to Spider-Man running up a building. I was heavily inspired by the stunning visuals of the Spider-Verse movies. I love how they blend comic book aesthetics with 3D animation, so I incorporated elements of that style into this piece.
PROCESS
I made this render in Blender with cloth simulation in Marvelous Designer, and post-processing in Photoshop and After Effects.
System Used: 2022 MacBook Pro (I was travelling so it was all I had)
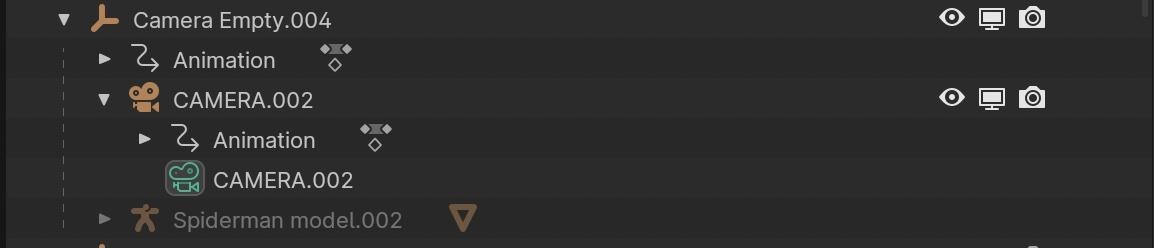
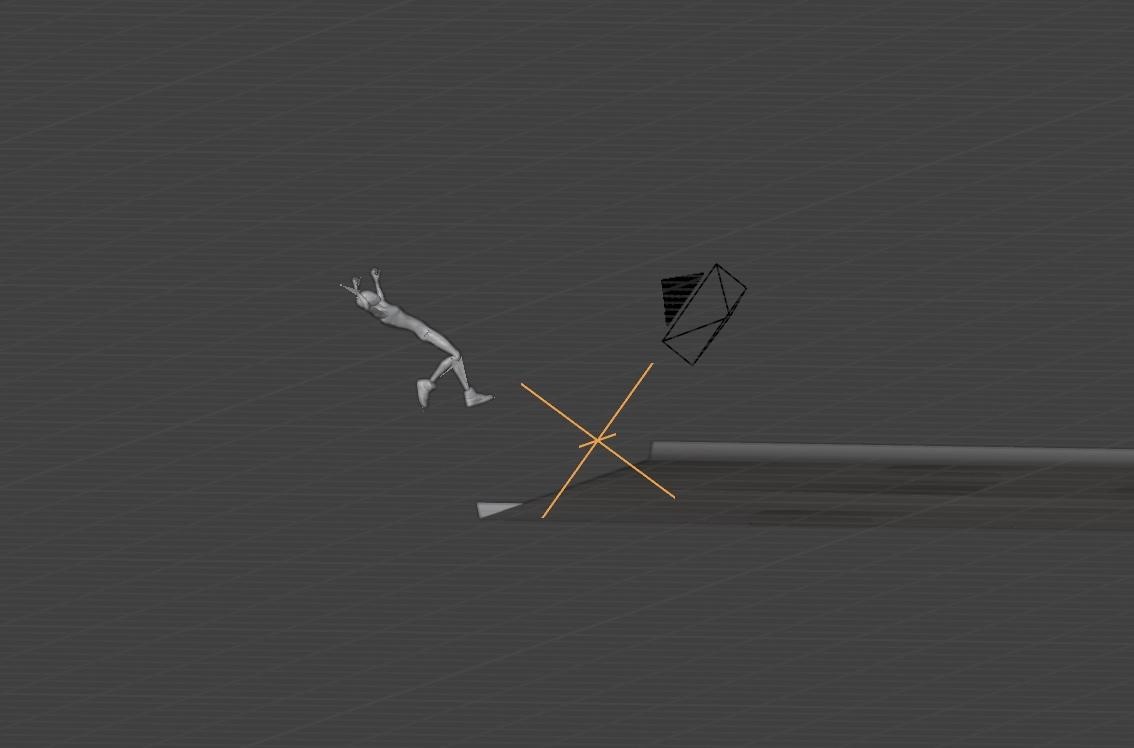
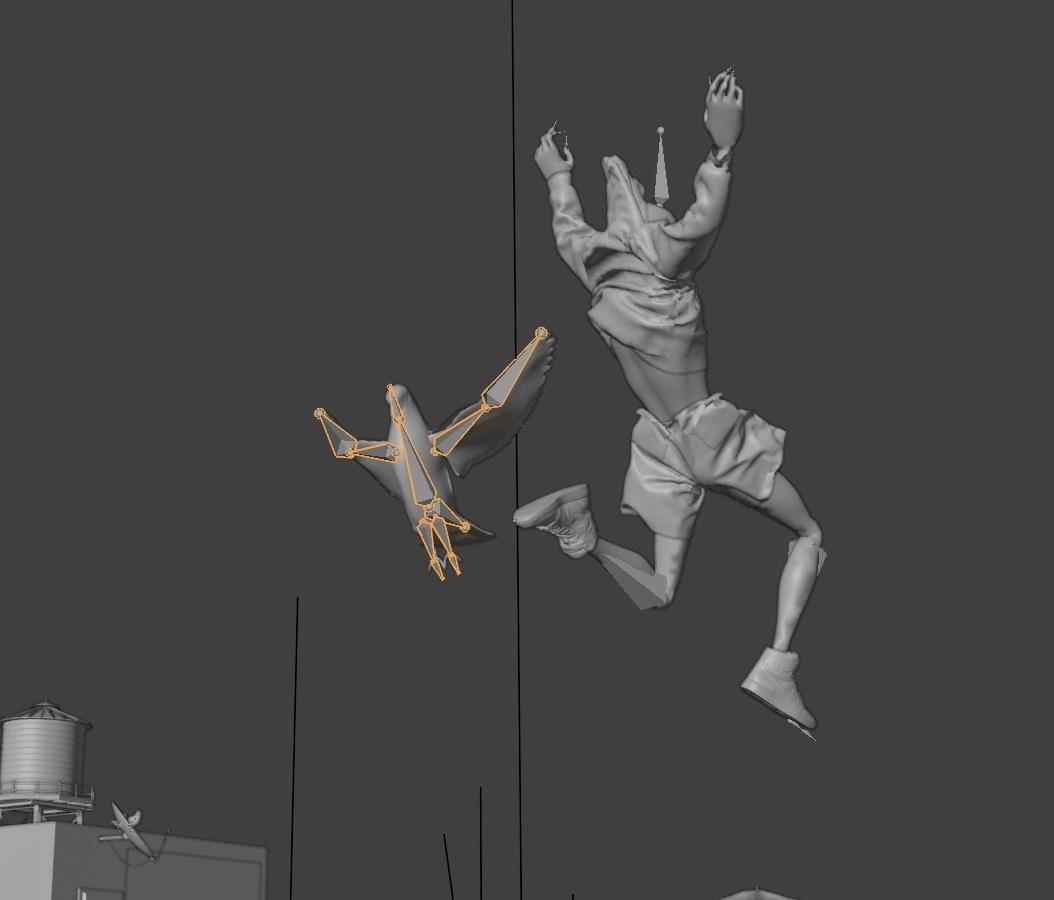
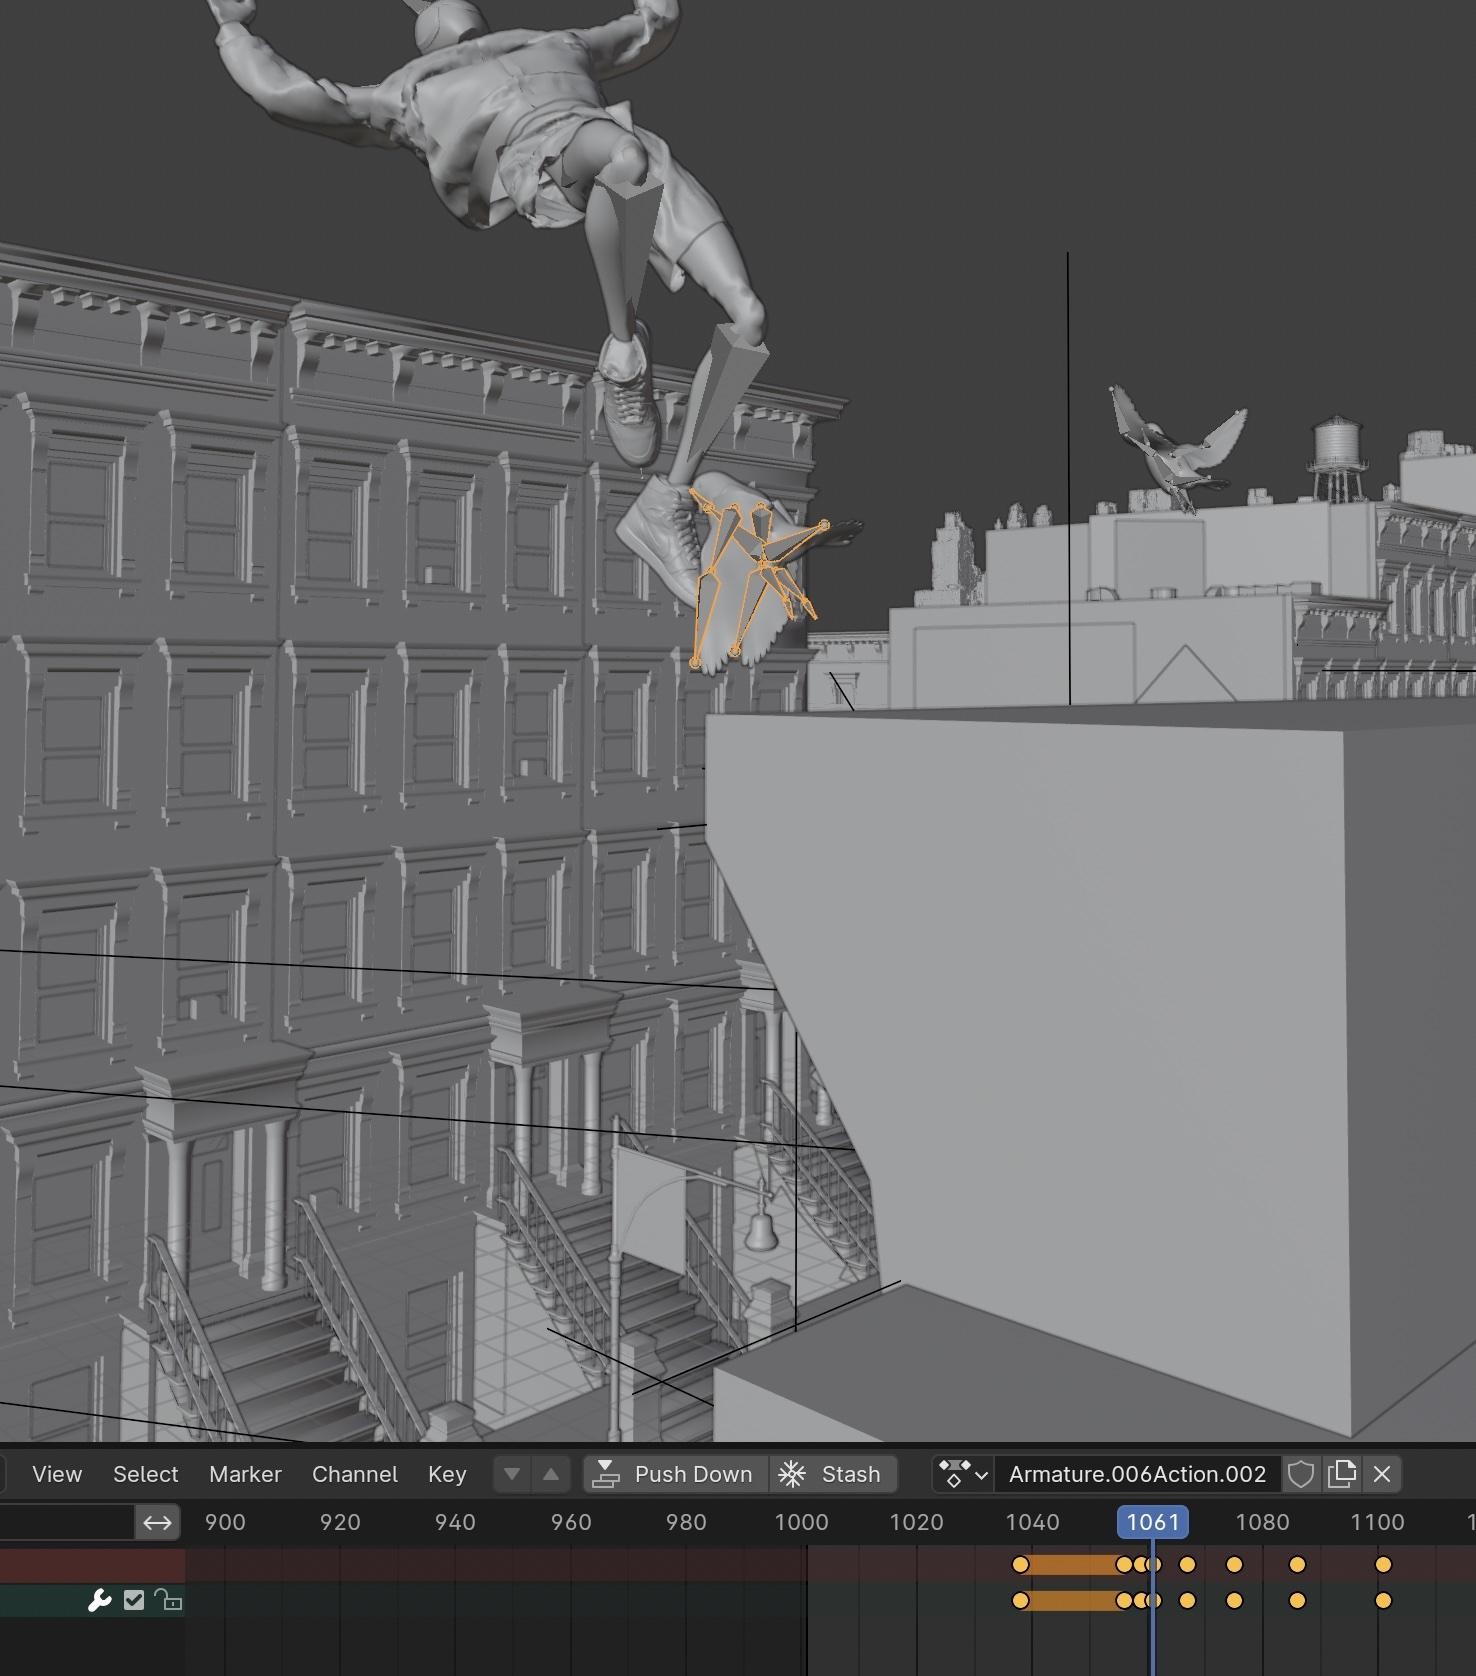
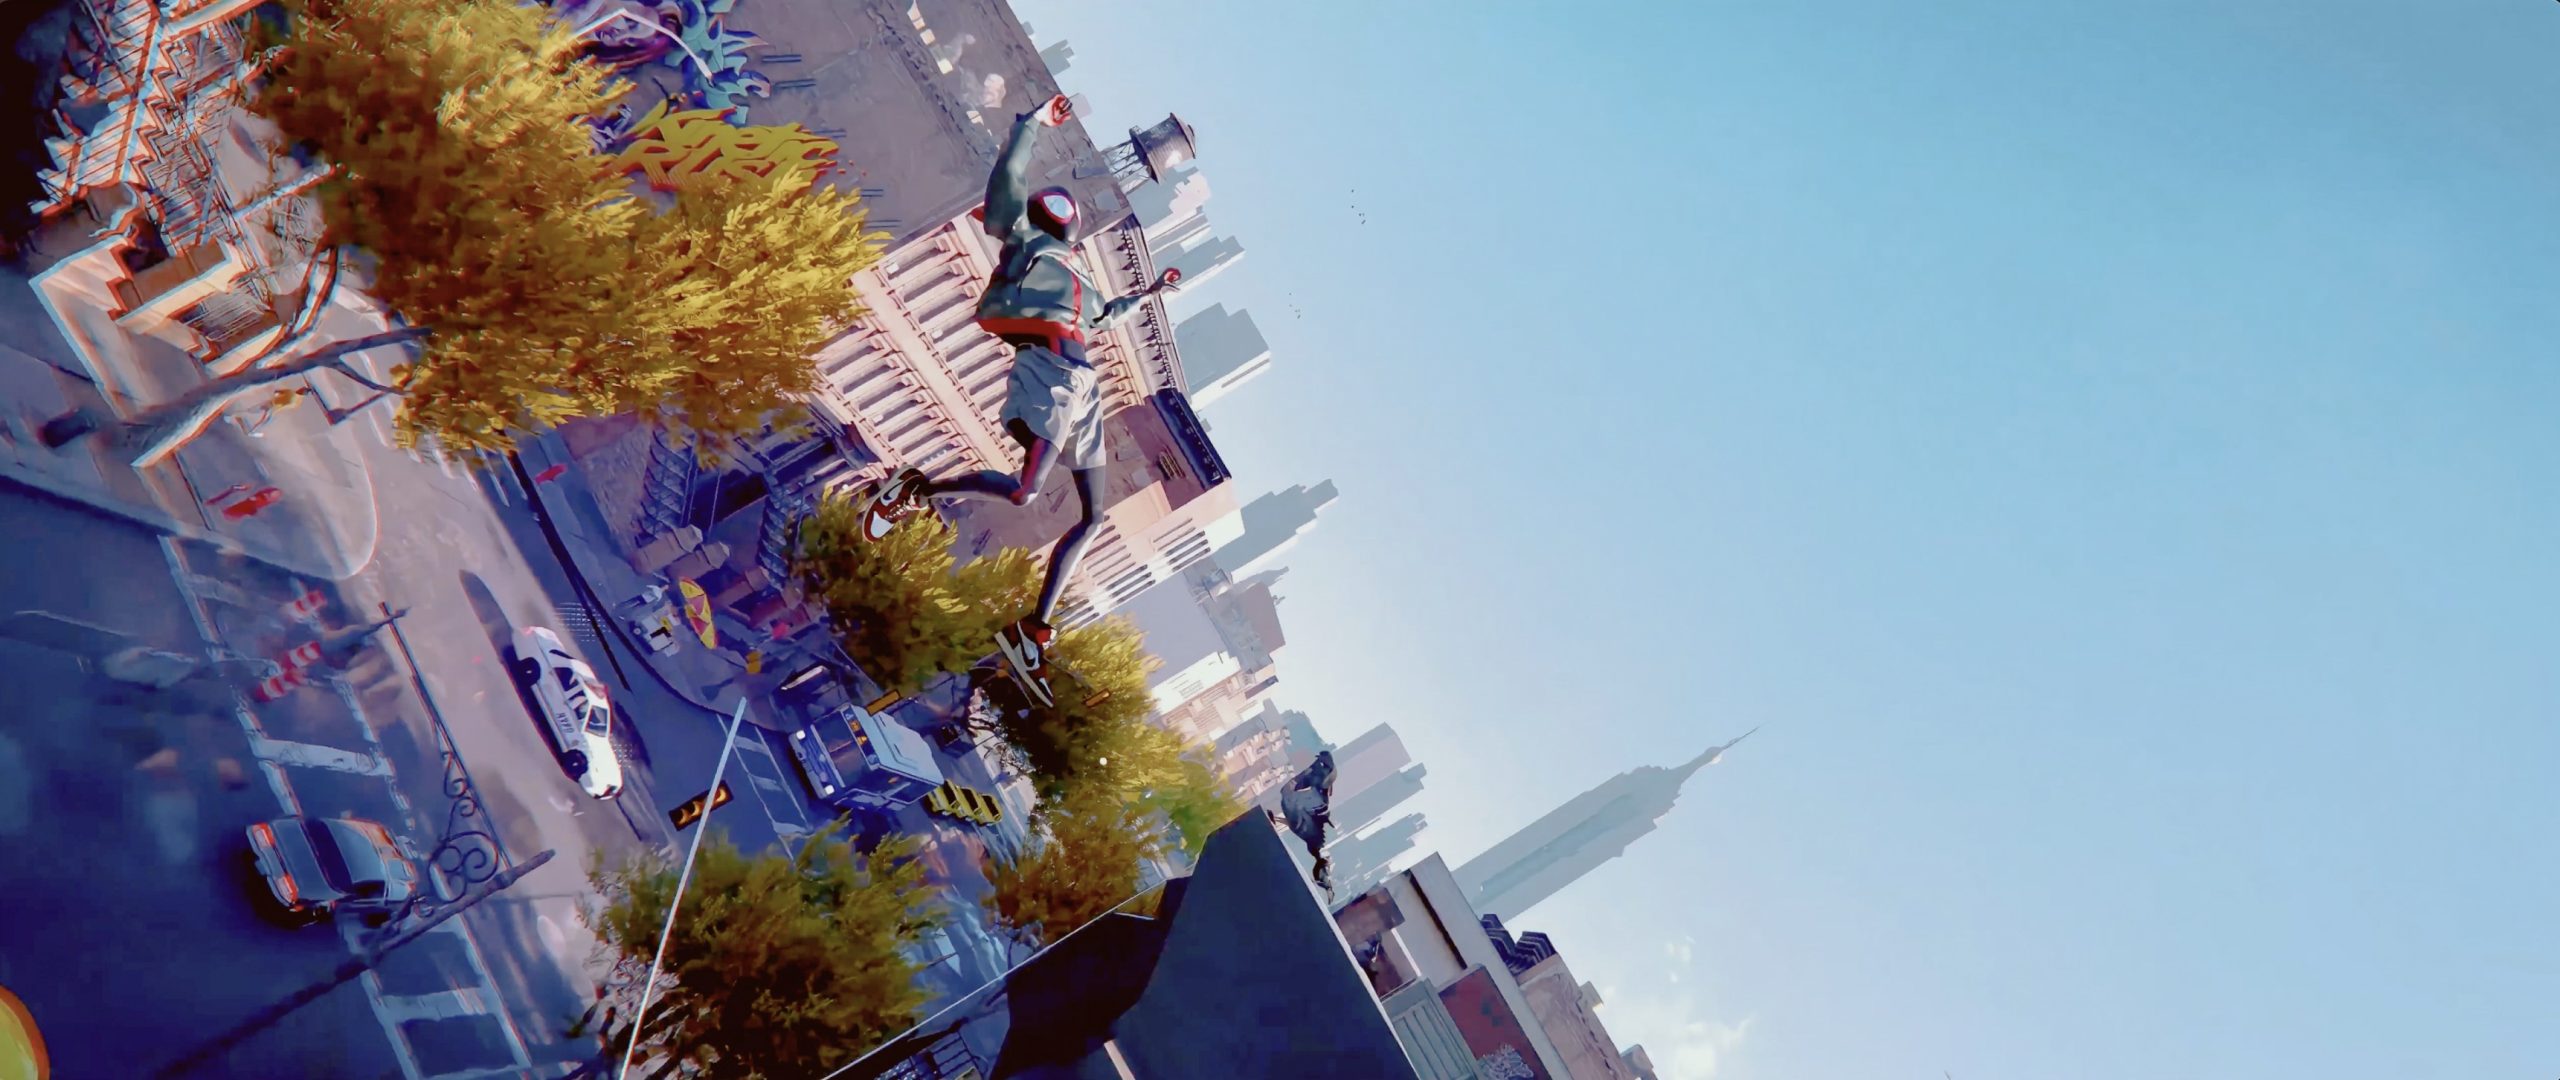
Camera move (Parenting to empty)
I parented the camera and Spider-Man animation to an empty that rotated 90 degrees at the moment Miles jumps, and finished the turn upon his landing.
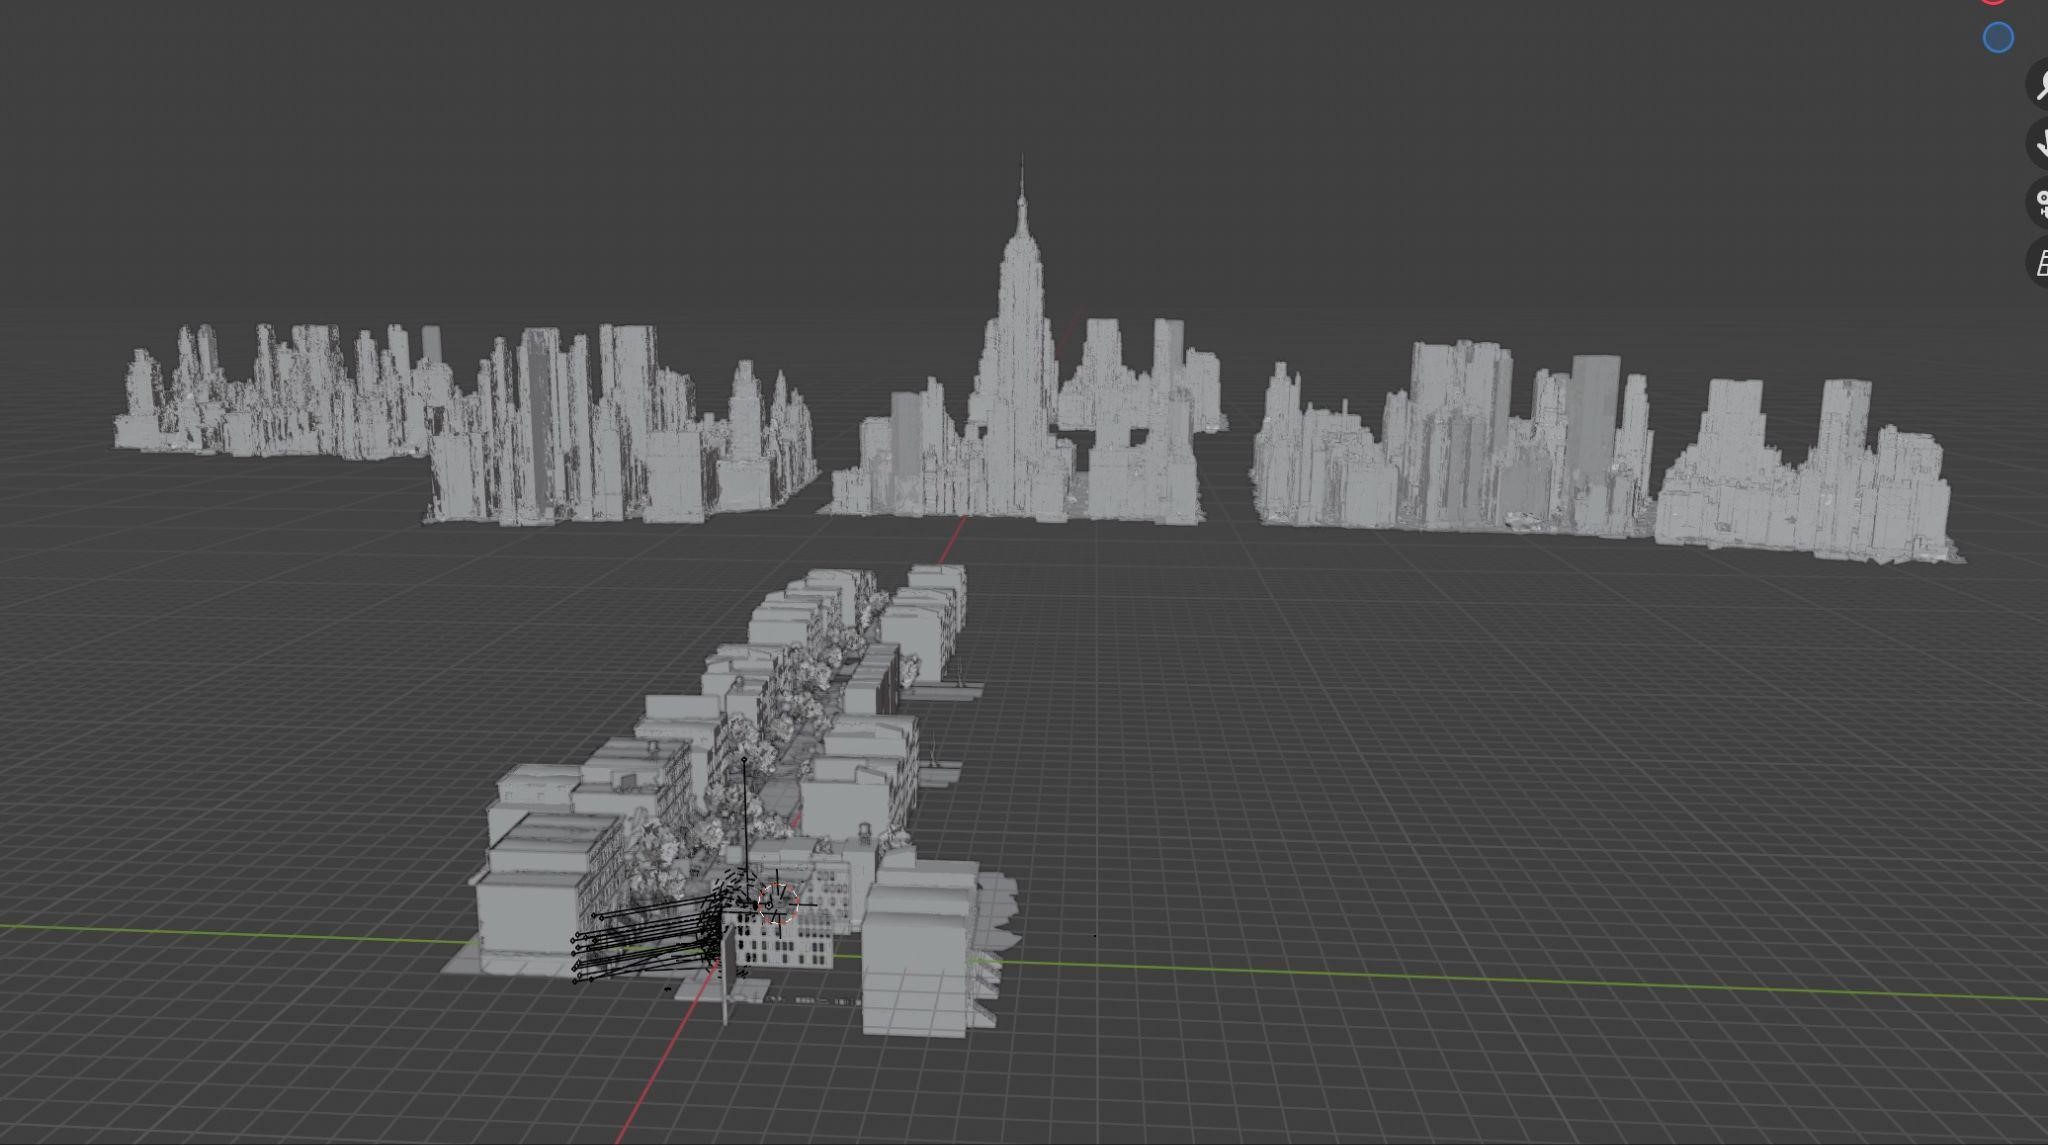
Layers
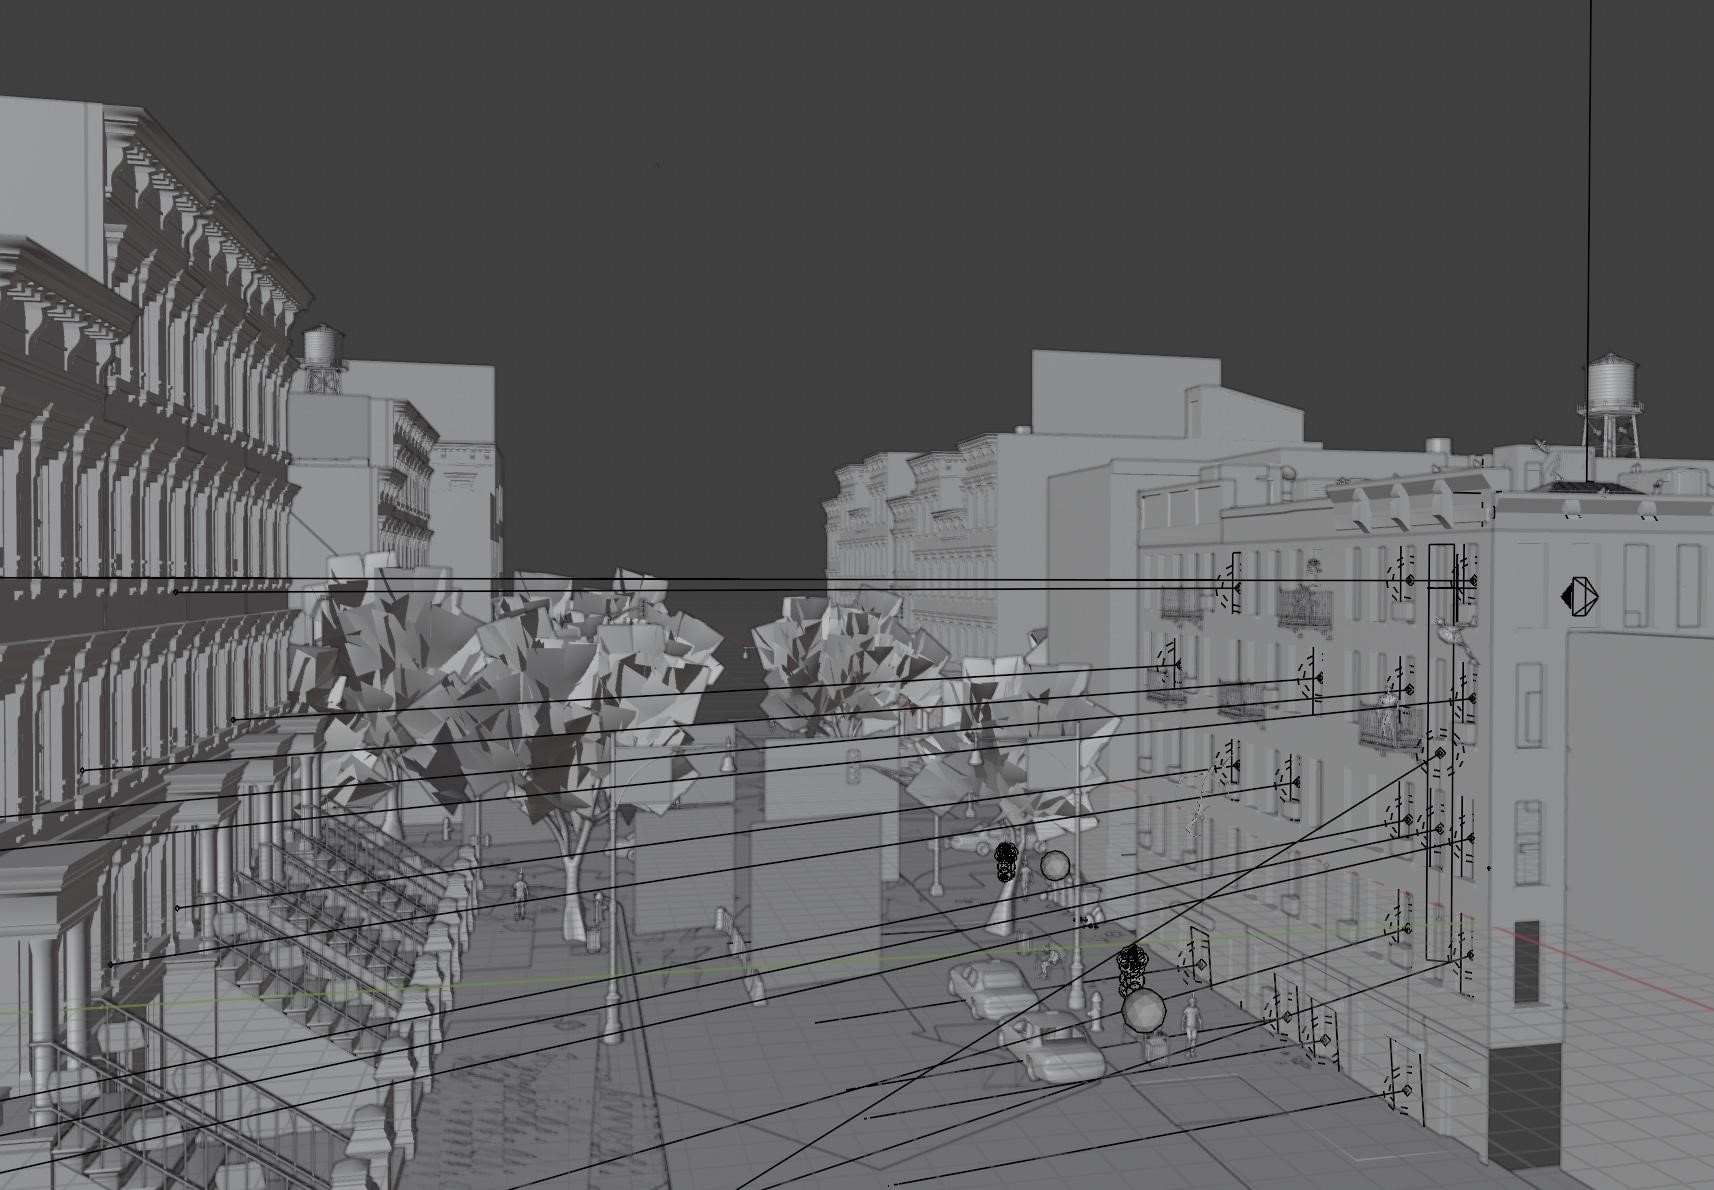
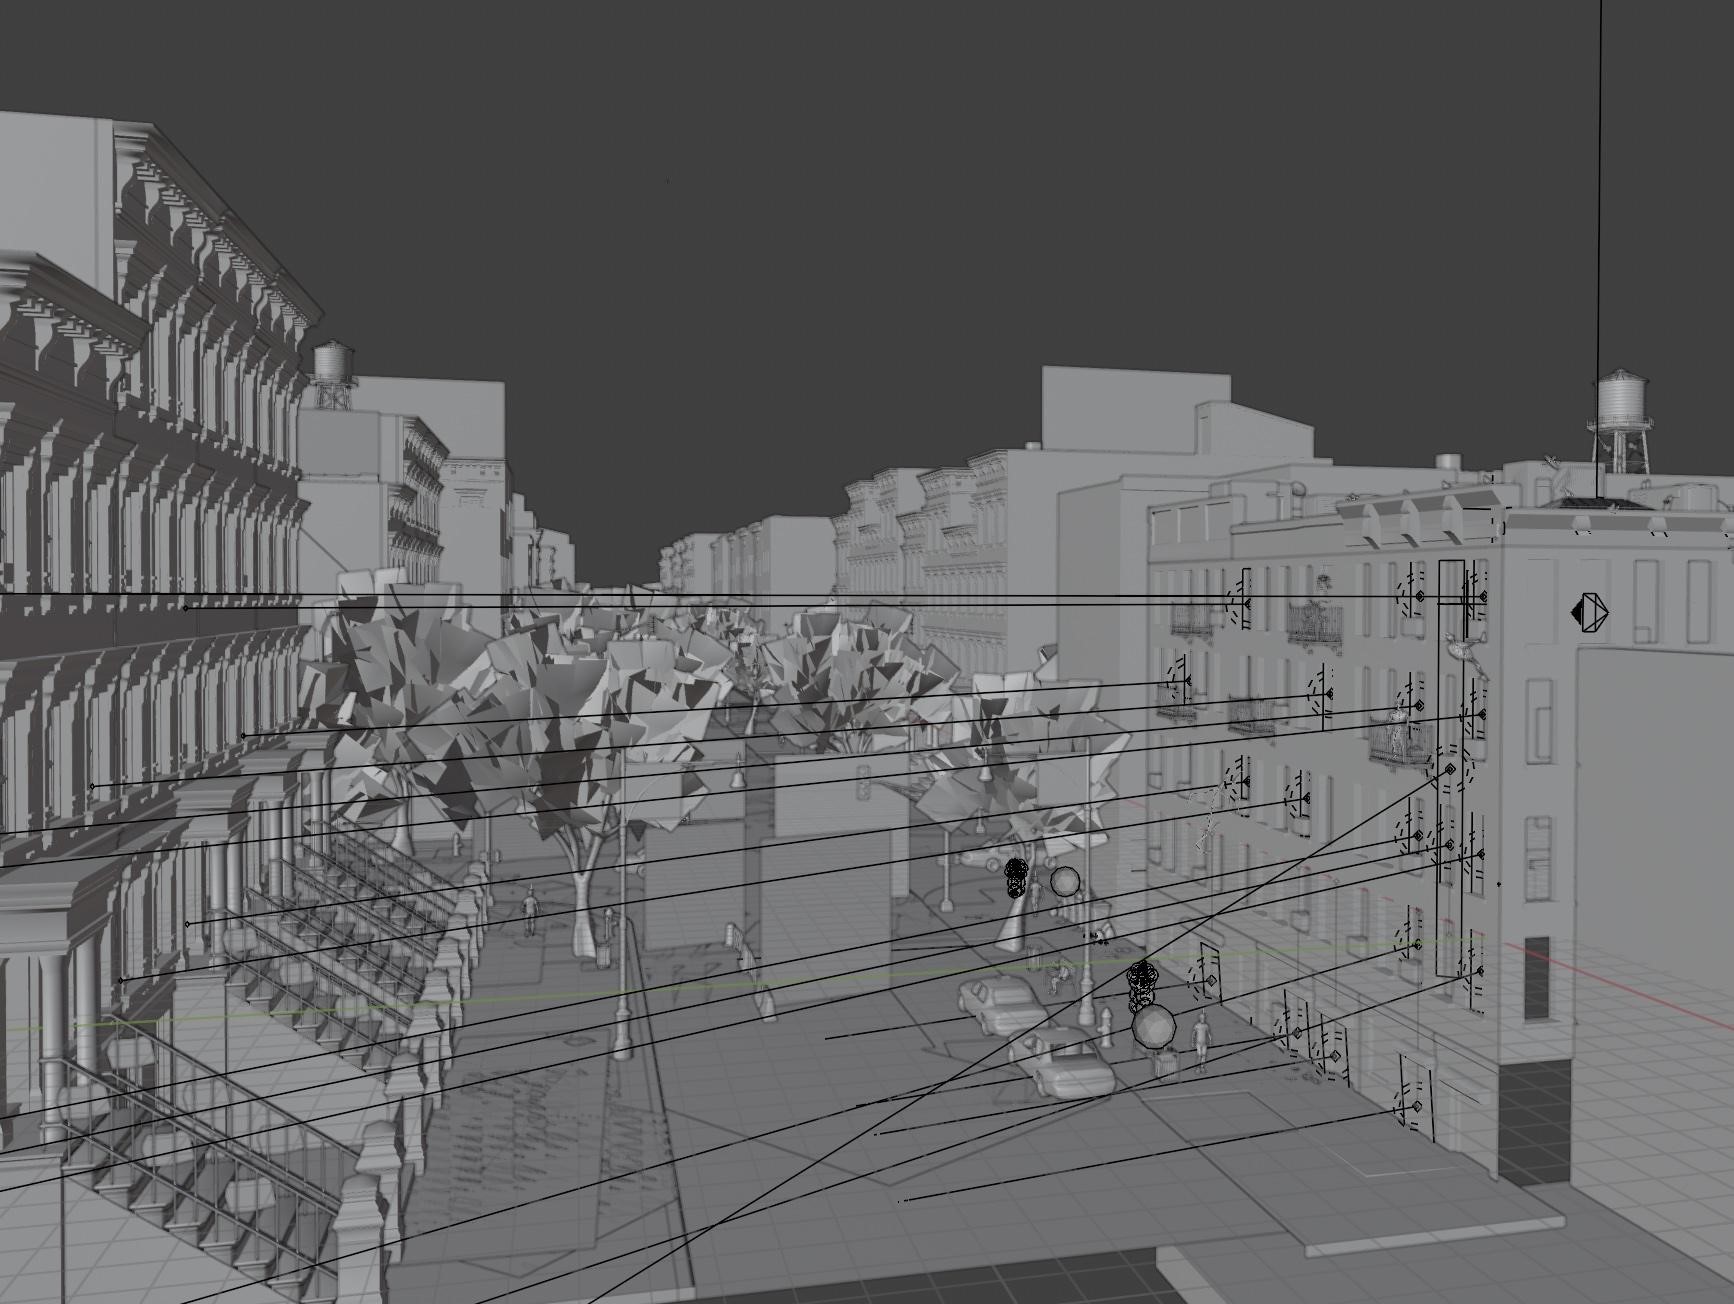
I had to split the scene into five sections and render each one individually, filling out the scene layer by layer.
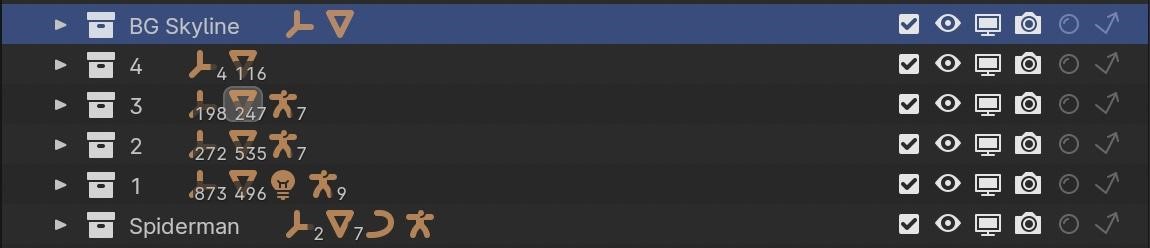
I simply used numbers as a simple way to display depth, 1 being closest to the camera with 4 being the furthest part of the street, and then another collection with the skyline.
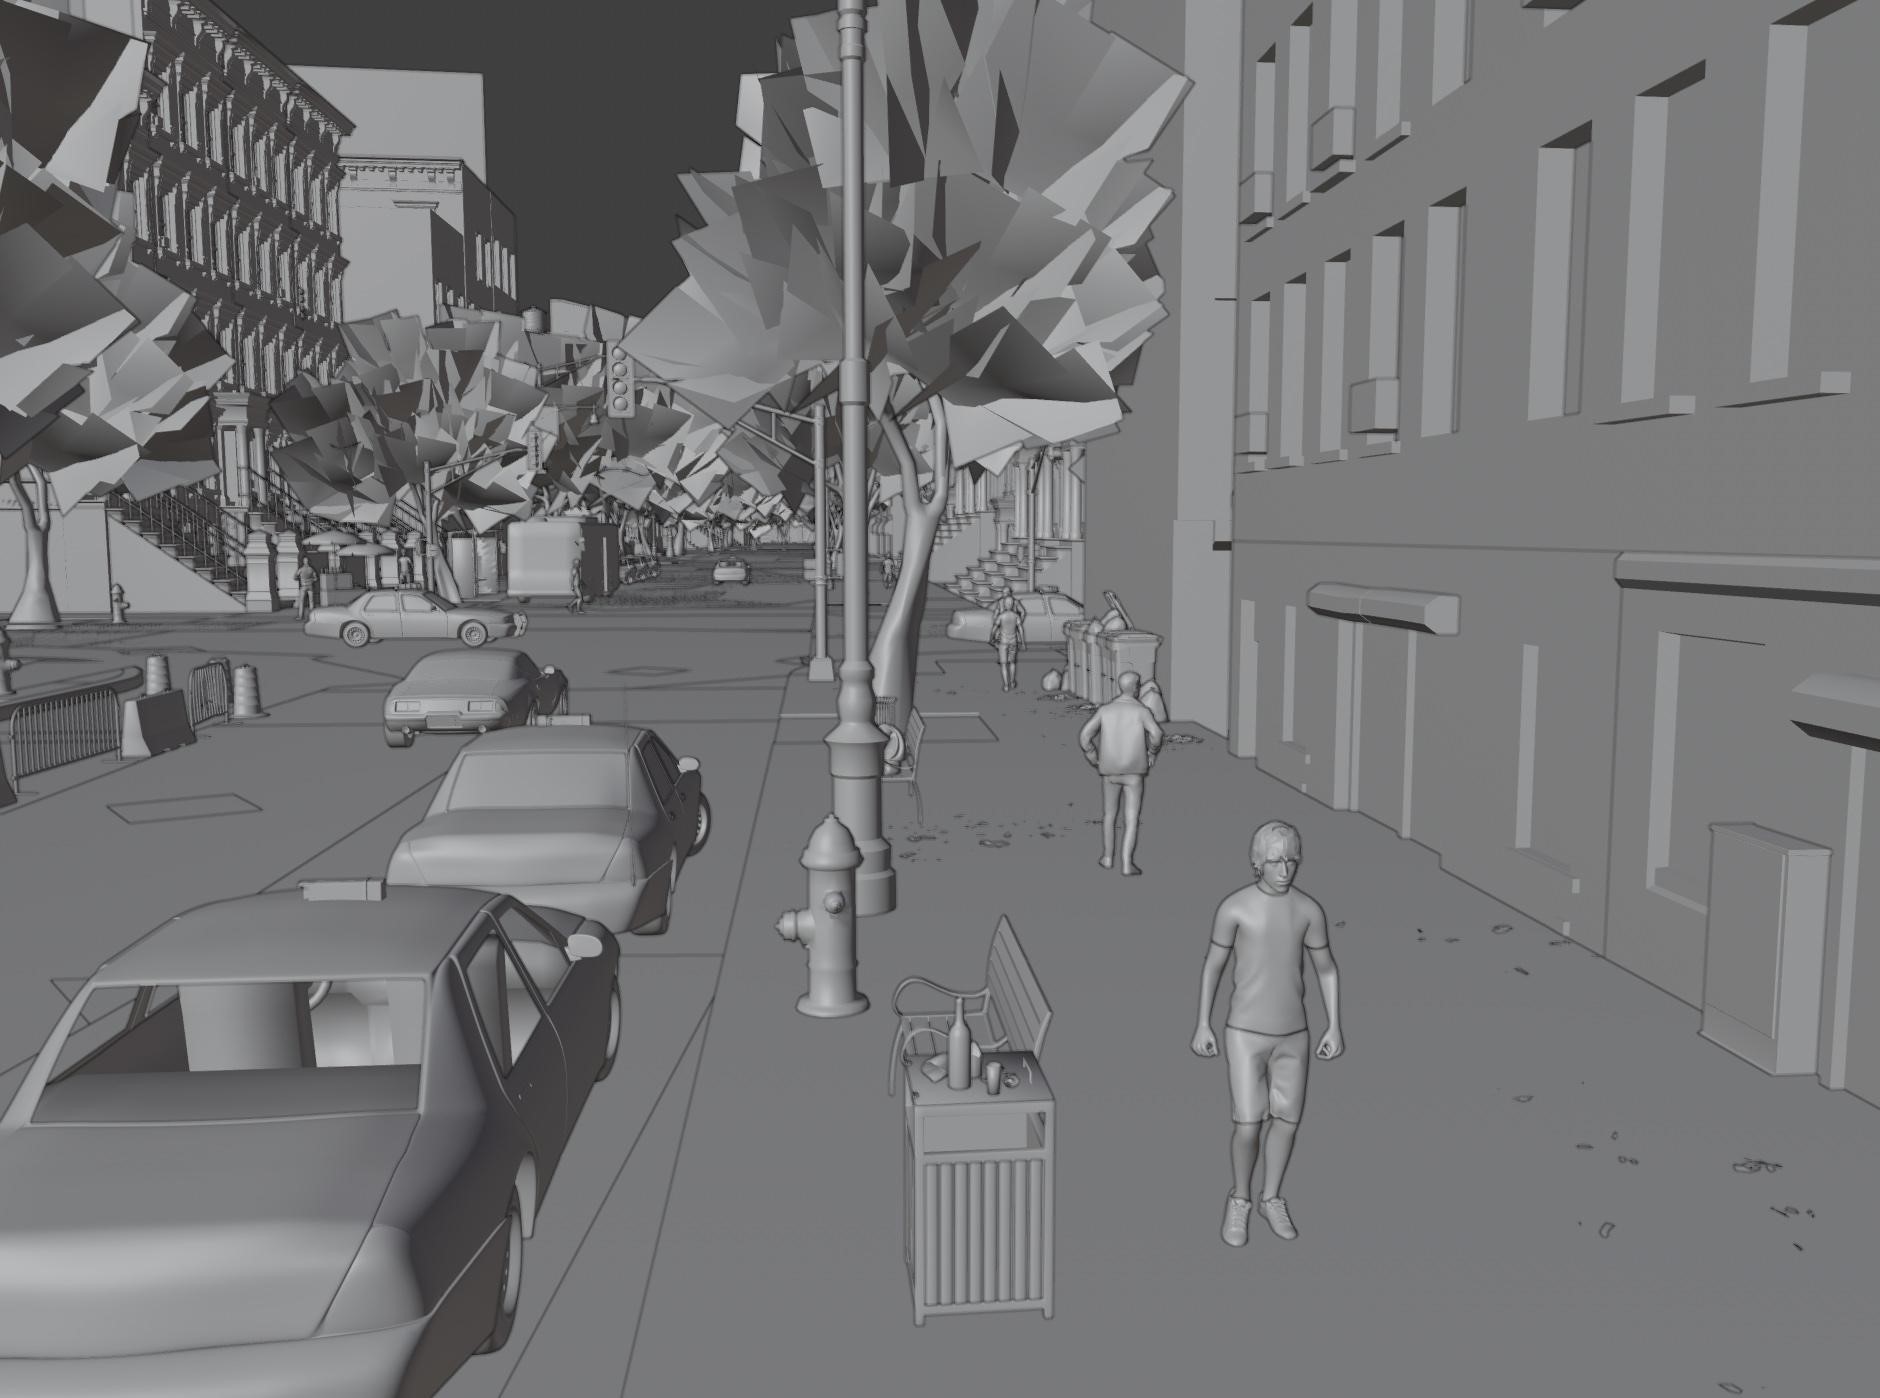
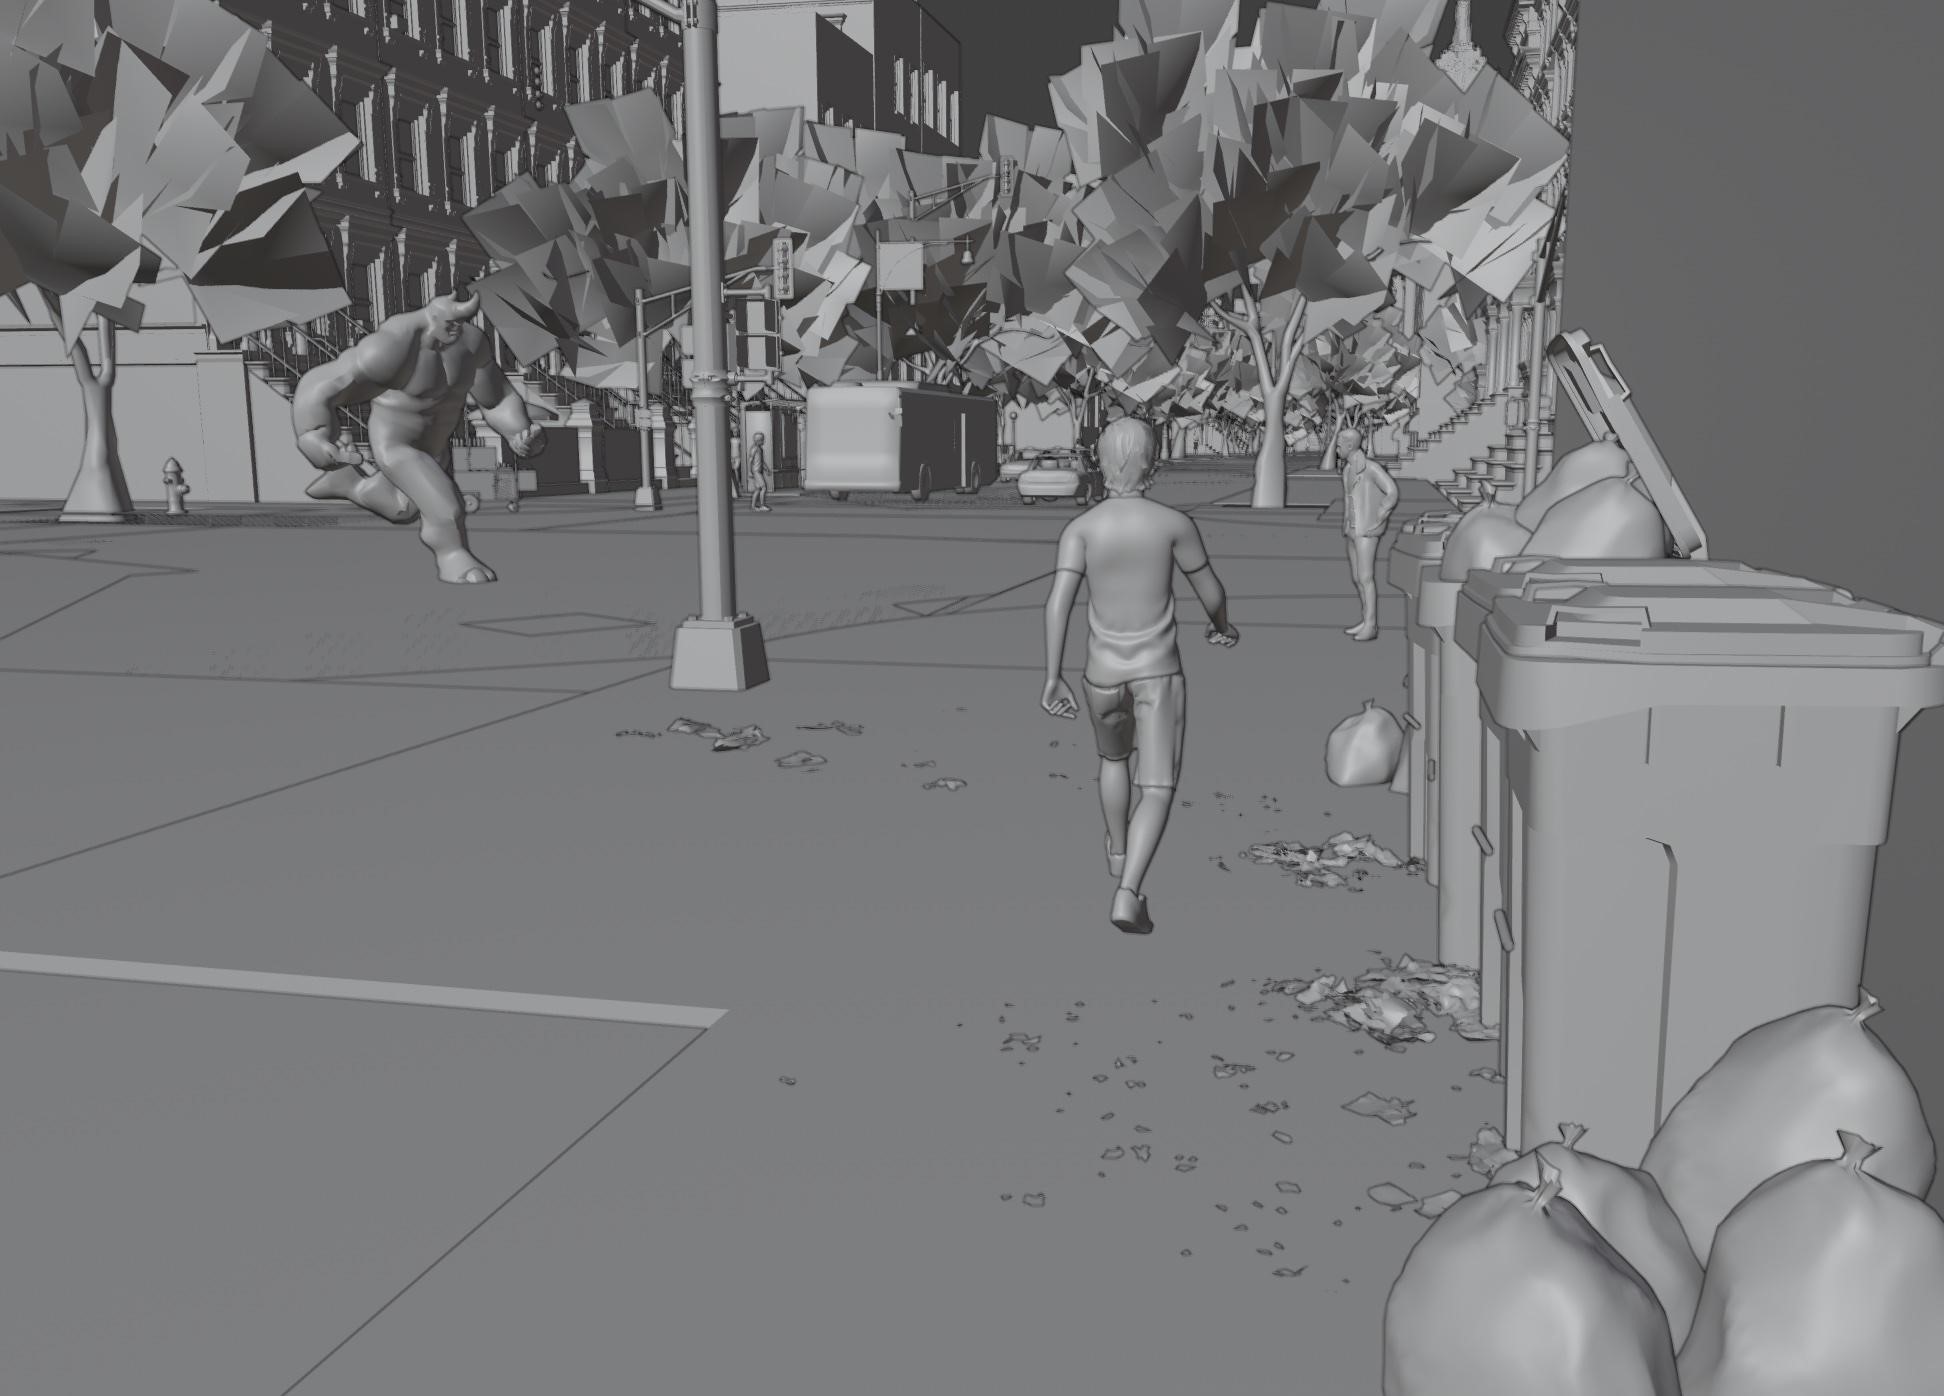
Street level view
This is a street-level view with small details. I would have added more, but my Mac was struggling toward the end of the project. I added trash and other elements to make the scene feel more lived-in and realistic, capturing the essence of a New York street.
Details of the roof with skylights, air ducts, trash, and plenty of pigeons:

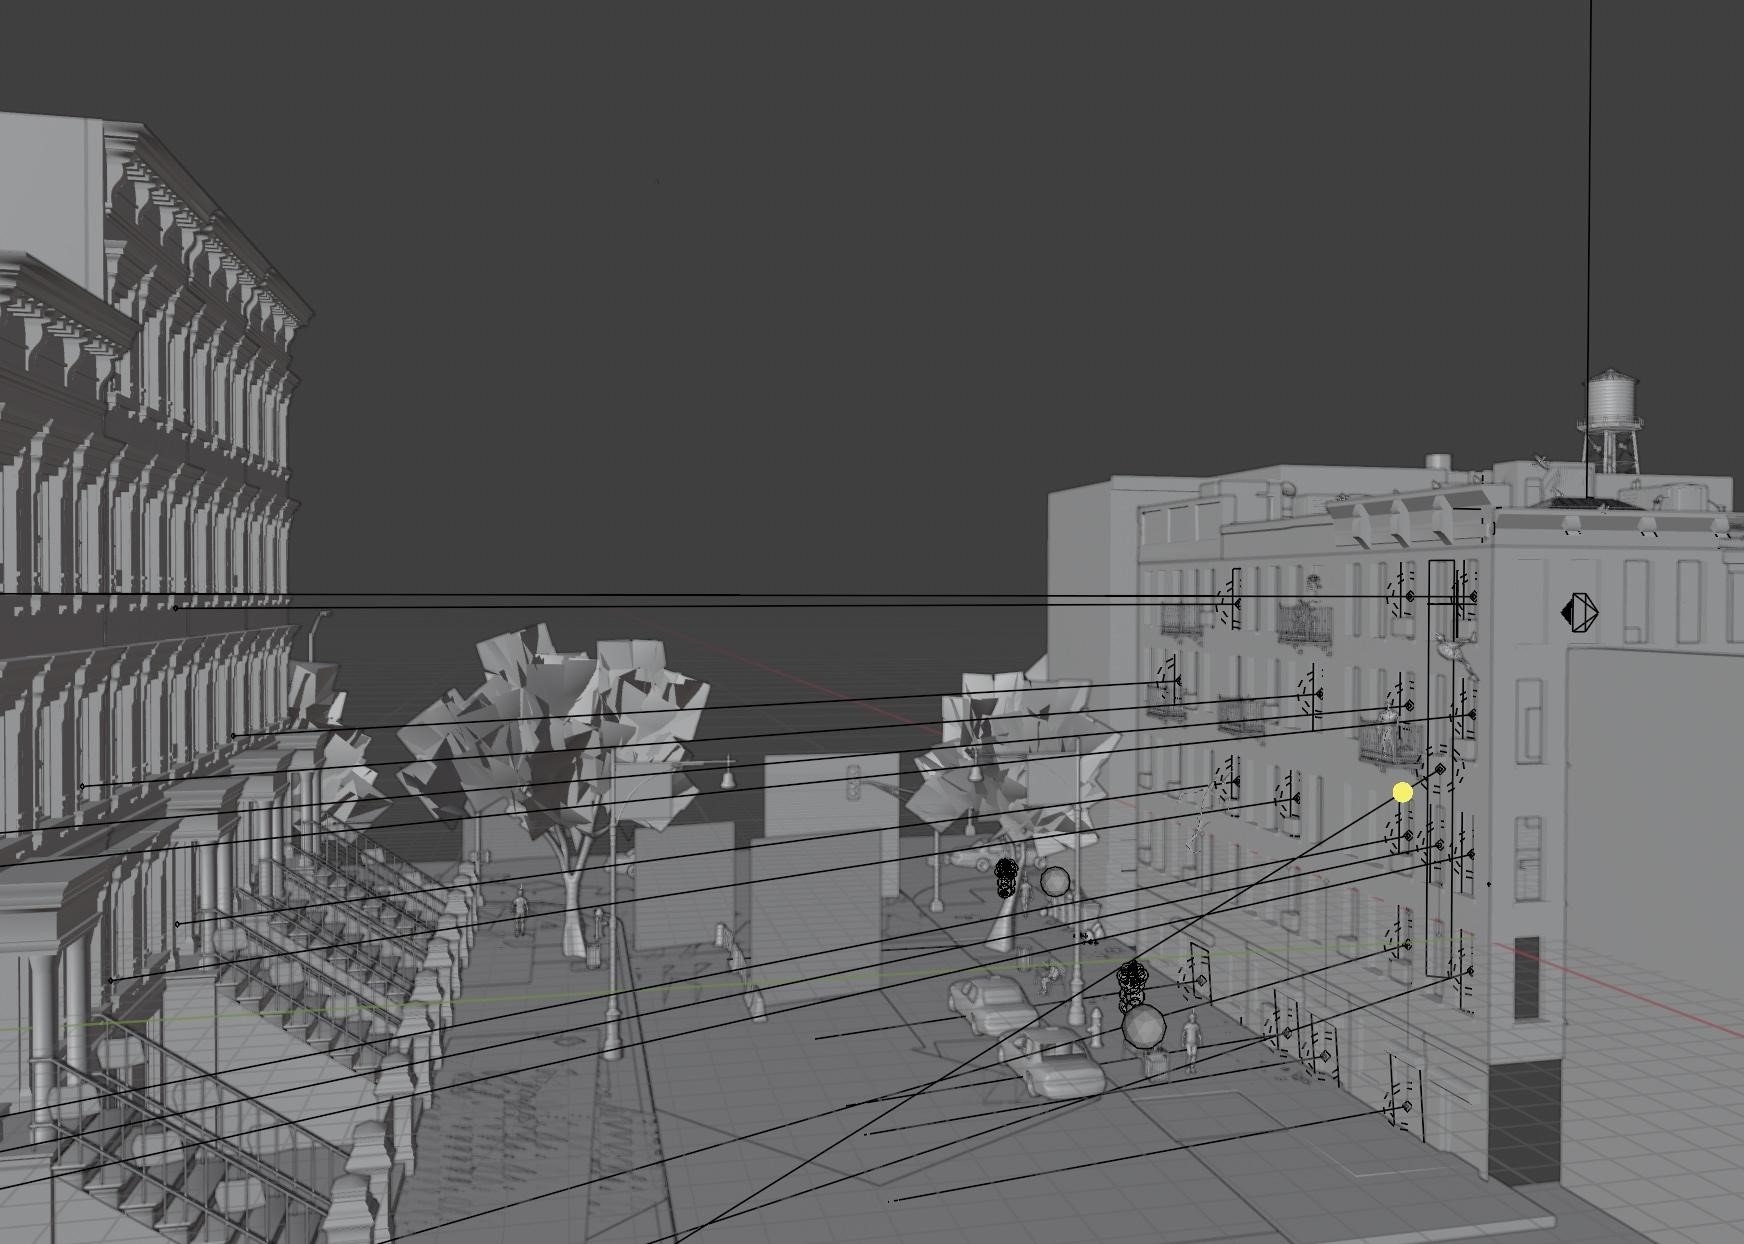
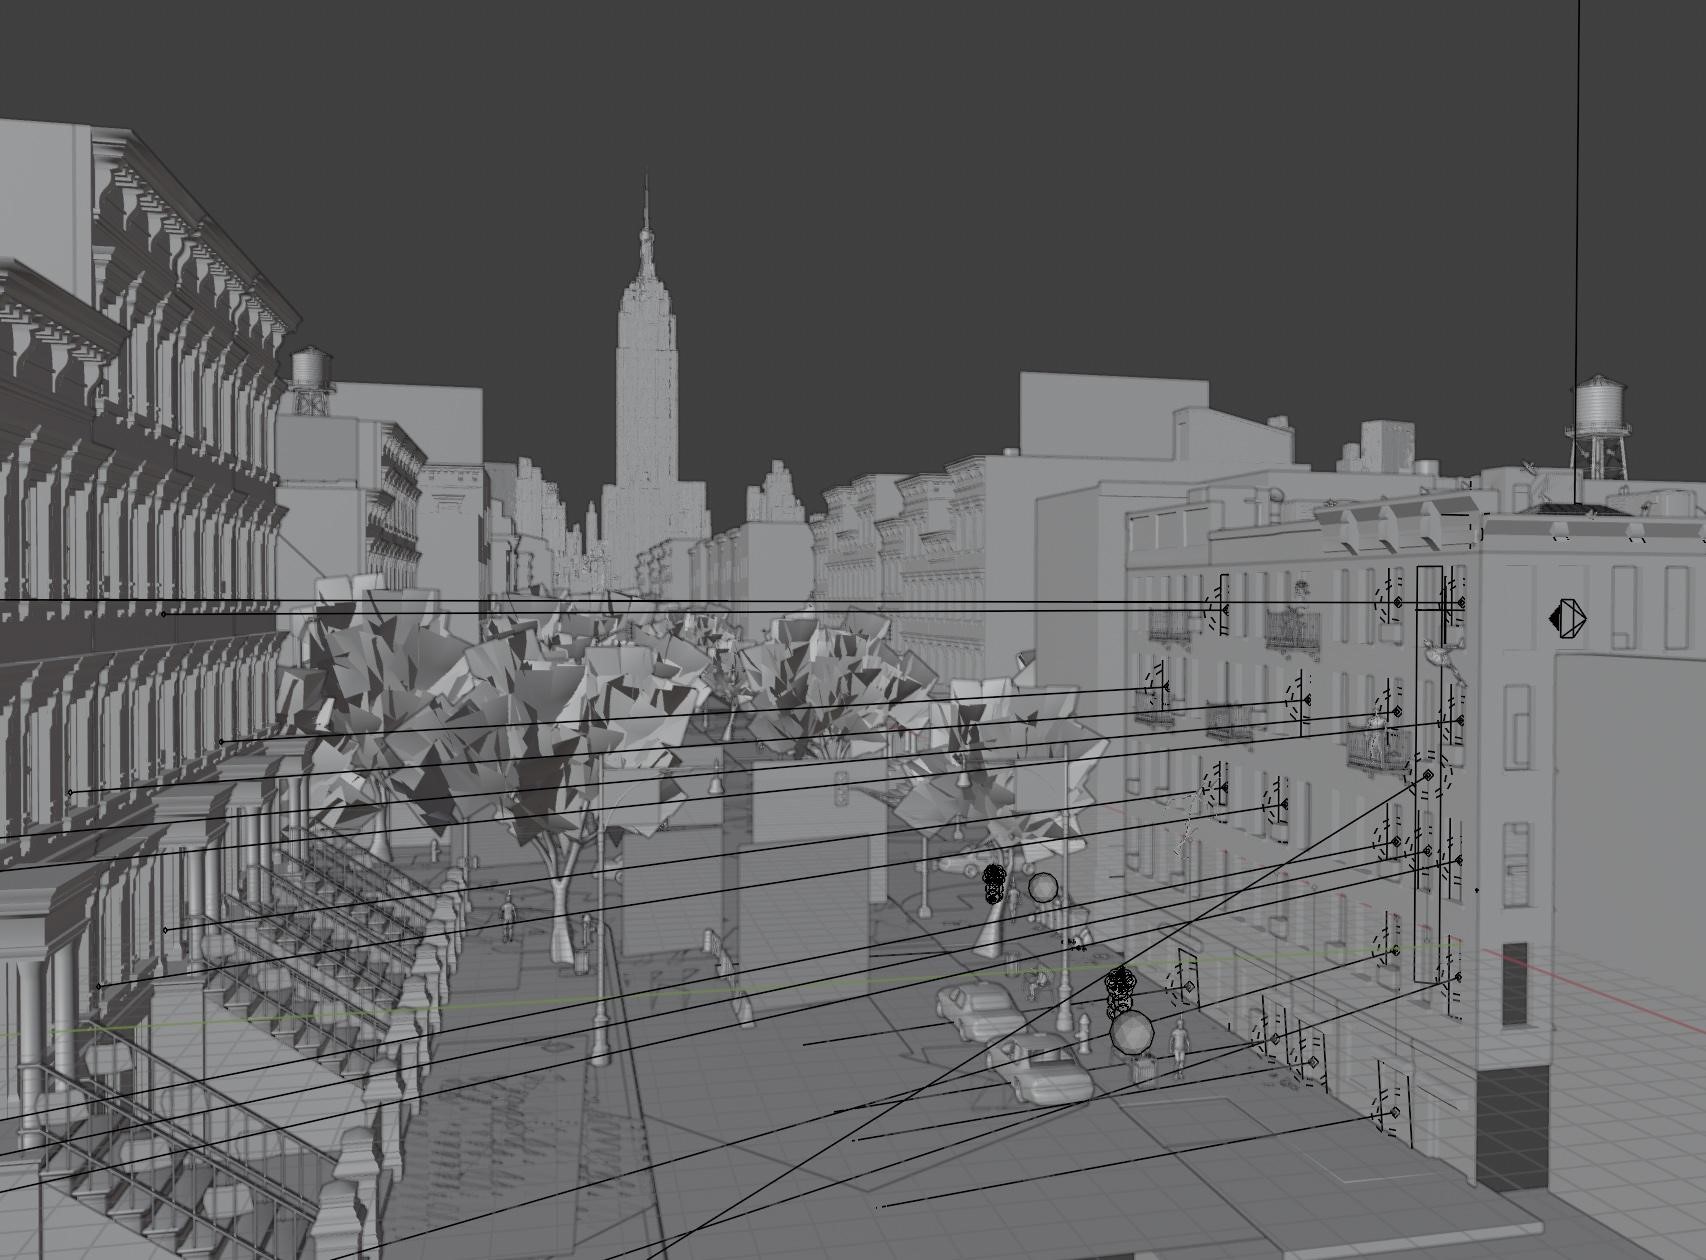
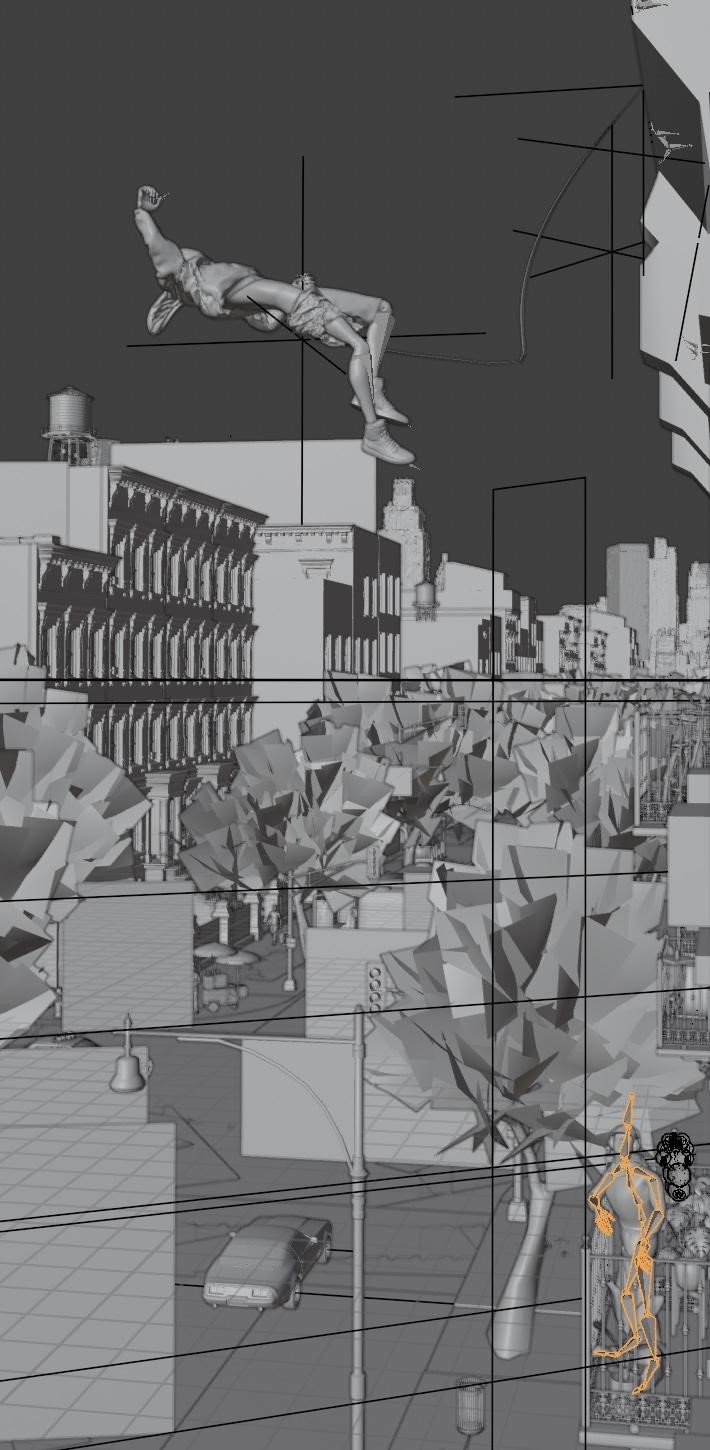
A view of the whole scene is shown below:
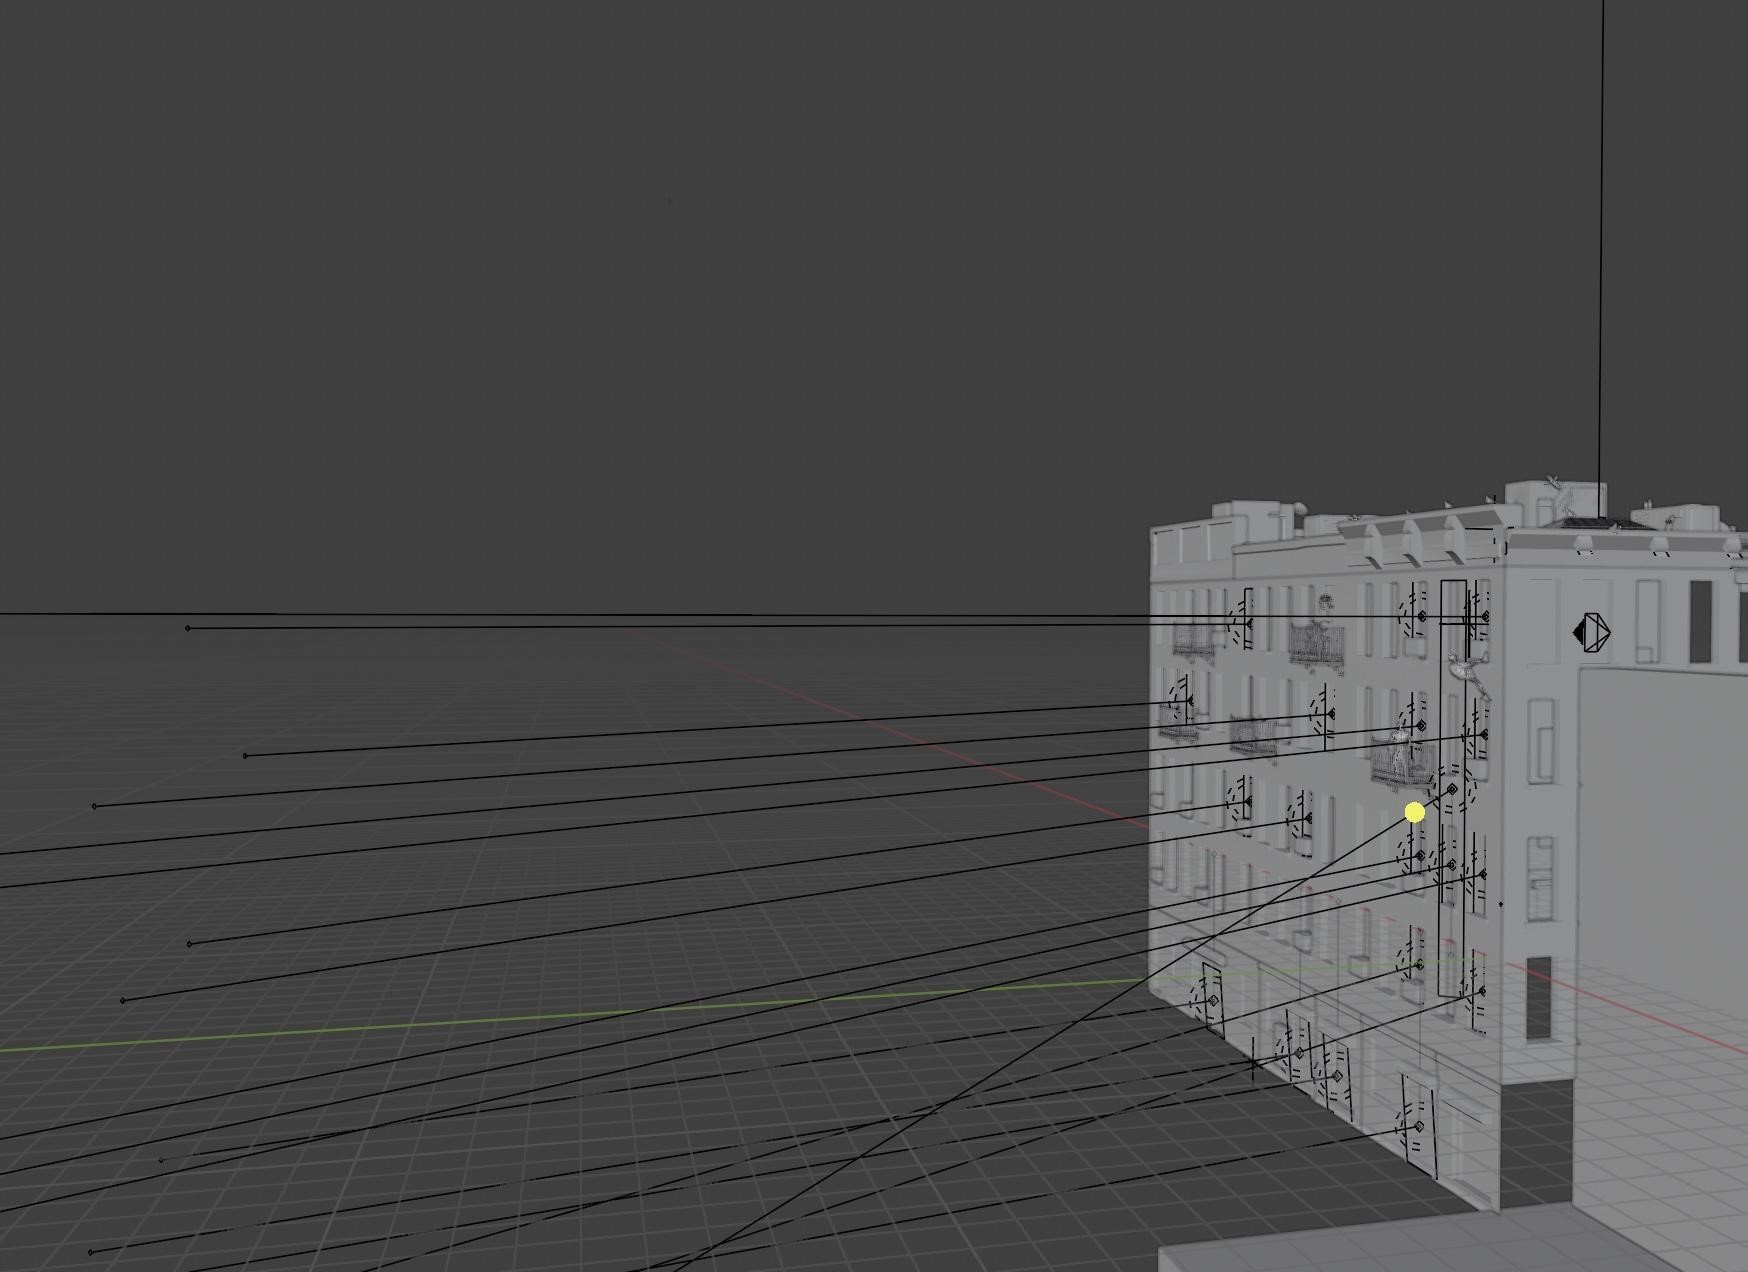
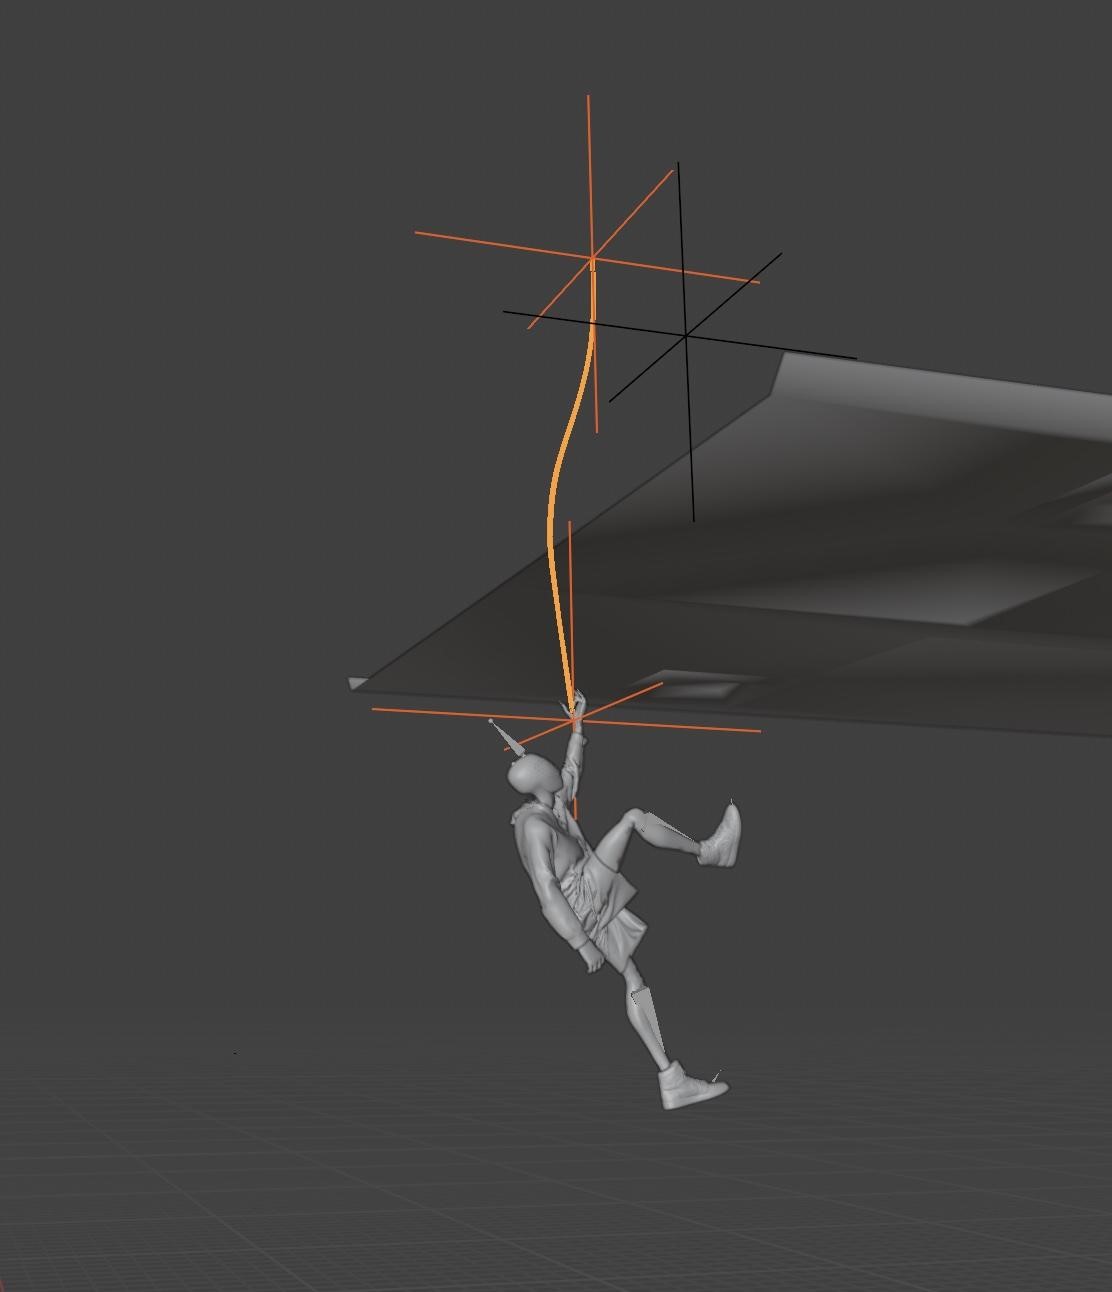
Creating the Web
This Peter France tutorial on creating Spider-Man webs was super helpful for adding the web detail in this scene.
Attach a plane of a few vertices between two empties using pin groups and then add a cloth sim to the plane, creating a really easy web to move around. I then just animated the visibility so it showed up at the correct time.
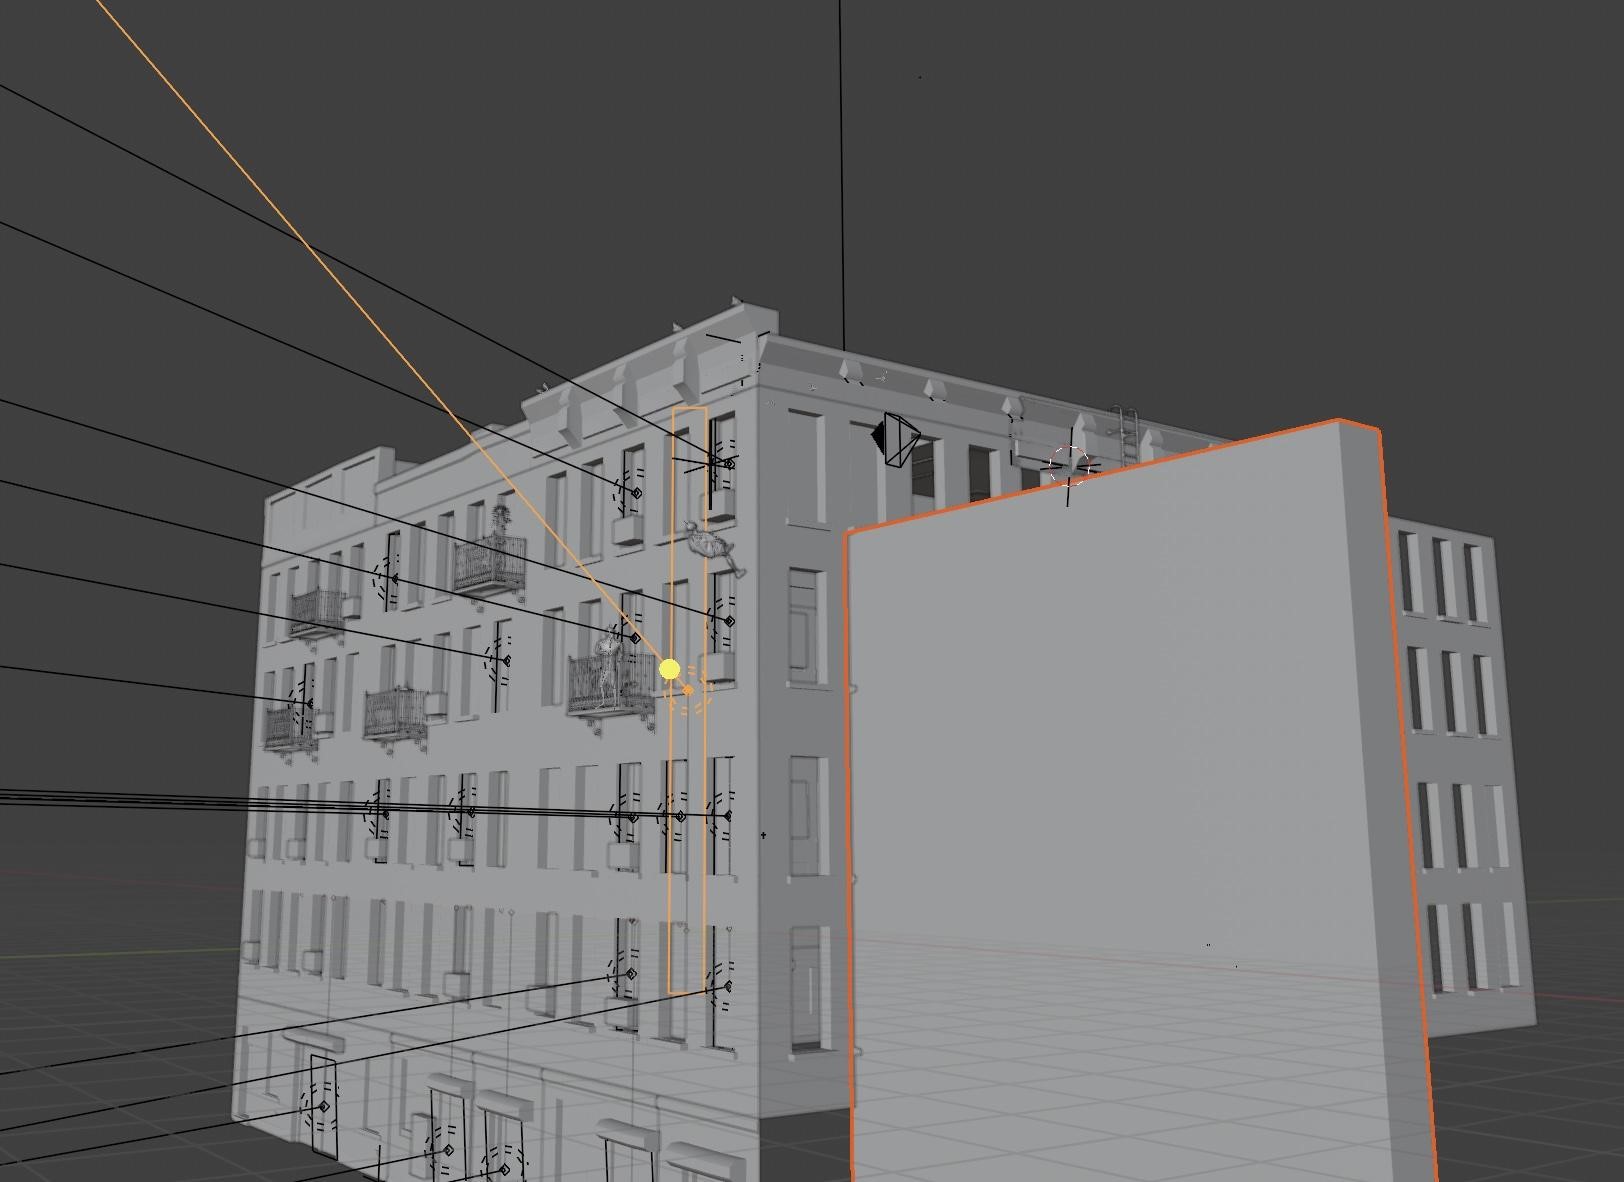
Lighting (HDRI/Area light)
For the lighting in the scene, I went for simplicity. I had an HDRI from PolyHaven lighting up the majority of the scene, along with some simple area lights coming out of the window of the foreground building, all slightly angled towards Miles to under light him slightly.
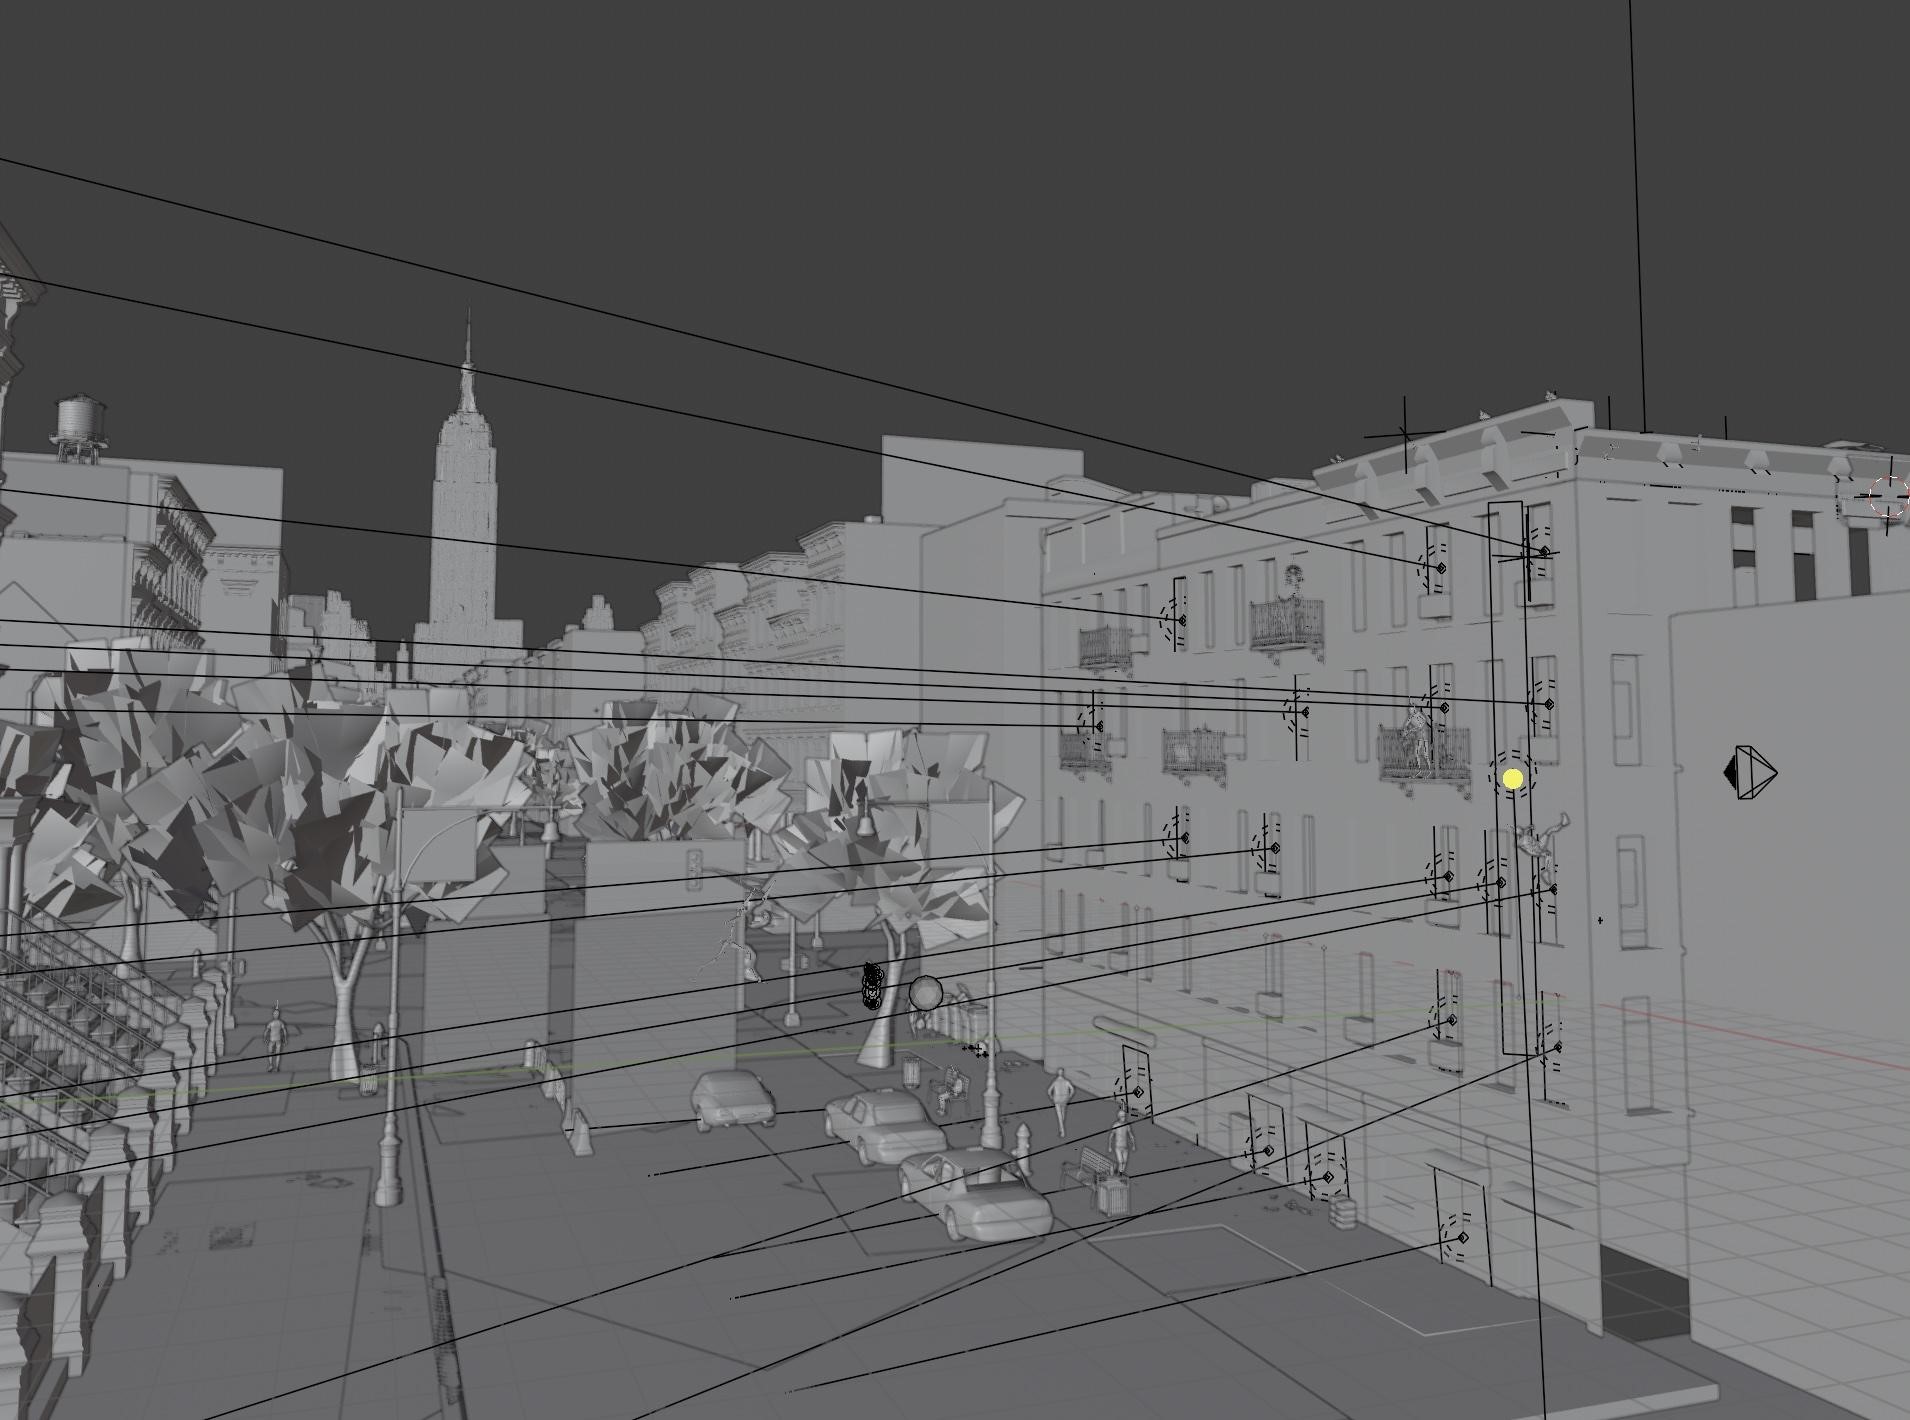
I then added a bright white edge-light that was linked to Miles, giving him extra dimension and separating him from the background.
I also used a tall rectangle to block out the light of the HDRI so that the foreground appeared to be in the shade of a building, while also having the light shoot through the street in the background.
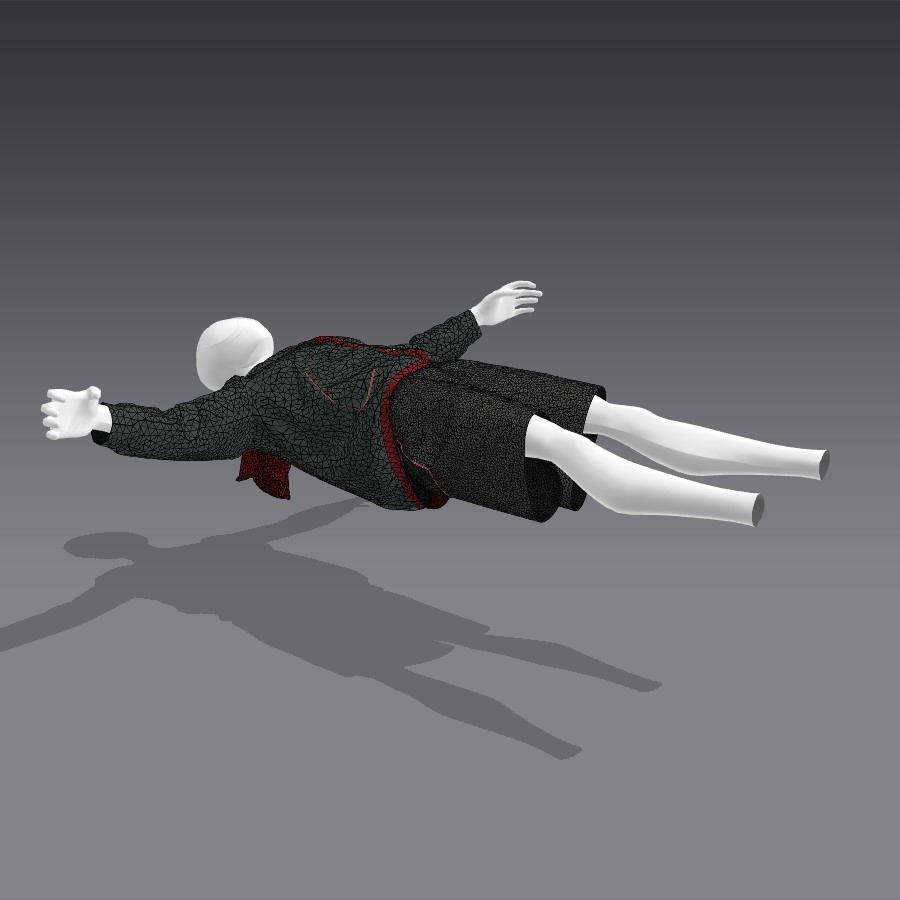
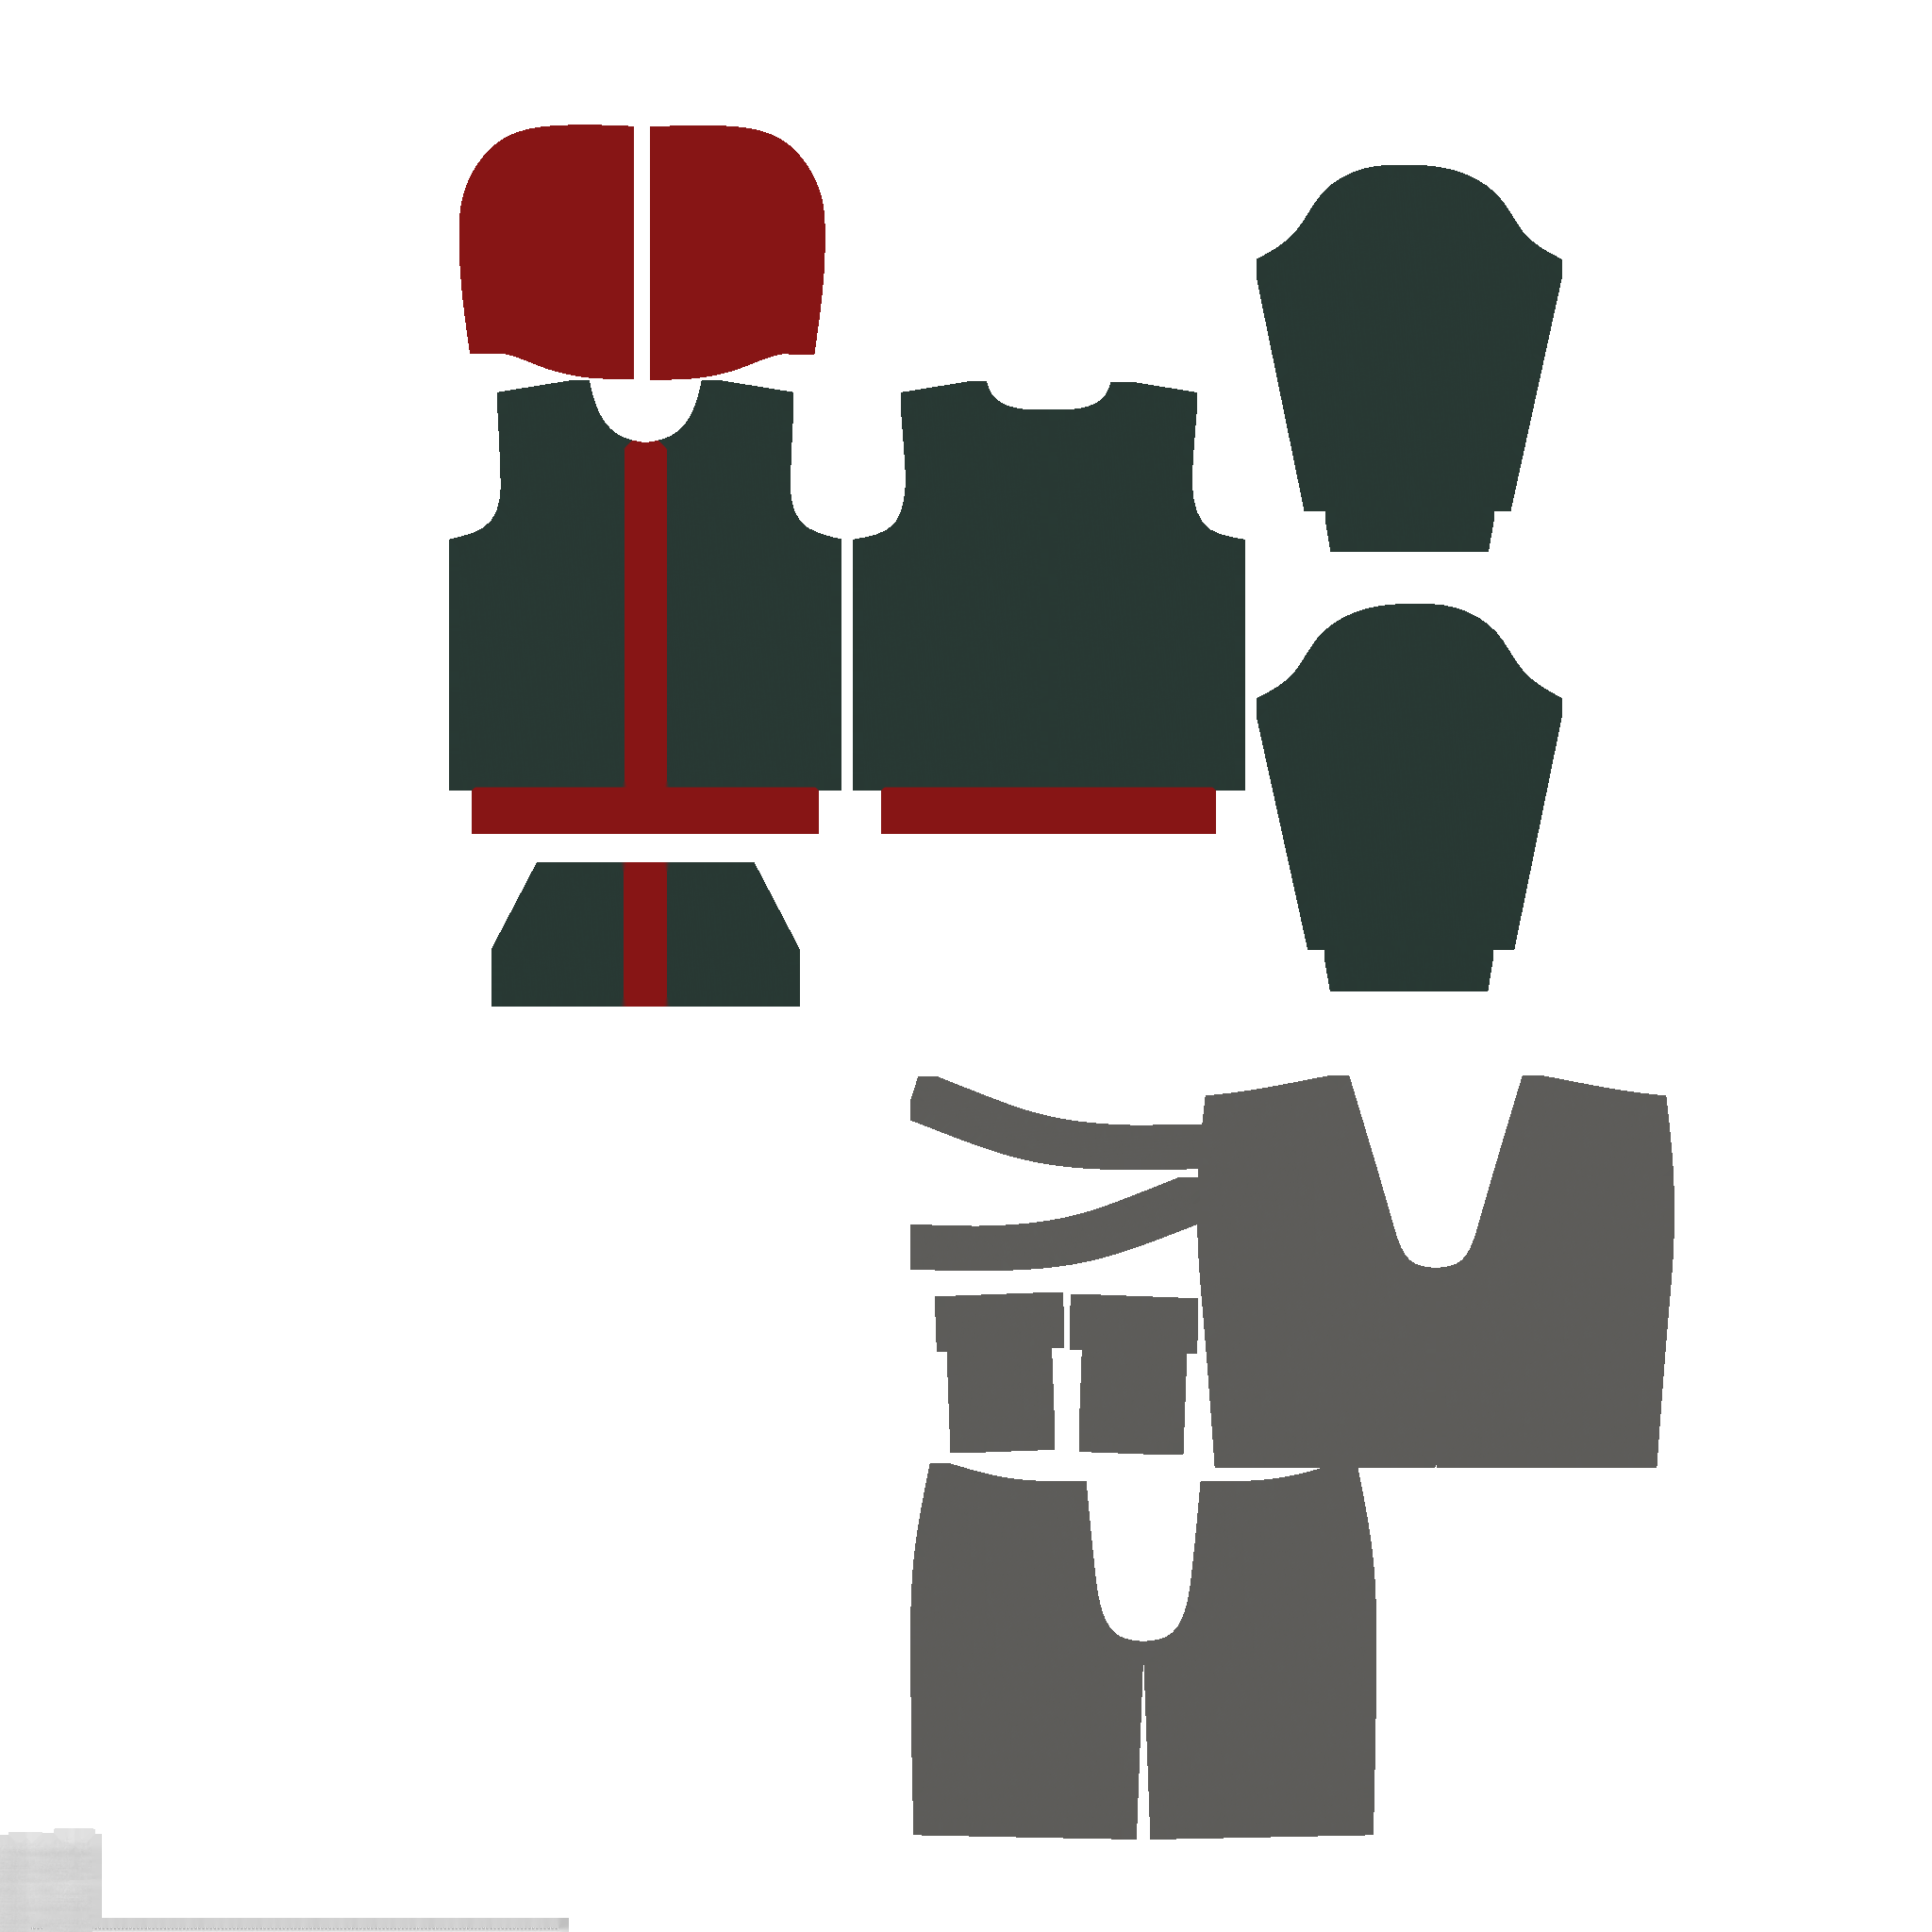
Marvelous Designer
I spent some time learning the basics of Marvelous Designer before deciding to go for a very simple set of garments. I built off the templated hoodie and shorts and colored them to match Miles’s clothes in the Spider-Verse movies. The main difficulty I had was the orientation of my character, I had to play with the setting to make sure the garments moved correctly. I also had to make some adjustments to the animation to avoid any clipping that would mess with the cloth sims.
Other Characters
Any realistic shot of New York has to have at least a few pigeons. So I took a low poly pigeon model I found on SketchFab and made a very basic rig. I then created a flying animation with 2 simple positions, wings up and wings down.
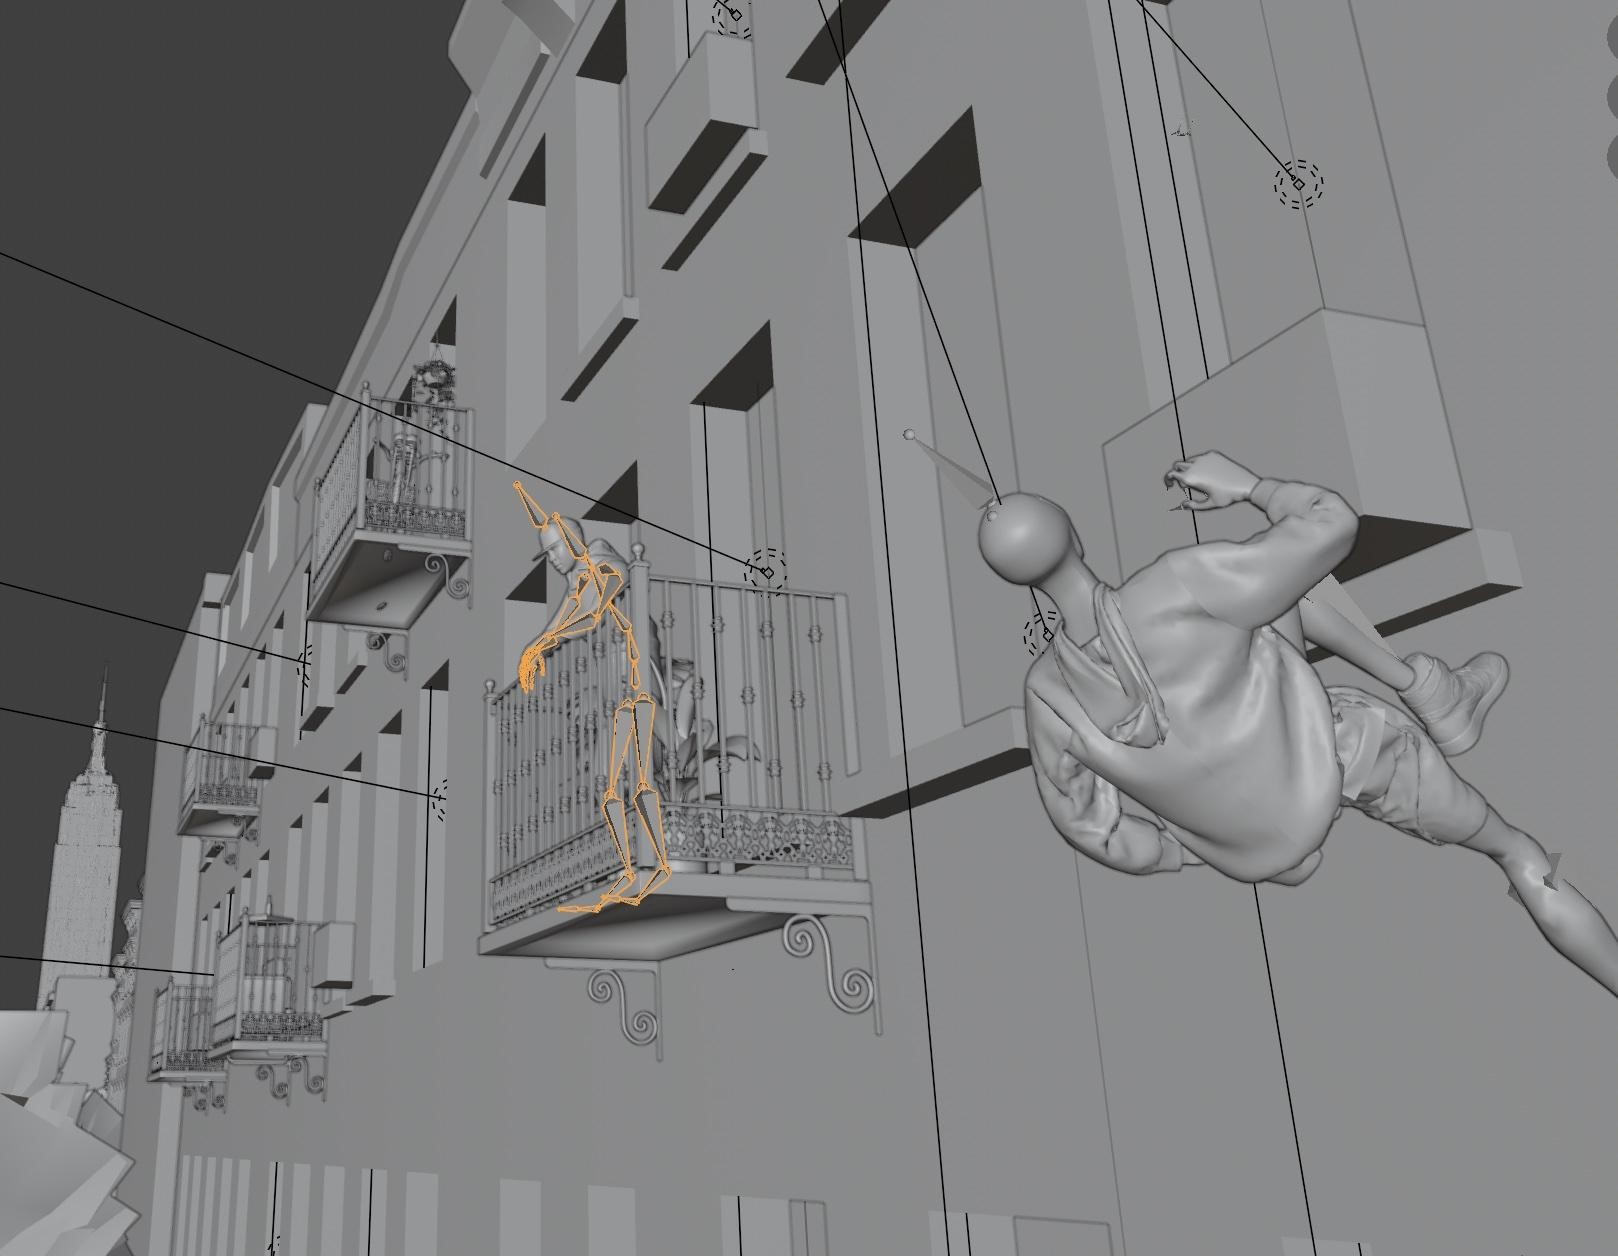
I then added in a Mixamo man on the balcony who would be reacting to seeing Miles running up the side of a building.
Photoshop Frames drawing
I exported out the render as a PNG sequence and brought in 8 frames for the graphical portion of this animation. I then used Photoshop to add effects and paint over the scene, each frame a slightly different style to give a fun hand-drawn glitch effect when played back. I also did the same for the “spidey sense” frames.
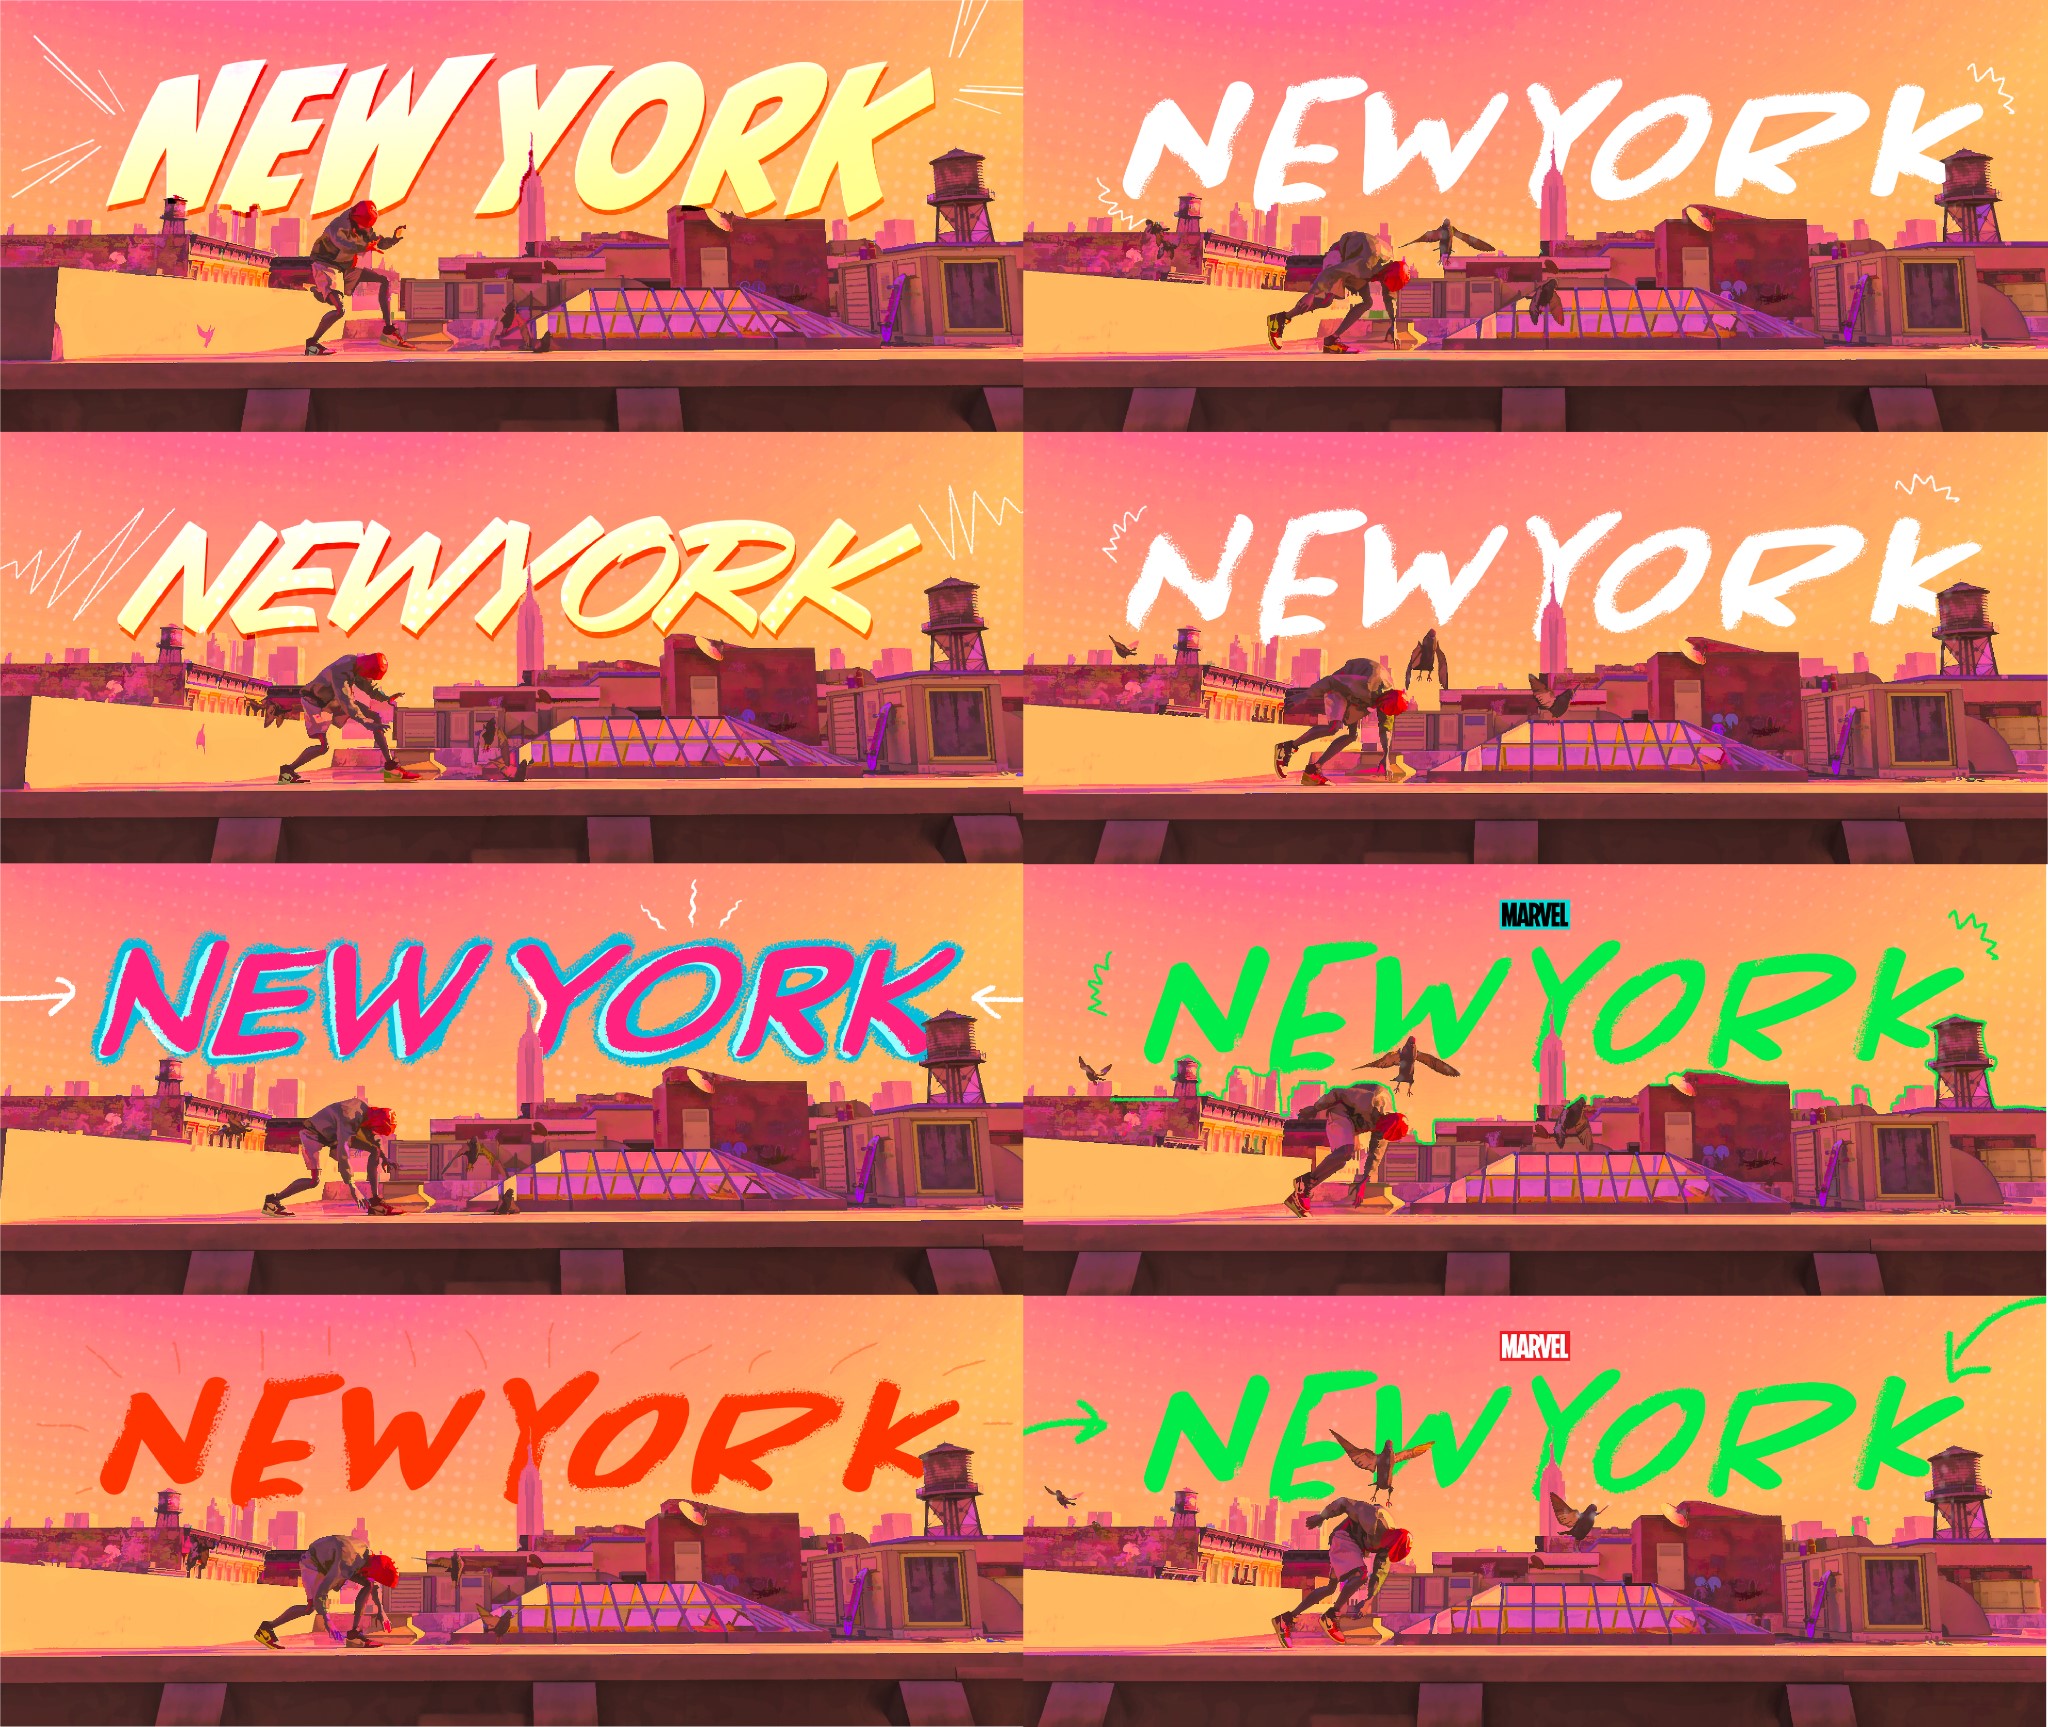
And that was it! Below are the final renders and the animation.
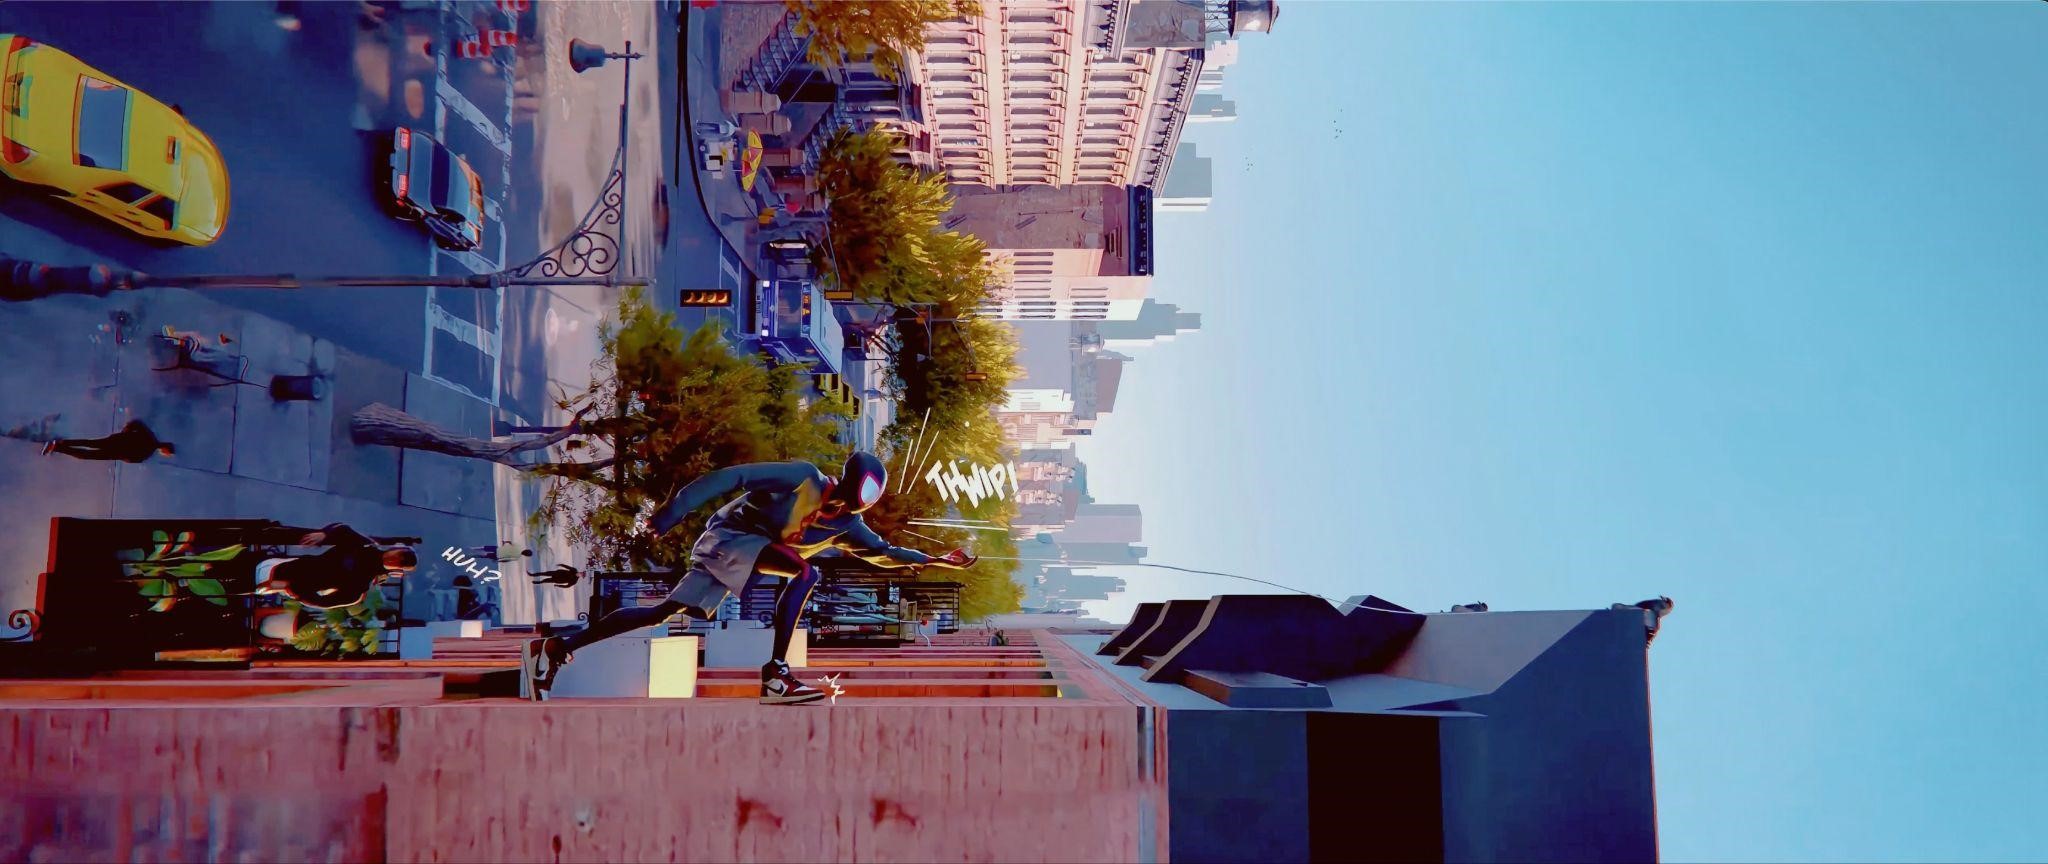
RENDER: Miles NYC


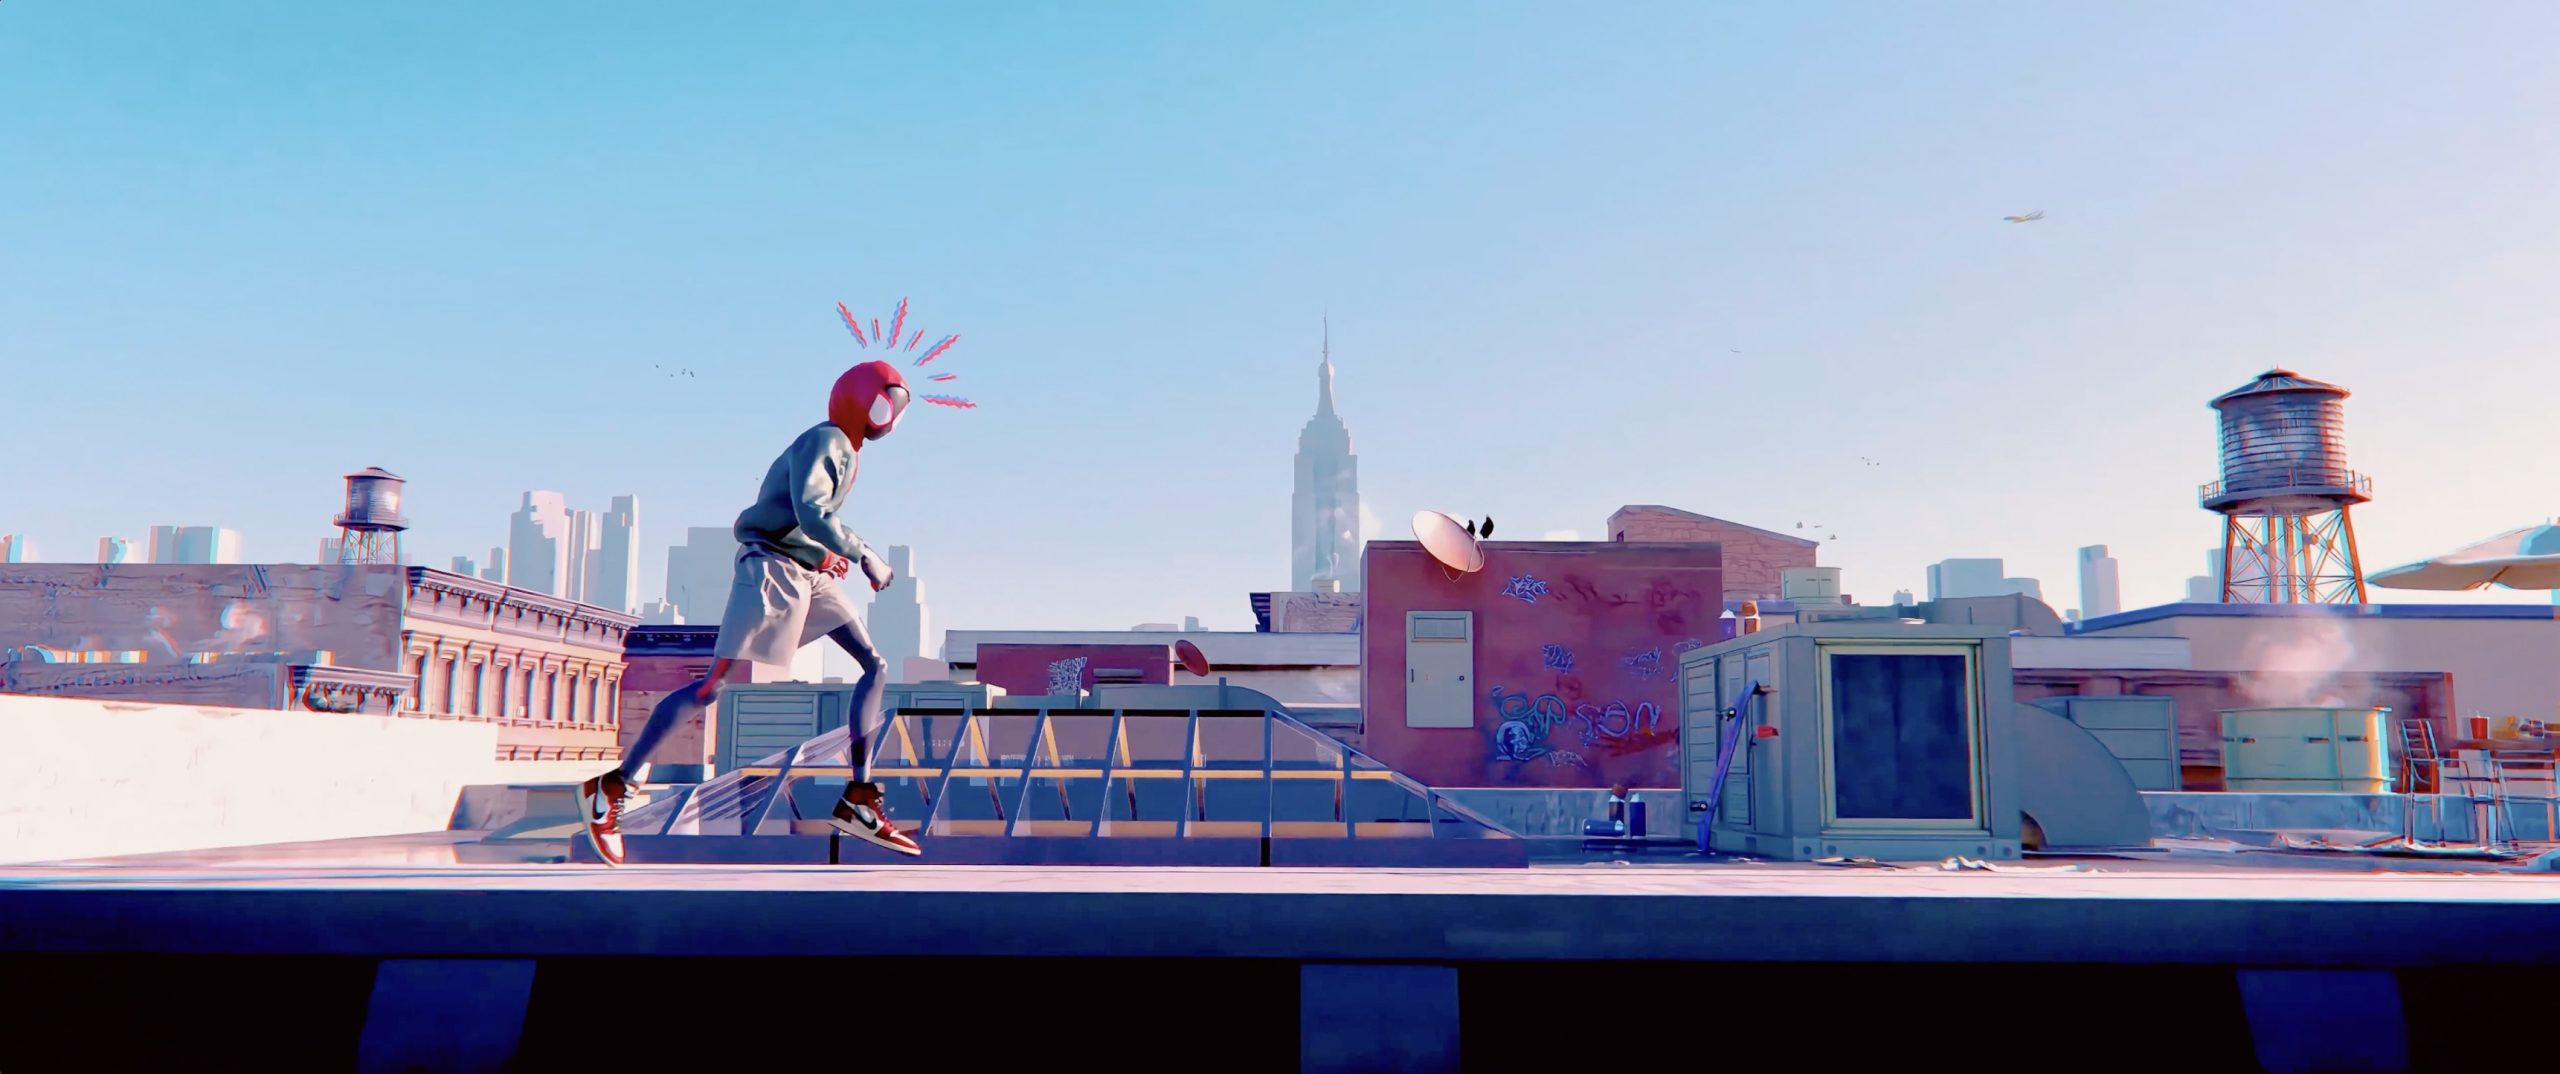
Final animation:
Break-down:
Thank you for checking out my article. Don’t hesitate to ask any questions on my social media. Have a great day!
About the Artist
Jack Bowman is a 3D artist who’s been learning Blender since March 2022. He is currently working as a freelance 3D designer.


Unbelievable!
Thank you so much for sharing your process in such a beautiful work.
Go Spidey!
<3