Behind the Scenes: HMS Gorgo – Ship of the Line

INTRODUCTION
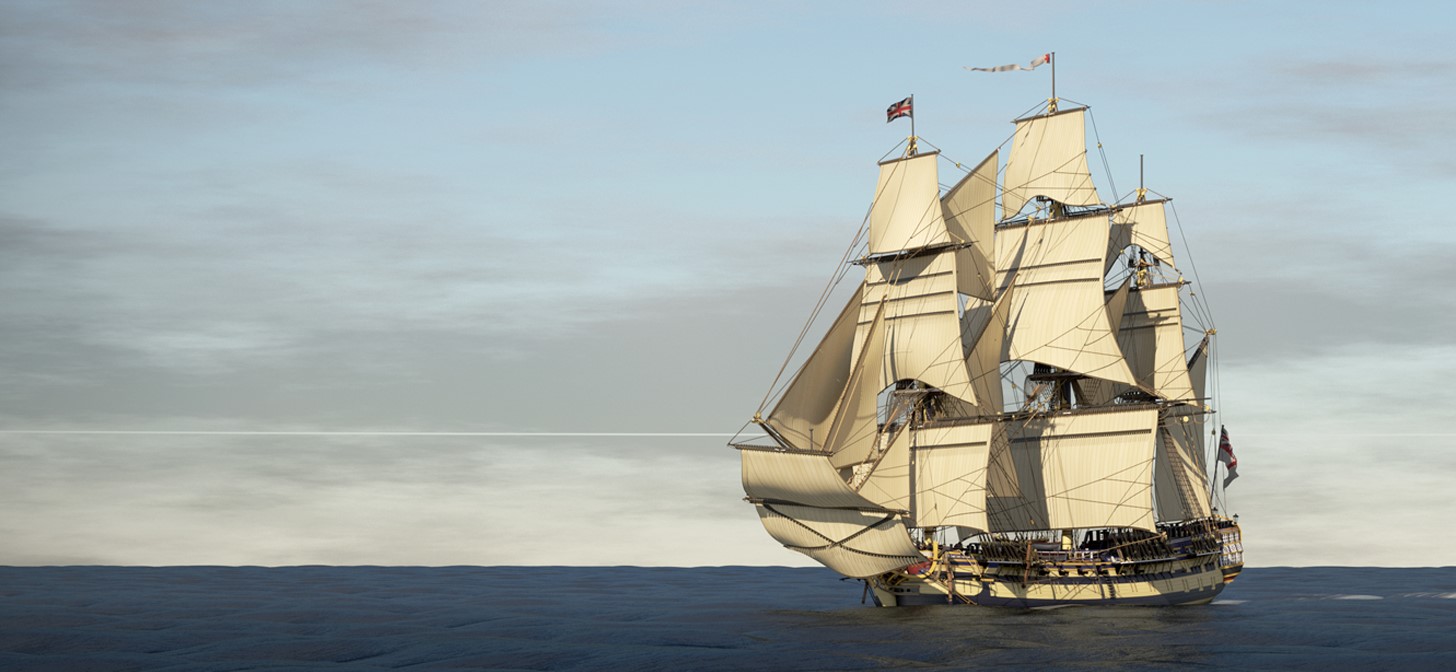
Hi all; my name is Kurtis! Welcome to my article of the Ship of the Line, 74 Gun 3rd Rate. This piece is a culmination of years of learning, work, curiosity, stress, setbacks, problems and resolutions. All issues were surmounted and this final result is one I’m very proud of!
I am completely self-taught in the field of Blender and 3D. When I was younger and going through college, I always had a fascination with film and media. I grew up learning music production but I wanted a visual art to coincide with this. I thus went on the hunt for tools I could use to facilitate this desire. This is what eventually led to Blender and I’ve loved it and stuck with it since! I started with the mid 2.4 versions.
INSPIRATION
I touched a little on what inspired me to get into Blender in the first place, but what of the ship herself? Why did I choose the specific ship that I did? Why such a monumental task?
I wanted a project that would test my understanding and knowledge of Blender and push the limits of both. I enjoy taking something like this and experimenting and finding ways of accomplishing several different tasks.
Why did I choose a ship? I went through a distinct naval curiosity phase. My mother had bought me the Hornnblower series DVD and I enjoyed them along-with Master and Commander: the Far Side of the World which I felt sparked the push towards this project. I’ve always enjoyed the ocean and loved the old square-rigged ships that always seemed to have an air of mystery to them – especially in the old paintings. It seemed logical then to consider building my own. This started my journey for choosing the specific vessel. Cue the researching!
The Royal Navy had several classes of ships, defined by their “rates.” These rates were split between 1st Rate Ship of the Lines down to 8th Rate sloops. I found a number of ships that I was curious about; HMS Victory, Santisima Trinidad, various Galleons, and pretty much everything inbetween. I decided against the big ships like the HMS Victory because I felt everyone had eyes for her. I also felt that she had a very niche, specialist role of playing Flagship and being a show of strength. I wanted to build a ship that suits my own personality: less show, more function. 74 Guns Third Rate were reportedly the perfect mix between sailing power, gun-power, and the ability to go on various missions both in and out of the line of battle. Thus, the ship itself I was going to build was decided. I then began hunting for references and plans.
I set an end-goal: I wanted a ship that was reasonably accurate, fully rigged and ready to be animated. I’m excited to say that I have completed this goal.
PROCESS
Tools
What tools have I used? Have I used any addons? Throughout the entirety of the project, the software used was Blender itself. The settings and UI are somewhat customised for personal preferences, but I tend to avoid addons as I feel they often break when new versions are released and I like to keep up with new releases. I would say that Blender is pretty much vanilla with some additional pre-shipped addons enabled.
The project was completed with the following specifications:
- CPU: 3.40 gigahertz Intel Core i3-4130
- GPU: NVIDIA GeForce GT 710
- Memory: 16GB
- Storage: 3.5TB over 4 HDDs
Hardware limitations were a significant issue with this project towards the end, as you may gleam from the above. It was certainly a challenge trying to make minor adjustments at the end but it did force me into the thinking that what I had was good enough. As is oft’ quoted: “a work of art is never finished, simply left alone.”
How did you create the ship?
This is a fairly tough question to answer because the ship itself is essentially broken down into many smaller parts.
I started with the hull, and built the remainder of the ship around that. I’ll demonstrate here the major steps, but this serves as an overview. I hope you enjoy!
Step-by-Step Process
Hull Planking: To get the initial hull planking in place.

Ports and decking: To cut holes into the planking ready for the gun-ports. Also began adding the visible decks.

Bulkheads: Add the bulkheads on the Forecastle, Quarterdeck and the bow. All of these will need continuous tweaking as the model progresses.

Wale: The whale (the piece that sits underneath the gun ports and adds structural support the ship) is added.

Fencelines: Adding the fencelines and continued tweaking of parts.

Bow Rails: Add the bow-rails (front) where the figurehead sits.

Quarter Galleries: Work on the quarter-galleries at the stern (the back of the ship) begins.

Adjustments: I start working closely with Model Ship World members to correct the various issues with the accuracy of the ship so far. They continue to help for the duration.

Topside peripherals: Work on the peripherals begins here. Certain things like the Belfry, the pins, the flag-staff and other parts are completed in a separate Blend file and appended in.

Gun Ports: The gun ports themselves are installed. This is one of my favorite early clay-renders!

Boats: The boats were completed in a separate file and appended in. You may also note the absence of the belfry; I didn’t like the one I had built previously so I was aiming to recreate it.

Belfry and Channels: The belfry has been reinstalled and the beginnings of the (ship) rigging system in the form of the channels are installed.

Cannon: Cannon are installed! These are attached to the matrix system.

Ports: Ports are installed and operable.

Cannon Deployed: All canon installed in a “run-out” state.

Masts and Yards: This is where I felt the ship was finally becoming alive. Installing the yards and masts were a curious time in this project because it involved a lot of research just on this alone.

Fore Shrouds: Another of my favourites! You can see the first shrouds here on the fore-mast.

Main and Mizzen Shrouds: The other two masts with the initial rigging in place.

Top and Topgallant Shrouds: Shrouds are actually in three places; one for each “section” of a mast. There are the course, top, and topgallant yards, masts, and sails.

Backstays: Backstays and crows feet added. These are most commonly what gives the ship their silhouettes.

First Sail tests: The sails were again completed in a different blend file and appended in.

Complete Sails: A clay with all sails installed. This was the point where I decided she was ready for texturising and finishing touches, including setting up her ensign, pennant and flag.

Some more clays:
I’m particularly proud of this clay render because you can see all the rigging in place without being distracted by the sails.

I kept the viewport colouring reasonably close to final renderings. I feel this clay render gives the ship a beautiful cartoon feel.

A close up clay render. You can see the gratings clearly, the “seat of eaves” (or the toilets if you prefer,) and the entryway doors.

Same area but below. You can see the degree of complexity in this little section of the ship alone, I feel.

A very early forecastle clay. This was intended to show the bulkhead (the wall) leading towards the front of the ship that wasn’t visible in other clay views.

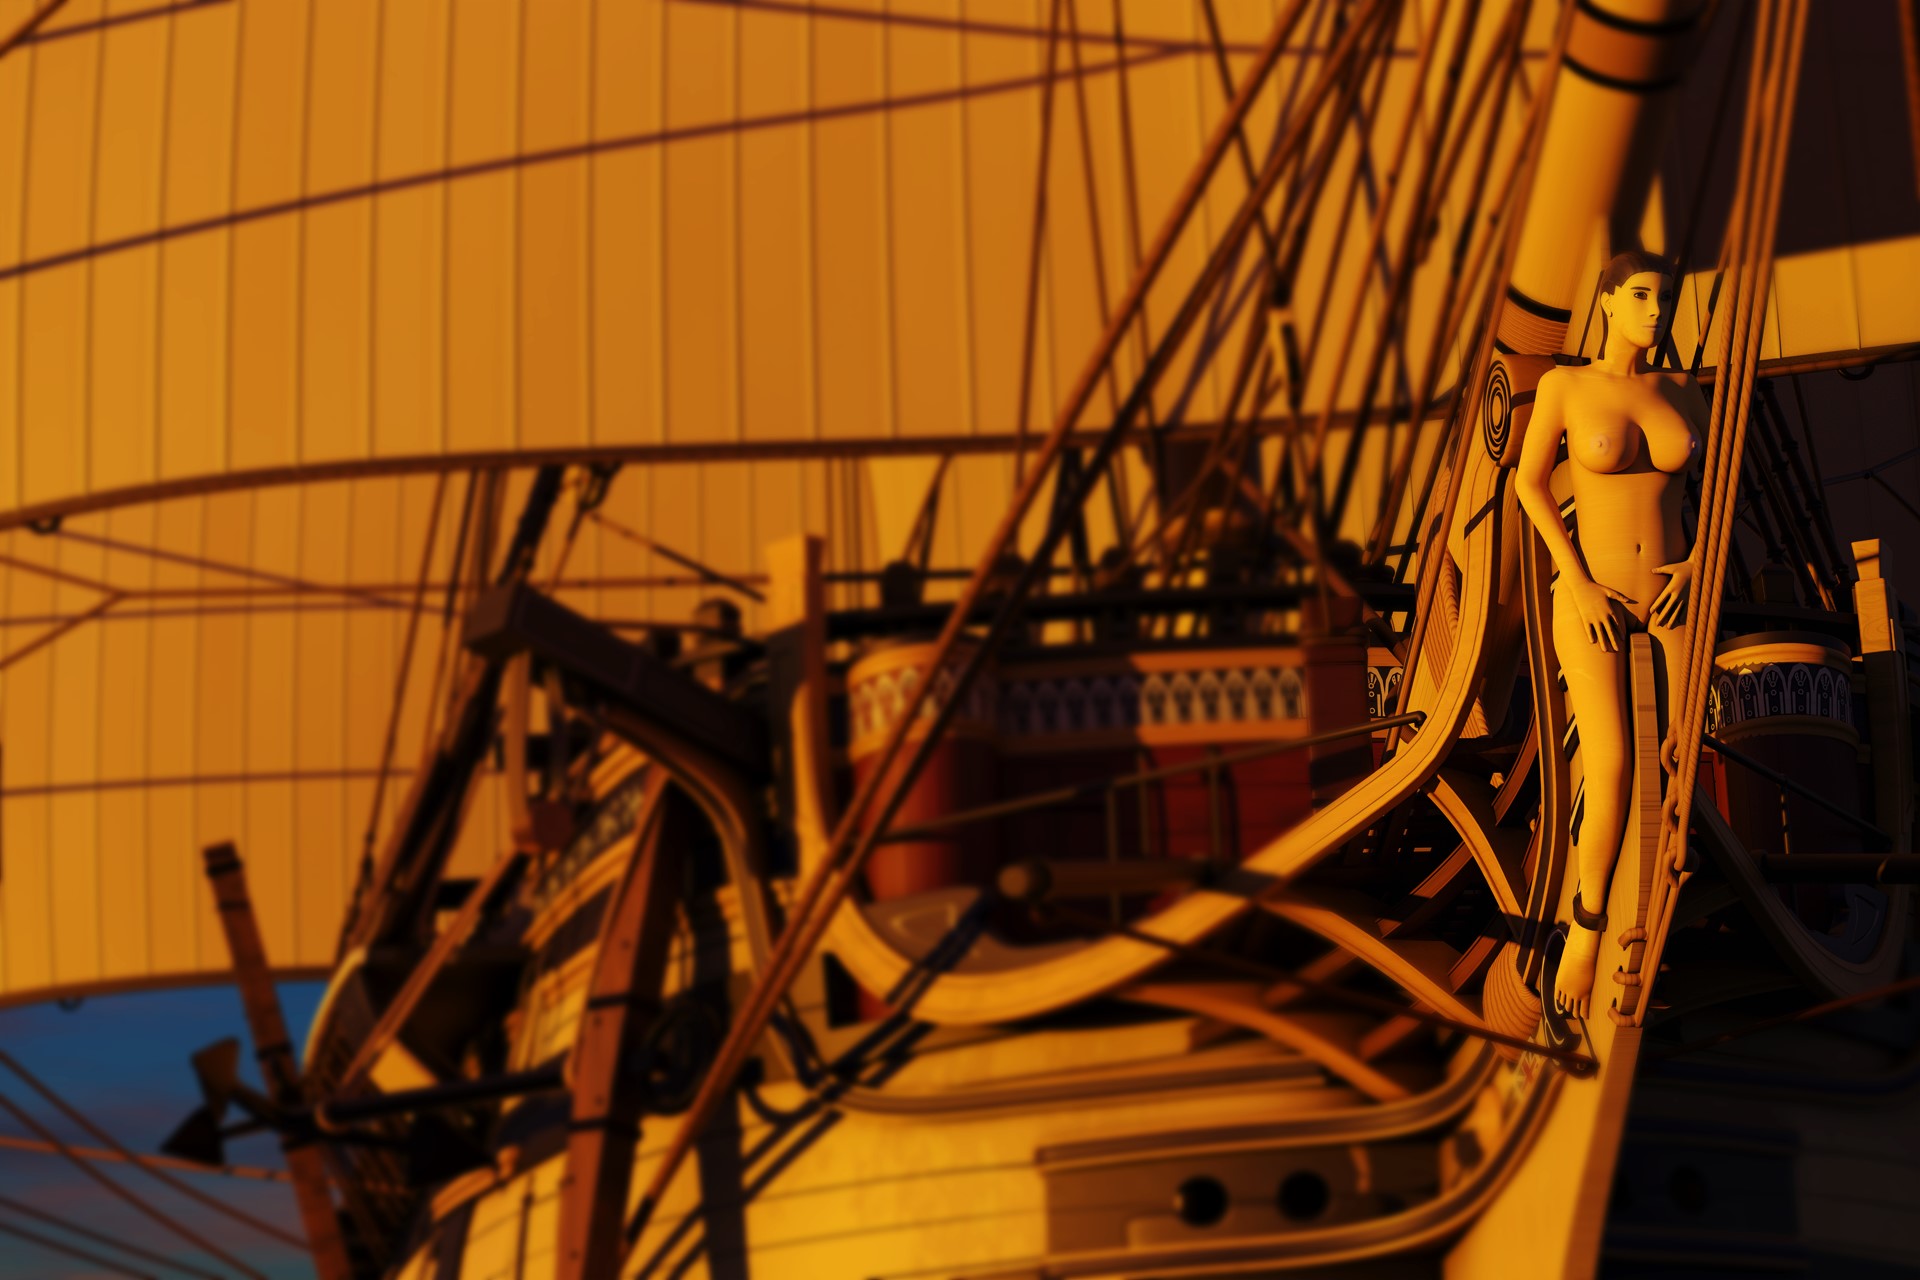
A semi complete bow. The figurehead (which itself was a major project as I had to get my head around figure modeling which I haven’t done a lot of.)

The stern galleries. I chose not to show these off too much in my final render, but I did enjoy making these and adding detail to them.

Matrix
A common point of conversation with this project is the matrix:
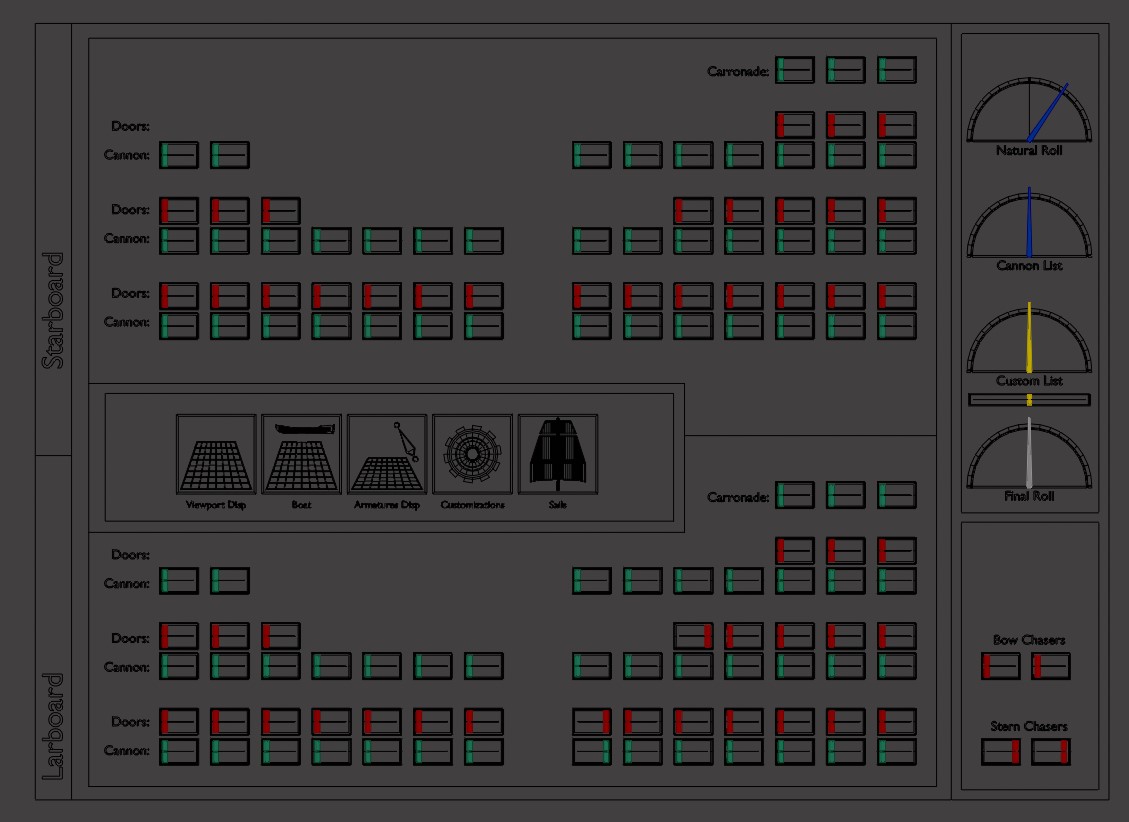
You should notice that the matrix is split into two sides: Laboard and Starboard (left and right respectively.) The matrix is then subdivided “fore and aft” (back and front) which is represented by the gap in the middle of those red and green levers. The gap refers to the ladders on the ship herself. You use the green levers to control the individual cannon, and the red to open and shut the port if there is one.
There are four needles top-right. These are a visual representation of how much the ship is rolling or listing. There is a natural roll which changes as the ship travels along the ocean. There is a cannon list; this was designed so that the more cannon were run-out on one side, the more the ship will “list” to that one side. The custom list is simply one that you can set yourself, and the “final roll” is all of the previous values added up. The needles do come with additional settings that can be fine-tuned in the form of custom properties.
The various icons in the middle also custom-properties. They have a minimalistic role in the rig however so they shouldn’t need to be touched by an animator unless a part of the rigging, the ship or the sails need changing.
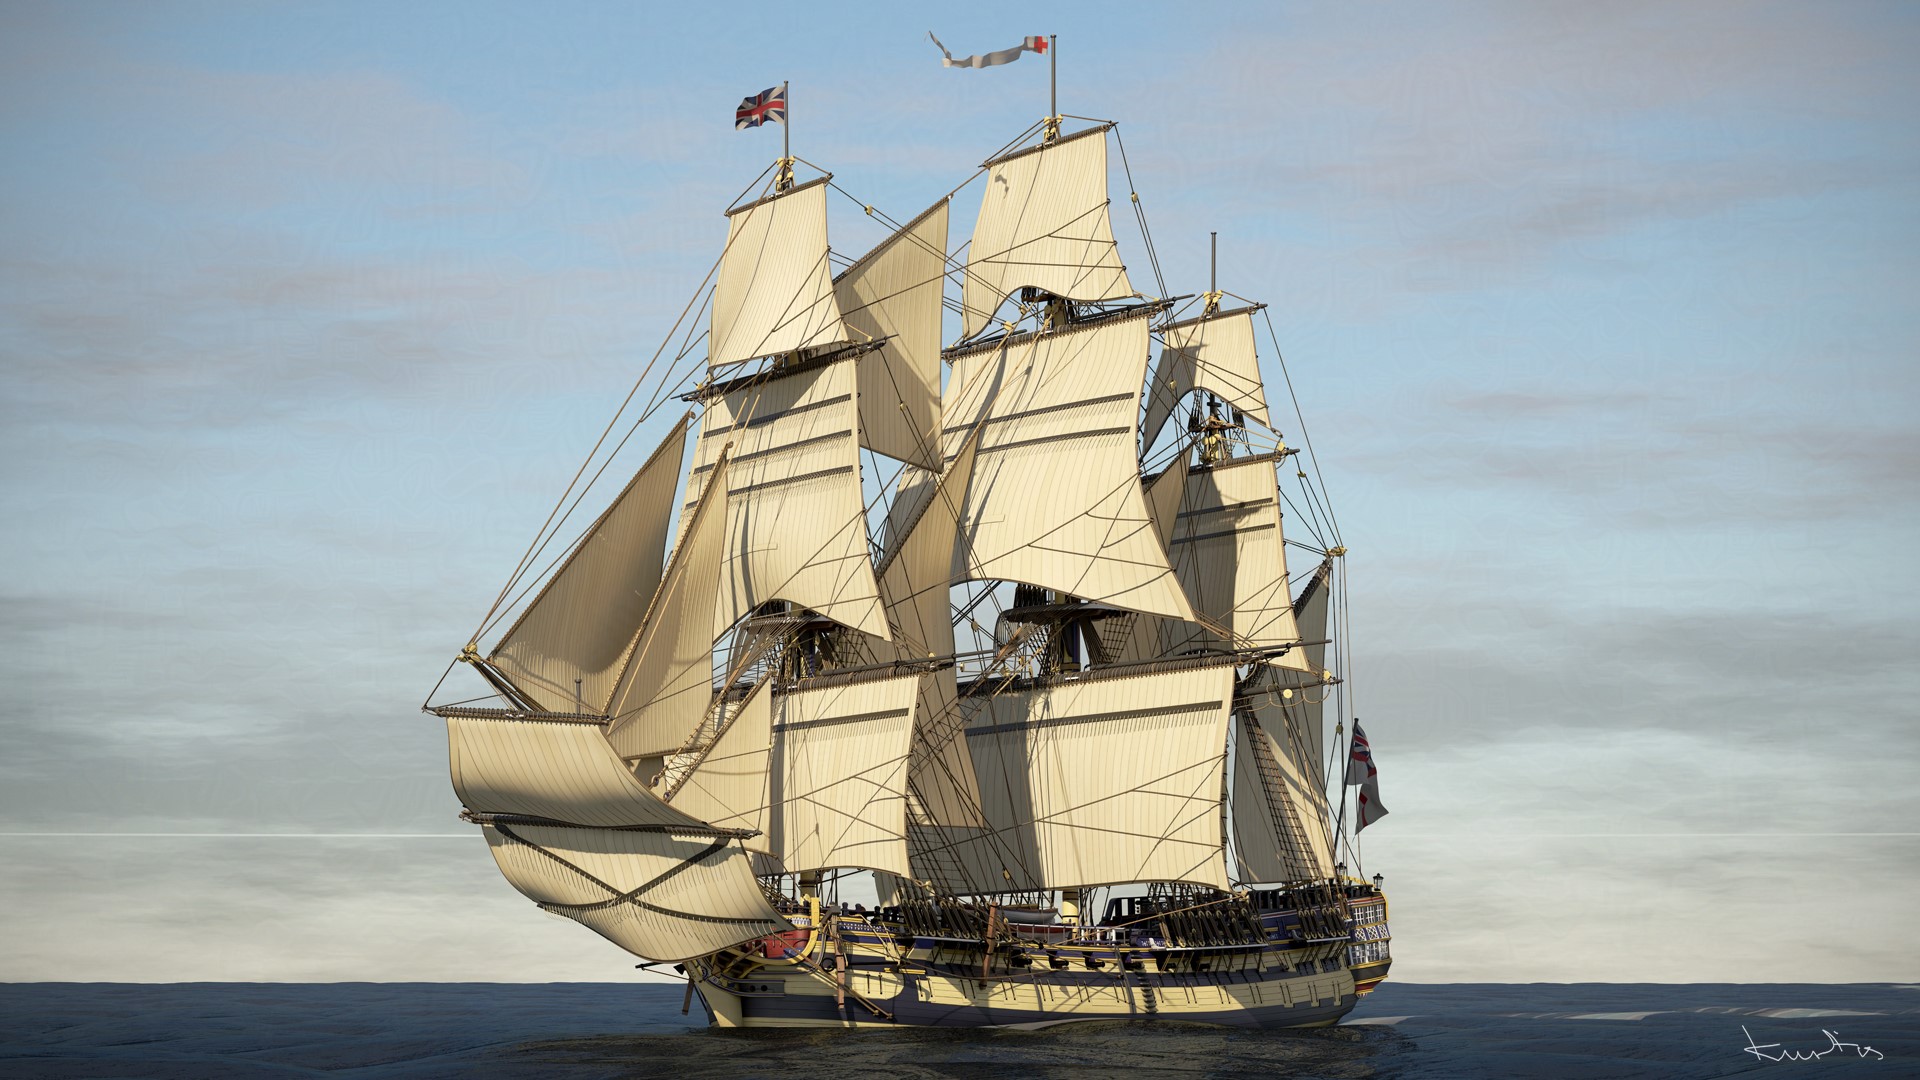
RENDER: HMS Gorgo – Ship of the Line
All of the above culminates into this render. I’m always proud to present:-
Some additional final renders:
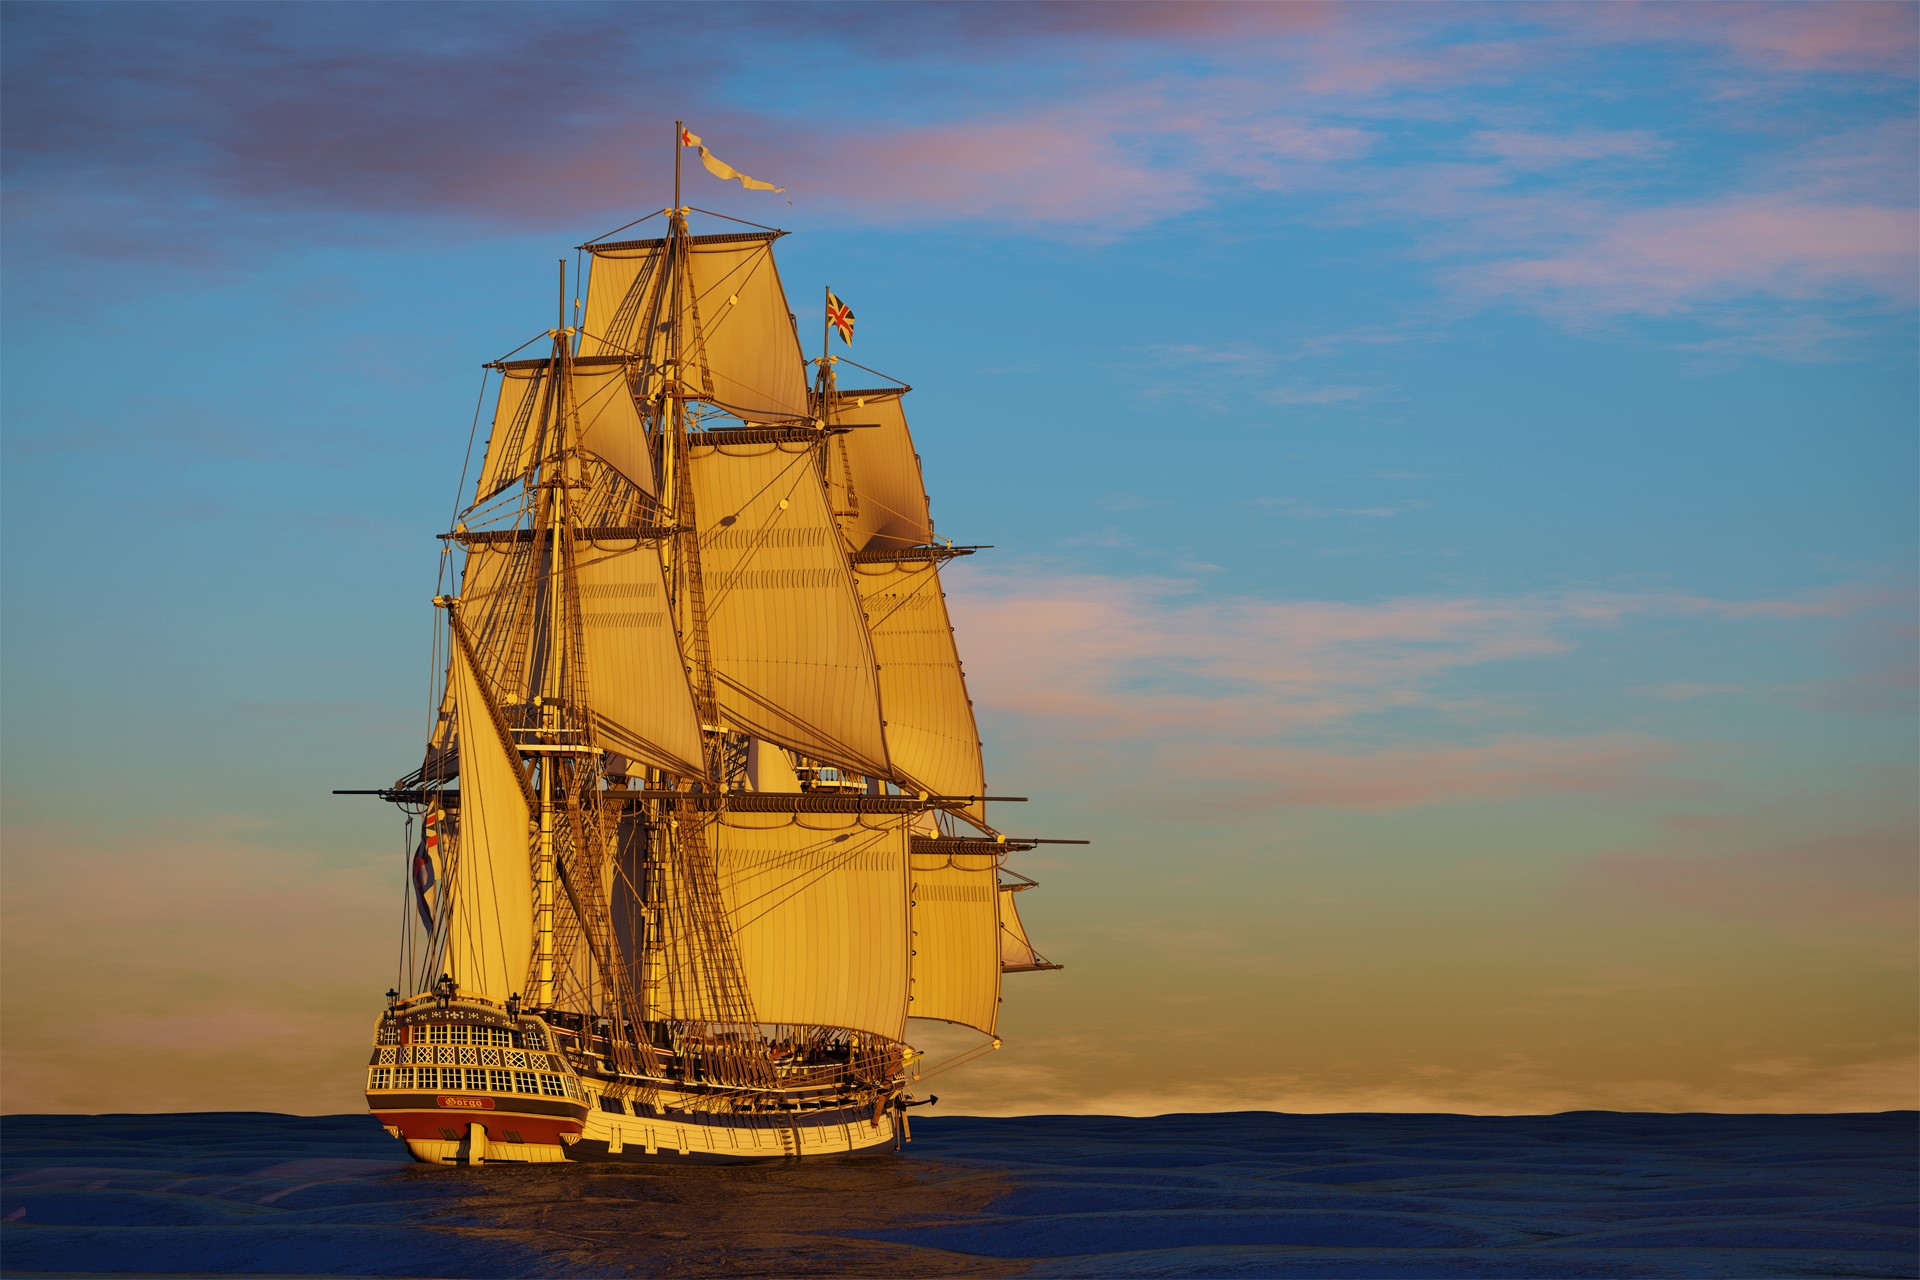
Whilst the project as a whole is complete, I am looking forward to animating this ship and creating a short video. Keep your eyes peeled for that!
Thanks to:
I would like to give special thanks to the following groups of individuals who have helped me stay motivated and complete this project.
Model Ship World: I want to give thanks to the members here at the Model Ship World because they gave me some great criticisms of the ship. They allowed me to stay fairly straight and make the final result presentable. Their input and insight were invaluable and I enjoyed working with them.
Blender Artists: The BlenderArtists site has been an amazing motivator over the years. It’s one of the few on the internet that I routinely come back to. The members in the linked thread have also kept me motivated and allowed me to discuss the Blender-specific aspects of this project.
Blender Nation: For allowing me to voice my thoughts on the platform, showcasing it and helping me get out there!
Thank you for reading the article. You can find me on YouTube, Udemy, and my own Discord Server.
About the Artist
Kurt is a self-taught individual that enjoys working in different artistic capacities, including both 3D and music. Currently self-employed and looking to further these artistic endevours.




Really cool. Wish you had colored the parts you were talking about in each pic though since I don’t know ship terminology…