
AccuRIG and ActorCore Accelerates Creation of Sci-fi Game Character for 3D Modeler


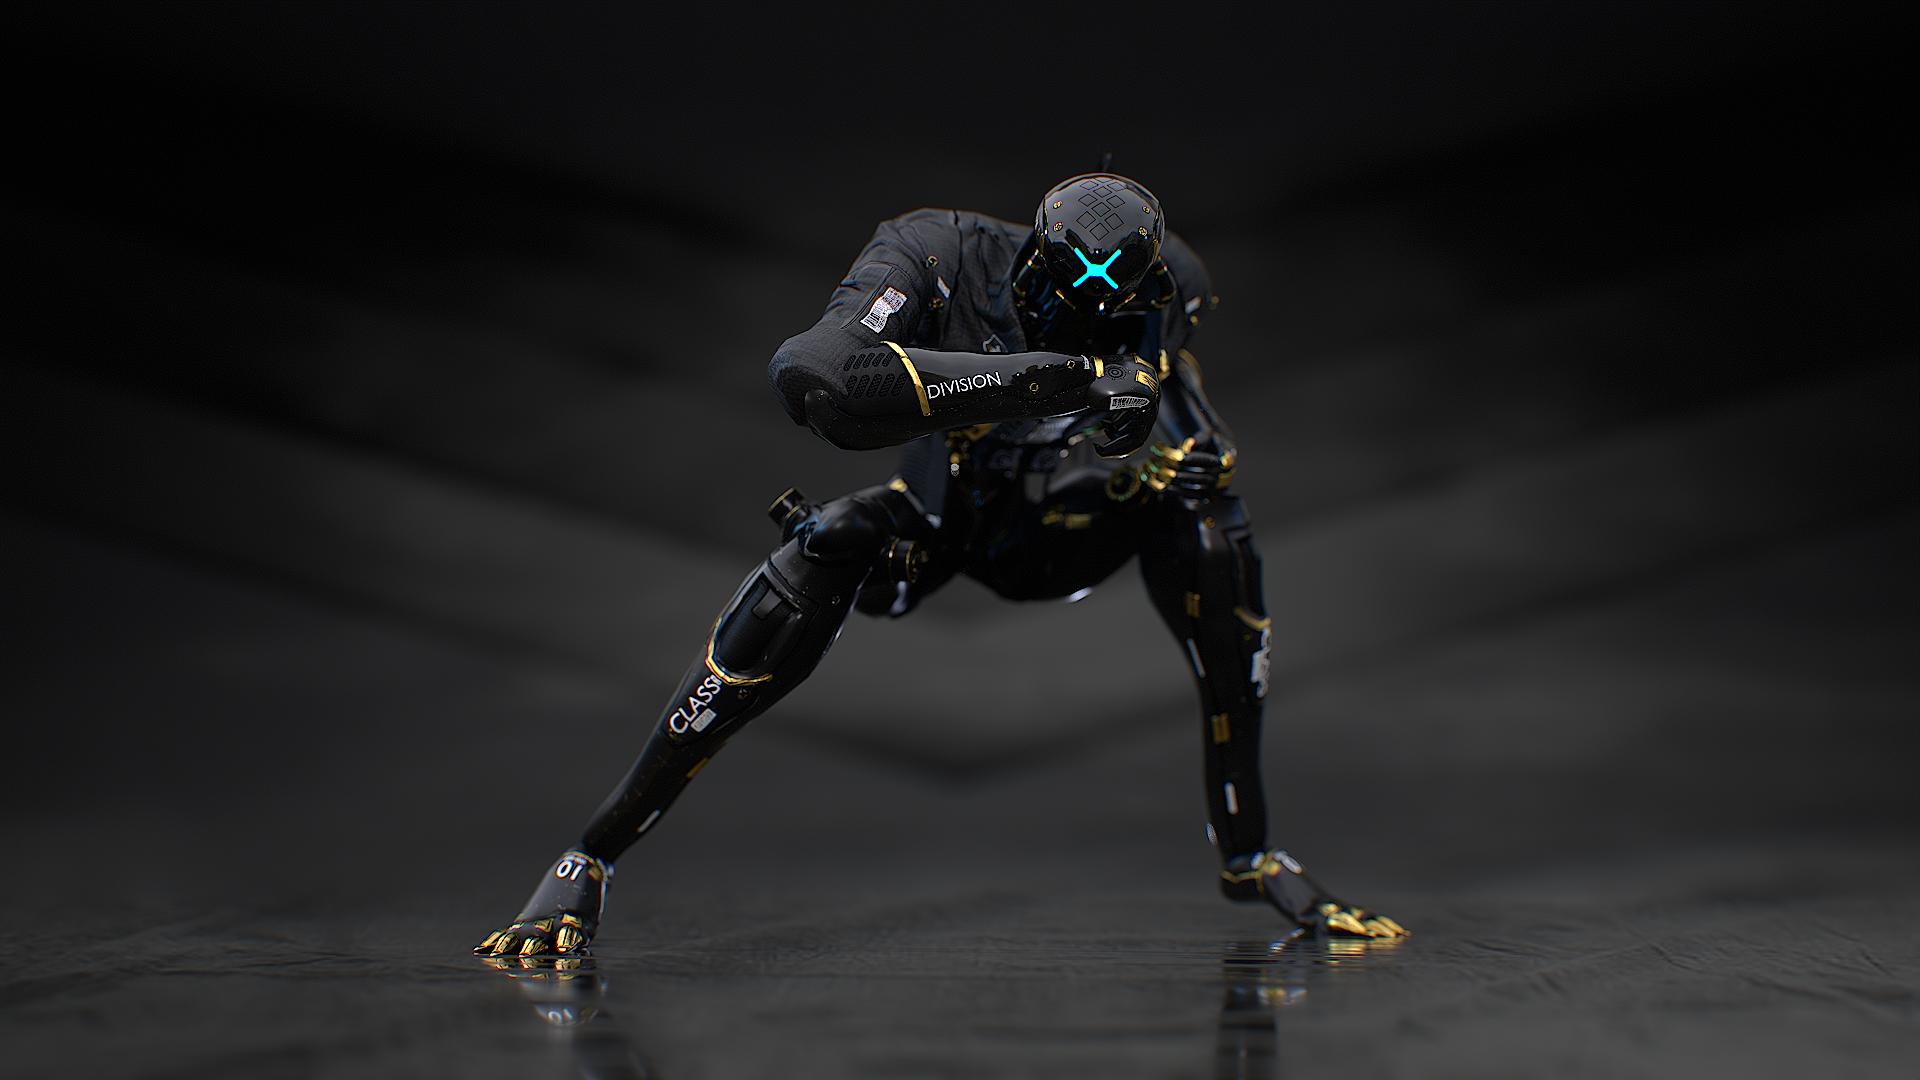
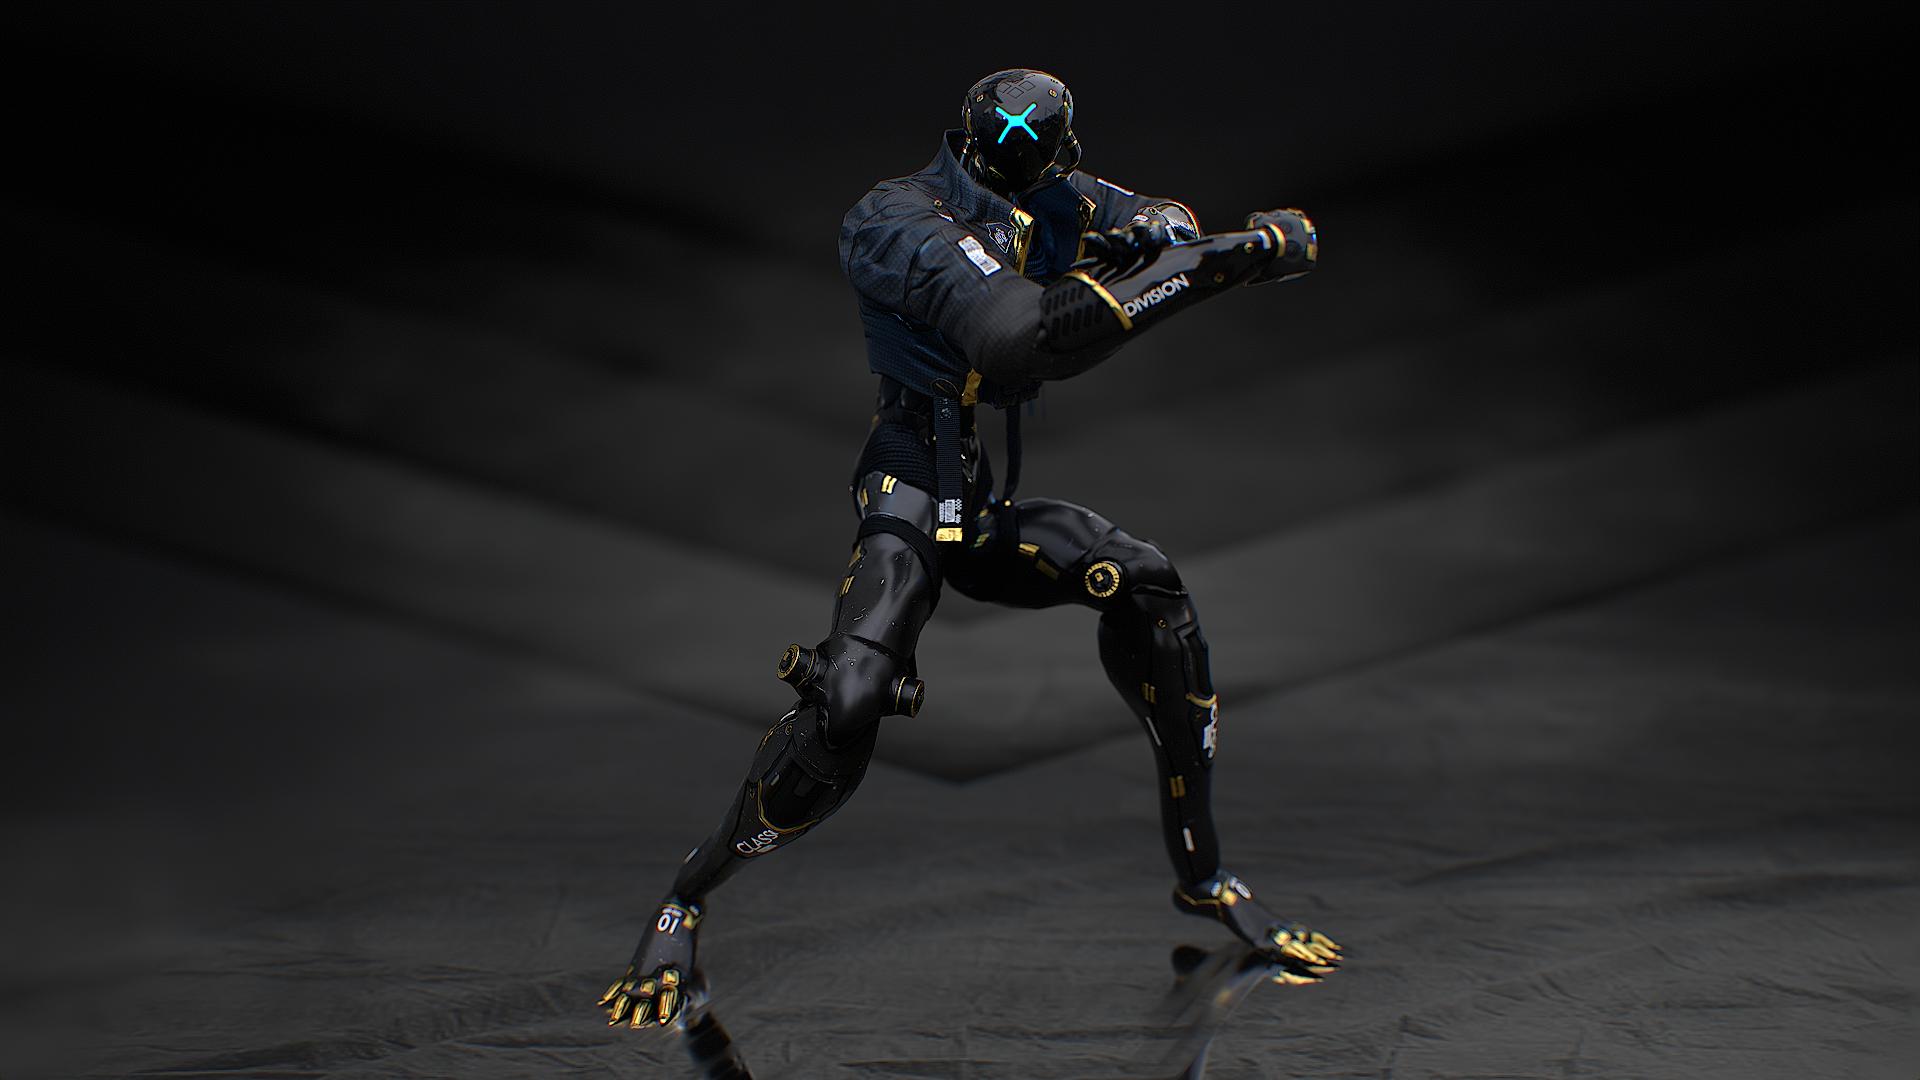
Having the right tools can make a significant difference in the quality and efficiency of your work. This article by Nathan Olsen delves into the essential software needed for creating fully rigged and animated characters, guiding you through the process from sculpting in ZBrush, adding BVH animation in Blender to rendering in Marmoset Toolbag 4.
Nathan Olsen
Nathan Olsen is a character artist from Canada specializing in weapons, creatures and cool-looking characters. He has focused mainly on developing art for video games since 2019 and is keen on learning all methods required for this type of 3D art.
Best Tools for 3D Character Creation
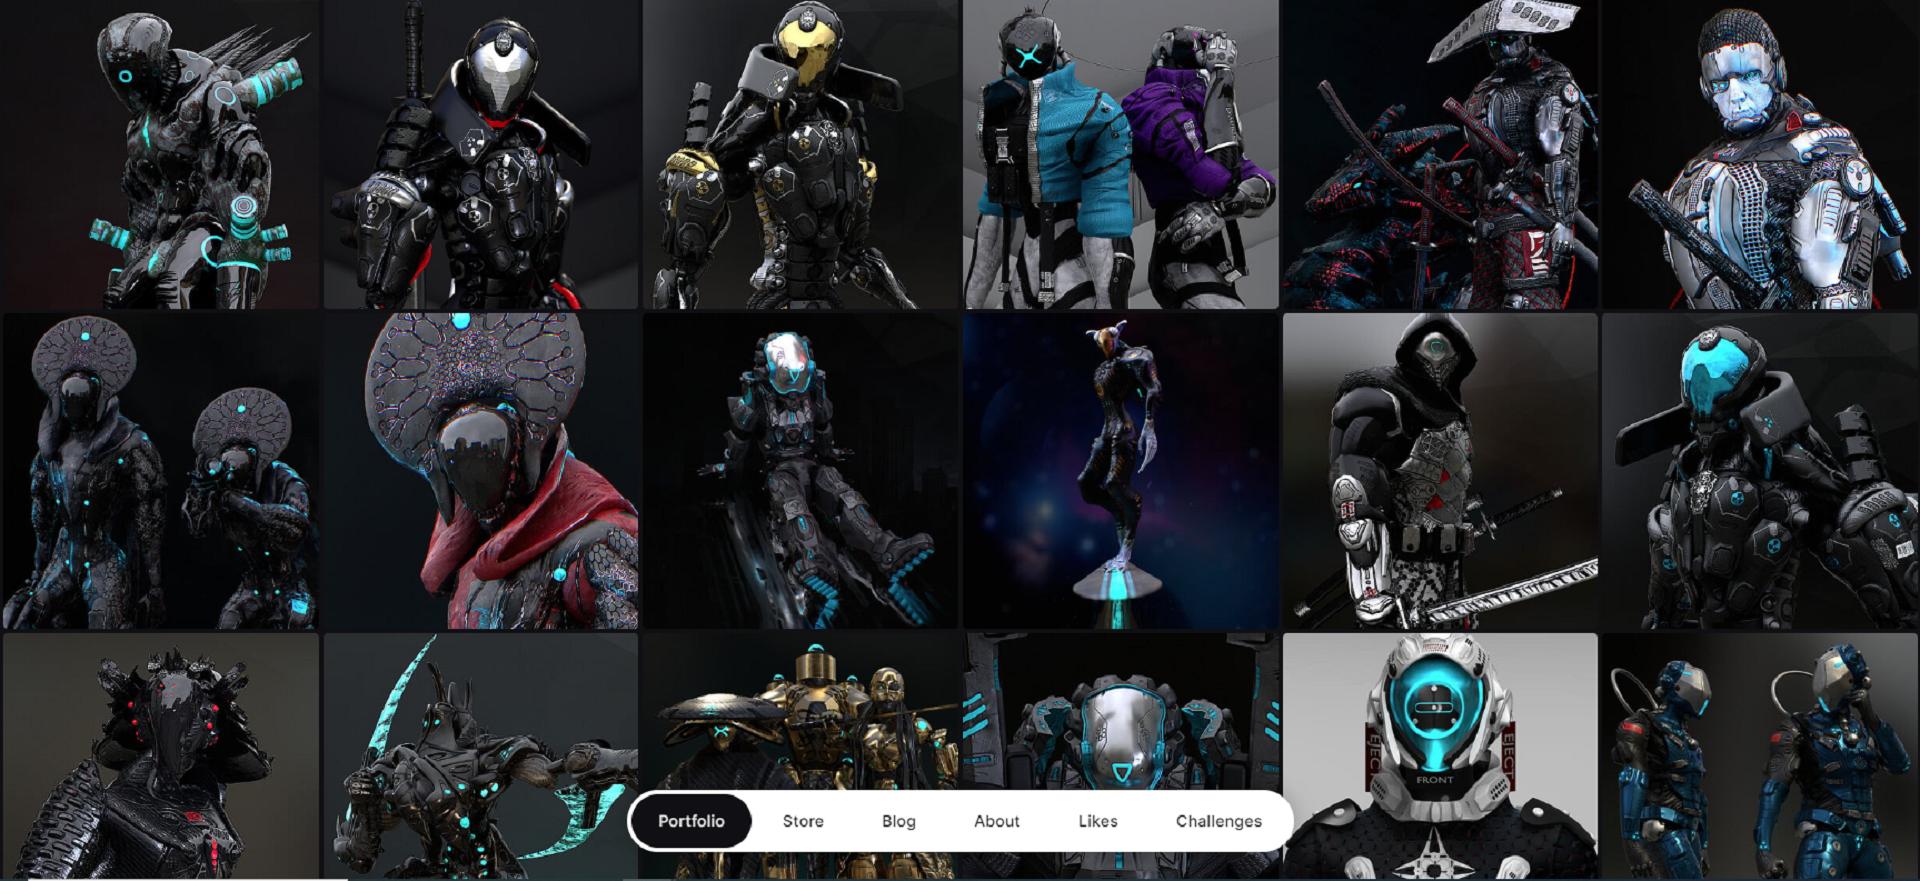
As with any job that one may undertake, it is always great to have the best tools available for the project at hand. In this project the desired tools happen to be AccuRIG, ActorCore 3D store, ZBrush, Blender and Marmoset Toolbag 4.
Let’s start by looking at the process that is involved with the creation of a fully rigged and animated character and why this method works best for me.
ZBrush, Essential for Sculpting 3D Models
To begin you will need ZBrush for the creation of the high poly sculpt and the low poly, UVed mesh. The Matcap Baker plugin is great for getting ID maps out in the end stages.
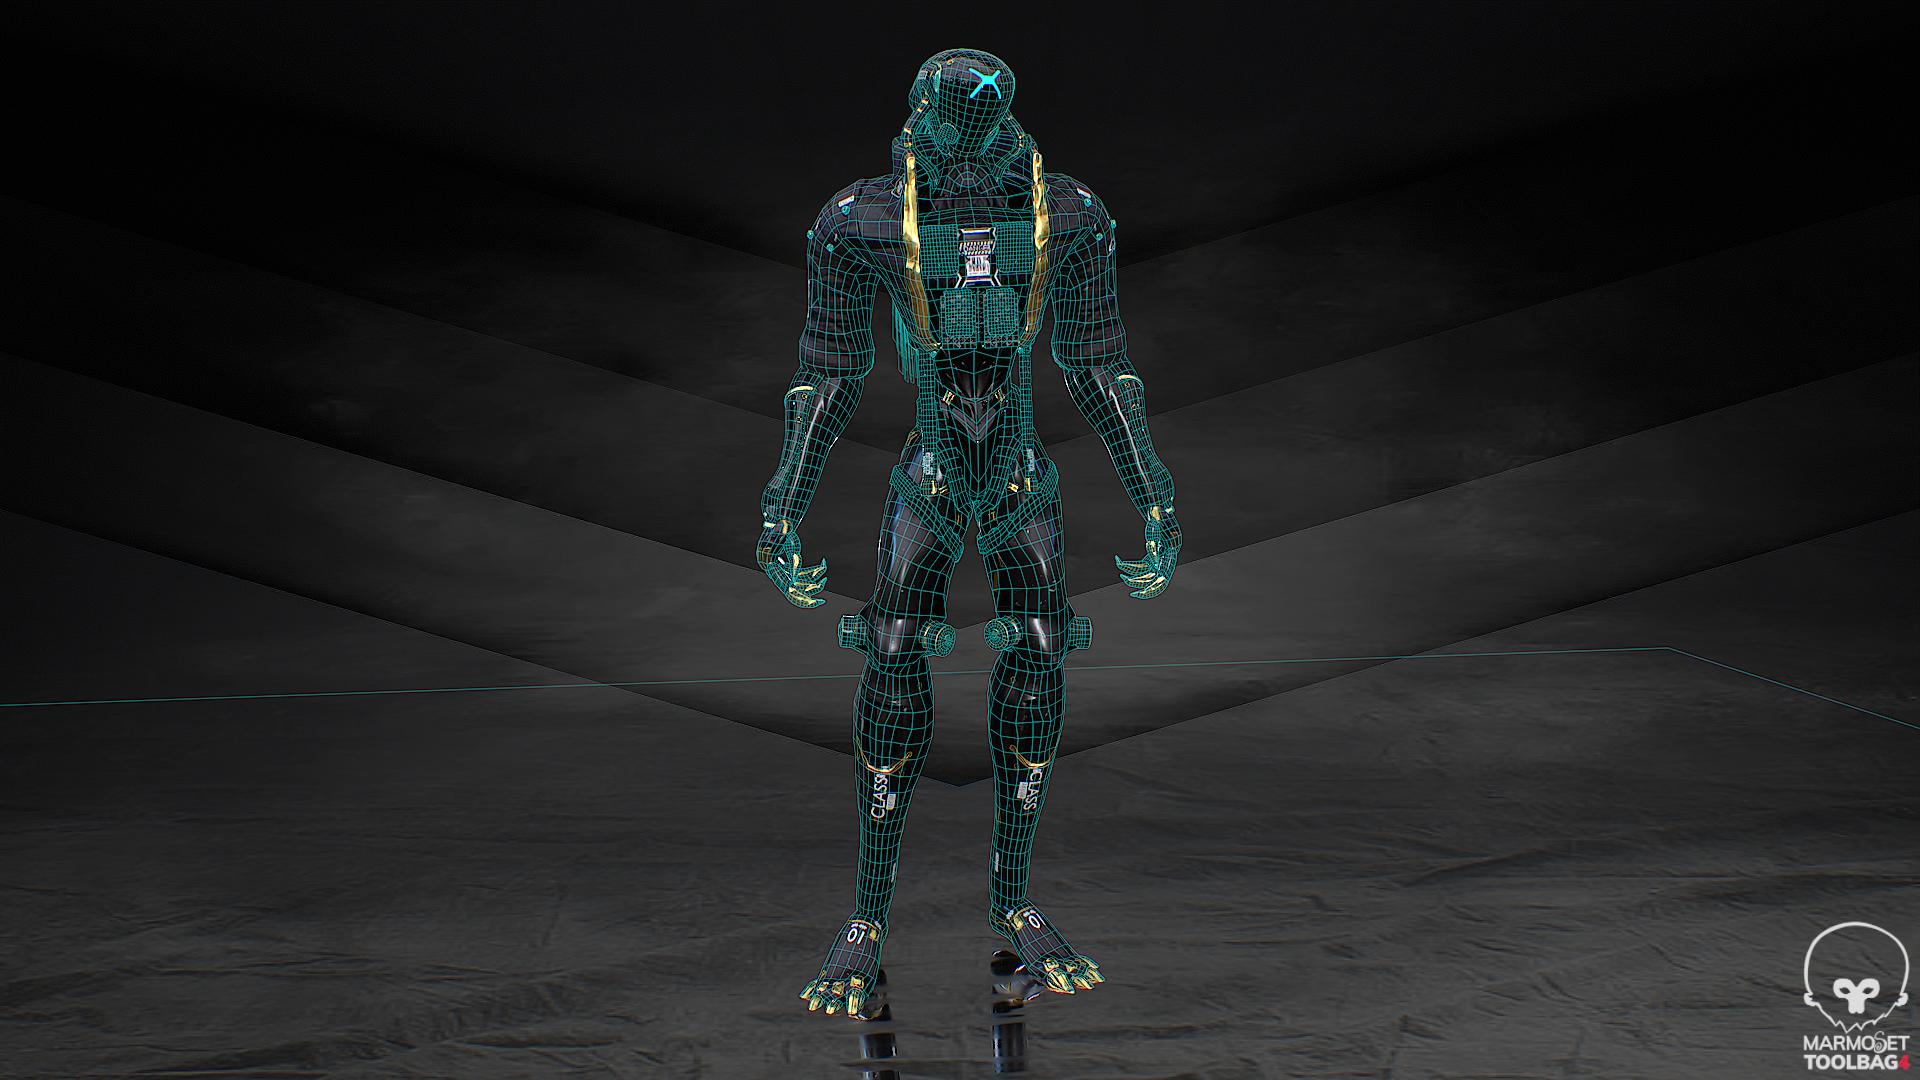
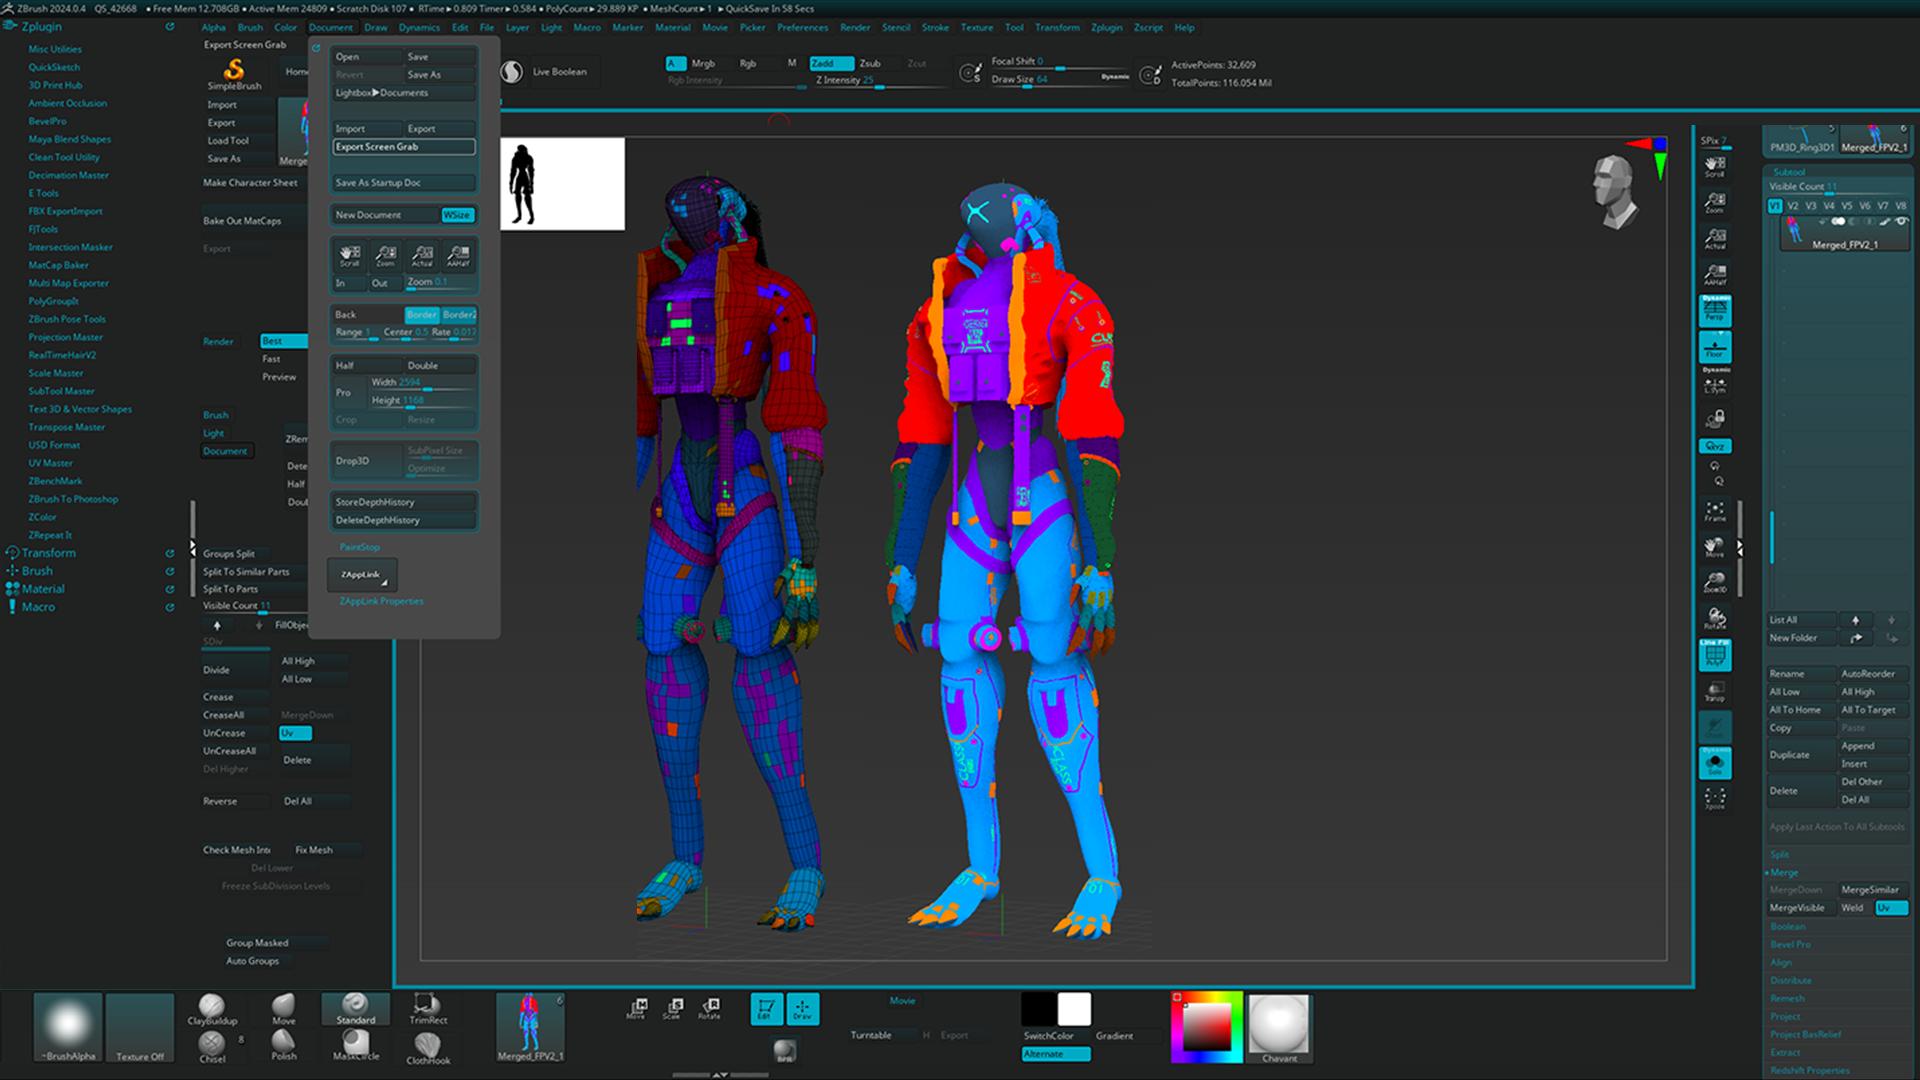
Let us take a more in-depth look at ZBrush and the Matcap Baker plugin, as it is the starting point for the workflow. After you have sculpted your character, unless you re-meshed it as you worked (this is what I suggest) then now is the time for a re-mesh and projection of the high-poly details back onto the re-meshed character. The reason we do this is to give a better topology for the UVs and animation deforms in AccuRIG.
Pro-tip 1
Try to avoid adding lots of parts around joints that will deform and model in a T- or A-Pose.
Pro-tip 2
Re-mesh all subtools before you combine or merge them into more manageable sub-tools. Try to keep in mind the texture size limits of your project when combining your sub-tools. You can always combine UV’s in a program like Blender and re-import to give your model new/updated uv maps if you have a very high poly model that requires many sub-tools to keep the sub-tool-poly-count down and export as a single FBX.

Pro-tip 3
When sculpting your details, sculpting with MatCap color painting turned on is essential for your material ID maps for later texture generation. For every part of your model, you should use a different MatCap. At the end, make all matcaps a flat material with none being the same color. Use UVMaster plugin that ships with ZBrush with poly-groups turned on in the plugin.

AccuRIG, Auto-rigger with Fast & Accurate Results
Next, you will need AccuRIG free software available from the ActorCore website. This program allows seamless transfer of the rigged model from a posed static one.
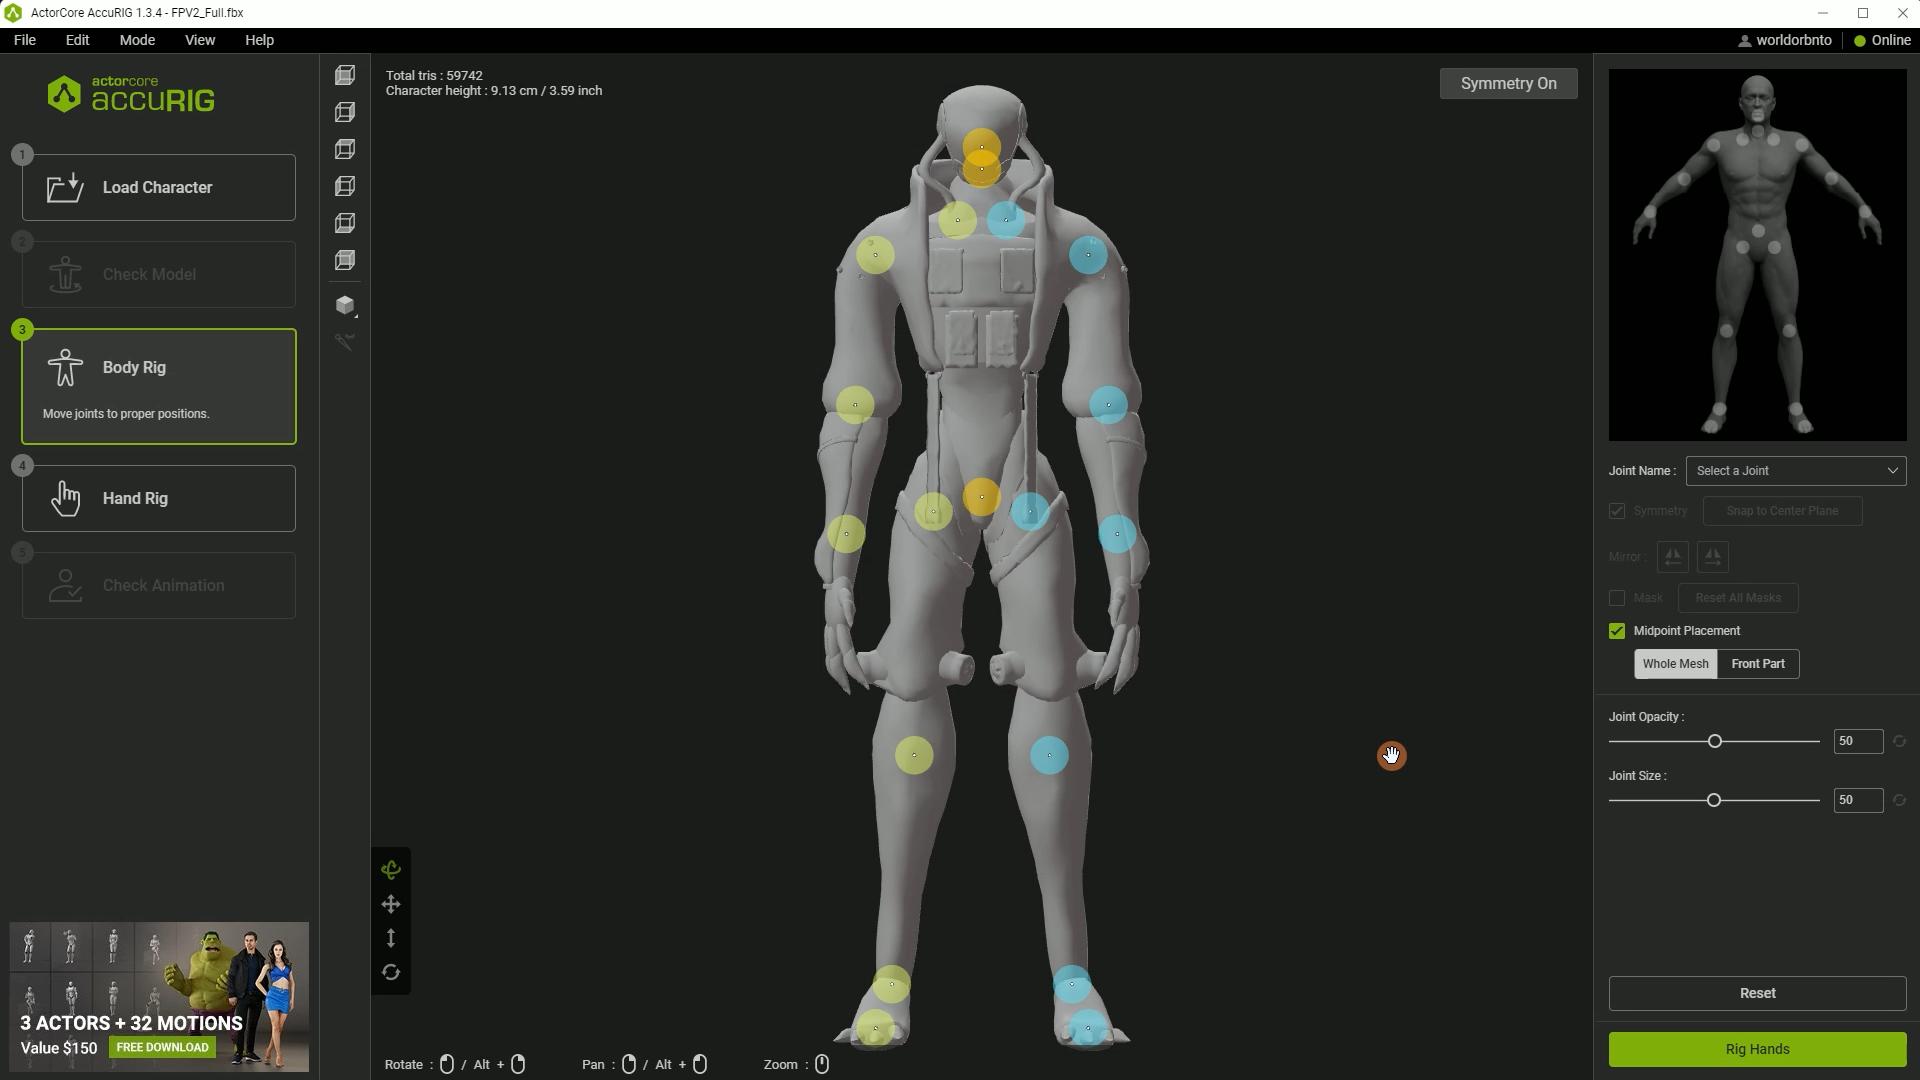
Open up AccuRIG auto-rigger, import your model that you exported from ZBrush and let the magic begin! AccuRIG auto-rigger is an amazing tool for getting your bipeds rigged fast, efficiently and most importantly, accurately. If your AccuRIG generated perfect guide placement on the first go, you’re all set. If not, move them (use the guides) around to the joint placement you would like. AccuRIG also does hands — and does it well — with the ability to rig up to five fingers, including the thumb.
ActorCore, 3000+ Professional Mocap Animations
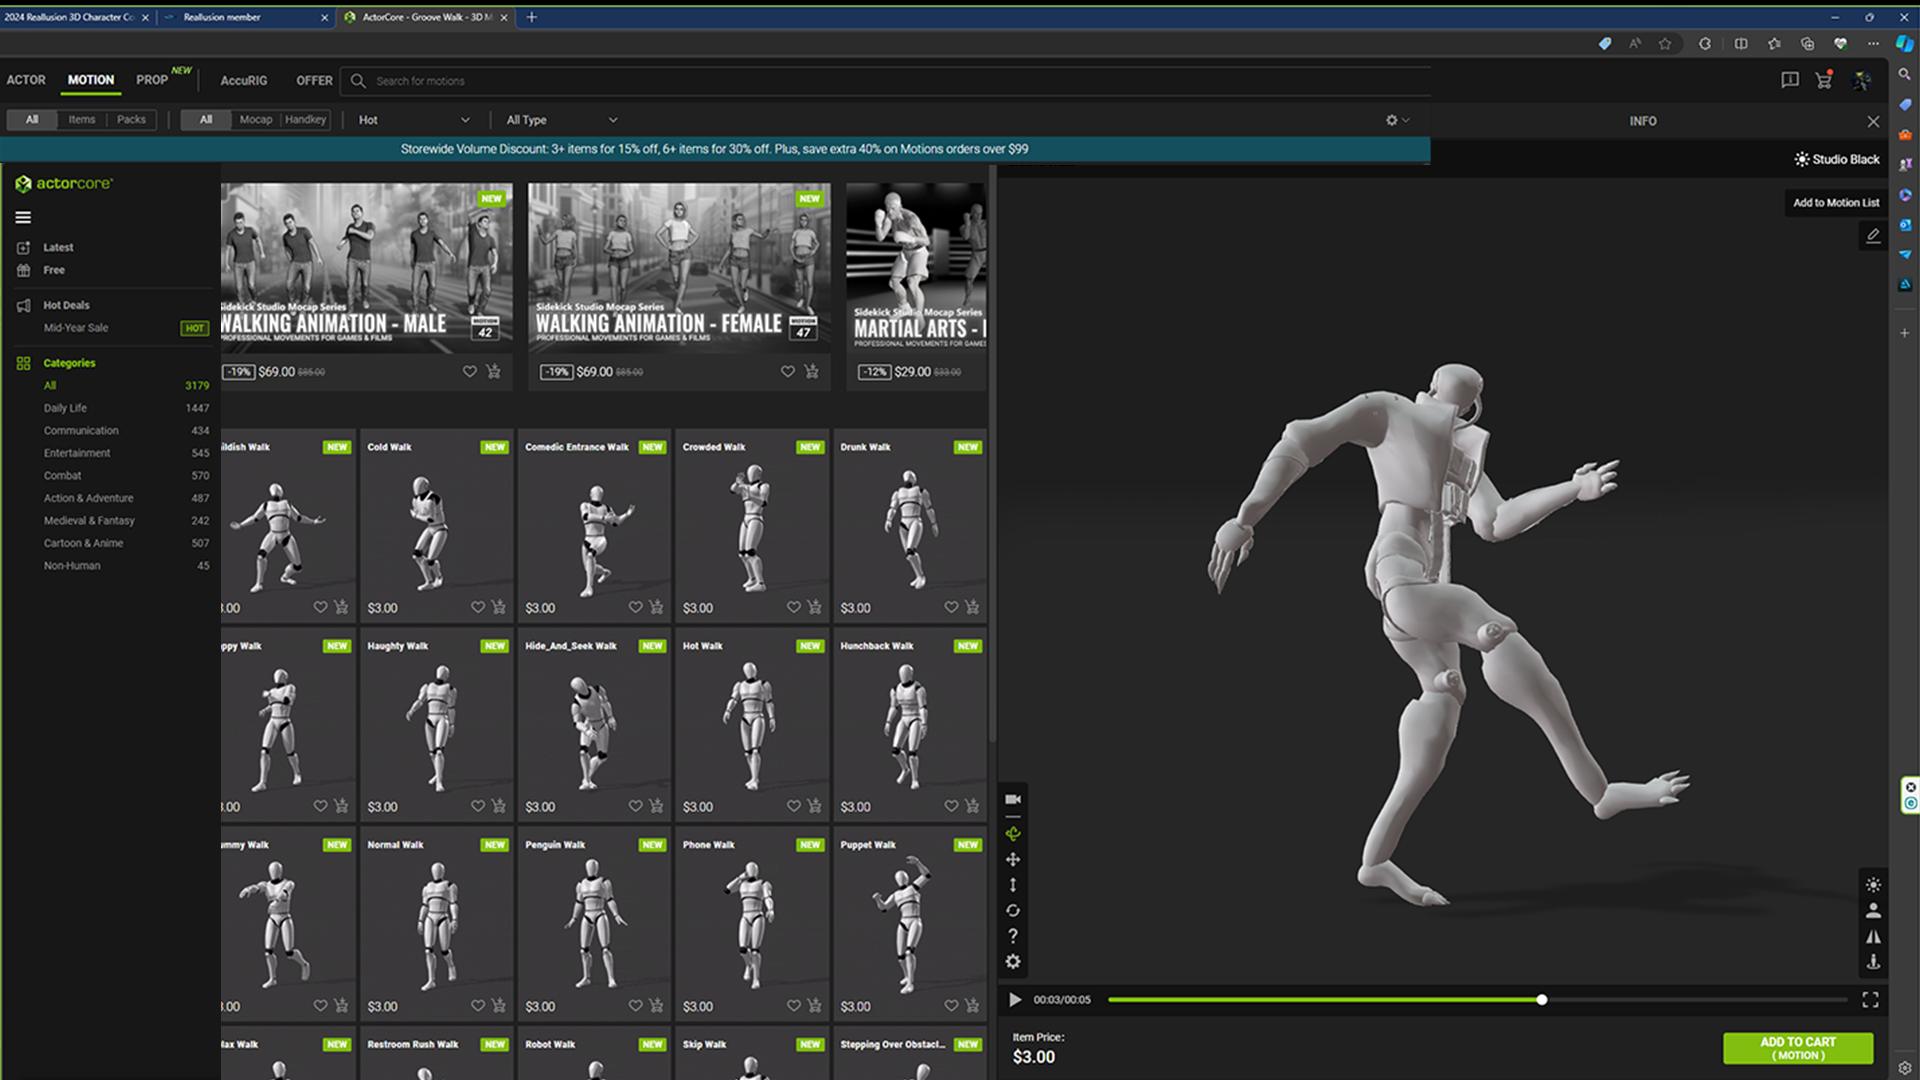
ActorCore 3D store makes it incredibly easy to pick something that will fit any flavor you could want. With a huge online library of 3D assets to choose from, you can find a subtle idle or an animation that empowers your character to do back flips. The possibilities are really endless, so have some fun!
Navigation in ActorCore has been streamlined for users, with a search bar that has a huge list of words it recognizes and a generalized nav bar with an expanding list on the left side that holds all the animations on the site. Along the way, if you find an animation that interests you, you can always favorite it by clicking the heart icon on the preview image to revisit later. After exploring the site, pick your animation and give it a double-click. It will appear on your character in the 3D preview window. Click the purchase button and go through the next screens to make the animation downloadable and have permanent access to it.
Blender, Free Character Animation Editing
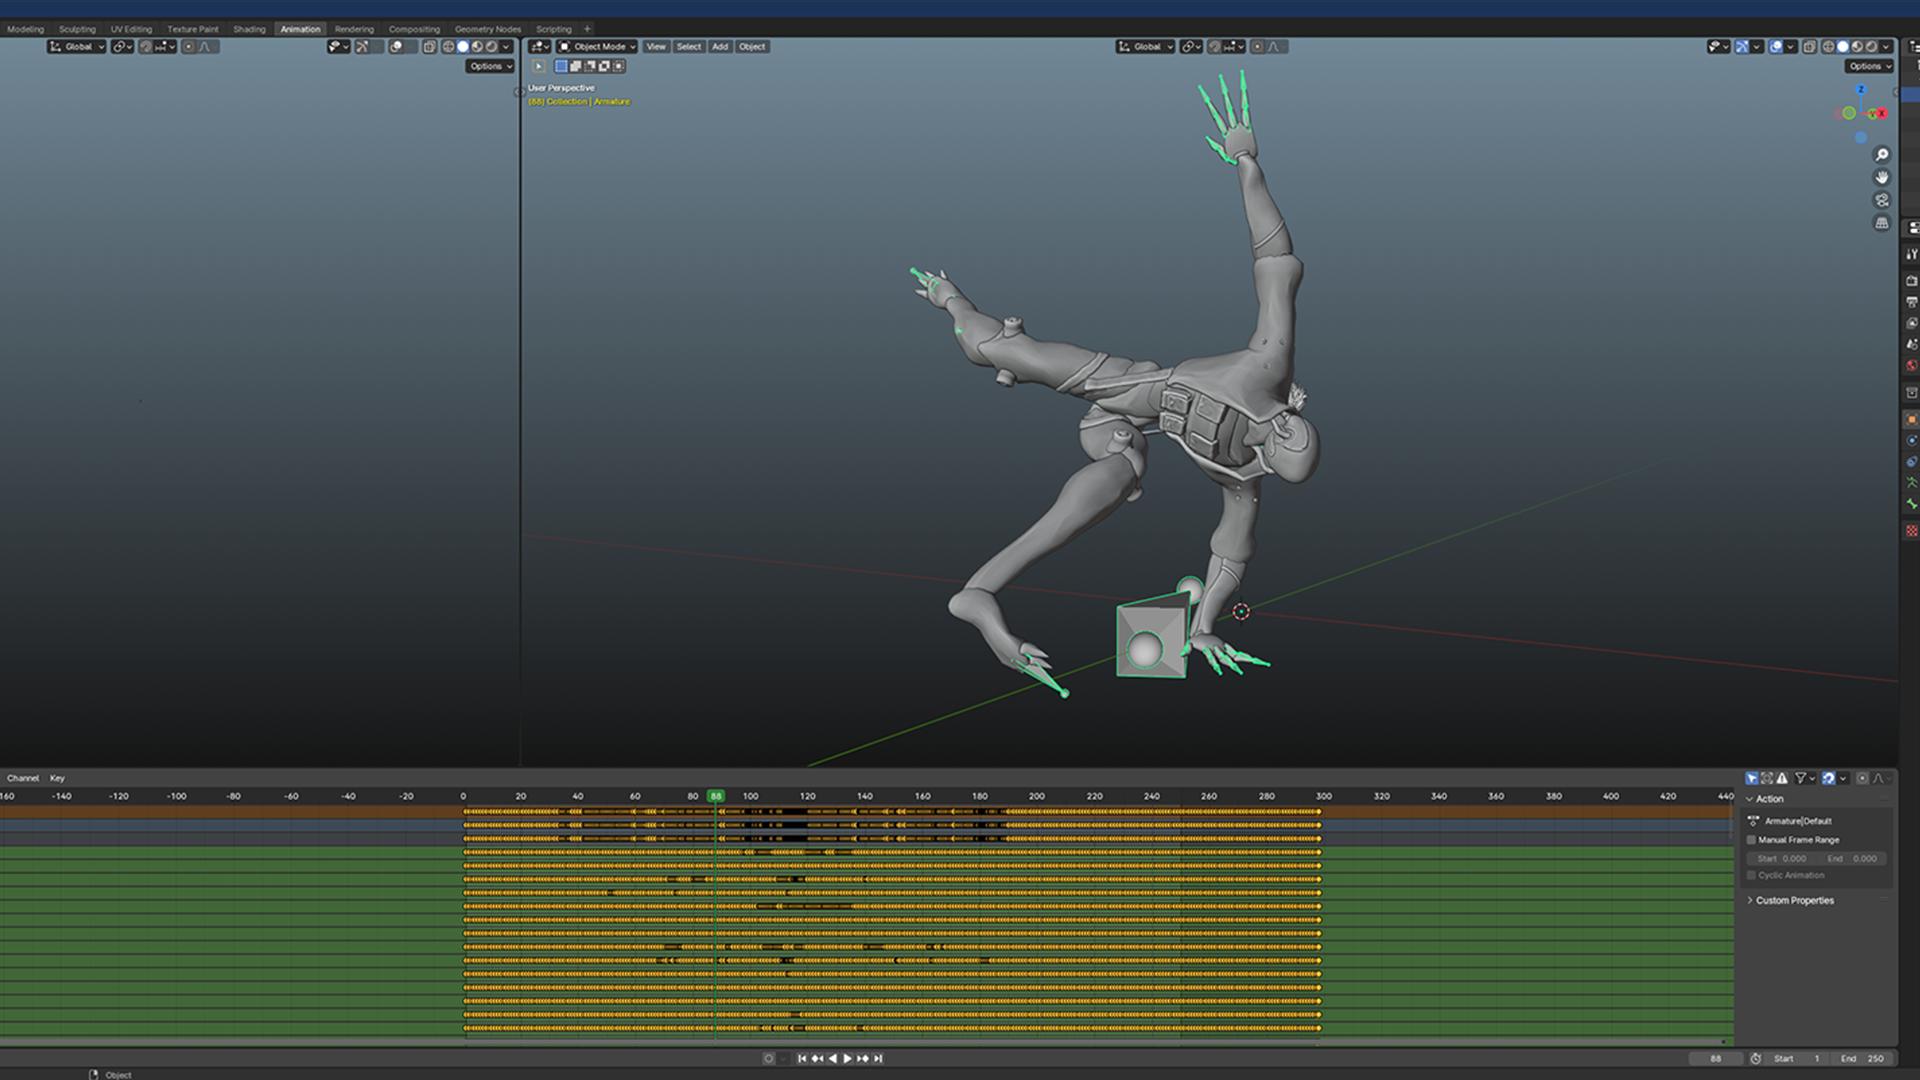
Blender is a great, free program you need for the combination of animation and model. It has been around for many years and undergone substantial changes from when I was young. With Blender, you can import many different files like FBX, with the rigs attached. Also skeleton files with keyframe data. It also allows us to import animation to our rigged characters and export them as a single object.
Essentially, we will be attaching the animation to the fully-rigged and weighted model downloaded from ActorCore. Simply import your rigged actor and desired motion to Blender, then, with a few steps you can have the motions perfectly retargeted to the actor without any issues.
Pro-tip 4
Do not worry about deleting the original keyframes — the ones you are about to paste will occupy the same space and will overwrite the old ones.
Marmoset, Building Sophisticated Looks
Lastly, we need Marmoset Toolbag 4 for the final renders of any poses and the fully animated sequences.
It is time to see your work in action! With Marmoset Toolbag 4 open and ready, apply any and all textures created in whatever program you decide to use (I like Marmoset Toolbag 4).
Tweak your render, camera, lights and sky so you can get the perfect animation capture possible. The animation tab and your timeline are important to match up with the loop you are trying to create. So, here we are just making sure that the full sequence is captured and there are no partial repeats of it during rendering. Adjusting the animation speed directly on your model by first selecting the root in its hierarchy can help a lot with fine-tuning the speed of how the animation plays out during render times.
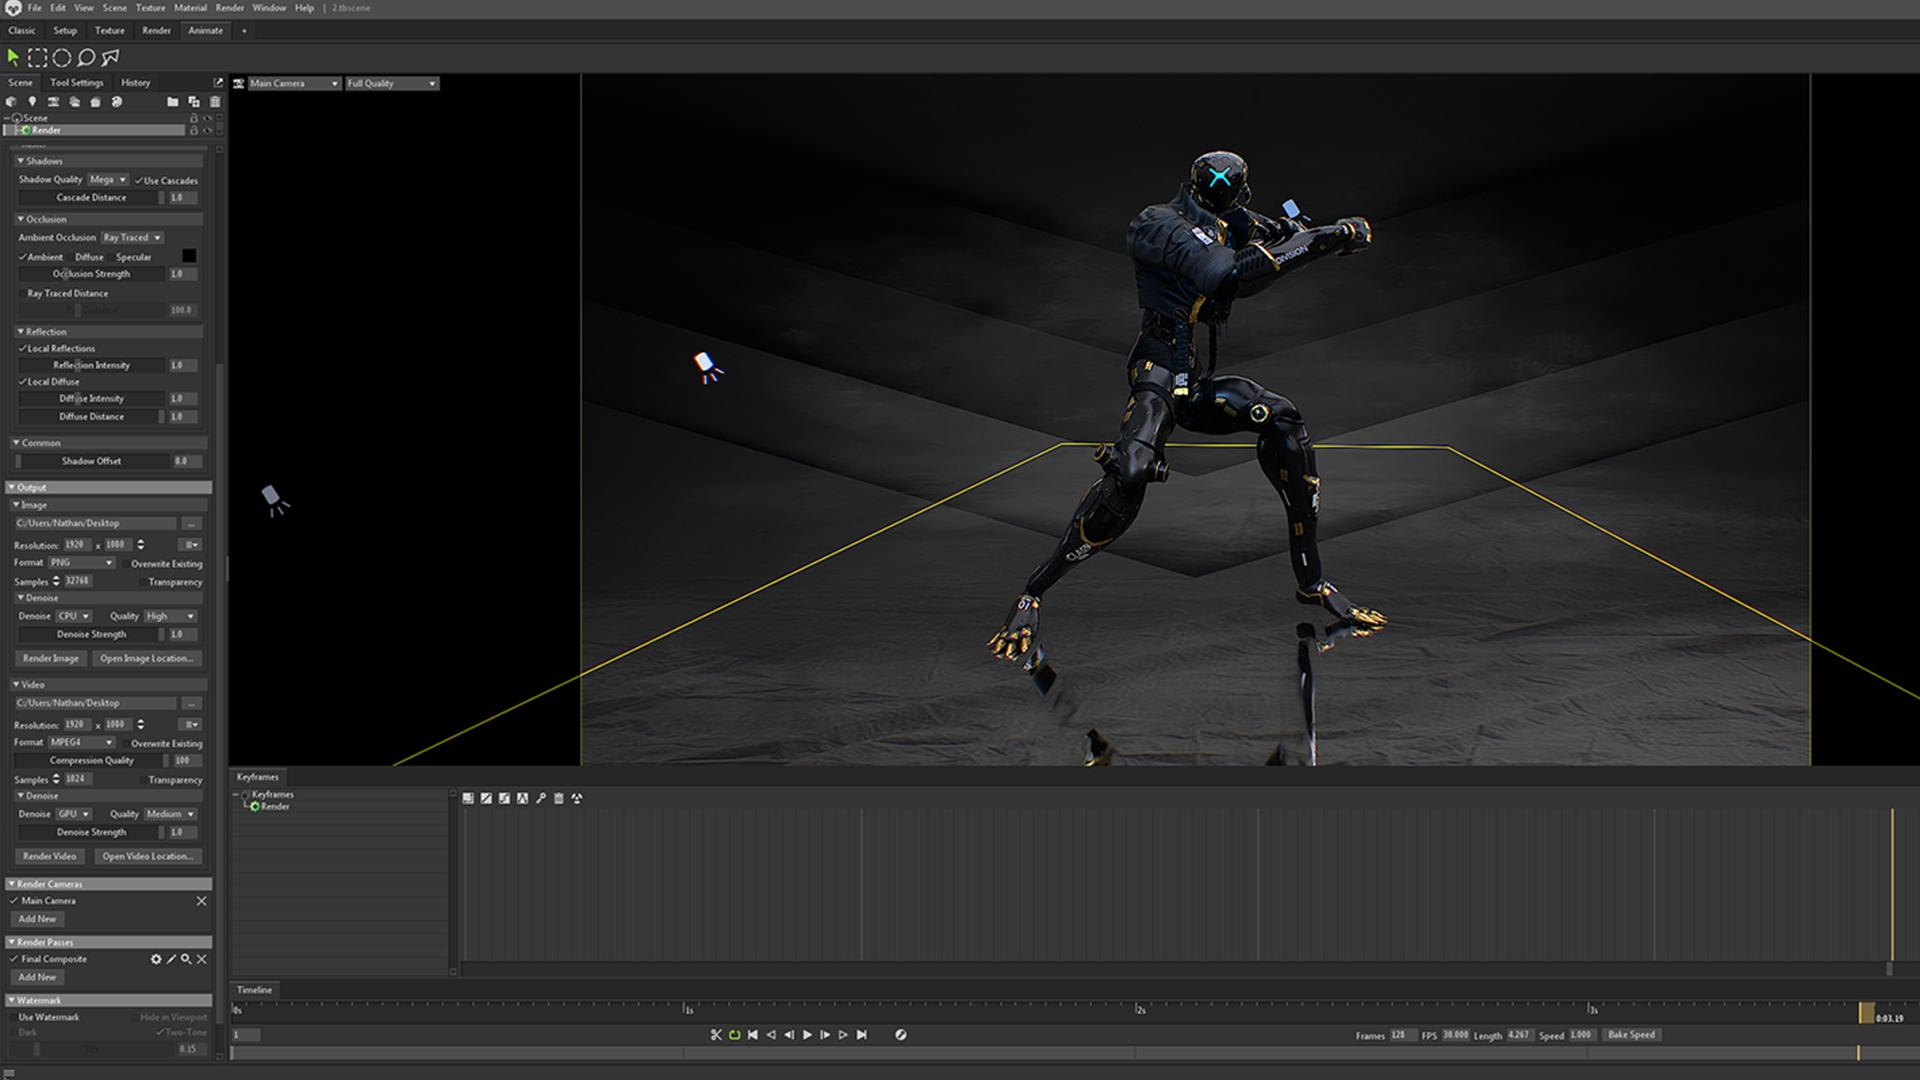
Press F5 (animation) and F11 (keyframe render) on your keyboard after you have done all required modifications to the settings and have the best-looking environment for your character. Wait for your render to record and think about angles for some single-frame renders that will really help highlight your project.

Final Thoughts
The method outlined here is my favored approach for a completely rigged, animated and rendered character simply because it works! It is quick, efficient and yields accurate and pleasing results. Before we had such a powerful tool (AccuRIG) to add to our pipeline, this was all done painstakingly by hand… Now with a few clicks, you’re ready for action!
This workflow and AccuRIG auto-rigger are a must-have, for the budding 3d artist and seasoned vet alike. Not only will it save you time and frustration, it will help you focus your workflow to a sharper point with a great UI and straight-to-the-point flow.
Thanks for joining me on the journey of creating this futuristic character, if you are interested in more examples of applying auto-rigging tools to your character, please explore the original post for some inspiration, and have fun trying it yourself!