Behind the Scenes: Family Computer
INTRODUCTION
Hello, my name is Claudiane, also known as Anne Muniz, and I am a 3D artist currently living in Rio de Janeiro, Brazil.
I discovered 3D about a year and a half ago. I started practicing it as a hobby, and curiously fell in love with 3D modeling. Since then, I have been practicing and delving deeper into this area. I won a scholarship for a training course at Escola de Artes Digitais Revolution (Brazil) which uses Blender as the main software.
I am currently developing myself in the areas of modeling, texturing, lighting, and rendering.
I’ve loved crafts since I was a child and I’ve always enjoyed the creative process that this path takes me through. Now, by combining art and technology, I feel complete.
INSPIRATION
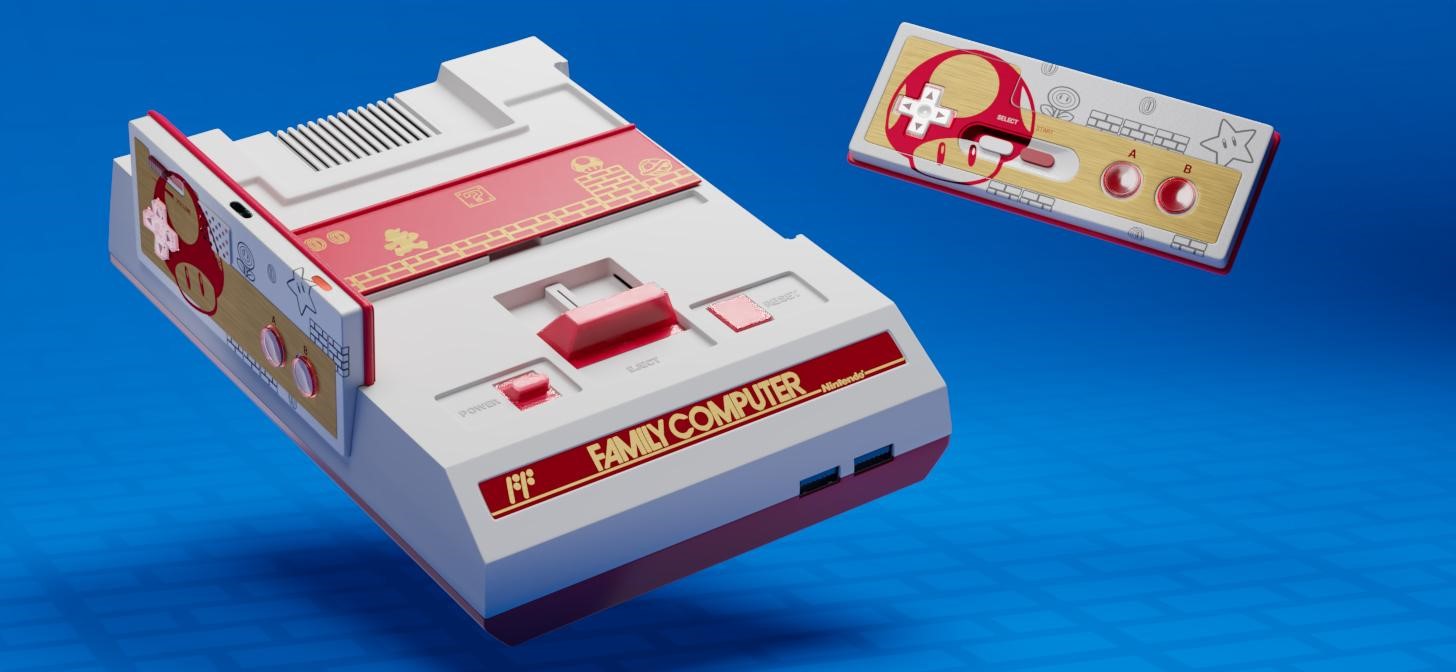
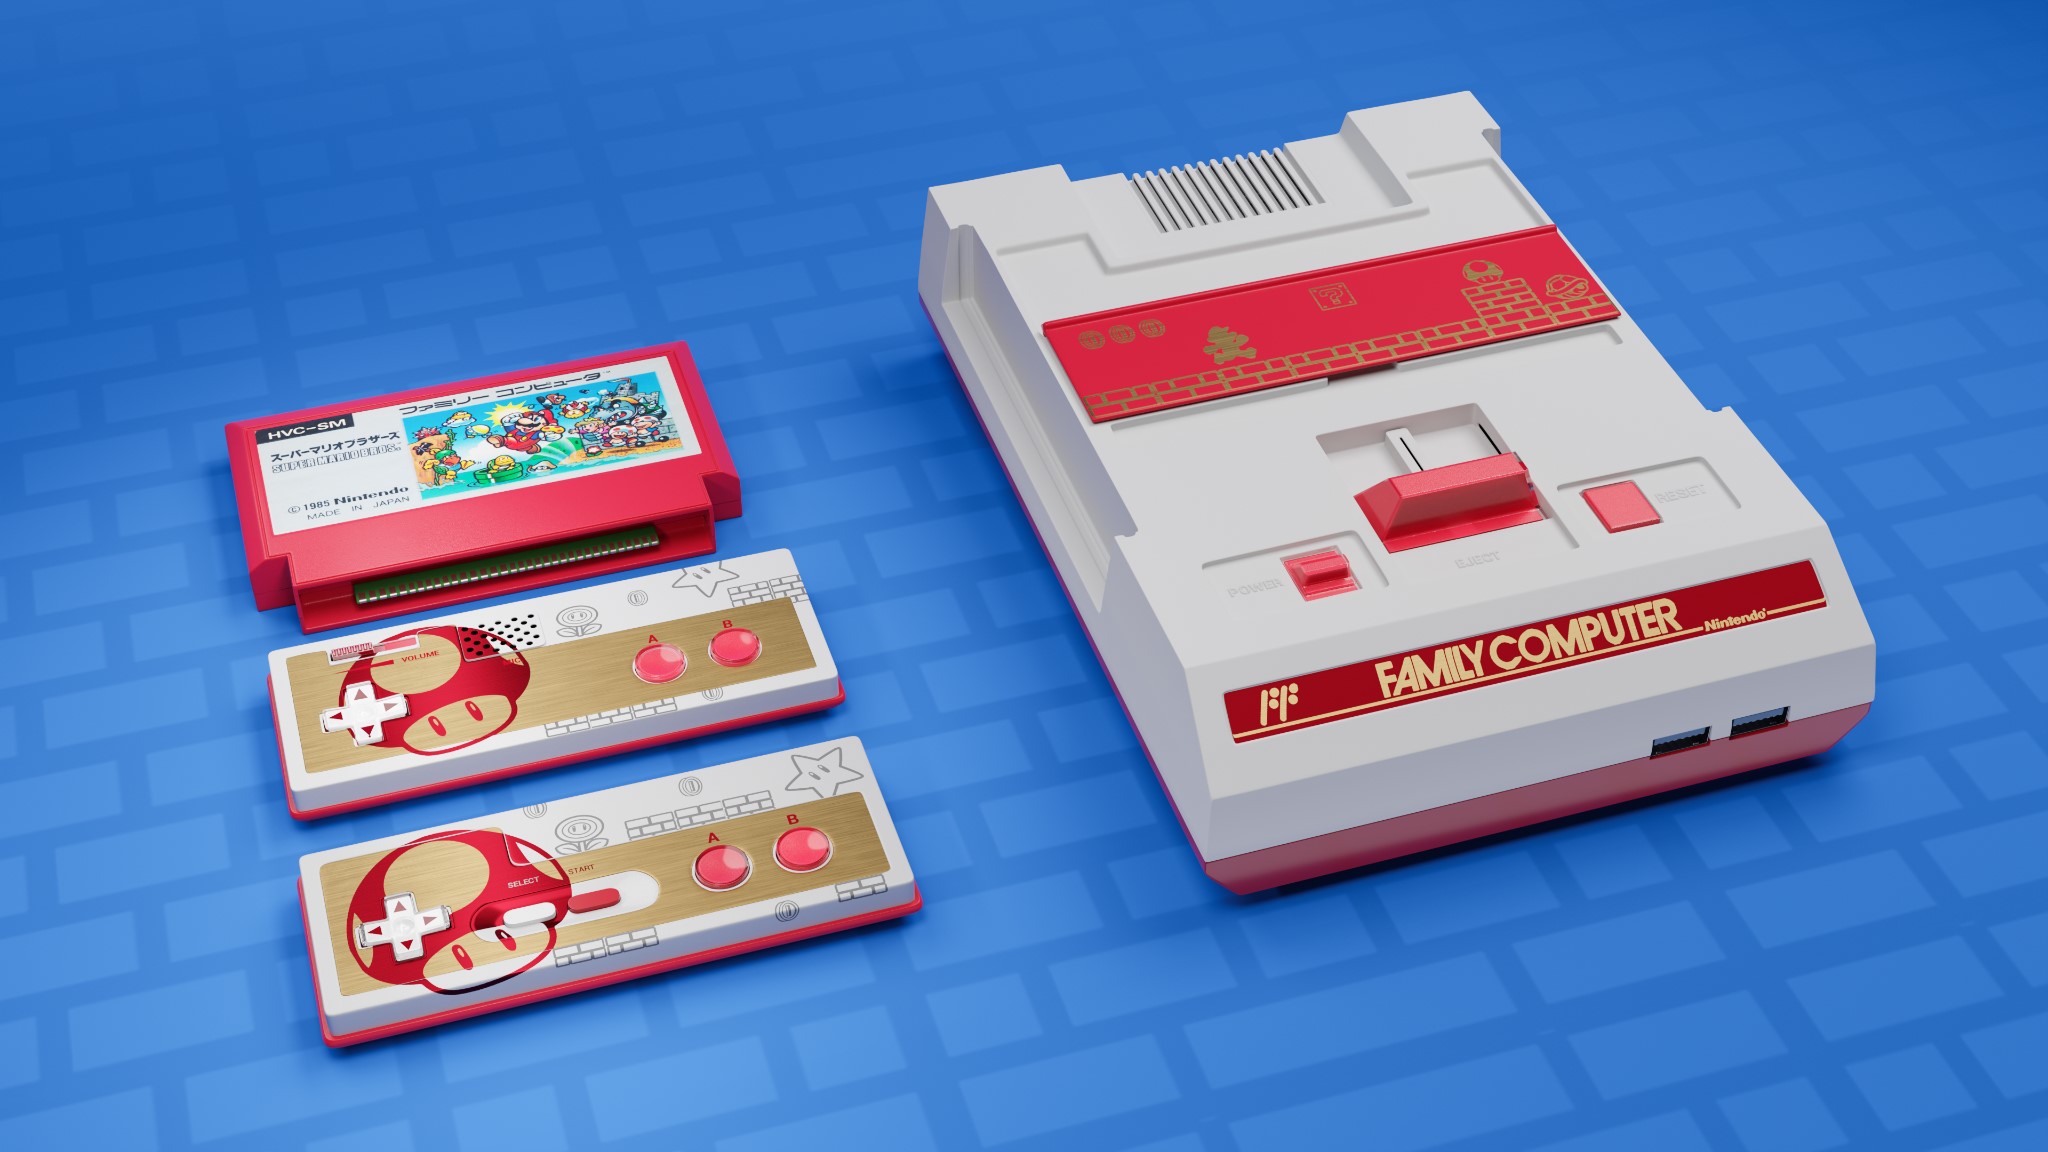
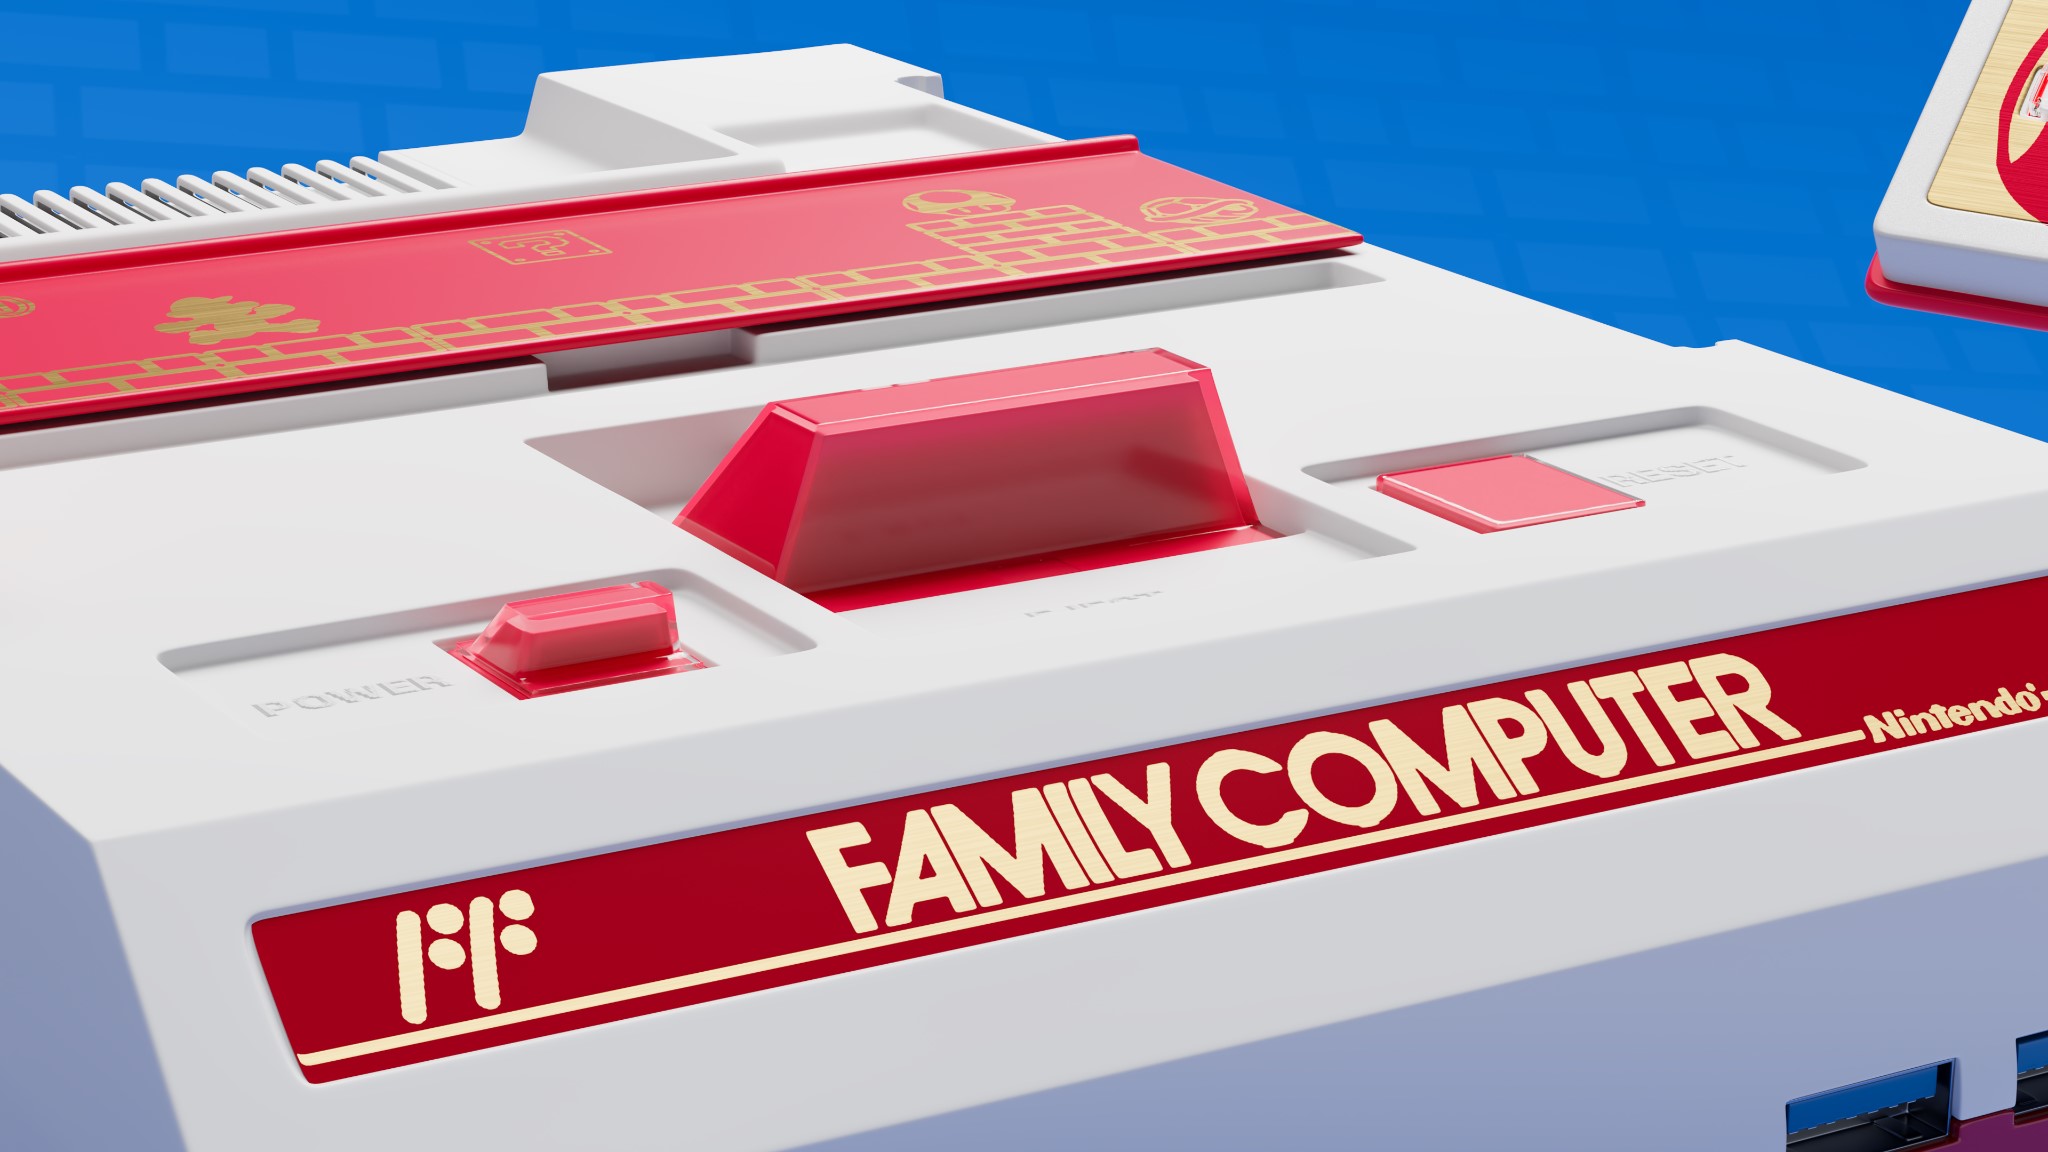
Passionate about games, I decided to create a Nintendo Family Computer console model, updated and adapted to current technology.
This piece was developed for the challenge of module 4 of the course with the assistance of my teachers. The theme was to create a classic console made only by subdivision modeling, prioritizing care with flows and redirections.
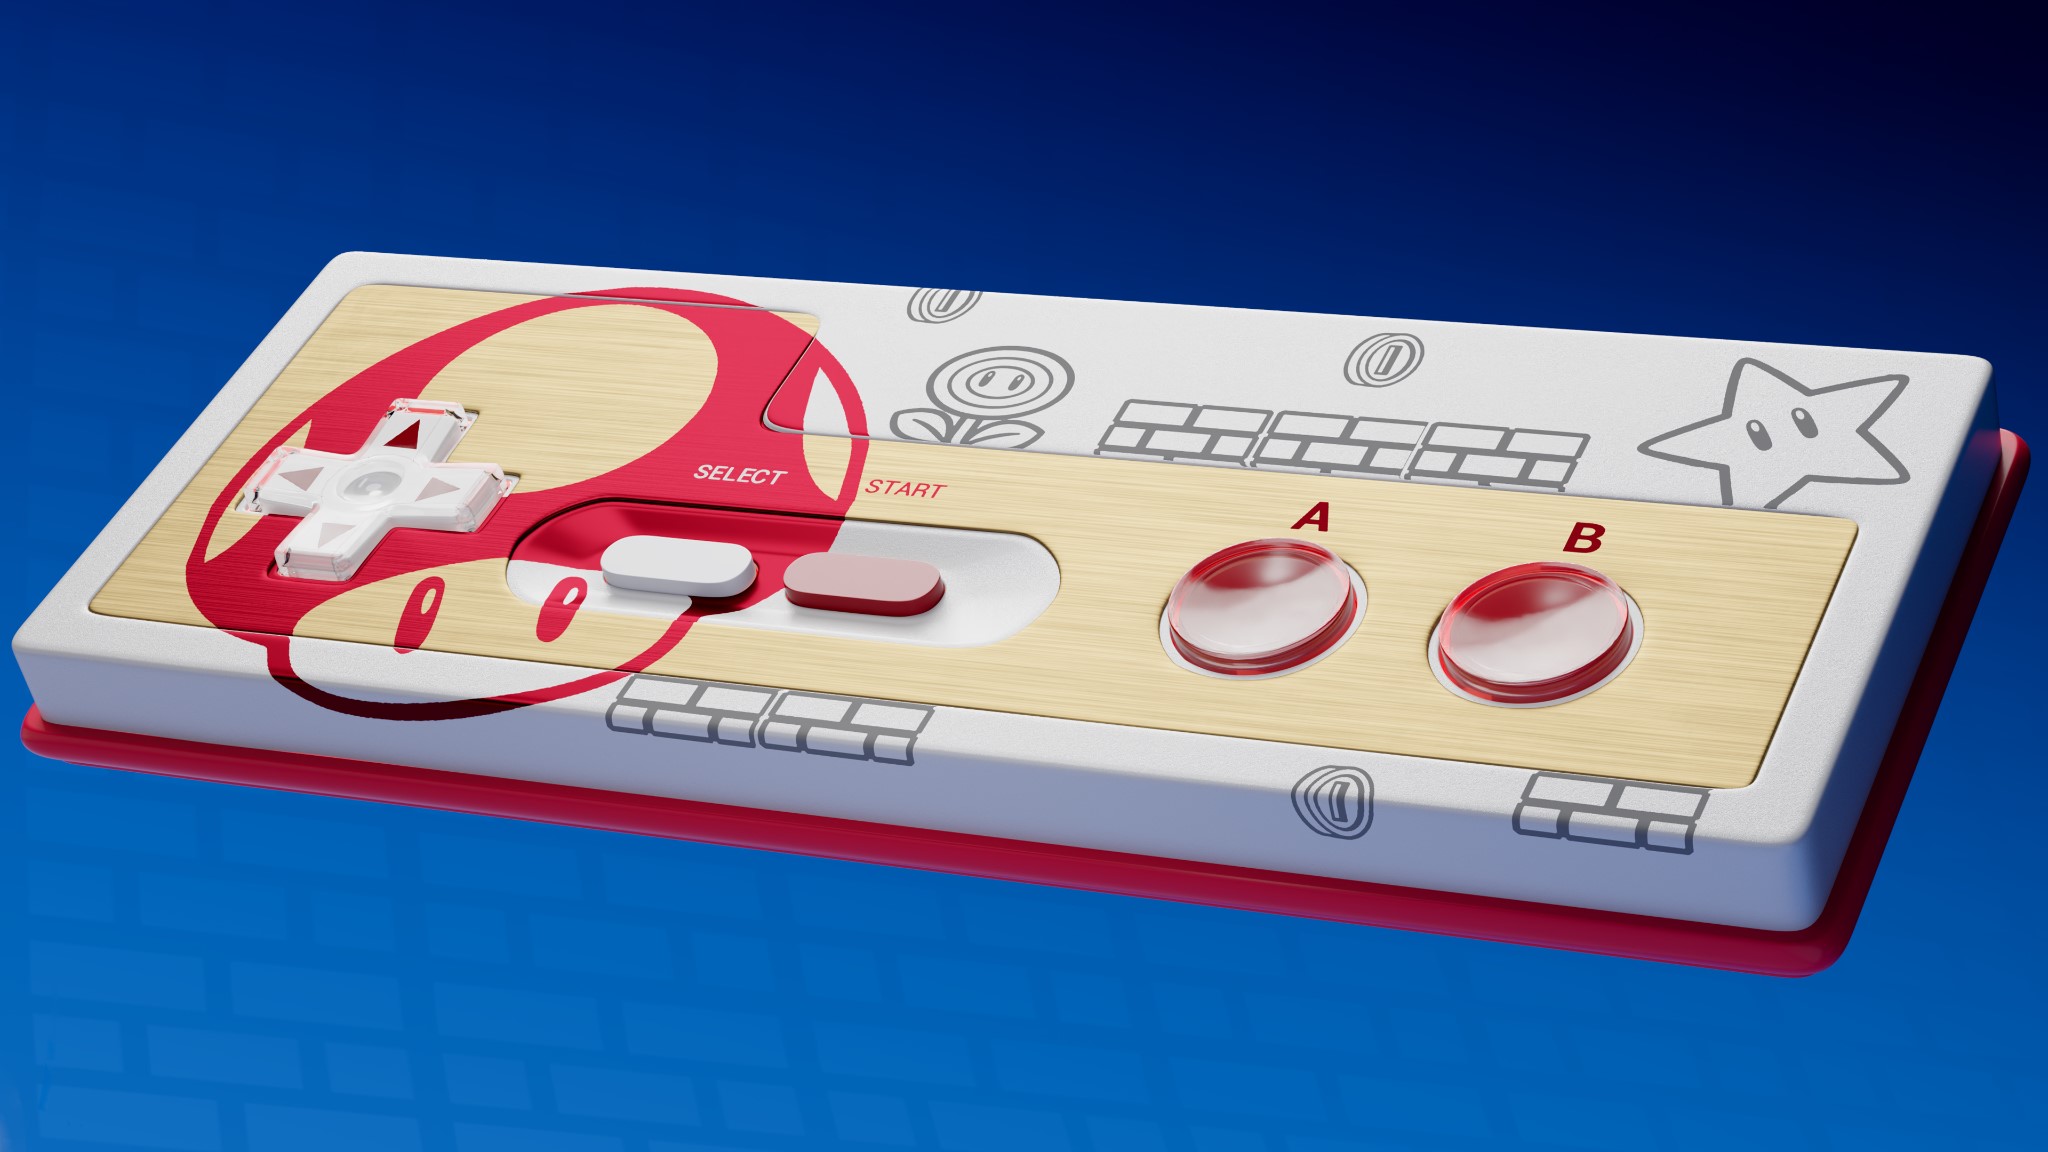
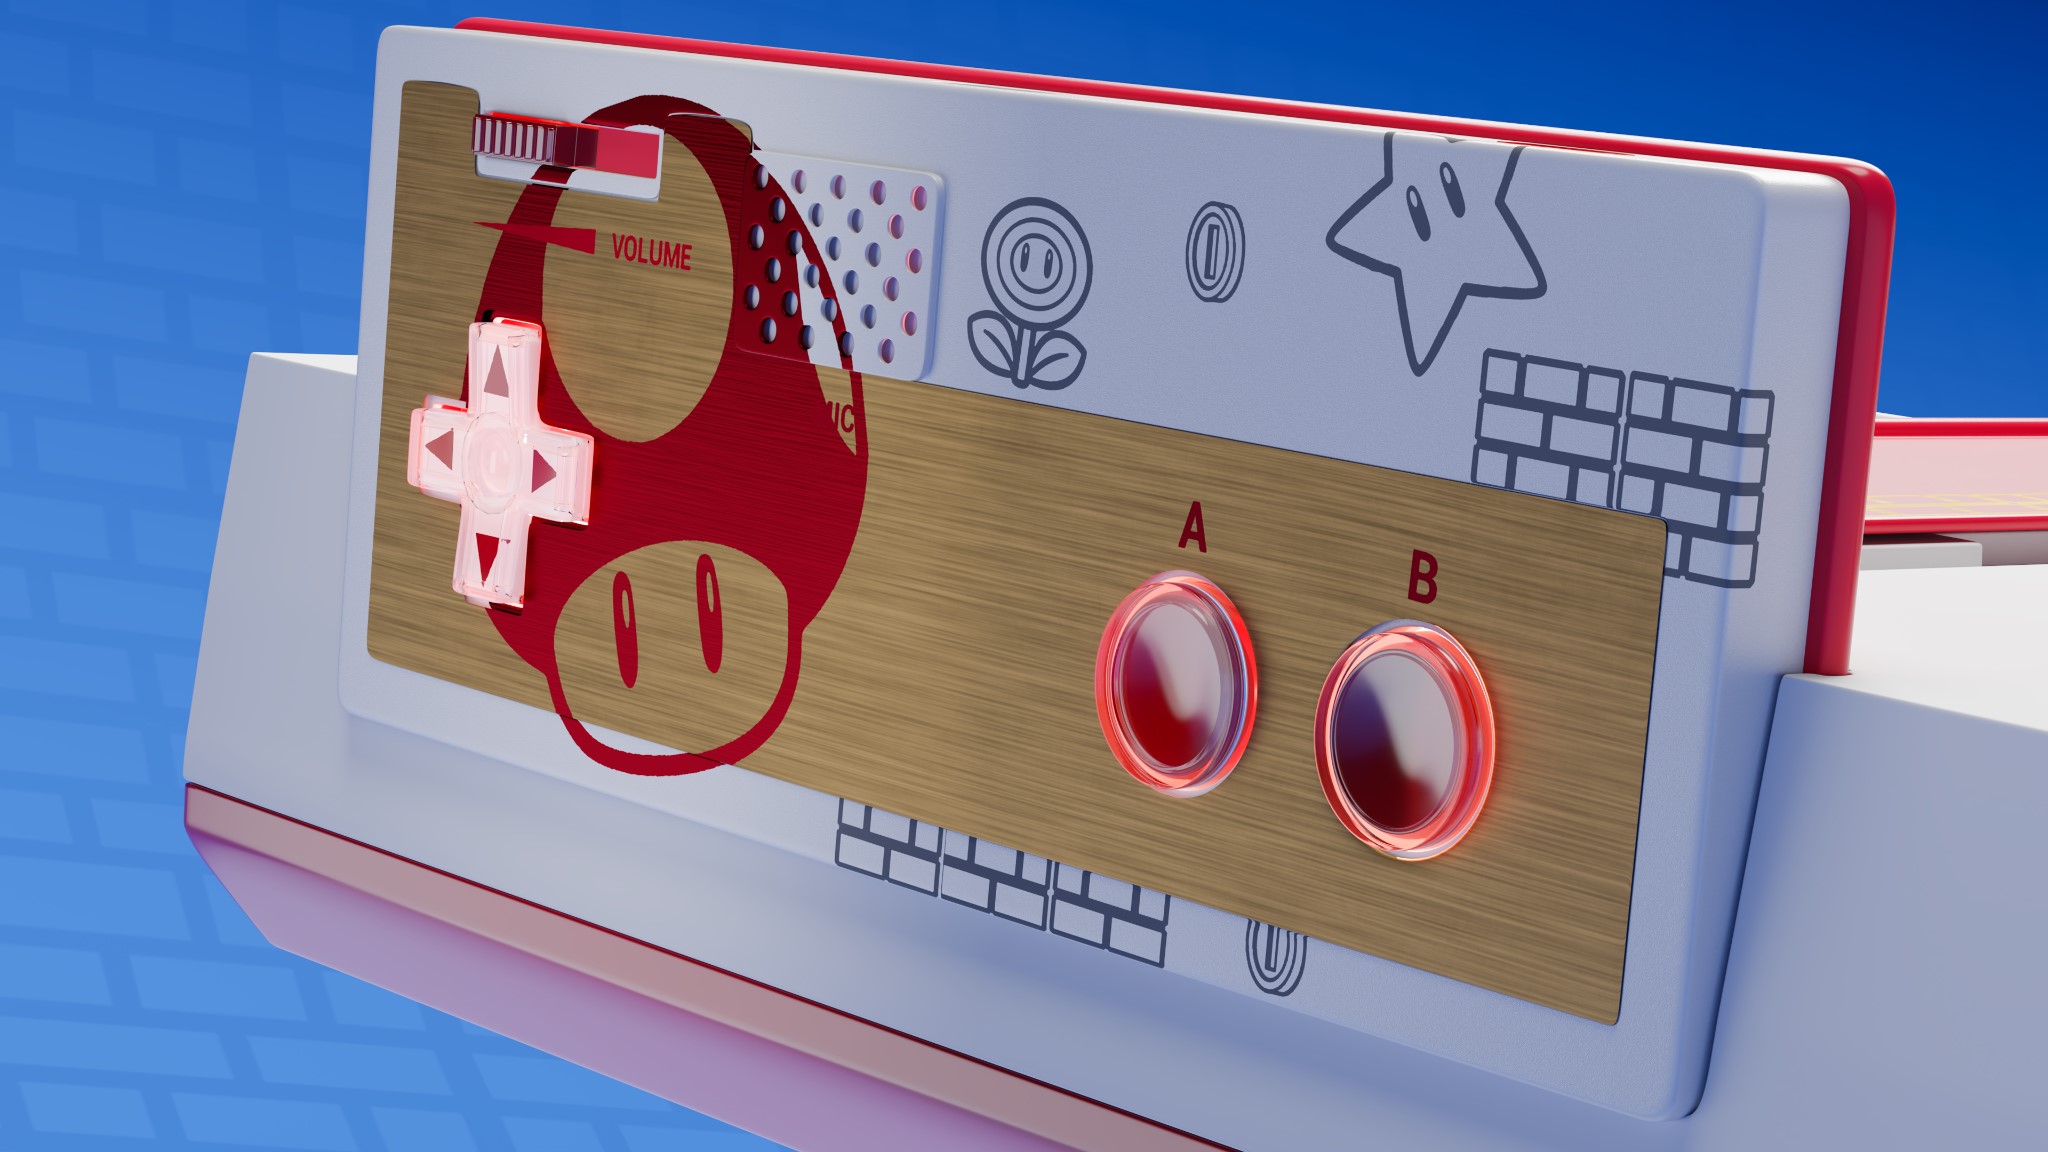
Taking inspiration from the console’s history, I preferred to add vibrant and fun colors, as Nintendo’s proposal was to convey the idea that the console was a toy. So, I wanted to maintain that same impression while maintaining the original format of the product.
I also chose the Super Mario theme to bring the feeling of nostalgia.
PROCESS
Software information
Here is some technical information used in my final render:
- 3D Software: Blender
- Main rendering: Cycles, 1920 x 1080px, 2048 Samples
- Camera: 80mm Perspective
- Post production: Adobe Photoshop
Modeling
First I started with a search for references and a little about the history of the console.
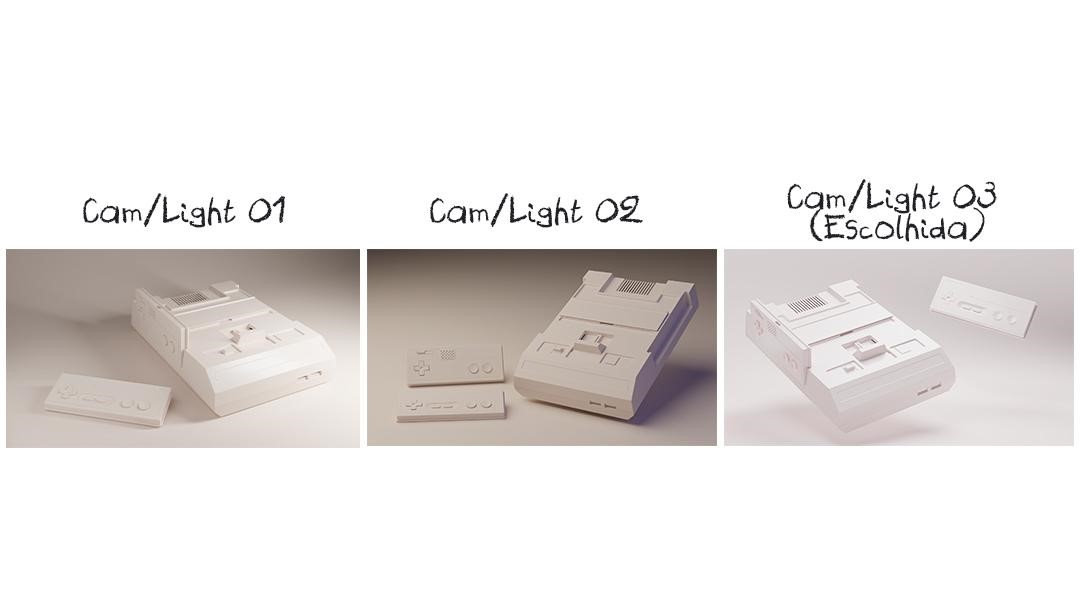
Next, I did a simple block to determine the proportions of the product and thus study where I could start modeling.

I started at the top of the console, worrying about the cartridge inputs and buttons, and always trying to pay attention to the flows and redirection. It was a very challenging and, at the same time, a fun process.
Then I went to modeling the controls and components.

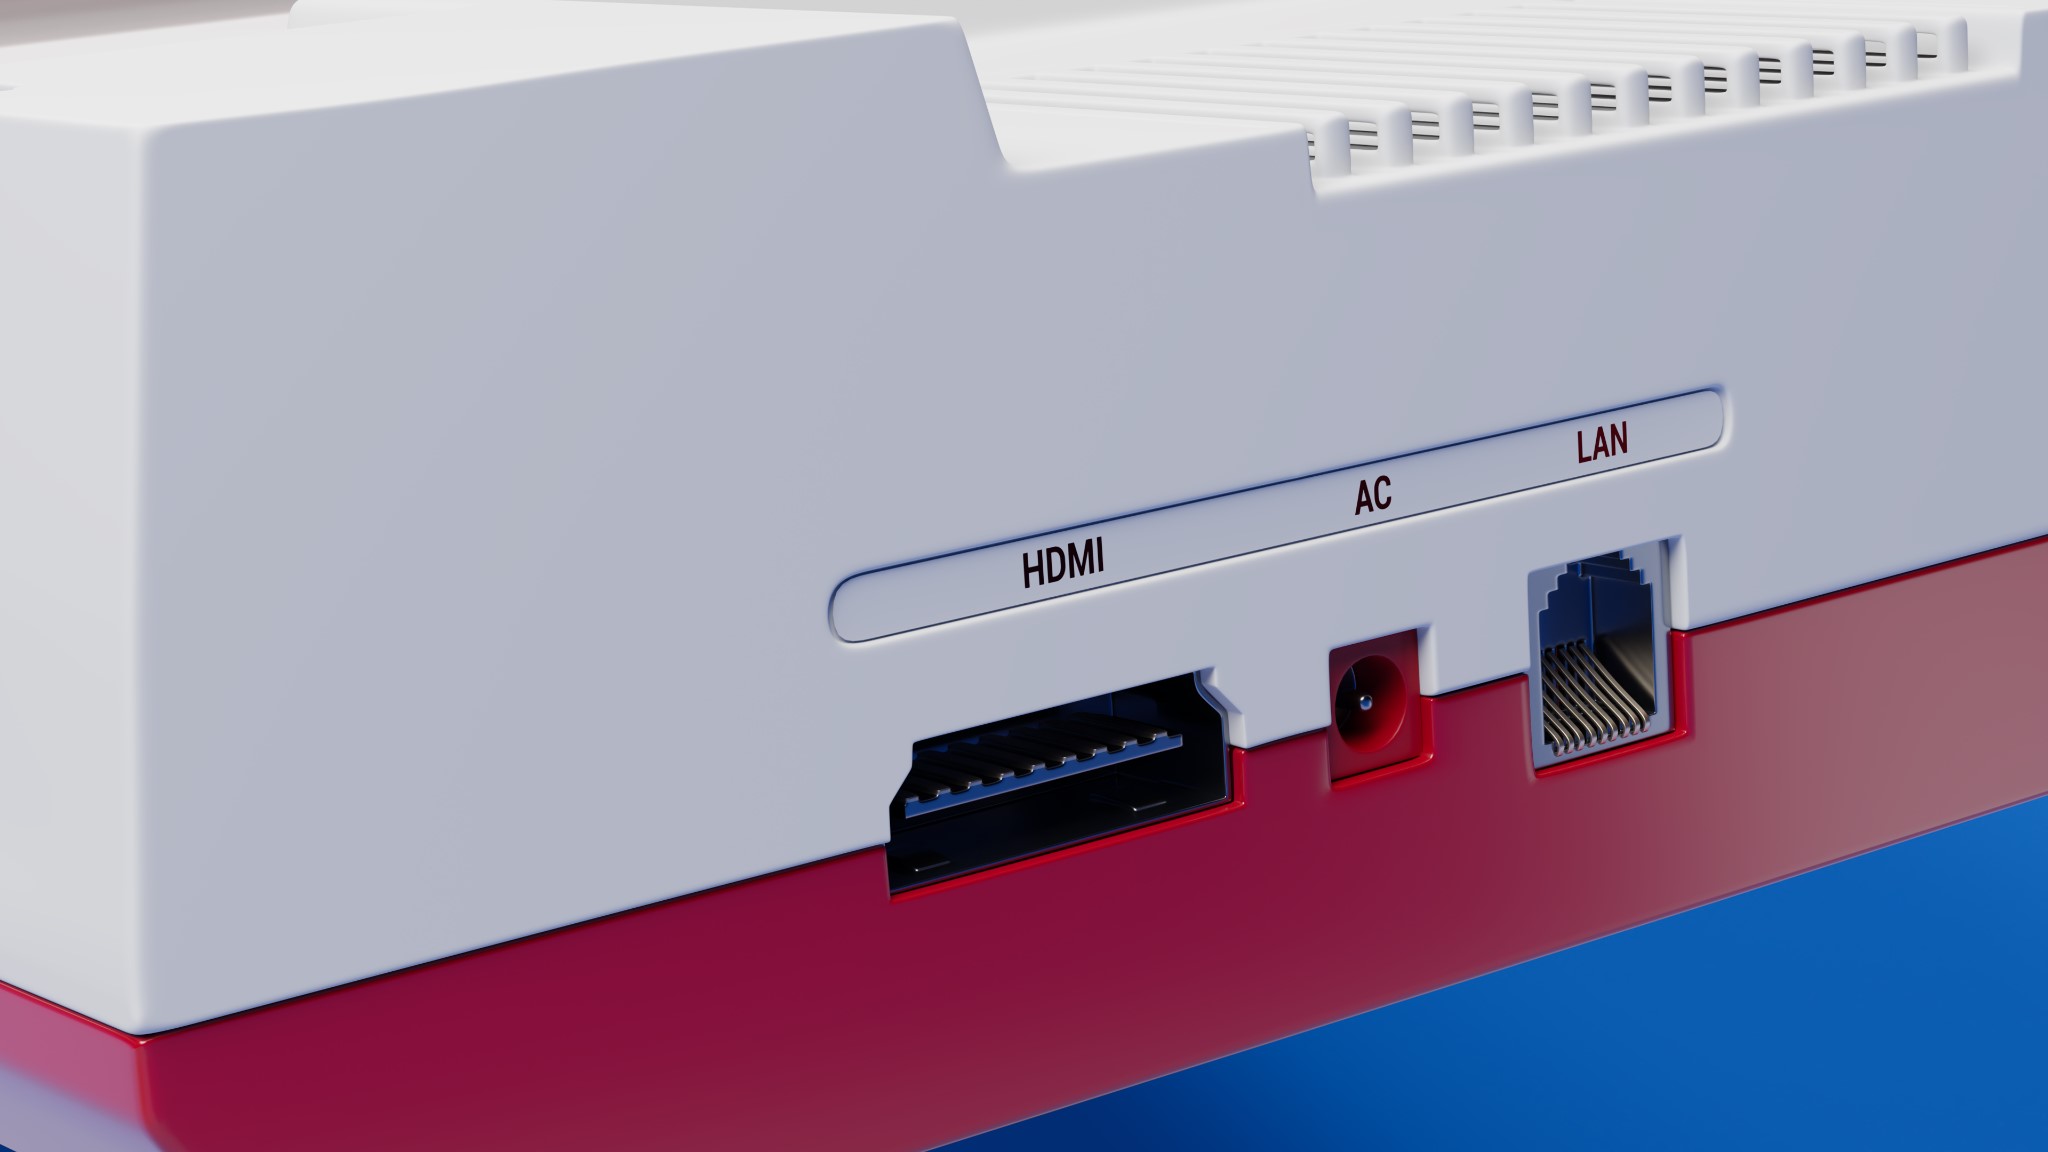
After completely modeling the console, I positioned the camera and began the lighting and product positioning stage.
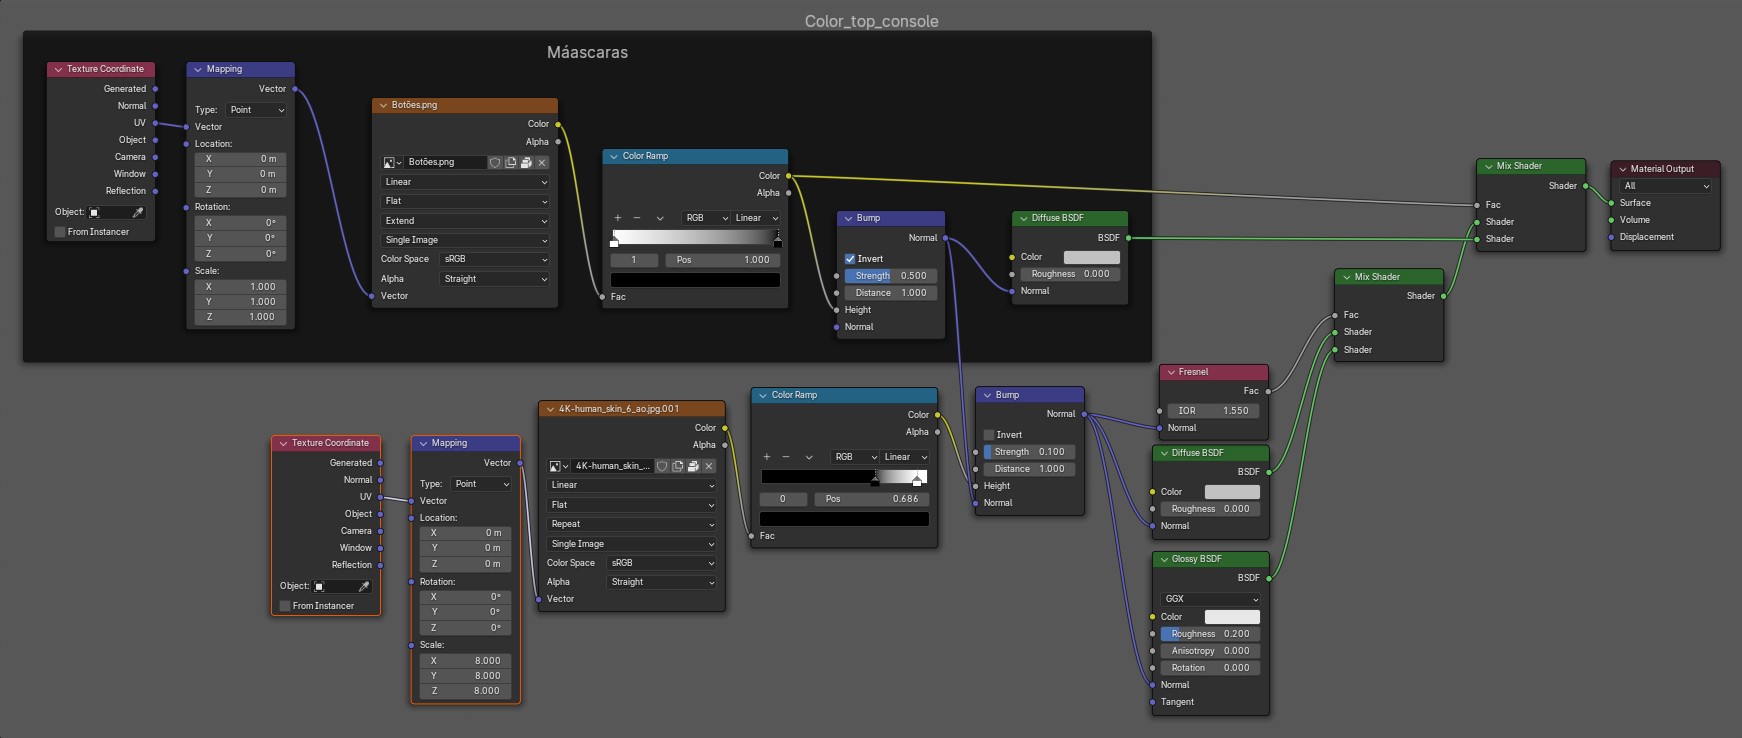
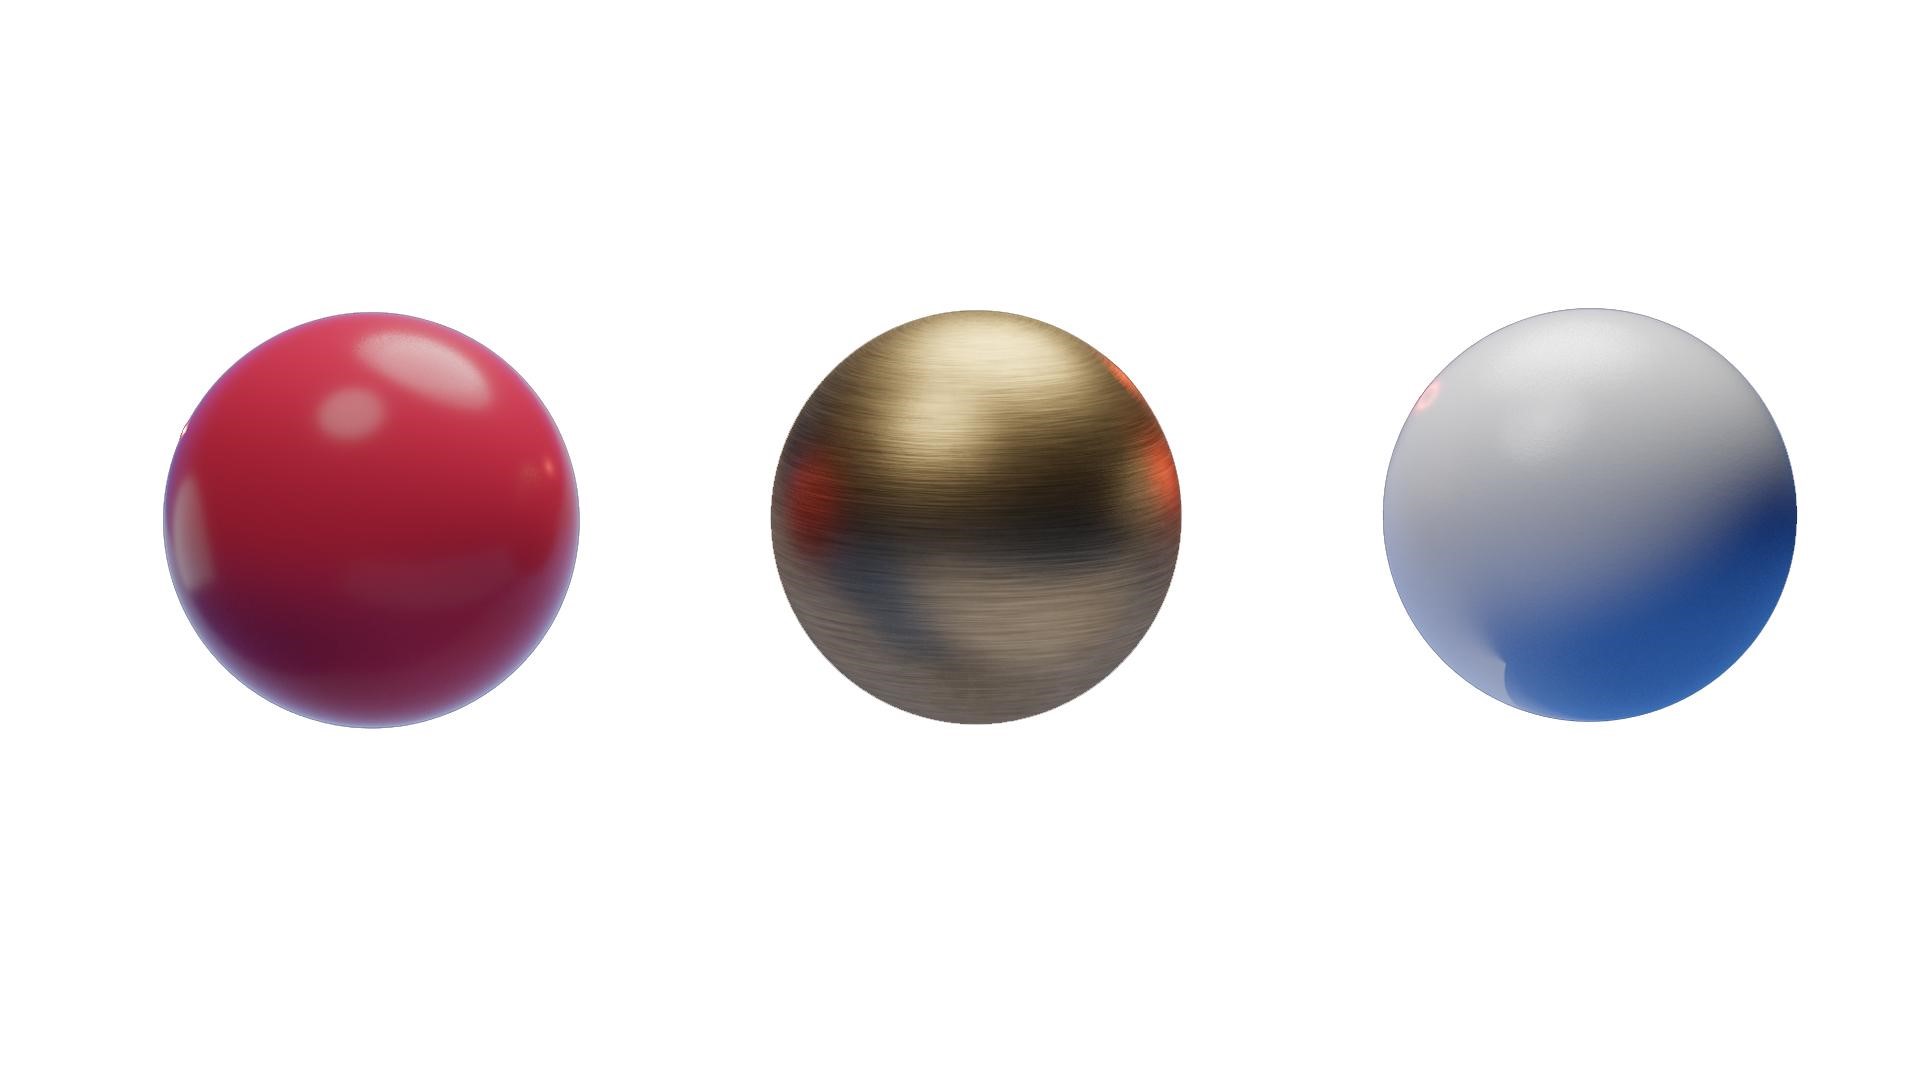
Texturing
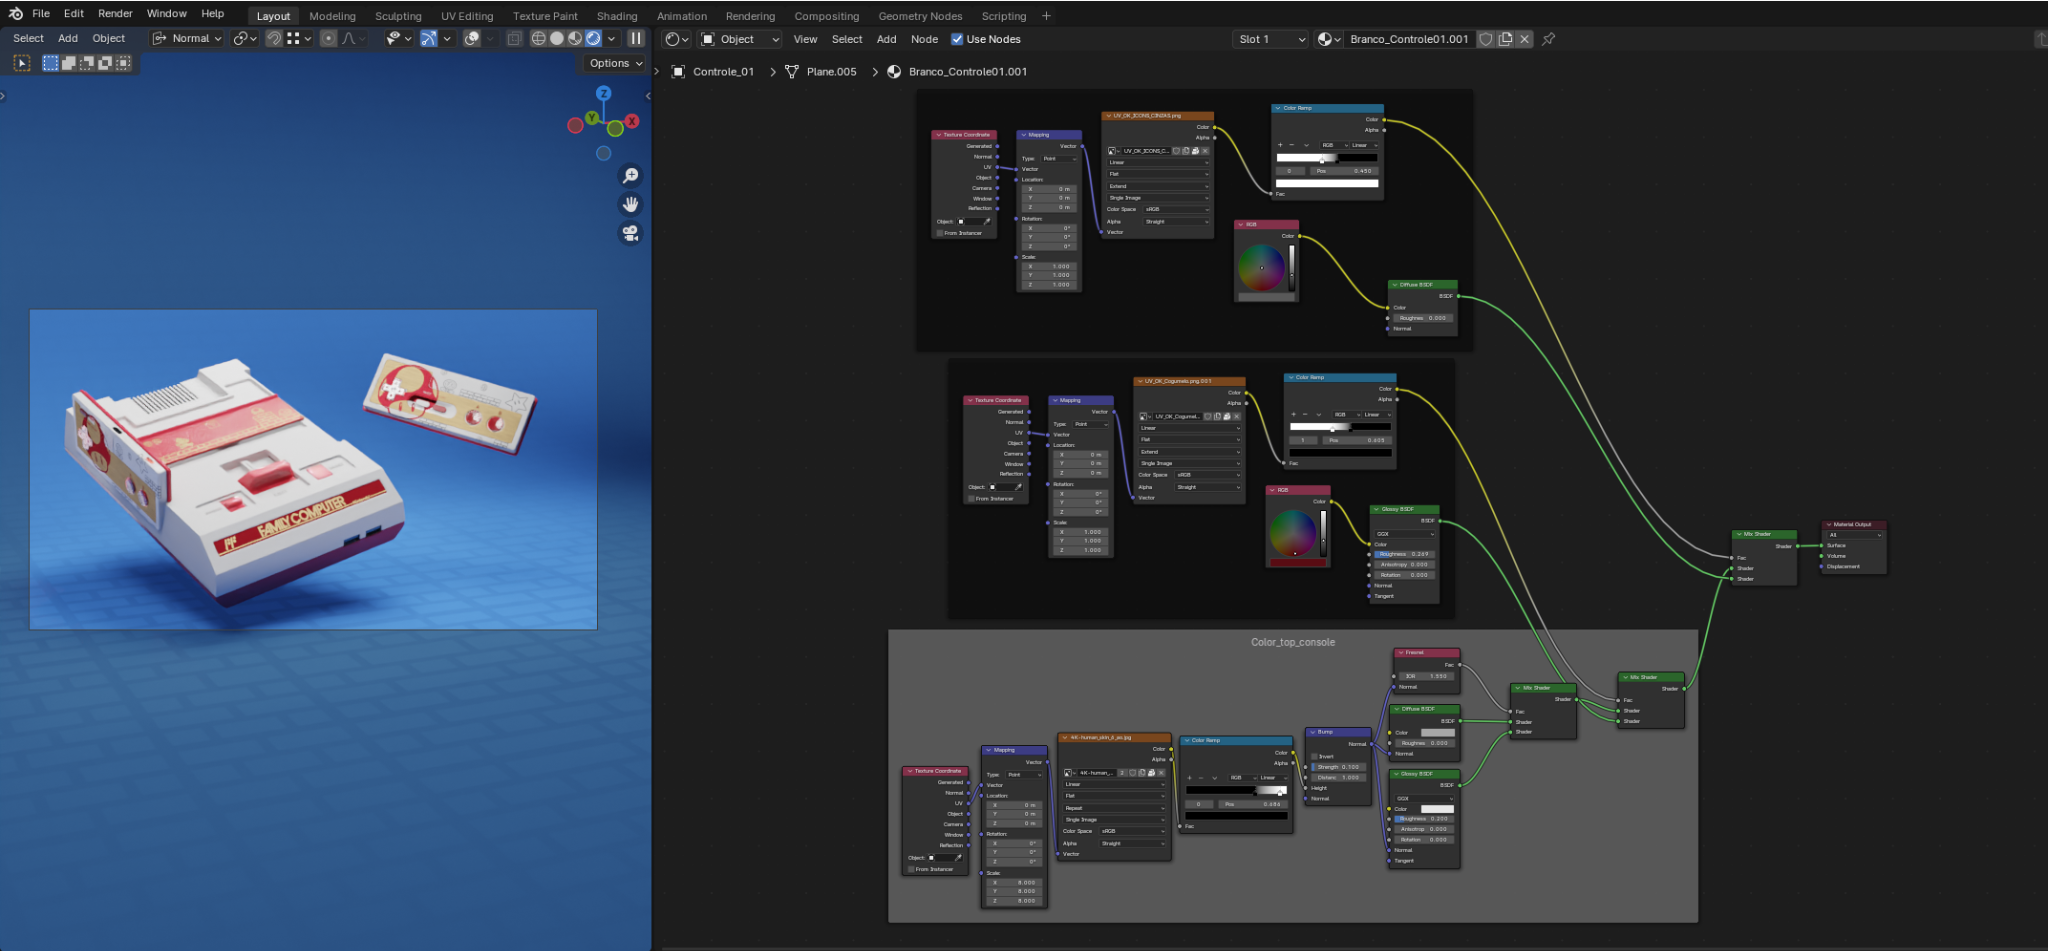
I unwrapped the UVs and started applying the textures. I used procedural textures and PBR images to complement. I also added masks for the details with illustrations.

I carried out the entire texture process in Blender’s own node system.
I particularly like the texturing process; I like dealing with colors and materials. I always have a lot of fun at this stage of the creation.
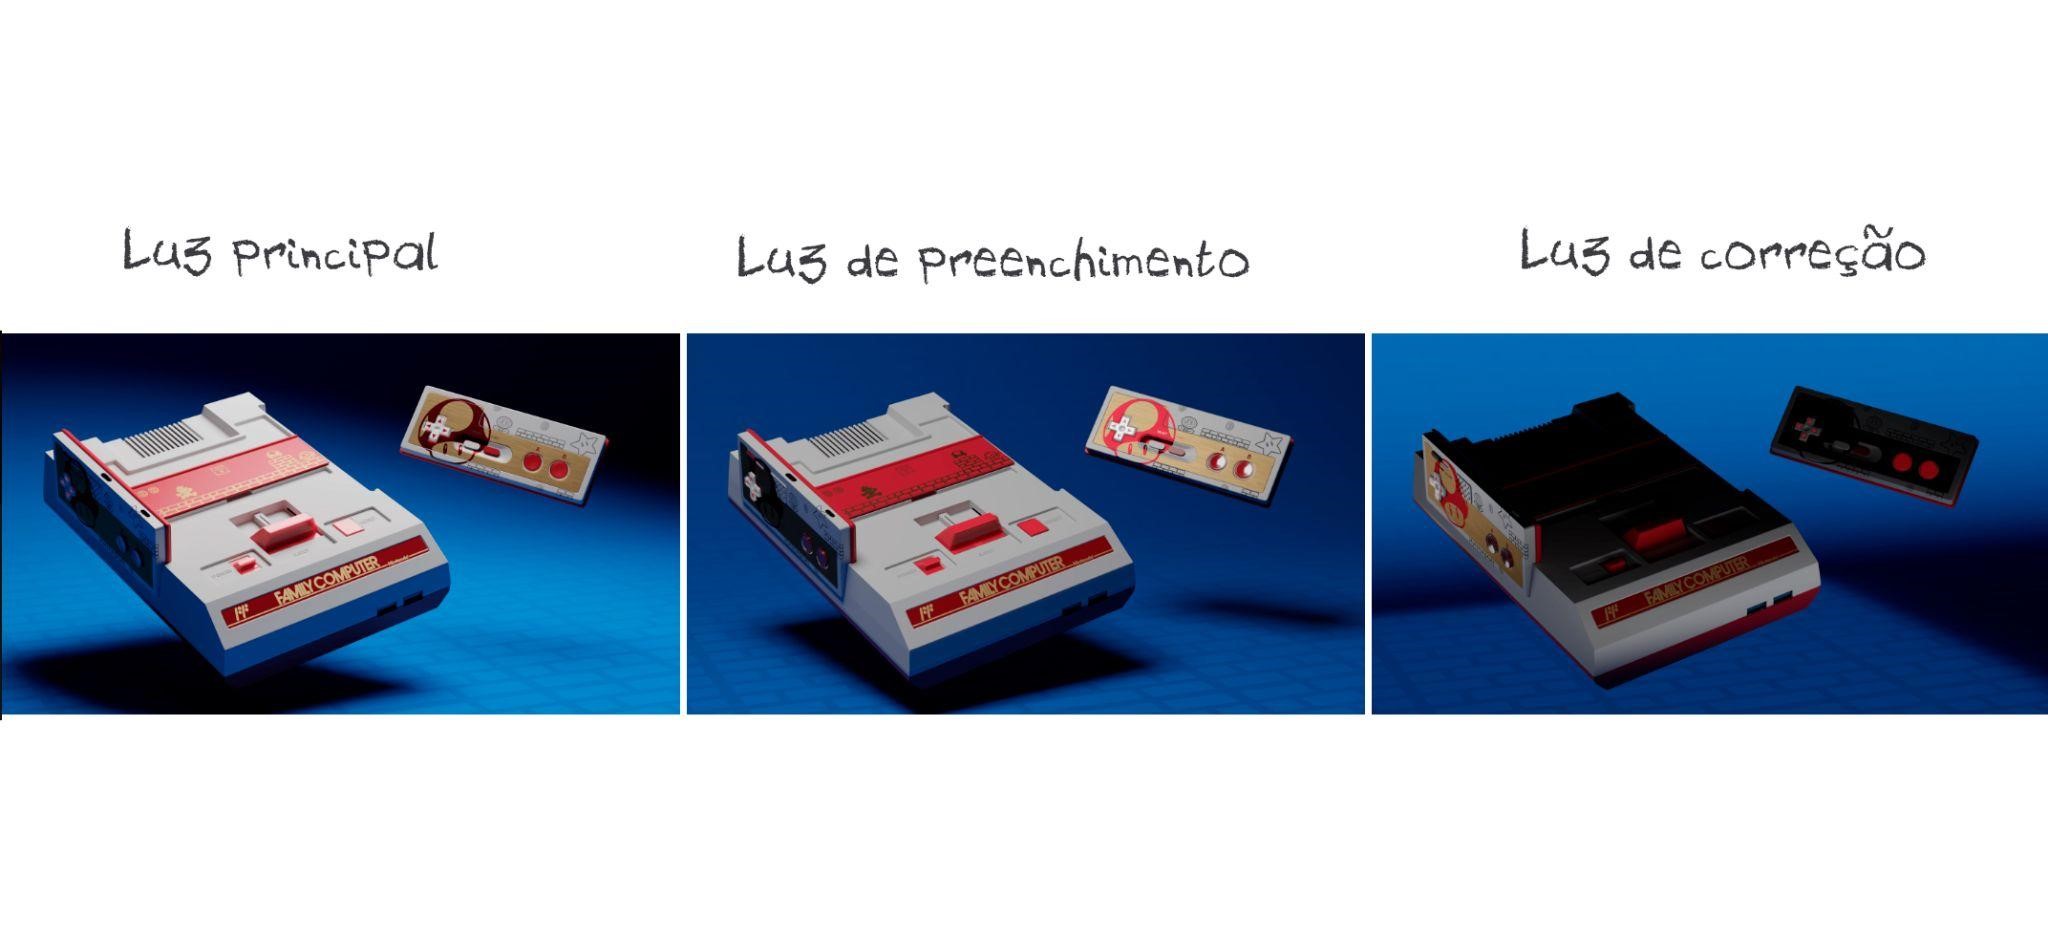
Final lighting adjustments:
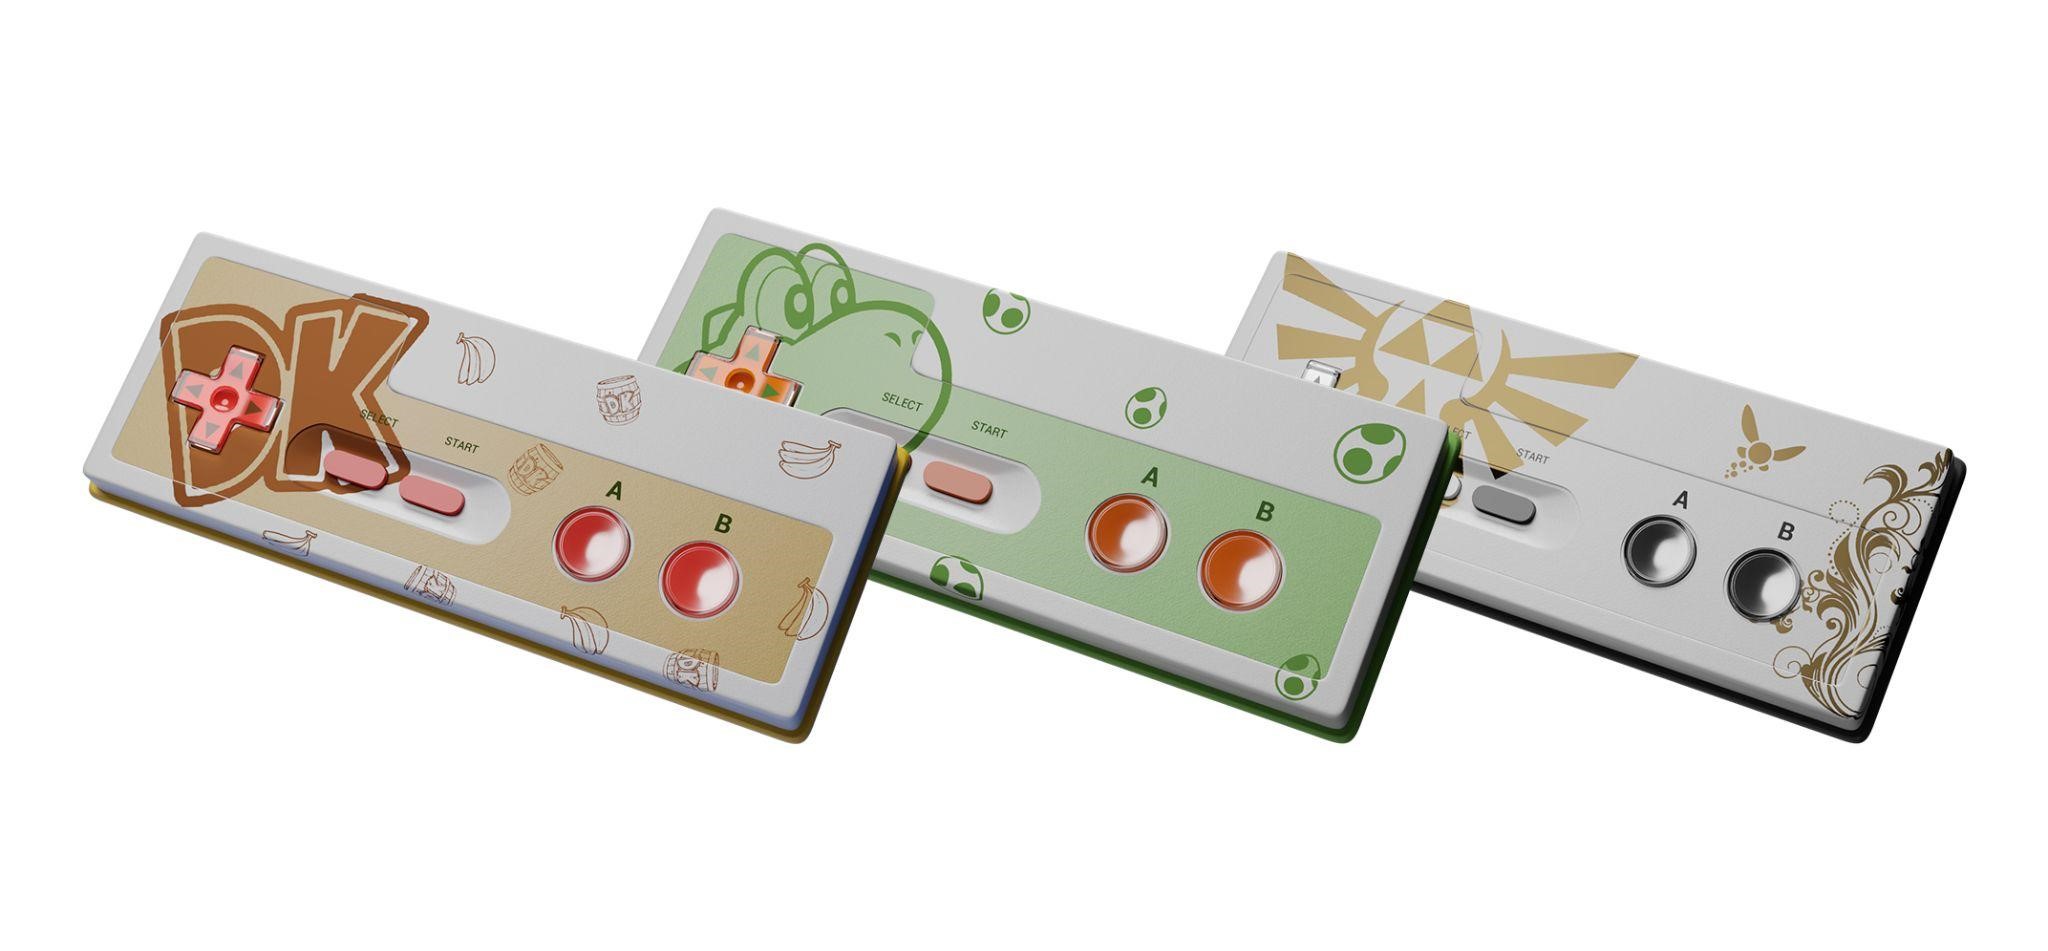
I took the liberty of making additional skins for the controls.
Presentation
In the presentation of the project, I made a more advertising design, aiming to announce what the relaunch of the product would be, which was proposed in the course. In honor of the school and my teacher Ivan Stephen, I made art for an initial game menu with both of their names.

And that was all! Below are the finals renders, I hope you like them!
RENDER : Family Computer

Thank you for reading this article. Feel free to ask any questions, and if you like my work, follow me on my social media. Have a great day!
About the Artist
Anne Muniz is a 3D artist from Rio de Janeiro, Brazil, currently developing in the areas of modeling, texturing, lighting, and rendering. She is looking for an opportunity in the market.


Projeto fantástico Anne! Parabéns pelo artigo!
Ficou sensacional, Anne!
Terrific job! Very professional.
Pure nostalgia daughter… You were responsible for making some tears fall from this old man’s eyes when remembering good times from my childhood.
Anne tudinho, vc é a maior que temos!!
Congrats for your journey, Anne! We’re so proud of you s2
Ain meus amigos, muito obrigada pelo apoio, vocês são sensacionais. Fico muito feliz ler esses comentários cheios de carinho.
Hey my friends, thank you so much for your support, you are amazing. I am very happy to read these comments full of affection.