
INTRODUCTION
Hello there! I am a 29-year-old 3D designer who works professionally with Blender at a commercial design company and also uses it often for side projects in my free time.
I have been working with Blender on and off since around 2011, when I started becoming interested in the world of 3D design while in high school. I studied 3D animation at Dakota State University, where I primarily used Maya and 3ds Max. However, after graduation, I got back into using Blender as my primary 3D software.
INSPIRATION
One of the side projects I have been working on for a couple of years has required me to create a series of characters, all in a similar style, and this is the third image in that series.
Below are the two previous characters


The world they inhabit is a dark-Victorian steampunk sort of world in which various factions try to work together while seeking an opportunity to take power for themselves at any moment. Each piece represents the leader of that faction; in this case, a faction of traders called “The Mongers.”
When I set out to make these, I knew I wanted them to be stylized and sort of painterly. The problem is I am not very skilled at free-handing portraits, and even using references, it would take too much time. I knew I could use Blender to sculpt and light these figures much faster than drawing from scratch, but I was also worried that I would have difficulty getting the painterly look if I stayed in Blender for the entire process. Therefore, I opted to use Blender to model and light the characters and then painted over the image to achieve the desired look.
REFERENCE
I have a bad habit of not saving my references, but much of it involved Googling Victorian dress and headwear and adapting those elements for my purposes (taking many liberties, of course).
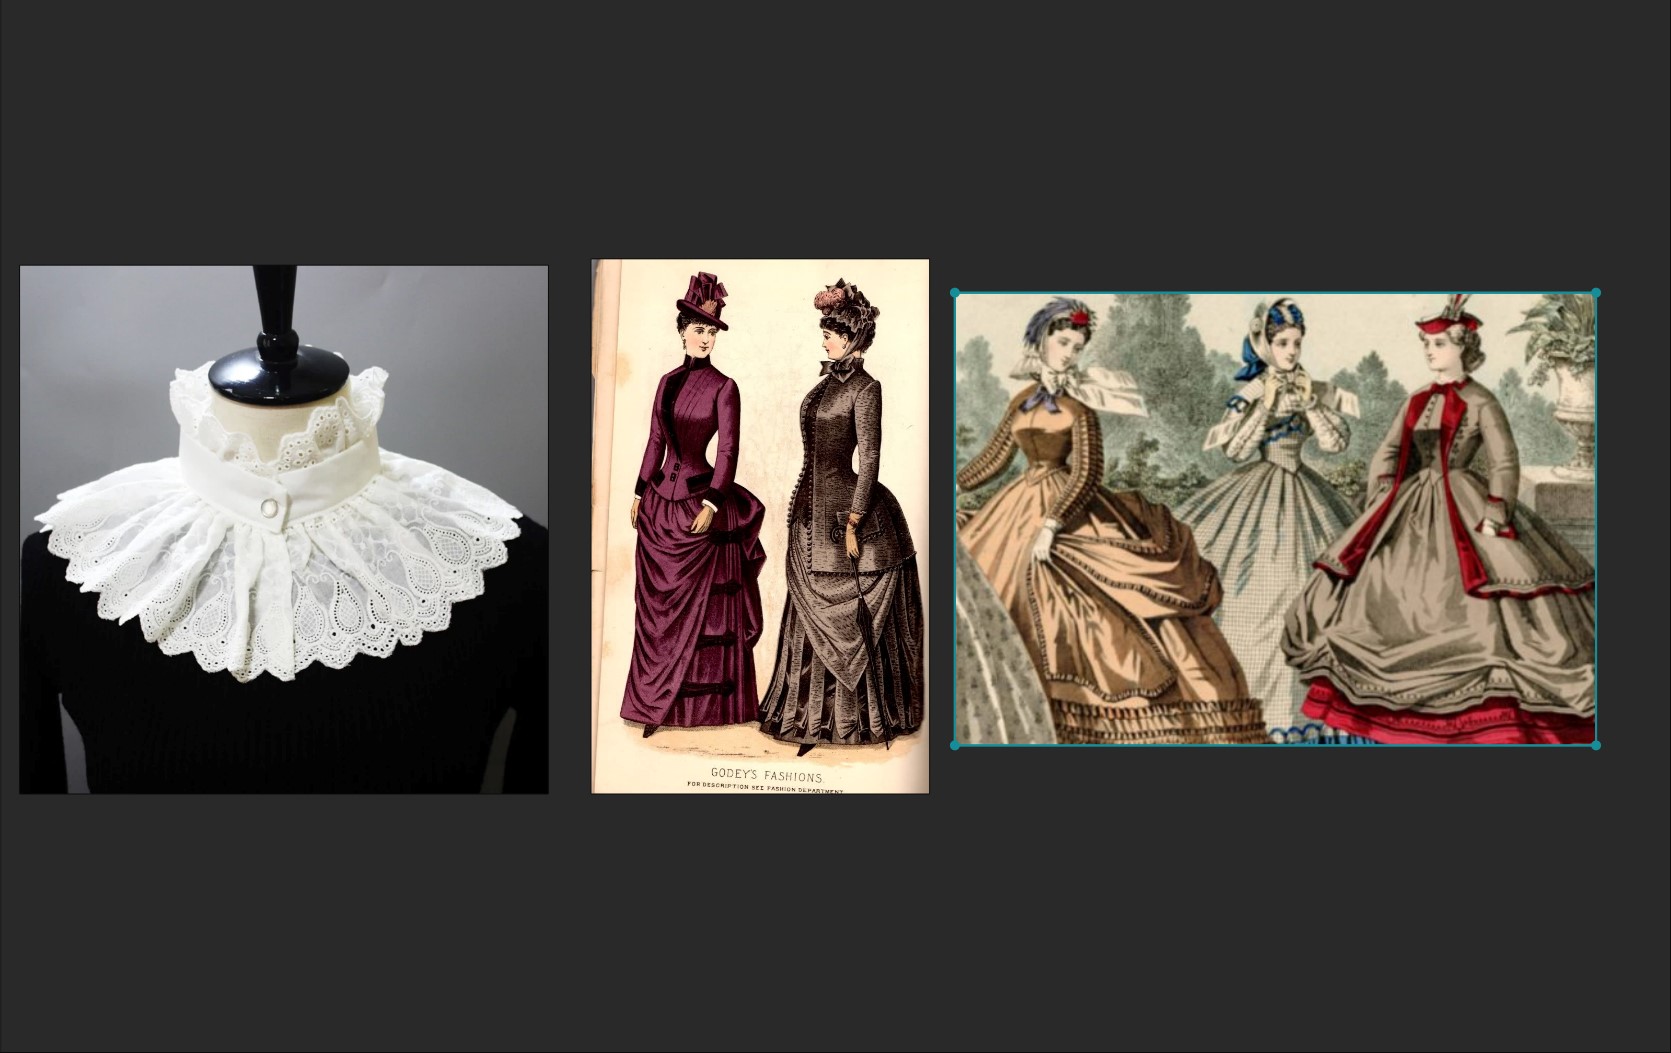
My “reference board” *facepalm*
SCULPTING
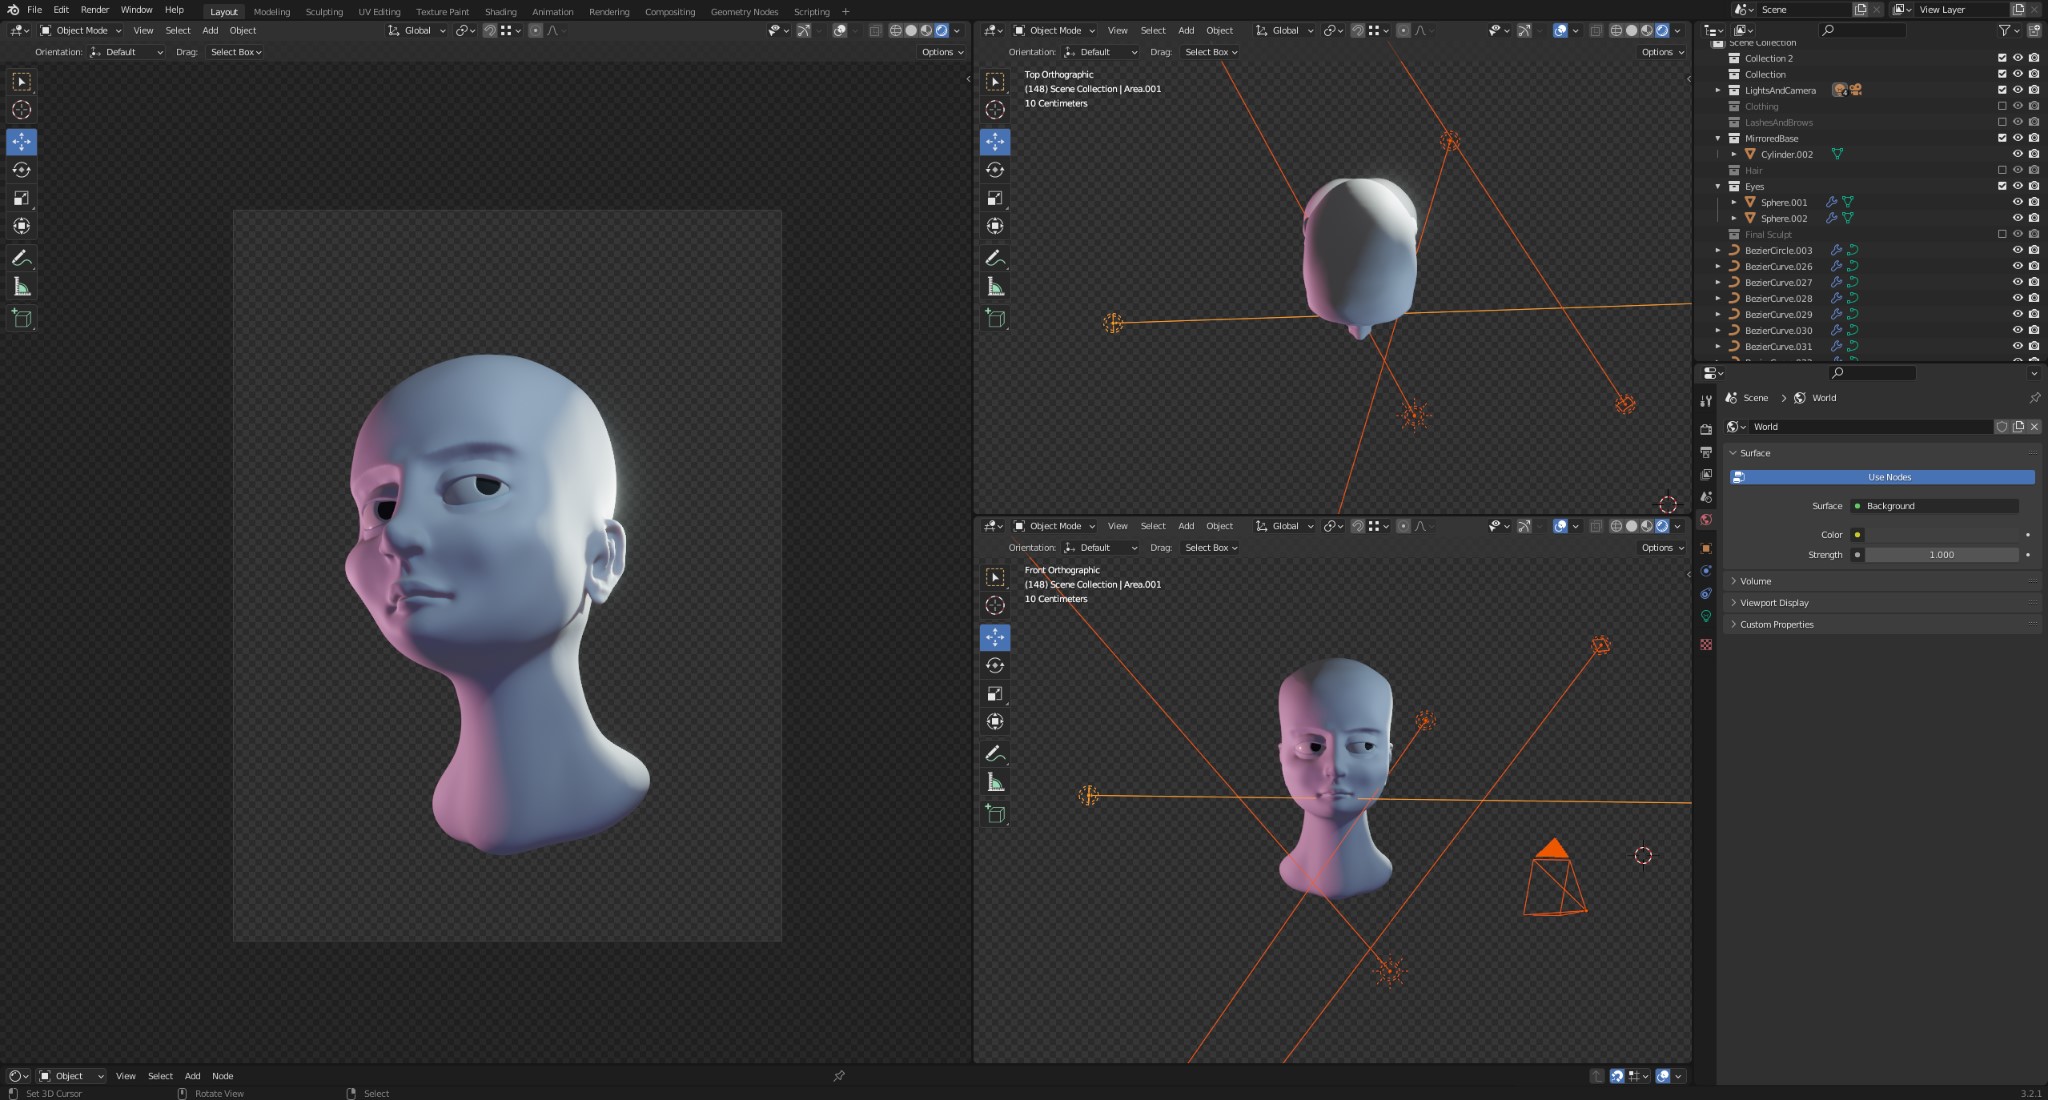
I started with a subdivided sphere and began sculpting the form as generally as possible with the “Symmetry” tool on. As I went, I added extra chunks such as the ears and the eyelids, merged them with a “Boolean” modifier, and then re-meshed. I also began adding density incrementally with additional subsurface modifiers.
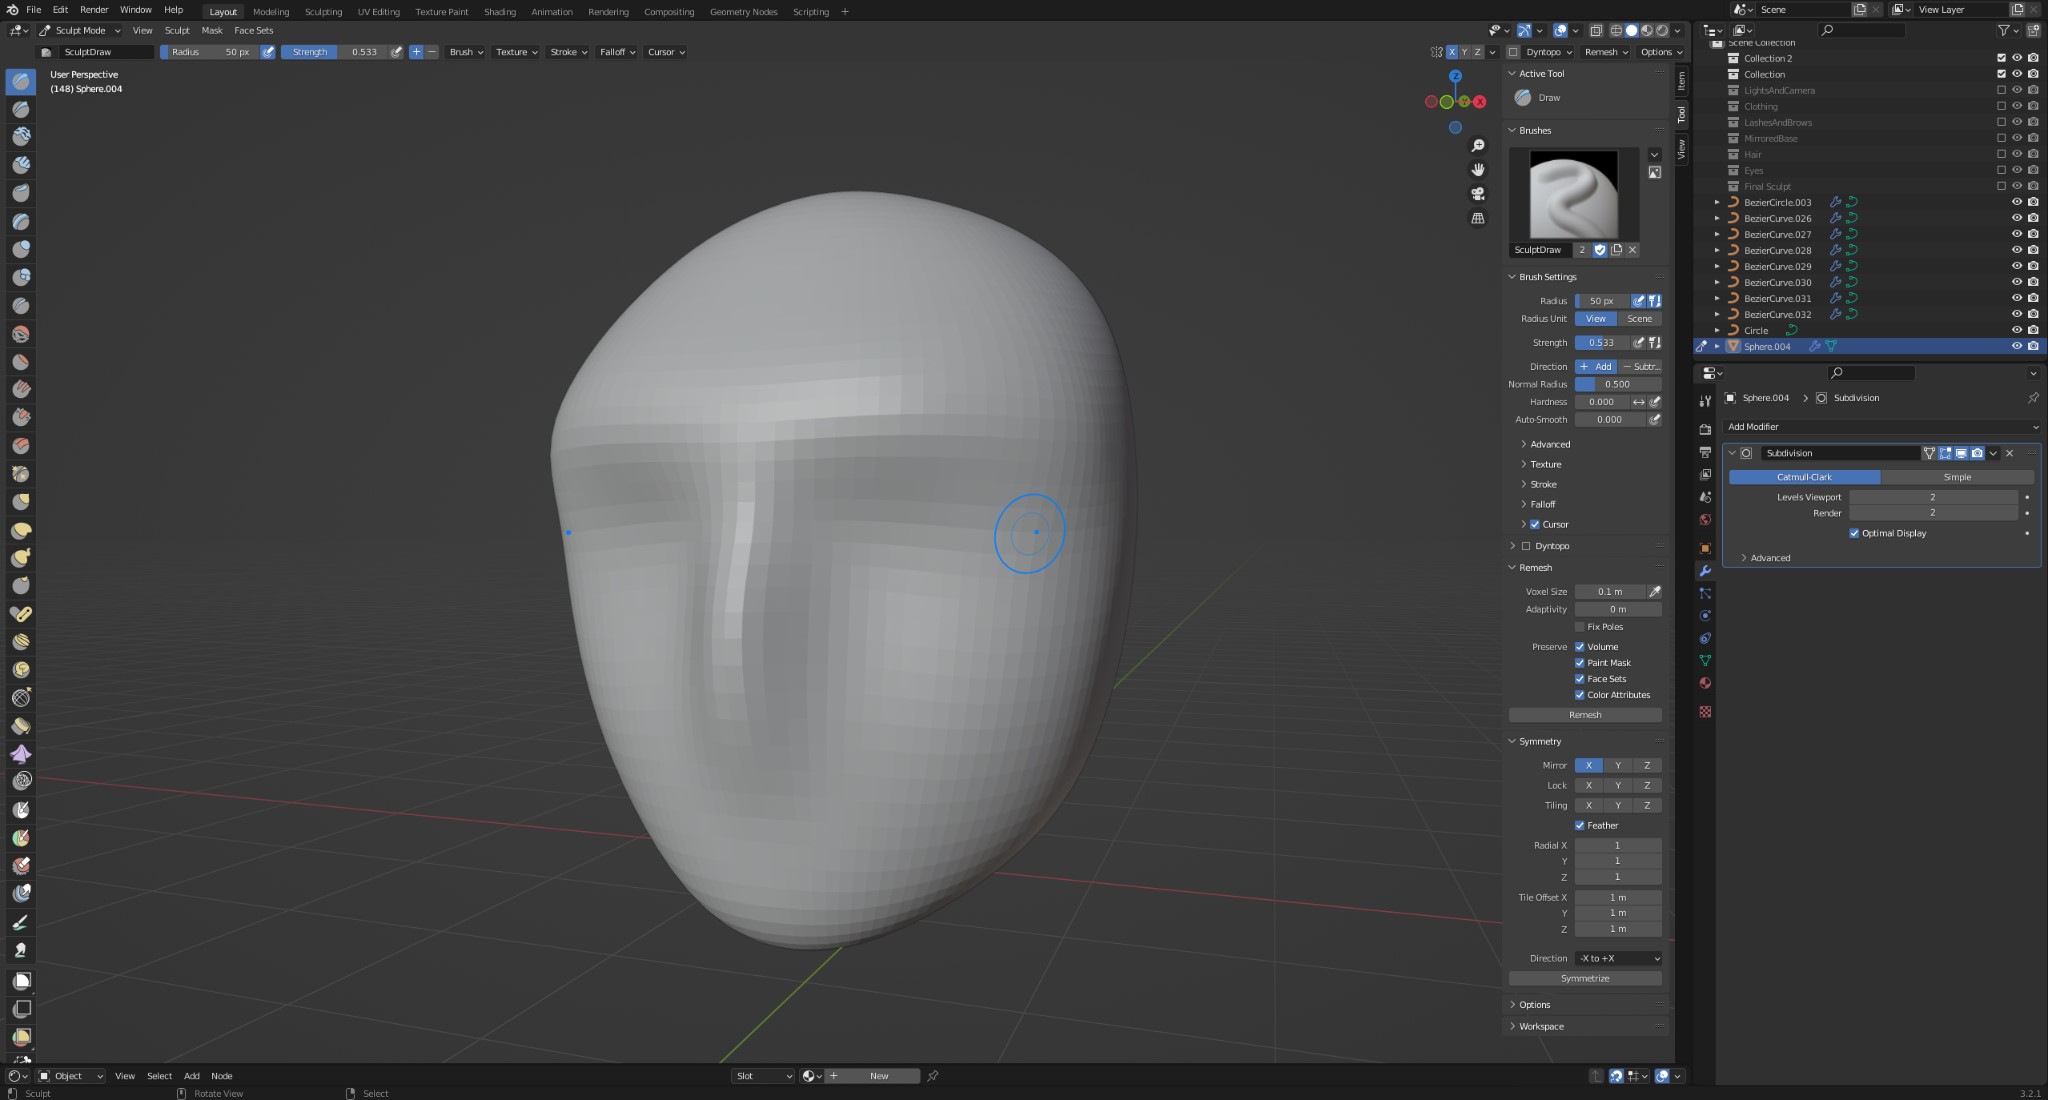
Since this character is stylized, tools such as the “Multiplane Scrape” and “Pinch” tool were very useful in accentuating certain features, such as her brow line and eyelids. They allowed me to essentially scrape out planes that would capture the light well and give some nice definition to her face.

Once I had finished the basic sculpt, I went ahead and set up my camera and lighting to make sure everything was shaping up. I also turned off symmetry in the sculpt tool so that I could raise a brow, give her a smirk, and make other small adjustments using the grab tool that give her personality, as subtle as it may be.
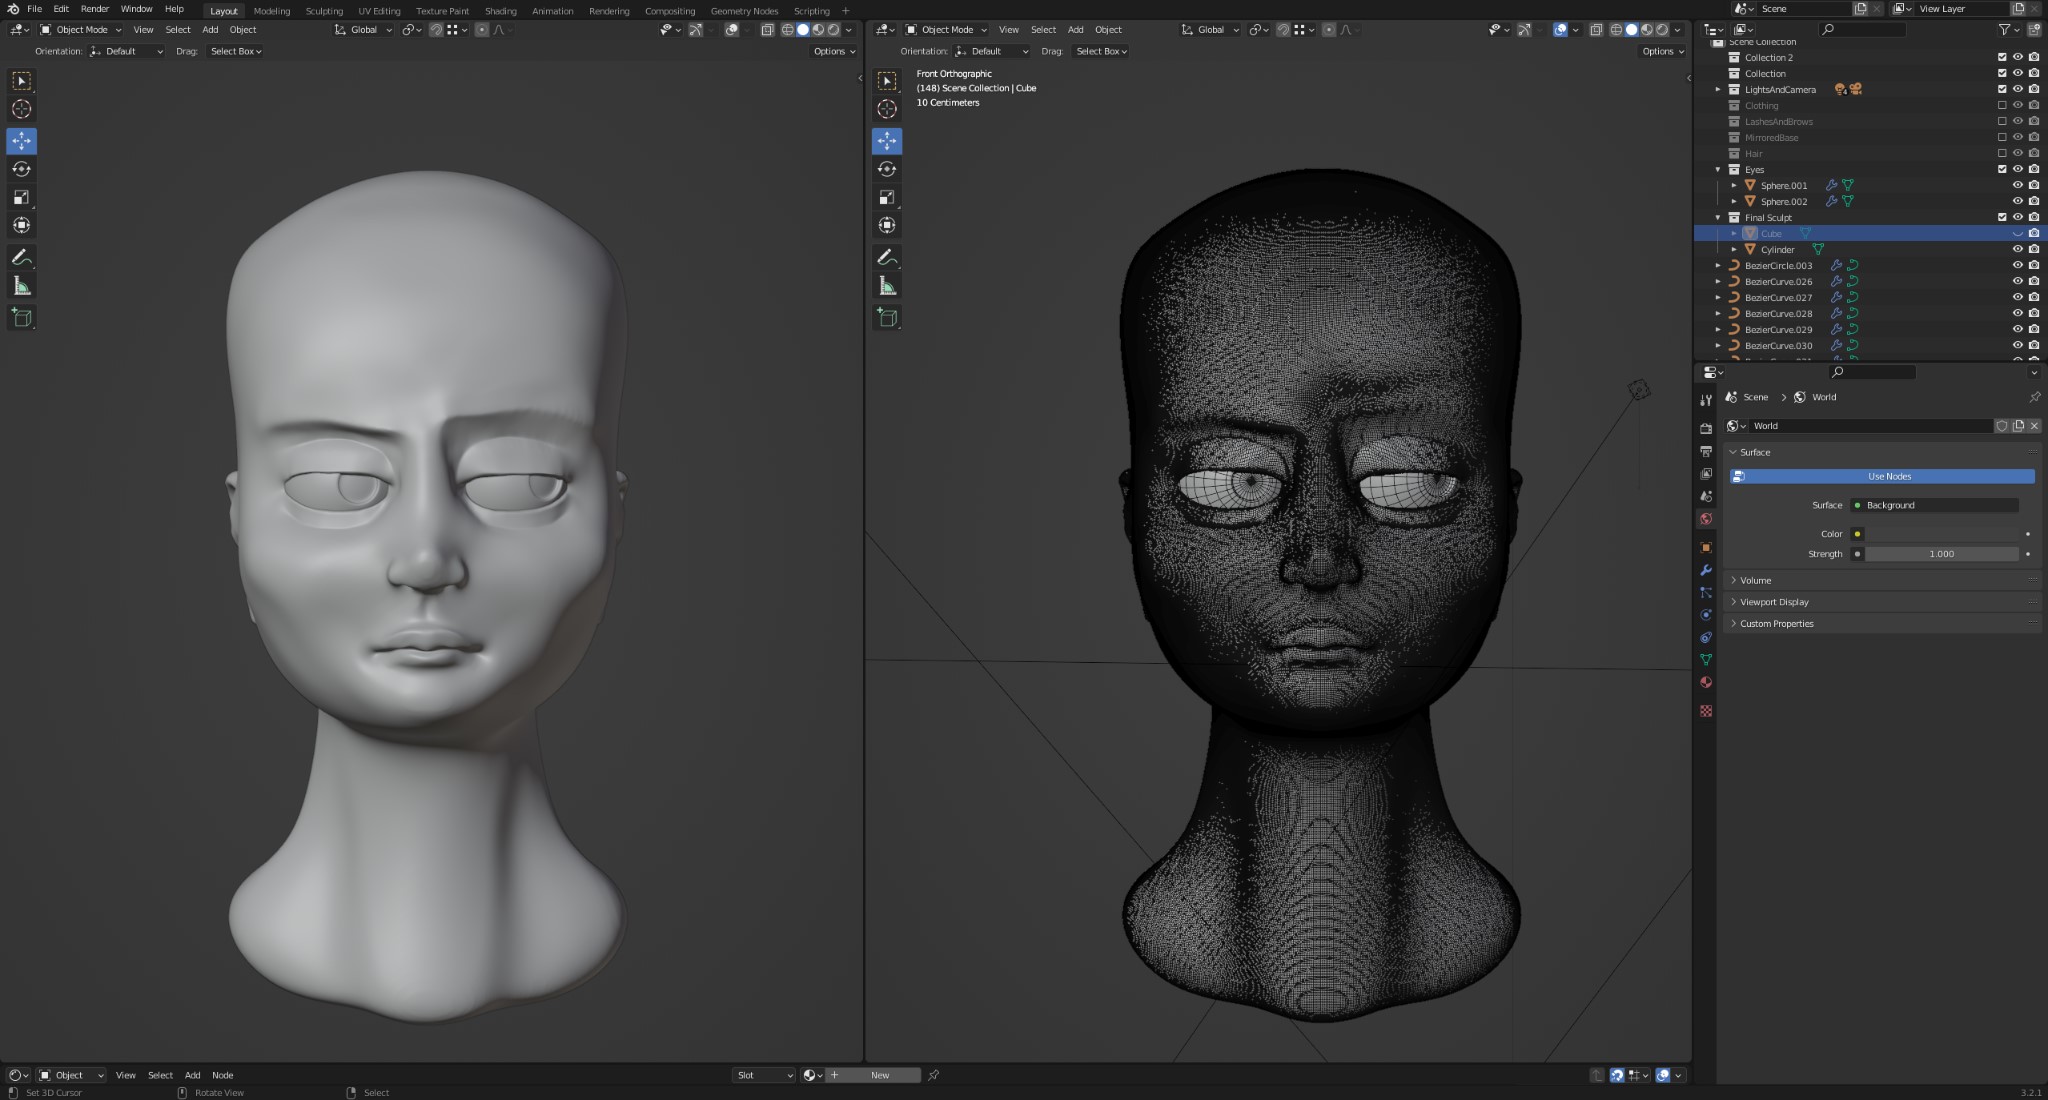
You will no doubt notice that the sculpt is pretty ugly in terms of density and topology and has rough patches all over. However, since I knew this was going to be a static shot that would be painted over later, that stuff wouldn't affect the final result.
LIGHTING
I positioned the camera low, looking up at her, to give her an air of power and authority. The lighting setup is pretty basic: one key light with a bluish hue, two rim lights (one colored and one white), and a purple fill "sun" pointing up from the bottom. I also used low environmental lighting just to fill any remaining shadows.
Checking composition and lighting
The lighting overall is a little dark in order to maintain a mysterious vibe, but the harsh rim lights did a lot to establish form and silhouette.
HAIR
Content with the basic composition, I moved on to the details.
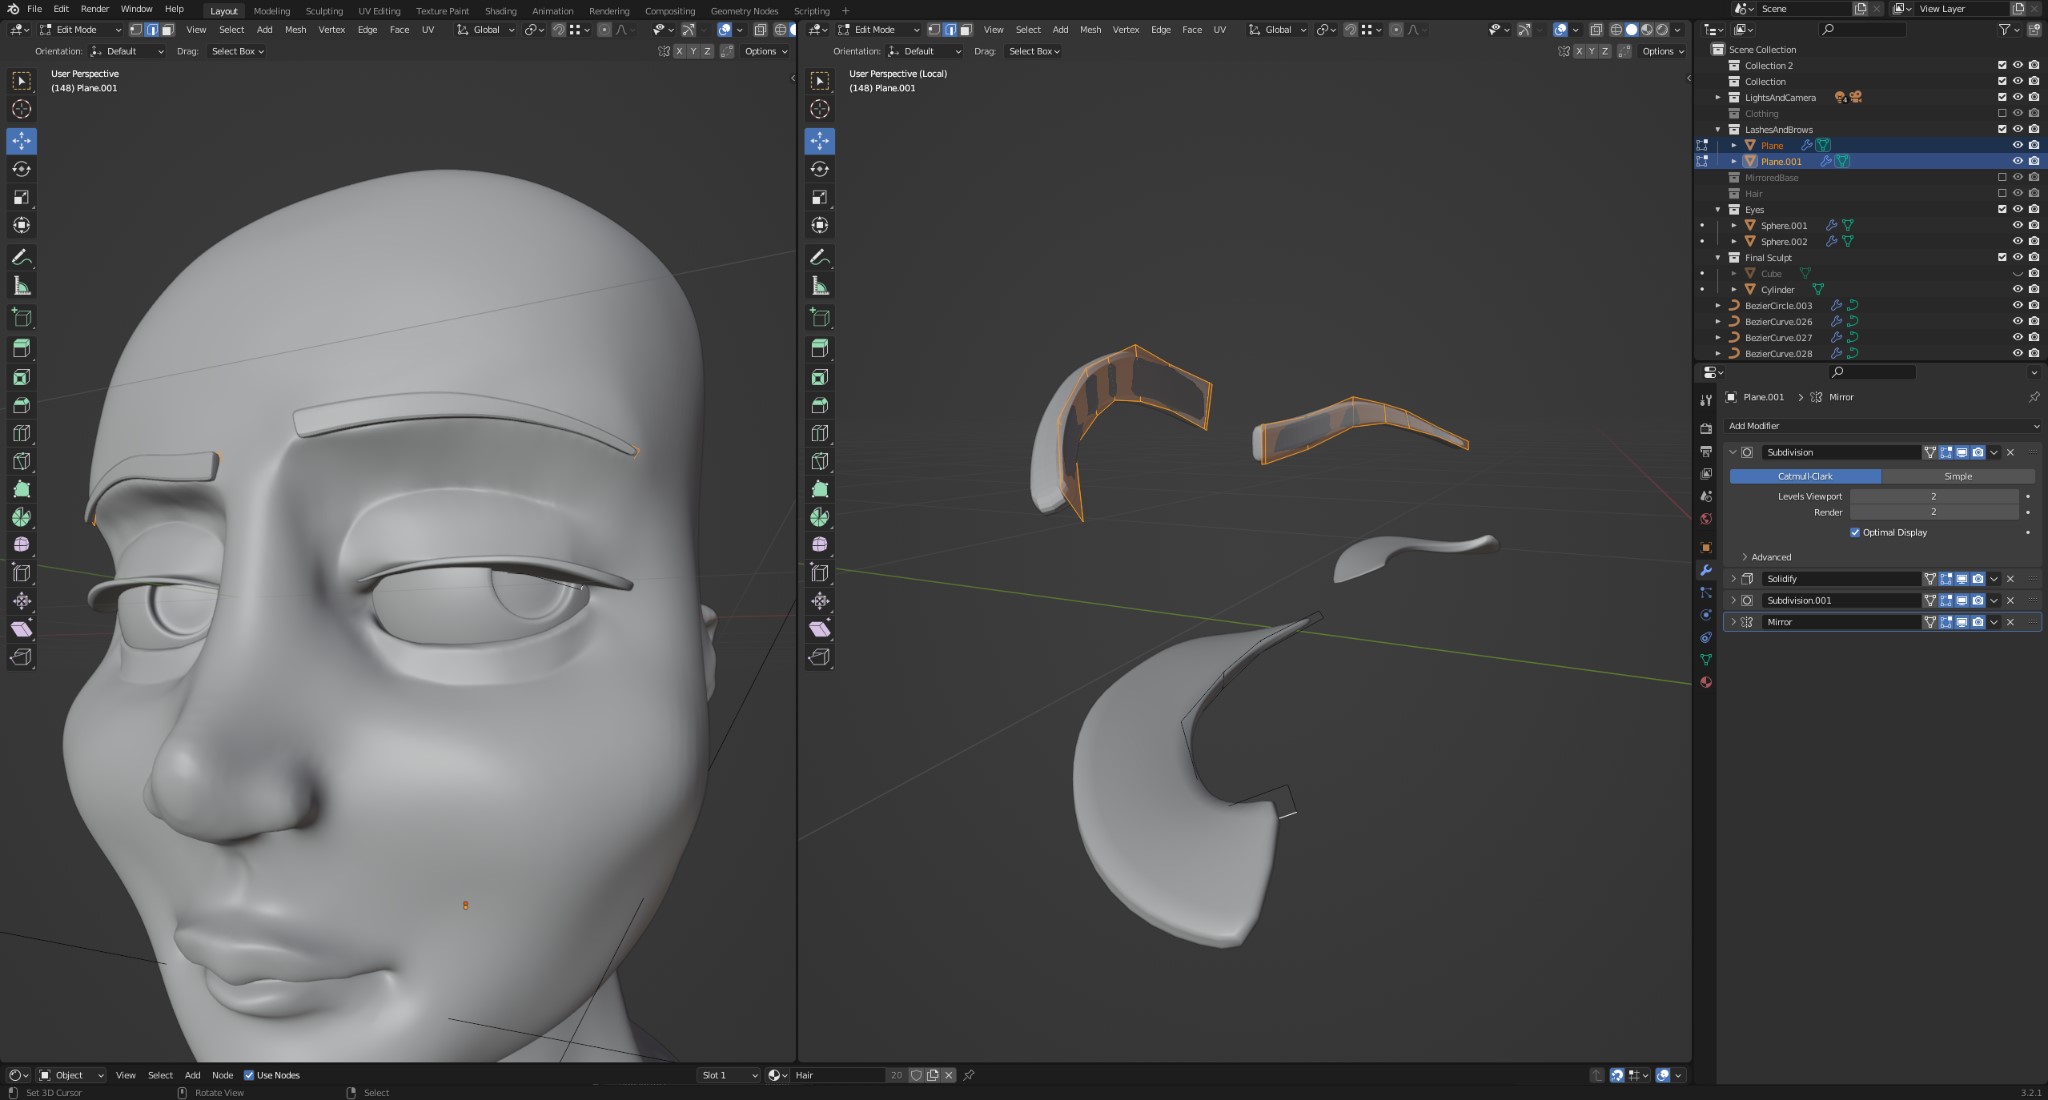
Eyebrows and eyelashes were made with simple planes snapping to the head geometry and then given a "Solidify" modifier, making eyebrows and lashes as simple as possible.
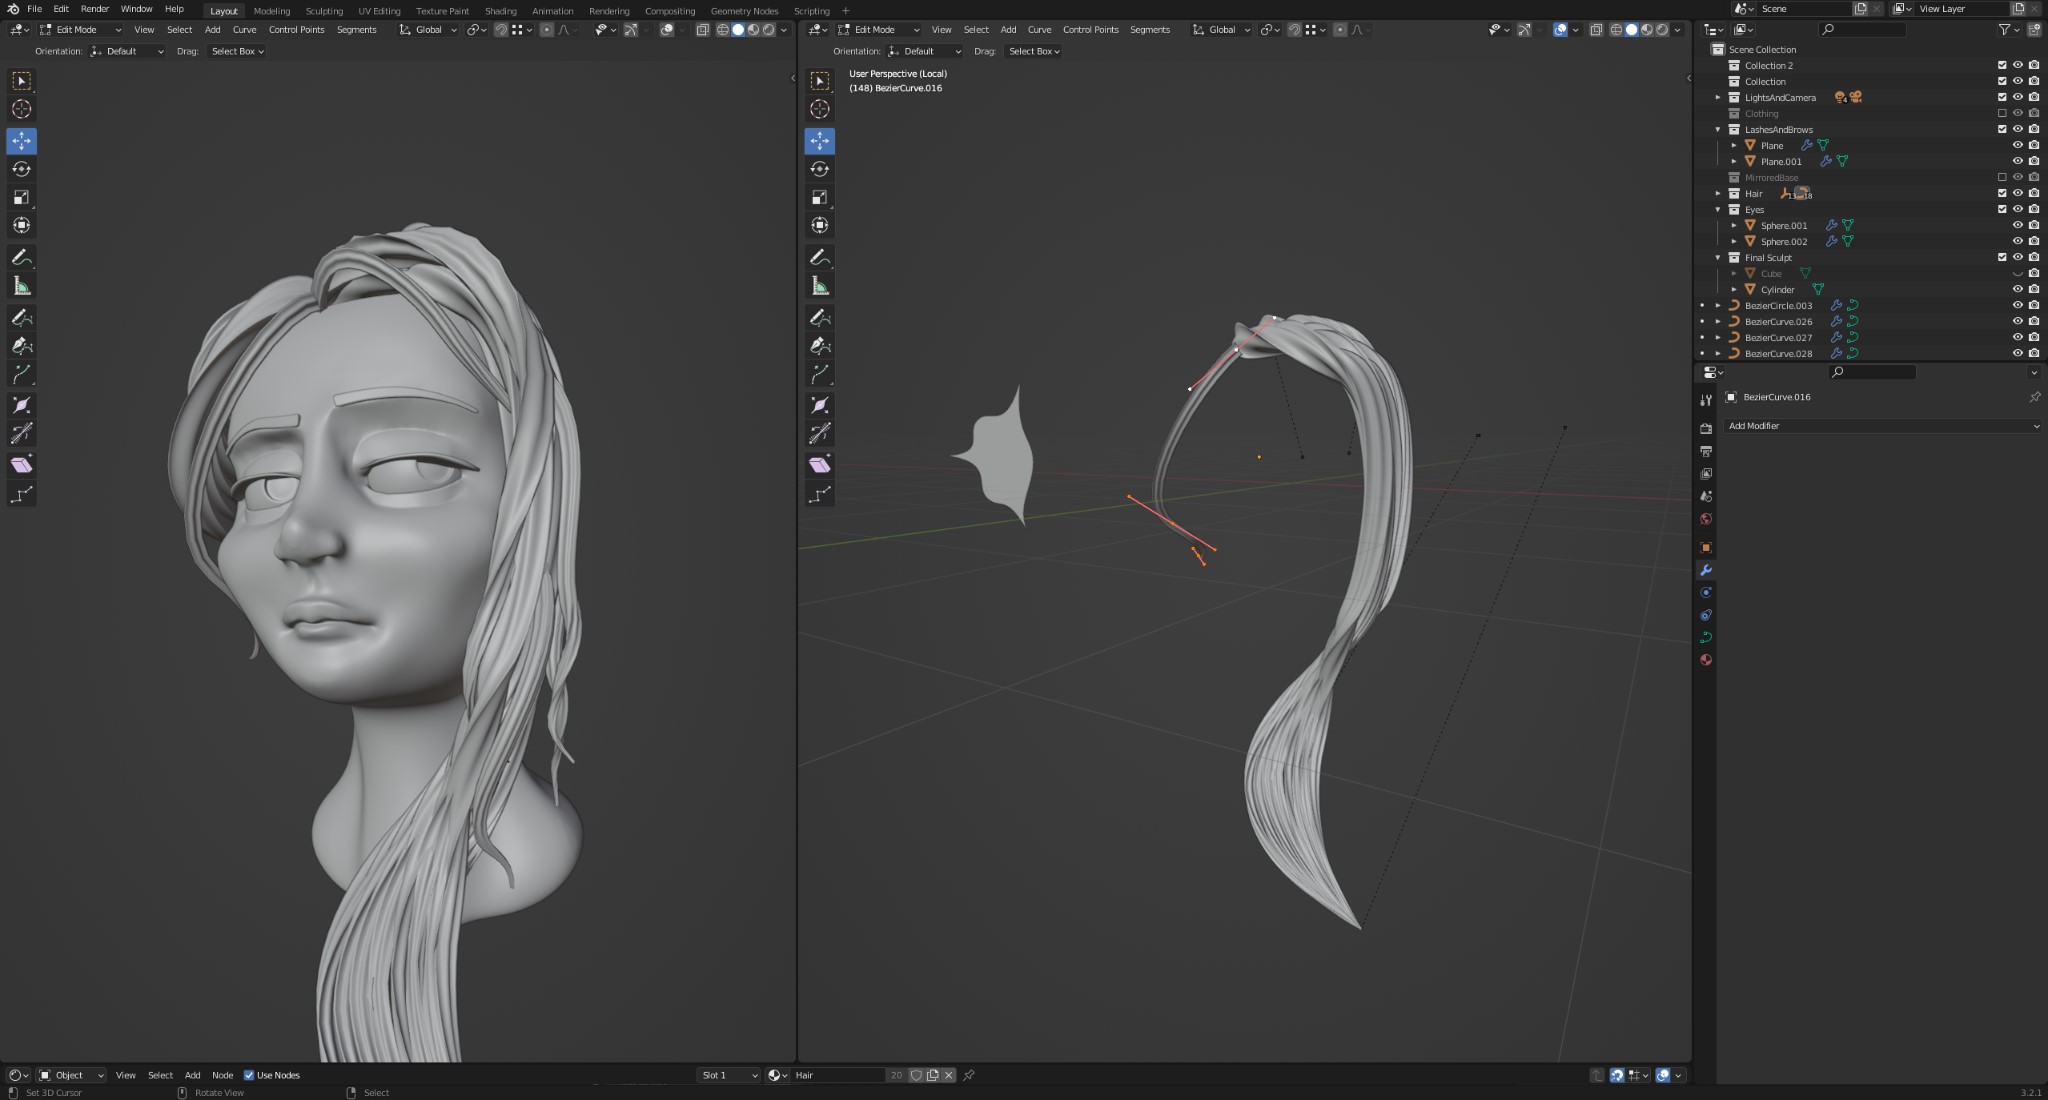
Her hair was made with a curve shape extruded along a control curve and then grouped with several other strands that I could control with anchors (rather than positioning each strand individually), providing lots of detail with little effort.
CLOTHING
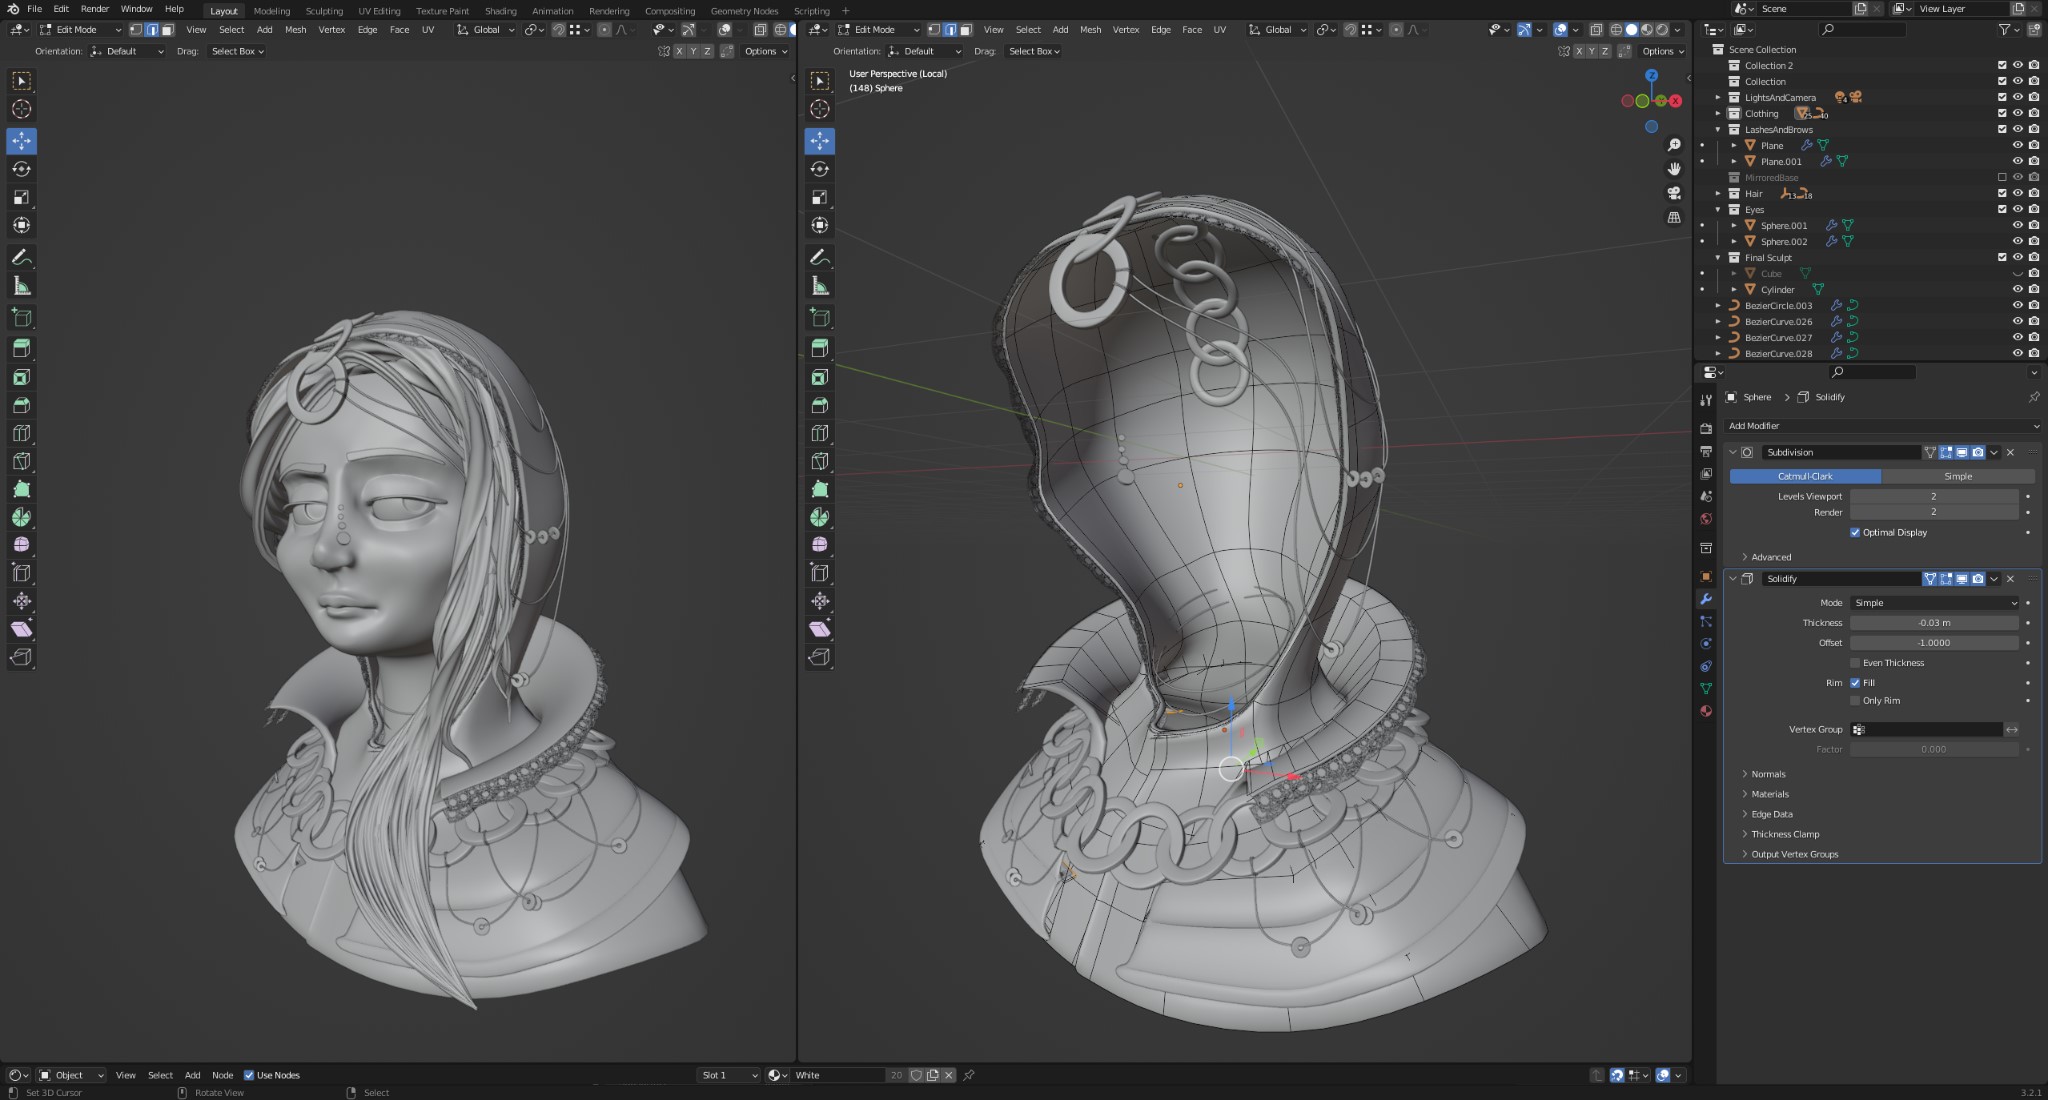
Her clothing was also made with planes that I shaped around her head and neck and then gave some thickness using a "Solidify" modifier.
Clothing the character
Some additional details were created by creating an array of objects, selecting and duplicating an edge loop on the clothing, converting that edge loop to a curve, and then using a "Curve" modifier to wrap the array of objects around the clothing (like with the lace around the hood, for example).
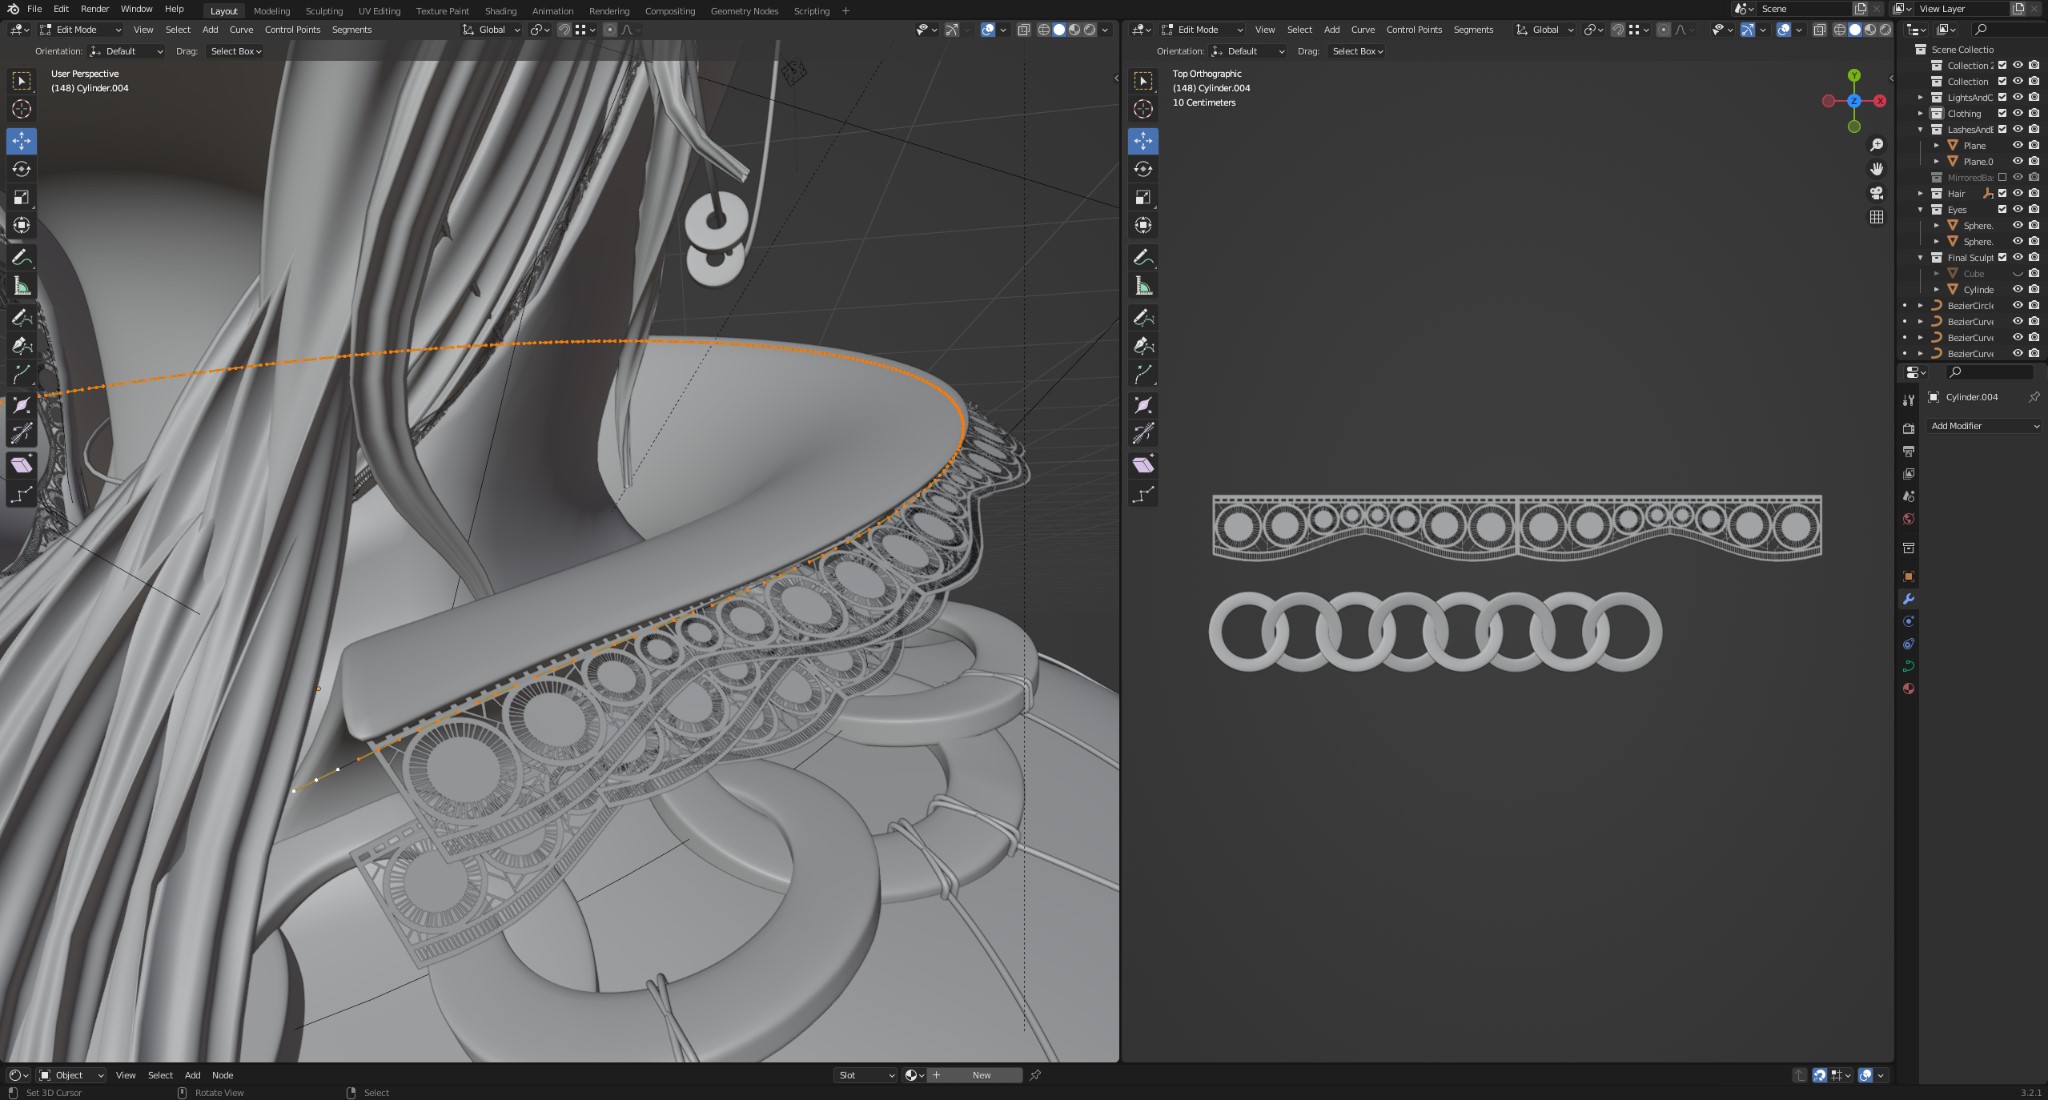
Detailed shot of lace trim
MATERIALS AND RENDERING
There isn't much to say on this topic since I kept this as simple as possible. There are only five materials in total since I wanted the lighting to do most of the coloring, and they are all simple principled shaders with varying roughness. The skin is the only exception as it has some subsurface included.
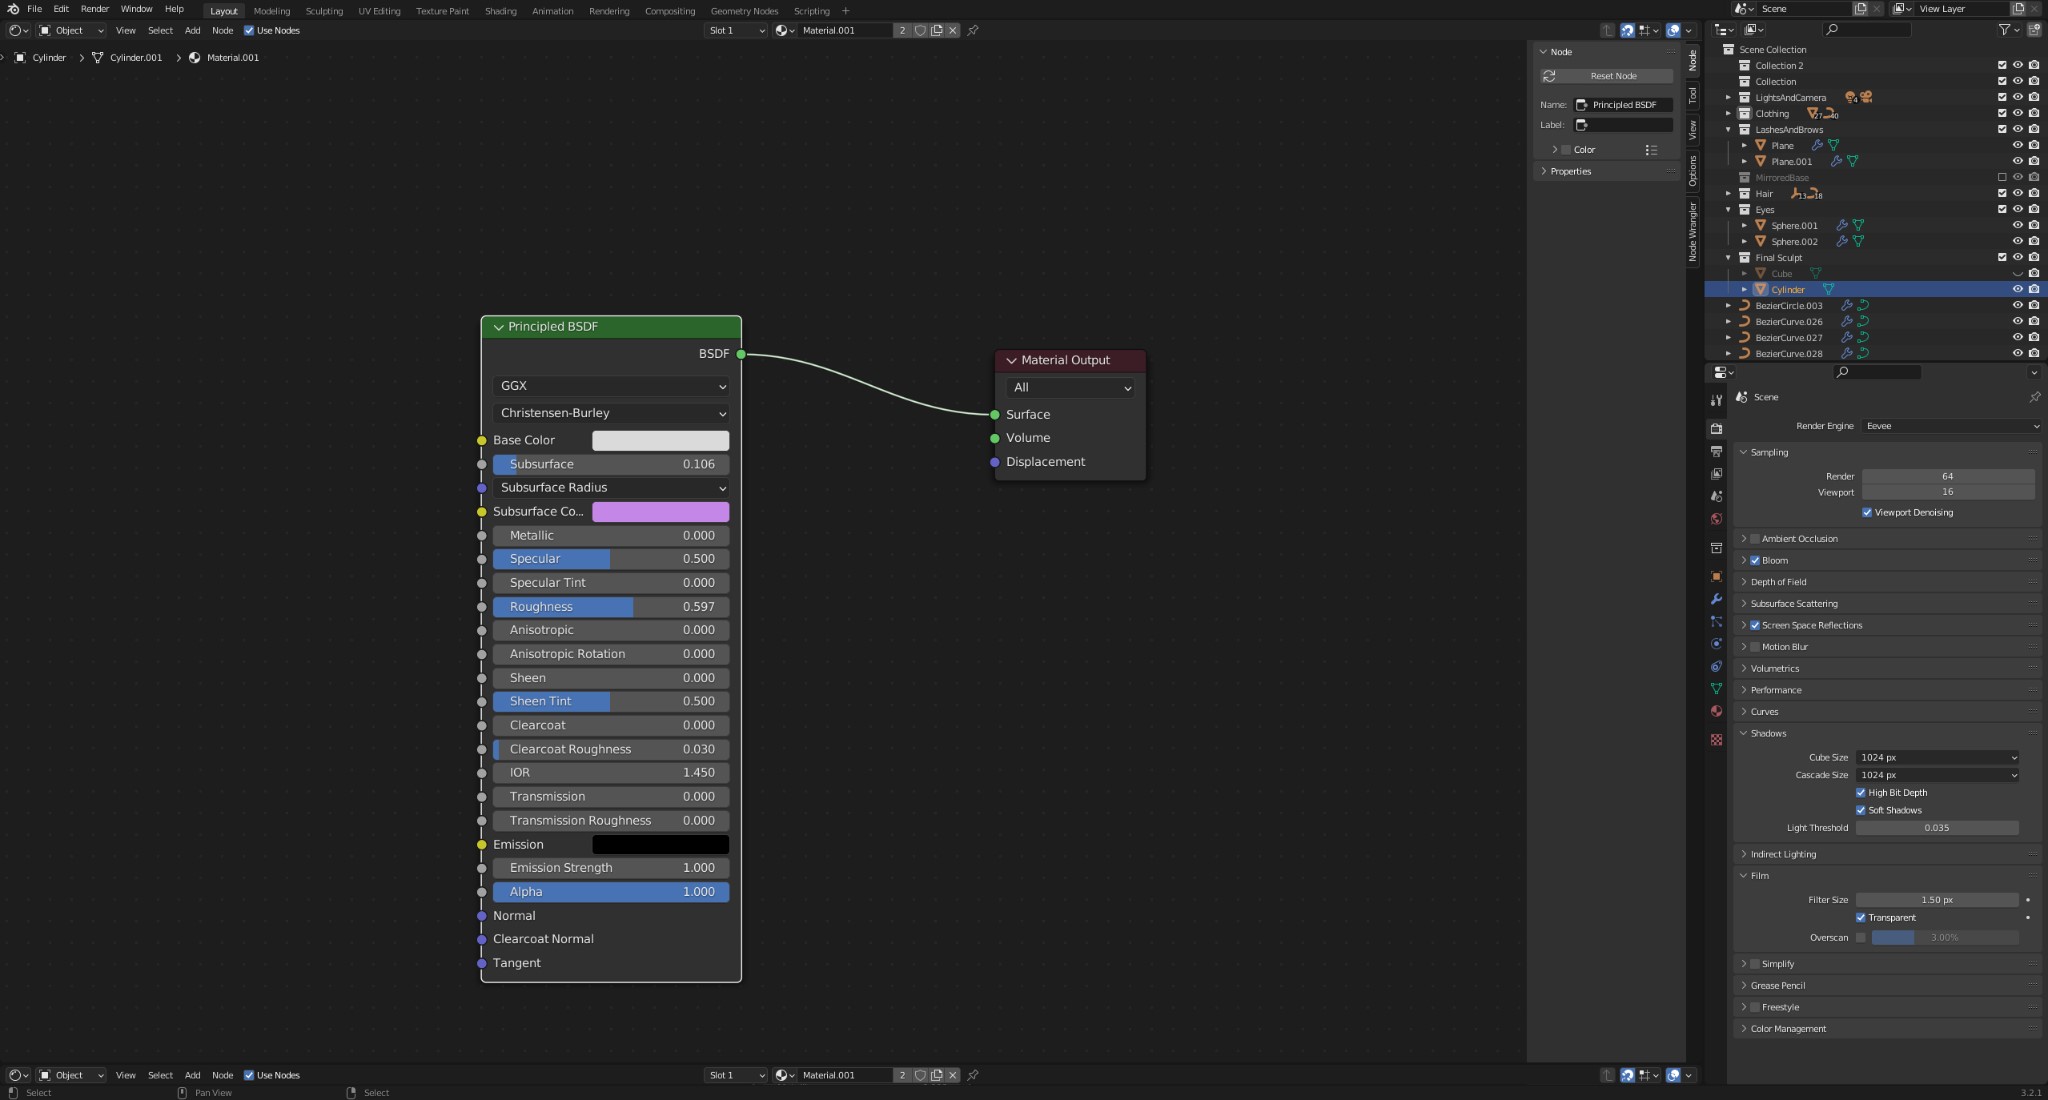
Skin material setup
Once my materials were assigned and set up, I kept most of the render settings for Eevee at default. I made sure Bloom was on, as well as Screen Space Reflections, and rendered with a transparent background.
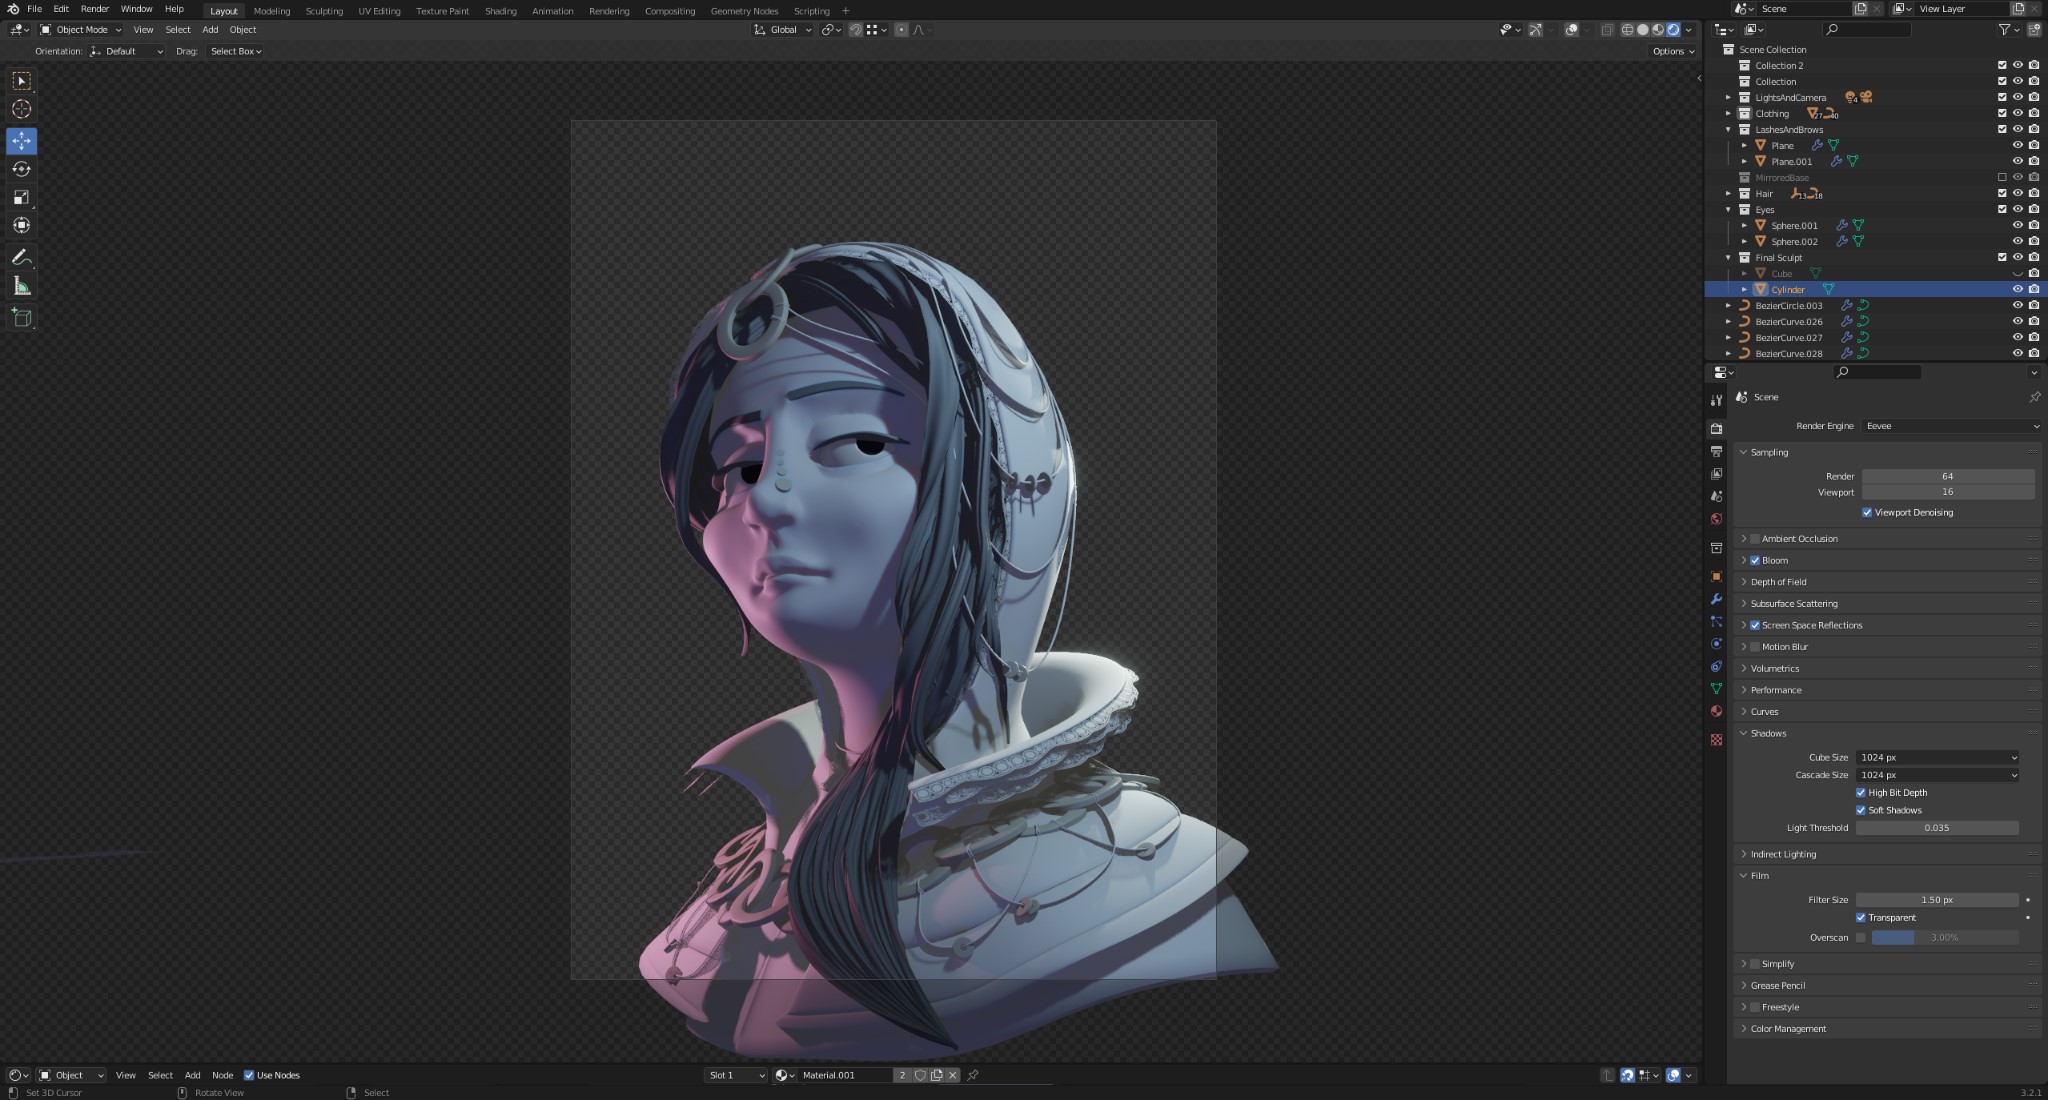
Final camera composition
OVERPAINTING AND FINAL COMPOSITION
Once the render was finished, I imported the image into ArtRage and began painting over it by sampling colors from the render and using them as a foundation for further detail.
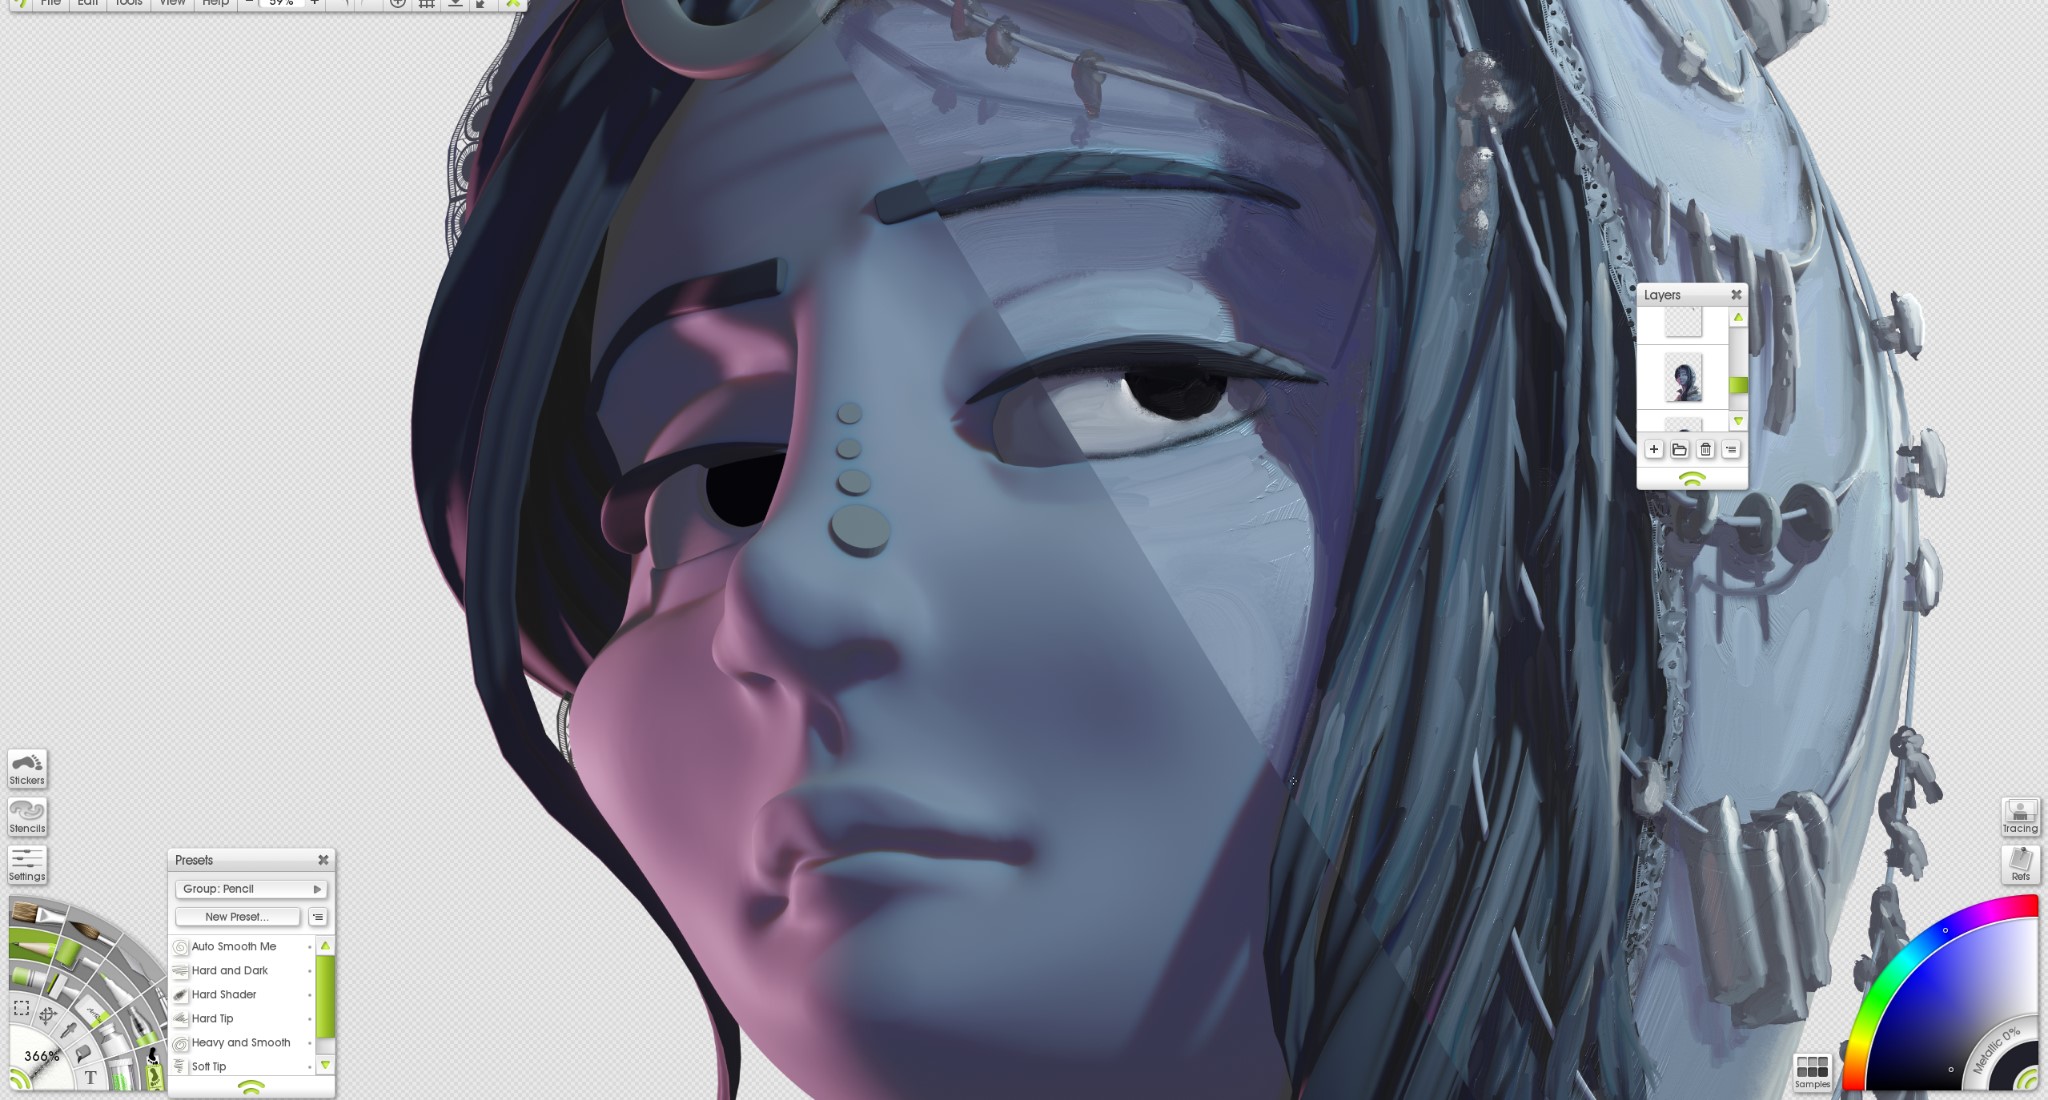
Painting in ArtRage
ArtRage is great because it gives a delicious texture to its strokes and models the way real paint mixes together. In addition to giving it the texture I was looking for, I also had the opportunity to fix any clipping issues, refine any shapes, and add additional details with just a few brushstrokes.
Comparison of render vs. painted


With most of the work done at this point, I imported the final paintover into Krita to create the background simply because they have a variety of brushes that work well for that kind of stuff. I added some colored fog as a source of the rim light, as well as some cryptic text, and with that, the image was finished!
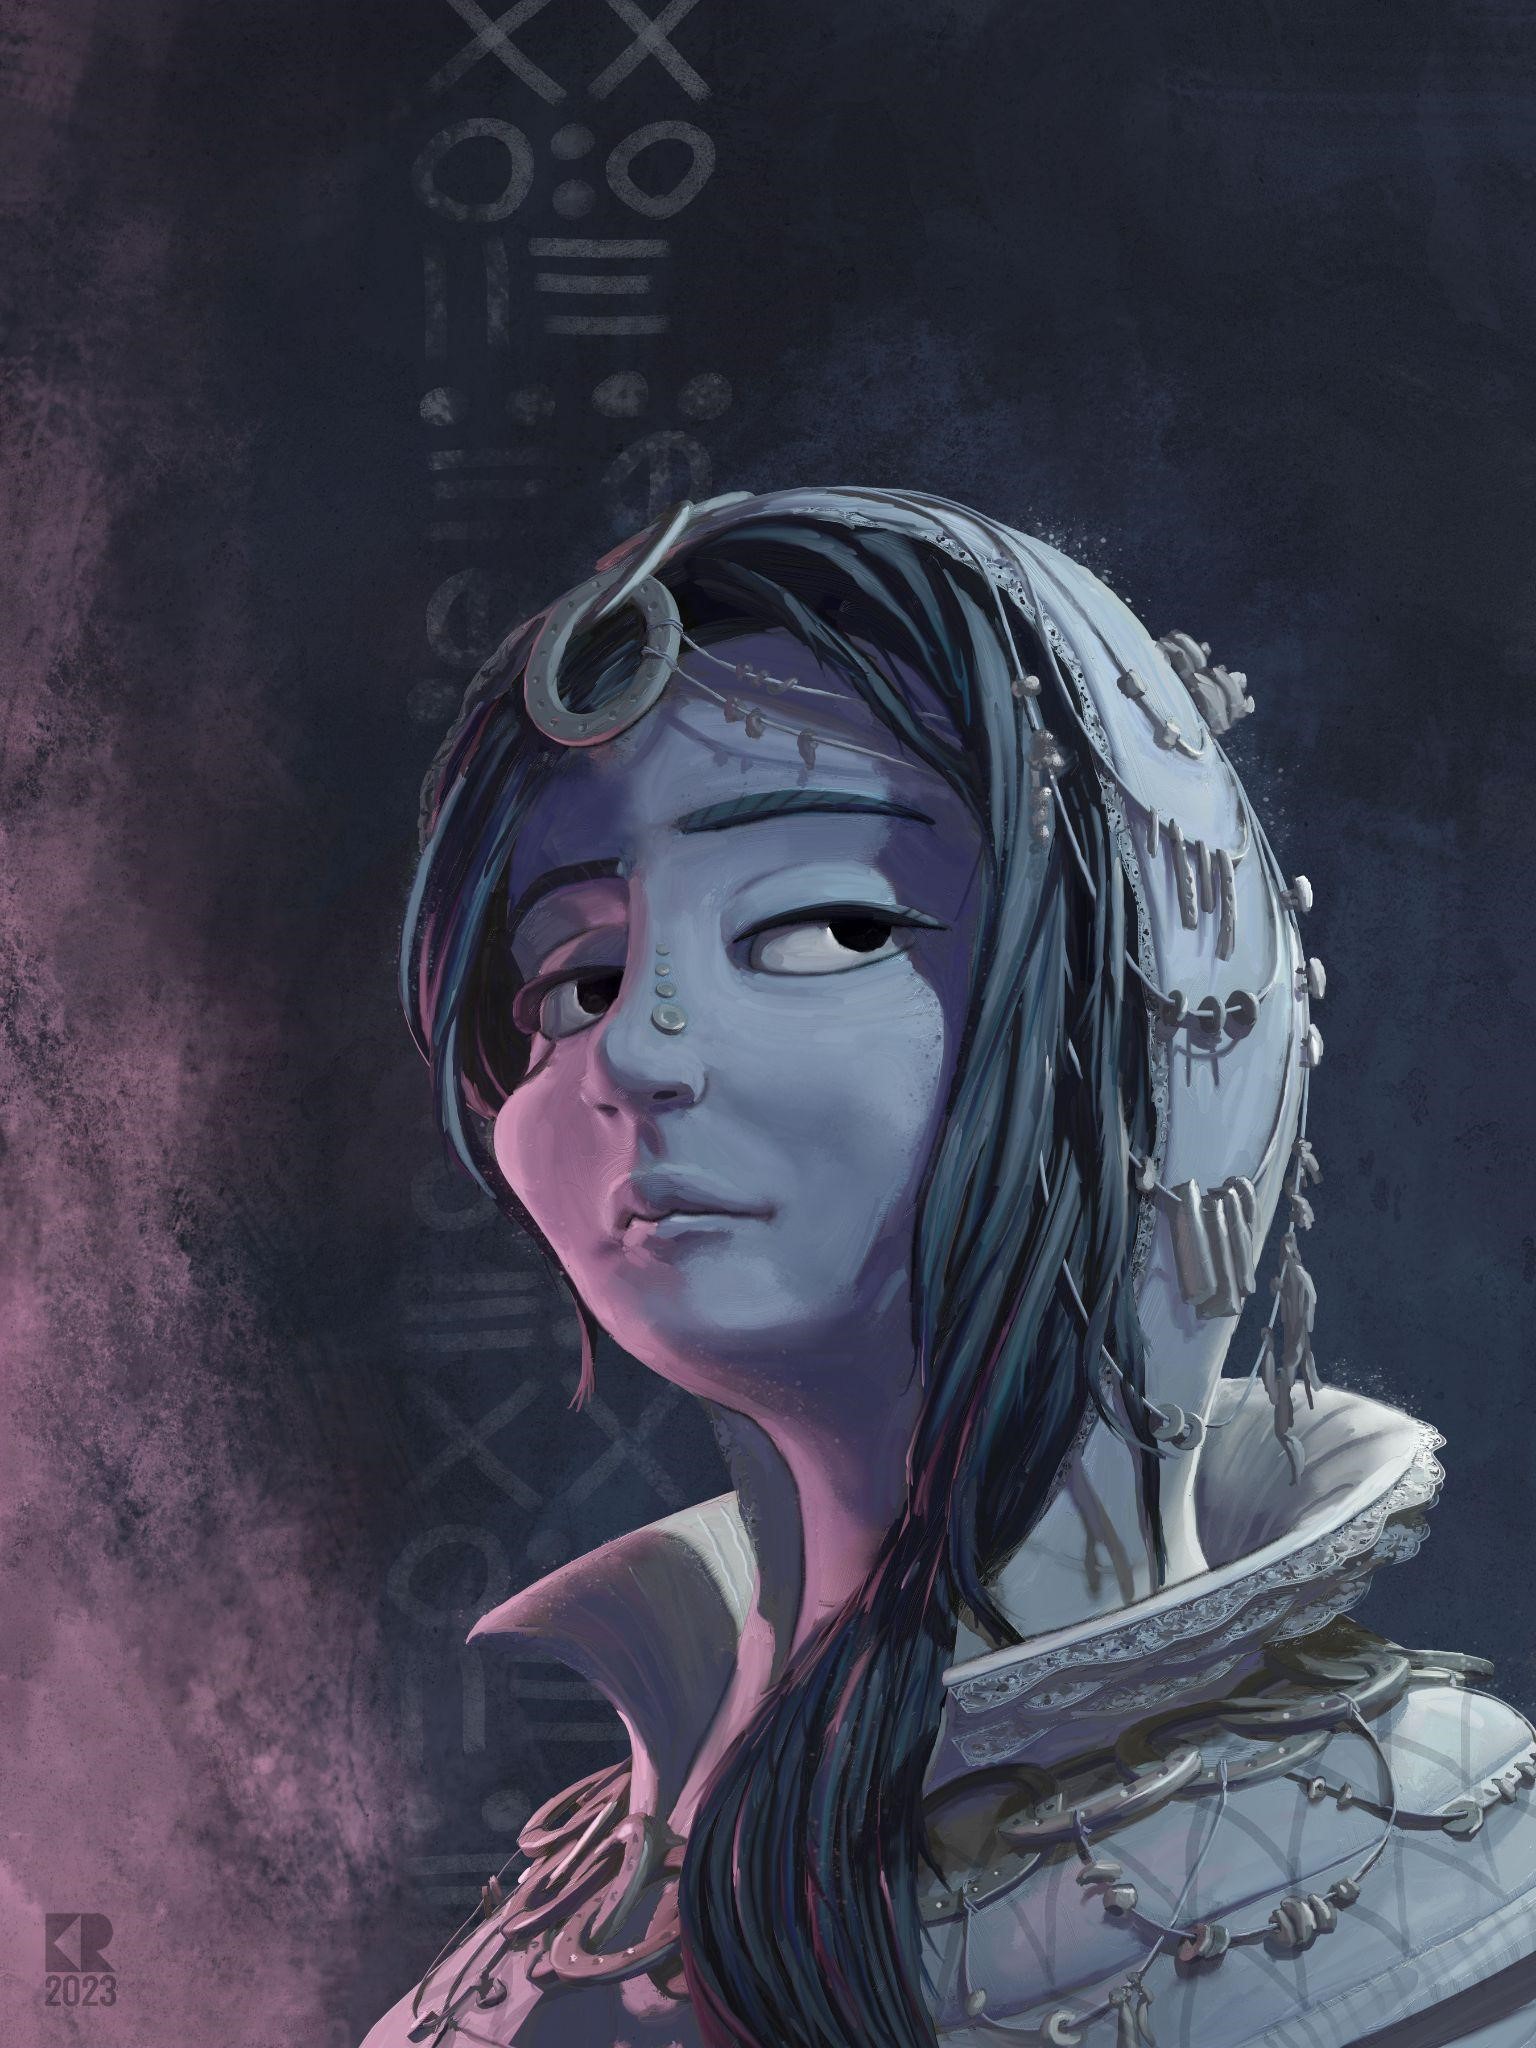
RENDER - THE MONGERS


I hope you found this helpful or interesting, and if you have any questions, feel free to reach out!
About the Artist
Kevin Ruffenach, a 3D designer from Tulsa, Oklahoma. Currently seeking to improve his storytelling prowess.

3 Comments
Nice
Thats Nice
I love this style of painting over things!!! Makes me want to try and incorporate it into my projects hehe!