

INTRODUCTION
Hello everybody, my name is Christoph Hadner, also known as mikard_rendert. I'm 25 years old and currently living in a small village in Upper Austria, Austria.
I did some minor 3D stuff when I was about 14 years old, but I really got into it when I applied for university at FH Salzburg, Austria, where I was fortunate enough to work on various 3D projects. In the beginning, I used Maya for creating my renderings, but during an internship at a local company, I got in touch with Blender and fell in love with it.
INSPIRATION
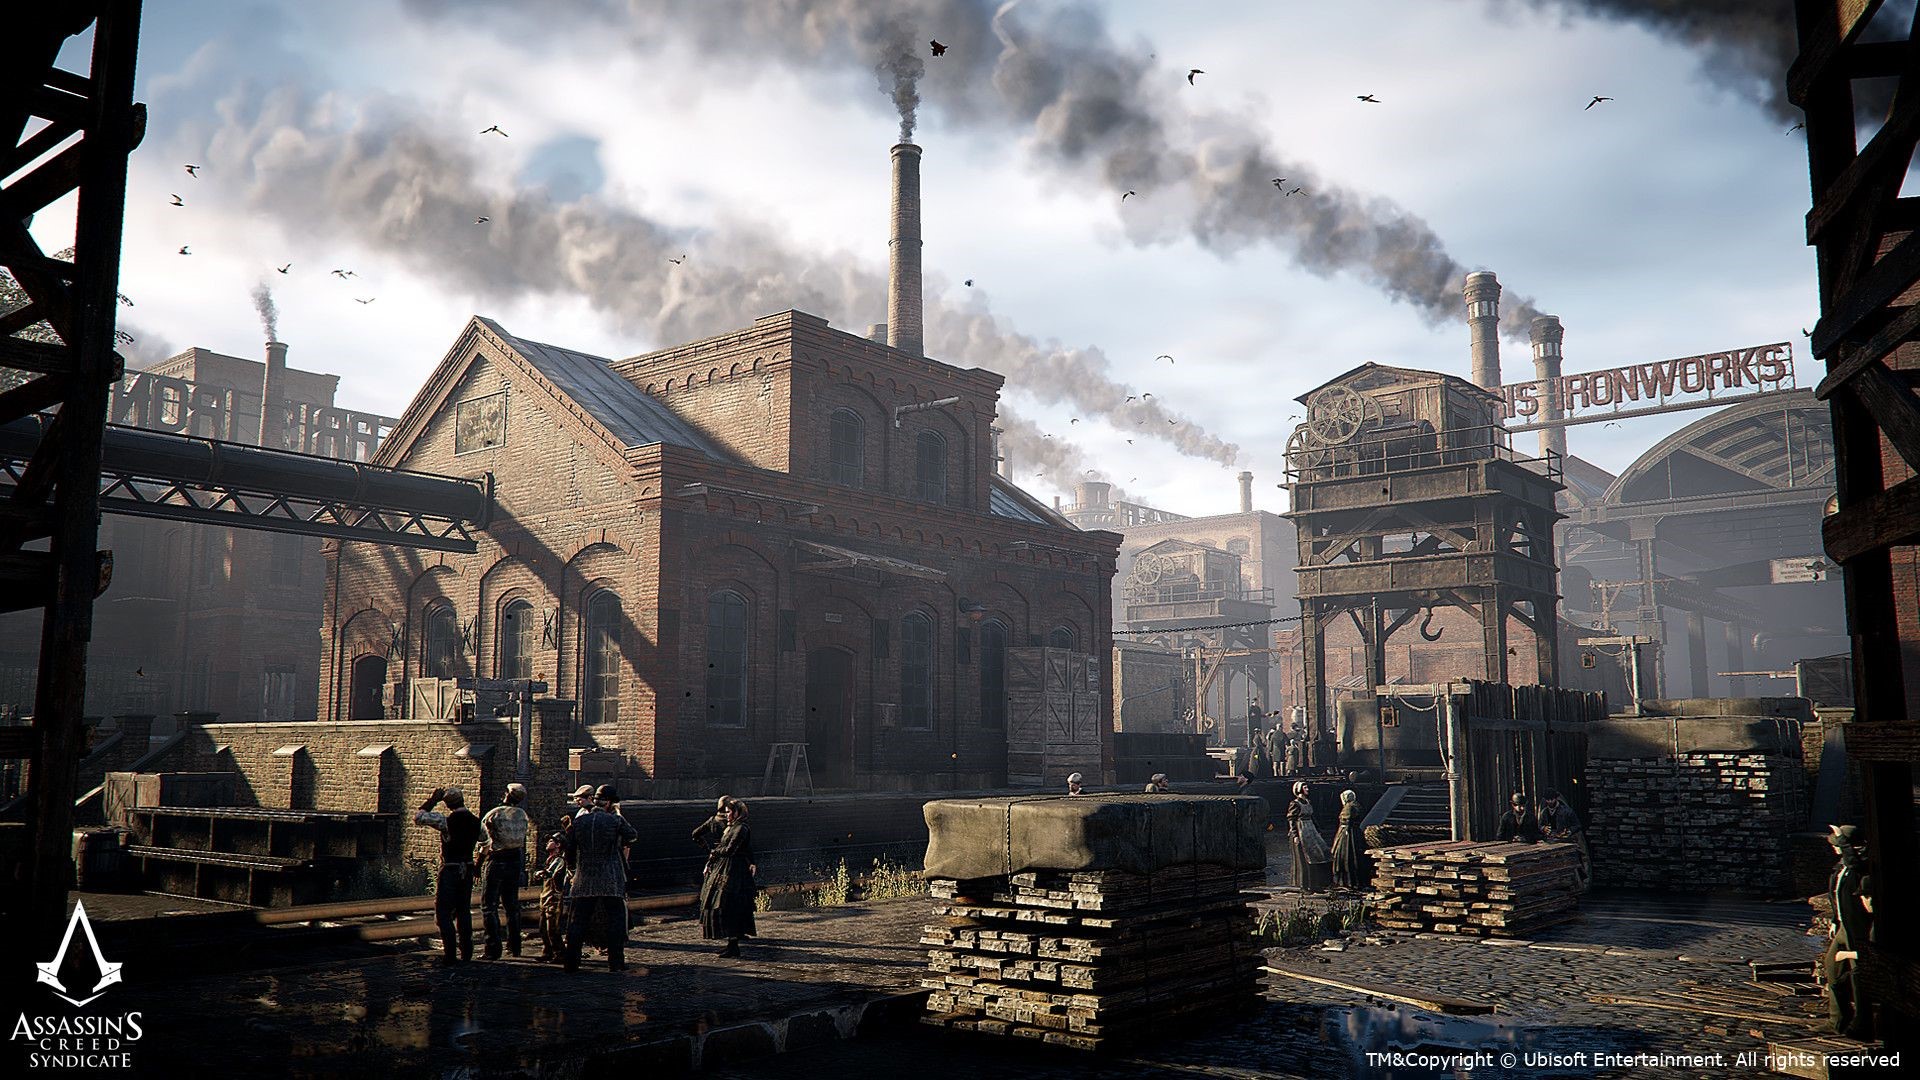
The inspiration for Old Industrial Trainstation came in November 2021 when I was watching a lot of Let's Play content from various YouTubers who played the Ubisoft game Assassin's Creed Syndicate. Since I really loved this era in human history, I got very attracted to the typical building style of red brick houses. I started to think about modeling a house similar to some reference pictures I found on the internet, but I never found a reference that caught my full 100% attention.

But in the middle of November 2021, I finally found the "perfect" reference that inspired me to start working on this project, which ended up taking me much longer than expected.
PROCESS
At the beginning of the process of creating the final render, as shown in the end result, there were many different steps, some of which were planned, and others happened due to happy little accidents, as Bob Ross would say.
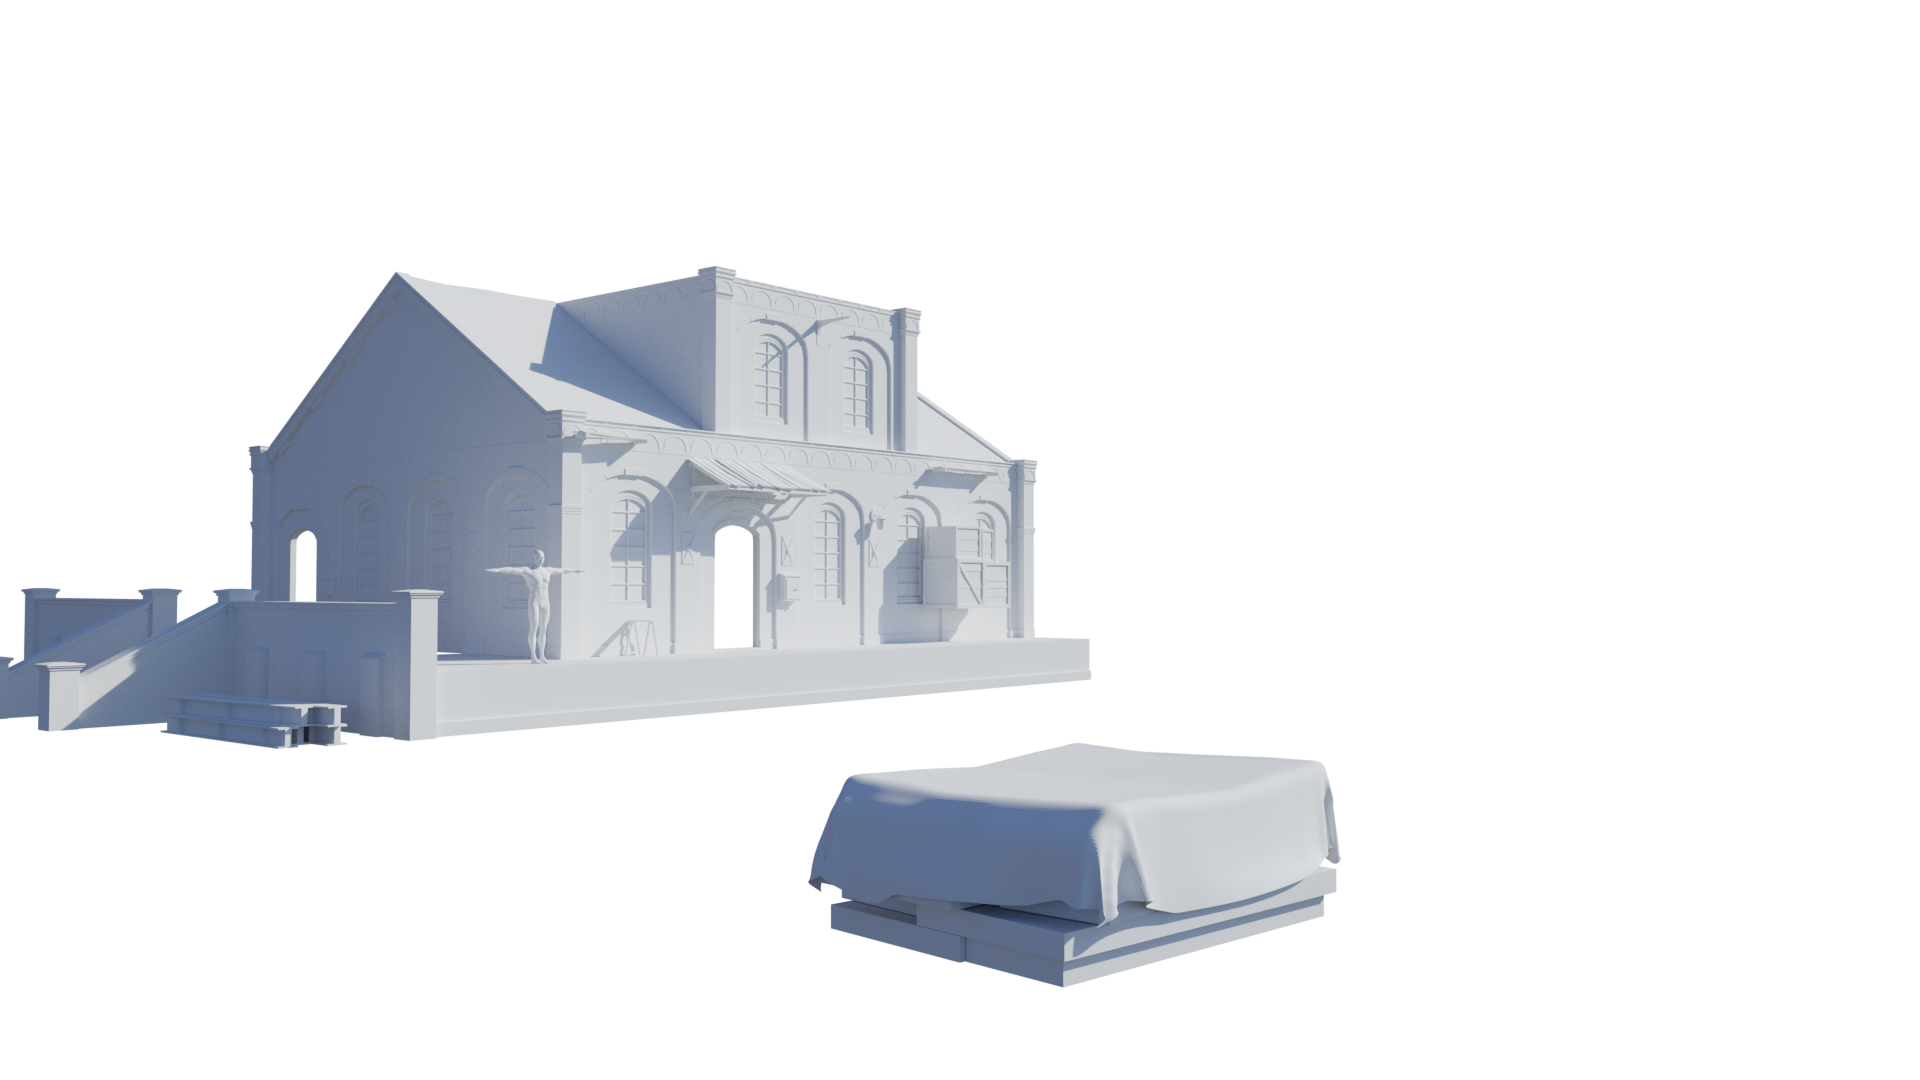
STEP 1: Modeling
The first step was to model the different parts of the train station, which I started back in November 2021. I tried to follow the reference as closely as possible and started over many times until I took some creative liberties to achieve something at least "similar" to the reference. For this step, I used only Blender since I was very comfortable with its modeling features.
STEP 2: Tree Creation
After the first rough modeling, I decided not to simply copy an existing image but to take a different approach. I wanted to insert this station into a different vegetation and decided to create a station in a spruce forest. So I knew I had to create a tree as I didn't want to rely on assets from asset libraries. I created my own tree in Speedtree.
STEP 3: First Break
After this step something happened - which is called Life. I started working at a local startup project and didn’t find much time to continue working on this project.
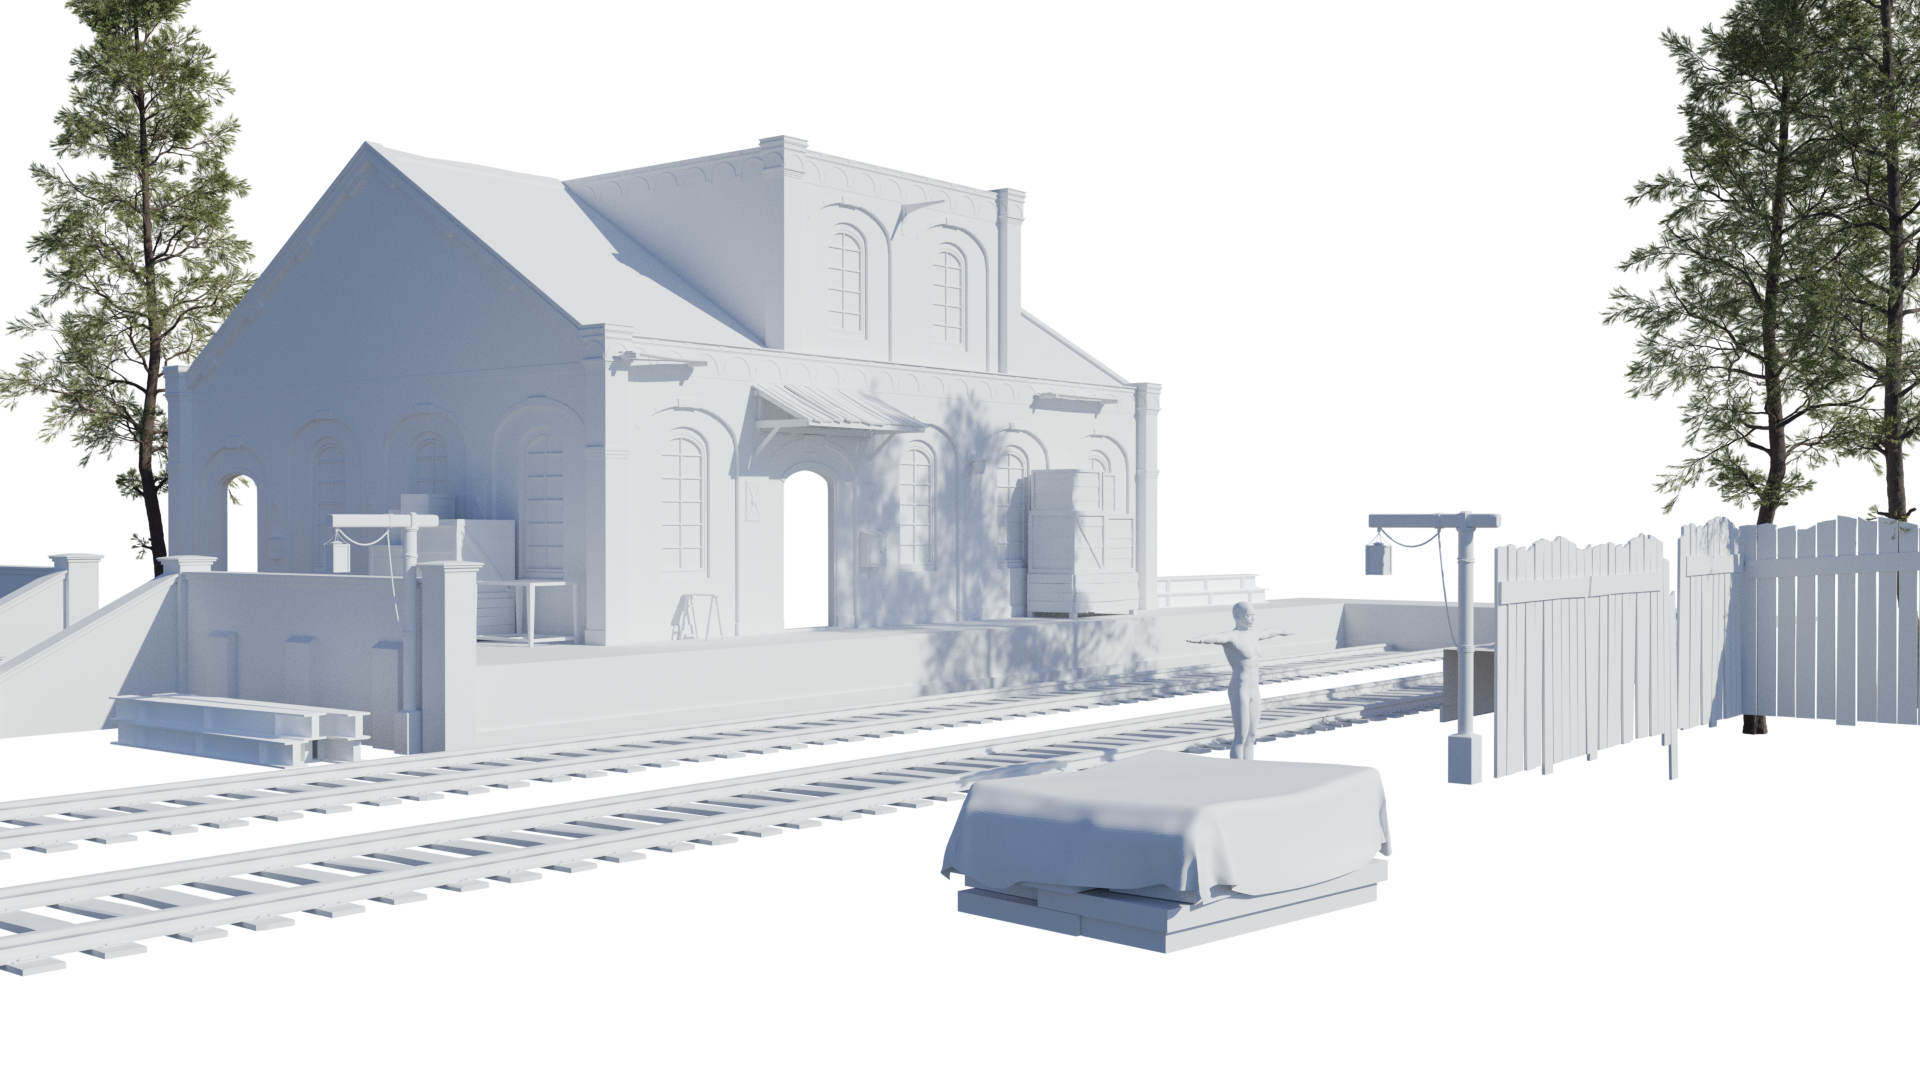
STEP 4: Modeling Again
Nearly one year later, in November 2022, I finally found some time to finish the modeling process. I added the final touches like doors, steps, and many other various small things that were missing until then.

STEP 5: Second Break
But at the end of November, I stopped working on the project again due to work-related stuff. In December 2022, I quit my job since I noticed I was too involved in work life and didn't achieve anything meaningful in my eyes.
STEP 6: Scatter/Texturing
So in January 2023, I finally had the time to finish this project.

In this step, I did some test scatters and started to texture the various assets that I created. I unwrapped them and tried to follow the reference pictures as closely as possible.
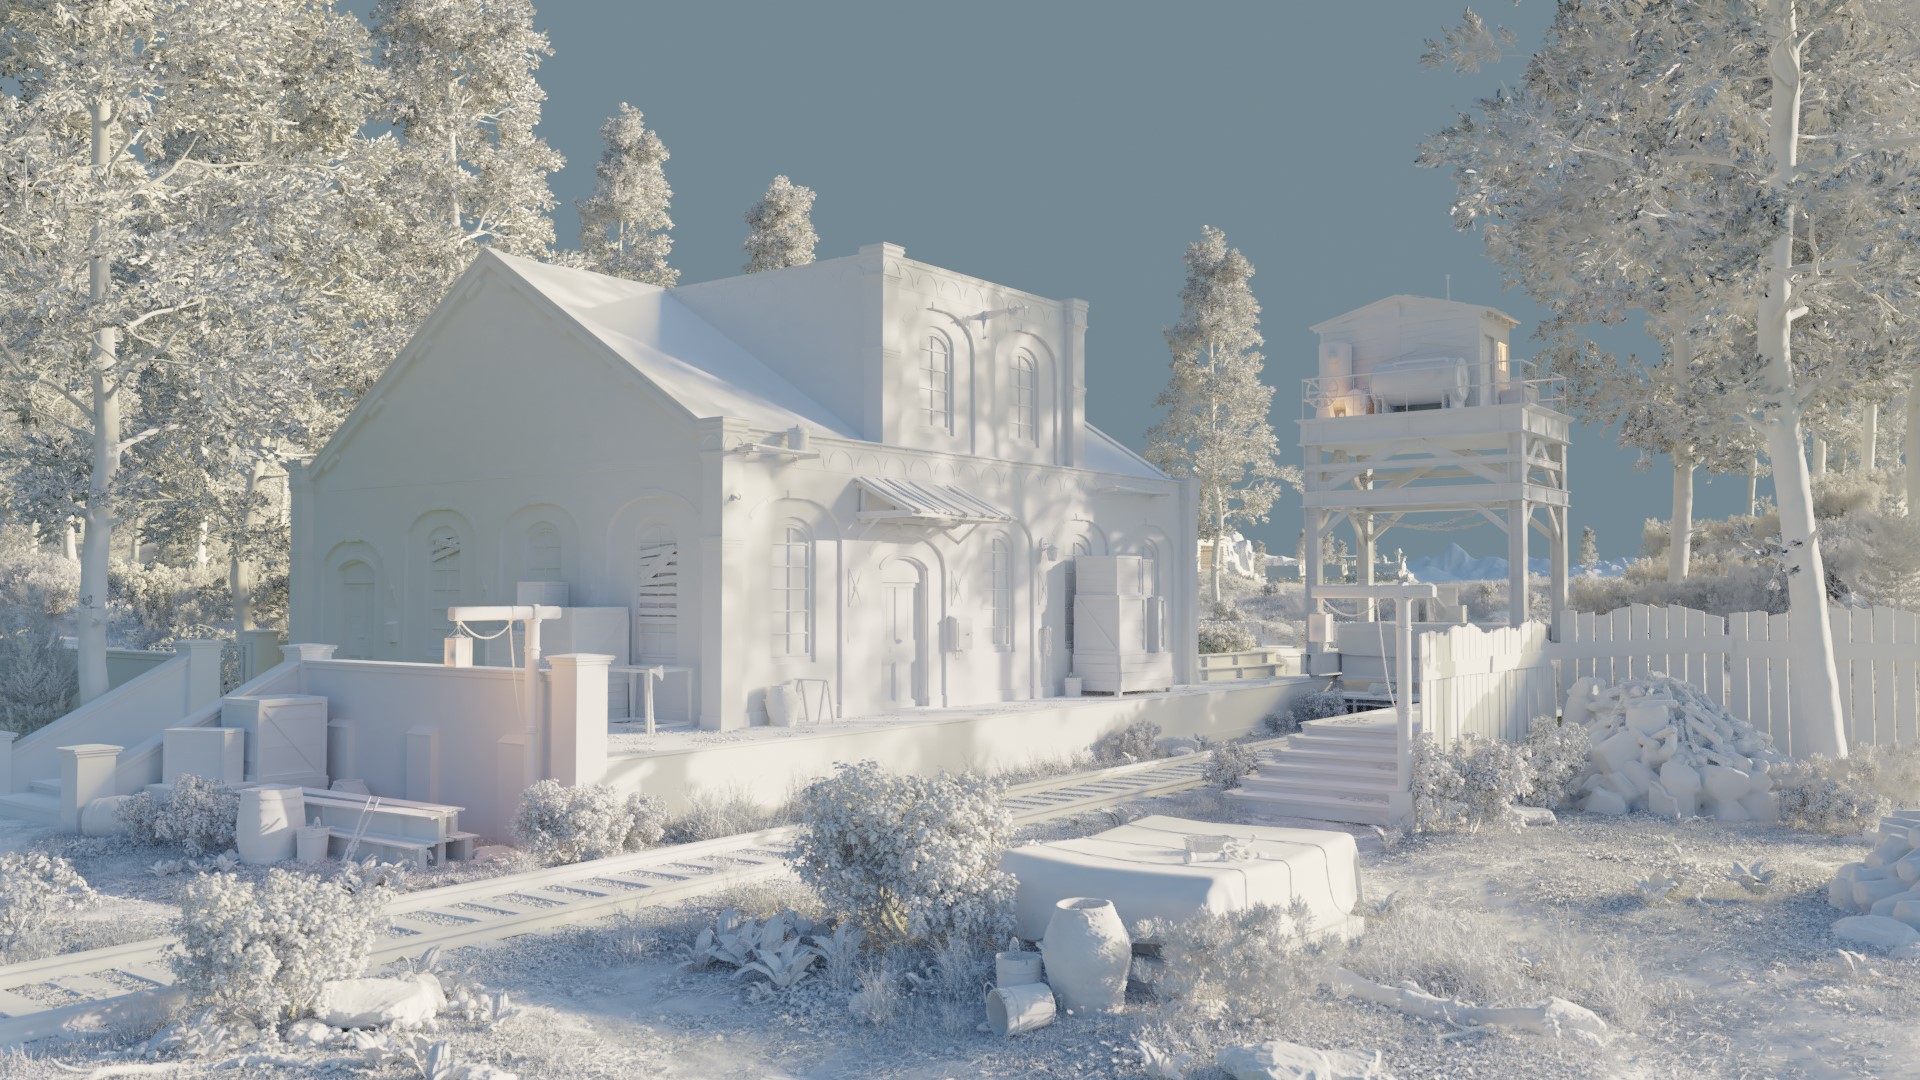
STEP 7: Final Scatter/Final Cleanup/Background creation
After finishing the texturing process, I started creating the final vegetation, for which I used Scatter 4.0. I mainly used assets from the plugin itself, but also from Megascans and PolyHaven.
To give the scenery some life, I added assets I found on PolyHaven and Megascans. The final step before finalizing the lighting was to add a train in the background, which I found on Sketchfab by Yanix, special thanks to him.
STEP 8: Lighting
Since I was never really happy with the lighting, I tried something else at the end and redid the whole lighting. After some time, I finally achieved the desired look.

STEP 9: Post-Production
In the final step, I rendered it in Blender in 4K. Then I did some post-production in Photoshop, added a Mistpass, some LUTs, added smoke for the driving train, and made other small adjustments.
OLD INDUSTRIAL TRAINSTATION

And that's it. Thank you for reading my article.
I hope you have a great day!
About the Artist

Christoph Hadner, a 3D Environment Artist from Upper Austria, Austria. Currently trying to get a job within the 3D Industry.
1 Comment
I love it, has a real charm to it