Behind the Scenes: Mushroom House
INTRODUCTION
Hi, I’m Maksym. I’ve been learning Blender for 11 months and still do not have a job.
My way in 3D started in January 2022 with Best Blender Course from Mr. Mad Rabbit.
I learned Blender in almost five months and really loved it. There are thousands of ideas in my mind but my skills are not enough to make them alive yet. The world of 3D design is so interesting and there are so many things to learn. The most interesting part for me is character design because it is the best way to express emotions, story, circumstances, and mood in my illustrations. Vehicle design is in the second place for me.
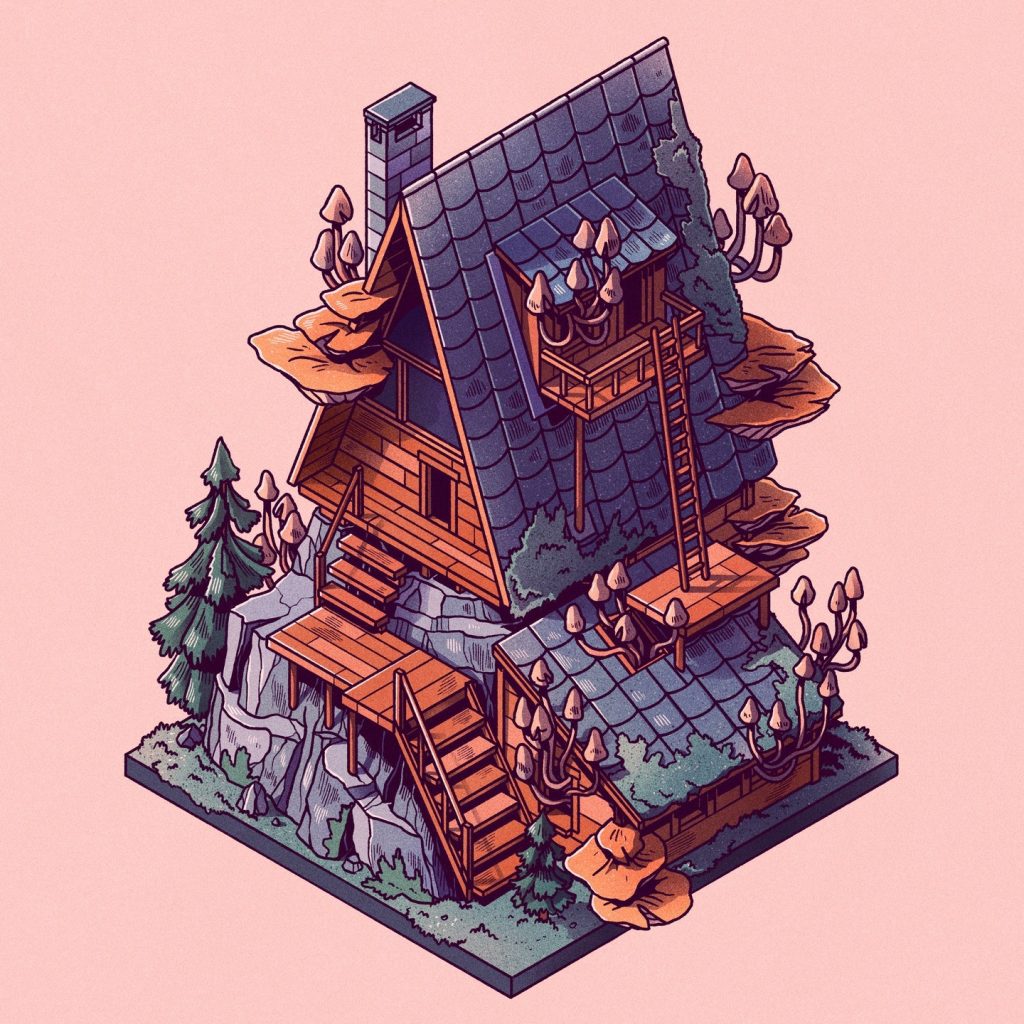
INSPIRATION
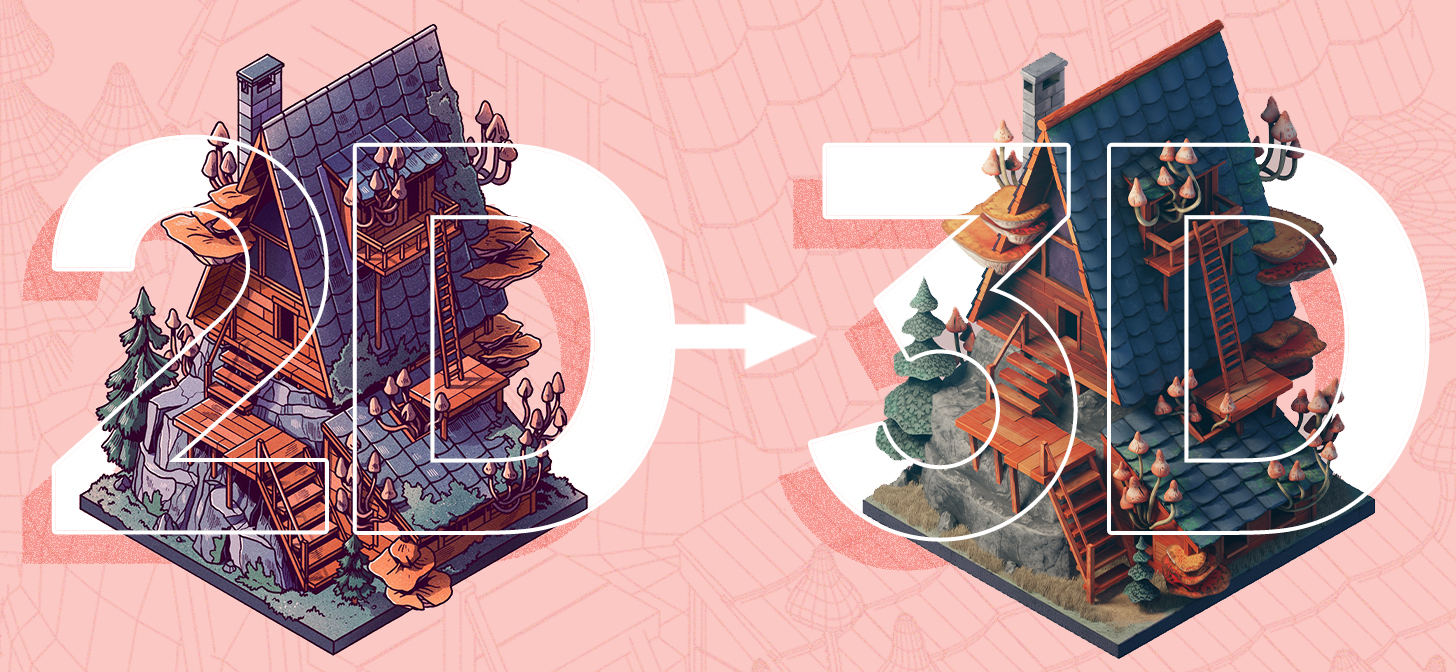
I decided to make some work using a more complex pipeline than just Blender. I watched several tutorials, installed ZBrush and Marmoset, and started to make art. But my own fantasy wasn’t enough so I used the artwork of the great designer and illustrator Stefan Große Halbuer as a reference. It’s a great way to learn something new and enrich your own reference piggy bank.
PROCESS
Let me first describe the scheme of my workflow:
Blender > Zbrush > Marmoset > Substance Painter > Blender Cycles
MODELING
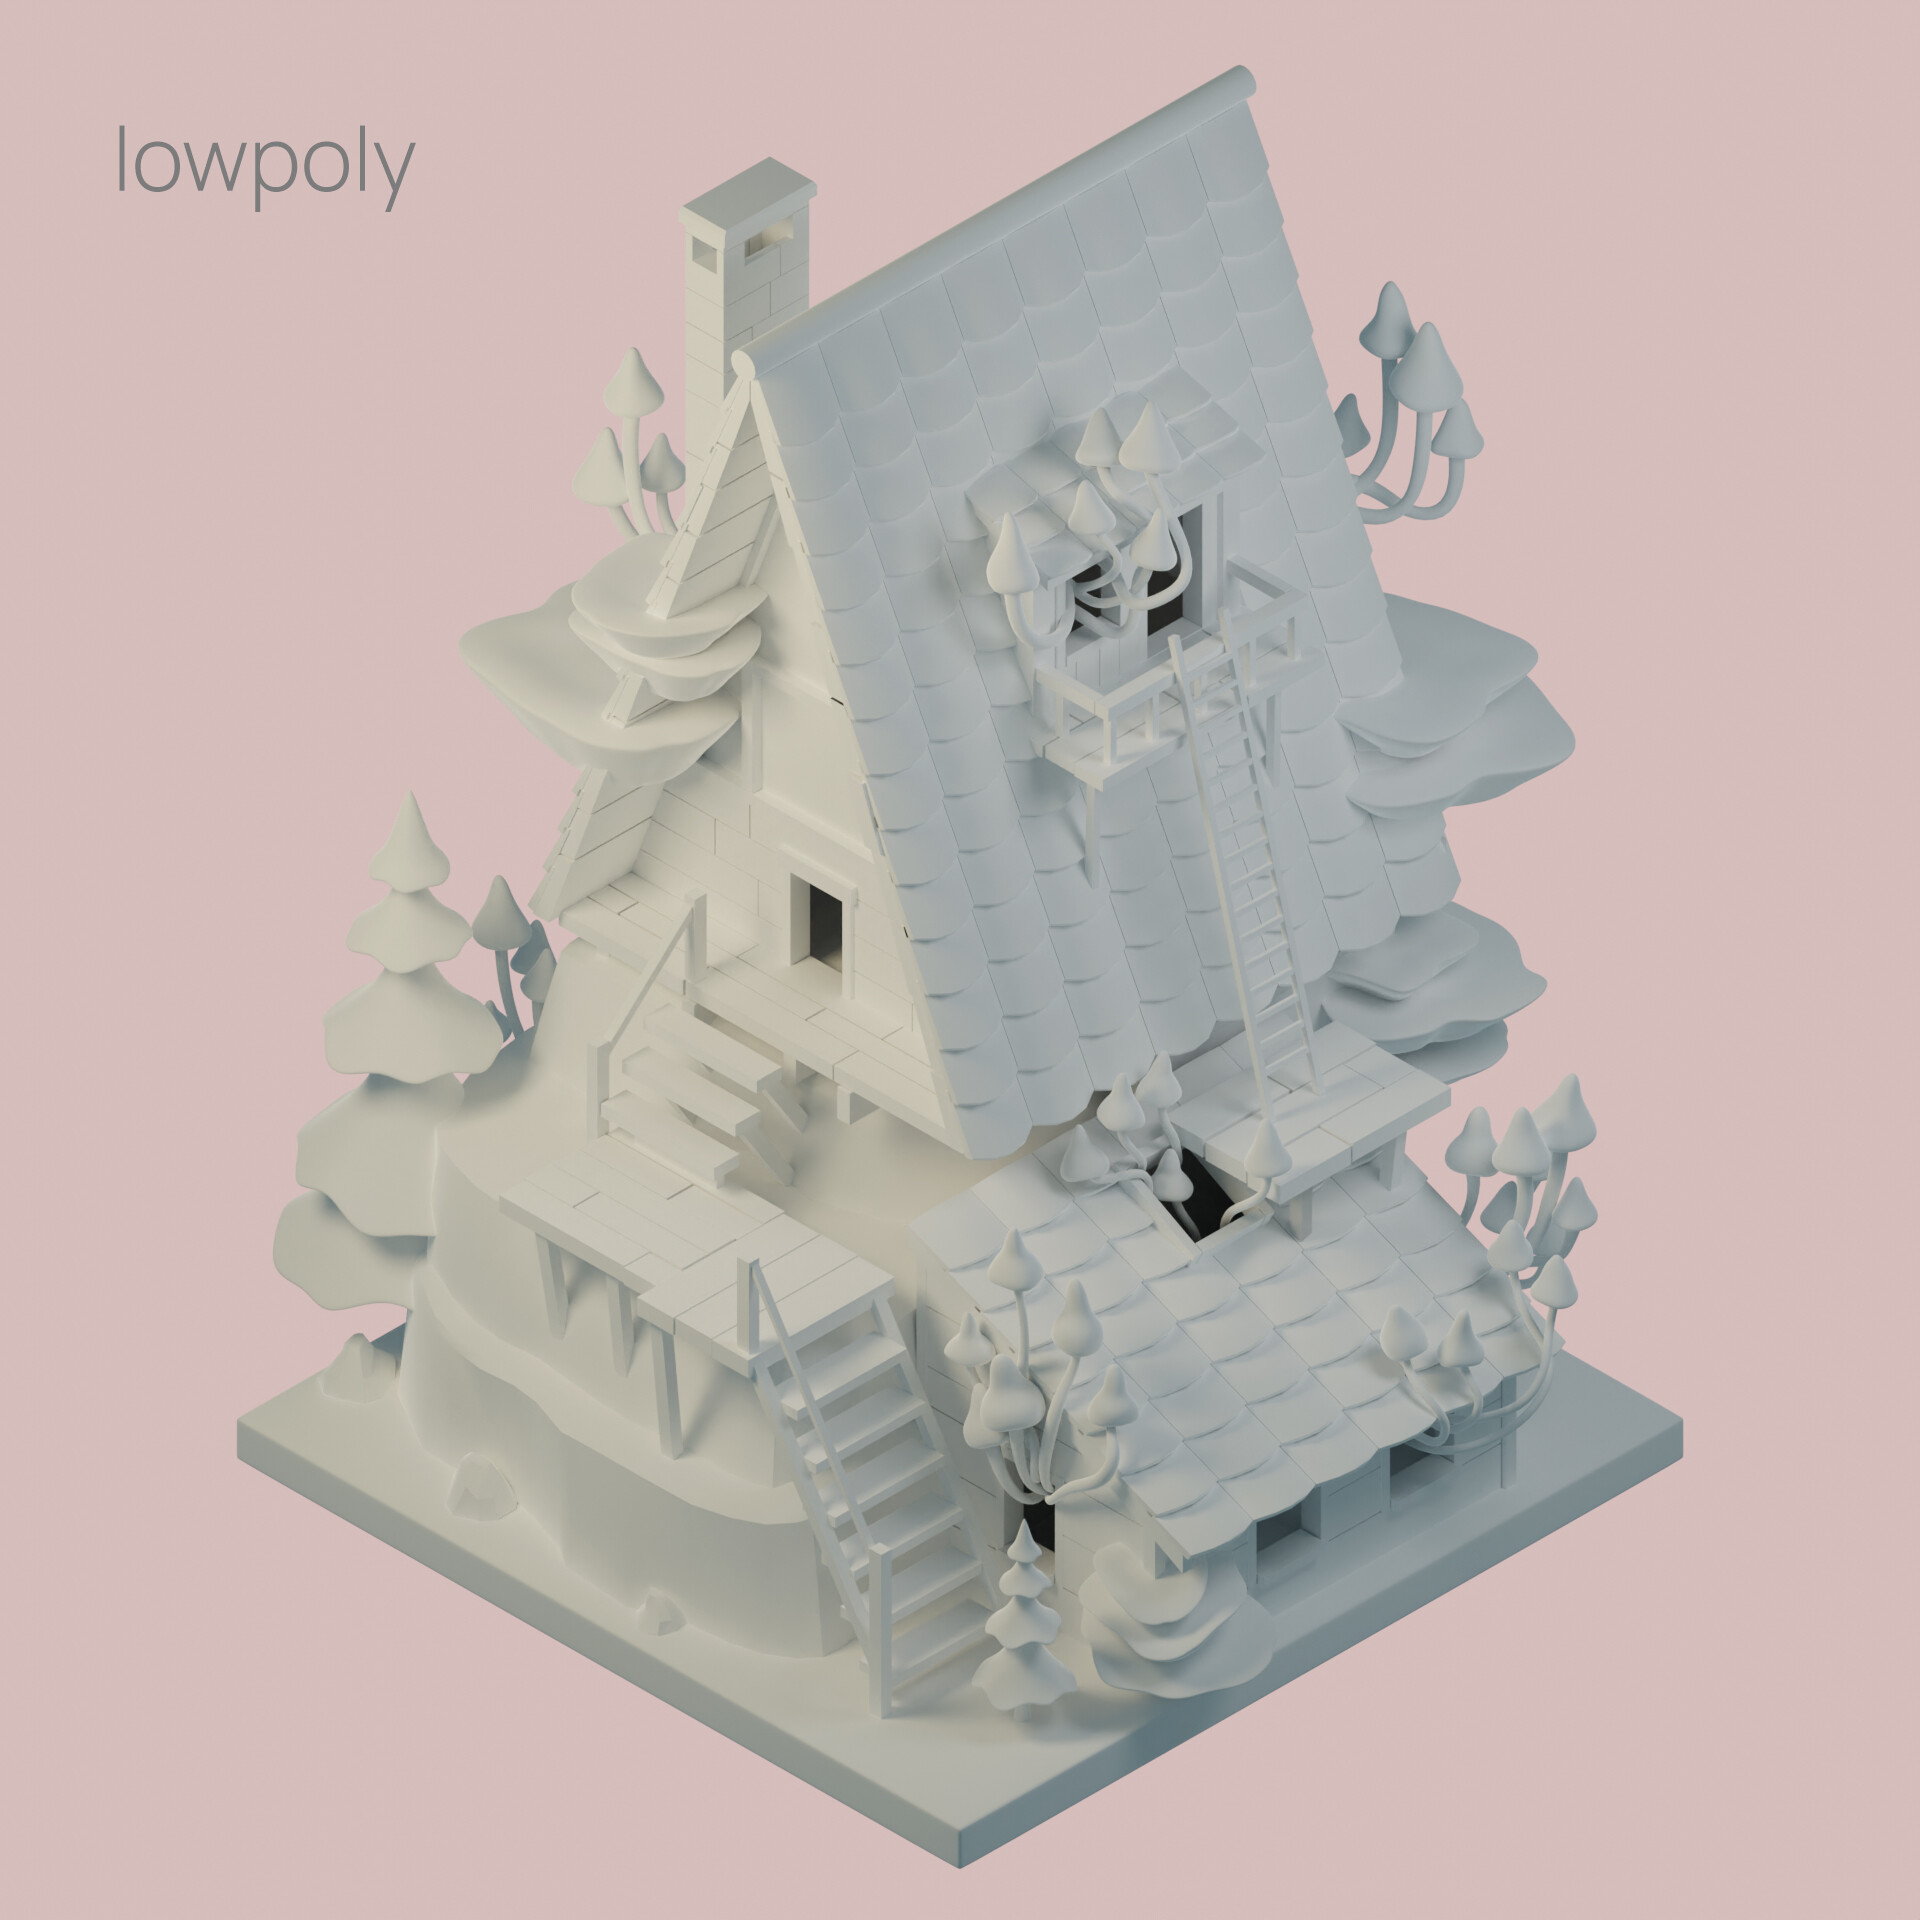
So at first, I made a low poly model with Blender. I only made the camera faced side.
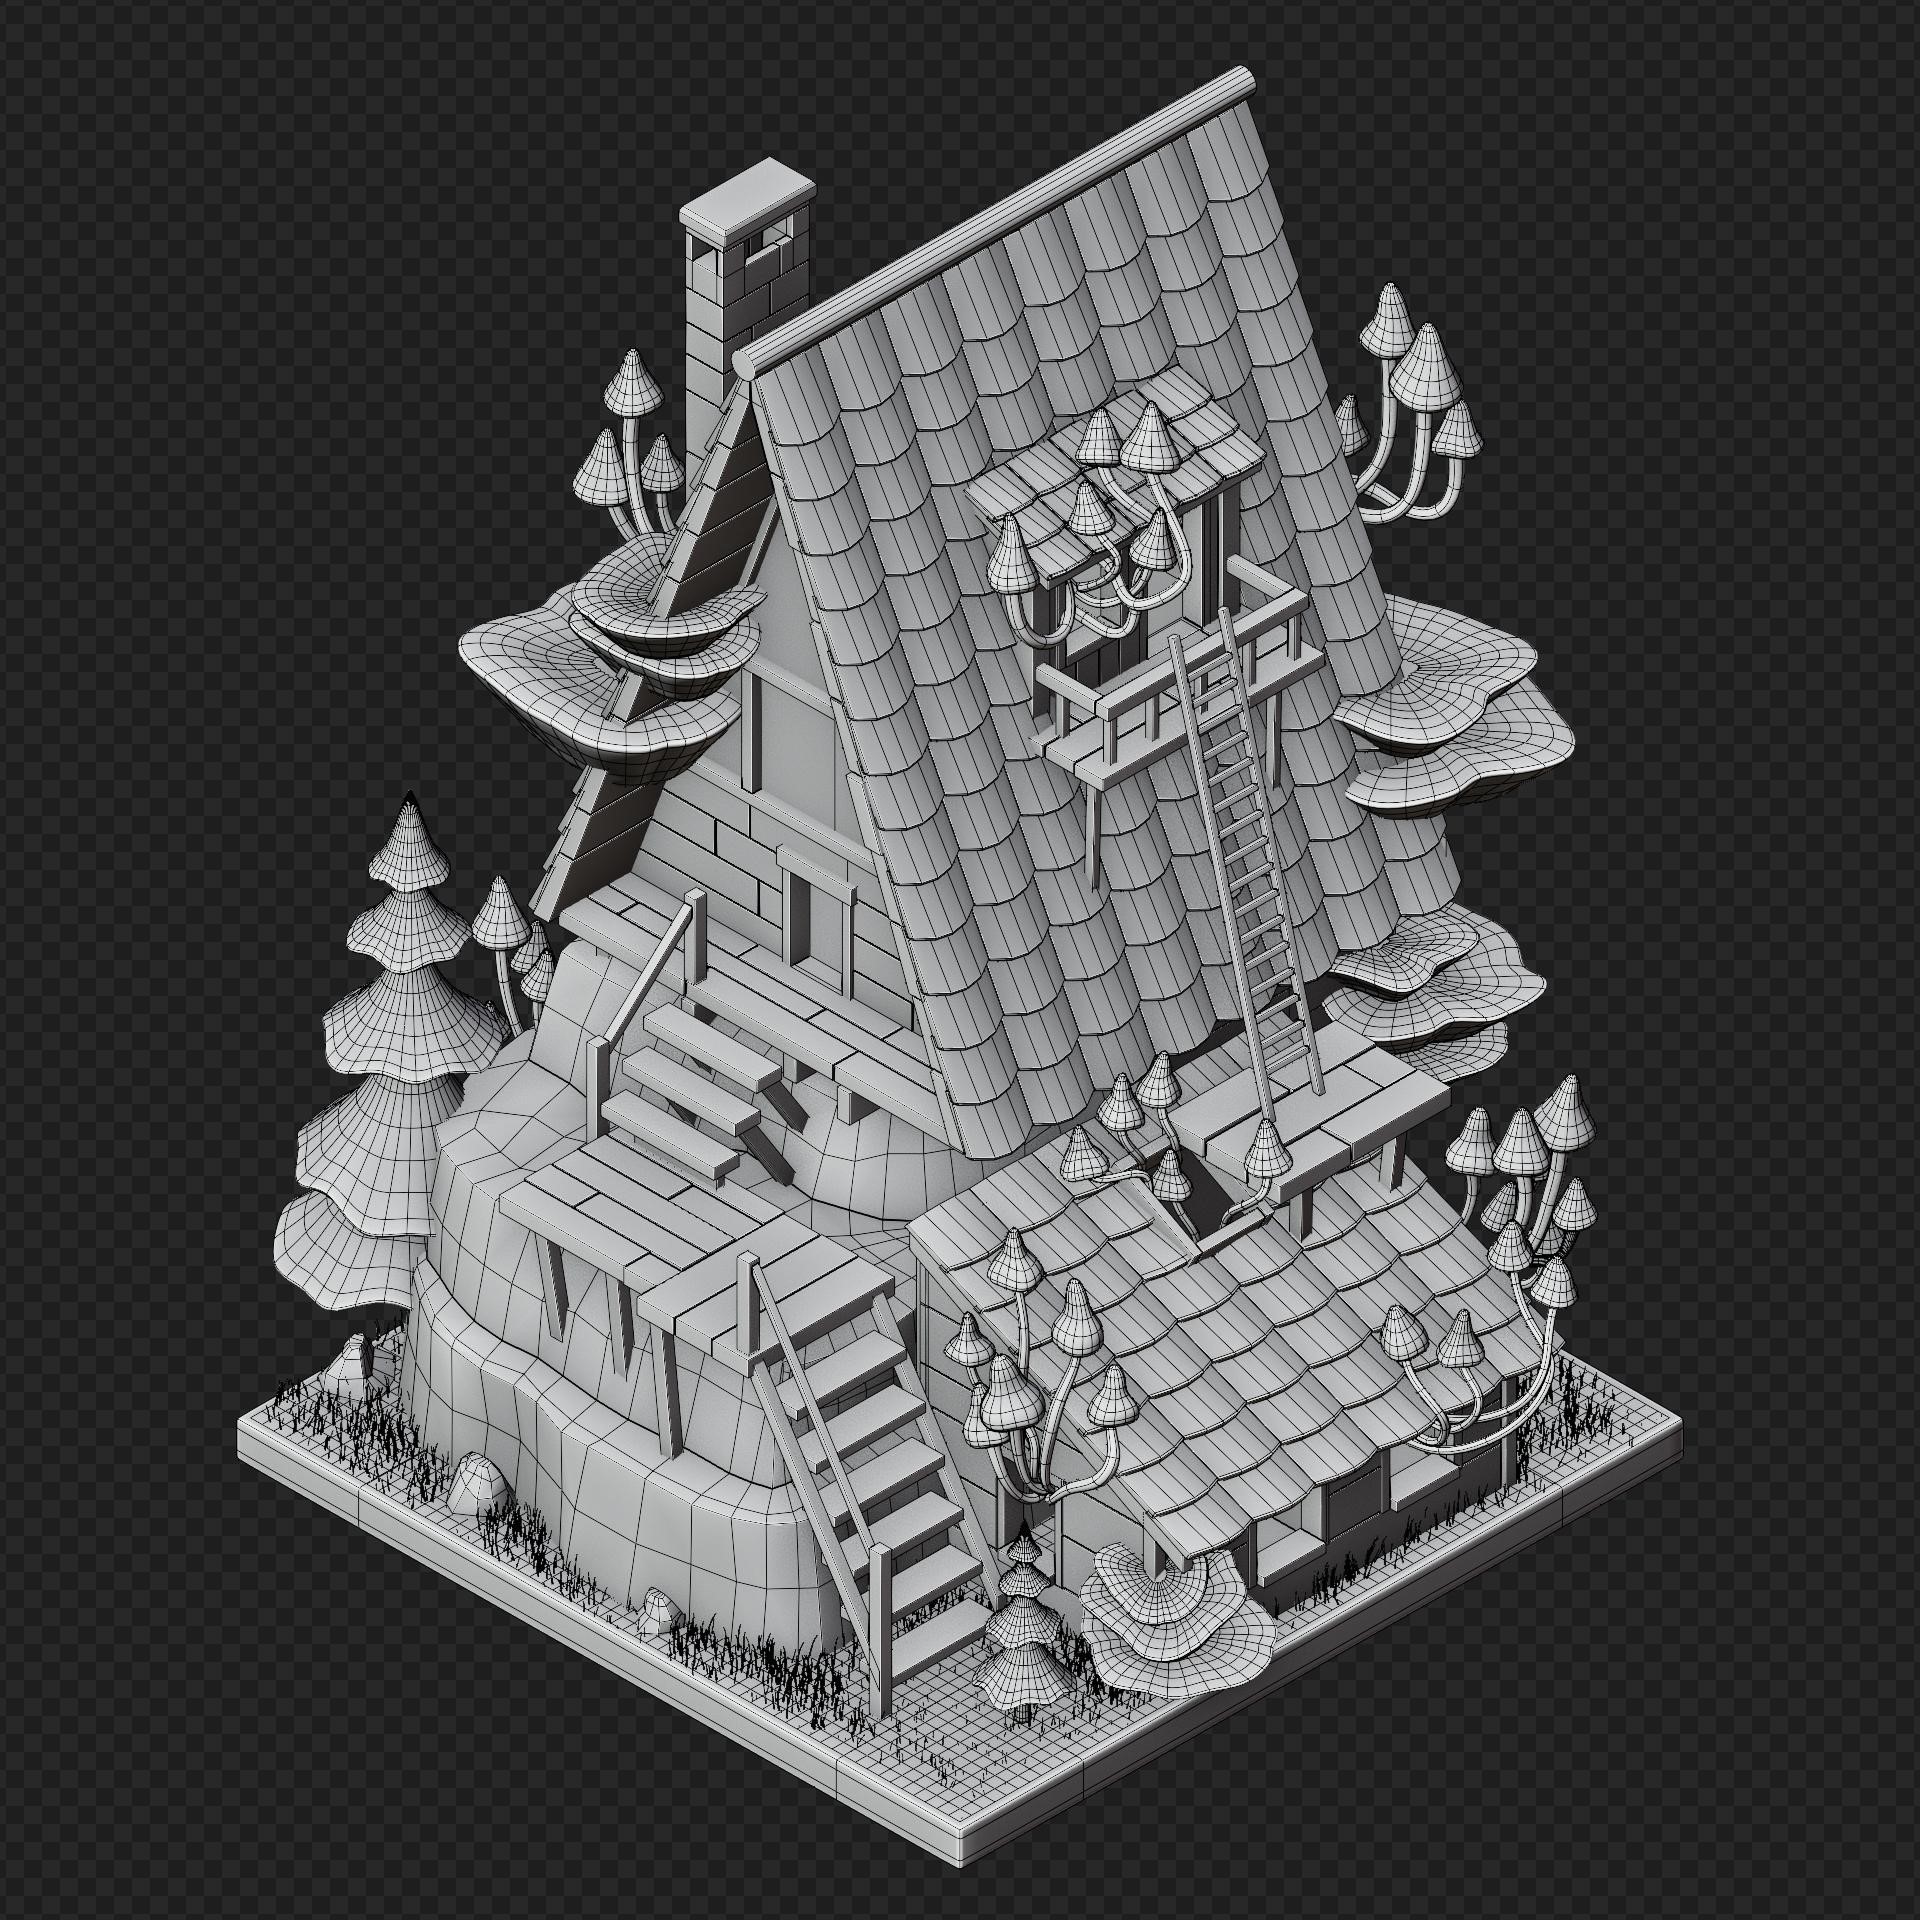
Then I unwrapped the model and exported it to ZBrush in FBX format. And from here started a total nightmare. Awful interface, weird buttons and their functions, and uncomfortable navigation. But it was not the biggest problem. I used dynamesh and polish and my model still looked like a Minecraft game. So I used the highest amount of dynamesh and my processor said goodbye after a few subtools were edited. Finally, I made some acceptable stuff and went to Marmoset.

MARMOSET
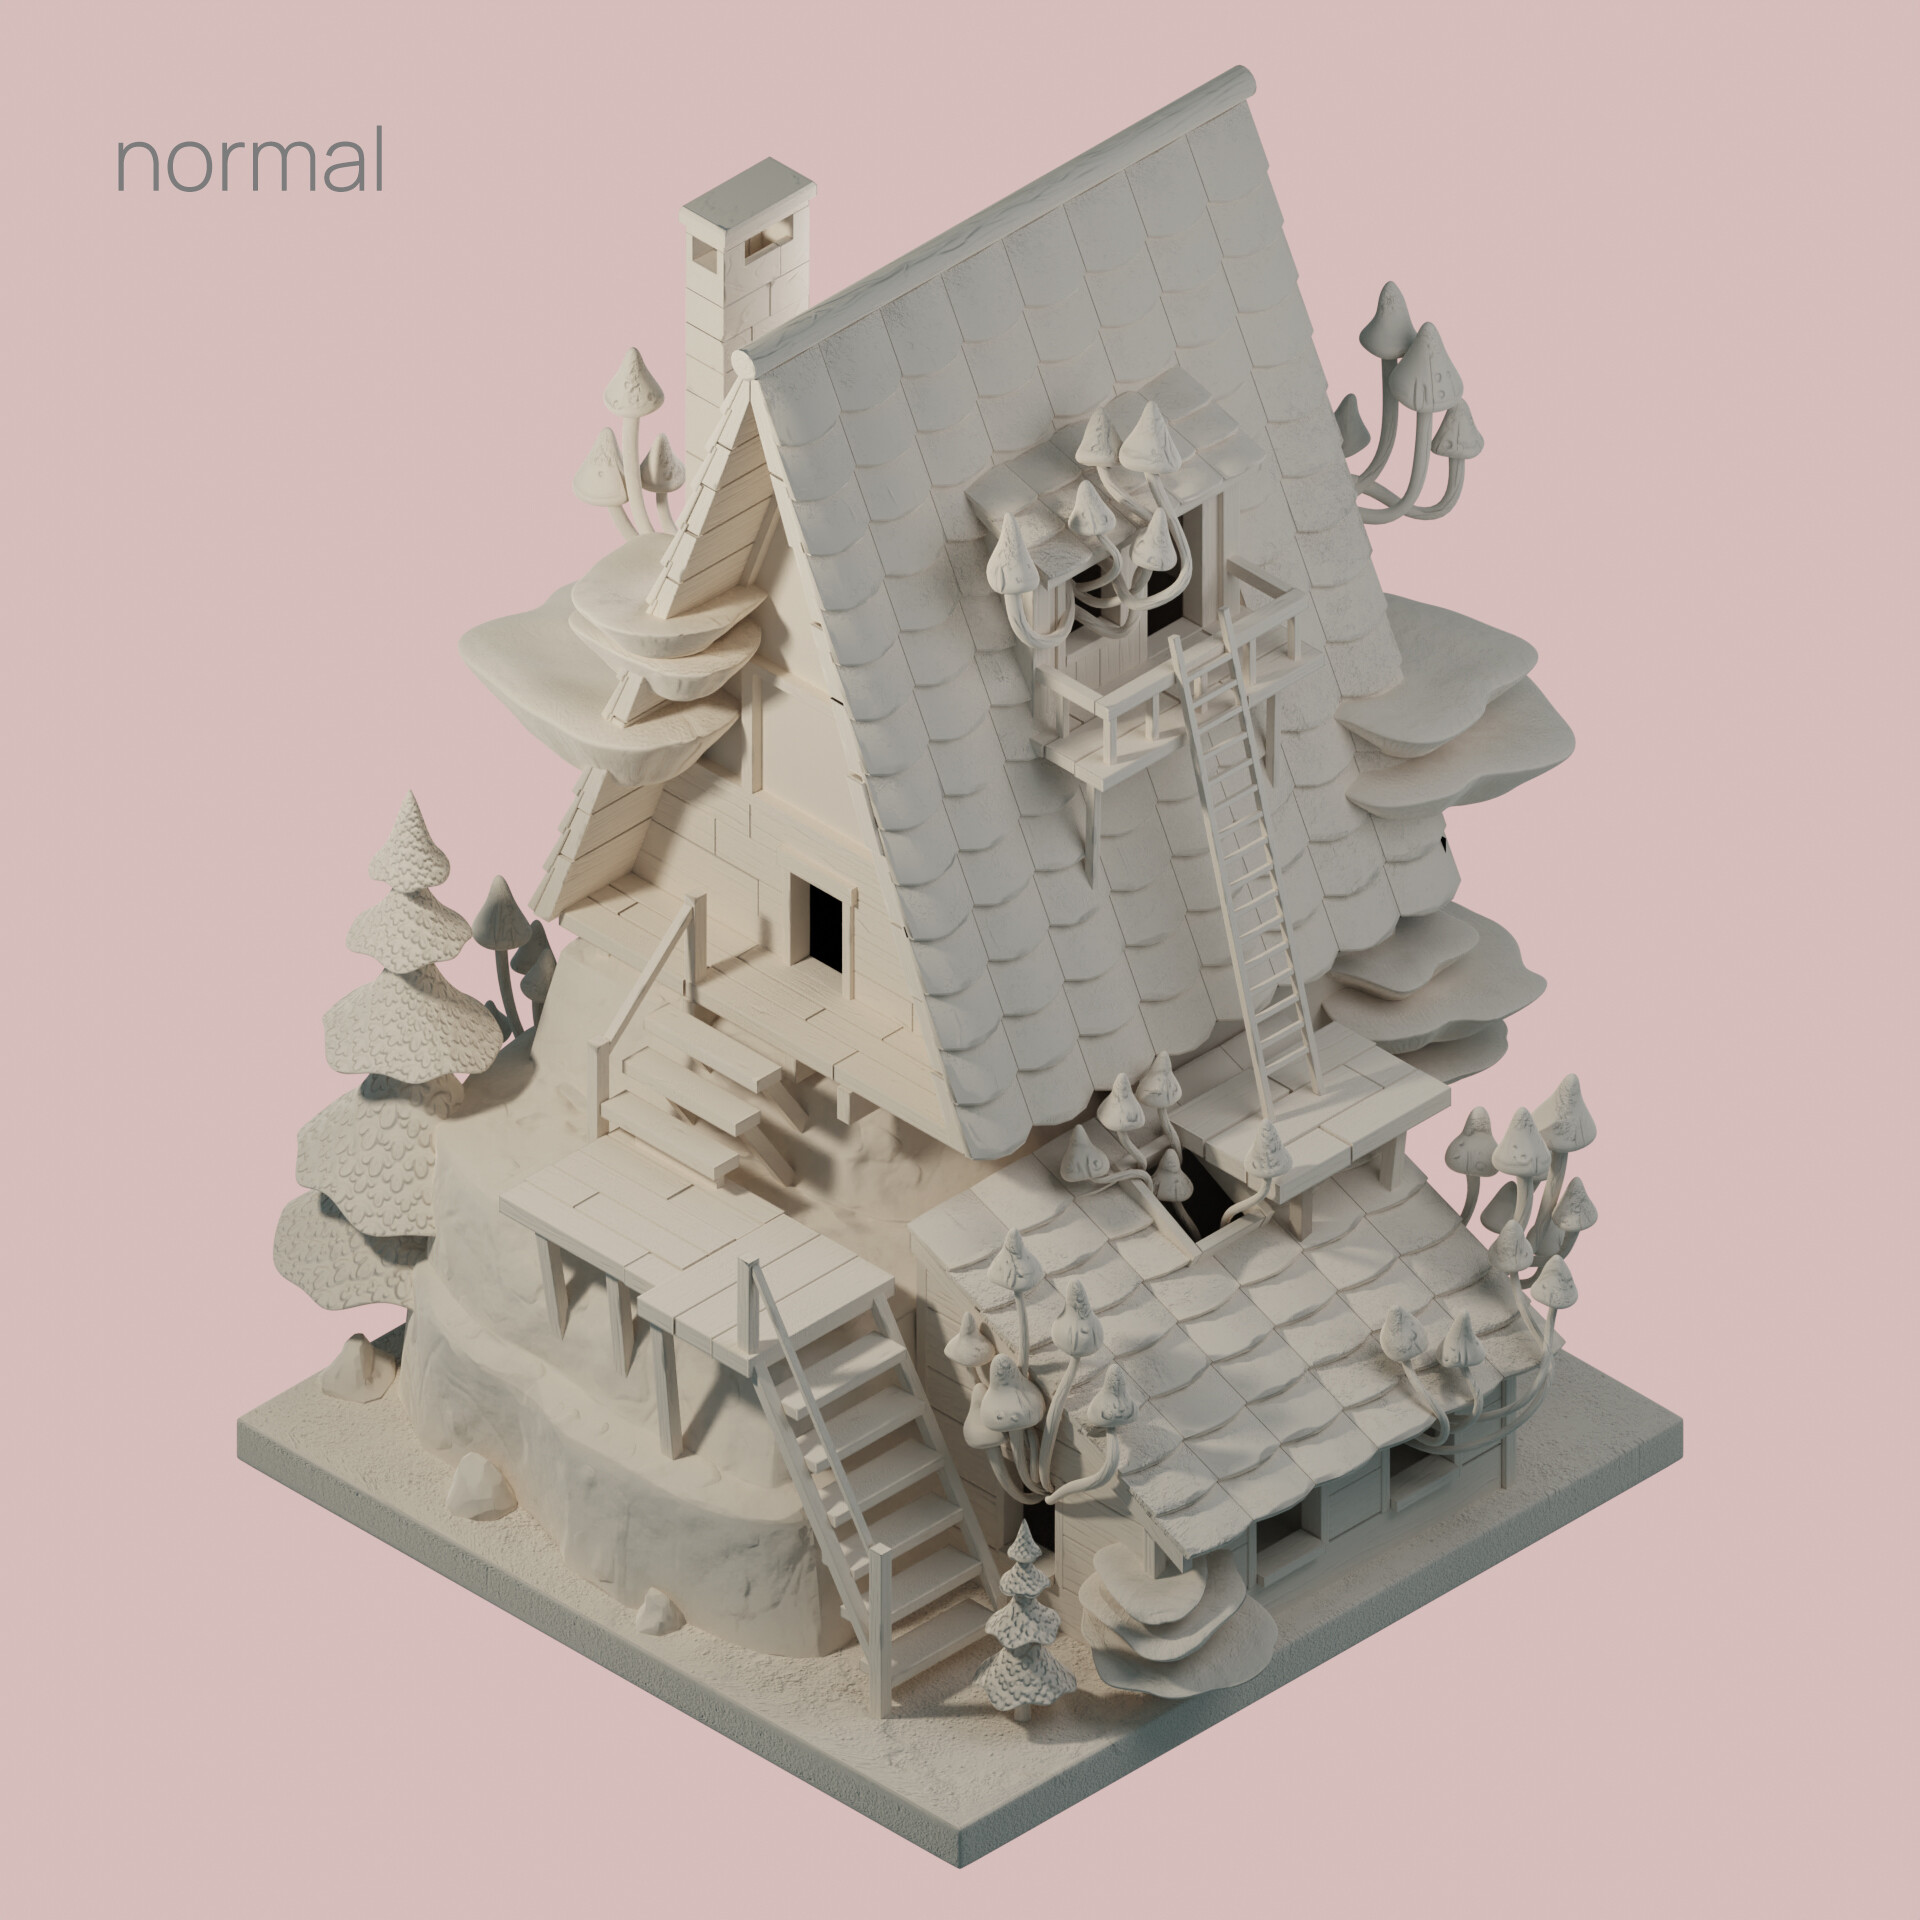
It is a cool and simple software to work with. I loaded my low poly from Blender and high poly from ZBrush and made my first ever bake in my life (I don’t count the time I baked khachapuri in the oven). And of course there were tons of artifacts. Some of them were fixed by flipping normals on my low poly, but most of them were on roof tiles. I didn’t come up with any smarter way than to just separate every single tile and edit them in ZBrush again. After several days fixing different bugs and fighting with ZBrush, I baked normal, ao, and curvature maps.
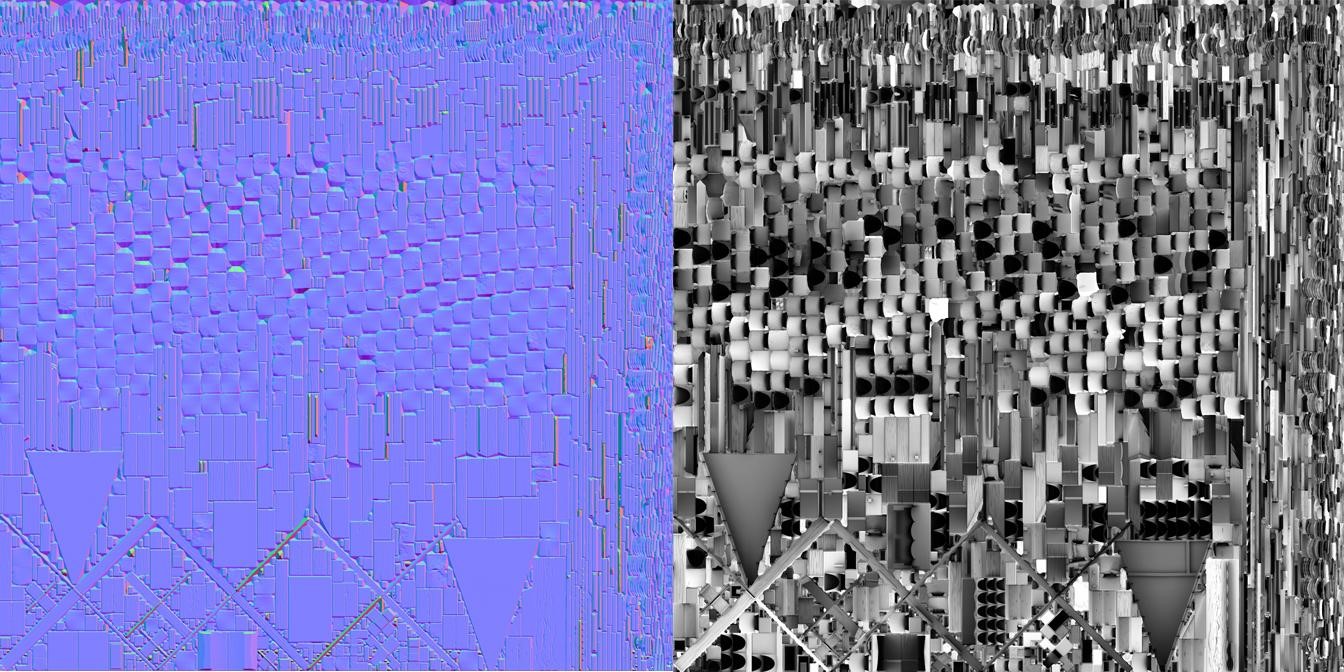
IMPORTANT TIP!
I spent the whole evening trying to understand why some parts of the model did not bake, and the problem was in naming. Some subtools had different names because ZBrush, when saving the whole tool, gave the same name for the last selected subtool. Be careful with it.
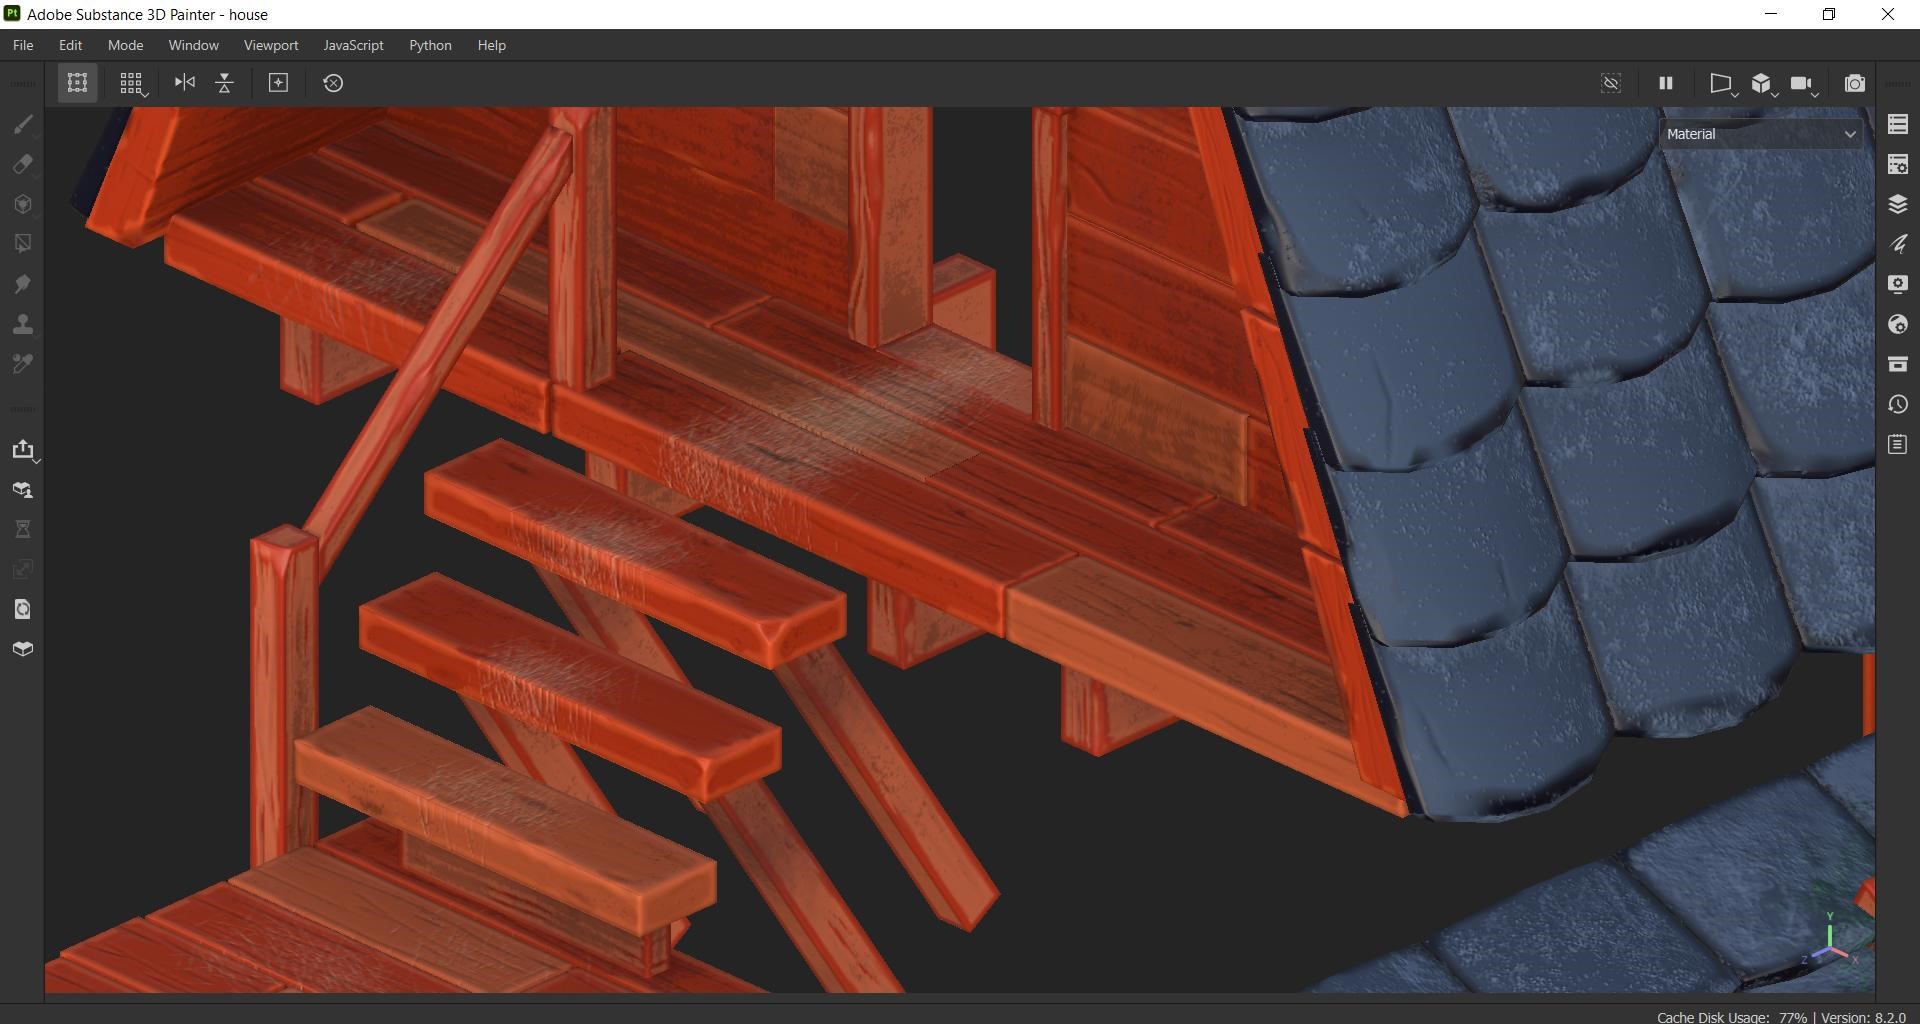
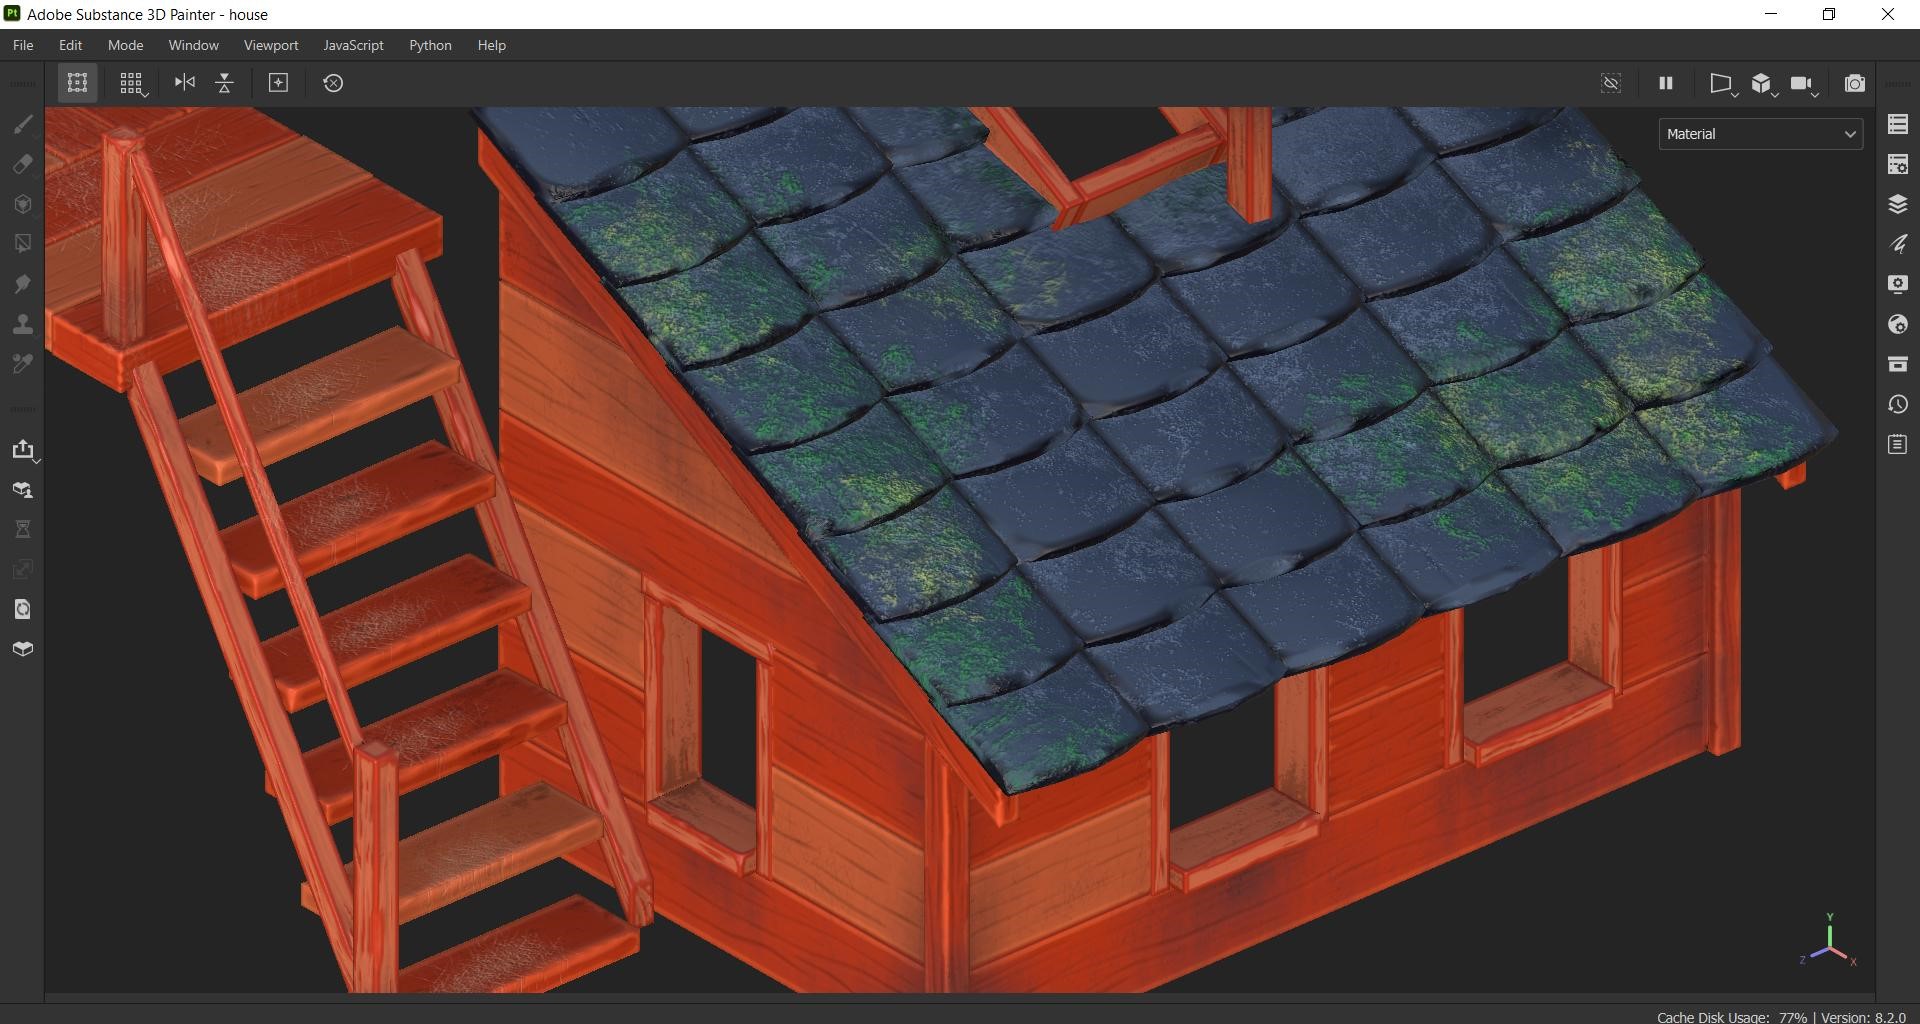
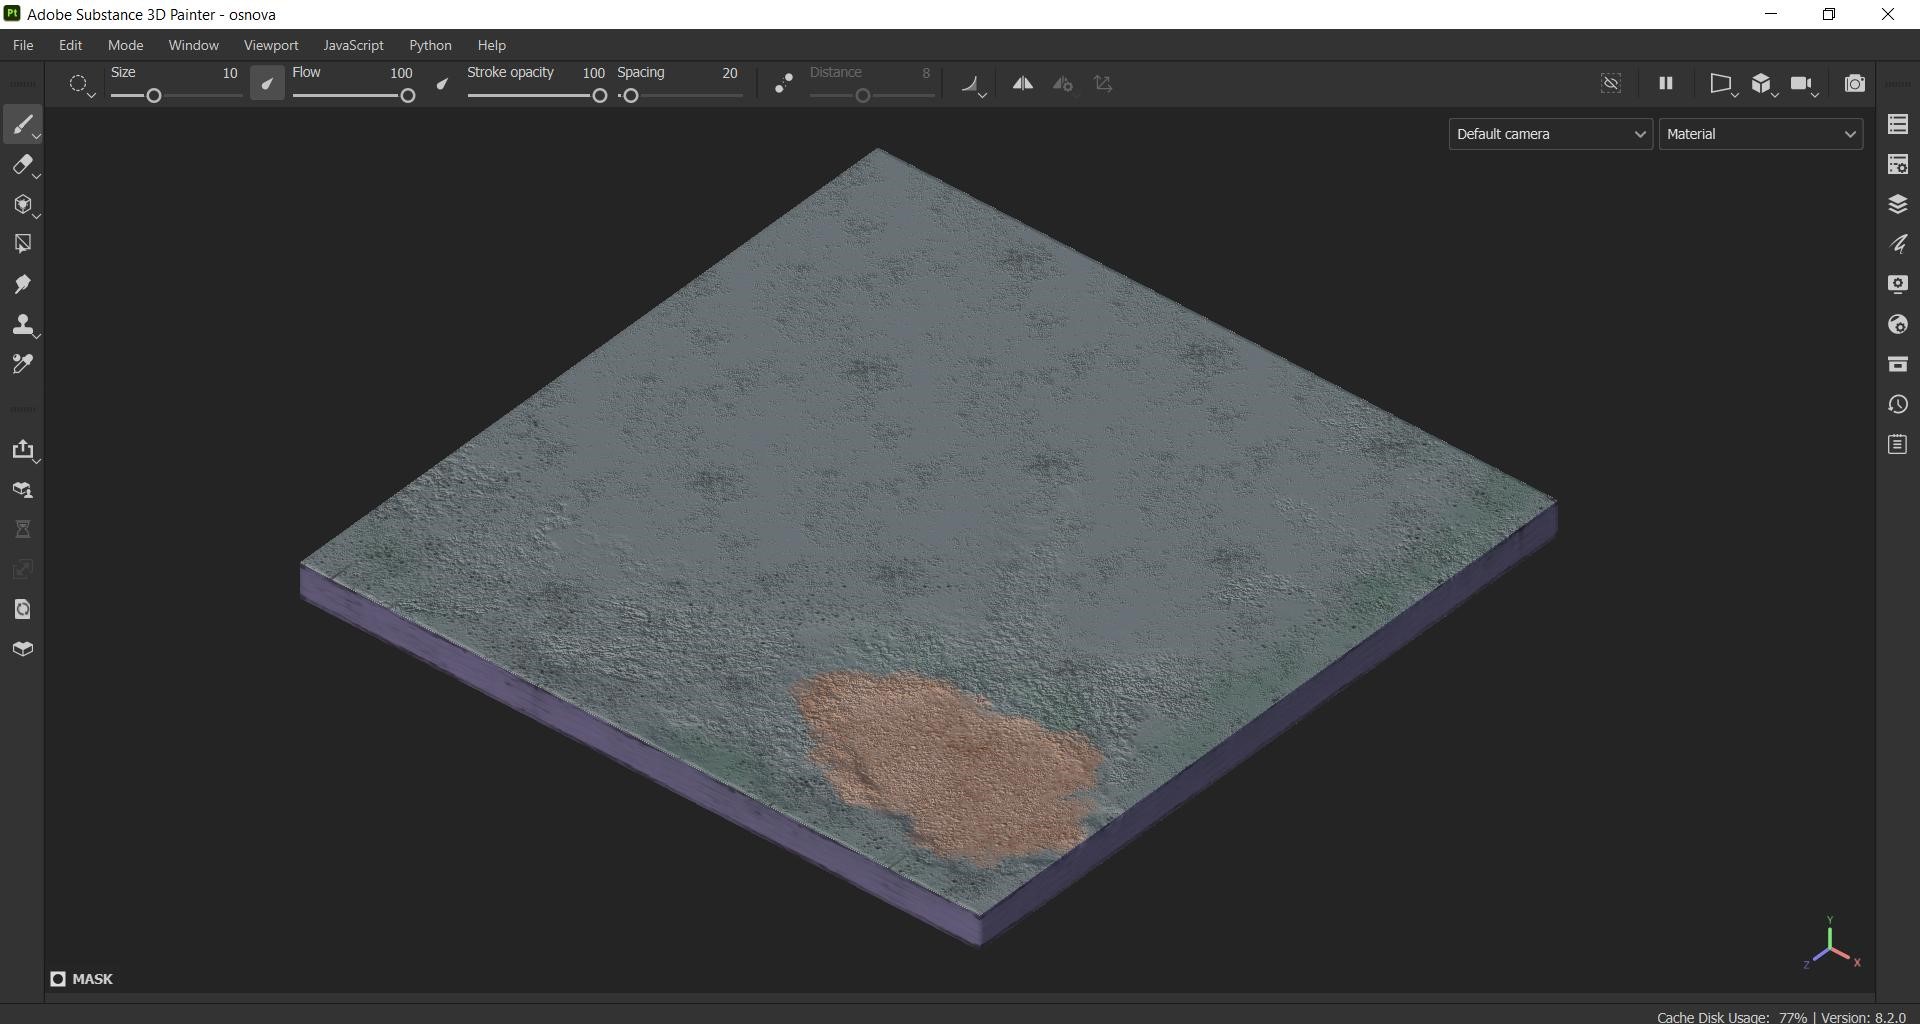
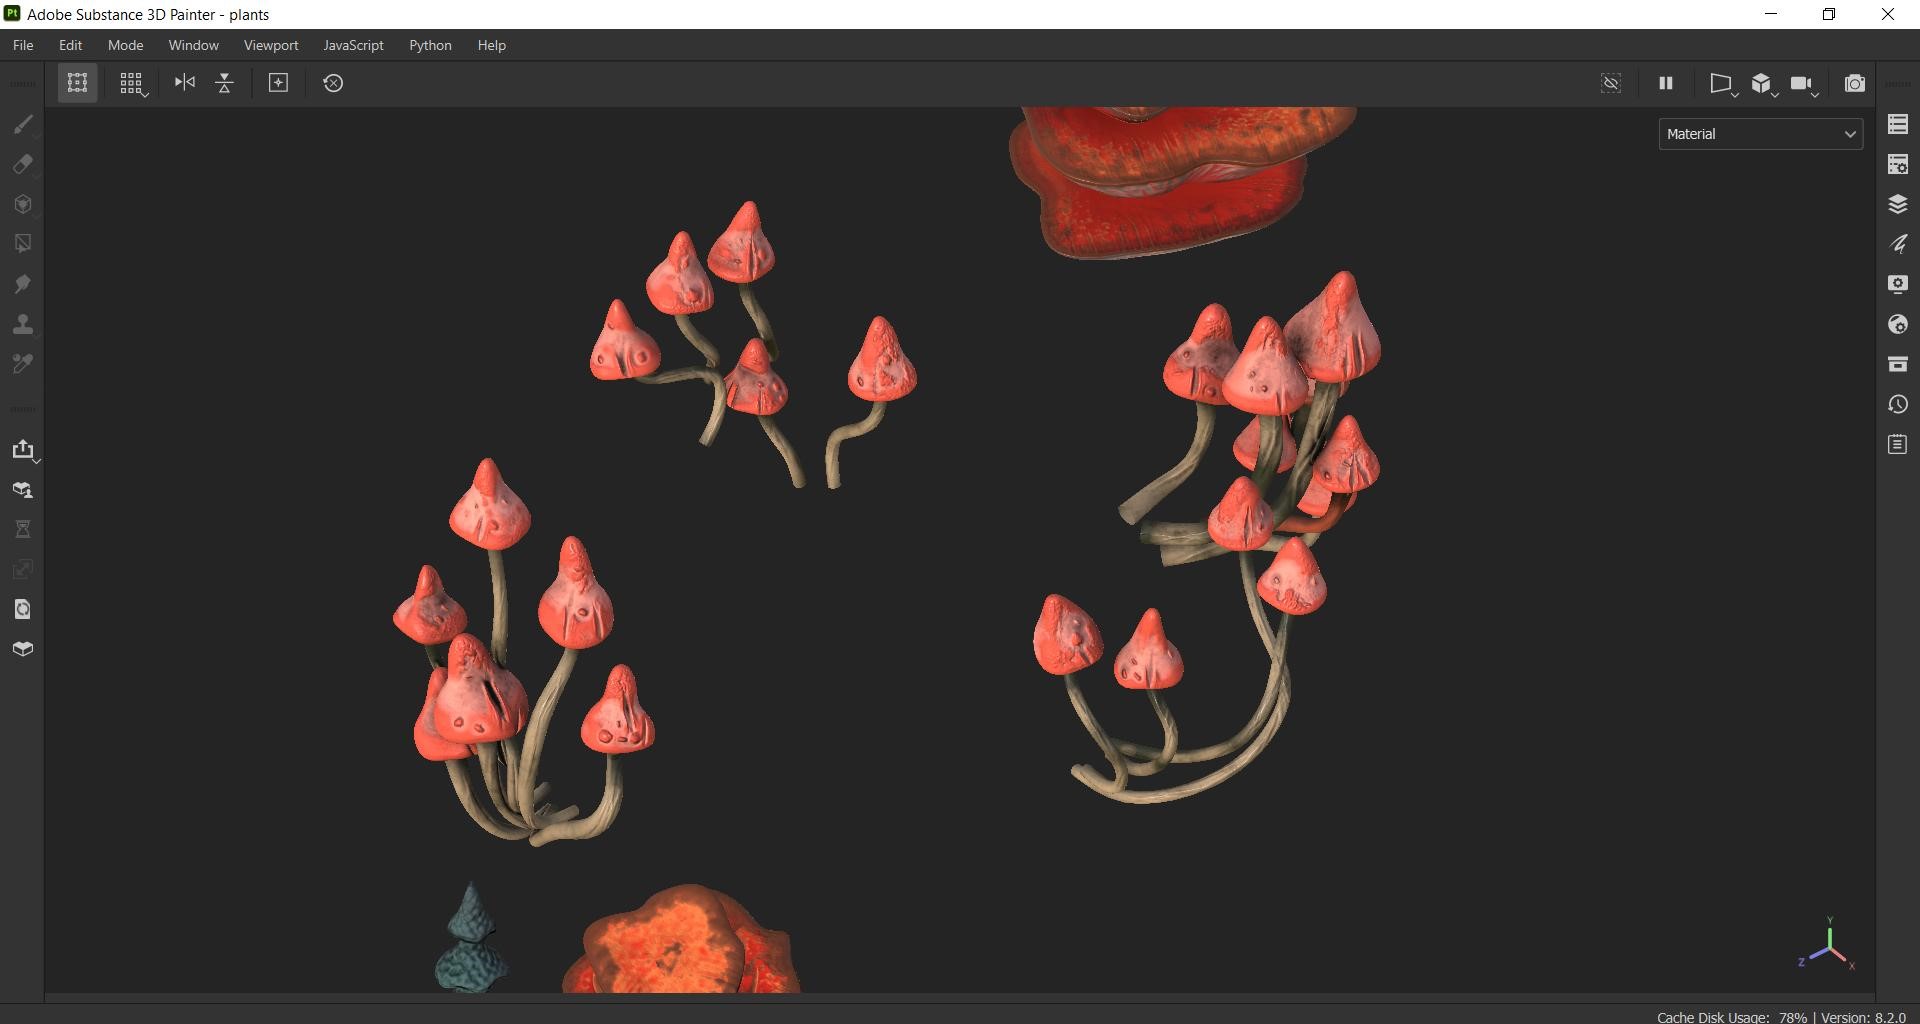
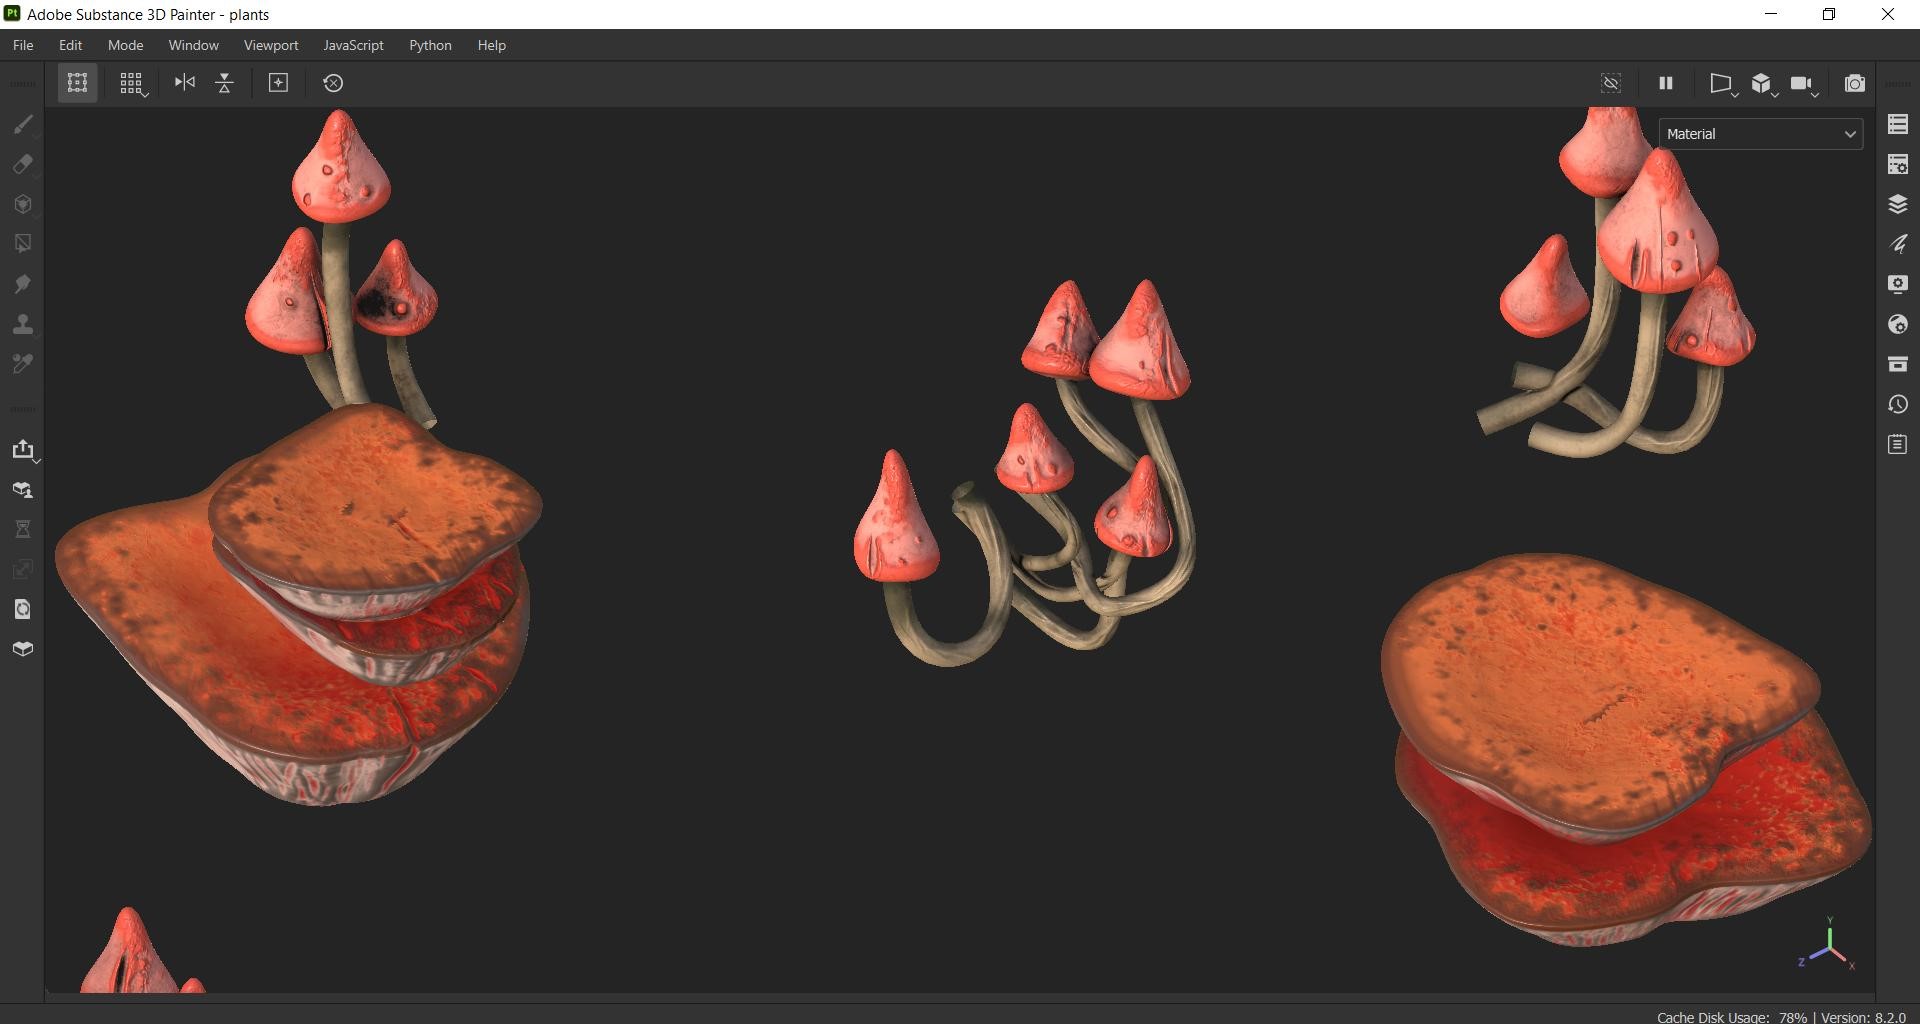
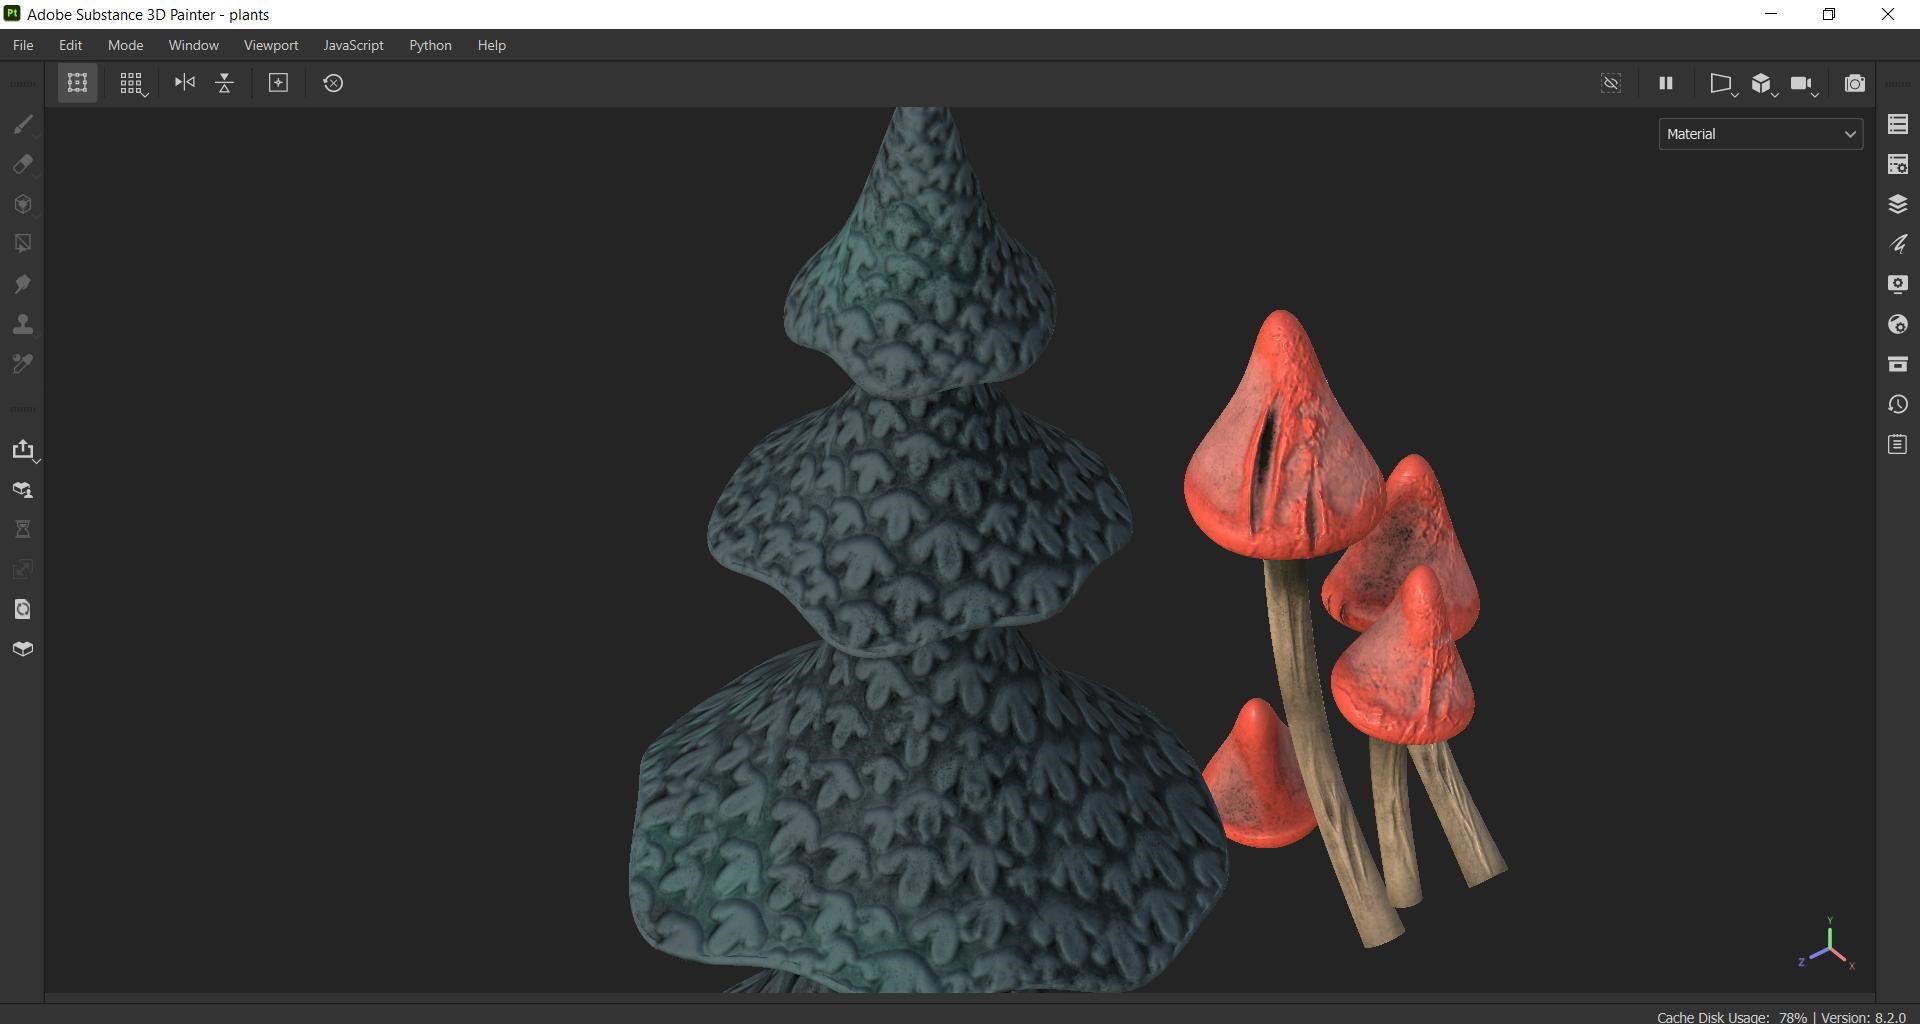
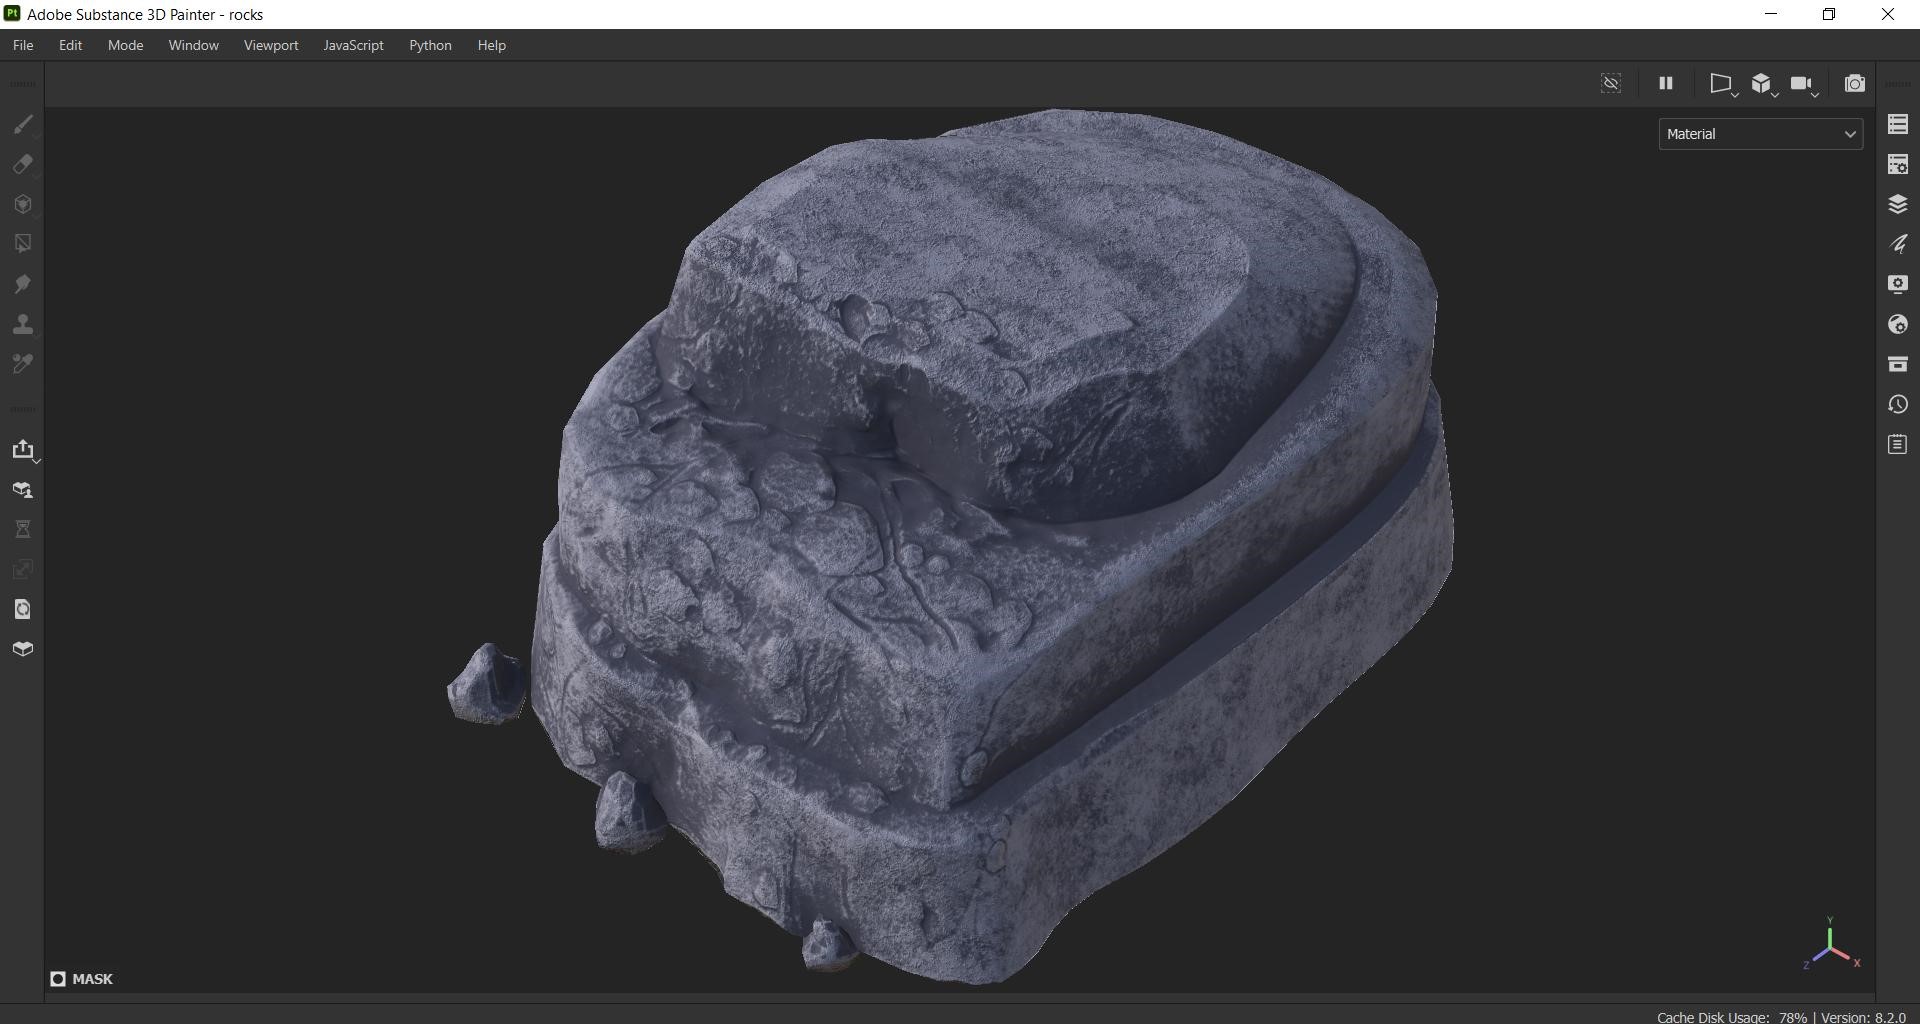
TEXTURING
This is the loveliest part of the workflow when the most magic happens.
I used 4096 px texture maps settings. I made textures for the house, rocks, mushrooms and floor separately.

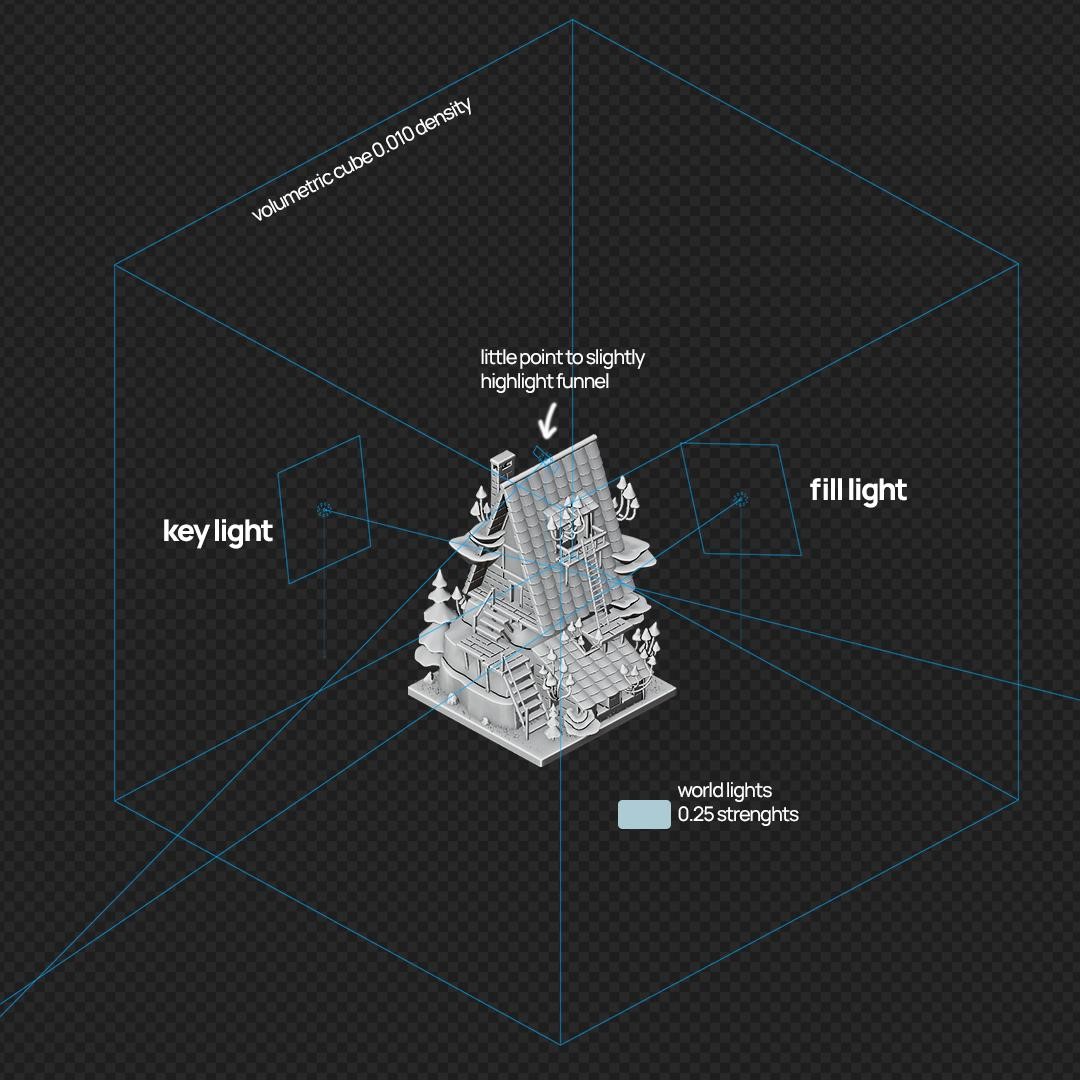
LIGHTING
Lighting was a little tricky because I used some volumetrics to add a bit of a foggy atmosphere, but it was important to save the original color palette. This is my light scheme.
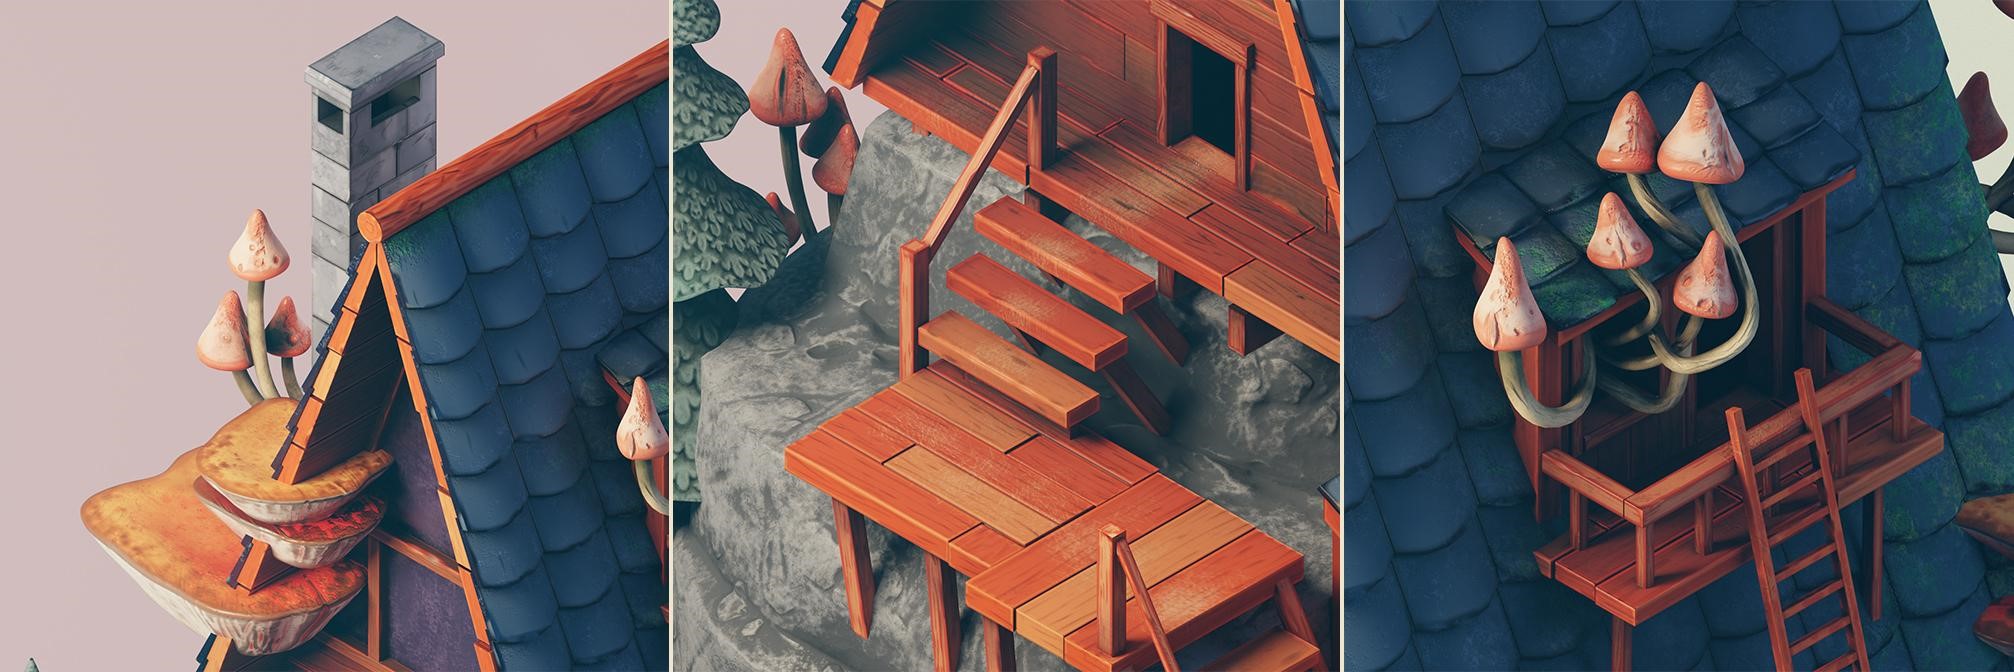
MUSHROOM HOUSE
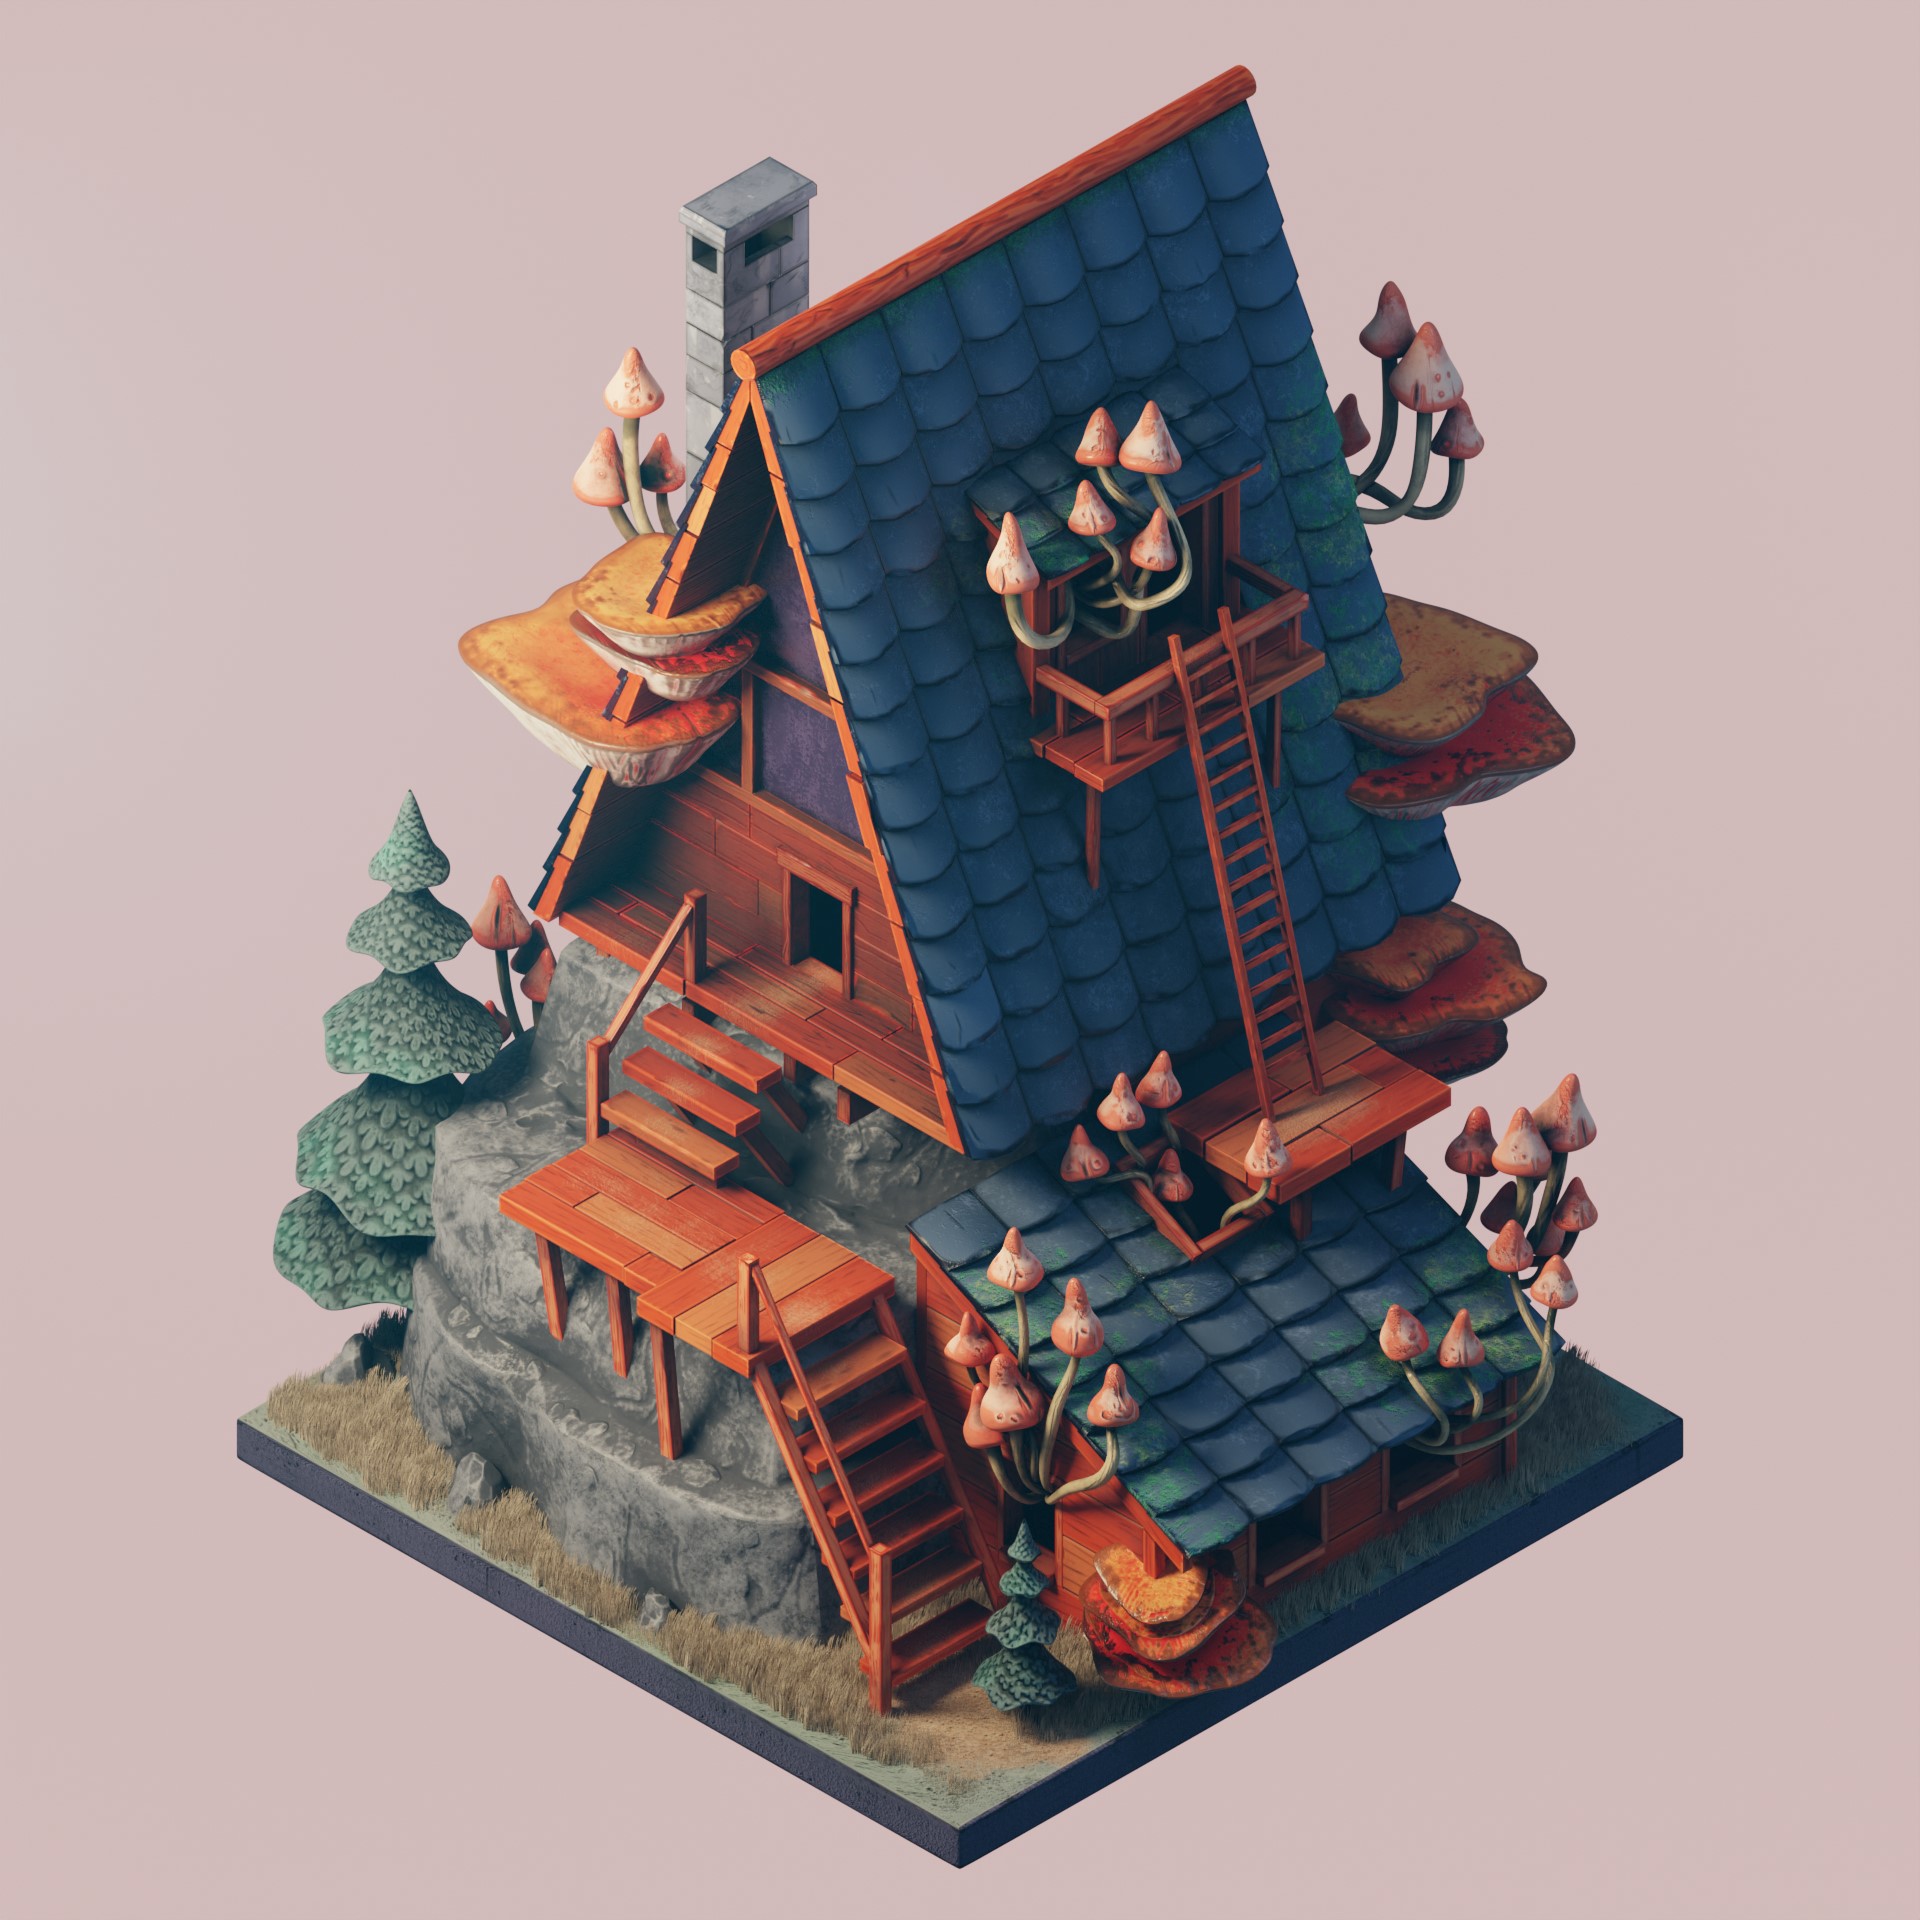

Close-ups to see my mistakes better.
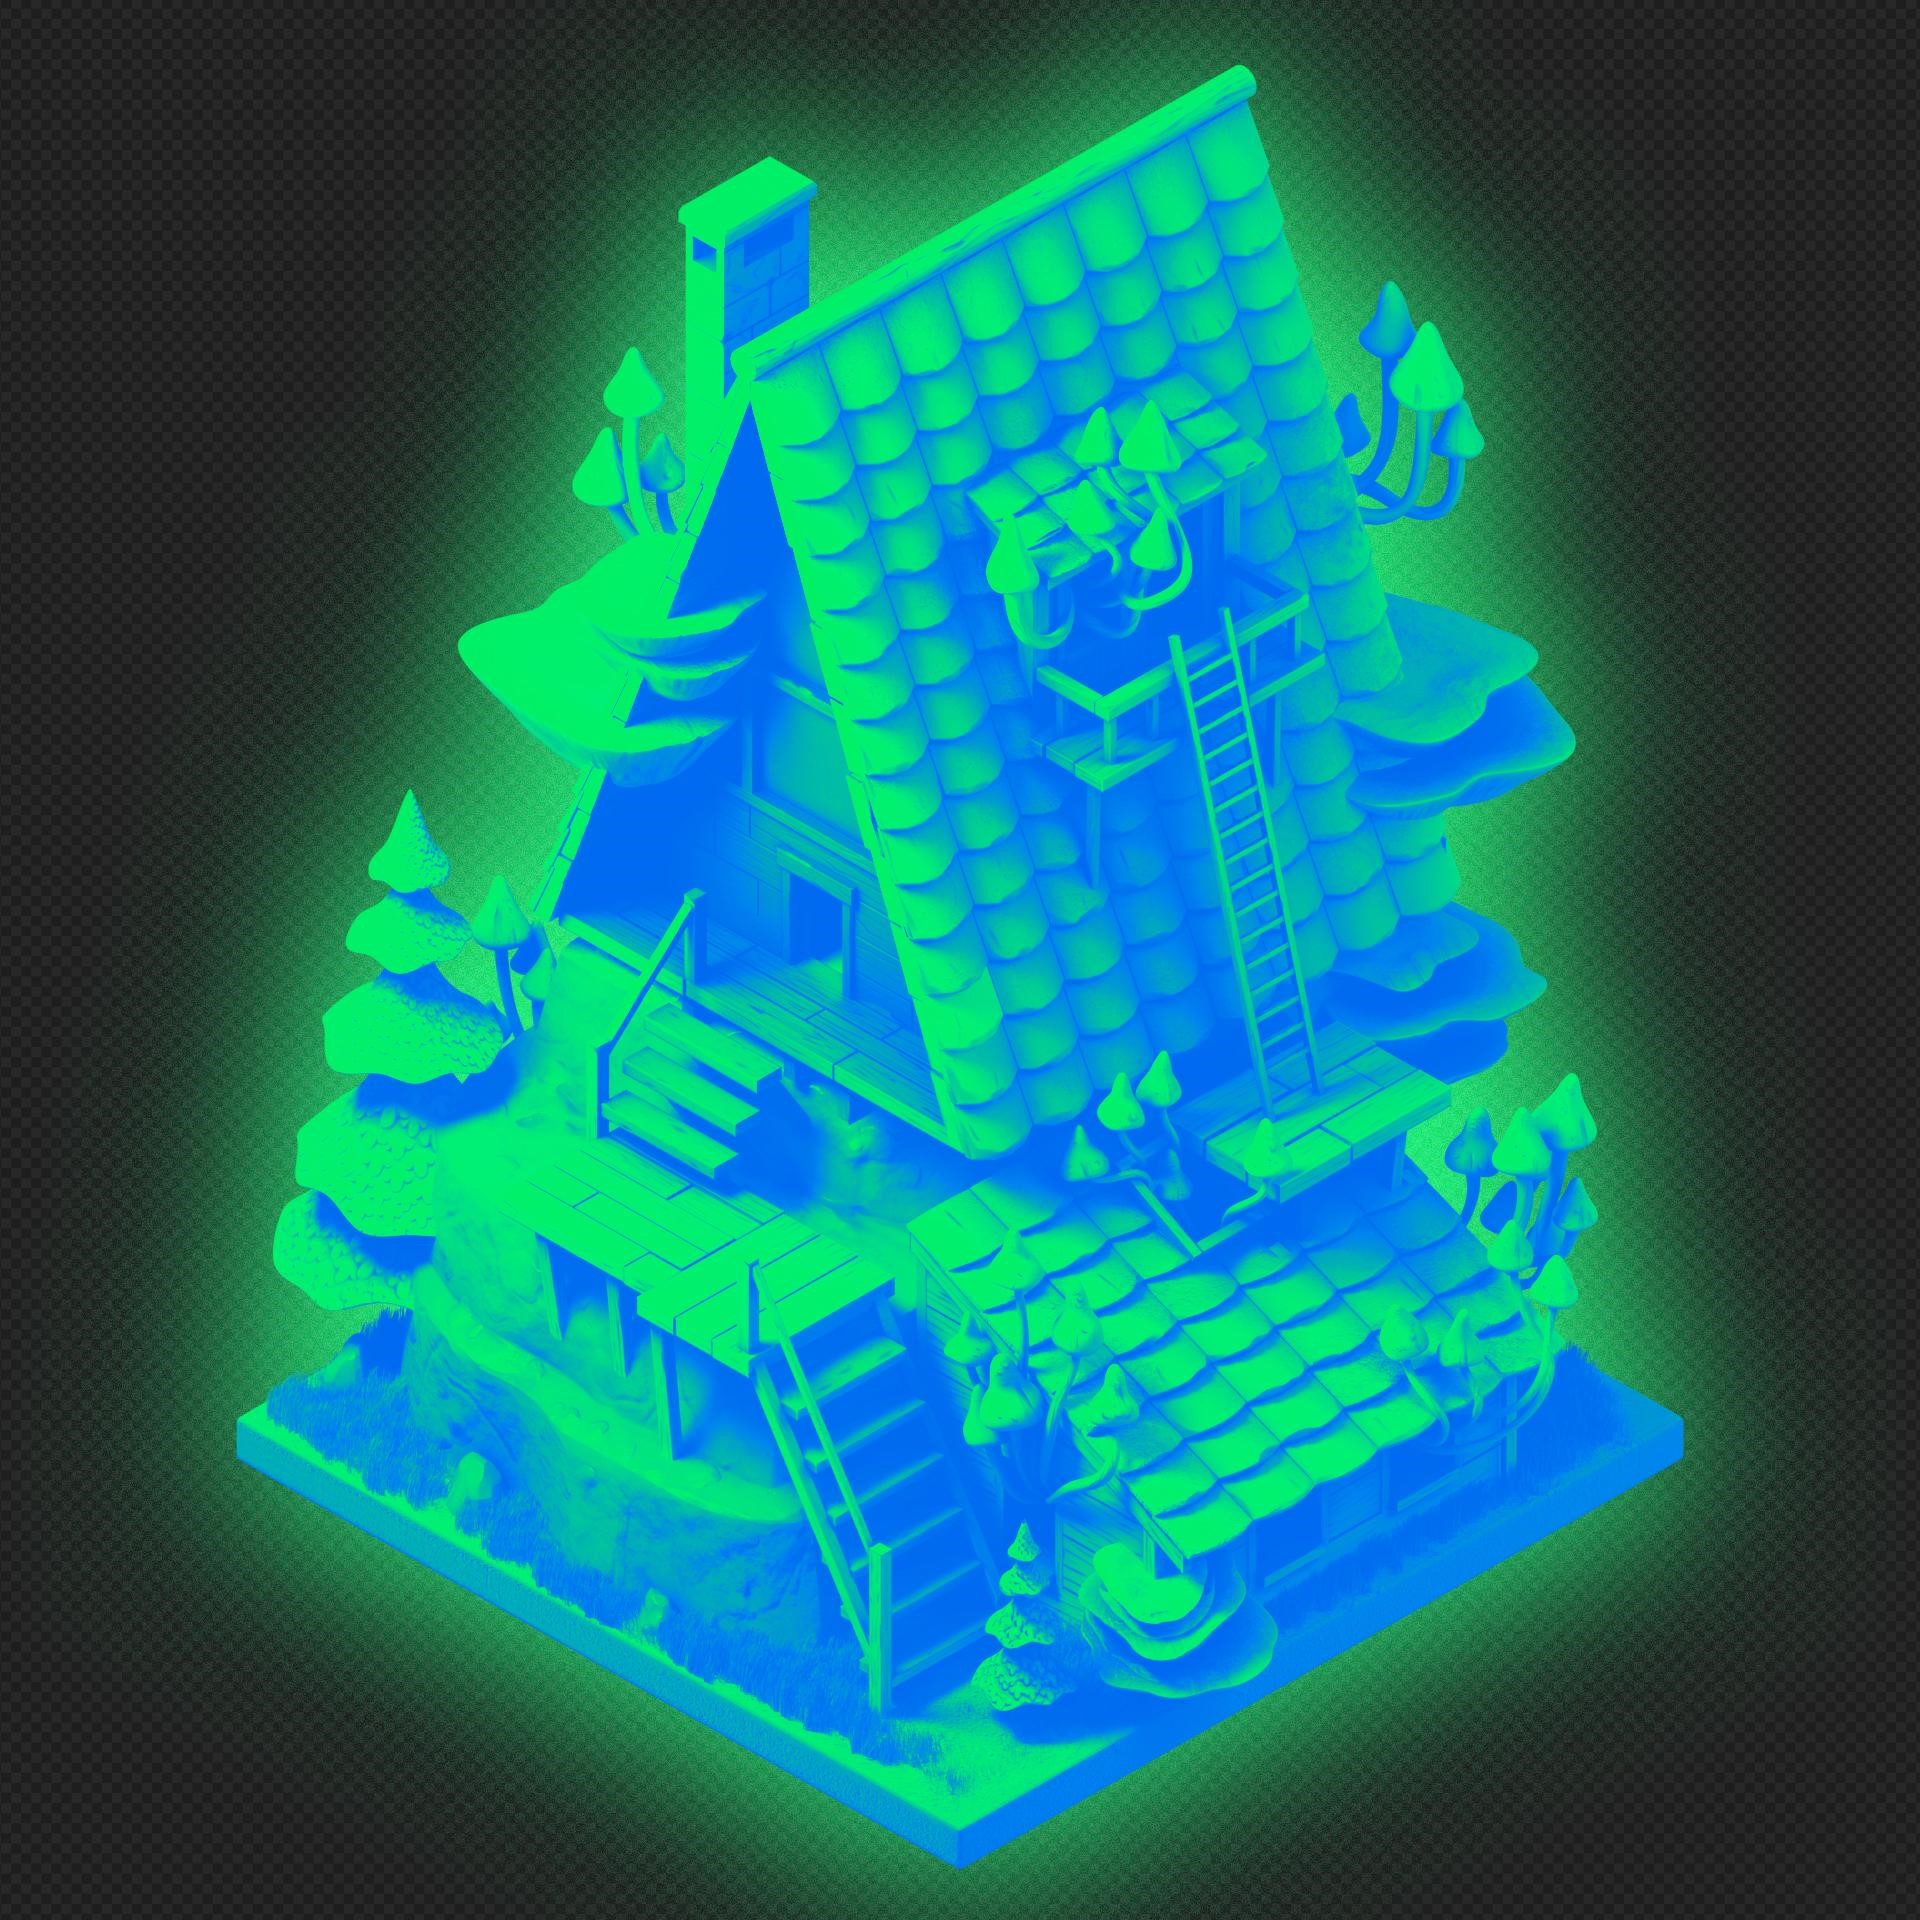
Some acid just for fun.
Thank you so much for reading this. I hope you learned something useful!
About the Artist
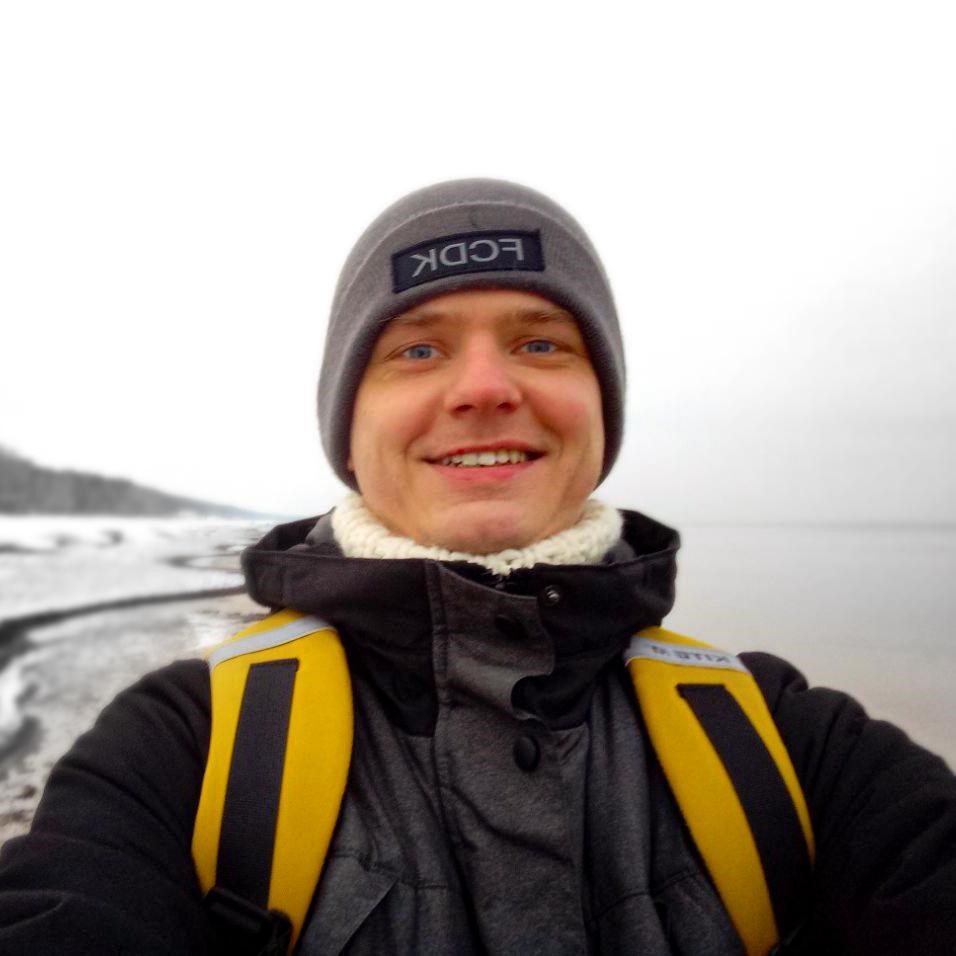
Maksym Shamin, a 3D beginner looking for some work from Kyiv, Ukraine.


