Behind the Scenes: 憂艶~Yu-En
INTRODUCTION
Hi, I’m Enigma, a 24-year-old from Japan. I work as a modeler at a Japanese studio, while I make artworks as a hobby.
I started using Blender in 2020 and I’ve been using it ever since. Also, I make tutorials, which are available on Udemy, in Japanese.
INSPIRATION
This title “憂艶” means “Worries make your life beautiful.”
In Japanese, “憂” is worries, and “艶” is beauty for flowers and women. I want to convey the message that worries make your life beautiful like colorful flowers.
First of all, I thought, “What can I say to express my worries?” I considered it and decided to include deep bushes in the mountains, thick fog, and human expressions with their eyes closed in the artwork.
Second of all, I thought, “What is beauty?” I pondered and decided to include petals, a woman, and a deer in the scene.
After choosing the elements to include in the artwork, I collected pictures on Pinterest.
ROUGH LAYOUT
Before I started creating the work, I made a rough image with the asset browser in Blender.
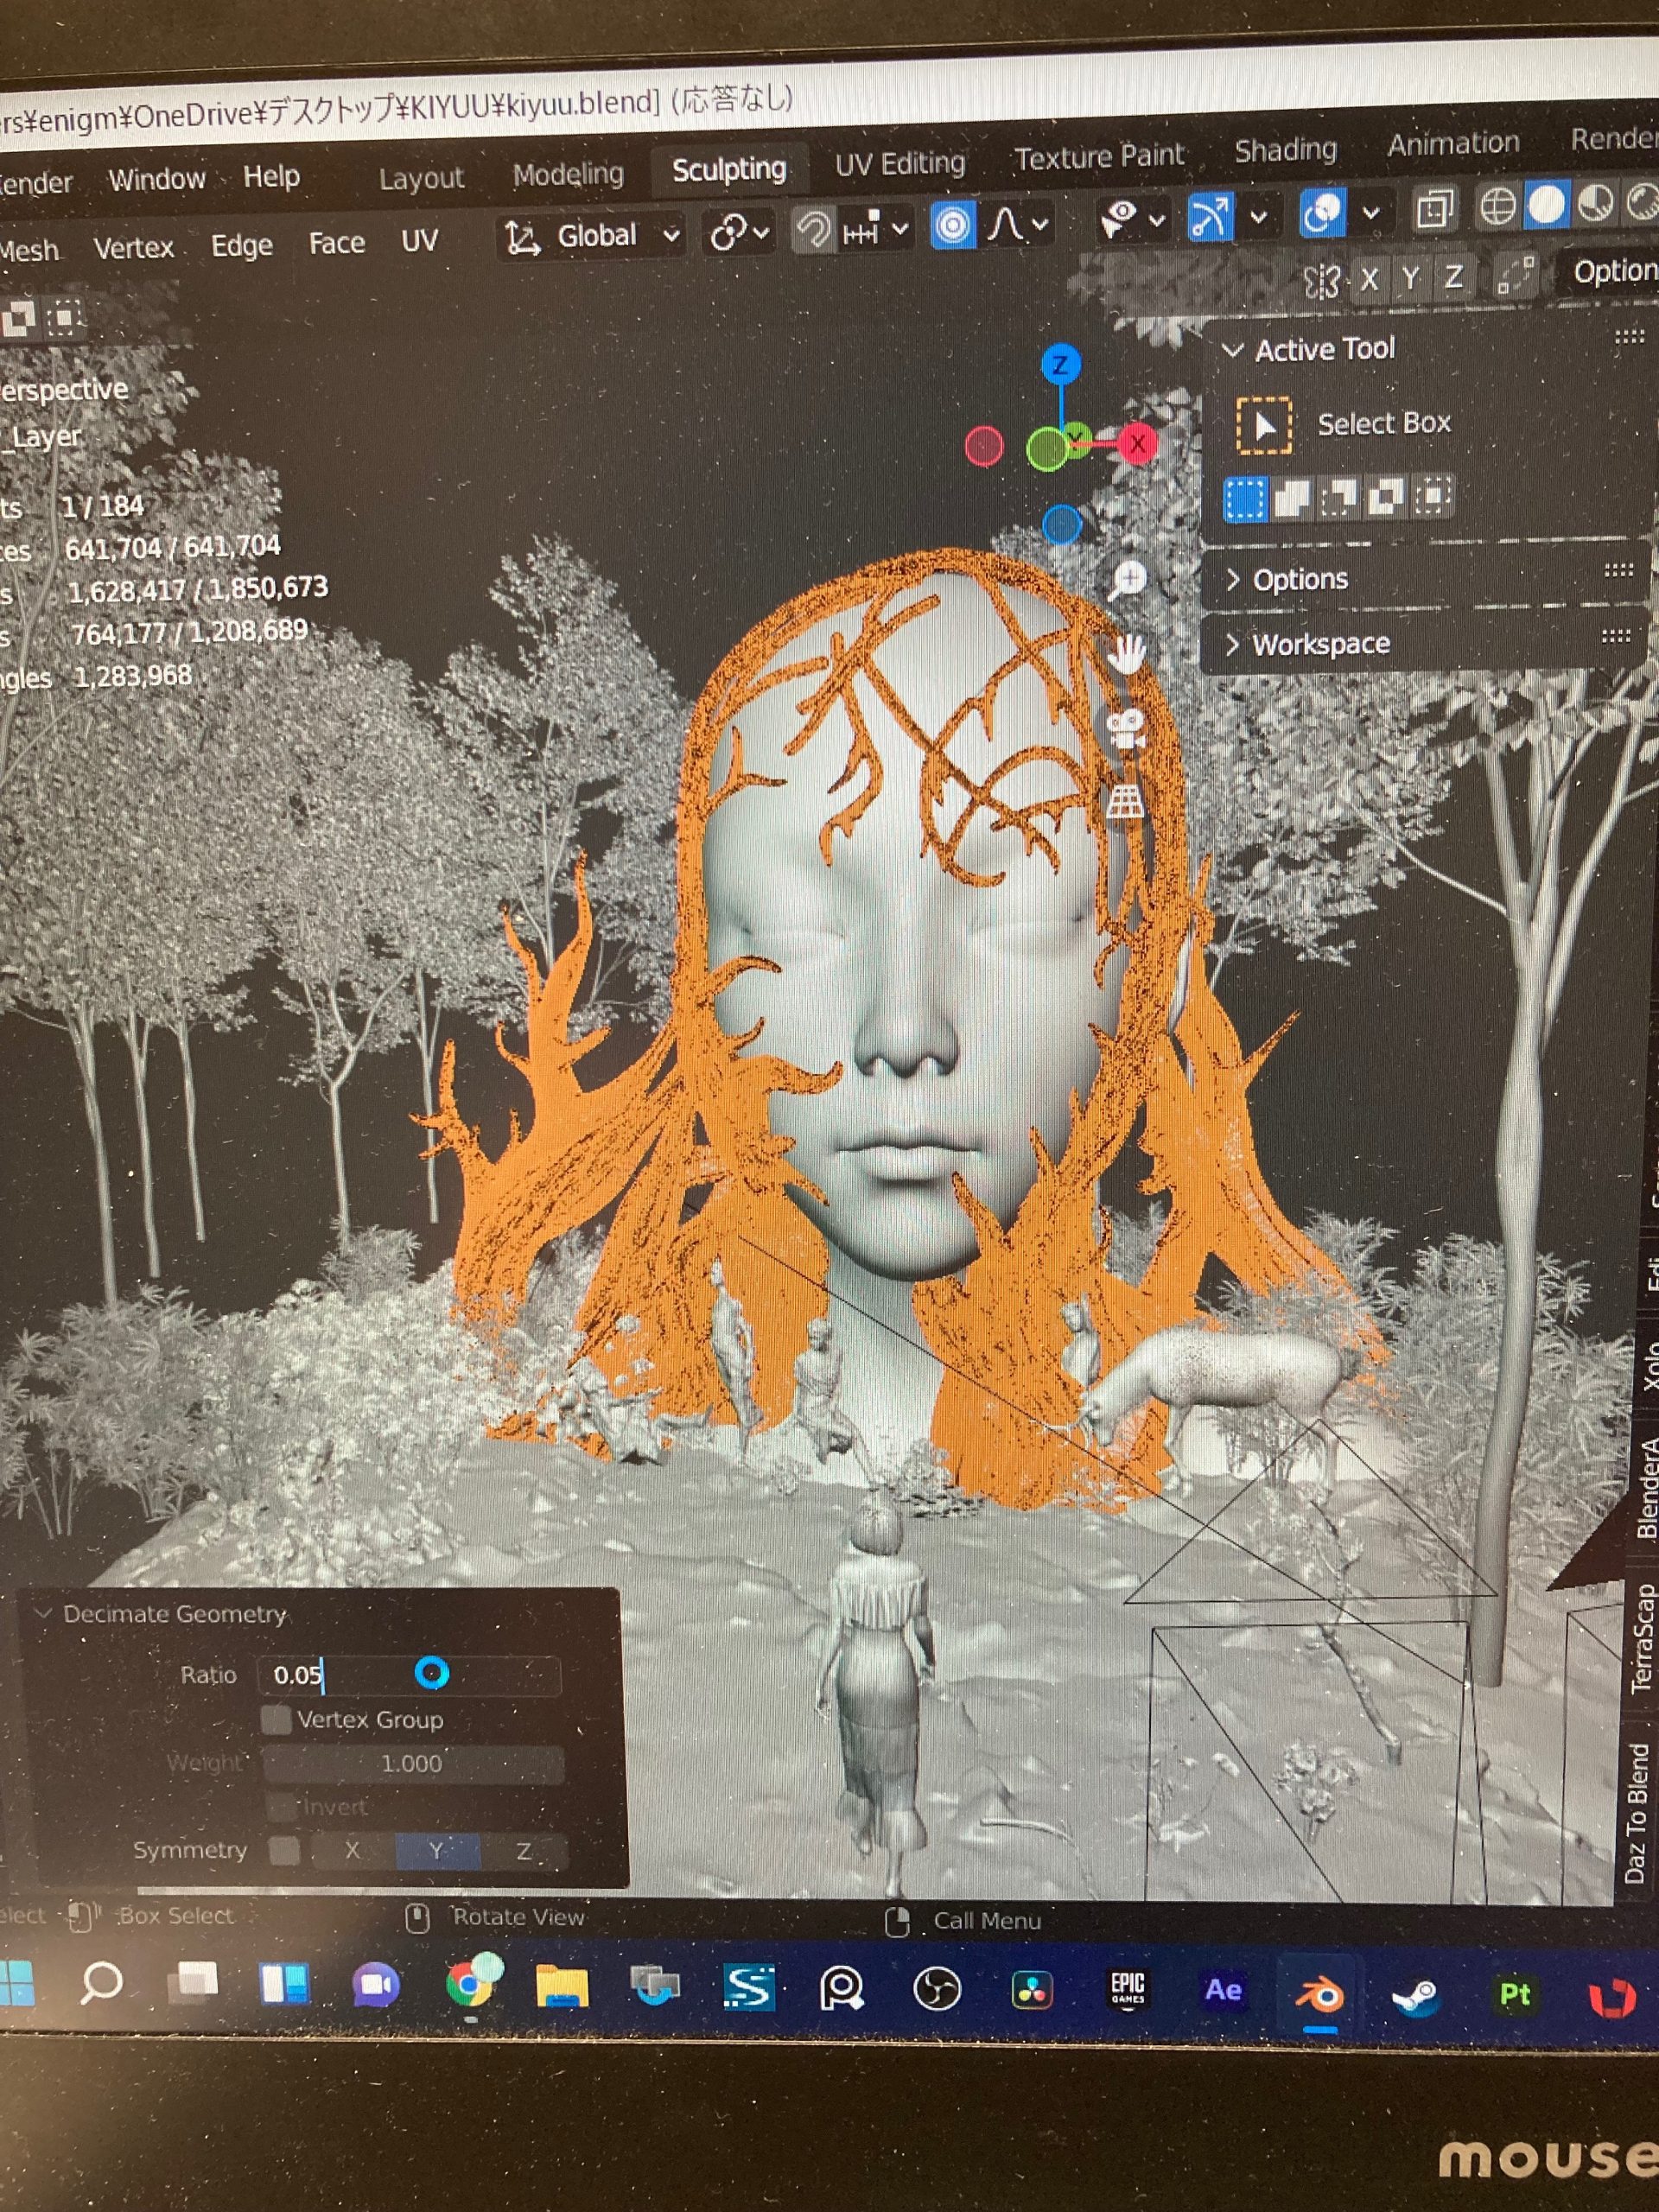
BRANCHES
The branches around the woman’s face were made by the method introduced on the YouTube channel, Blender Secret.
Here are how I covered the woman’s face with the branches,
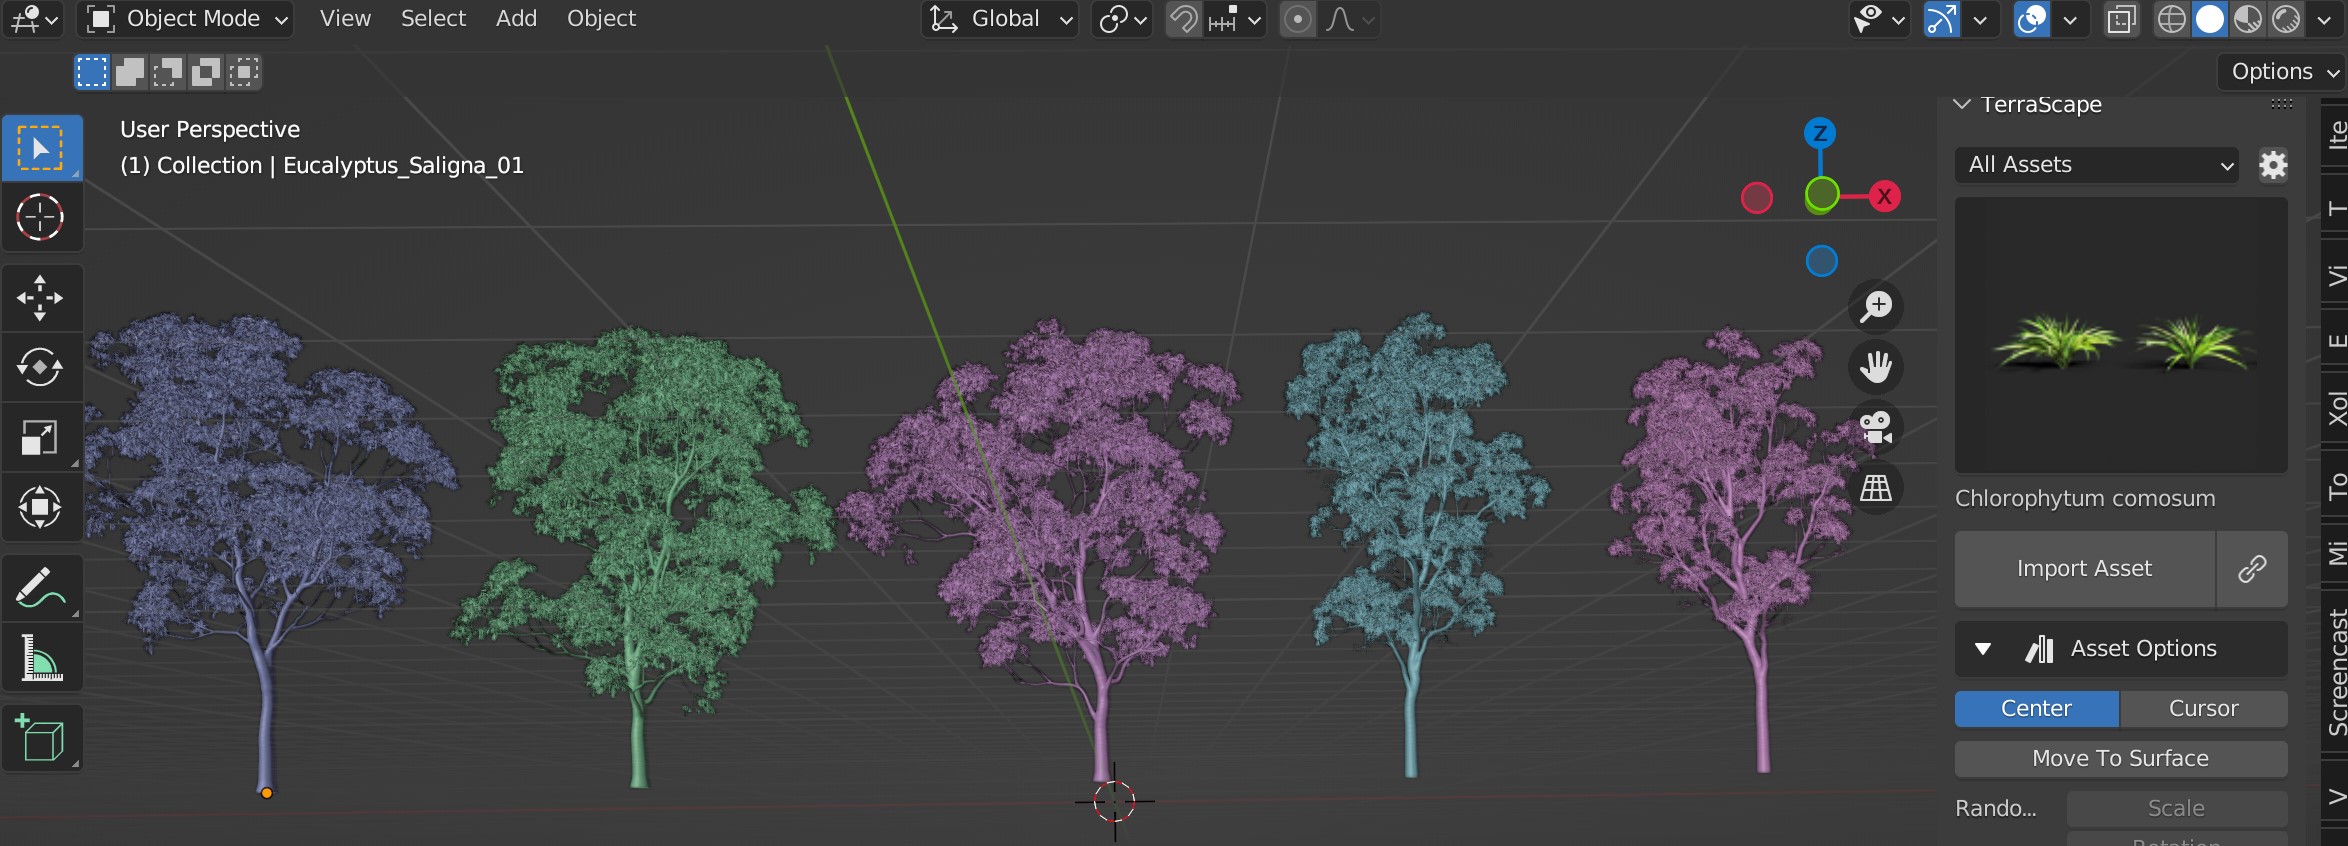
TREES
I created some trees and grasses with Jungle Scapes For Blender.
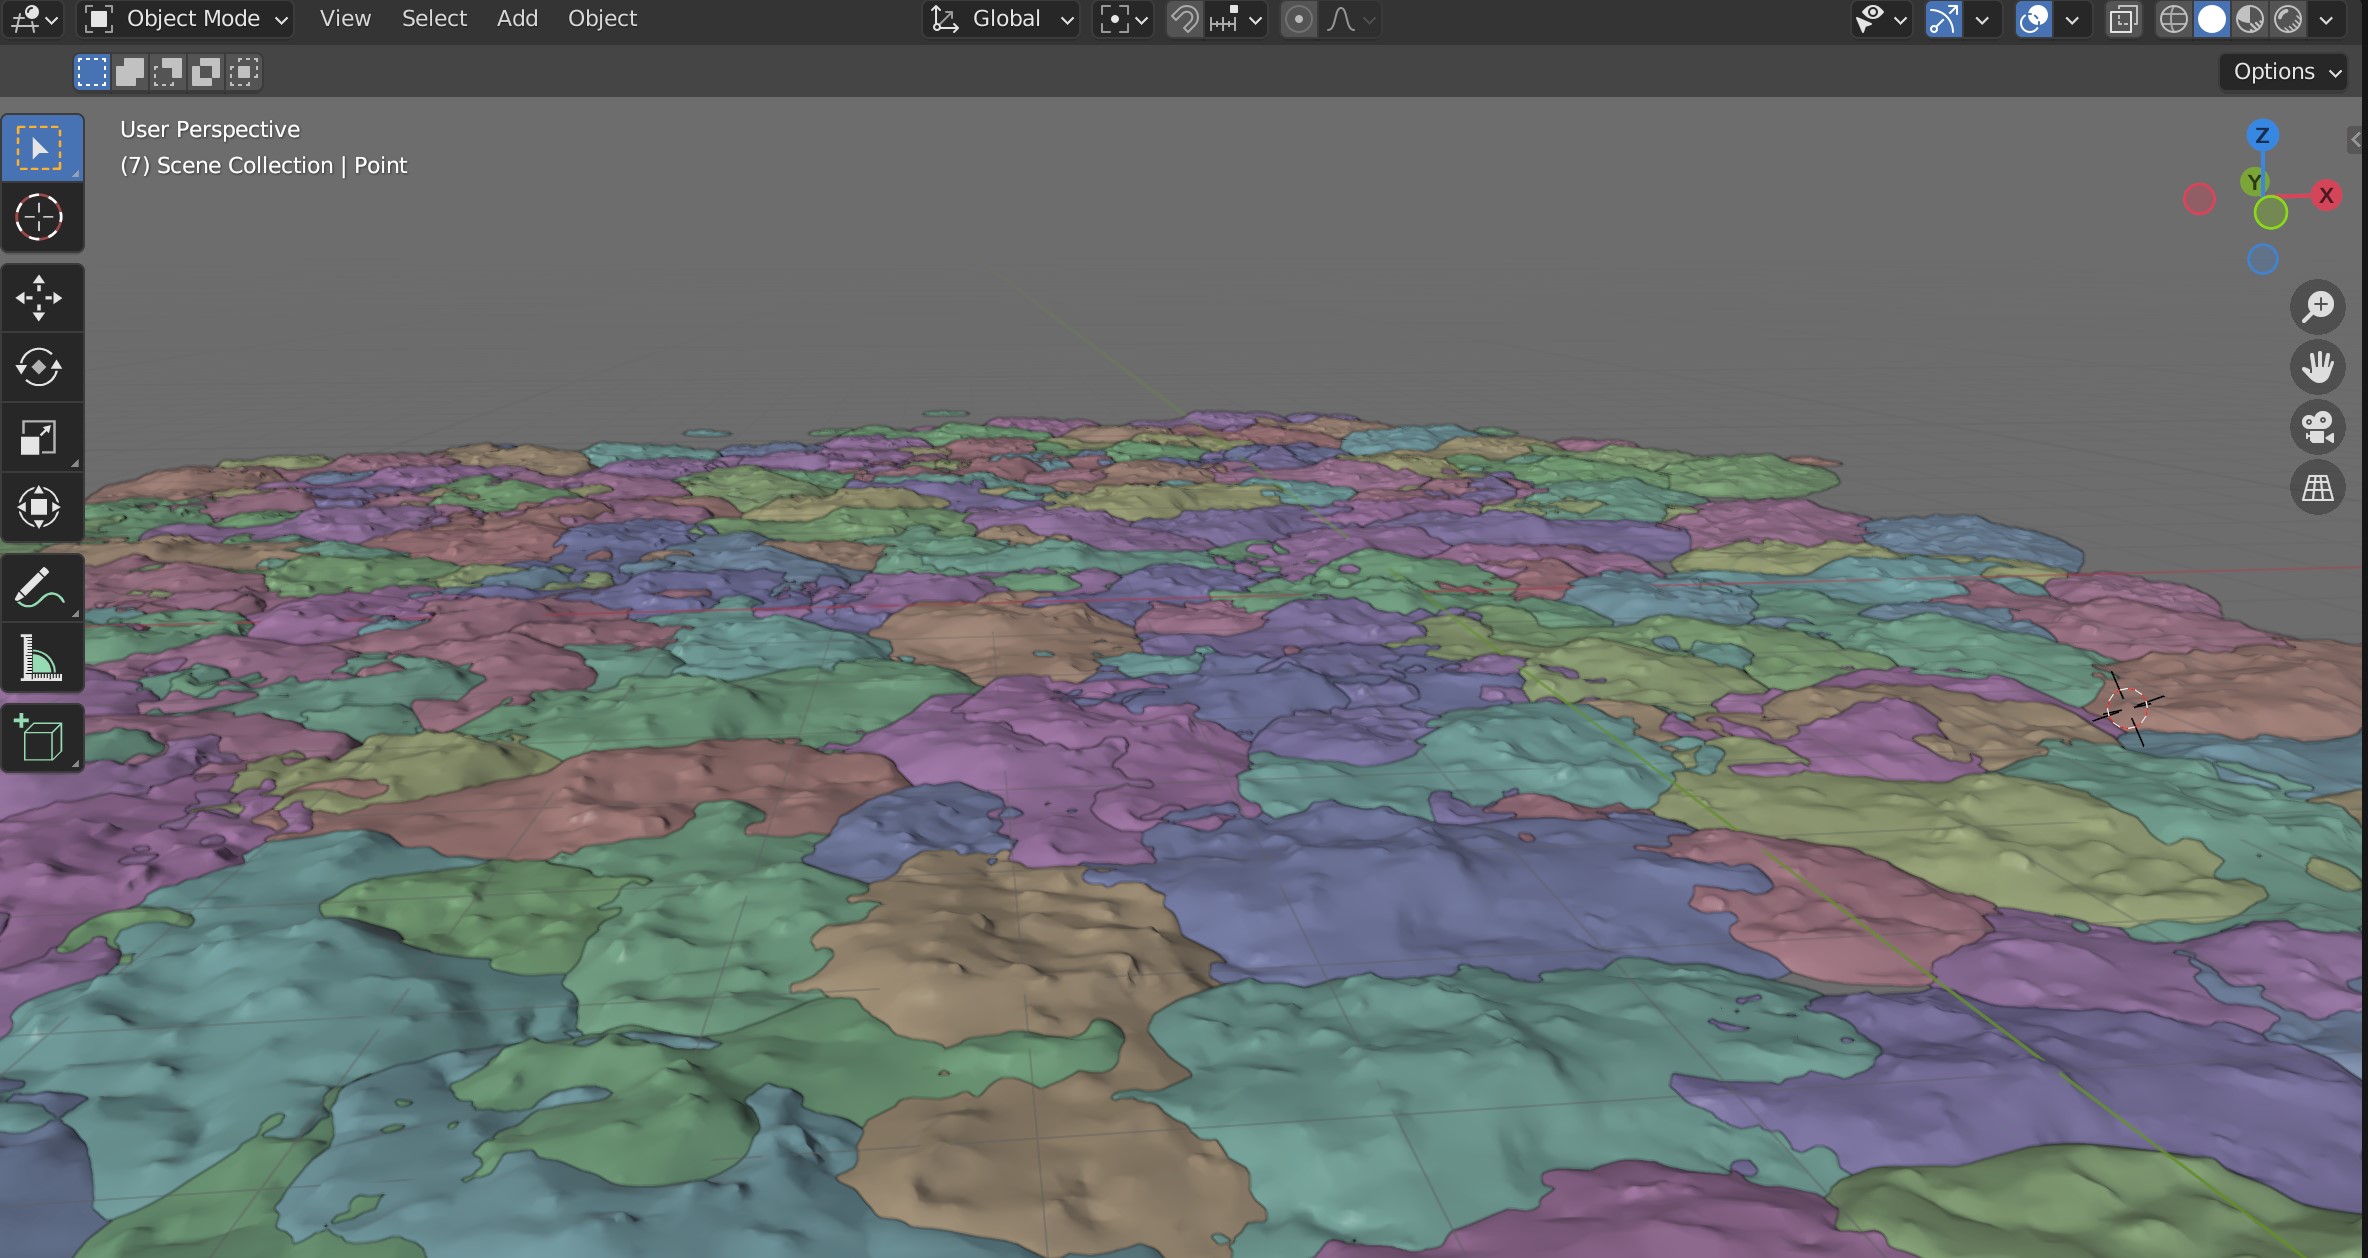
ENVIRONMENT
I created grounds with Quixel Bridge. This allows you to quickly import high-quality assets into Blender, UnrealEngine, etc. In order not to make this asset look like being repeated, I arranged it with different scales and rotations.
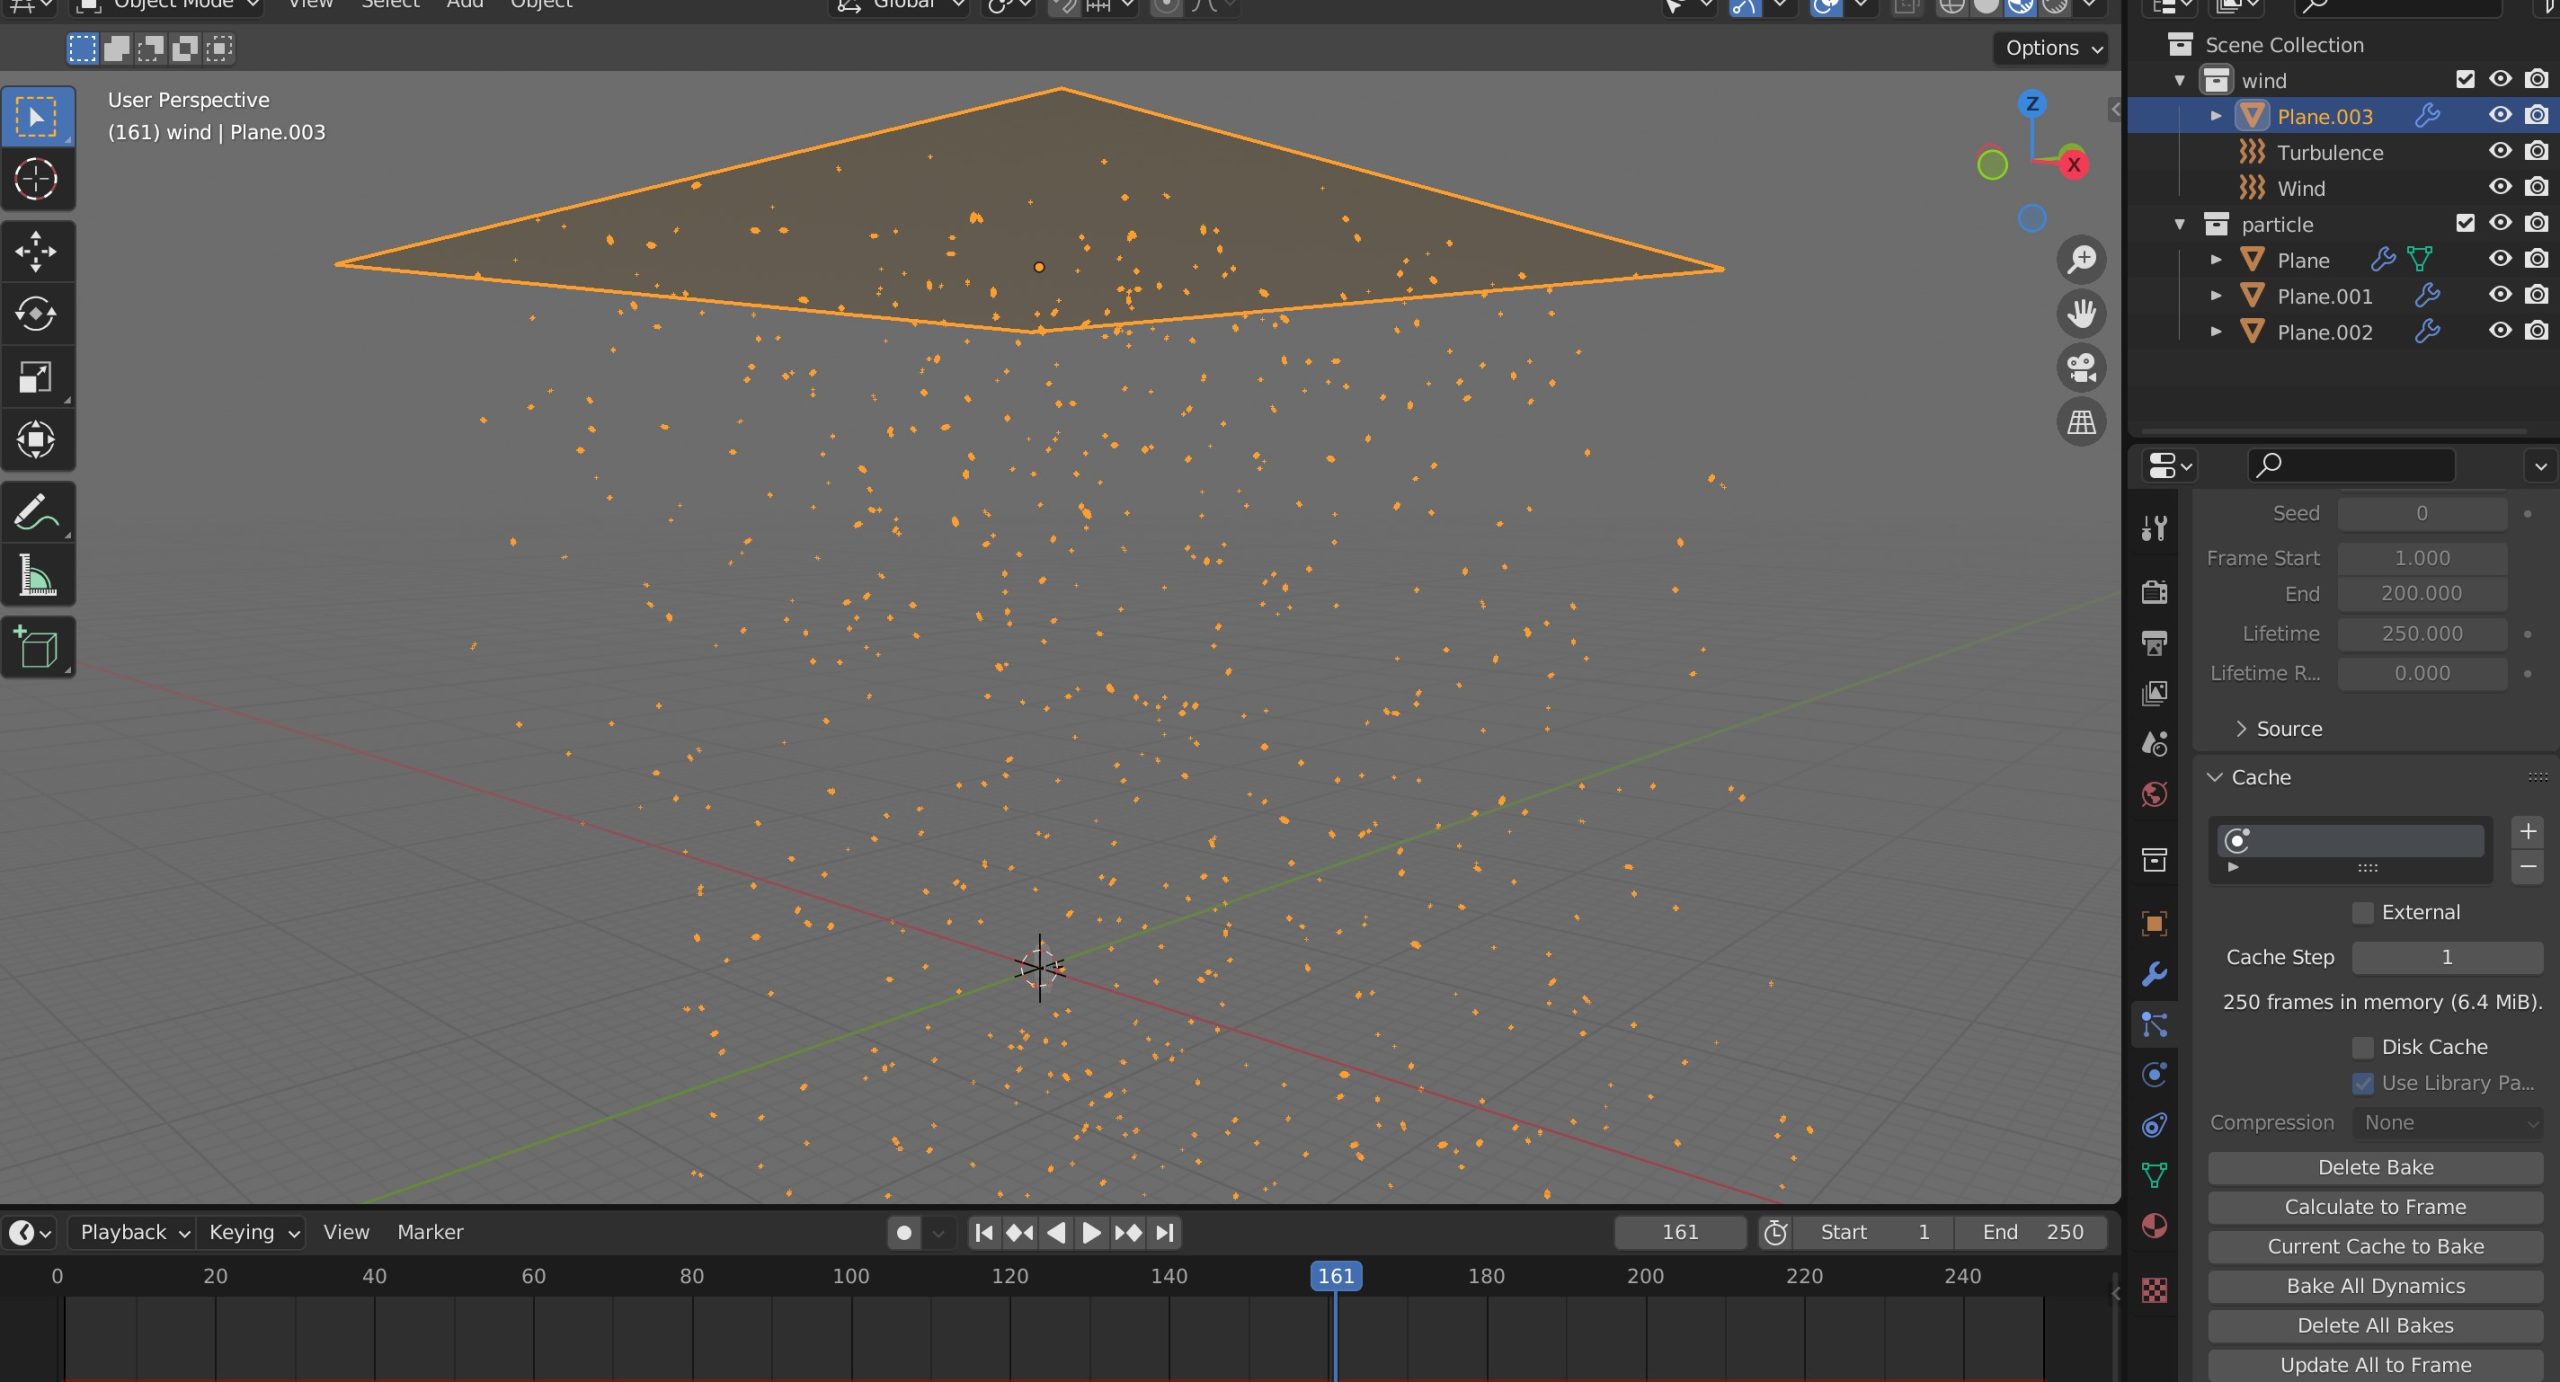
I created petal particles in Blender by following a tutorial from Yota Tasaki, where he explains how to do it.

FOG
I usually create fog with Embergen. I imported the fog output by Embergen into Blender.
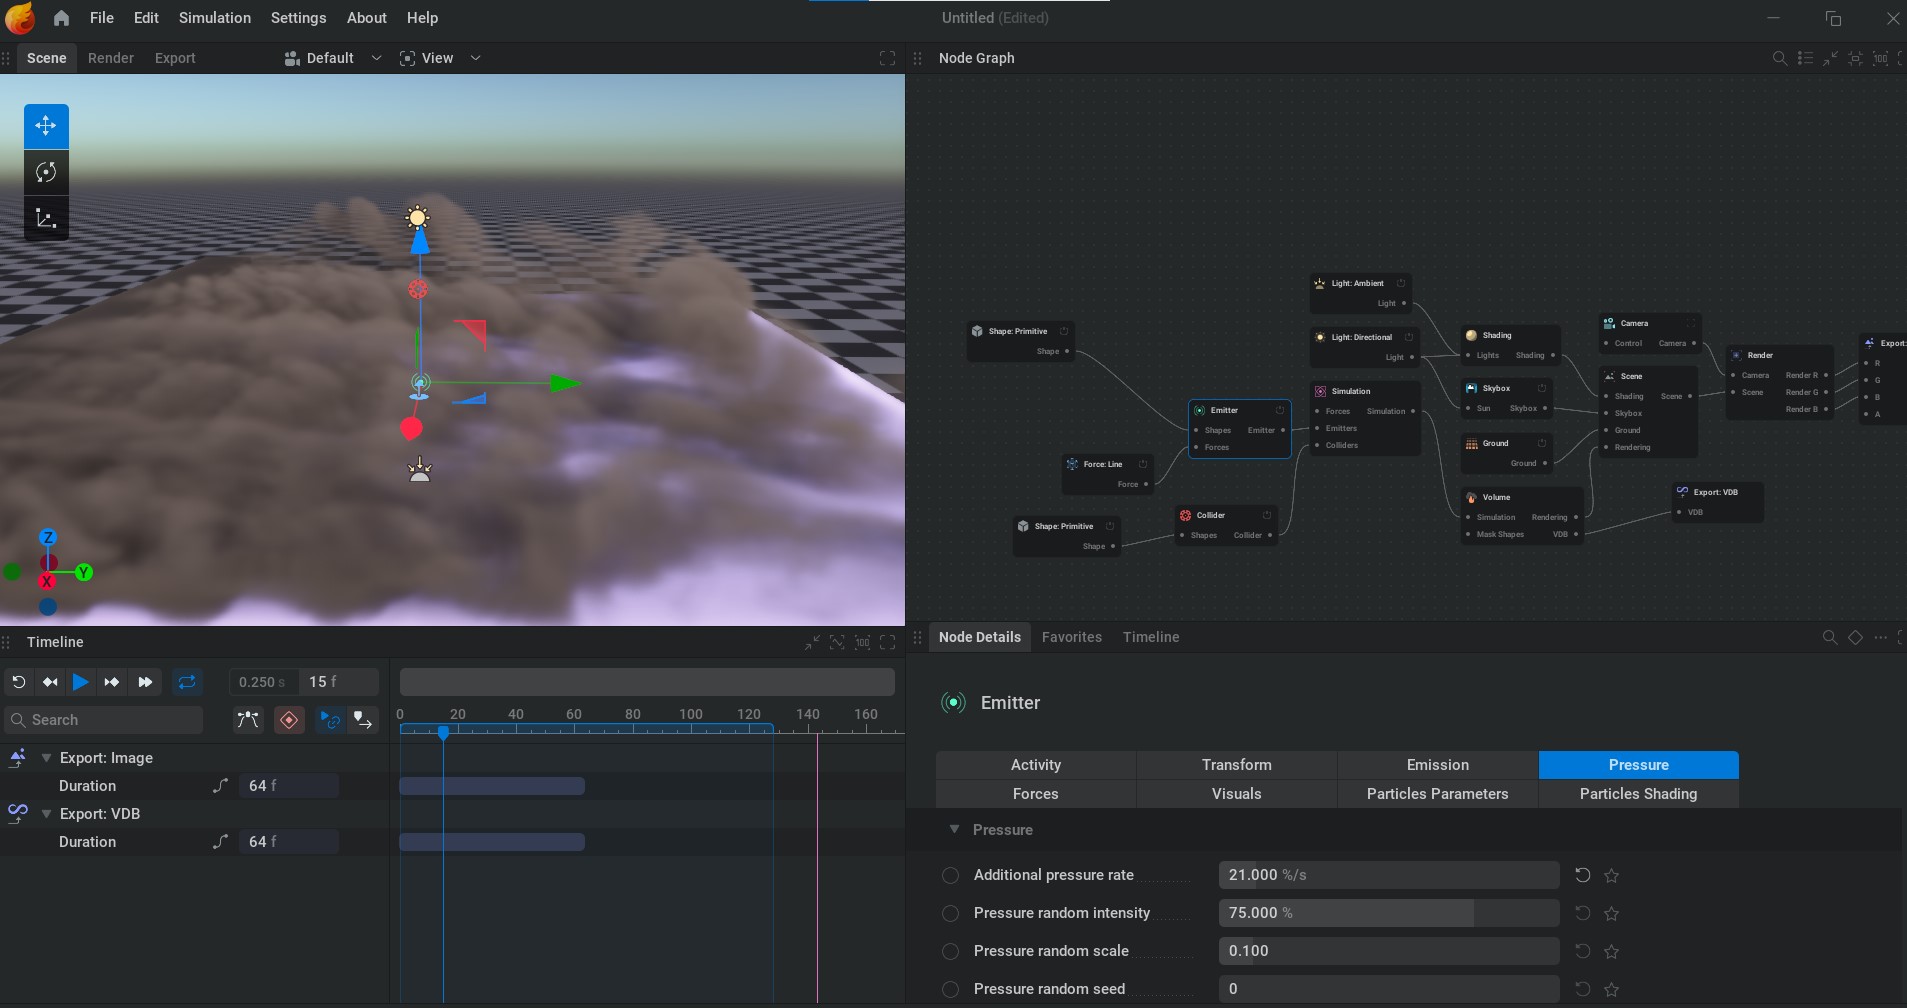
I learned Embergen from JangaFX VFX Software & Tutorials.
DEER AND WOMAN
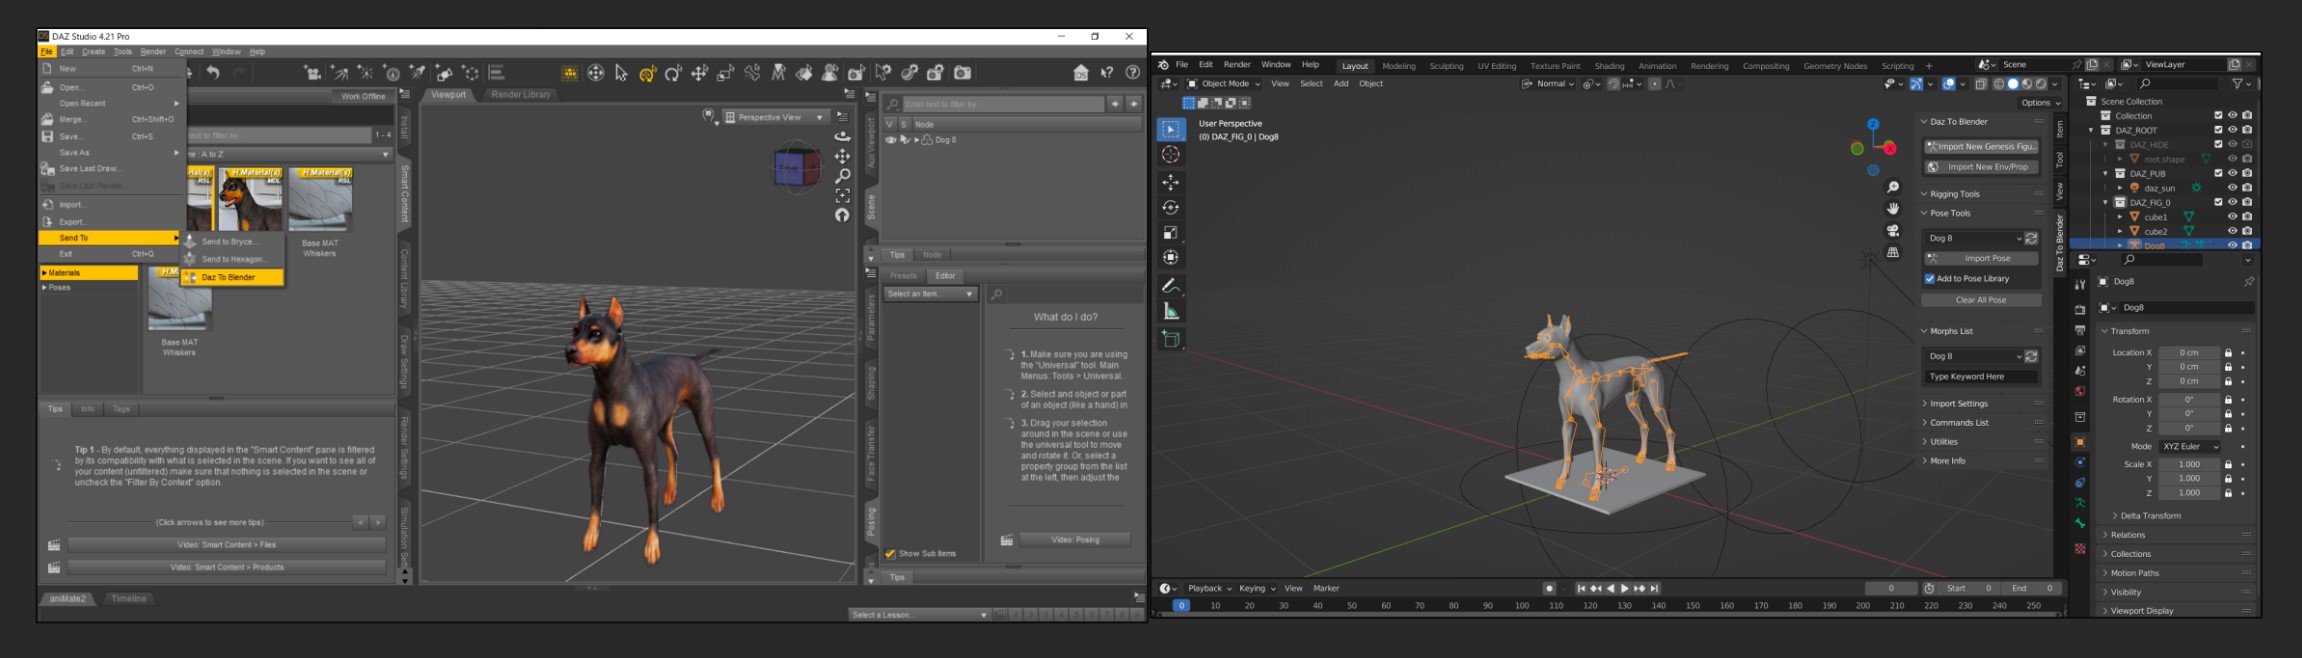
I used “DAZ to Blender.”
This is an add-on that allows you to easily bring Daz3D purchased assets to Blender.
COMPOSITE
Since there are a lot of steps, I will introduce the most useful feature, which is the Landscape Mixer Neural Filter in Adobe Photoshop.
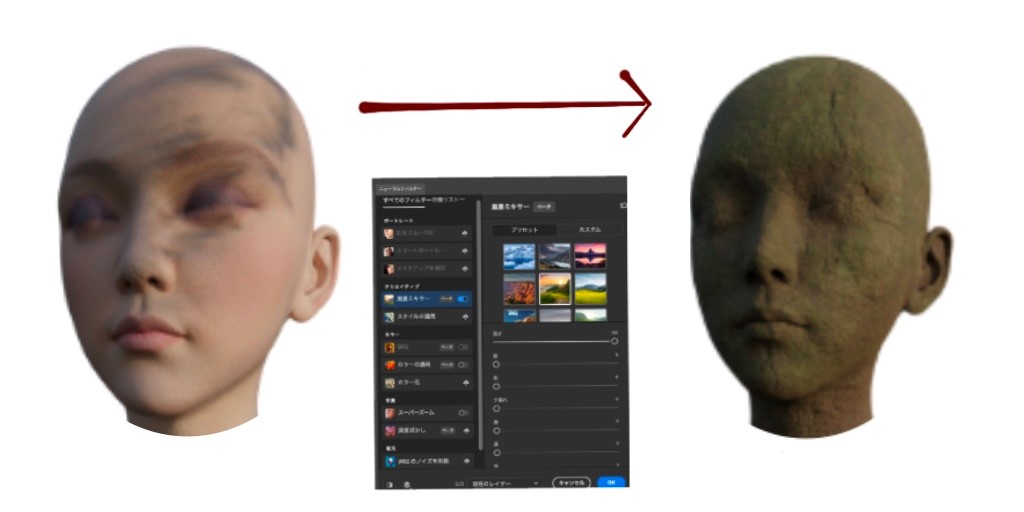
This feature allows you to easily create a detailed look, even if it looks rough.
I imported the images exported from Blender into Photoshop and painted so that each element blended in.
Then, I drew god rays, adjusted the overall colors with color lookup, and added noise with the camera raw filter.
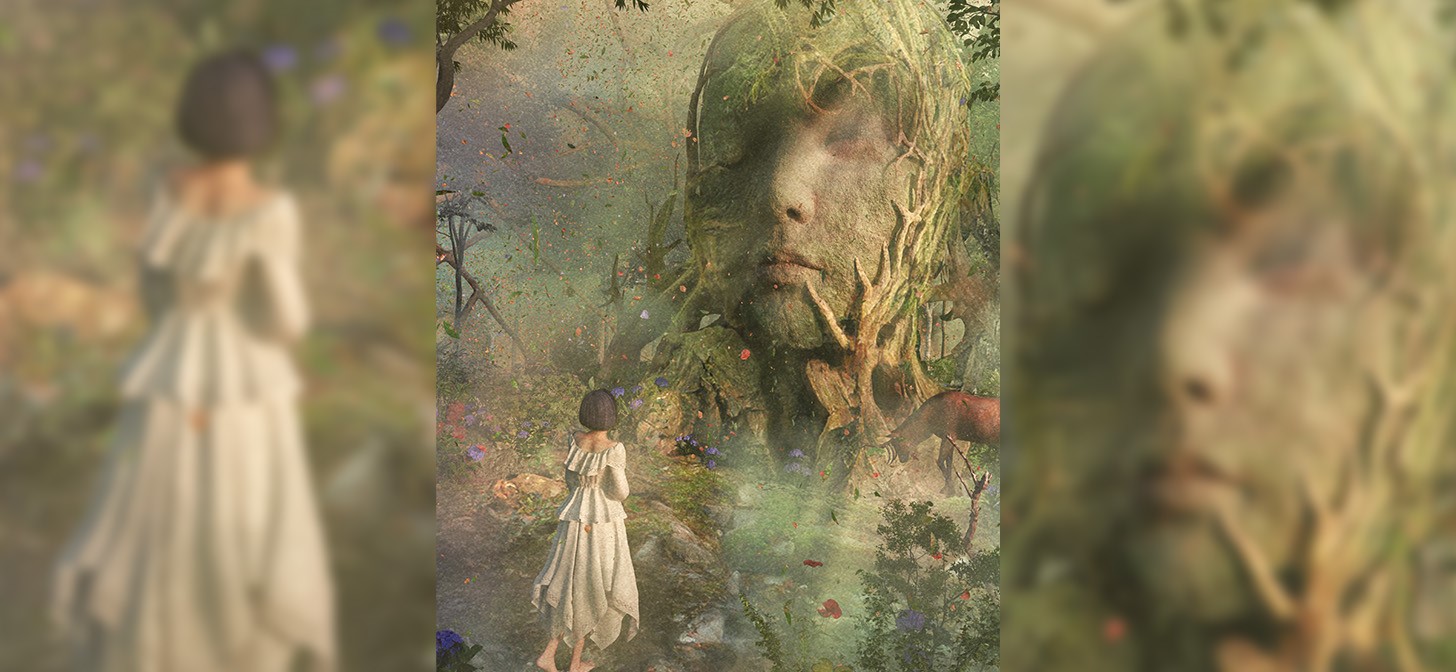
憂艶~Yu-En

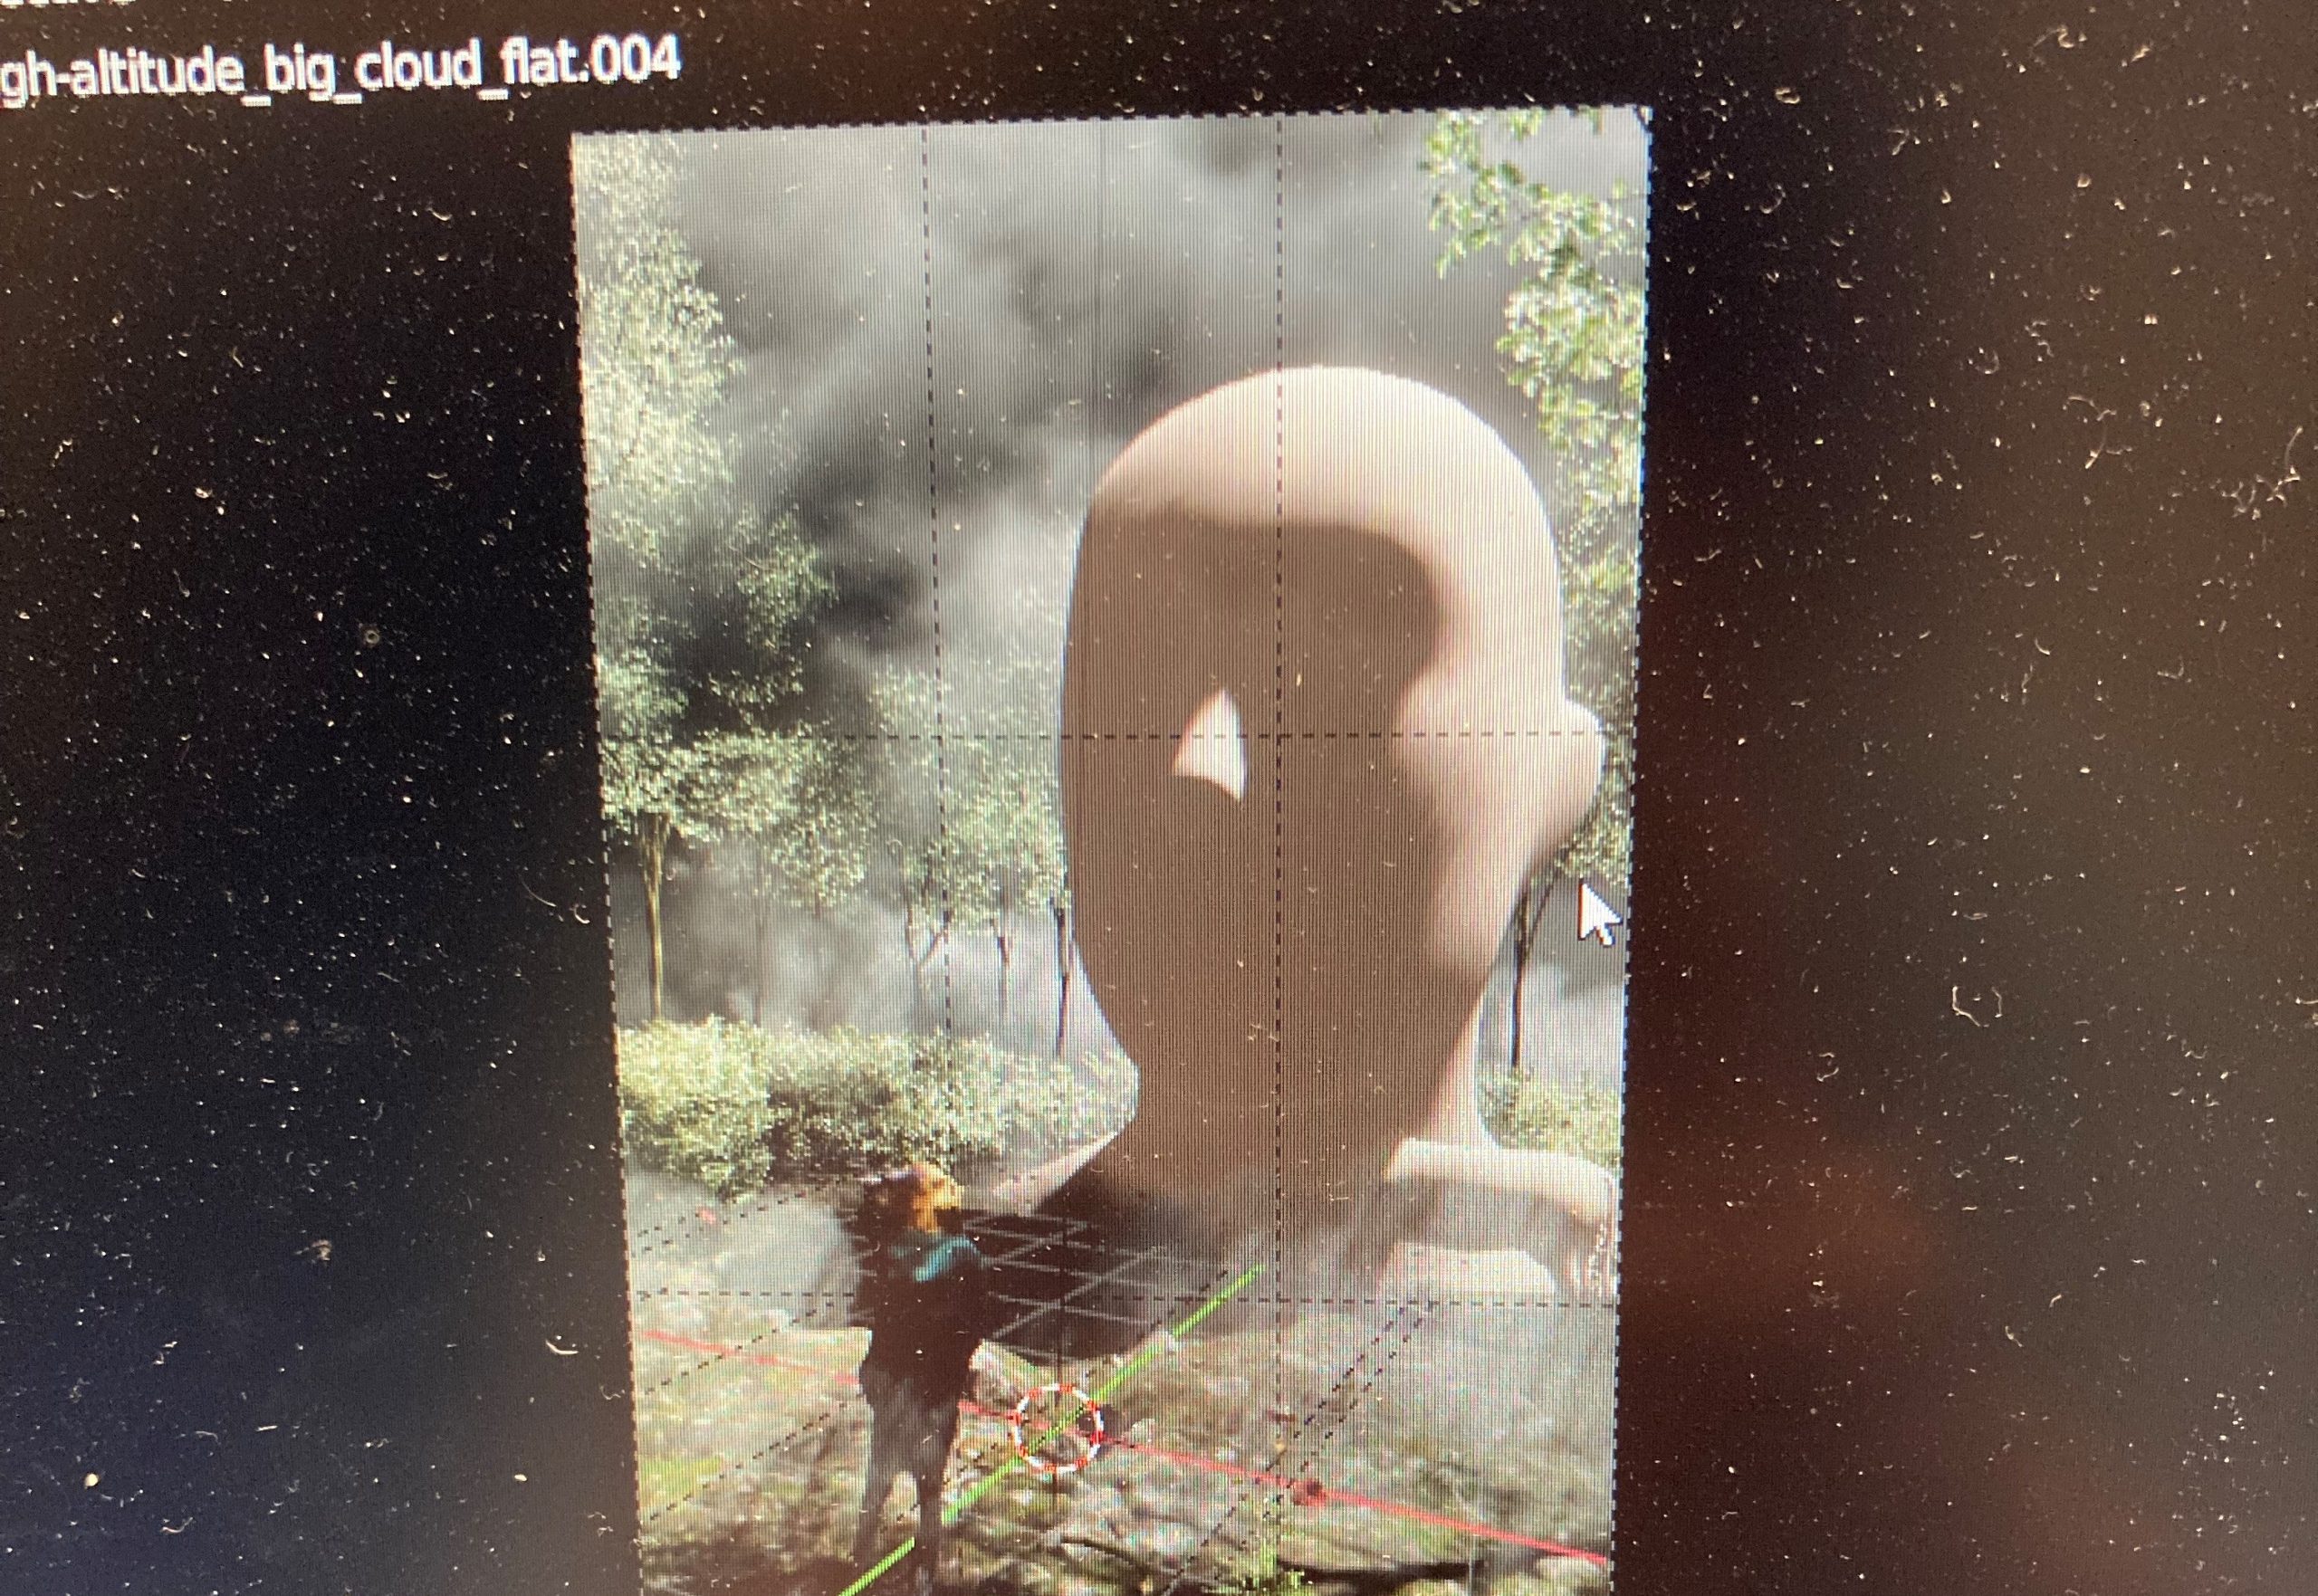
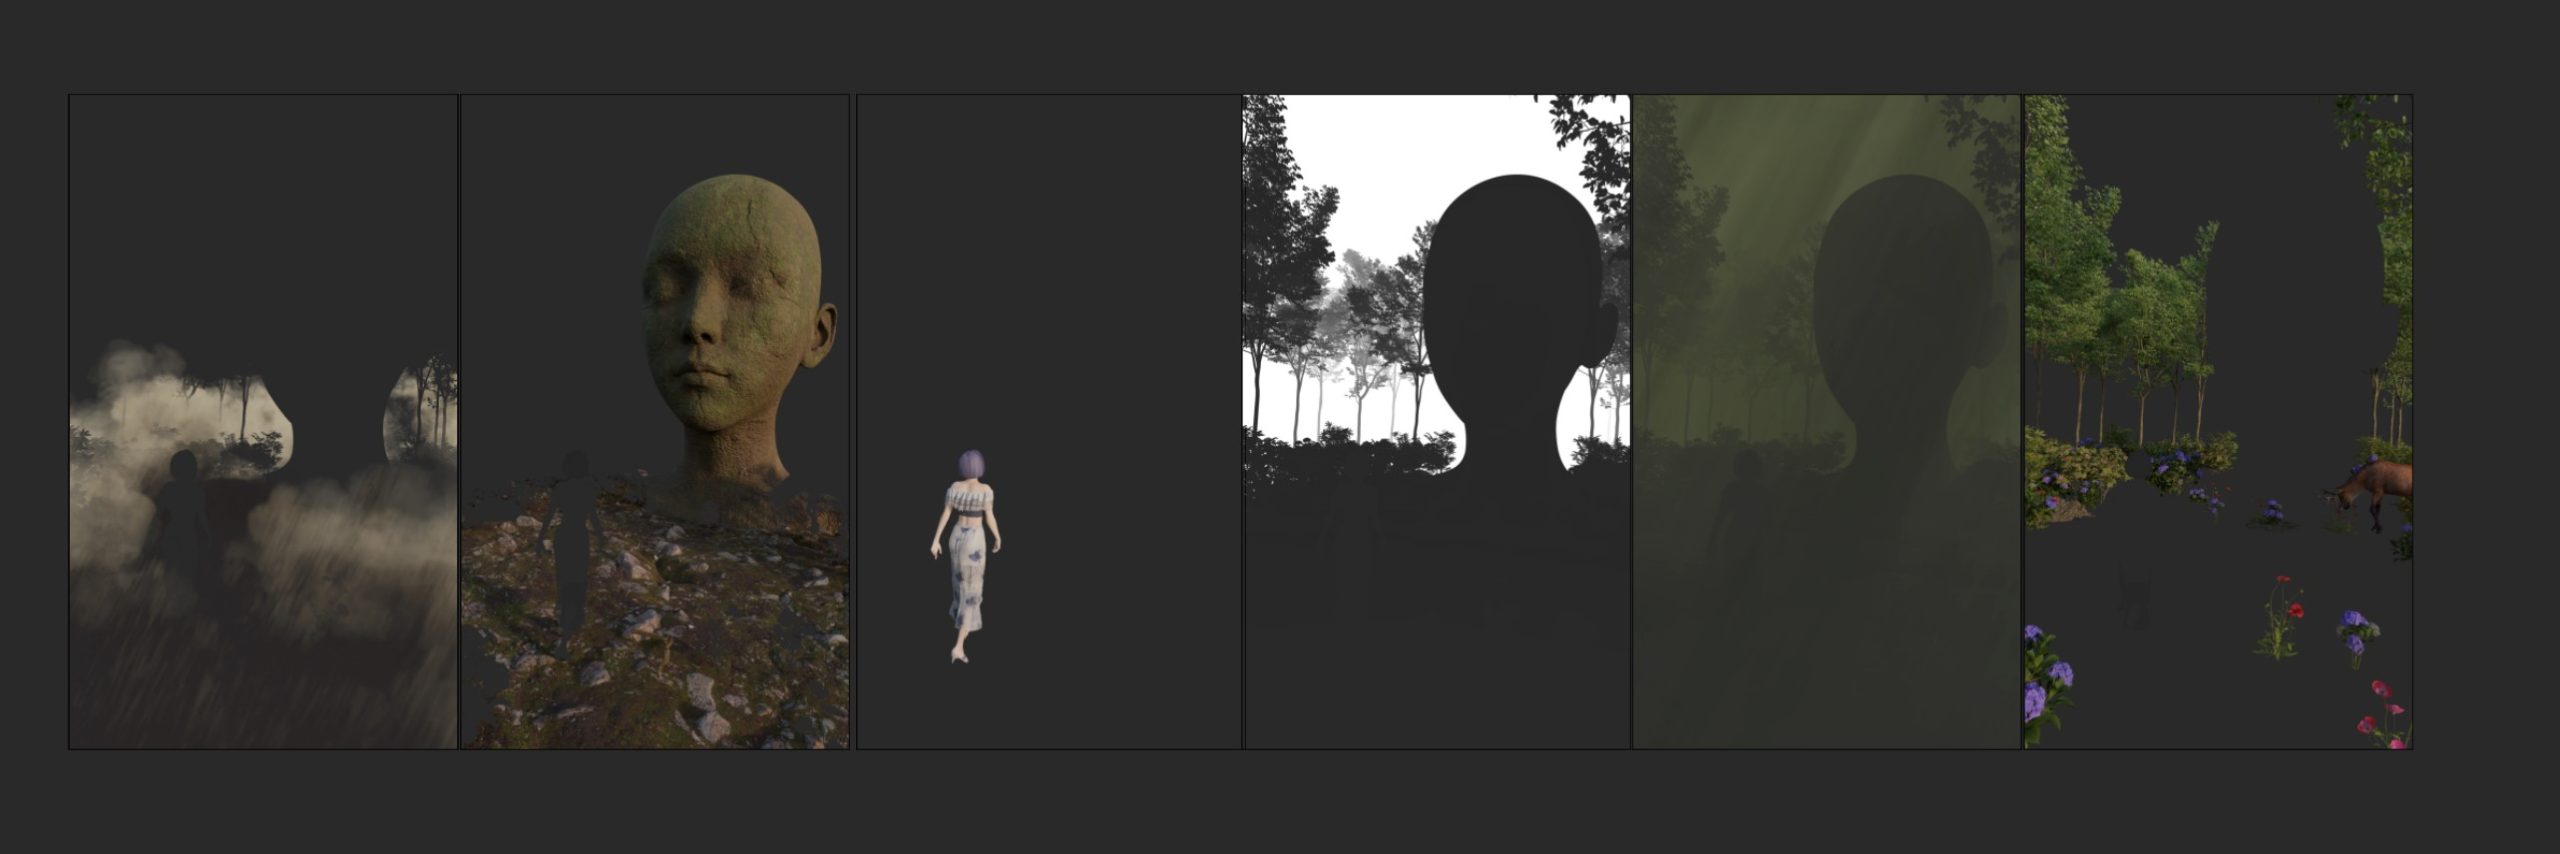
This is a render of all the elements before composite.
That’s it! Hope this article helps you. Thanks for reading it!
Lastly, you can check more of my artworks on Instagram and Twitter. Please feel free to visit me!
About the Artist

Enigma, is a 3D artist from Japan.


