Behind the Scenes: The Flying Boat

INTRODUCTION
Hi, my name is Nehuen and I’m from Argentina. I’m a 2D illustrator and I have been using Blender for 3 years. Currently, I work as a videogame artist and I have been learning low poly techniques recently. In this post, I’m going to share my process for the piece that I did to participate in the contest “Make a splash in Amsterdam.”
INSPIRATION
My inspiration comes especially from 2D artists such as Nicholas Kole, Cory Loftis and Eva Figueroa. My goal when I’m making a piece in Blender is to make the result look like a 2D illustration.
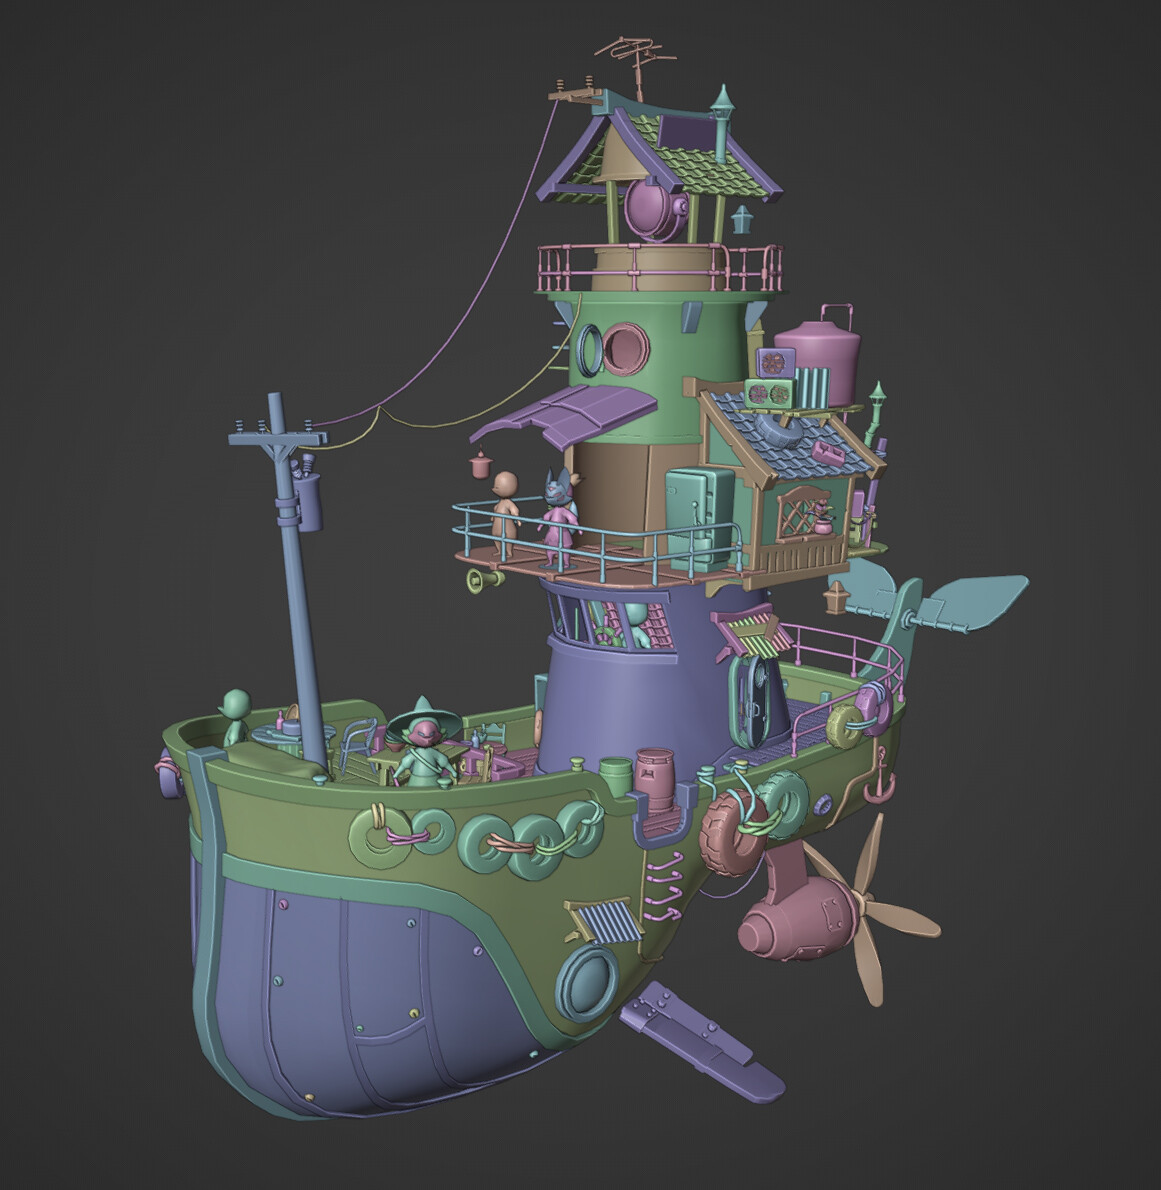
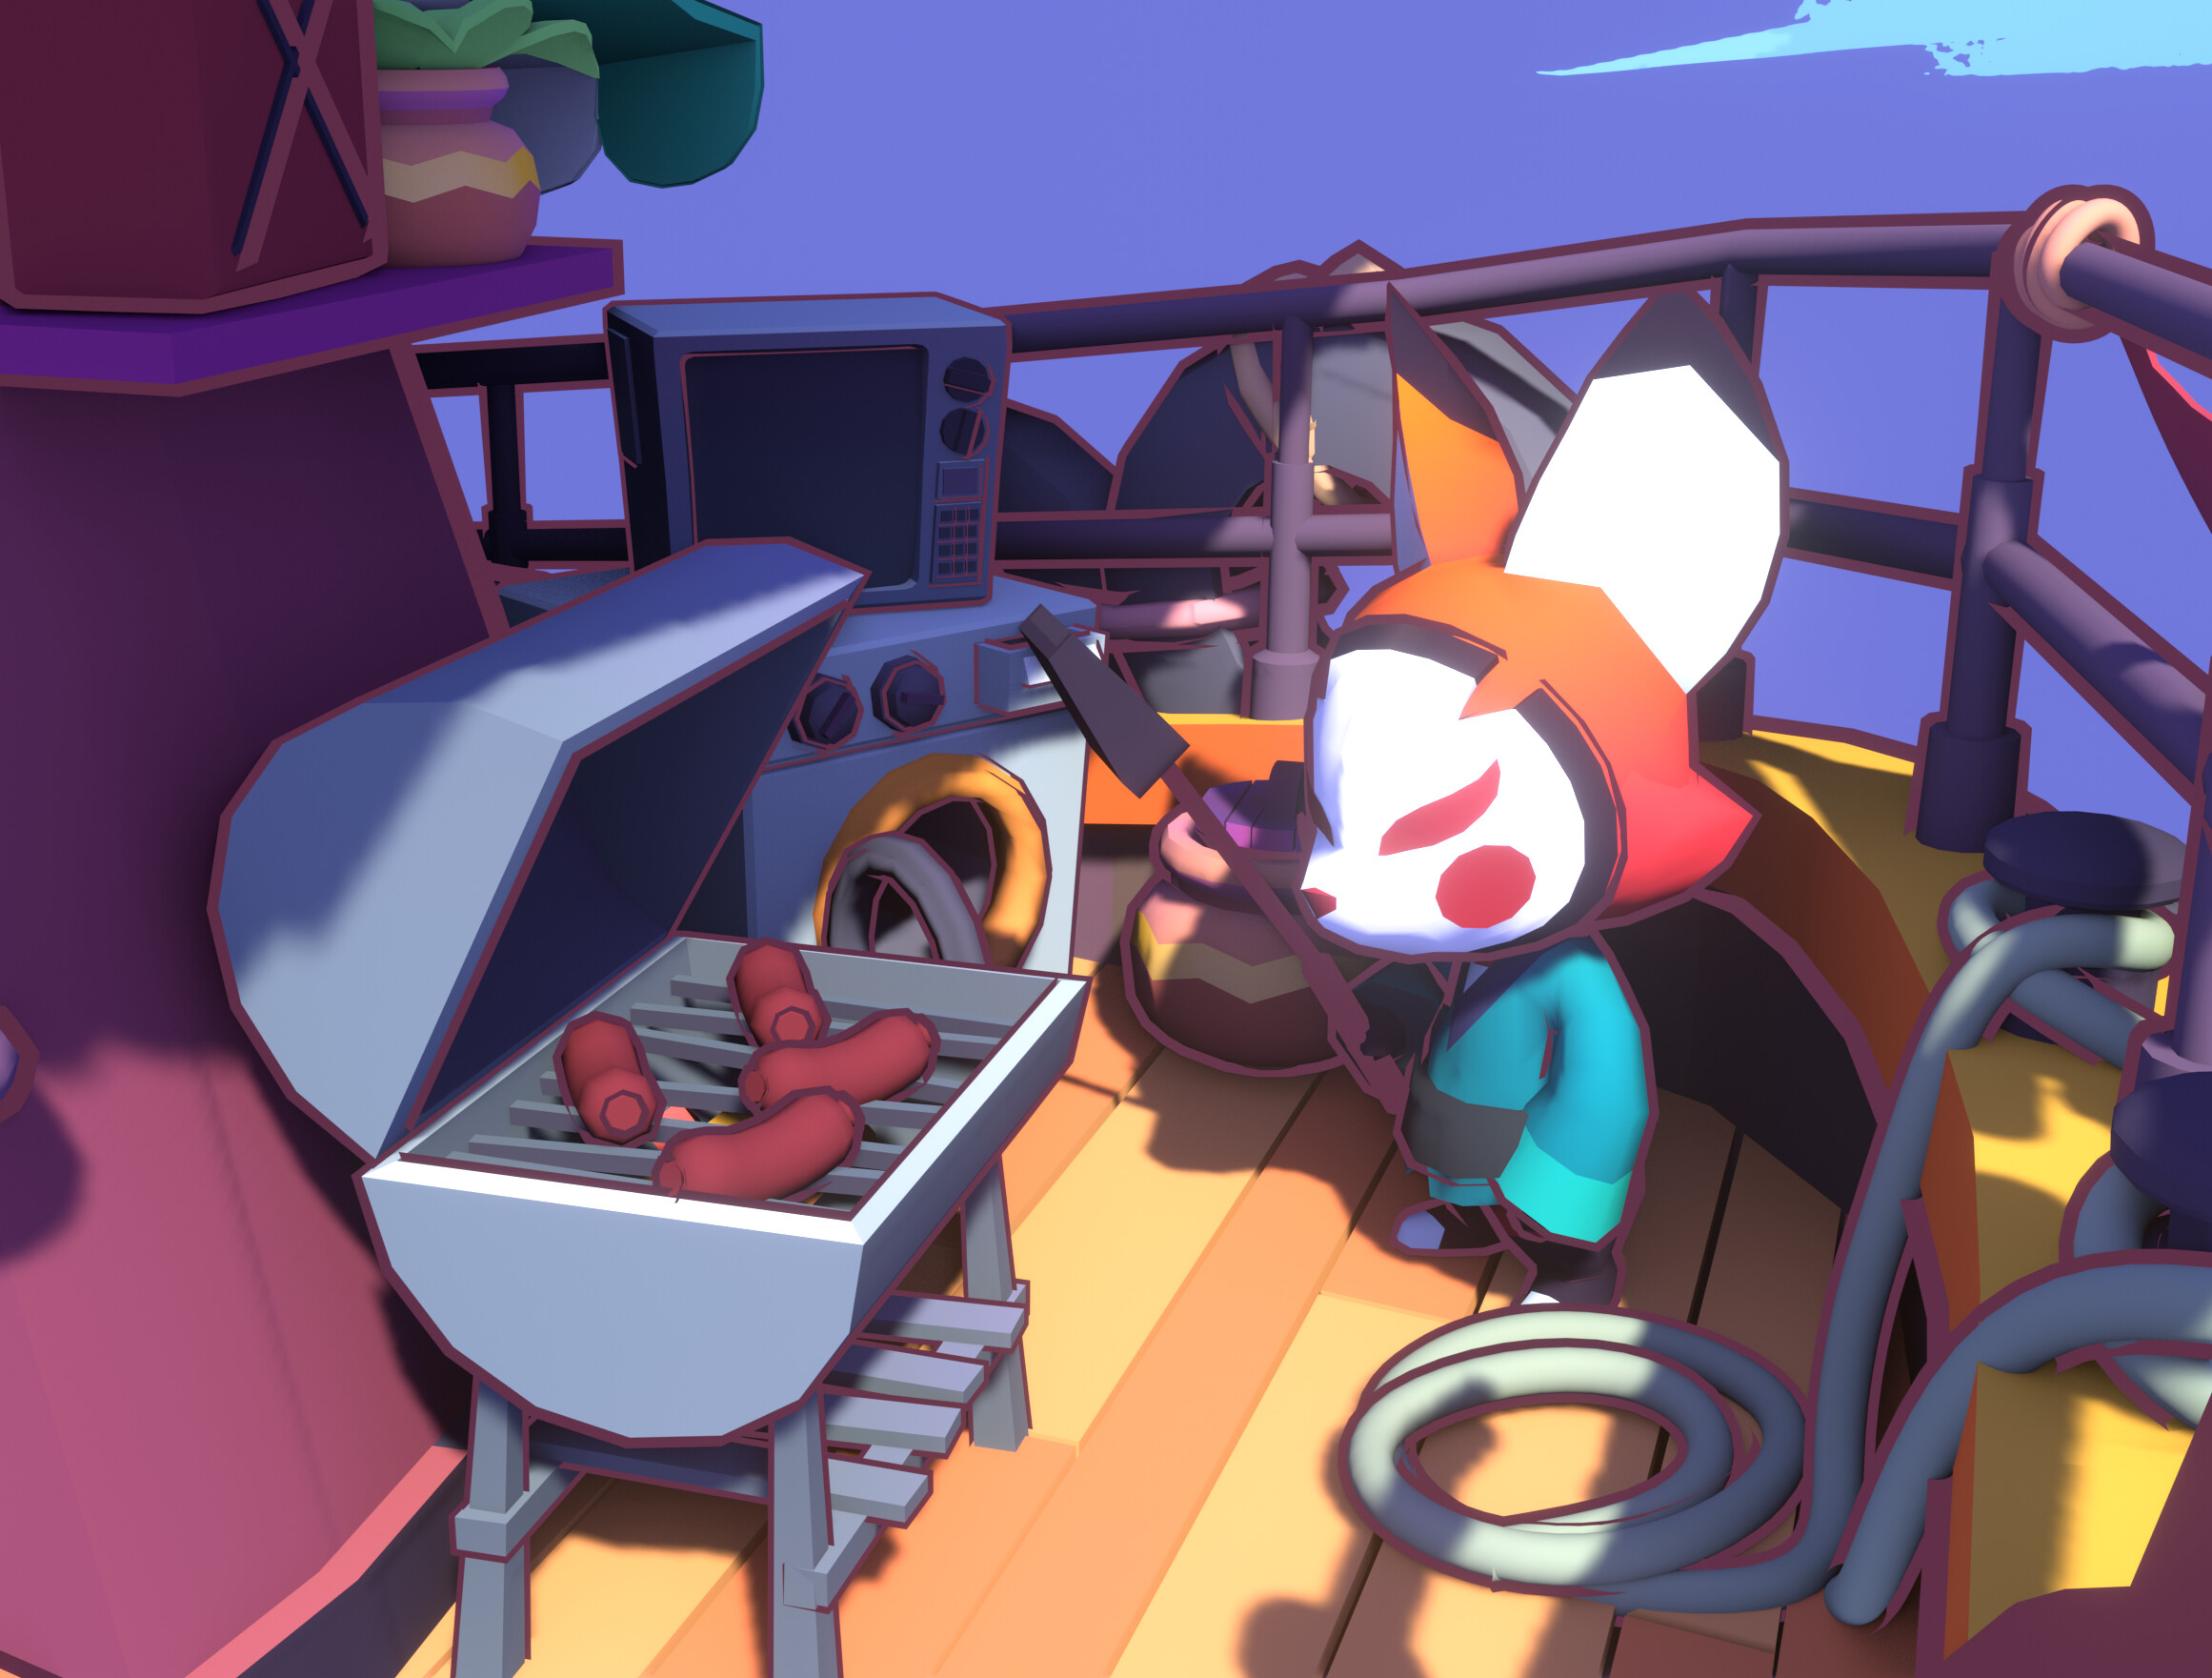
I really like to work in backgrounds with a lot of objects in it. When I heard about the contest, I looked through all the Blender splashes and the piece made by Ian Hubert, ‘Party Tug,’ was very interesting to me because it had a lot of potential for adding elements to the composition.

PROCESS
The piece was done during September 2022. I had to optimize a lot of the process to be able to reach the deadline of the contest. I took some characters and objects that I had already done in other personal projects, but almost everything in the piece was done from scratch.
SKETCHING
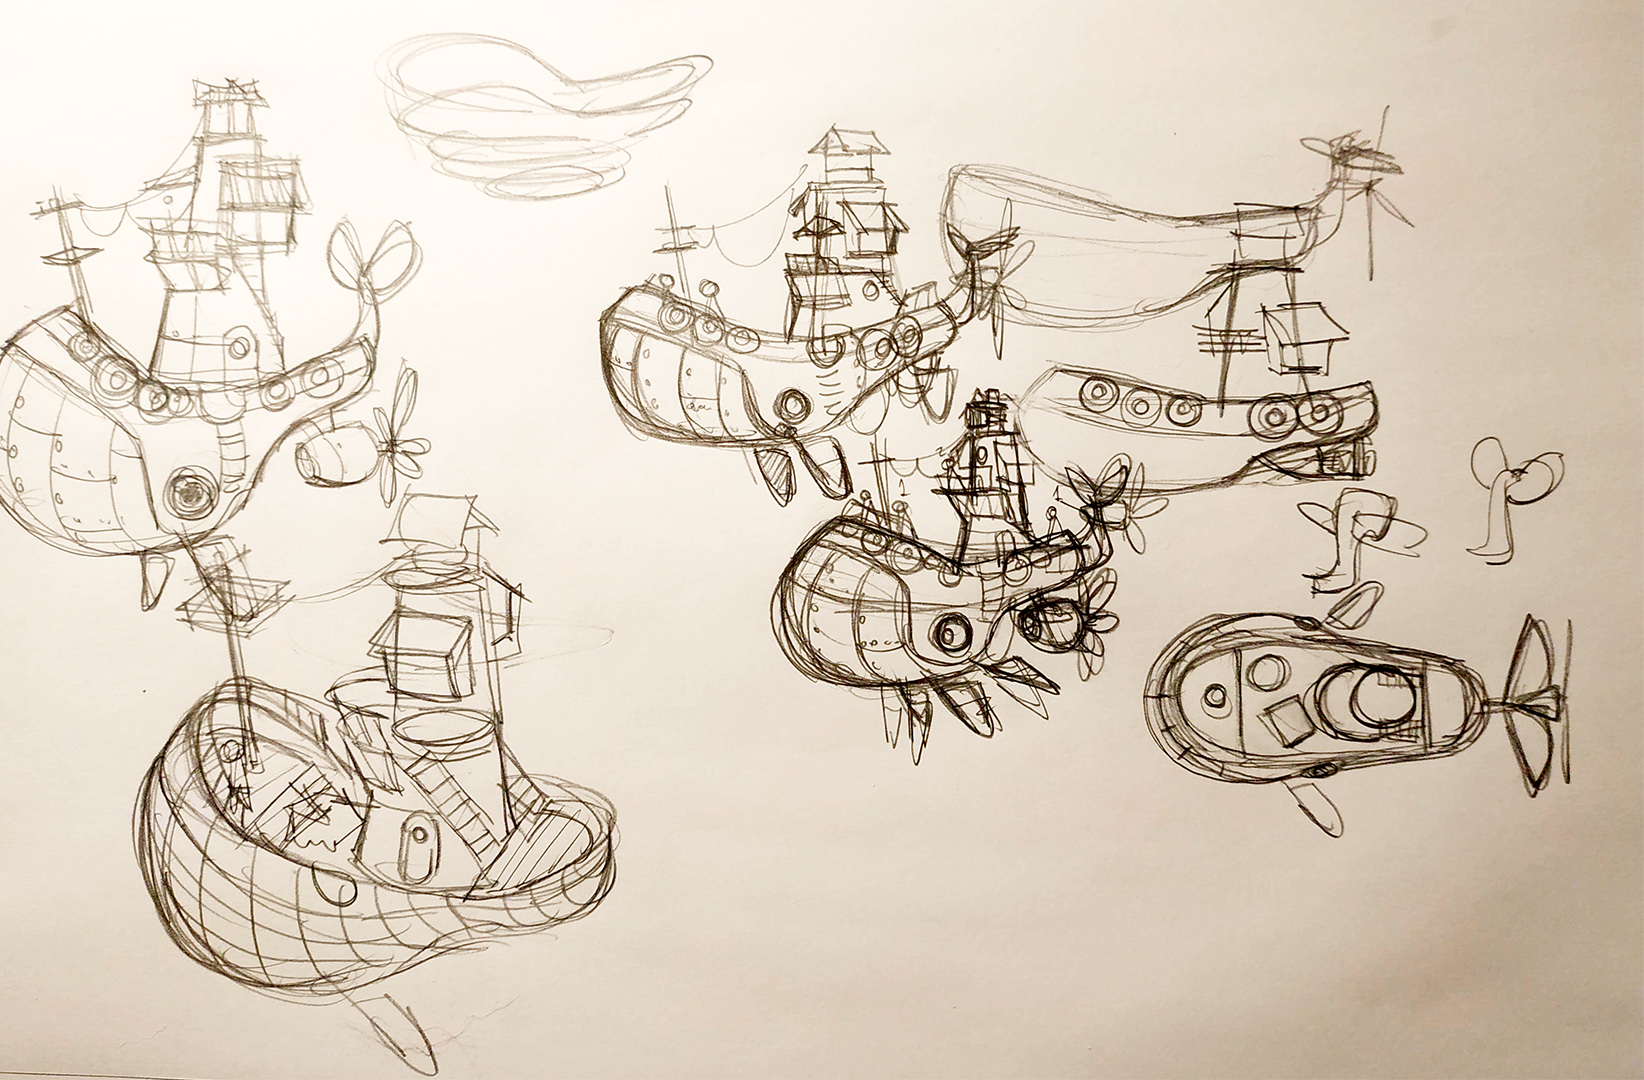
I usually start by making little sketches by hand to quickly design the composition and the general aspect of the piece. If there is a good reading in a small doodle, it’s certain that a big and detailed version of the same design will also have a good reading. This makes modeling easier in the next stage. After sketching the boat and the small port, I also did some quick studies for the objects that I added to the scene later.
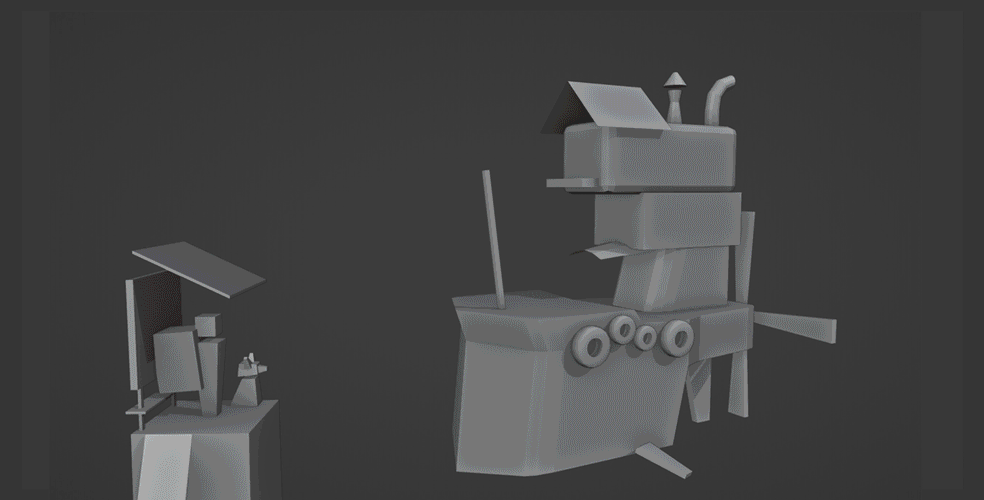
MODELING
I started with simple big blocks until I found a good relationship between all the volumes. I used the same composition as the original ‘Party Tug,’ but always had in mind that the piece would be posted to Sketchfab and that 360 view was important. This meant that the piece needed to be interesting to see from all points of view.
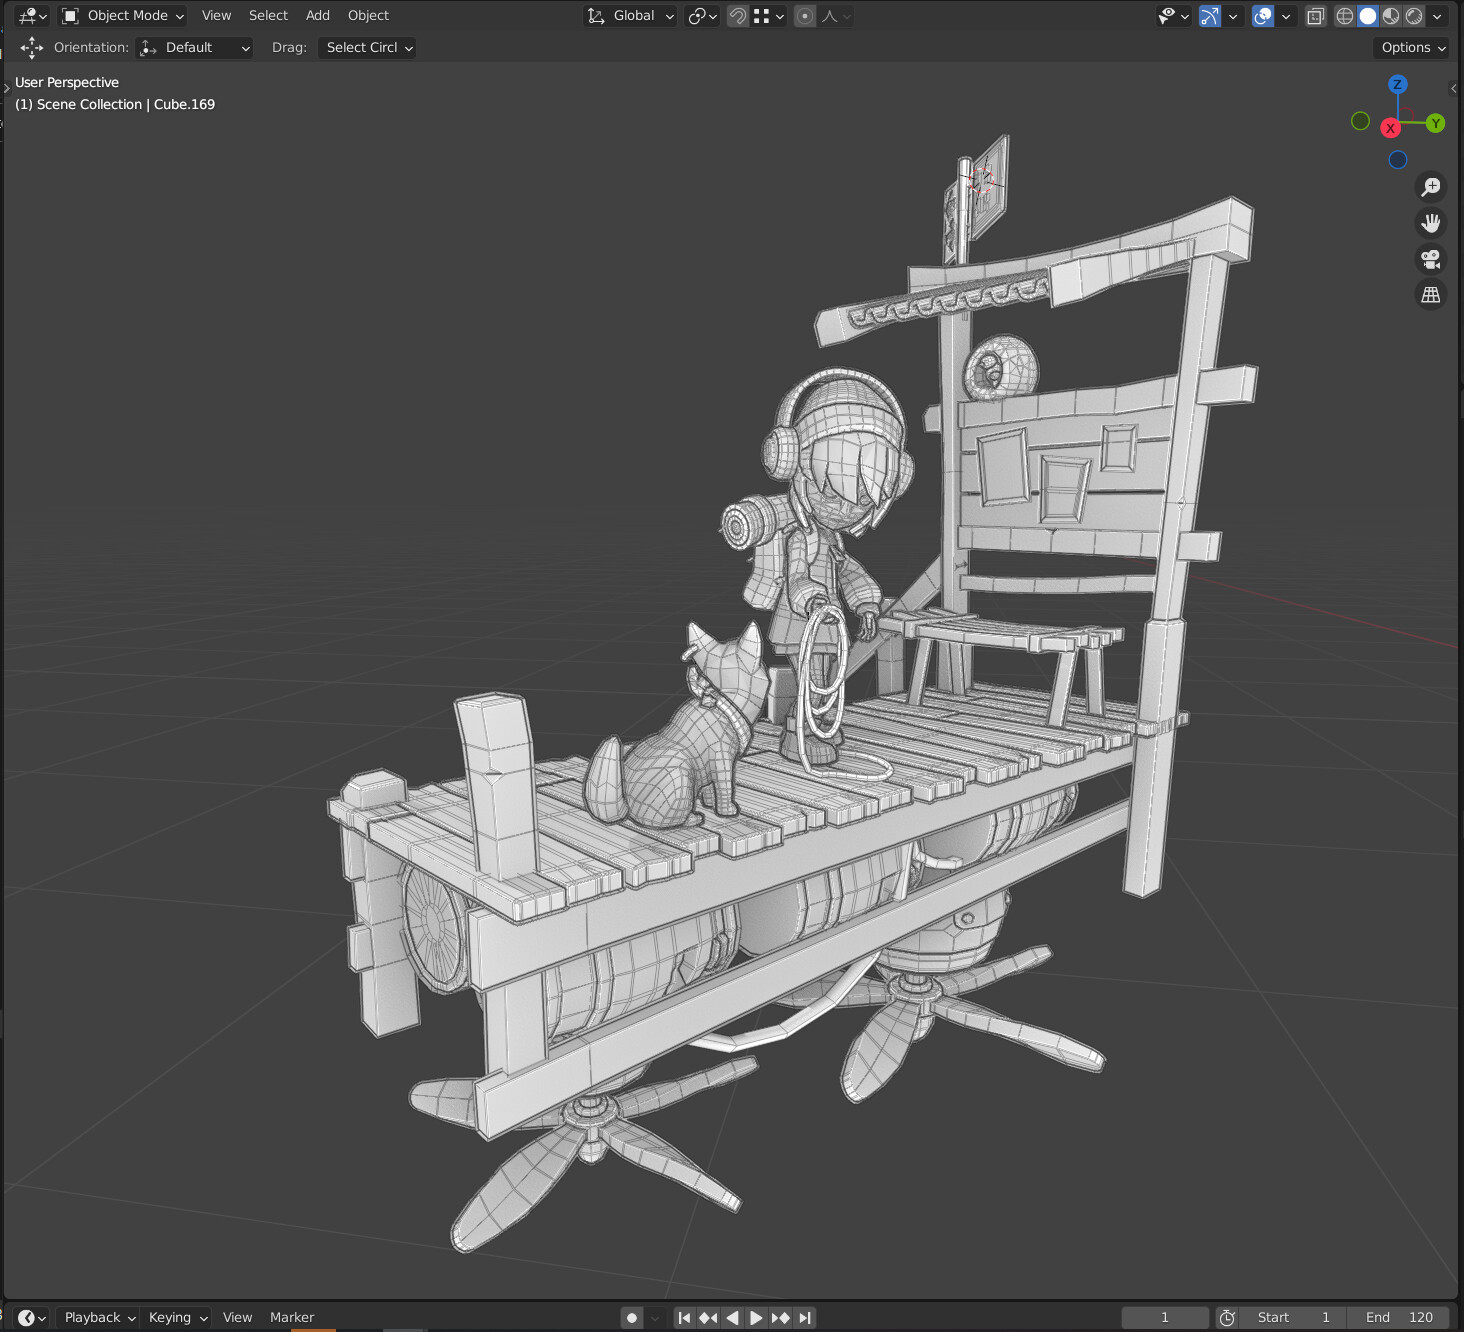
After also adding medium-sized blocks, I started adding details progressively. Inside the boat, I generated different situations for each character.
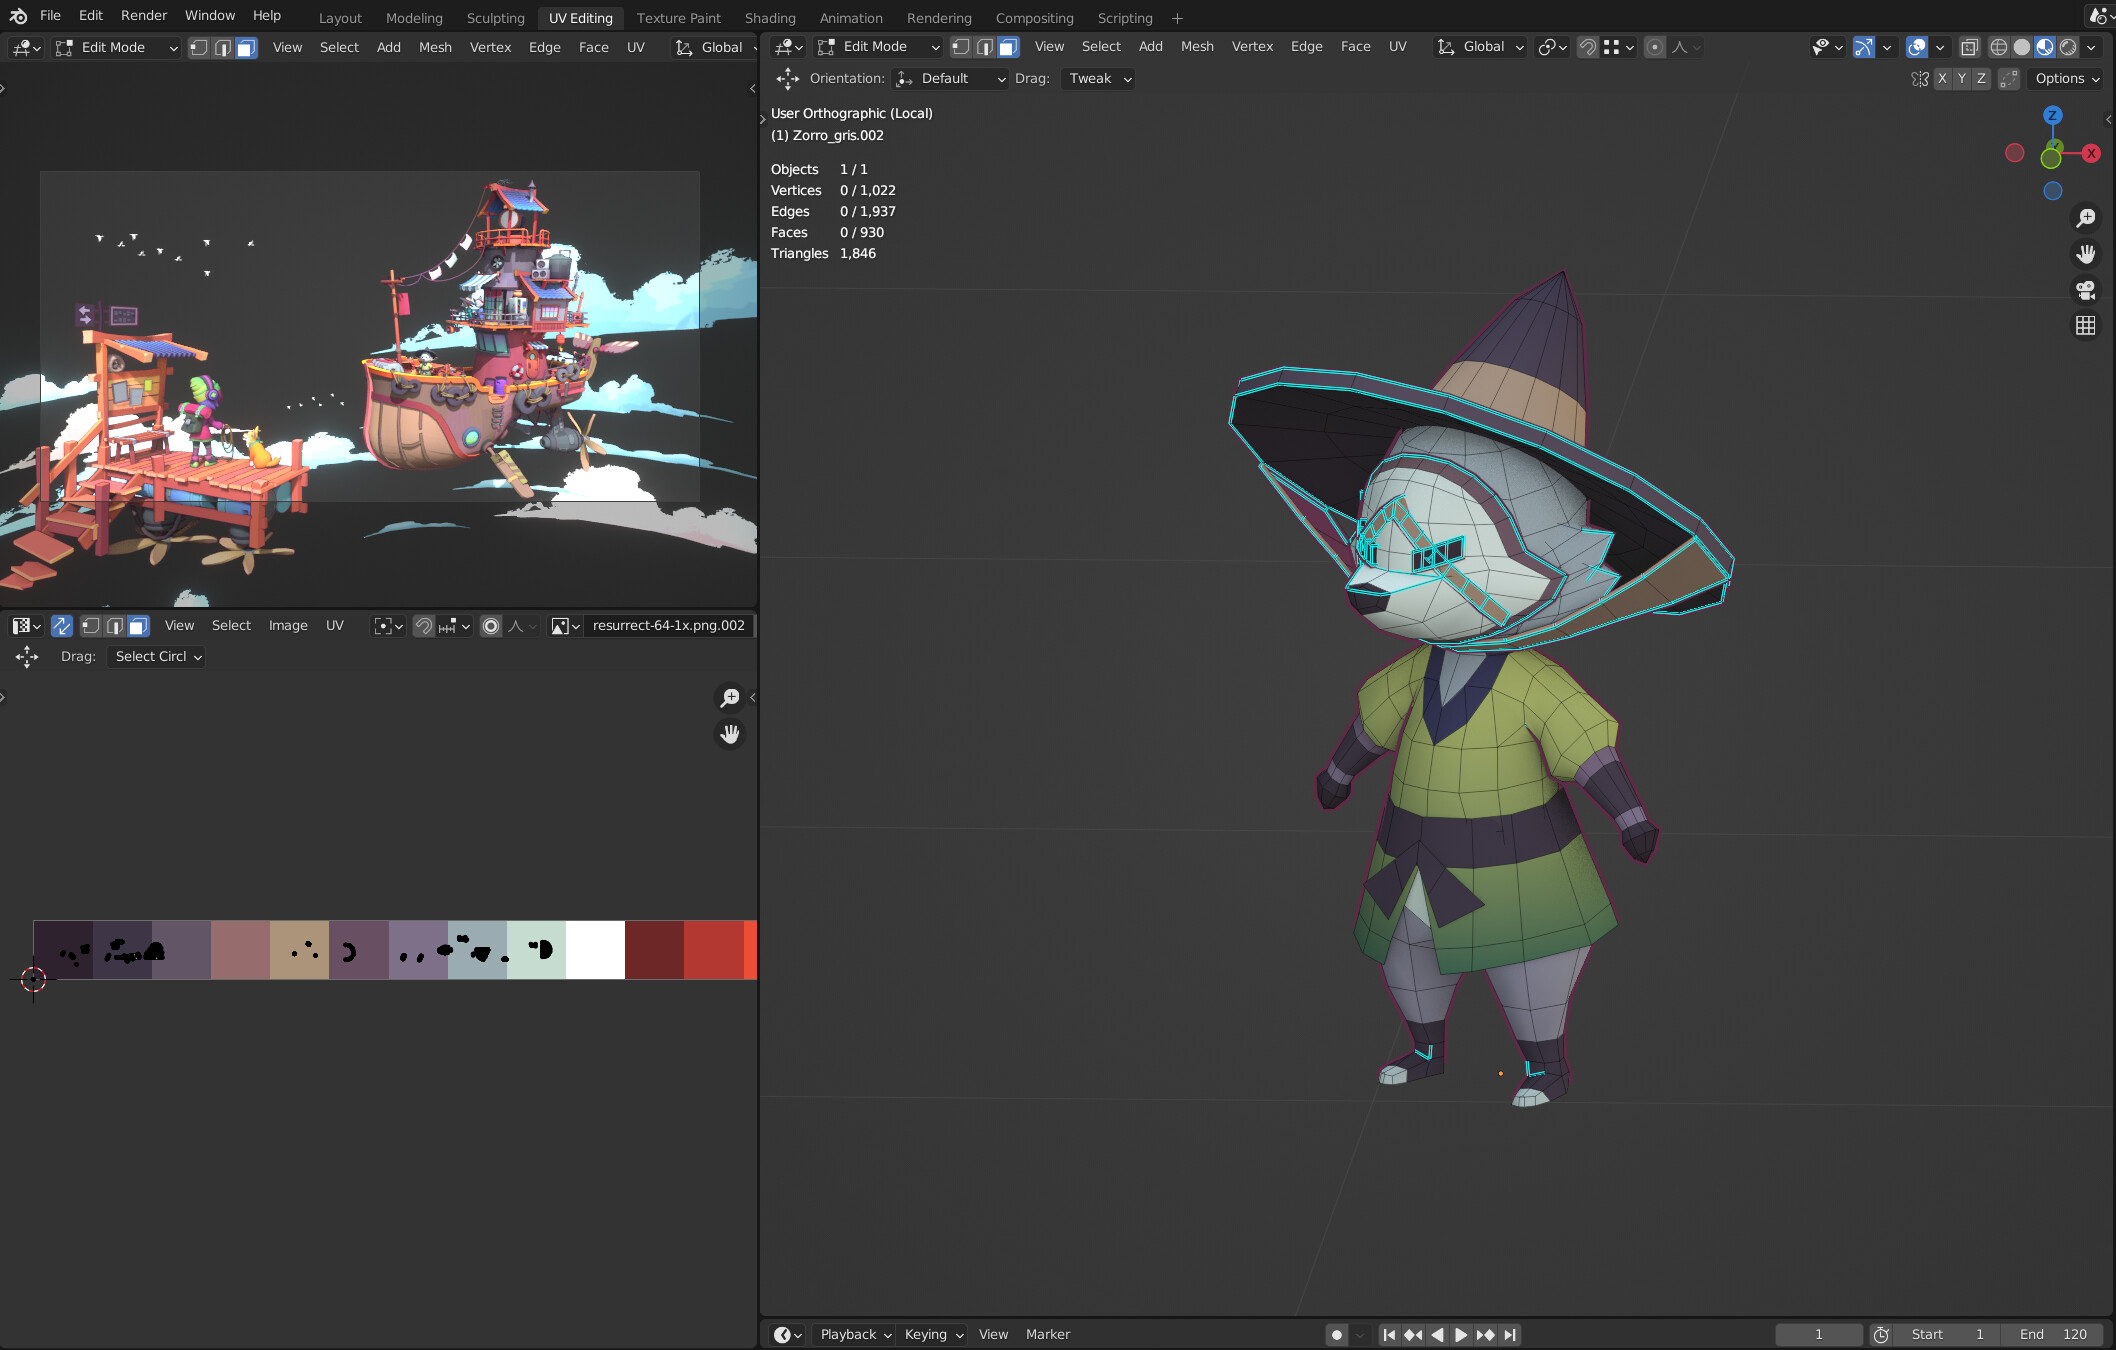
TEXTURING
For the texturing process, I used a simple but effective technique in which I unwrapped all the meshes in the camera projection and moved them around over the texture. This allowed me to find the colors I needed. With this process, I could add shadings easily and when I selected some faces of the mesh, I could move them around over the texture and make it brighter or darker.
You can see this process in this Mortmort’s video:
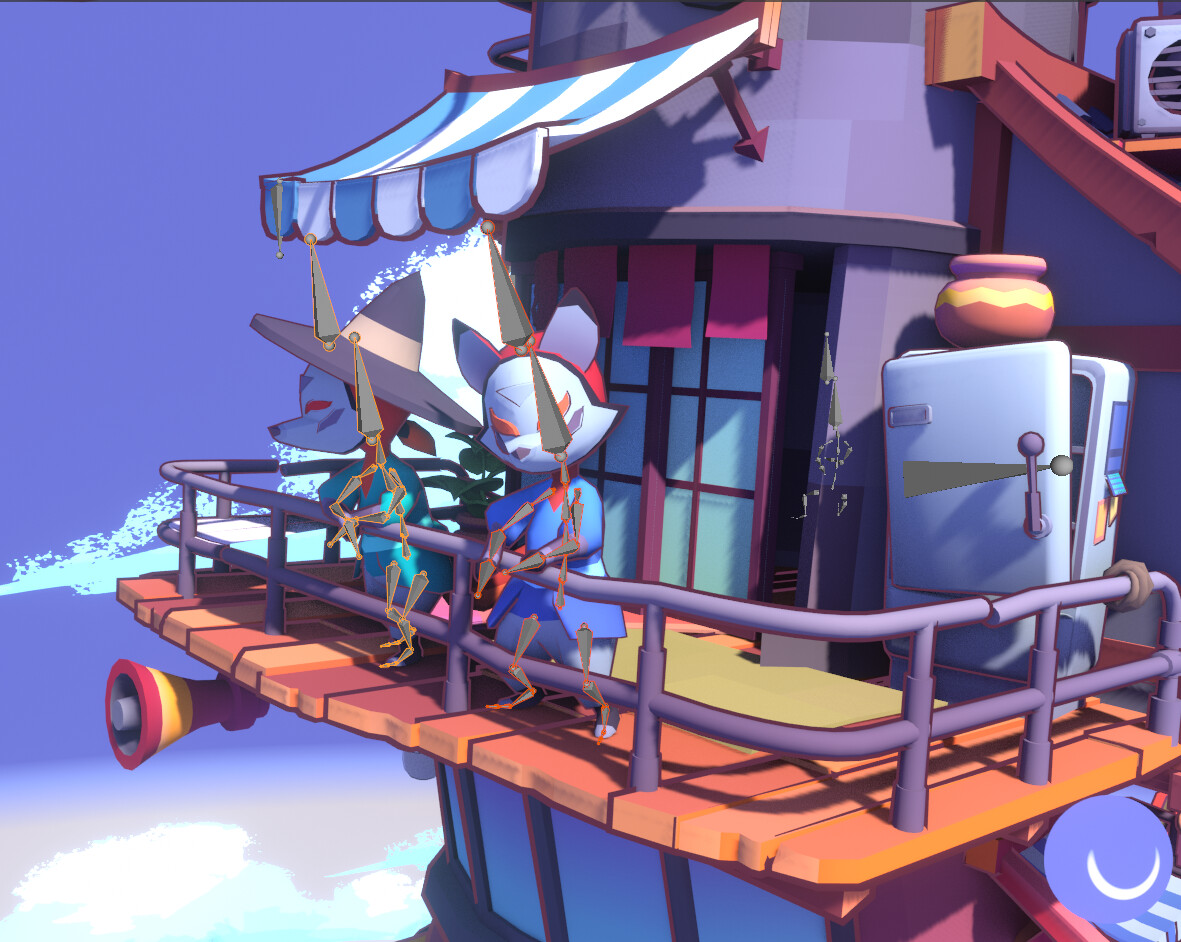
RIGGING
When setting a pose for all the characters, I used a web tool called Mixamo. In this page, you can upload fbx files, build the posture, download the data, and then add it into the Blender file.
UPLOADING TO SKETCHFAB
The uploading of the file to Sketchfab was very easy. The page allows the user to upload Blender files directly, and I haven´t had any problem with the animations and materials. I also used the post-production tools provided for the page to give the boat the final touches like vignette, color correction, and bloom.
THE FLYING BOAT

Thank you for taking the time to read the post. Feel free to contact me on Artstation if you want. Thanks again to Sketchfab, Blenderartist, and all the people who made the contest possible.
About the Artist
Nehuen Defosse, a 2D and 3D artist from Argentina. Currently looking for visually interesting projects in the video game industry.


