Behind the Scenes: The Librarian of the Unseen University

INTRODUCTION
Salut tout le monde! My name is David and I am a 46-year-old self-taught artist from Marseille, in the south of France. I work as a software dev and IT specialist in a college where I try to introduce open source benefits to teachers and children.
I am a hobbyist and enjoy gamedev (Godot), drawing (Krita), capoeira, eating pizza, and of course, sculpting with Blender.
My first try with 3D objects was in 1985 with a software named Vectoria3D that my uncle gave me with a computer. I drew a sphere and a cube in a wireframe. Happy days! Then in 2003, I worked with a cousin to make a real game. It is still a WIP but one day, we will succeed, for some projects must be fulfilled.
Finally, in 2020 during the lockdown, my son and I picked a subject once in a while and tried to draw or sculpt about it.
And I have been learning Blender since.
INSPIRATION
Art is not my job, and I want every sculpture to be as relaxing and fun as possible with no pressure. So no big plans or questioning about what could please the community.
I was reading Terry Pratchett’s Discworld novels for the nth time, and felt the need to make something.
It is a chance to dive into a subject like the Discworld because Paul Kidby, and of course Josh Kirby, already put a face on many characters on Disc.
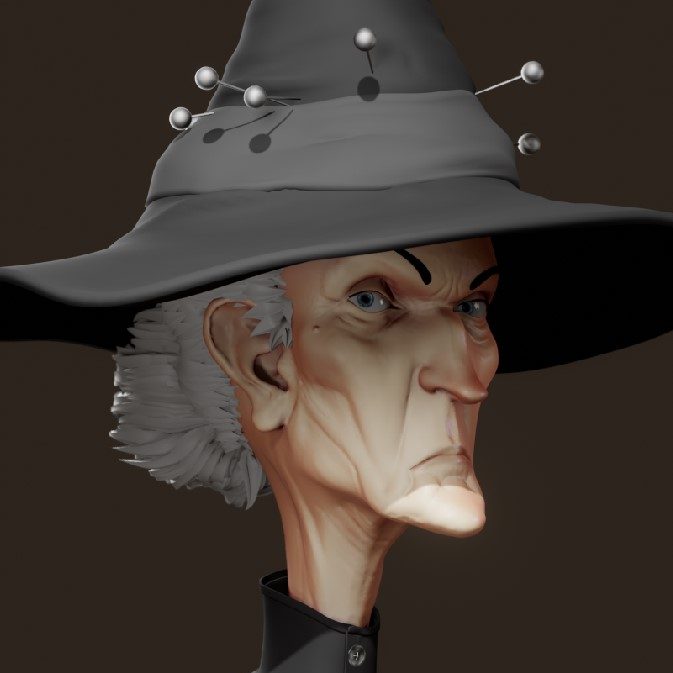
So after sculpting Death with a guitar, it was rather obvious for me to “blenderize” all of my favorite characters.
REFERENCES
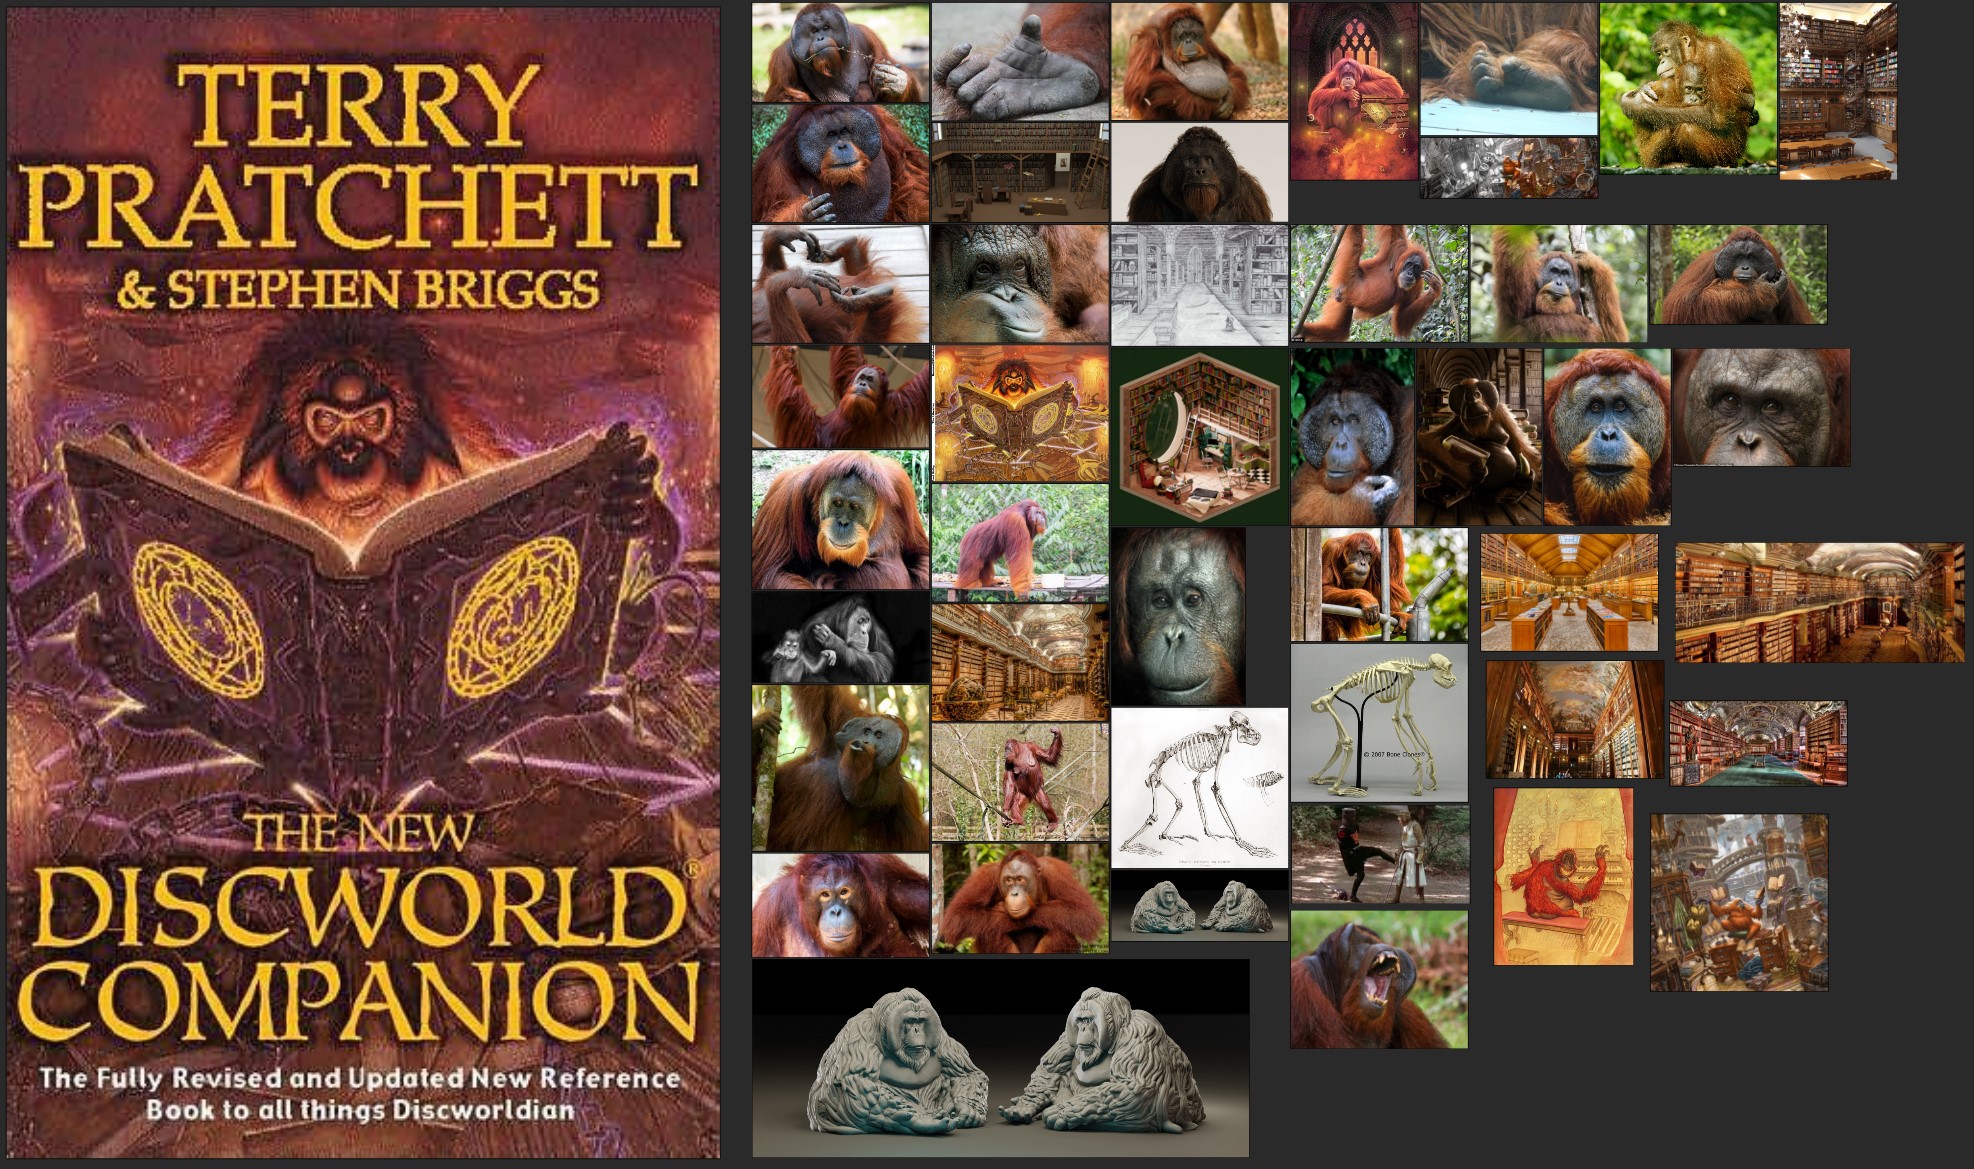
For this artwork, I chose the book cover of the new “Discworld Companion.”
And as I have never sculpted a monk… err… an orangutan before, I picked some nice pictures to get an idea.
PROCESS
I am quite happy with Blender’s capacities, and I take a certain pride in doing everything in Blender. Sometimes, I use Krita or Inkscape but Blender for the win!
The software is pretty stable and I experience no crash at all (Blender 3.3).
Nothing really fancy on the add-on side: I use Powersave, BoolTools, LoopTool, Rigify and things that come with Blender in general.
I also use one of my add-ons, named Border Selection, to quickly mark seams on the border of a selection. But you do not need all of that.
My computer is quite good but it is starting to age: 32Gb of RAM, a NVIDIA1080 and a HUION tablet. Renders are pretty slow but with a book nearby, everything seems shorter.
MODELING
I do not plan very often; I want to sculpt a neat character to print a funny toothbrush holder or pass time as I watch boring series.
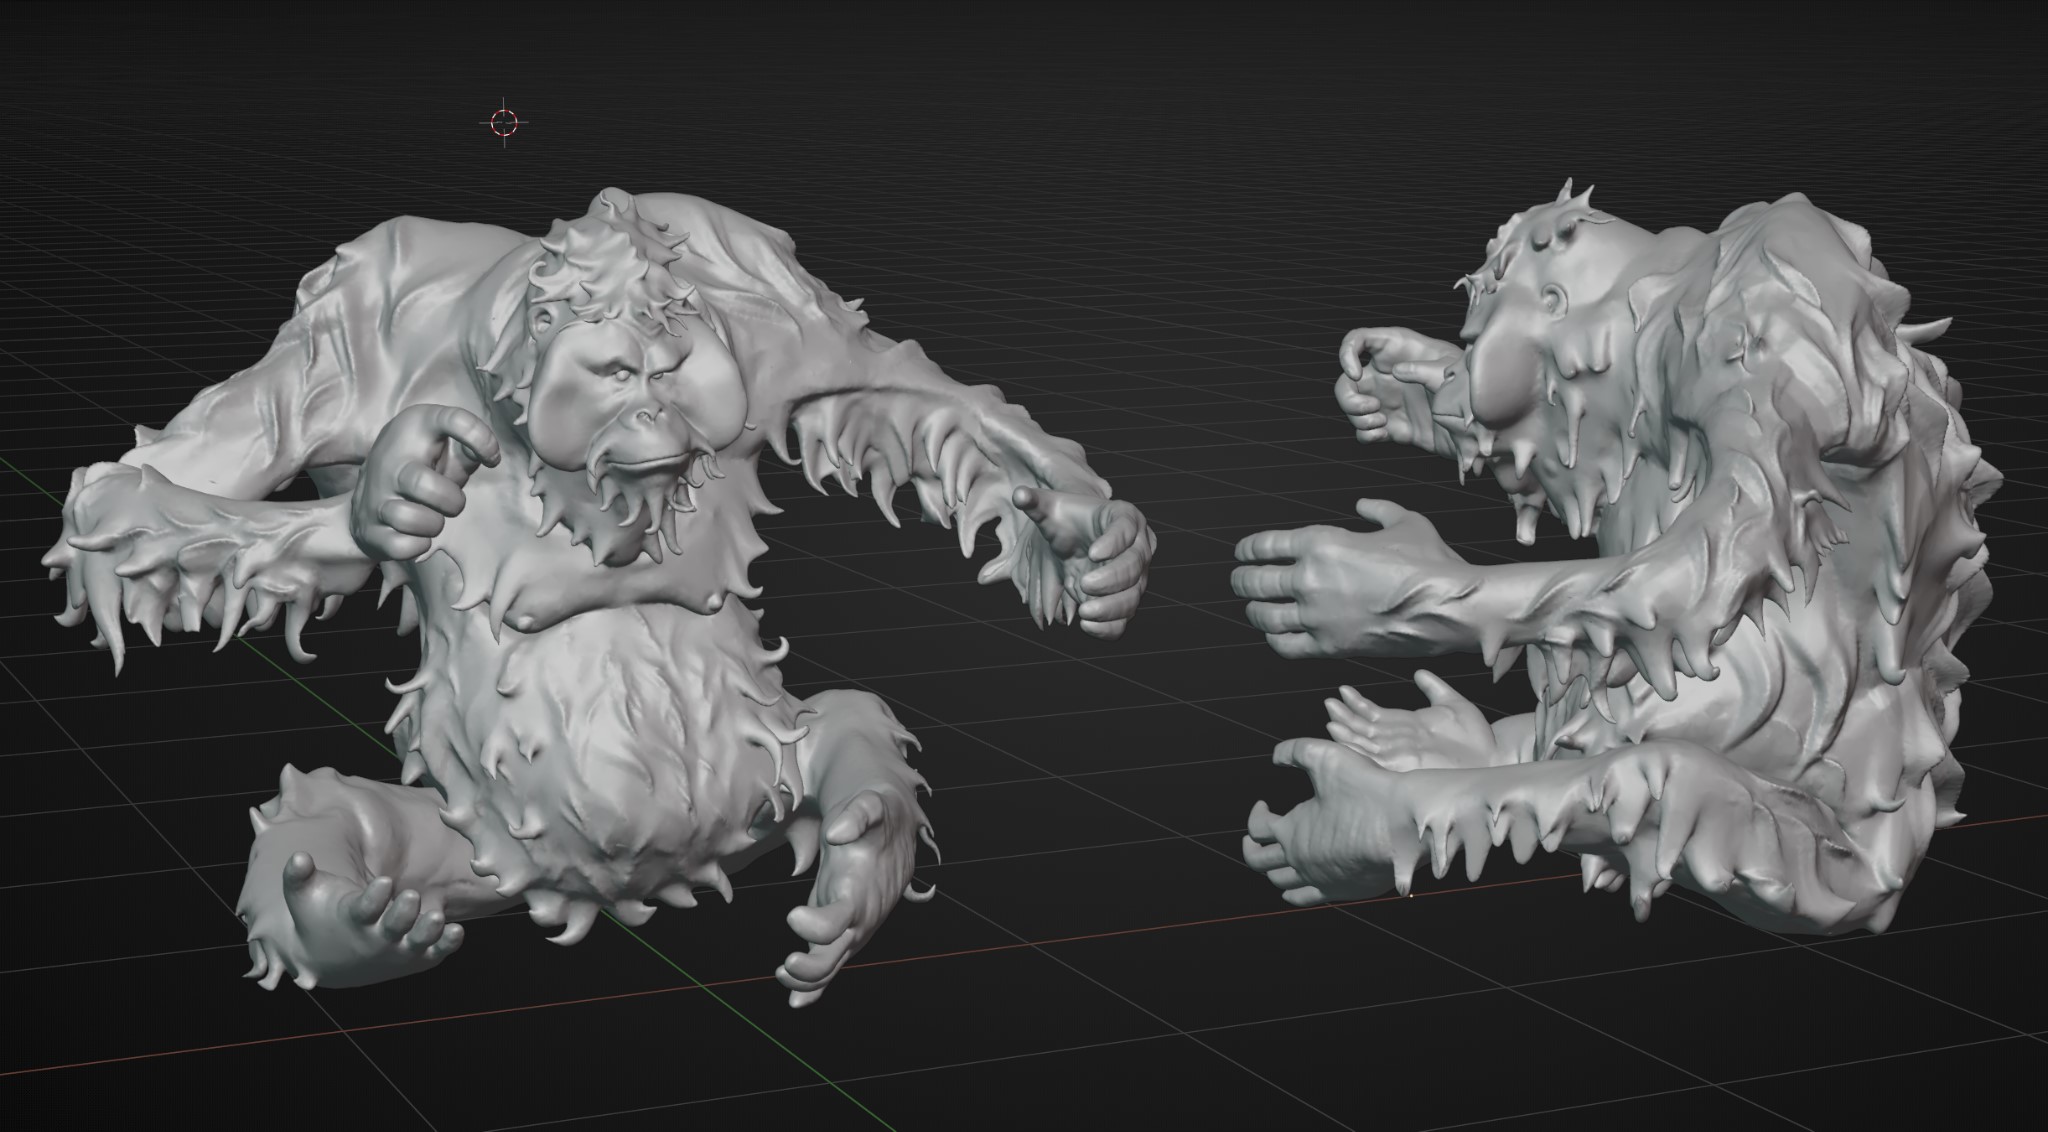
So I took a simple human base mesh (I don’t remember where I got it :/ Sketchfab maybe ?) and start to alter proportions.
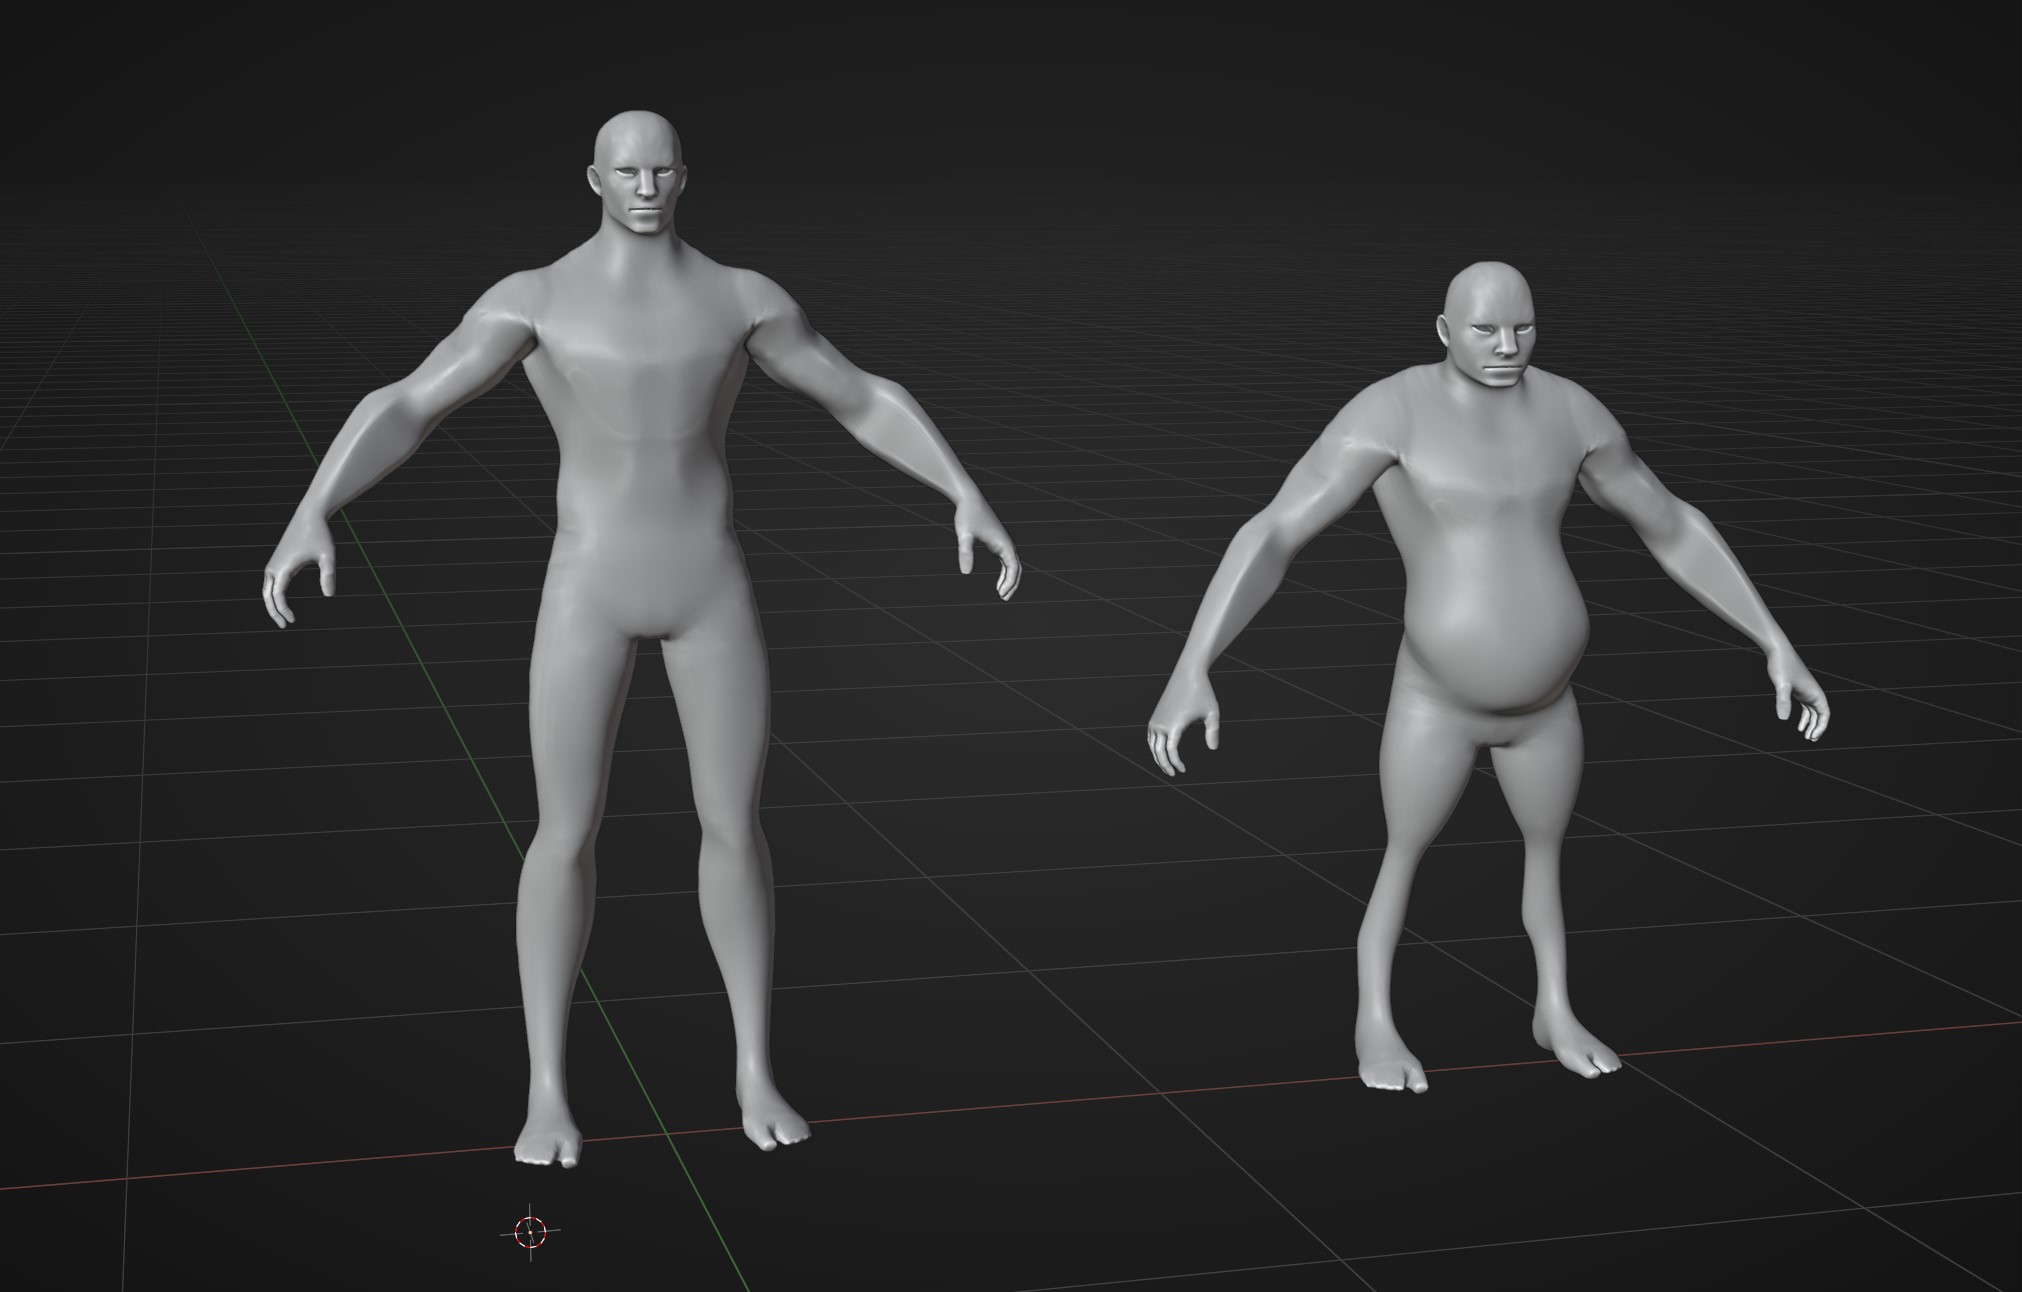
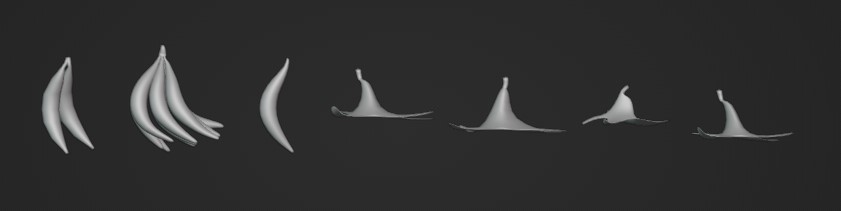
After a while, I got a pretty nice anthropoid and I could rig it with Rigify (banana for scale). It was a butchery: I replaced the hands with the feet and joined parts of other models to get that.

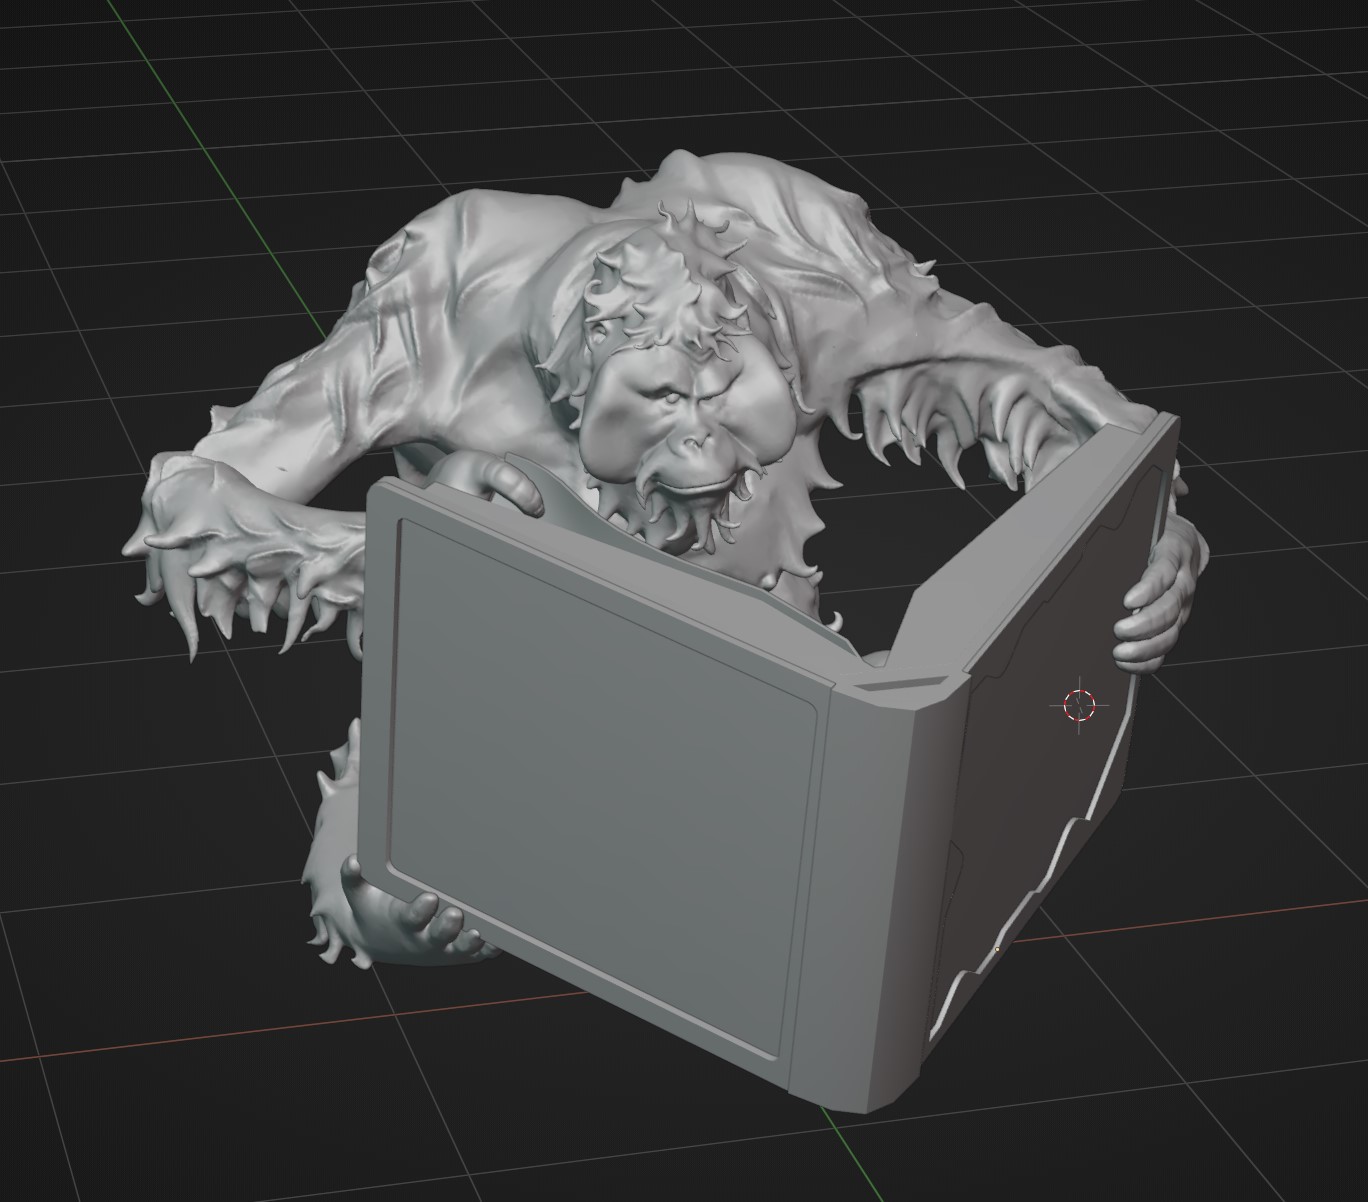
I modeled a quick book to pose the guy.
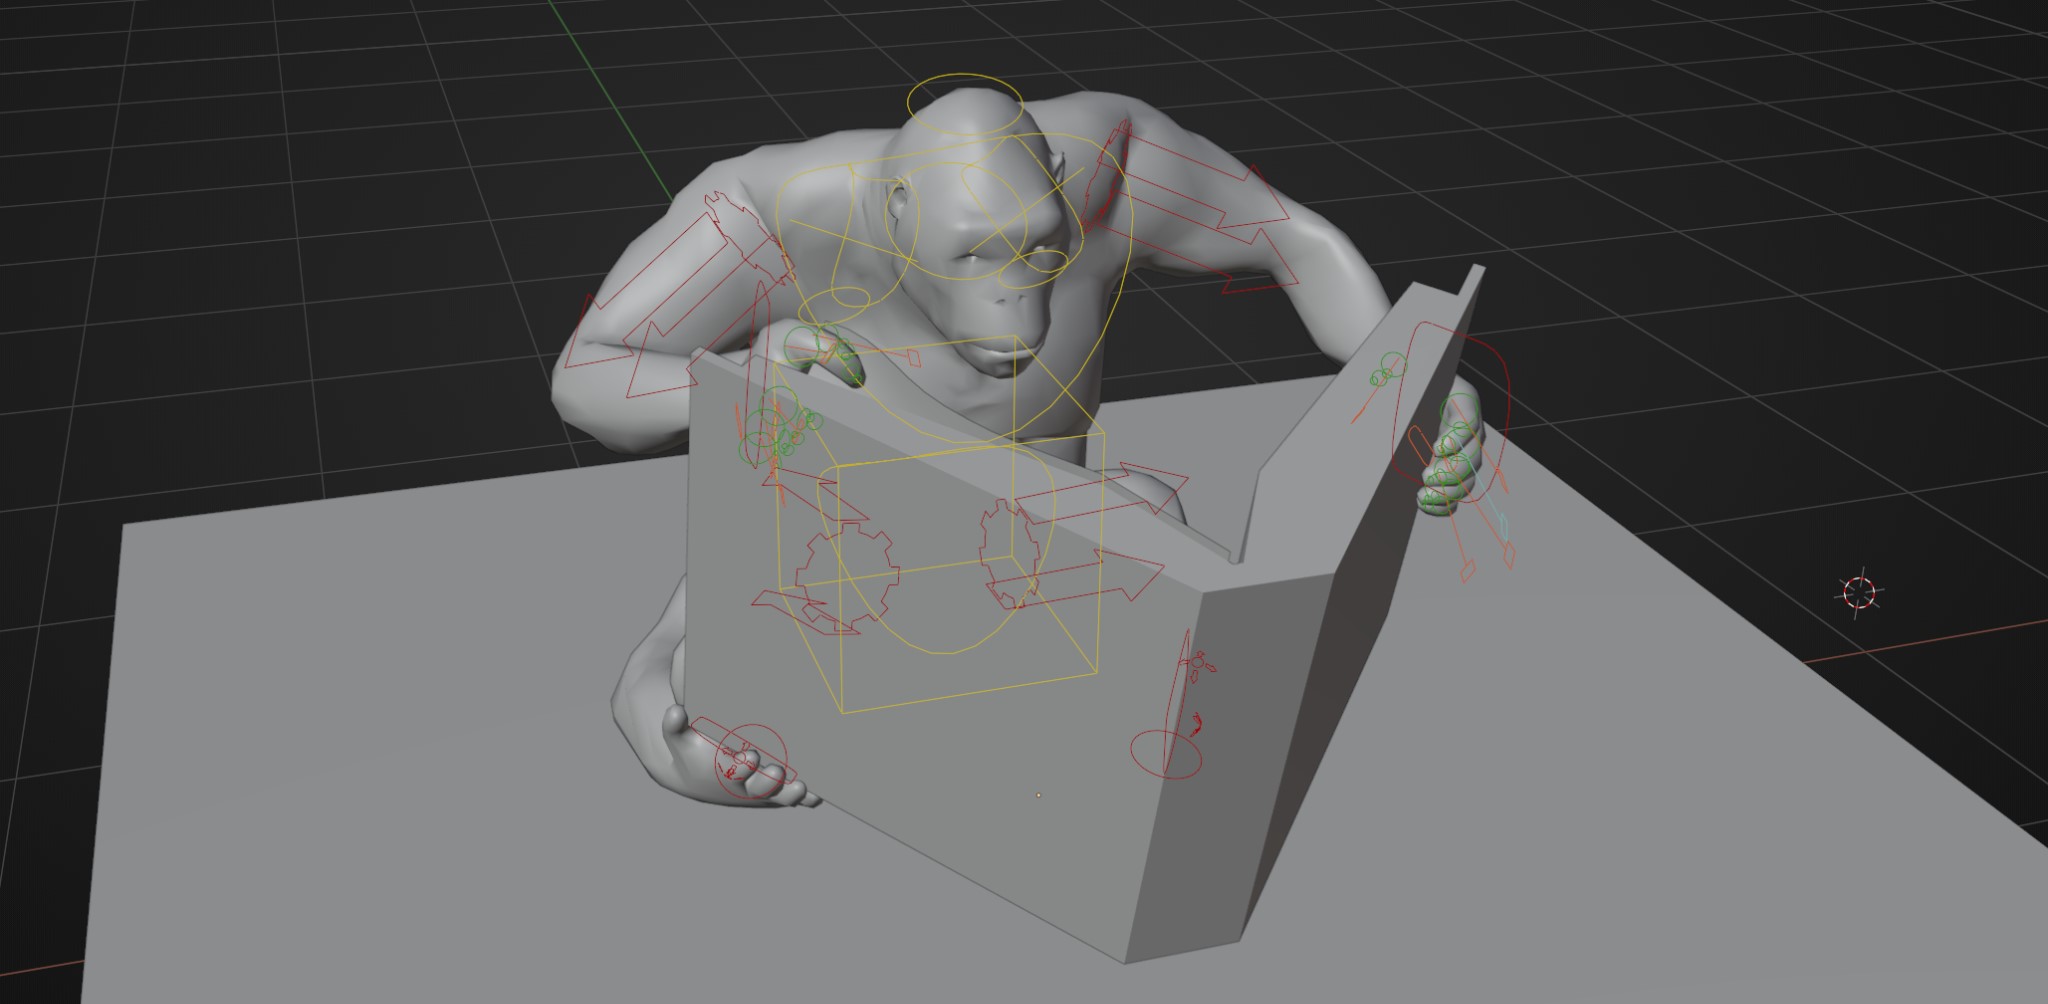
Then I applied the armature and started the fun part: sculpting!
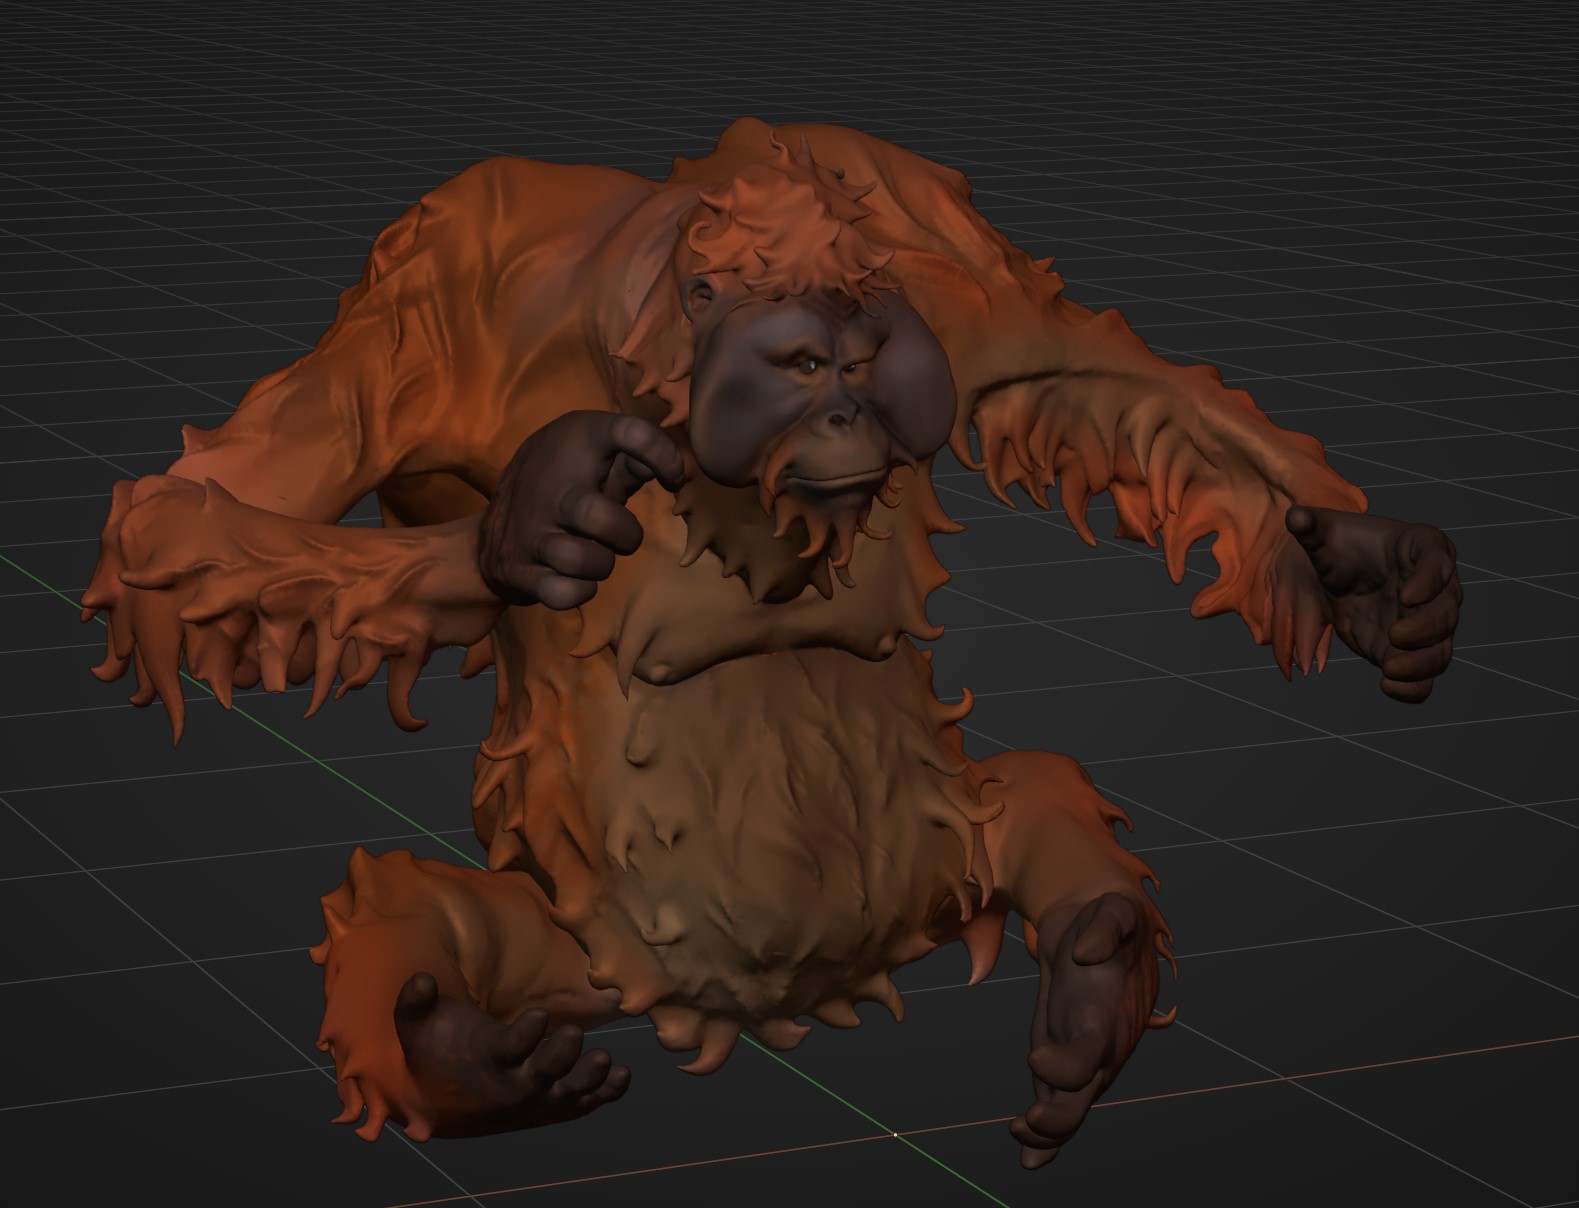
SCULPTING
Sculpting is my favorite part and I really enjoy the process. For the first time, I used Dyntopo, not multires.
I tried the new hair system but the stylised approach seemed more interesting at the moment.
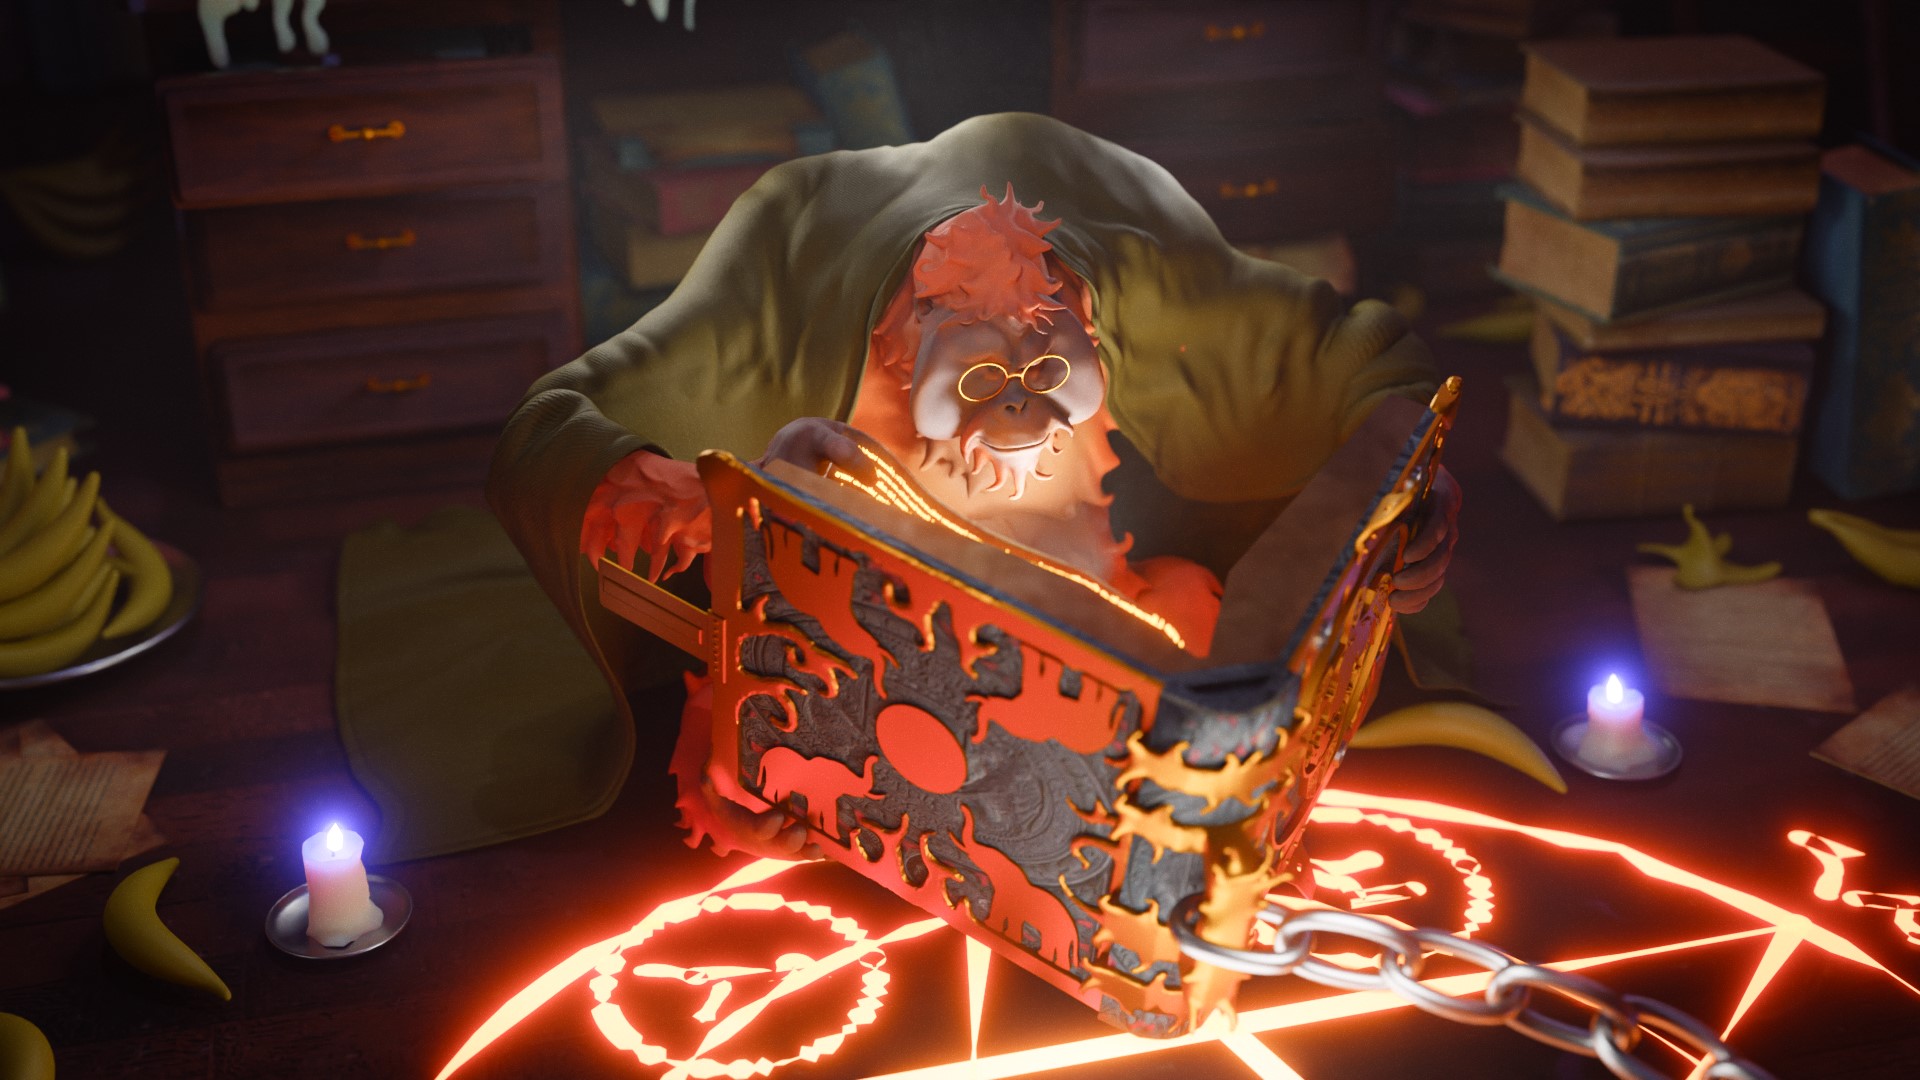
I knew from the book that the librarian does not wear jowls but it felt more like an orangutan that way.
I added some details to the book and I was happy with the result.
So I considered at this point to stop there and go beat Malenia in Elden Ring.
After some frustrating battles against this boss, I looked at my work and thought it was meh. The Librarian is one of Pratchett’s best characters and he deserves more than 3 hours of work. So I kept adding details.
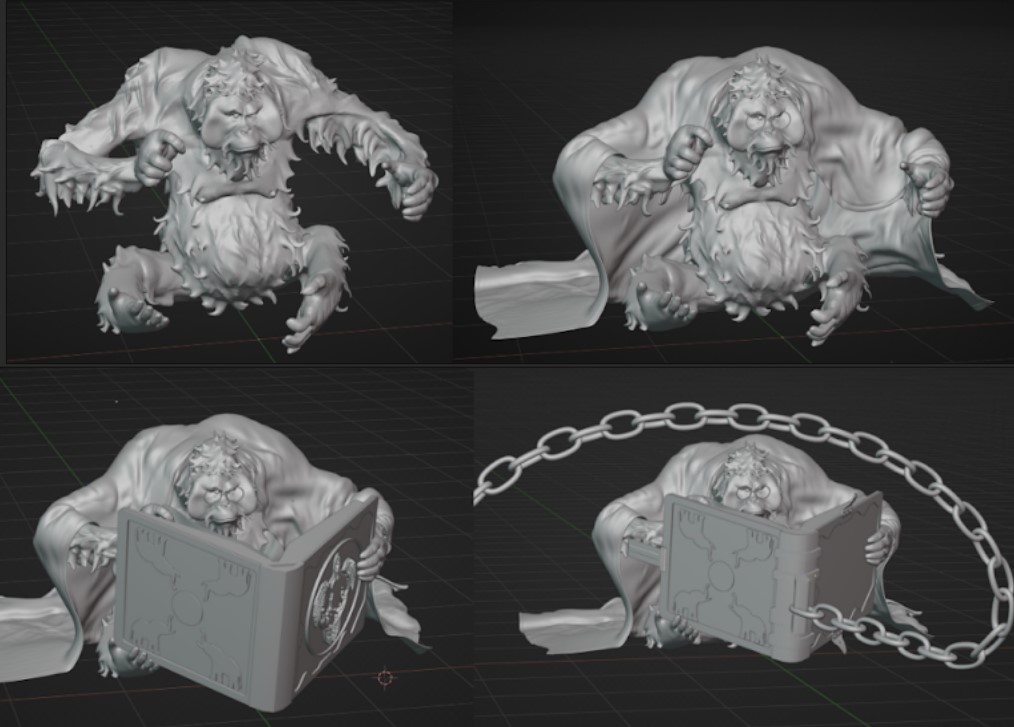
The book ornaments were done in Inkscape, then imported as meshes in Blender where I added some depth.
Do not try to use the Cloth filter brush to put a blanket on a 1.6M tri model, for it could take a while :p
Instead, I duplicated and decimated the model to have a low poly proxy.
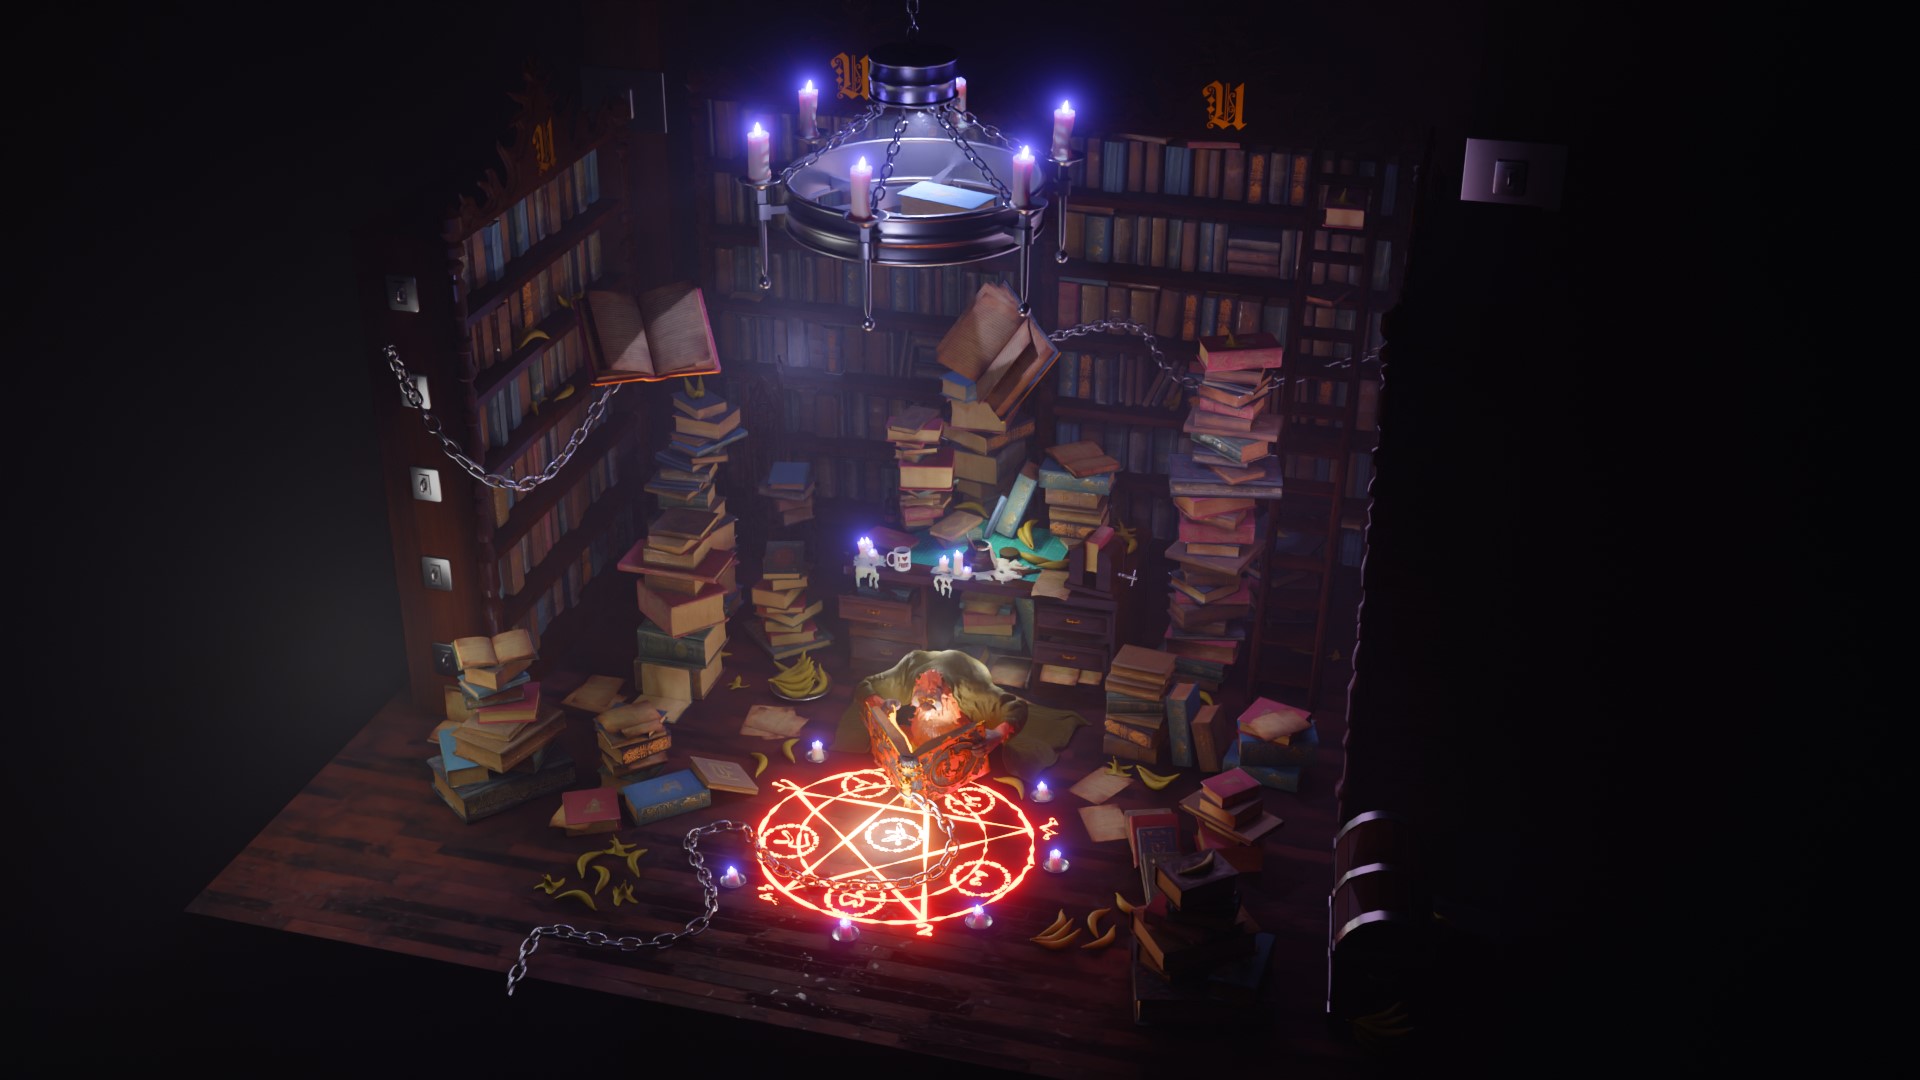
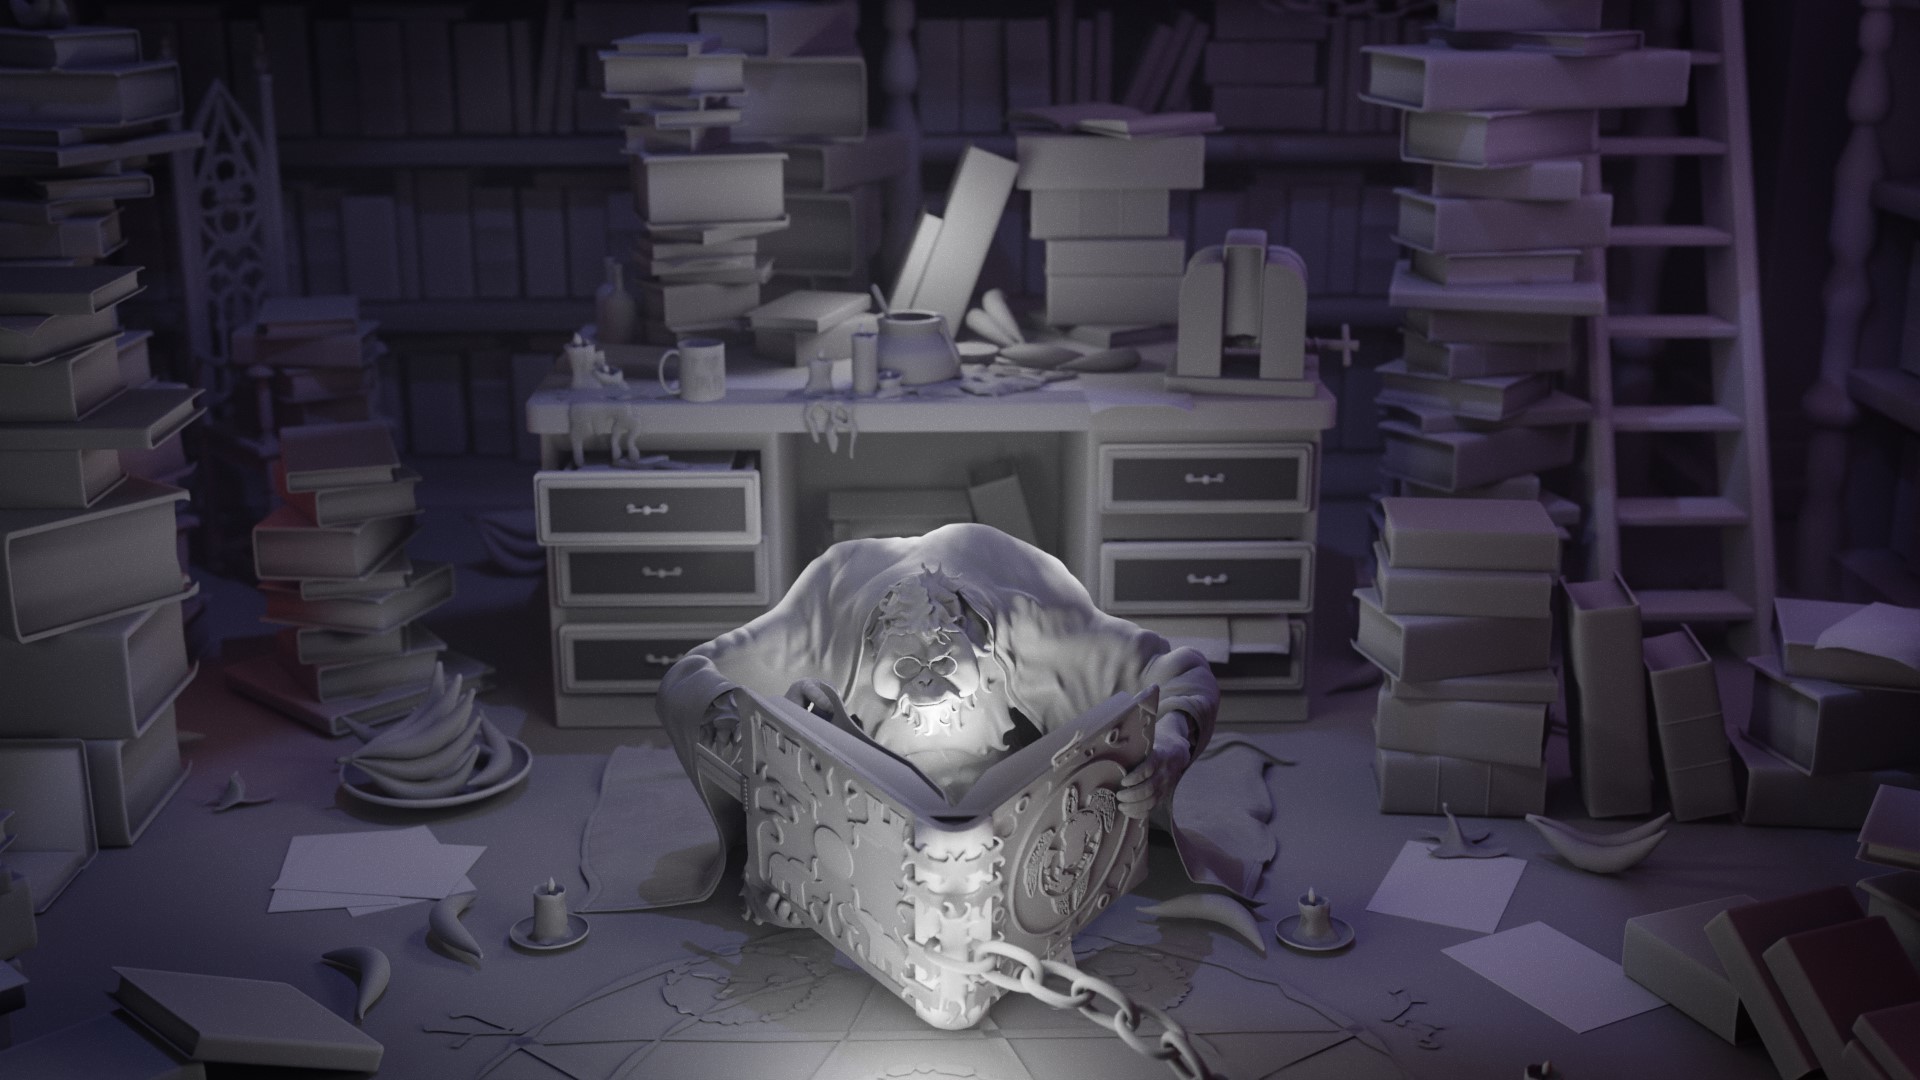
ENVIRONMENT
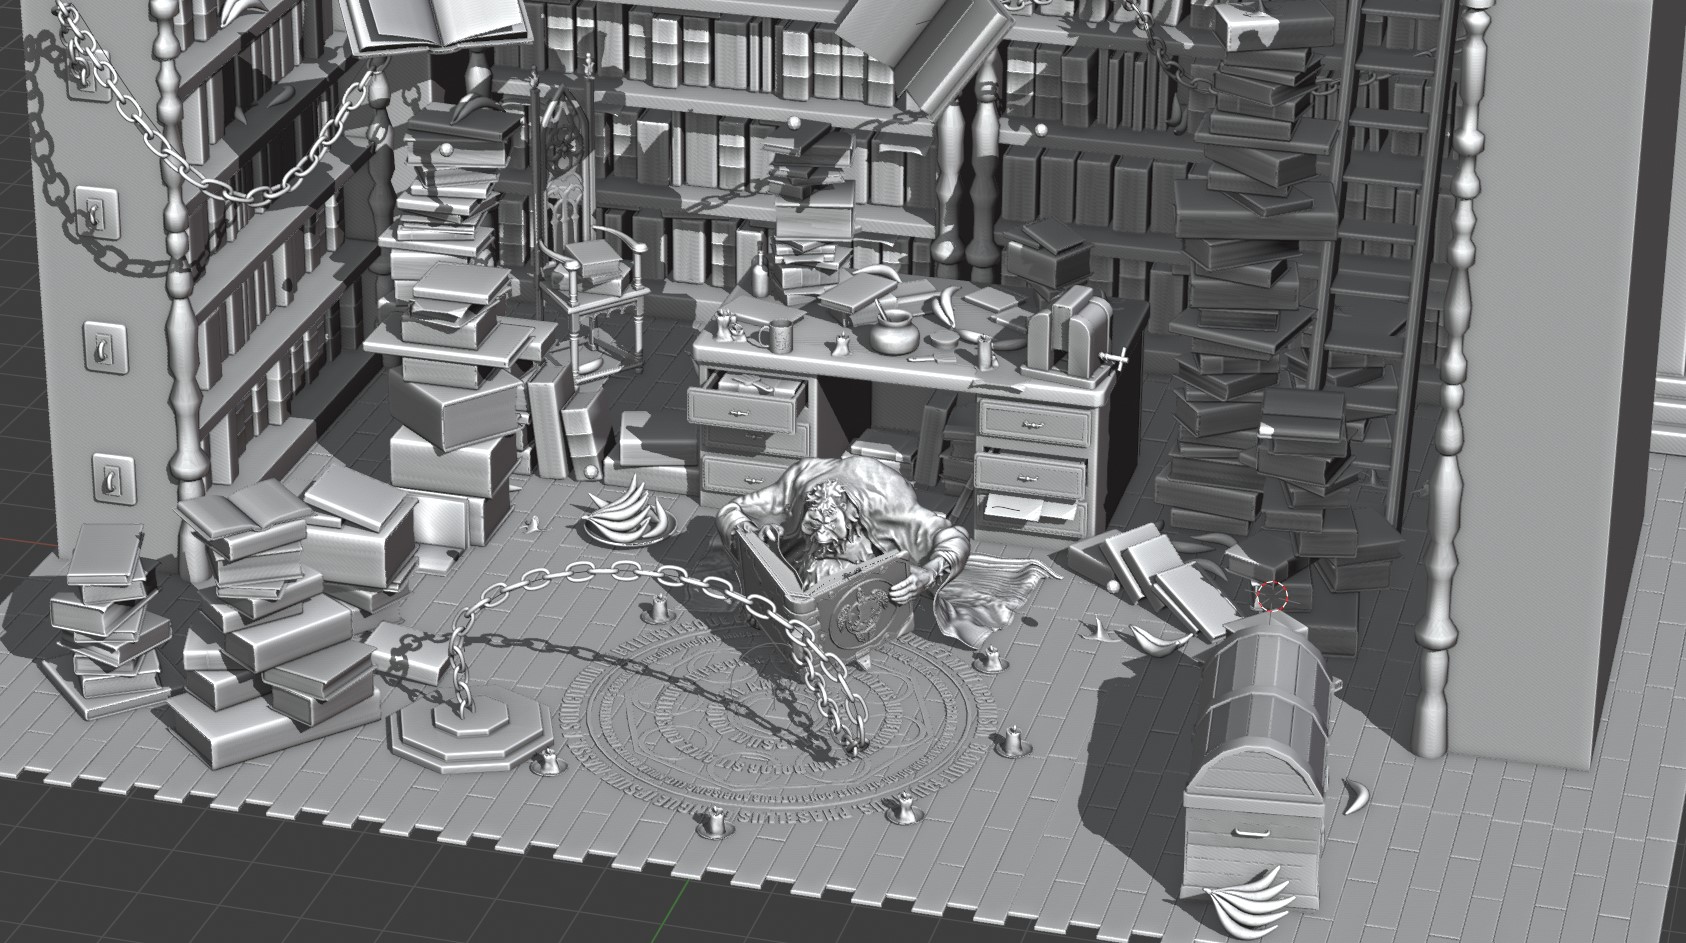
Then, I started to add background elements. I wanted something with a peculiar atmosphere, something warm like a library but cozy and deep like a burrow.
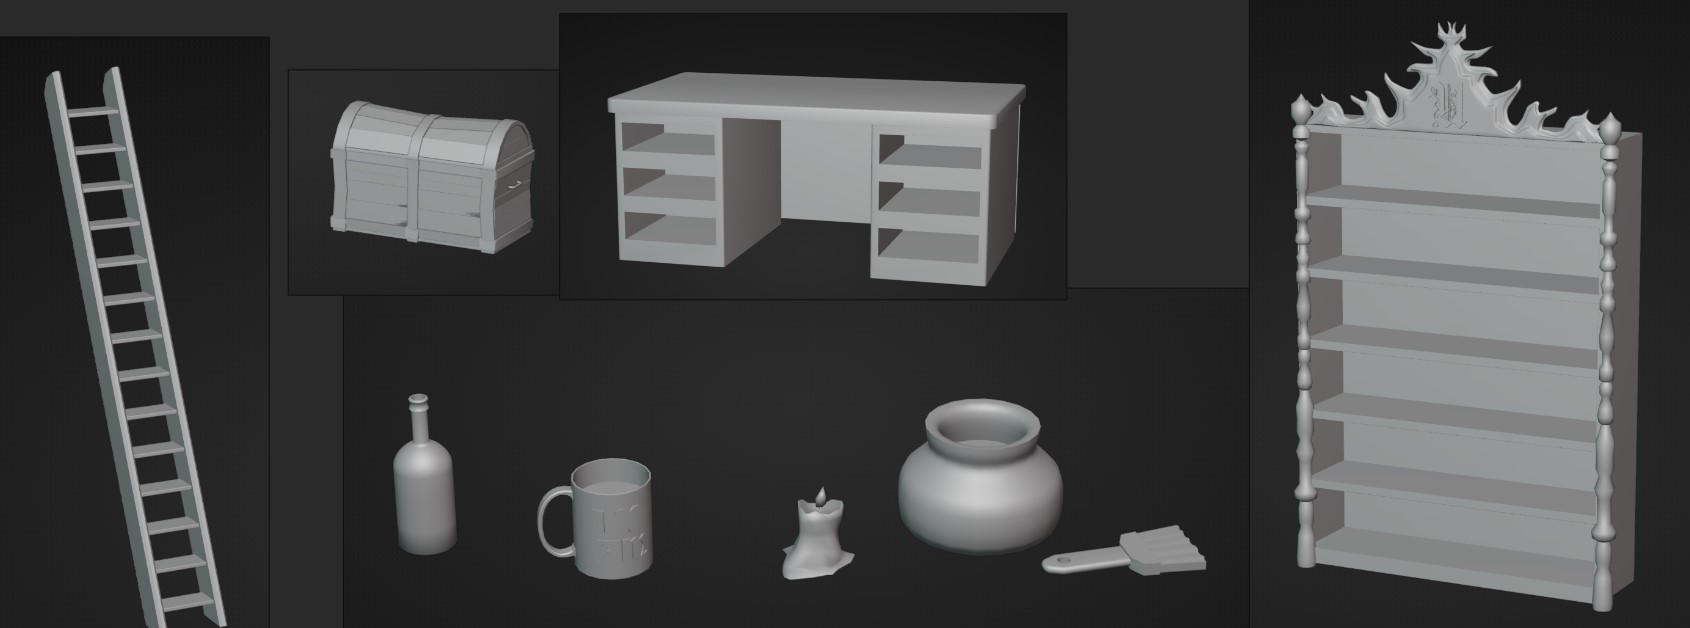
And if I wanted to stick to the many descriptions of the librarian and the library (flying books, a desk where he hides, the blanket…), I had to add all which could fit in a librarian’s office (bananas, glue pots, candles, shelves, more bananas… and as many book stacks I can put).
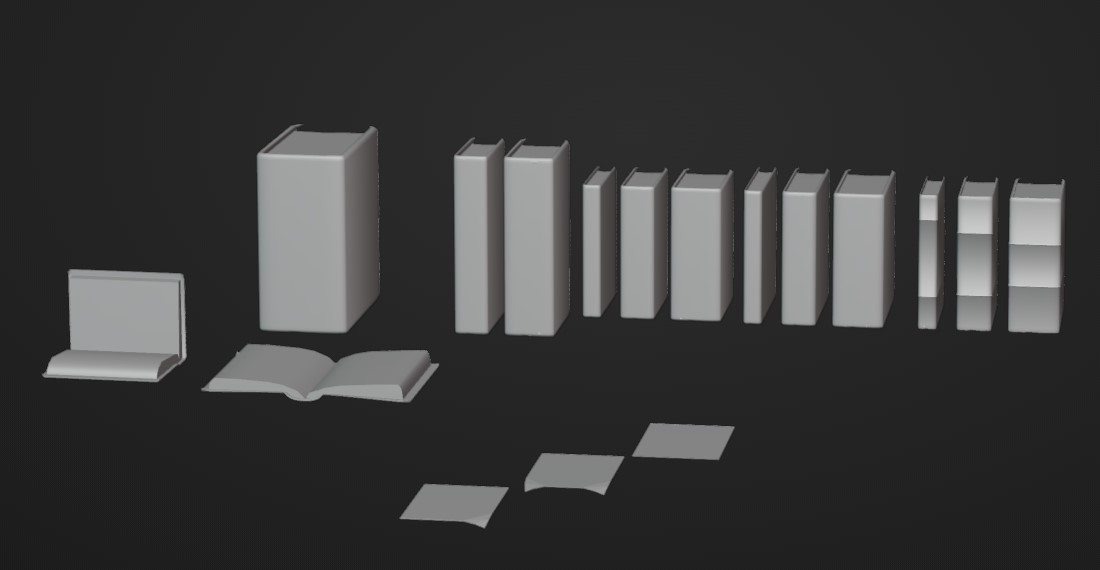
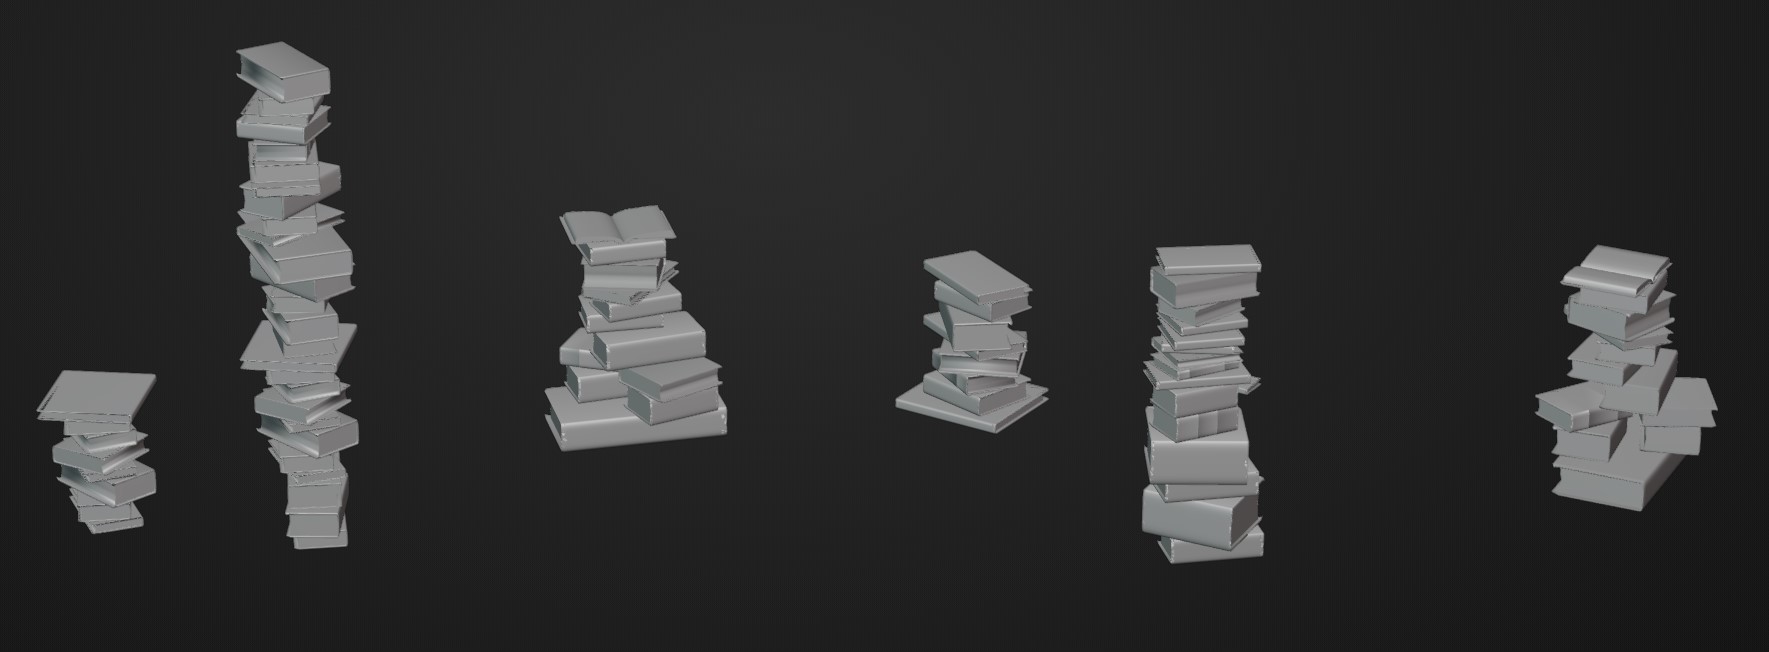
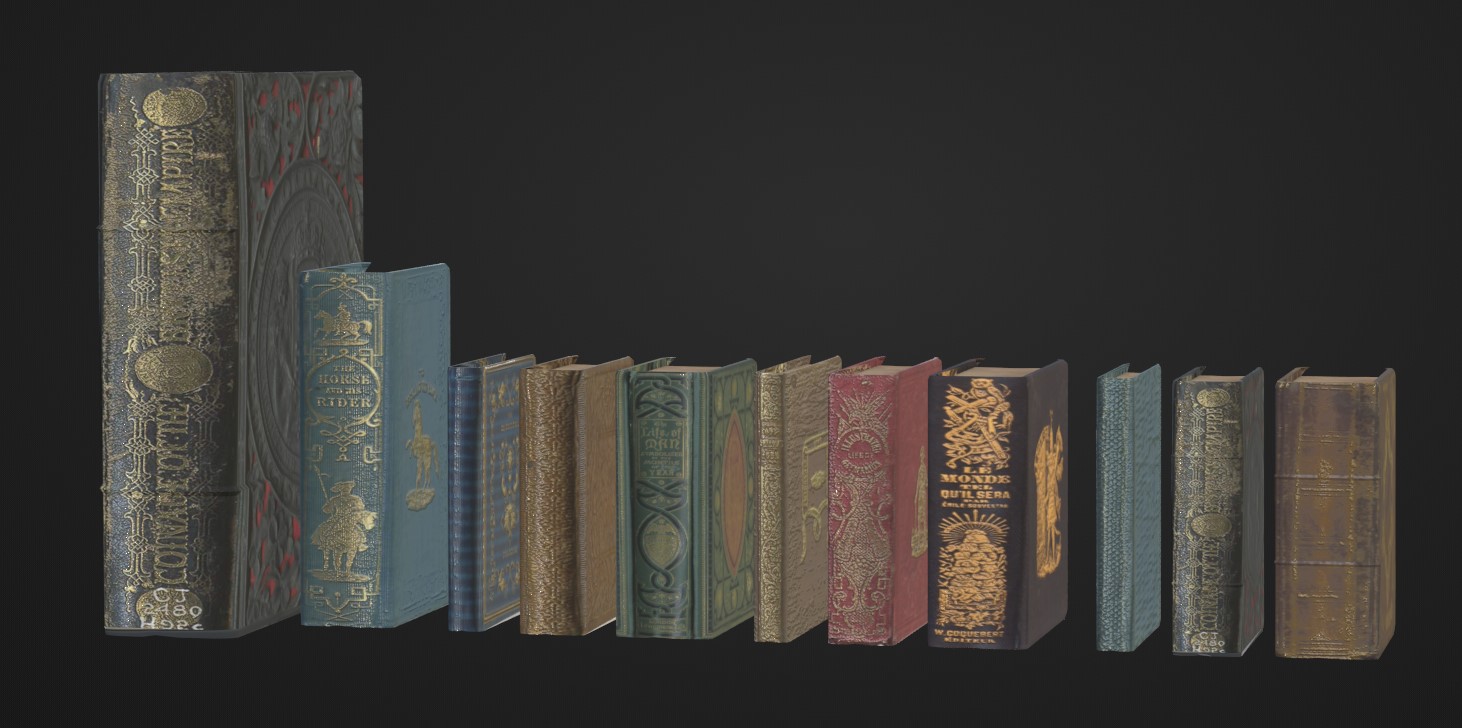
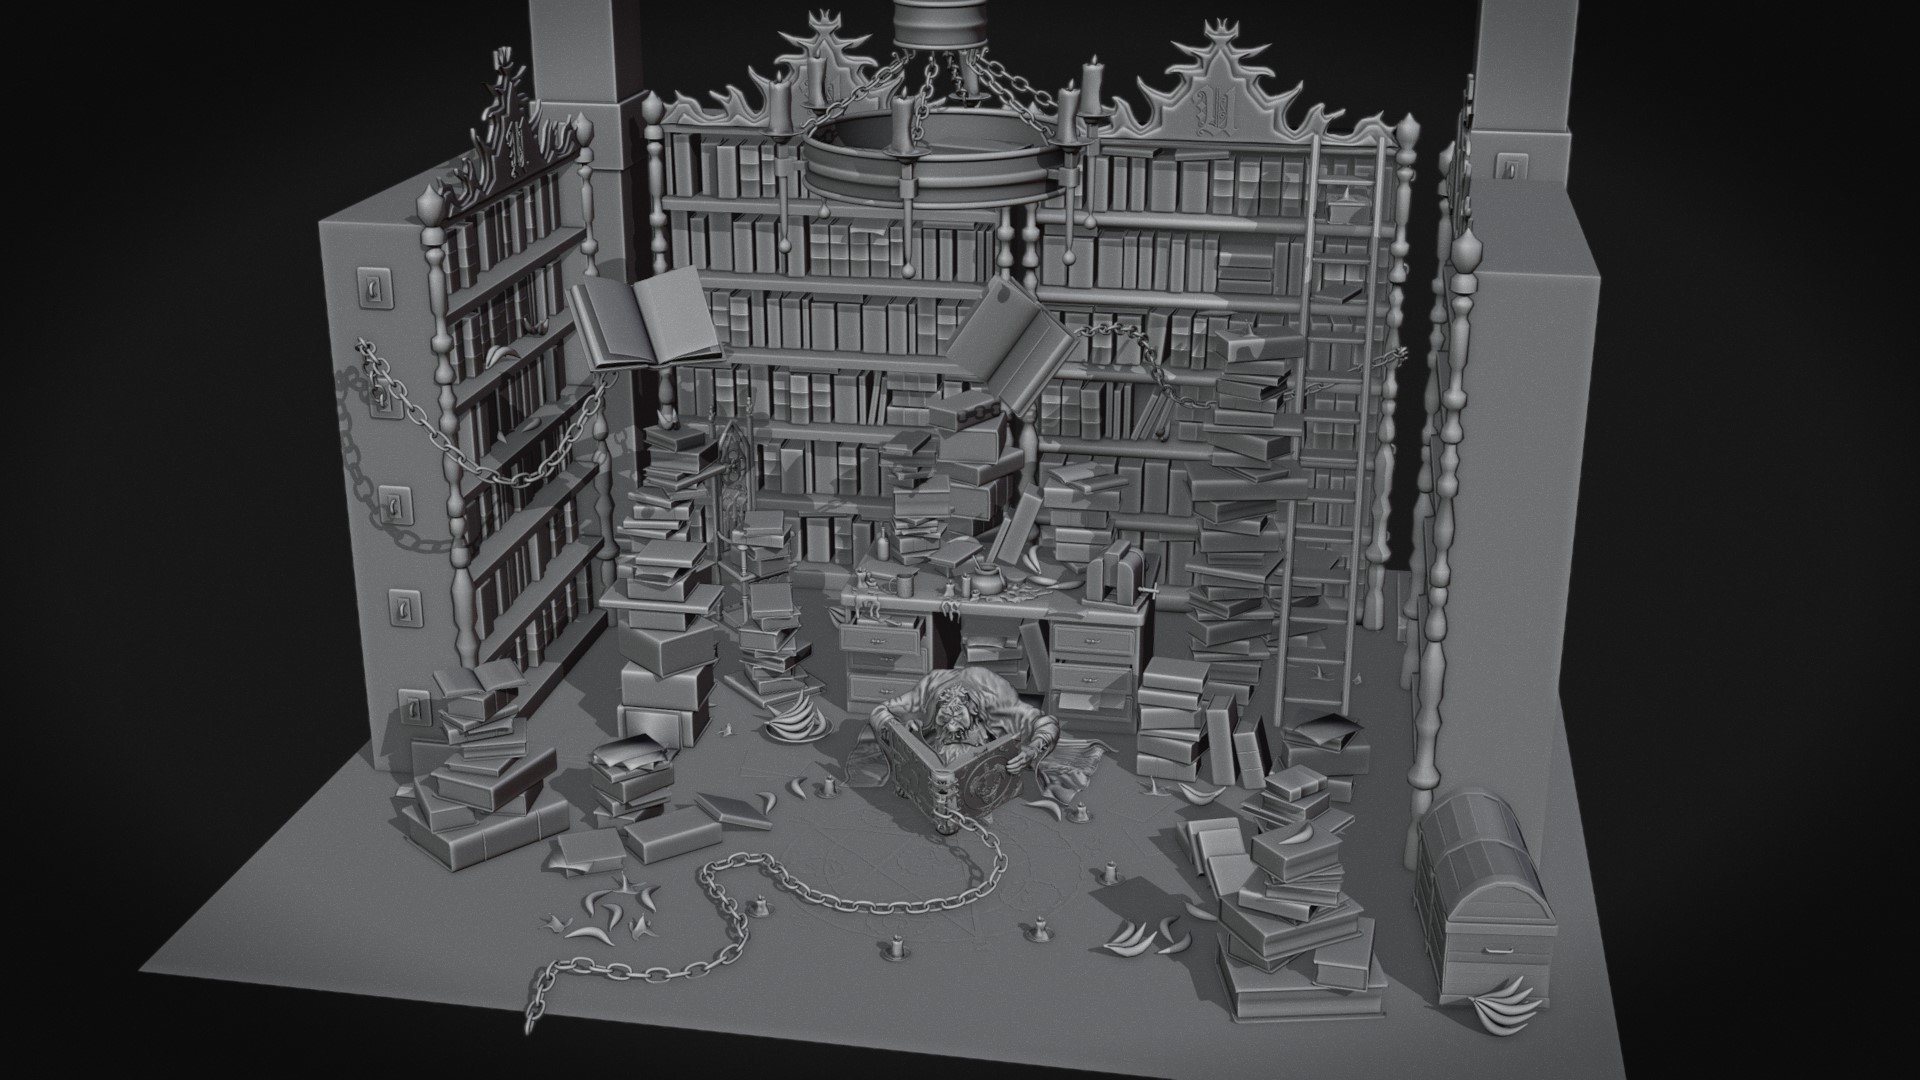
Book stacks were not as boring as I thought they would be.
I put the object origin of each book on the bottom face and in snapping options “face -> center,” then stacked them in order that they do not collapse (if there was gravity).
To fill the shelves, this technique was not fast enough so I randomly put the books in the shelves, selected all of them and added “Object -> Rigid Body -> Add Active.”
The shelves have a rigid body passive-physics property. When you press “play,” everything takes its place and you just need to tweak things here and there. The same for the bananas and peels.
It was nice and I prepared to post my work. When I post an artwork, it means that it is finished. No more work on it after that. Like when you are a kid and give your math test to your teacher :p
But before that, I have two terrible judges to convince my work is completed: my wife and son. And the verdict was, “Are you kidding me ? No color?”
And here comes my piece of advice: either you post without notice or you unwrap every model even if you don’t want to texture.
I did neither the first nor the second :’(
So I started again.
TEXTURING
I put the paint attribute on the librarian—it is so smooth now!
I unwrap and texture my books with textures found on the web but with more time, I wish I could put some of my book covers instead. (La divine comédie, Les fleurs du mal, San Antonio…)
Writings on the pages are from a Wikipedia article on the Discworld Librarian.

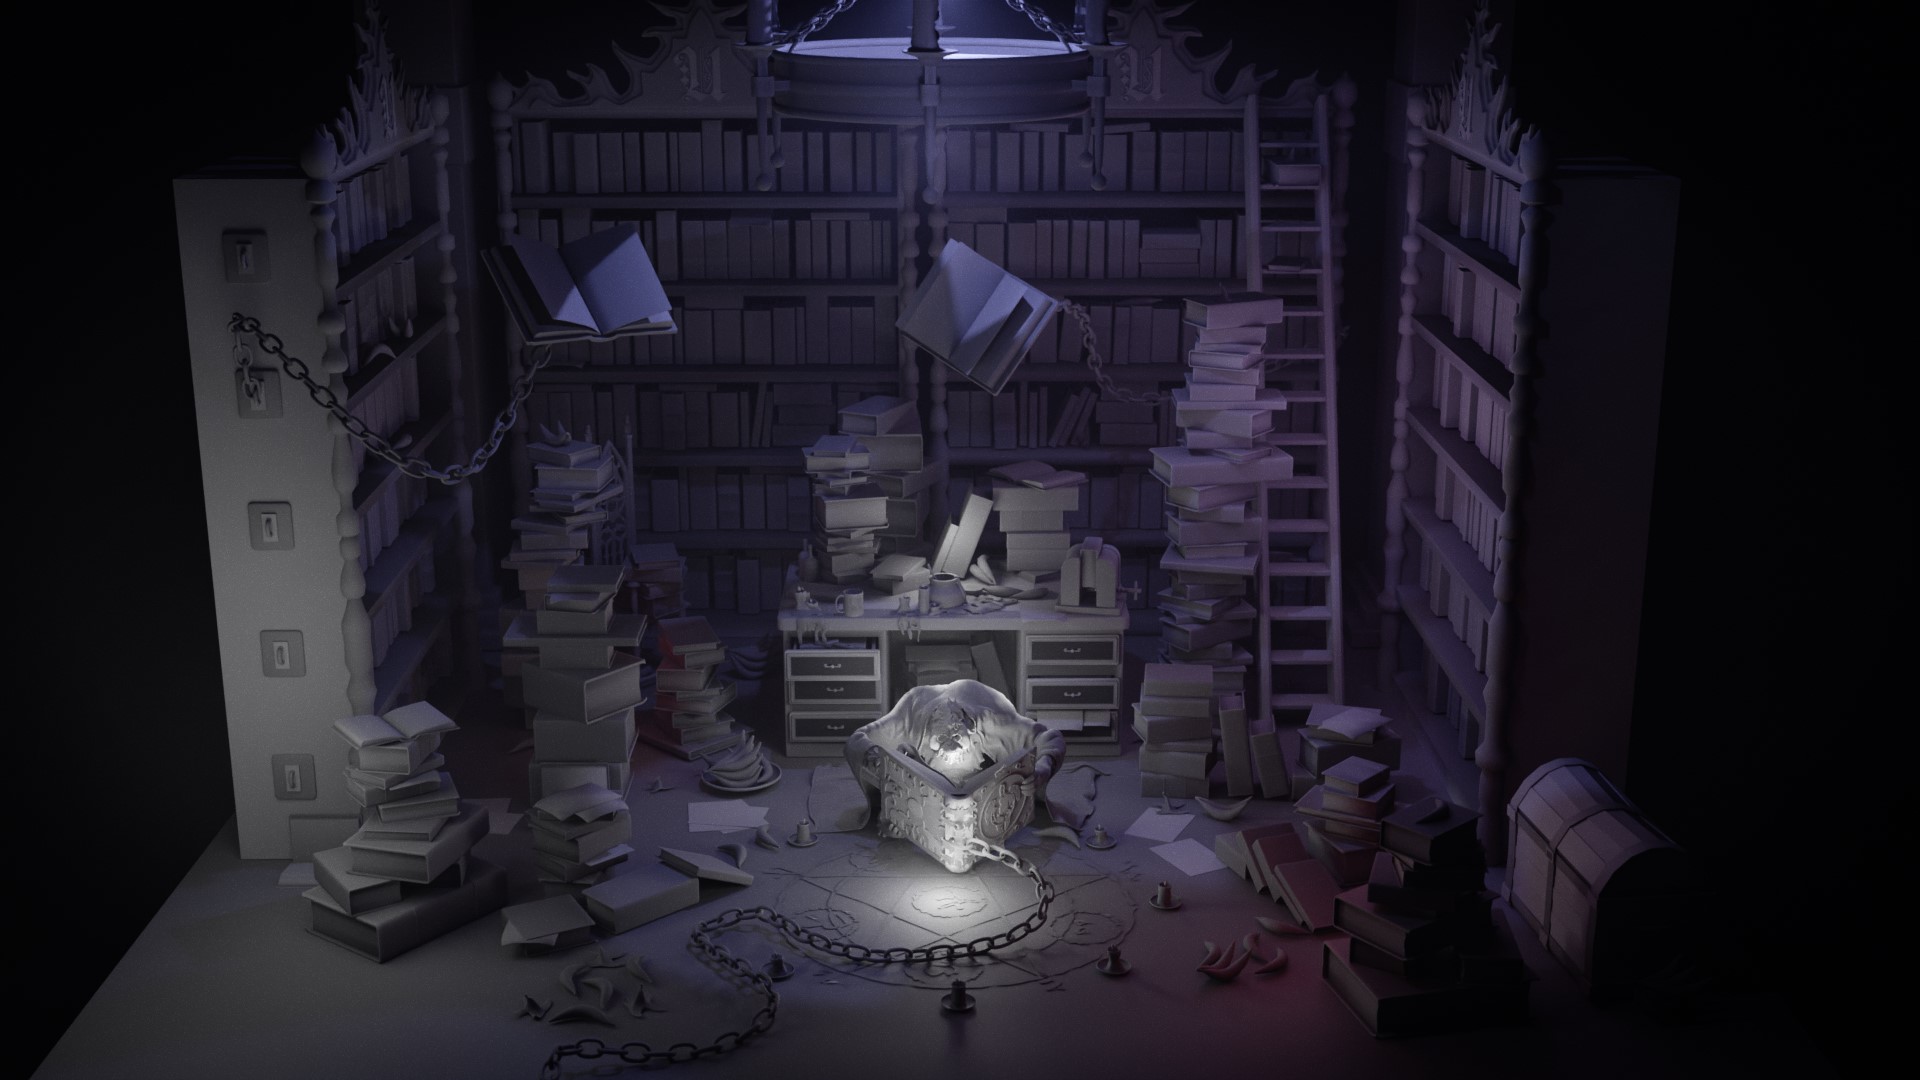
LIGHTING
It was not funny but with some good music, everything may be tolerated. Lighting the scene was tricky for me and at first I chose to render with EEVEE.
I liked the stylish touch with gloomy lights in the fog but even with a light probe, I was not happy with the reflections.
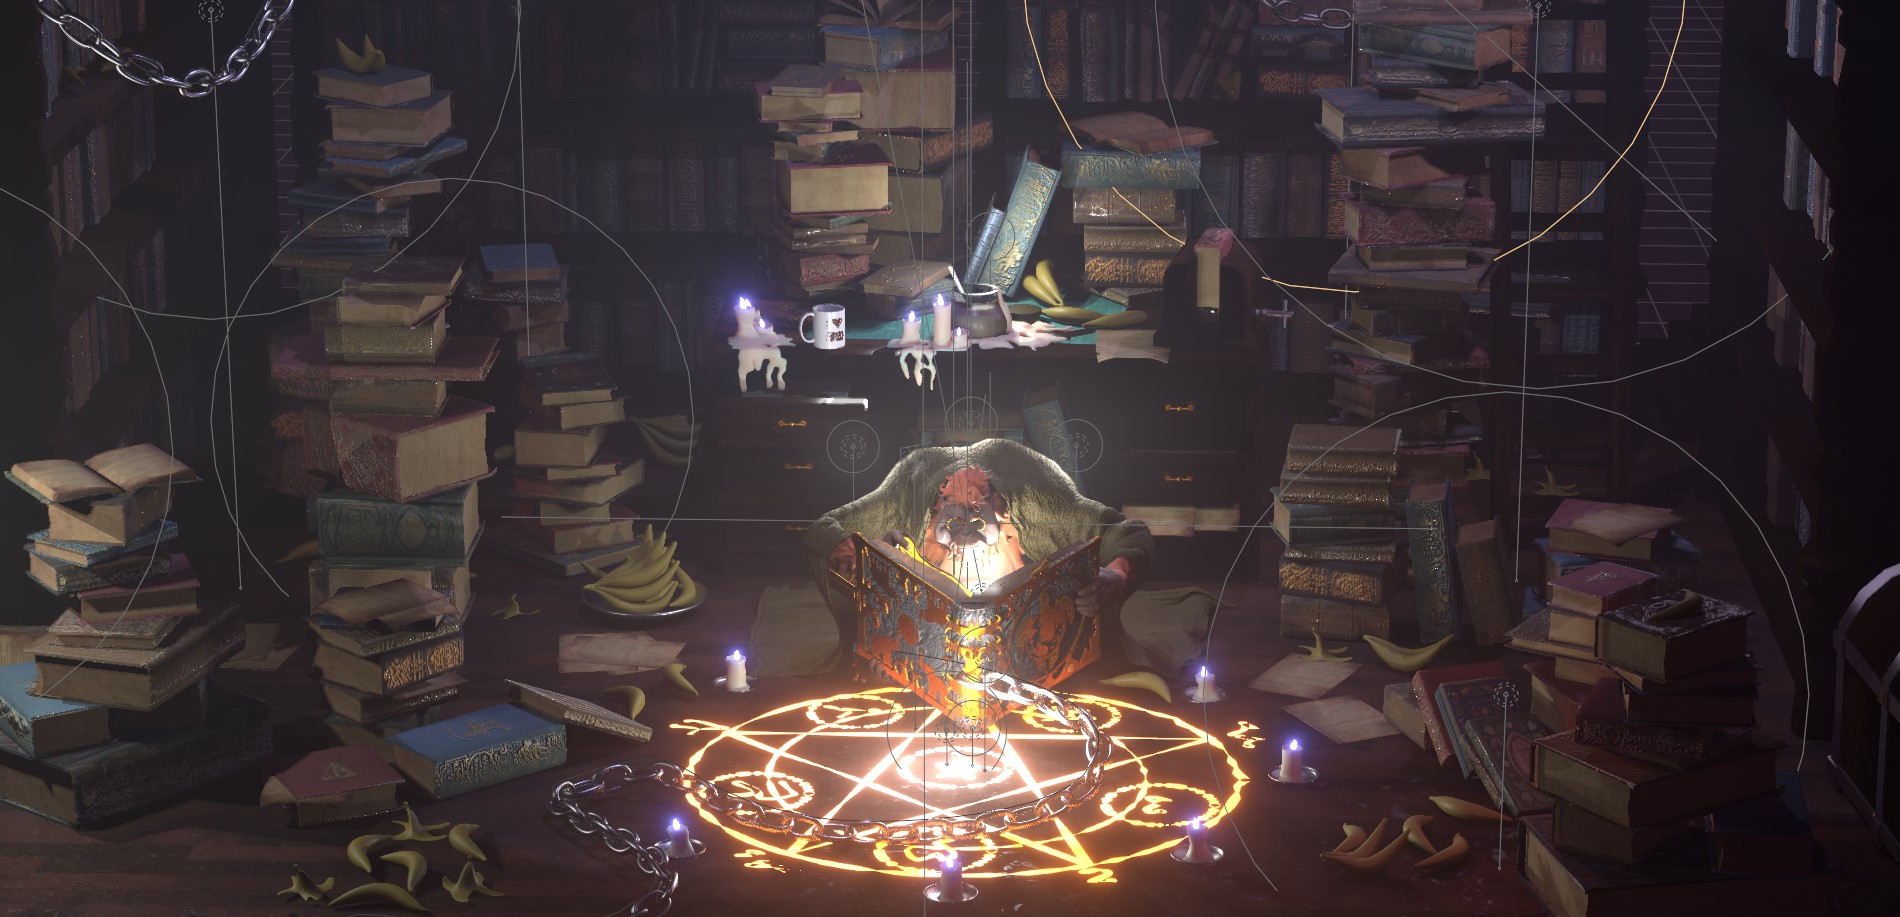
Cycles gave me prettier reflections with emissive materials, so I stuck with it. Adding volumetric fog to add depth was a good idea too.
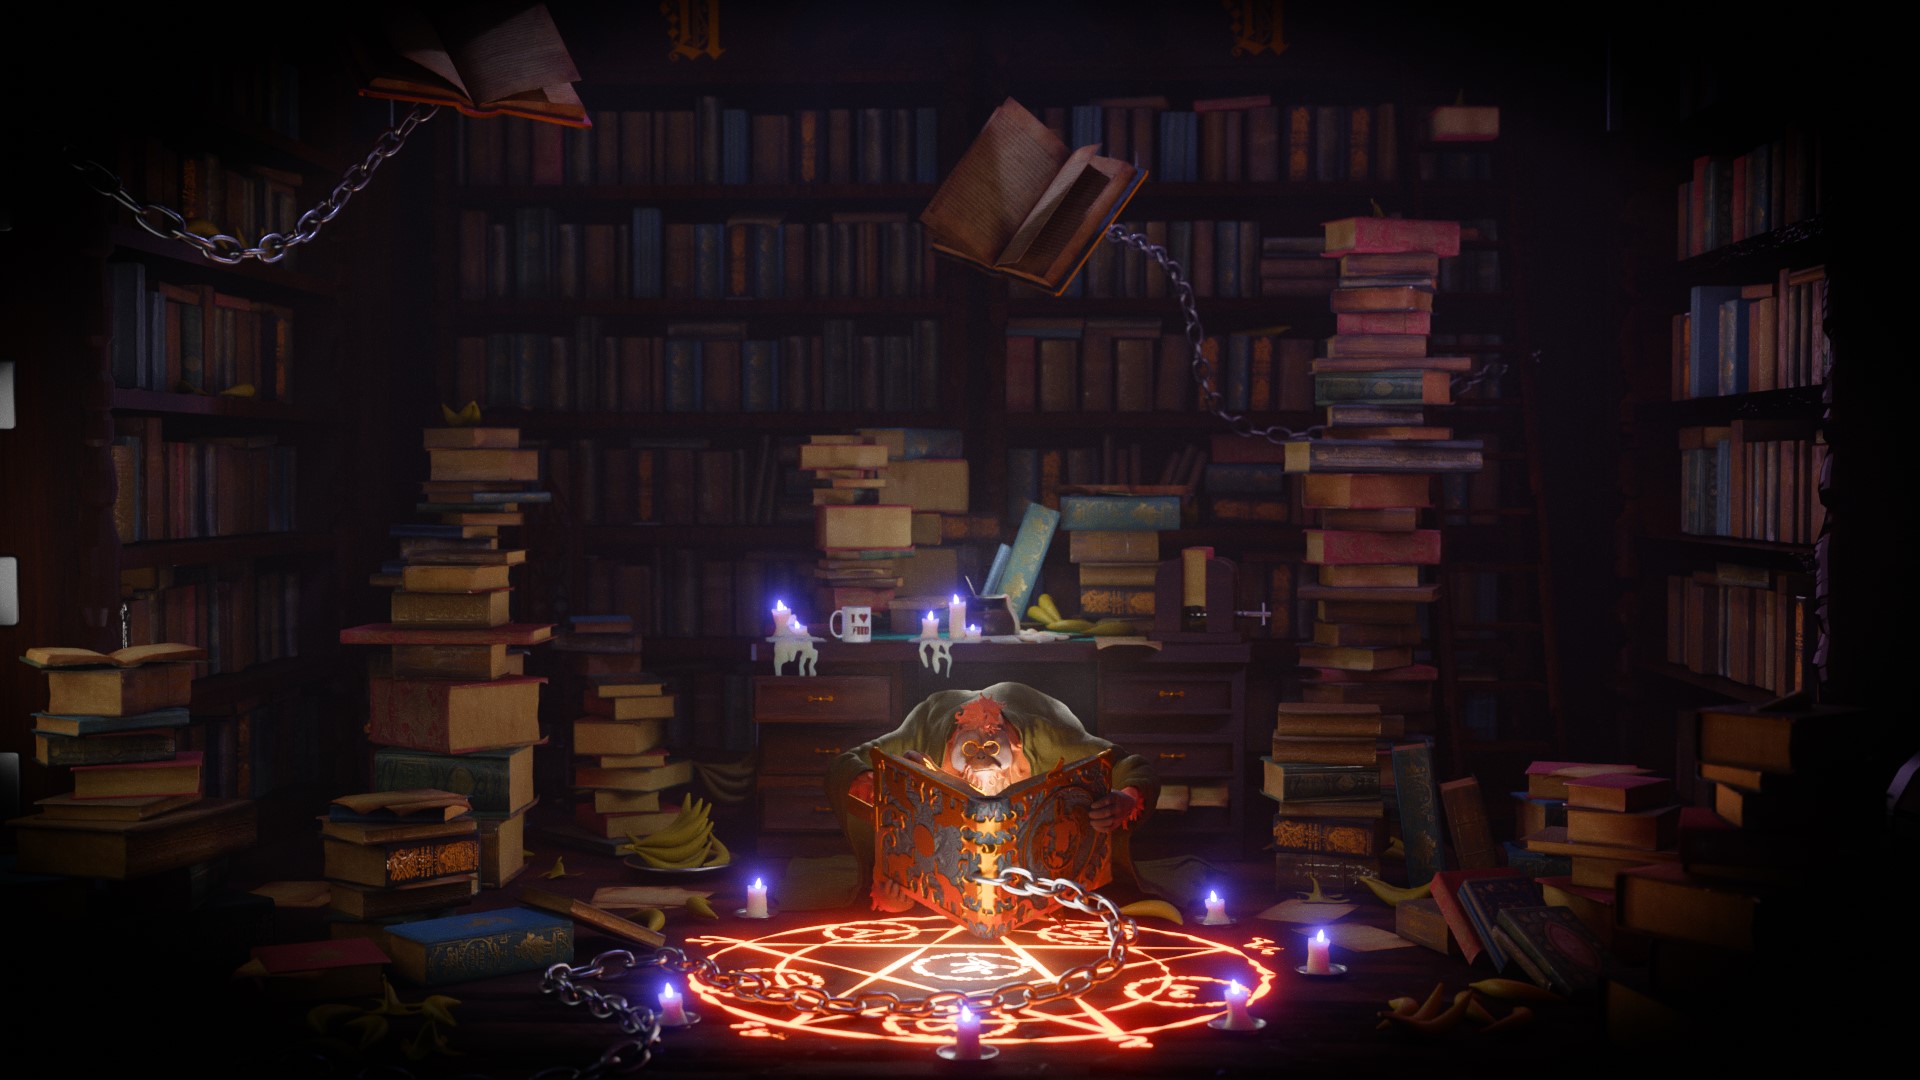
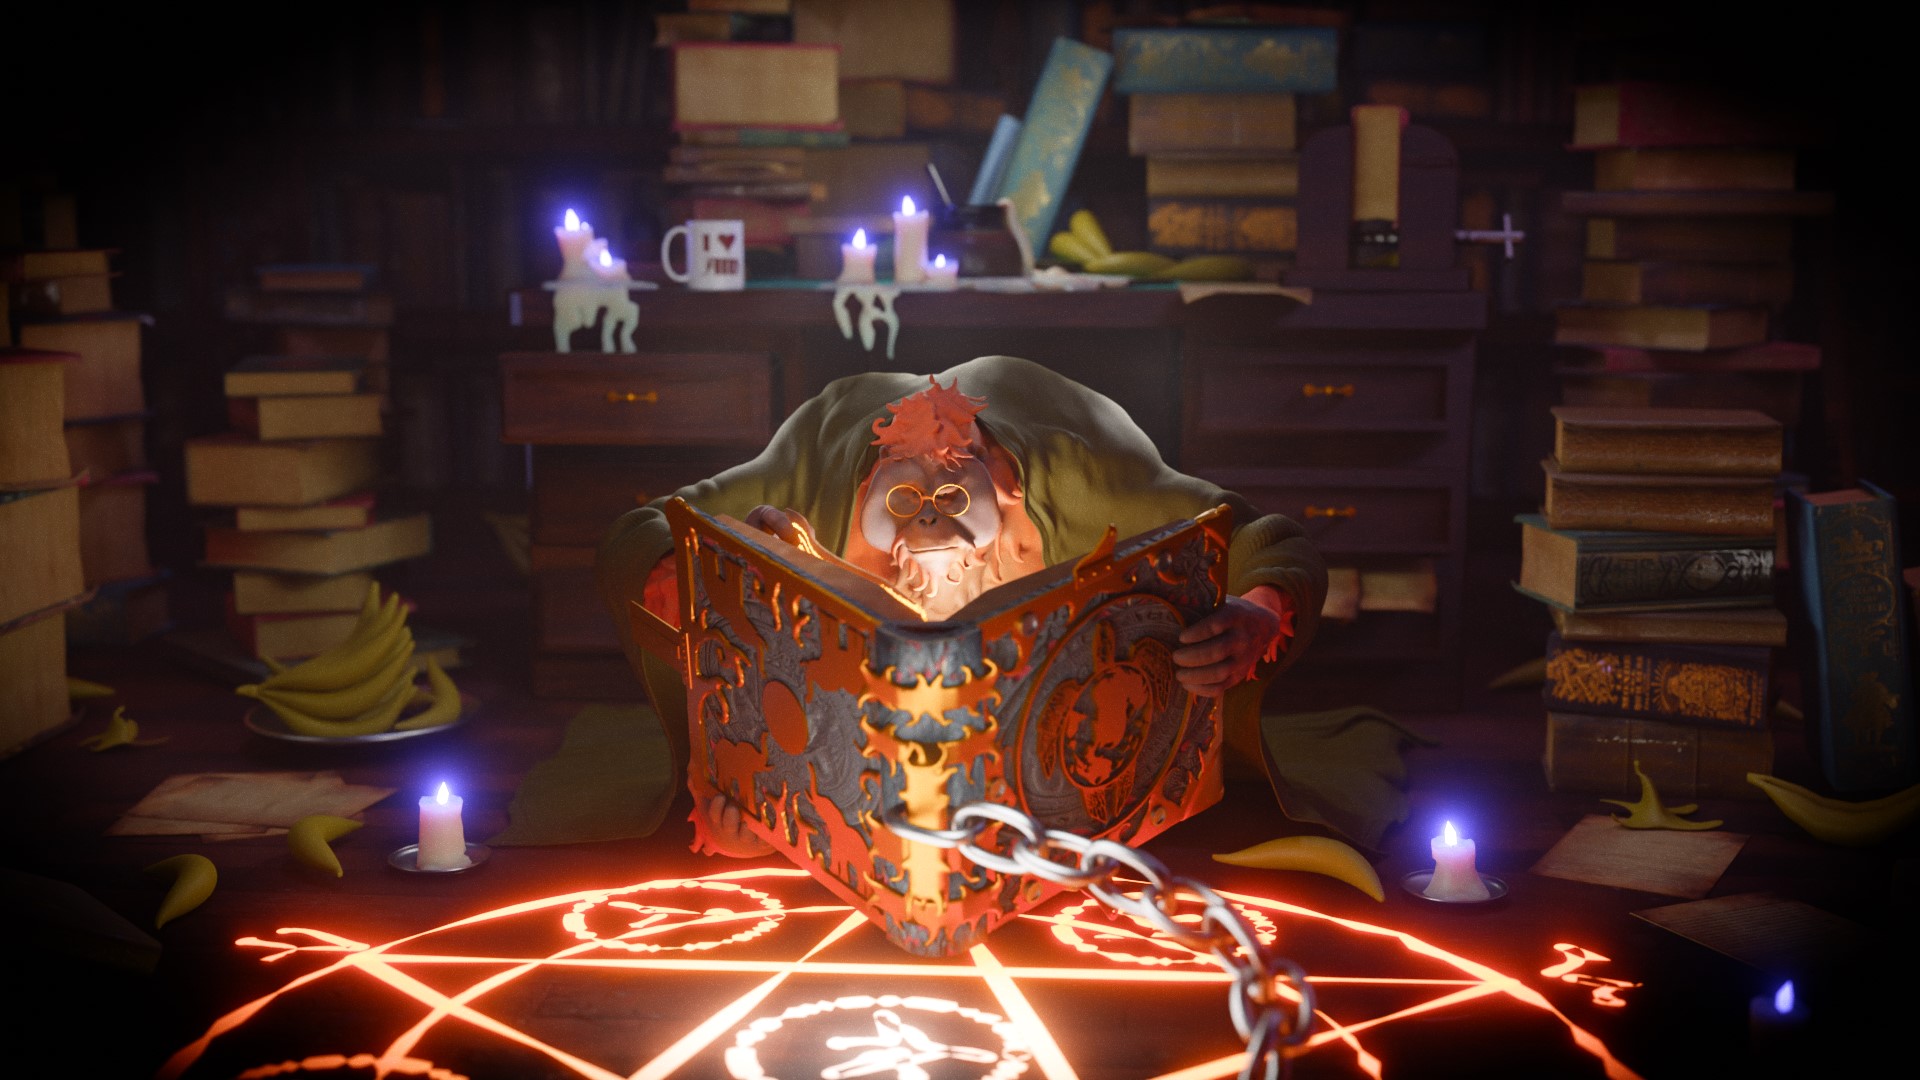
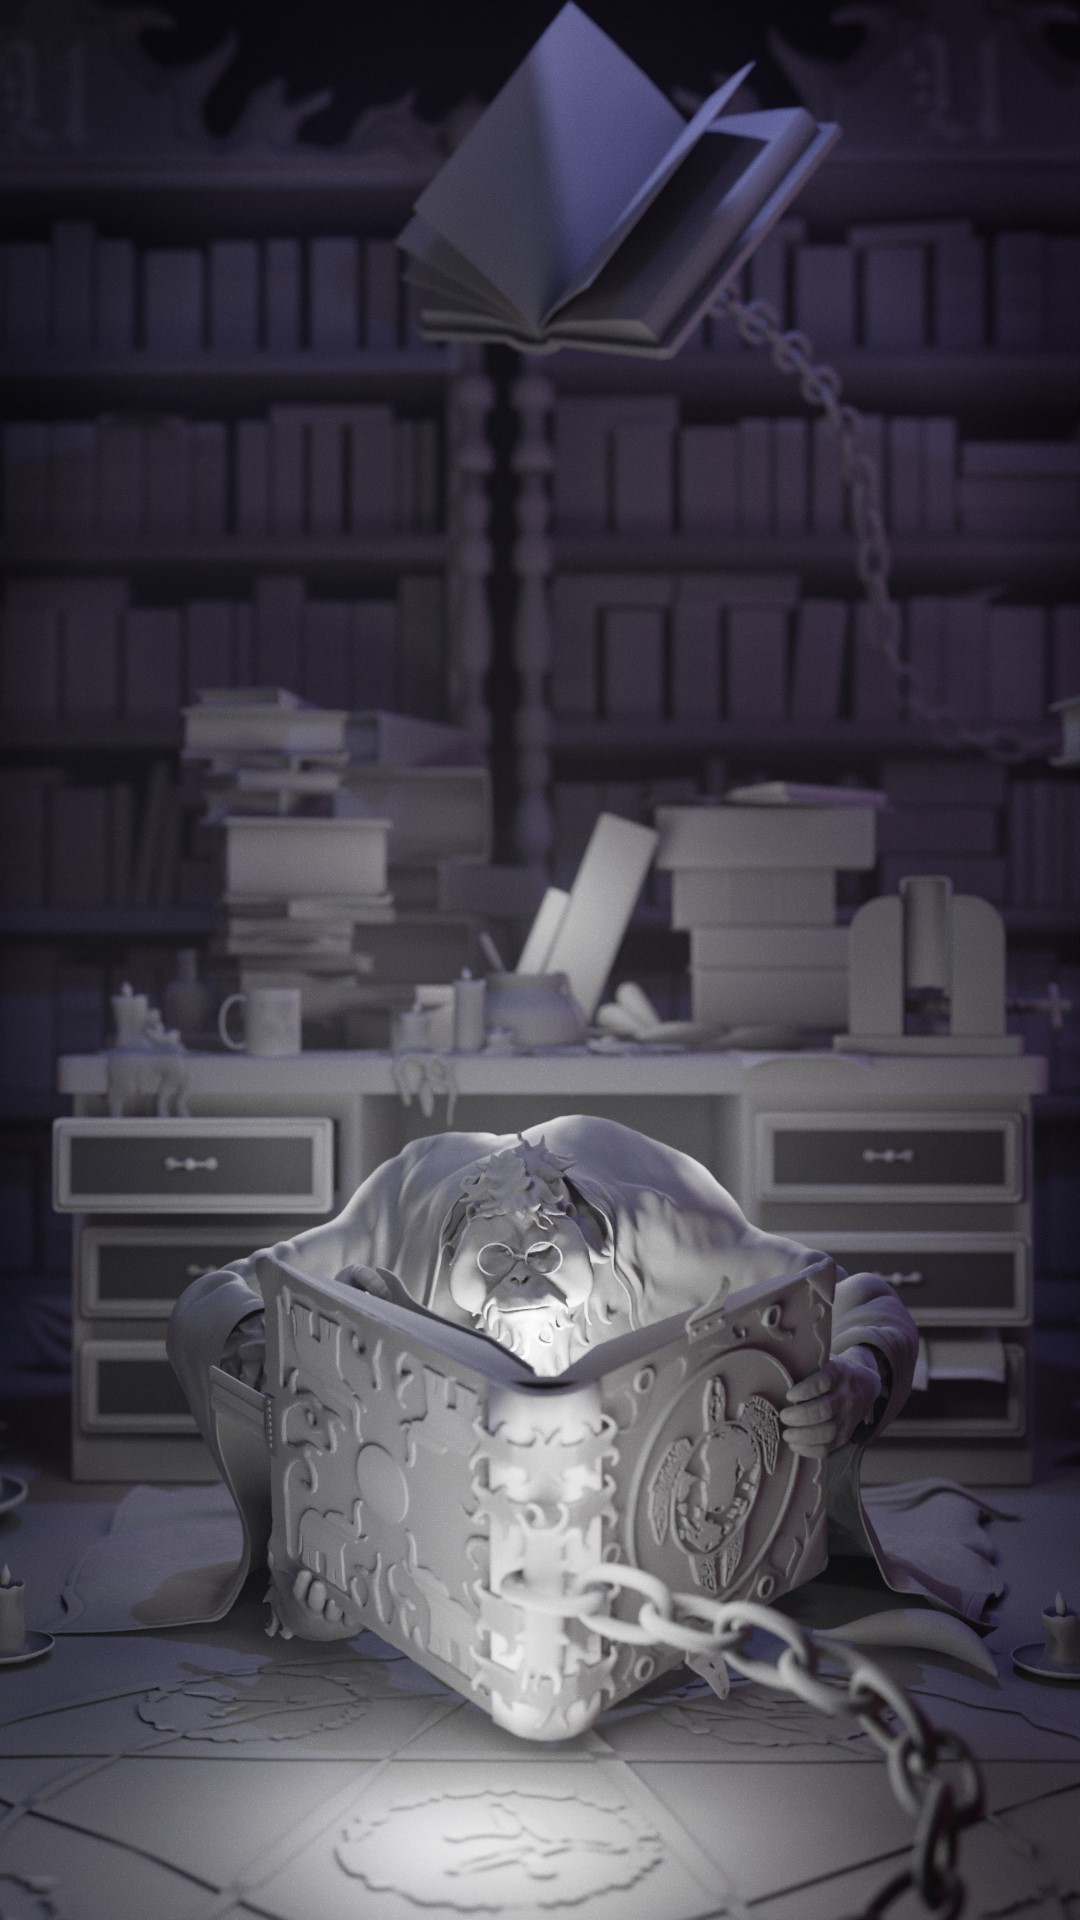
THE LIBRARIAN OF THE UNSEEN UNIVERSITY
And here are the renders. It is hard to choose one of them, for there are so many things to look at in this scene! Colors are maybe a bit saturated but I am pretty happy with the final render.
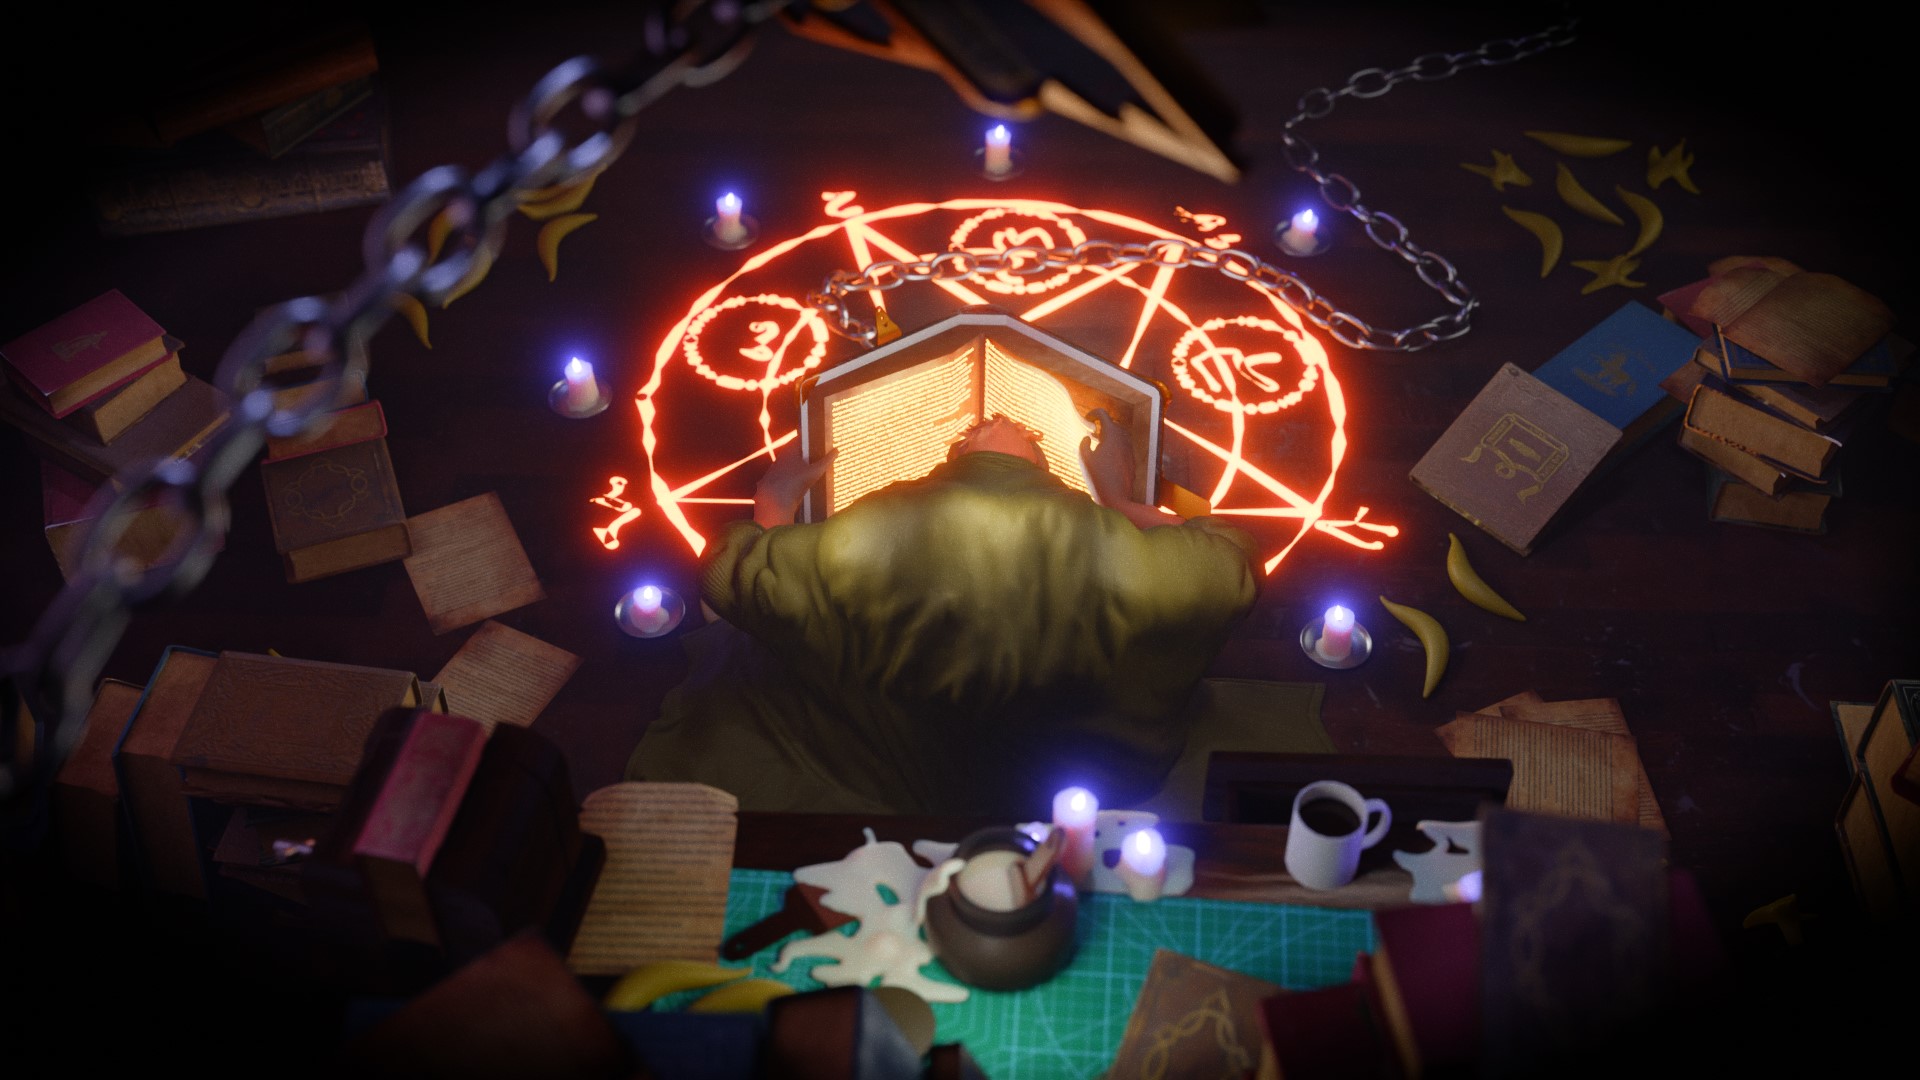

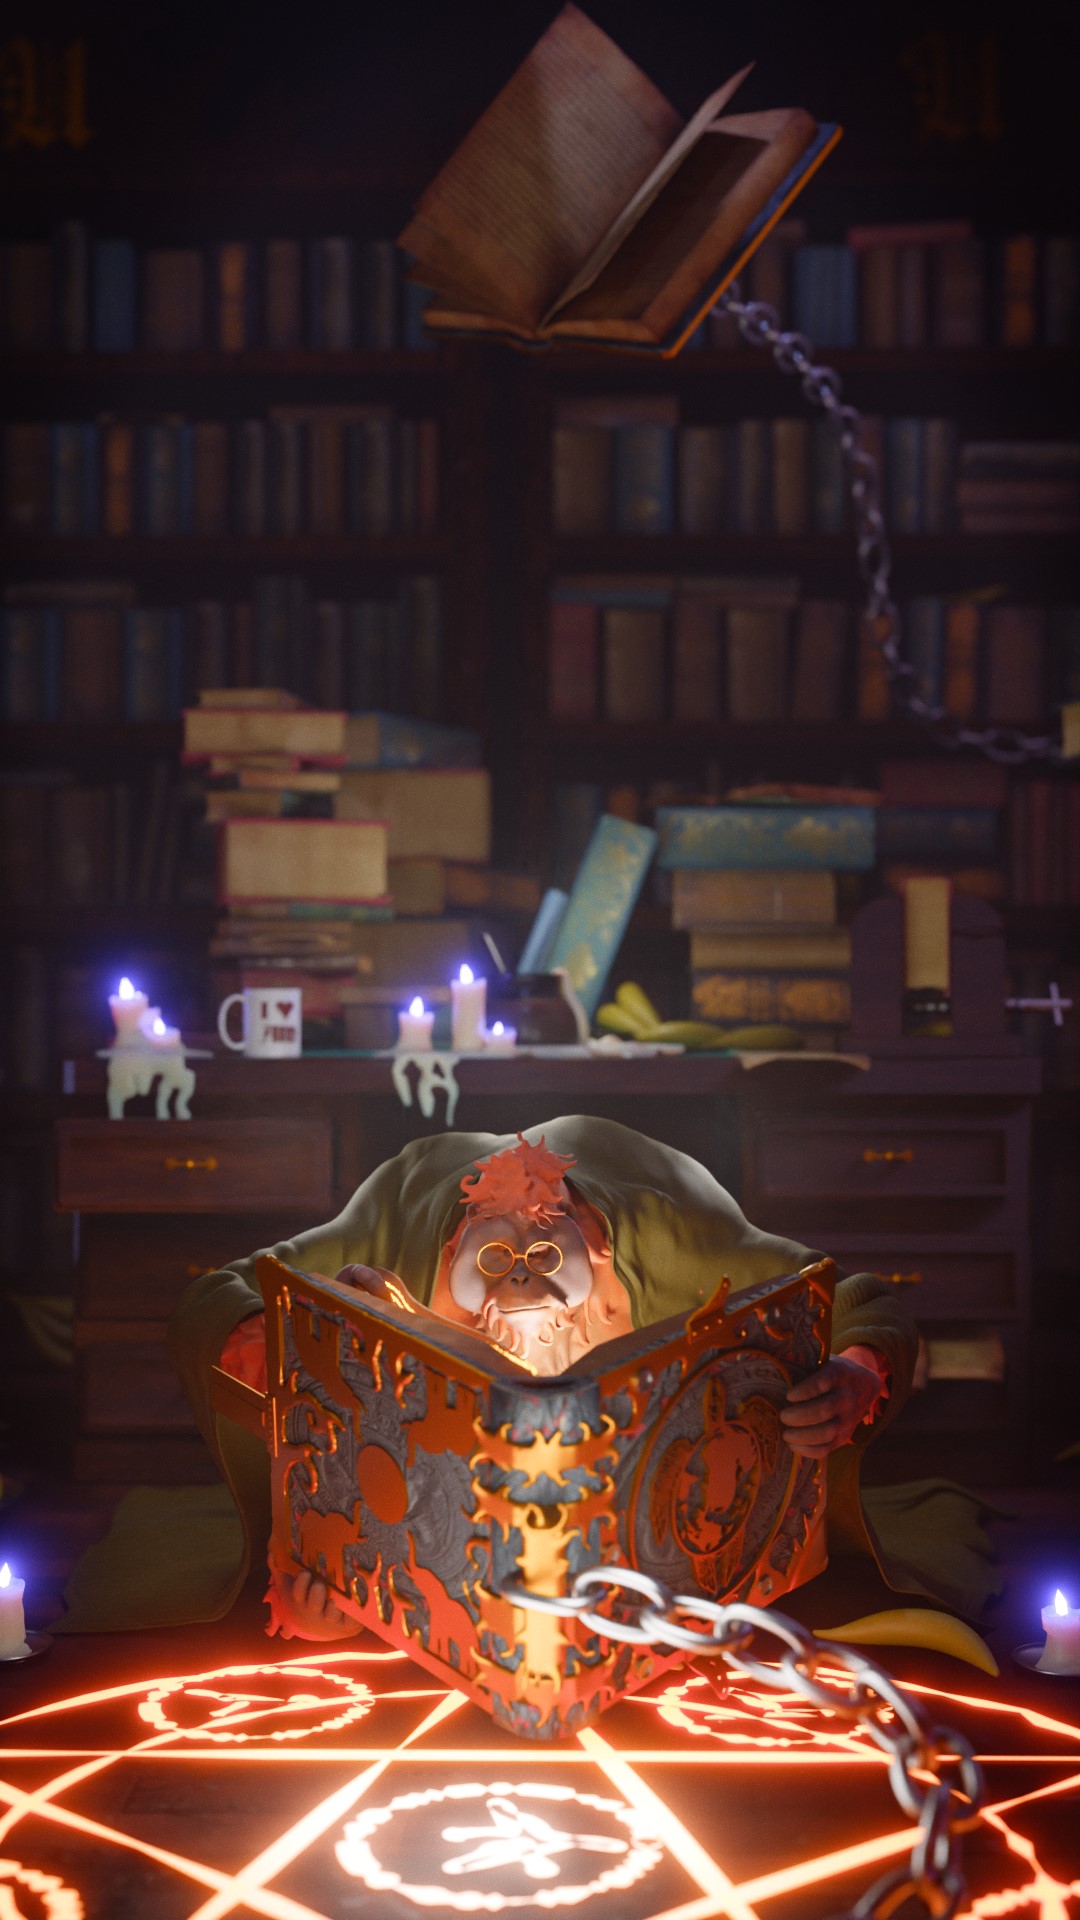

For the wallpaper of my phone :p
And if you want to inspect the scene, here is a Sketchfab diorama:
That’s all, I hope you’ve learned something new from this article!
Thank you and have a nice day!
About the Artist
David, a dilettante hobbyist and artist from Marseille, France.


A beautiful rendition. Amazing piece. It must have taken a long time. My Daughter and I are utter Discworld and Pratchett fan’s. We found your work while looking for prints to model for a UU Library diorama we want to make. Your amazing work is an inspiration.