Behind the Scenes: Galleon Ship
INTRODUCTION
Hello, my name is Piotr Gajda and I’m a Polish civil engineer, concept artist, 3D artist, and illustrator.
My artistic path began 10 years ago. At that time, I mainly created illustrations, but worked in really different professions at the same time—from an engineer on a construction site, through a photographer and a designer-constructor to official work.
I have always been interested in discovering media. I started with the traditional ones through photo manipulation, digital painting, and 3D modeling.
About 2 years ago, I decided to try Blender 3D and fell in love with this software. I have chosen an unusual way to learn it—reading the official, online manual, and trying to make simple 3D objects like chairs, tables, etc. After some time, I found out that Blender is an awesome tool to make base scenes for concept art and illustrations.
INSPIRATION
Firstly, I made a decision to create my own graphic novel in a realistic, cinematic style. There were some ideas in my head but I realized that I don’t want to make another story with a high fantasy theme, even if I love it. That’s why I decided to make it in a pirate setting, which I also really like. It gives me the opportunity to learn something new.
Overall, this particular model is where the main events of the novel (which doesn’t exist at the moment :)) will take place. My first inspiration was the Pirates of the Caribbean movie series, and also the gameplays from Skull and Bones.
MODELING
The hardest thing at this point was to find good references or blueprints. Around the web, I found a few instructions for assembling a miniature ship model and some drawings.
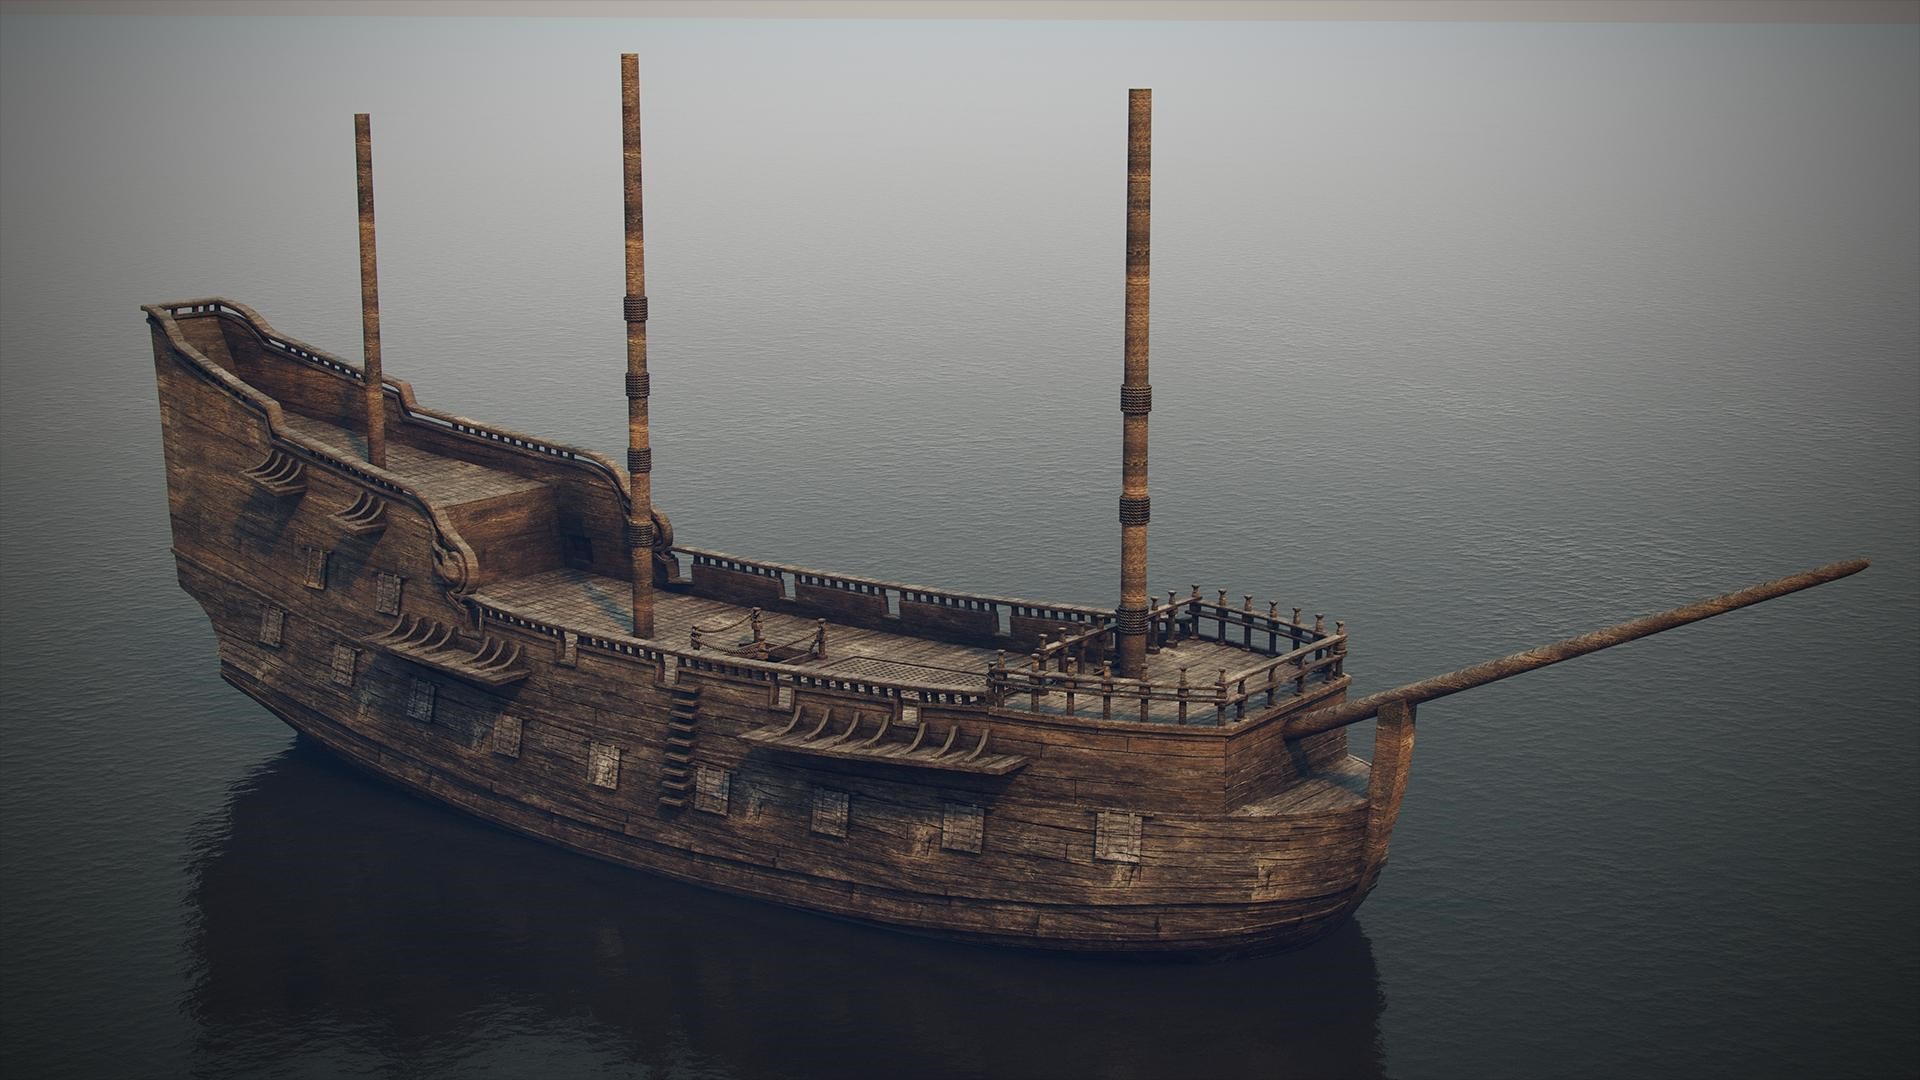
I started off with the base shape:
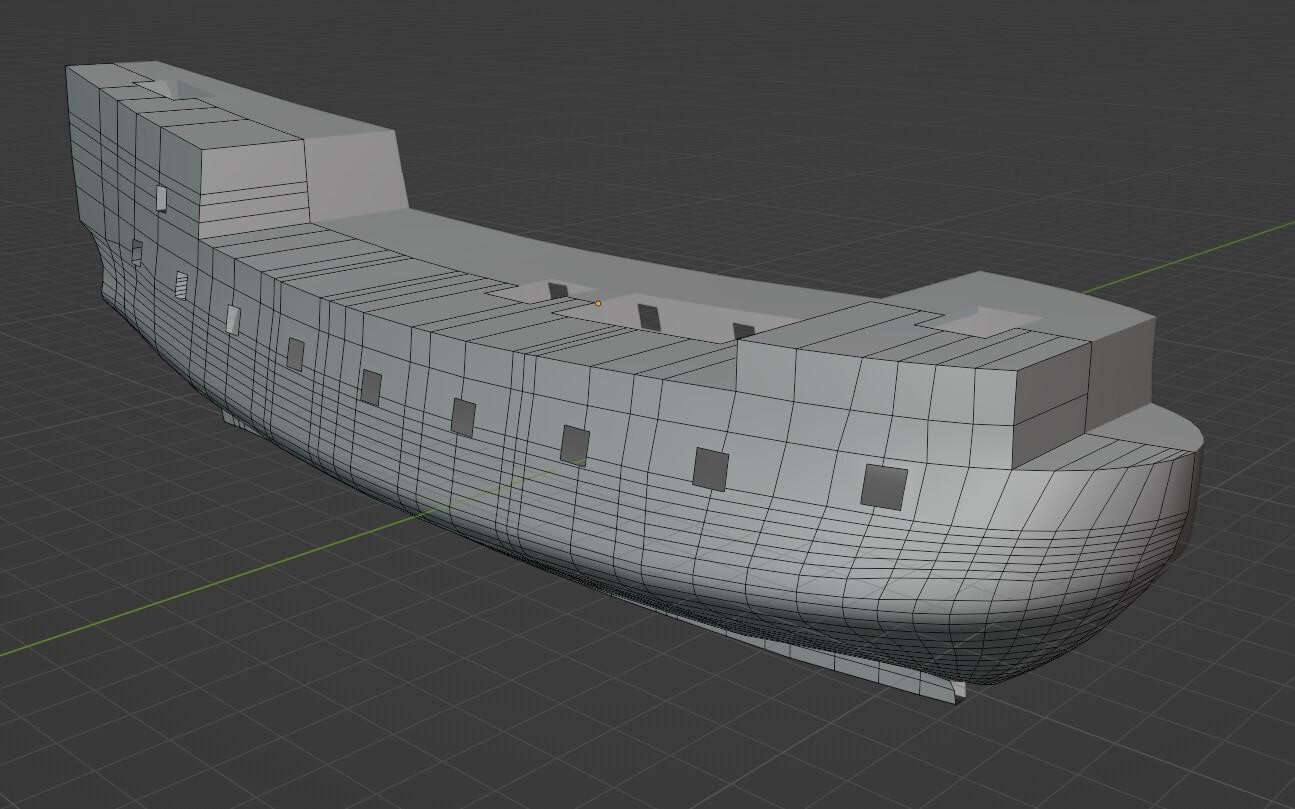
When the base model was done, I made side planks and a few details:
Just after that, I added UV Project modifier to check how the model would present with simple textures:
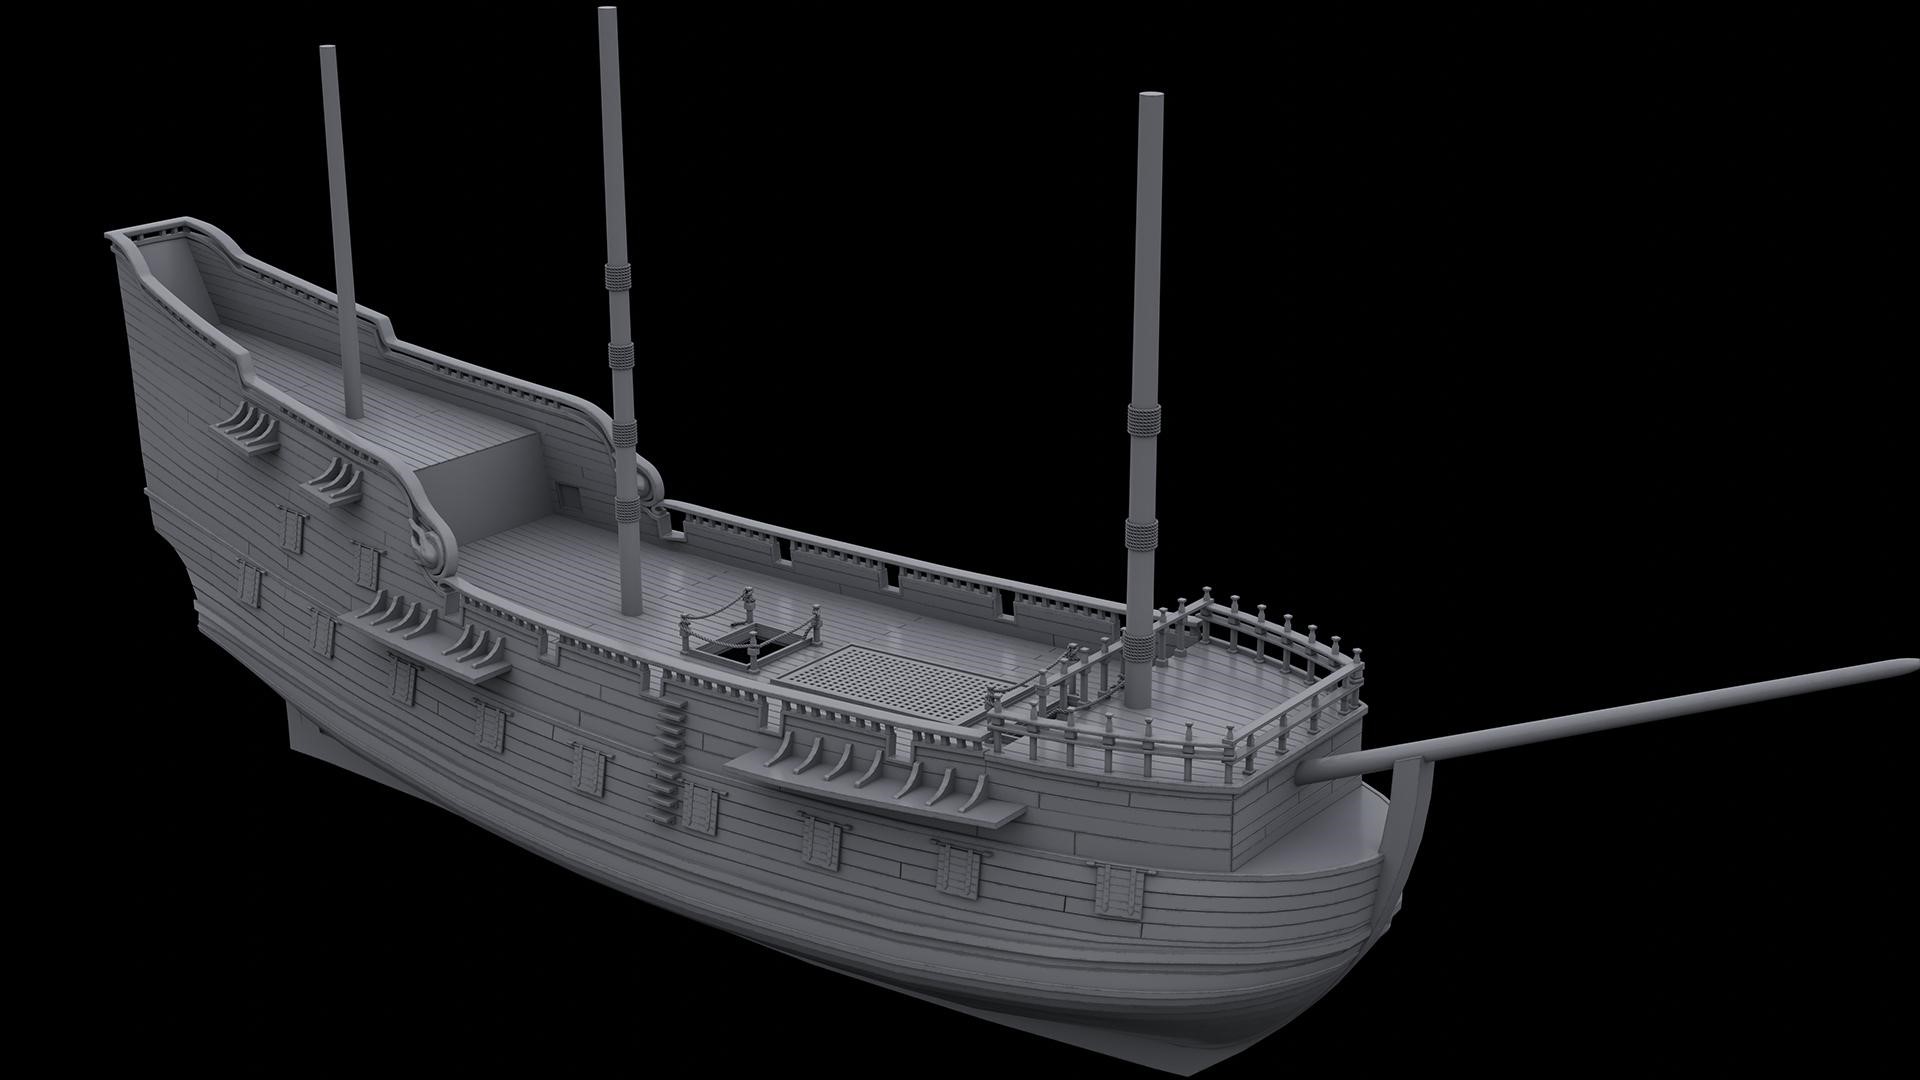
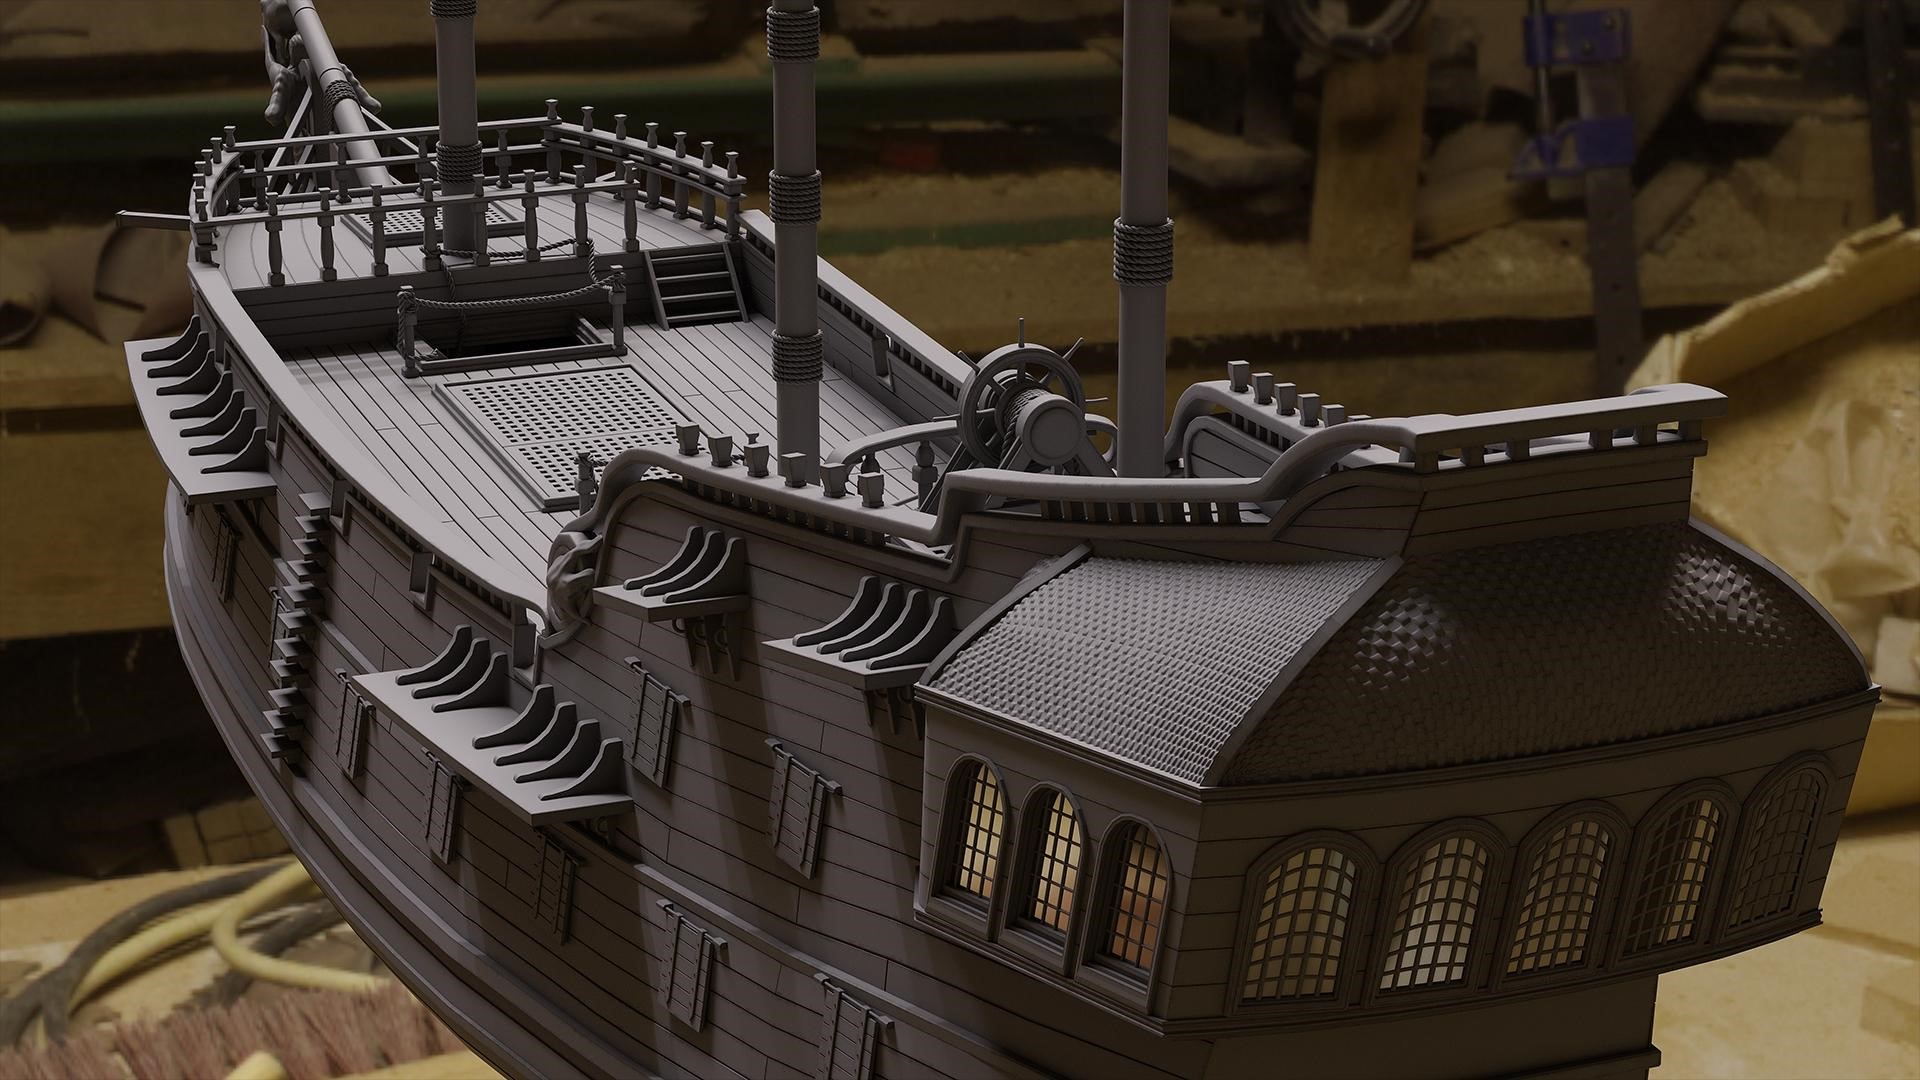
DETAILING
Next steps—adding more details like the captain’s cabin, more windows, figurehead at the front of the ship etc.

For small damages, I used OCD addon (One Click Damage). It is a good add-on for making dents and damages to your model to make it look old, worn and used with just one click.
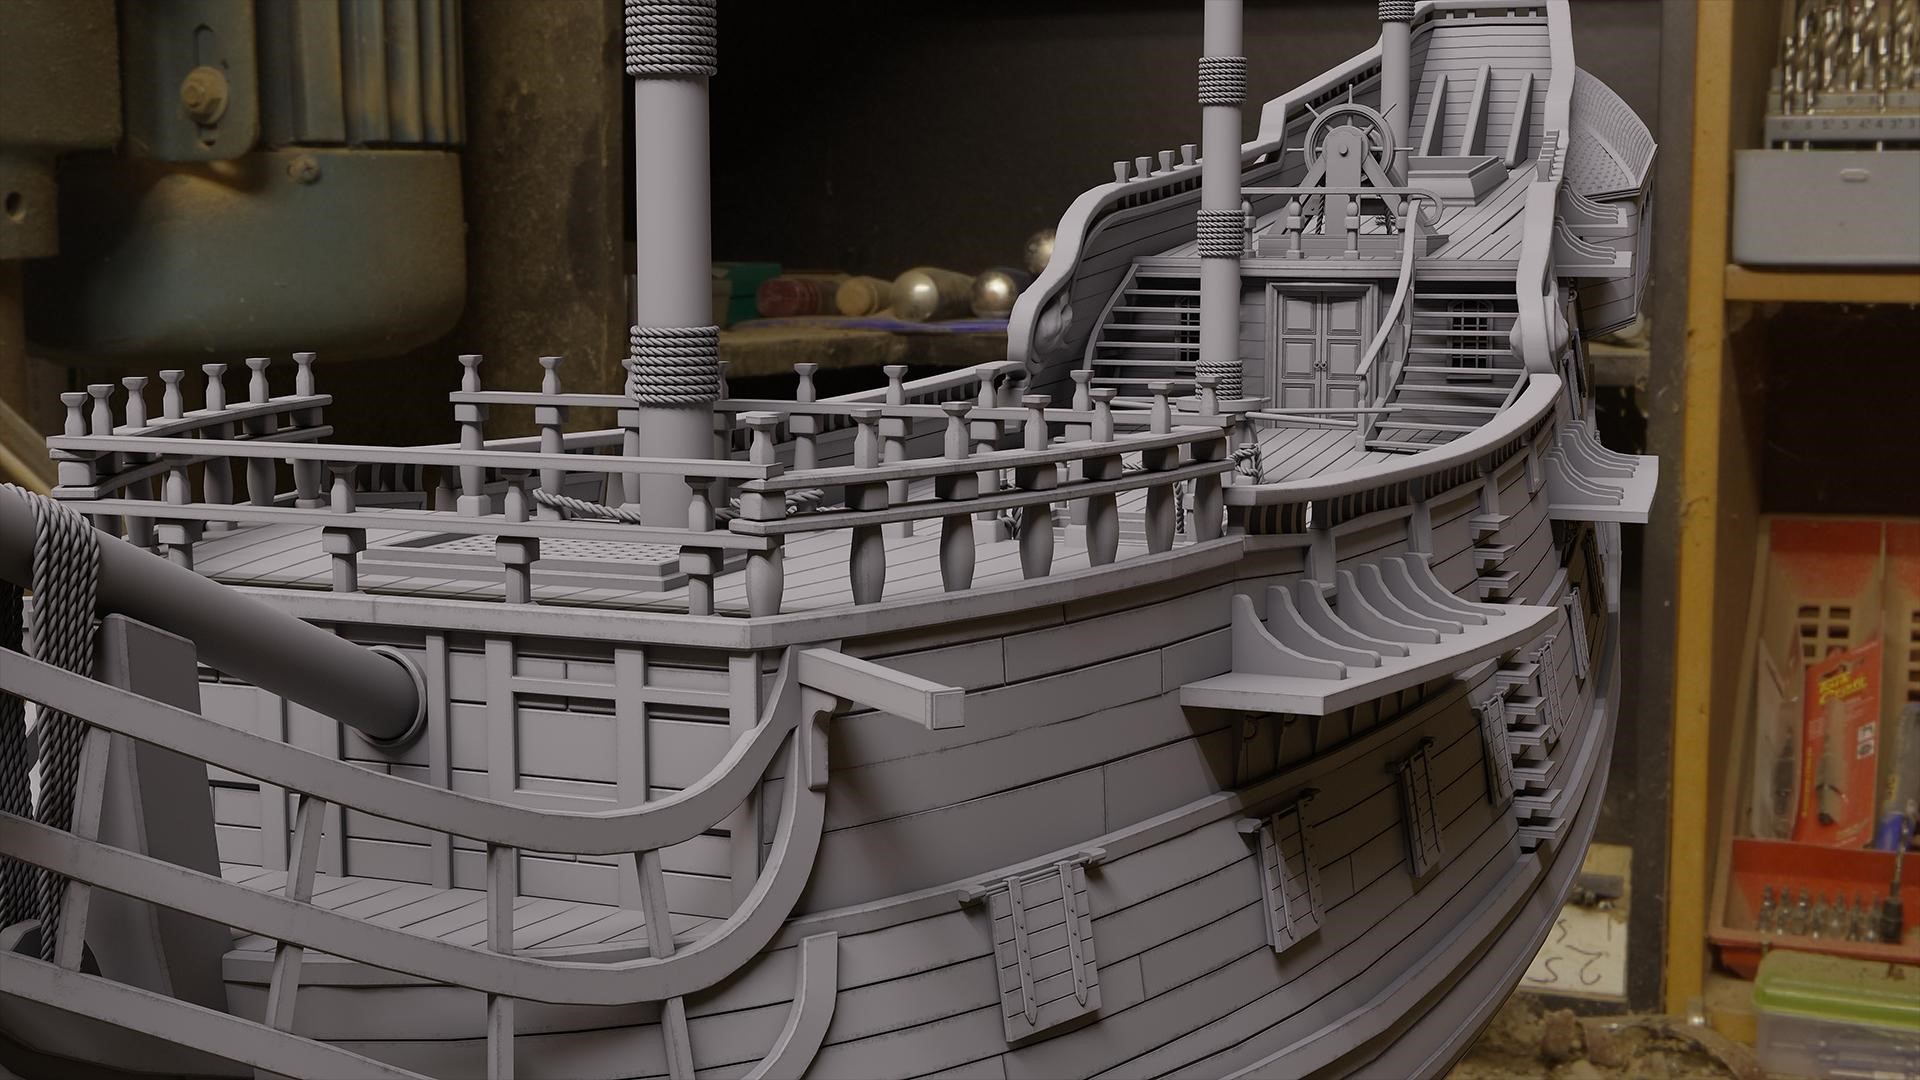
I also created more crevices in the planks, added more details to the windows and made the steering deck.
TEXTURING
At this point, I decided that it was a good moment to start texturing. I made 4 quite simple materials for metal, wood, ropes, and glass. I believe that planks were the most complicated—I made a mix of 5 PBR wood textures. As mentioned before, I used a UV modifier with 6 planes. Thanks to that method, texturing was fast and effective.

The biggest challenge for me was with the ropes; it was very hard for me to understand where to put them. It took around 2 days to study manuals and ship drawings/photos. Still, roping is not 100% accurate but I think it looks believable.

After some more texture working, the model was completed.
LIGHTING
For lighting, I used a simple HDRI map and 3-point lights for interior, and Sunlight plus HDRI map for exterior.
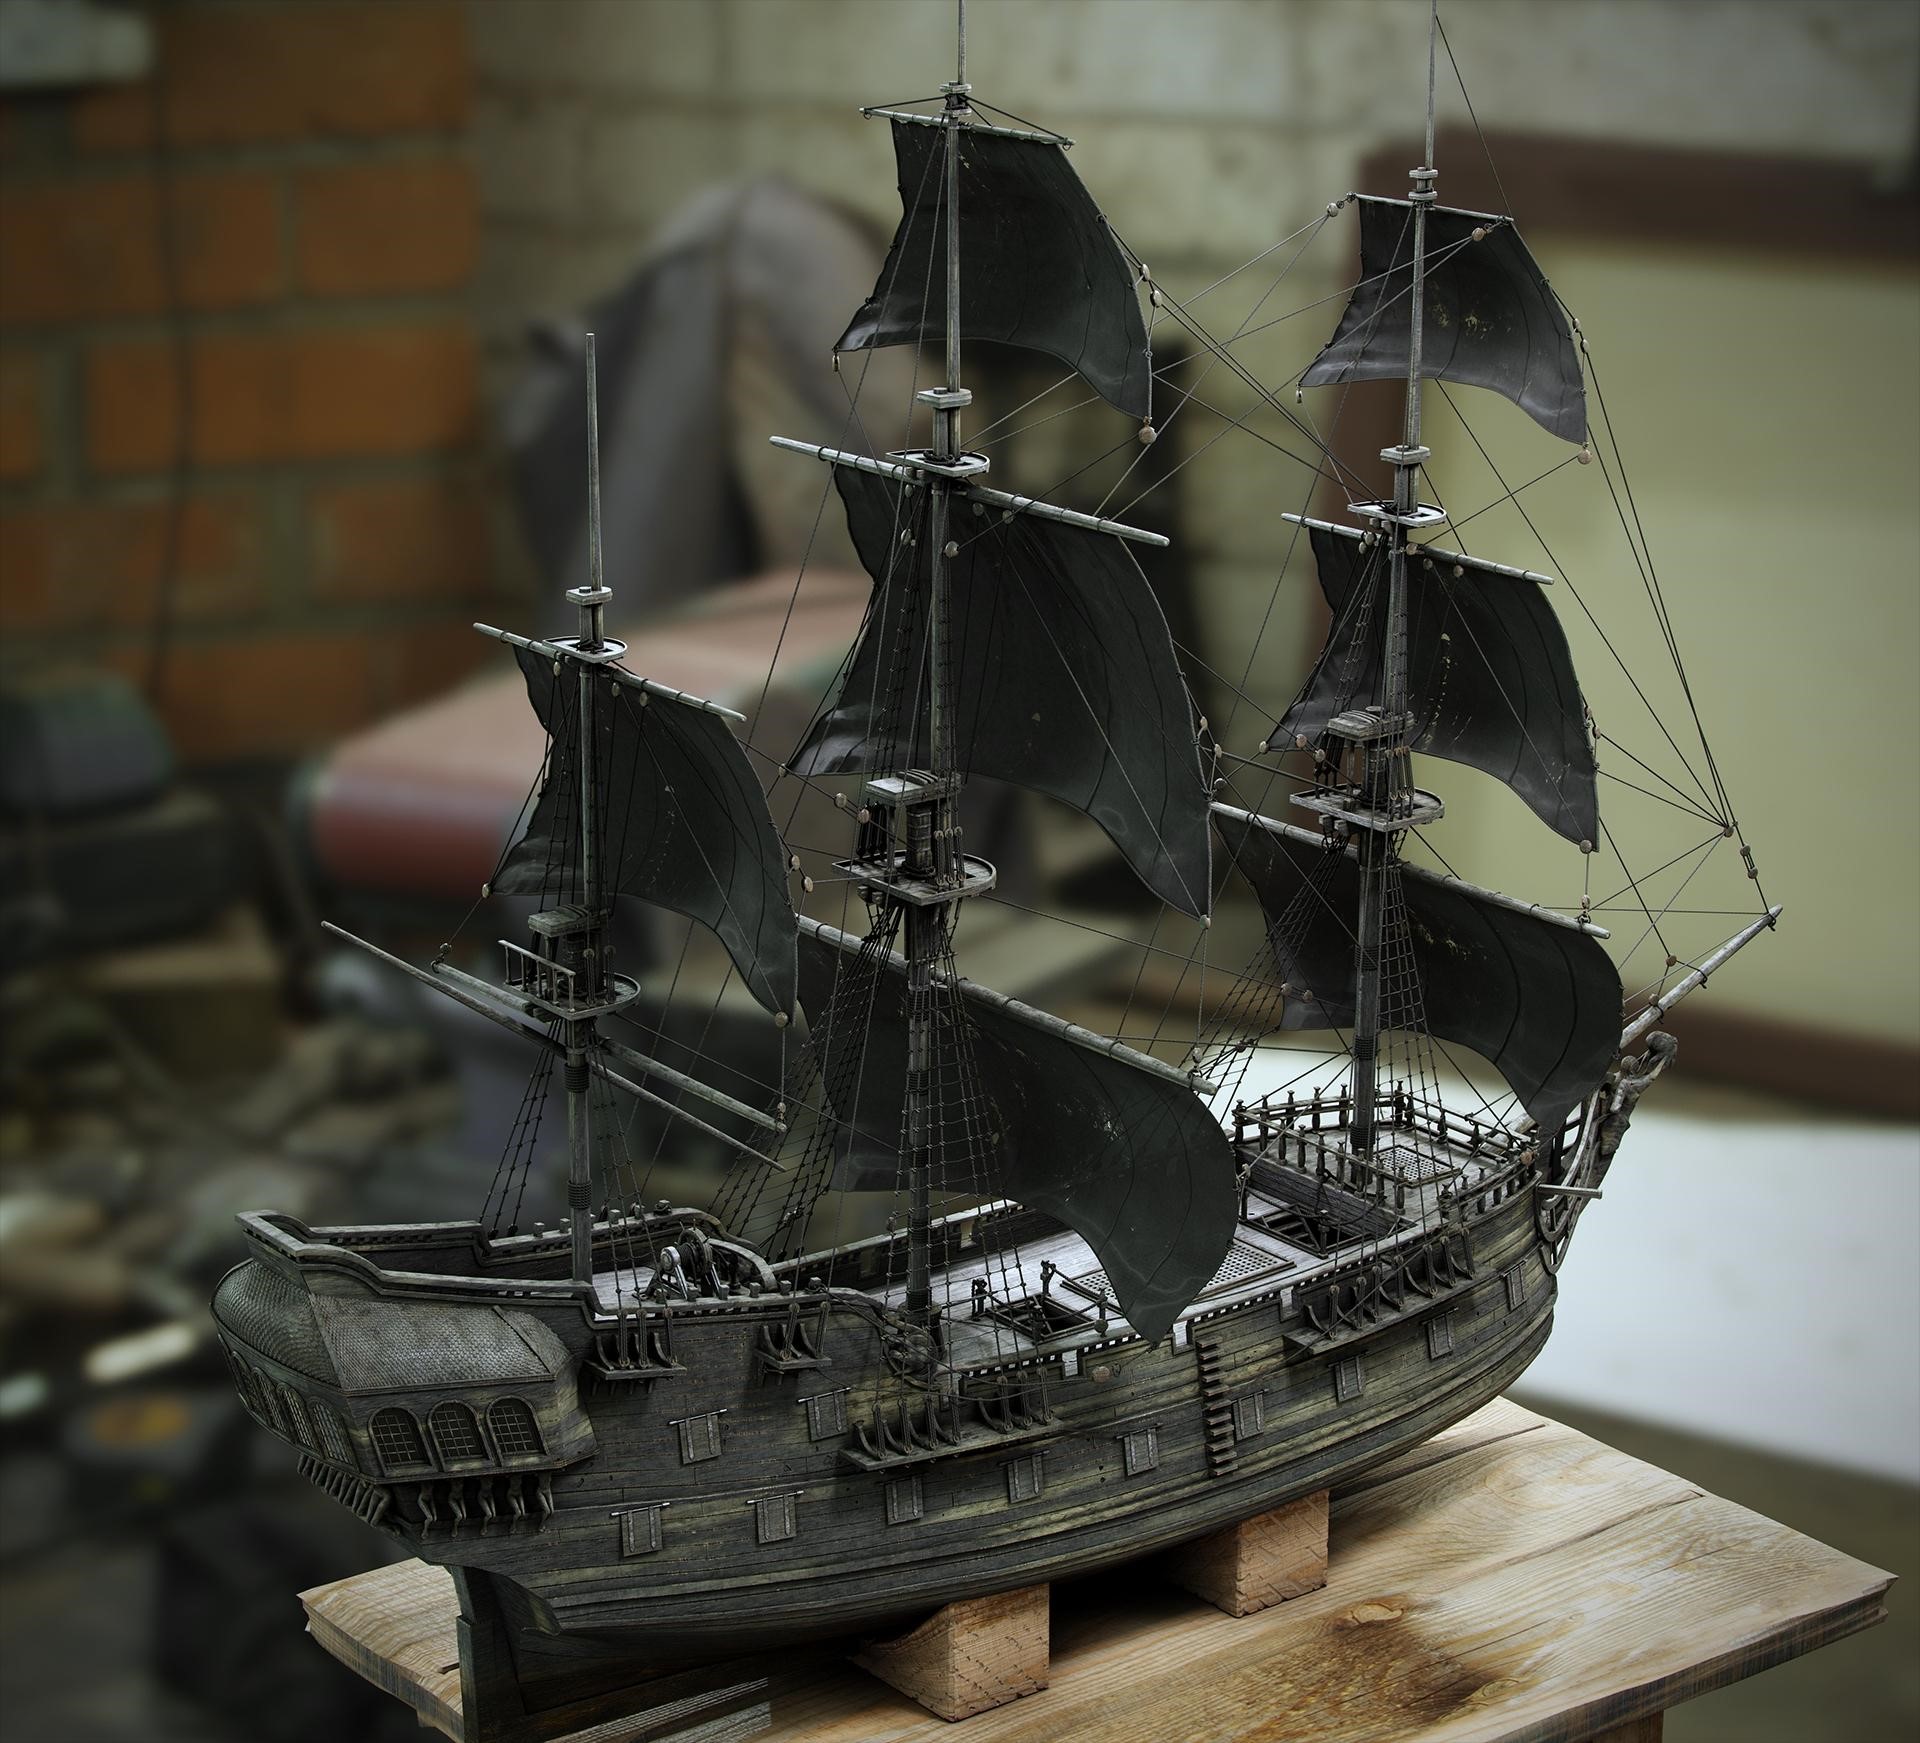
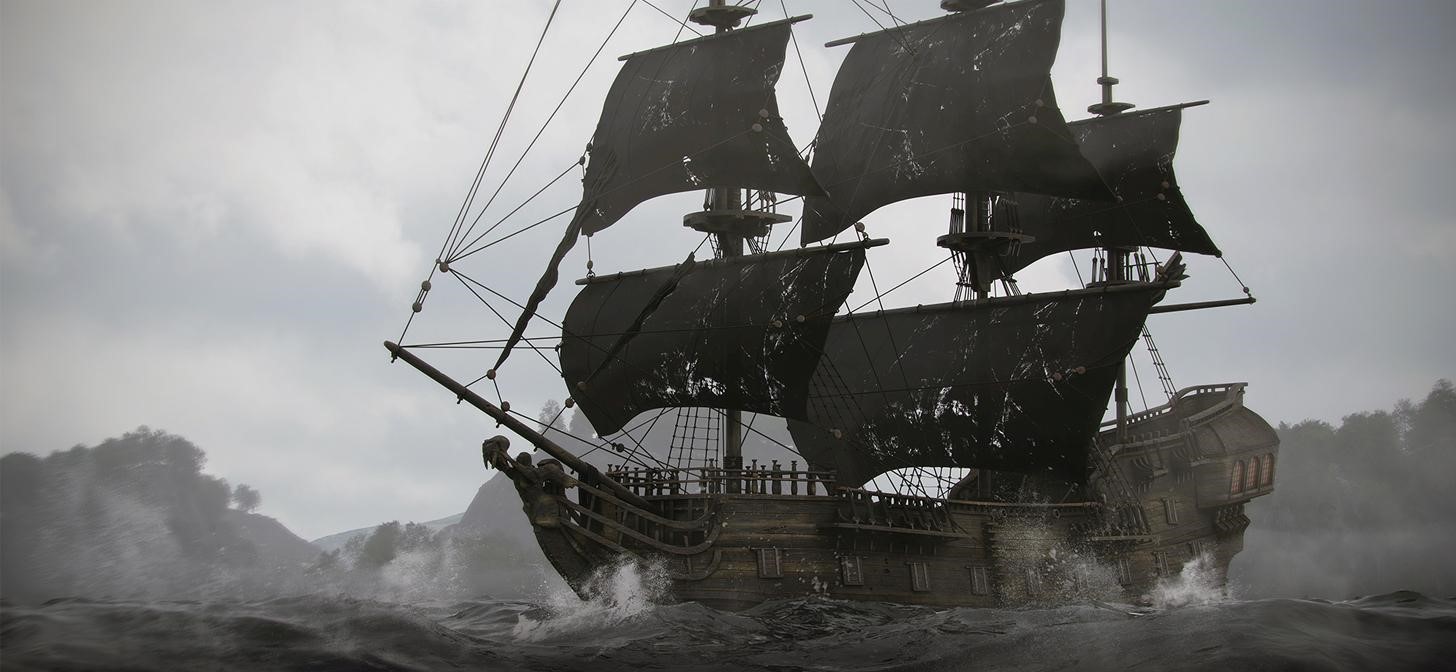
GALLEON SHIP
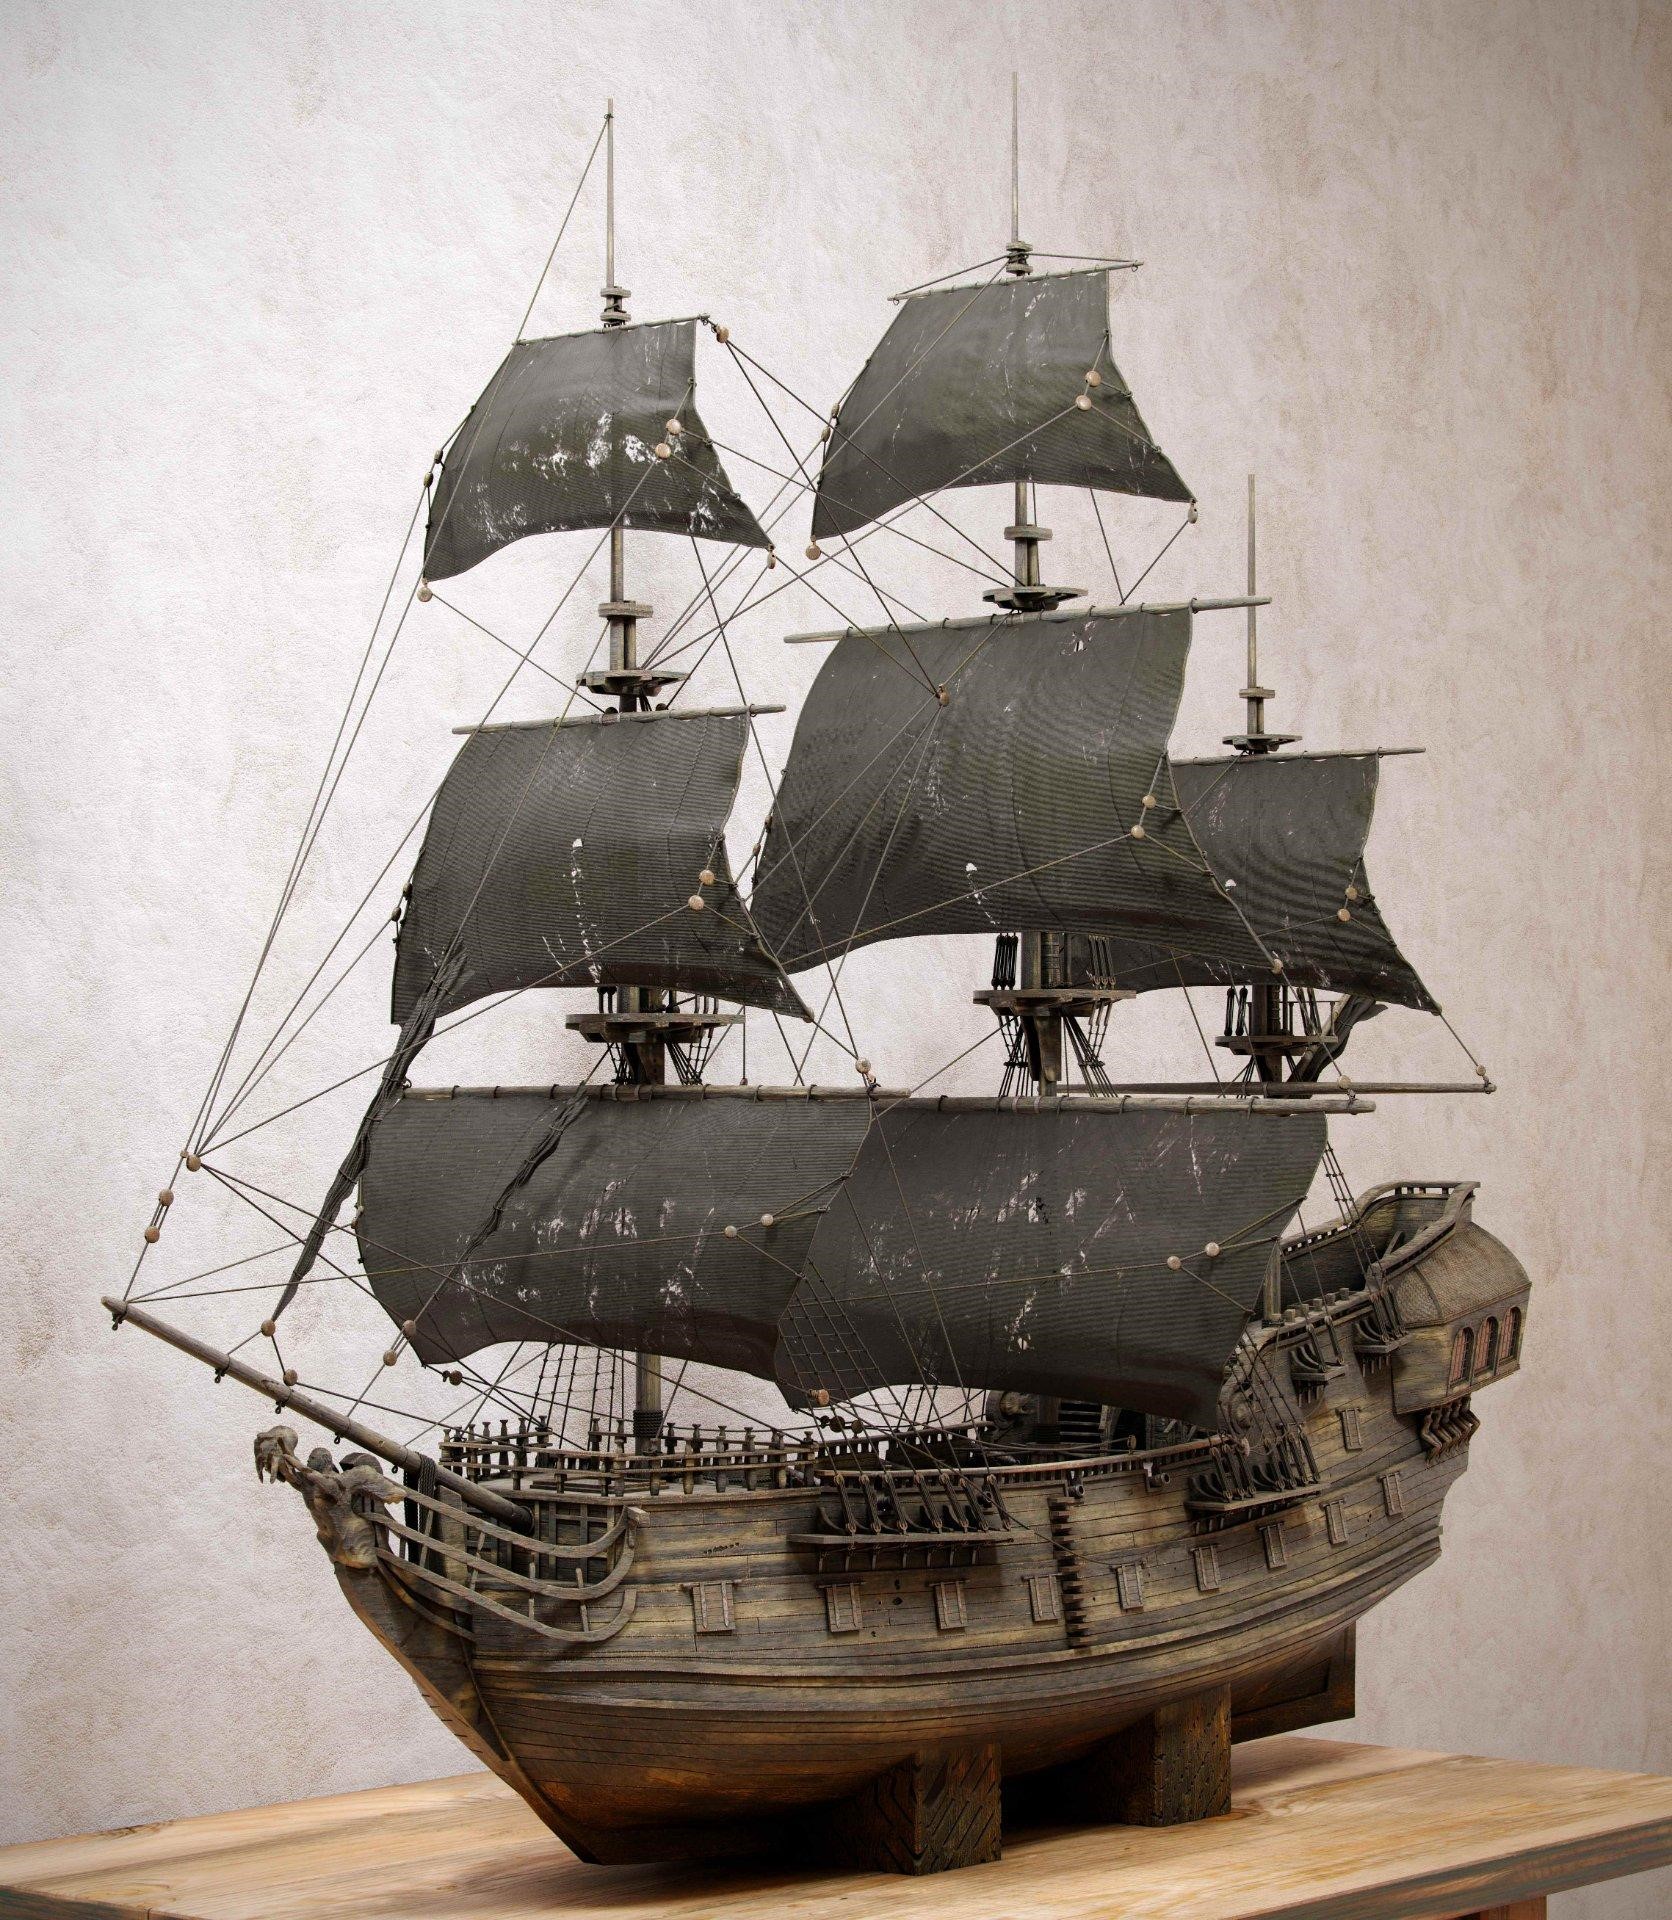
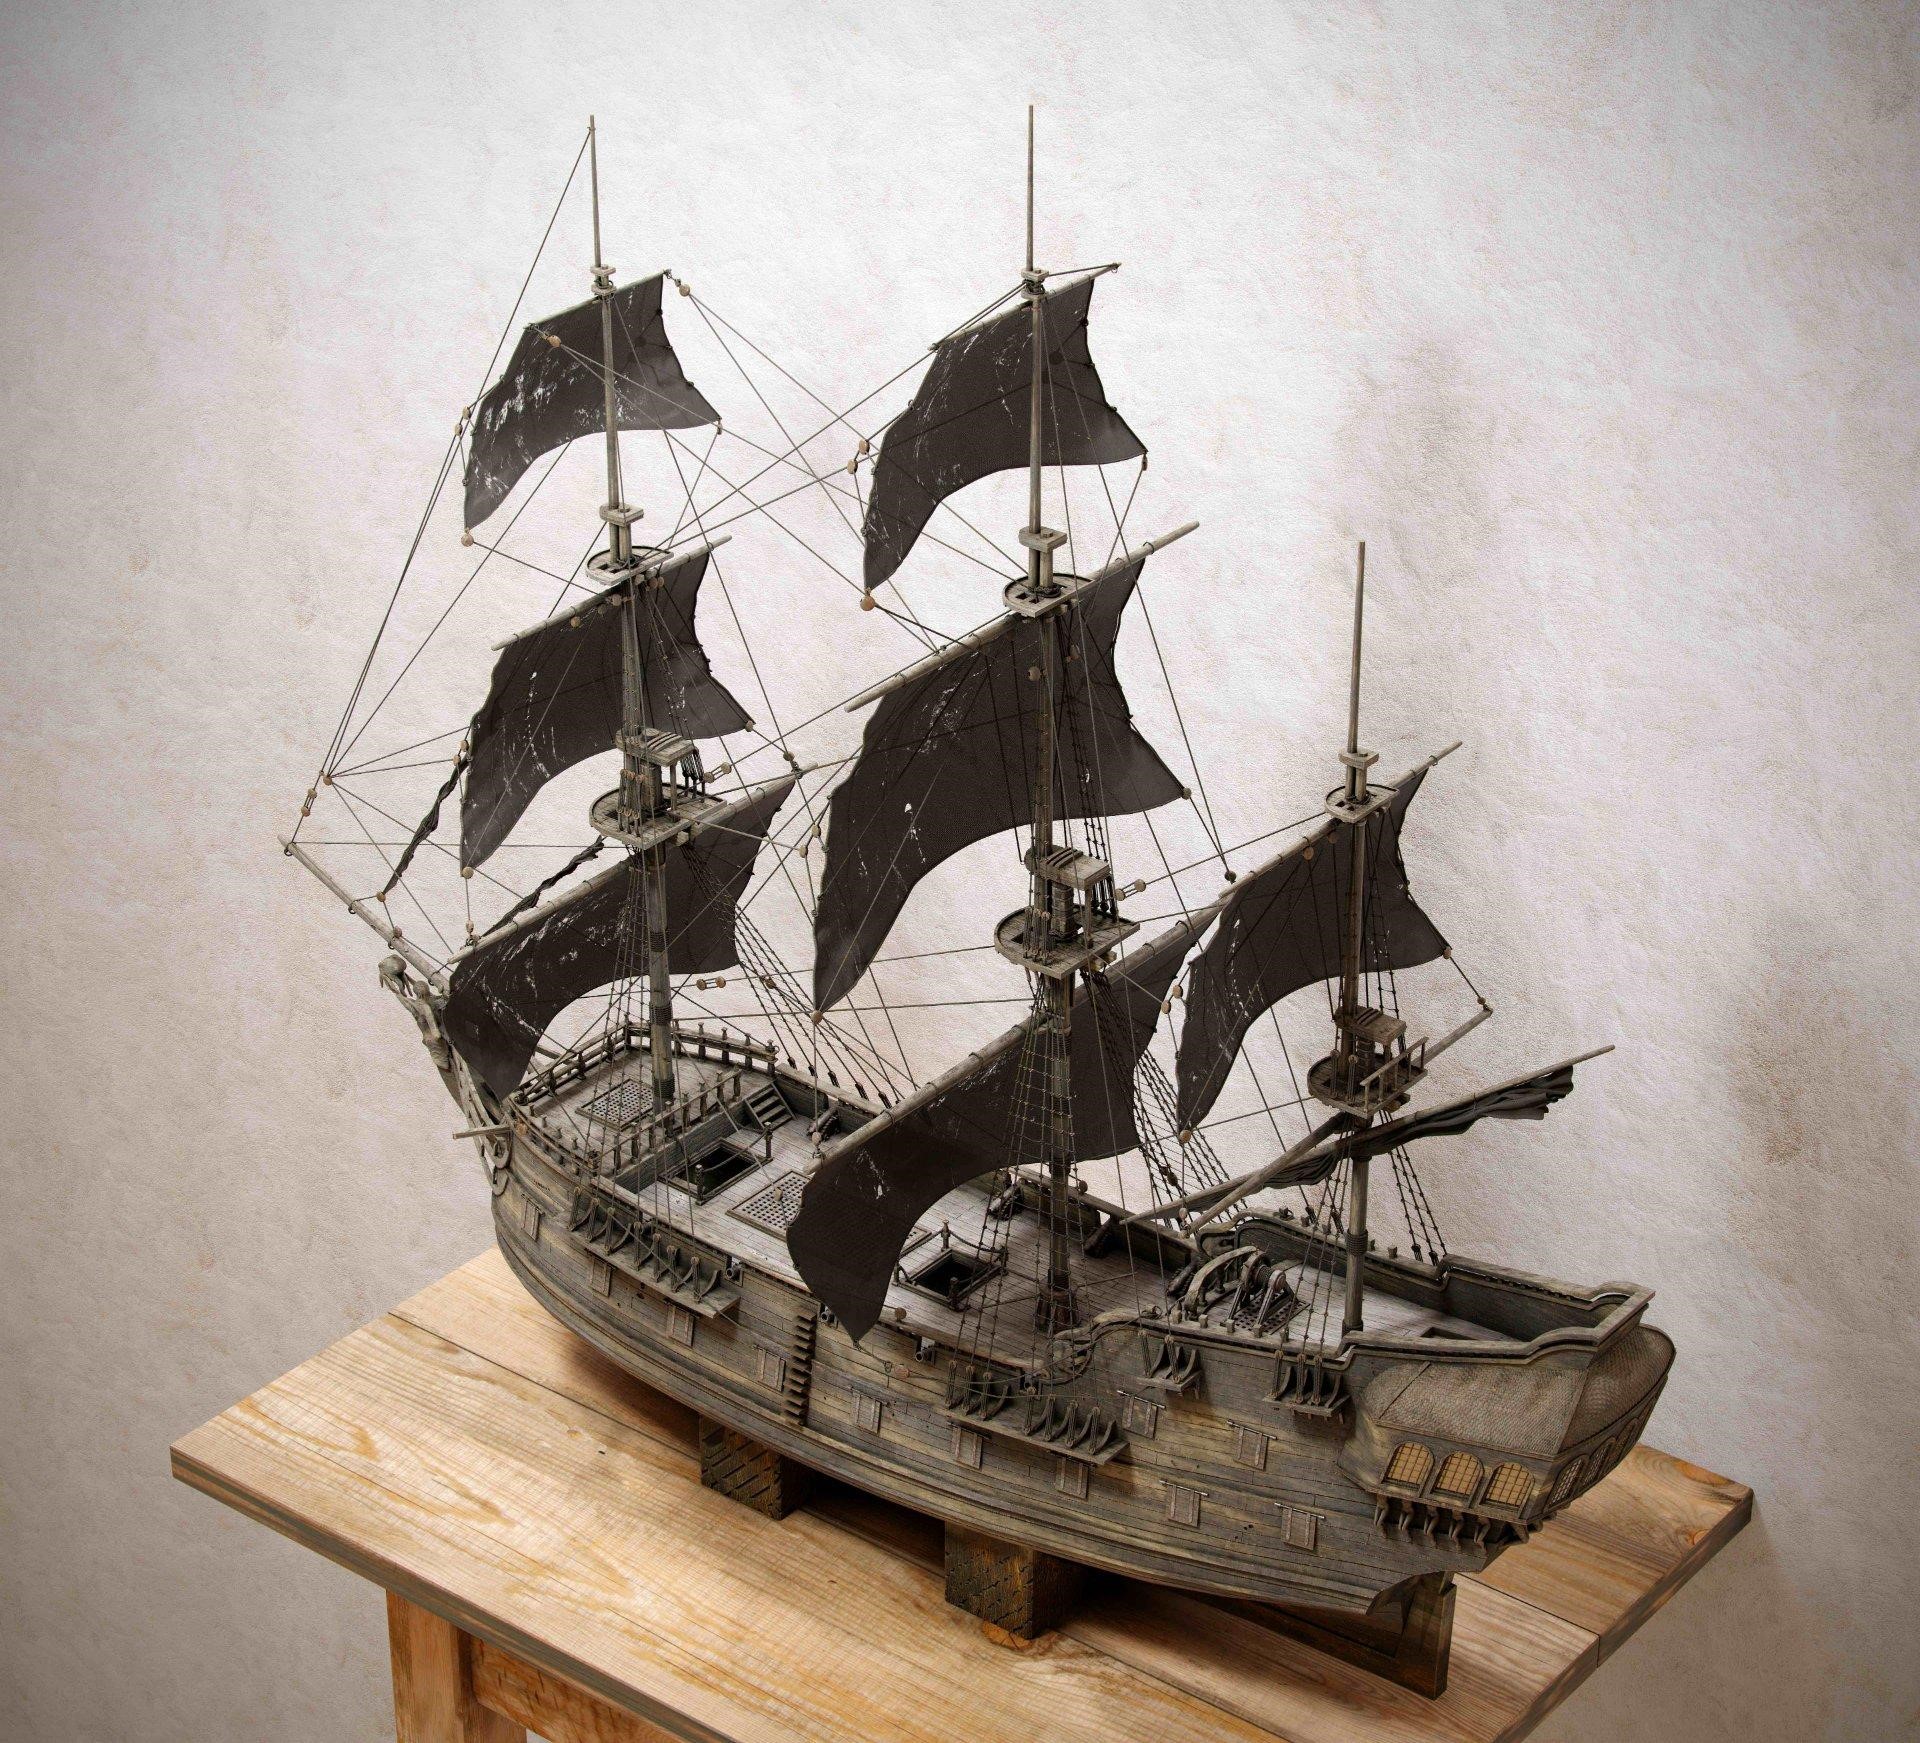


And that’s it! I hope you like it!
You can find more of my work on Instagram and Artstation. Thank you for taking your time to read!
About the Artist

Piotr Gajda, a Polish civil engineer, concept artist, 3D artist and illustrator. Currently working as a freelance artist.


Would love to see a more detailed description of your process. I am trying to model the HMS Victory and have a ton of questions. Love your model btw! Thanks
Hello, feel free to PM me on Blender Artist website, I’ll try my best to help :)
Thank you!
Great work. Congratulations.
Thank you!
Good share.