
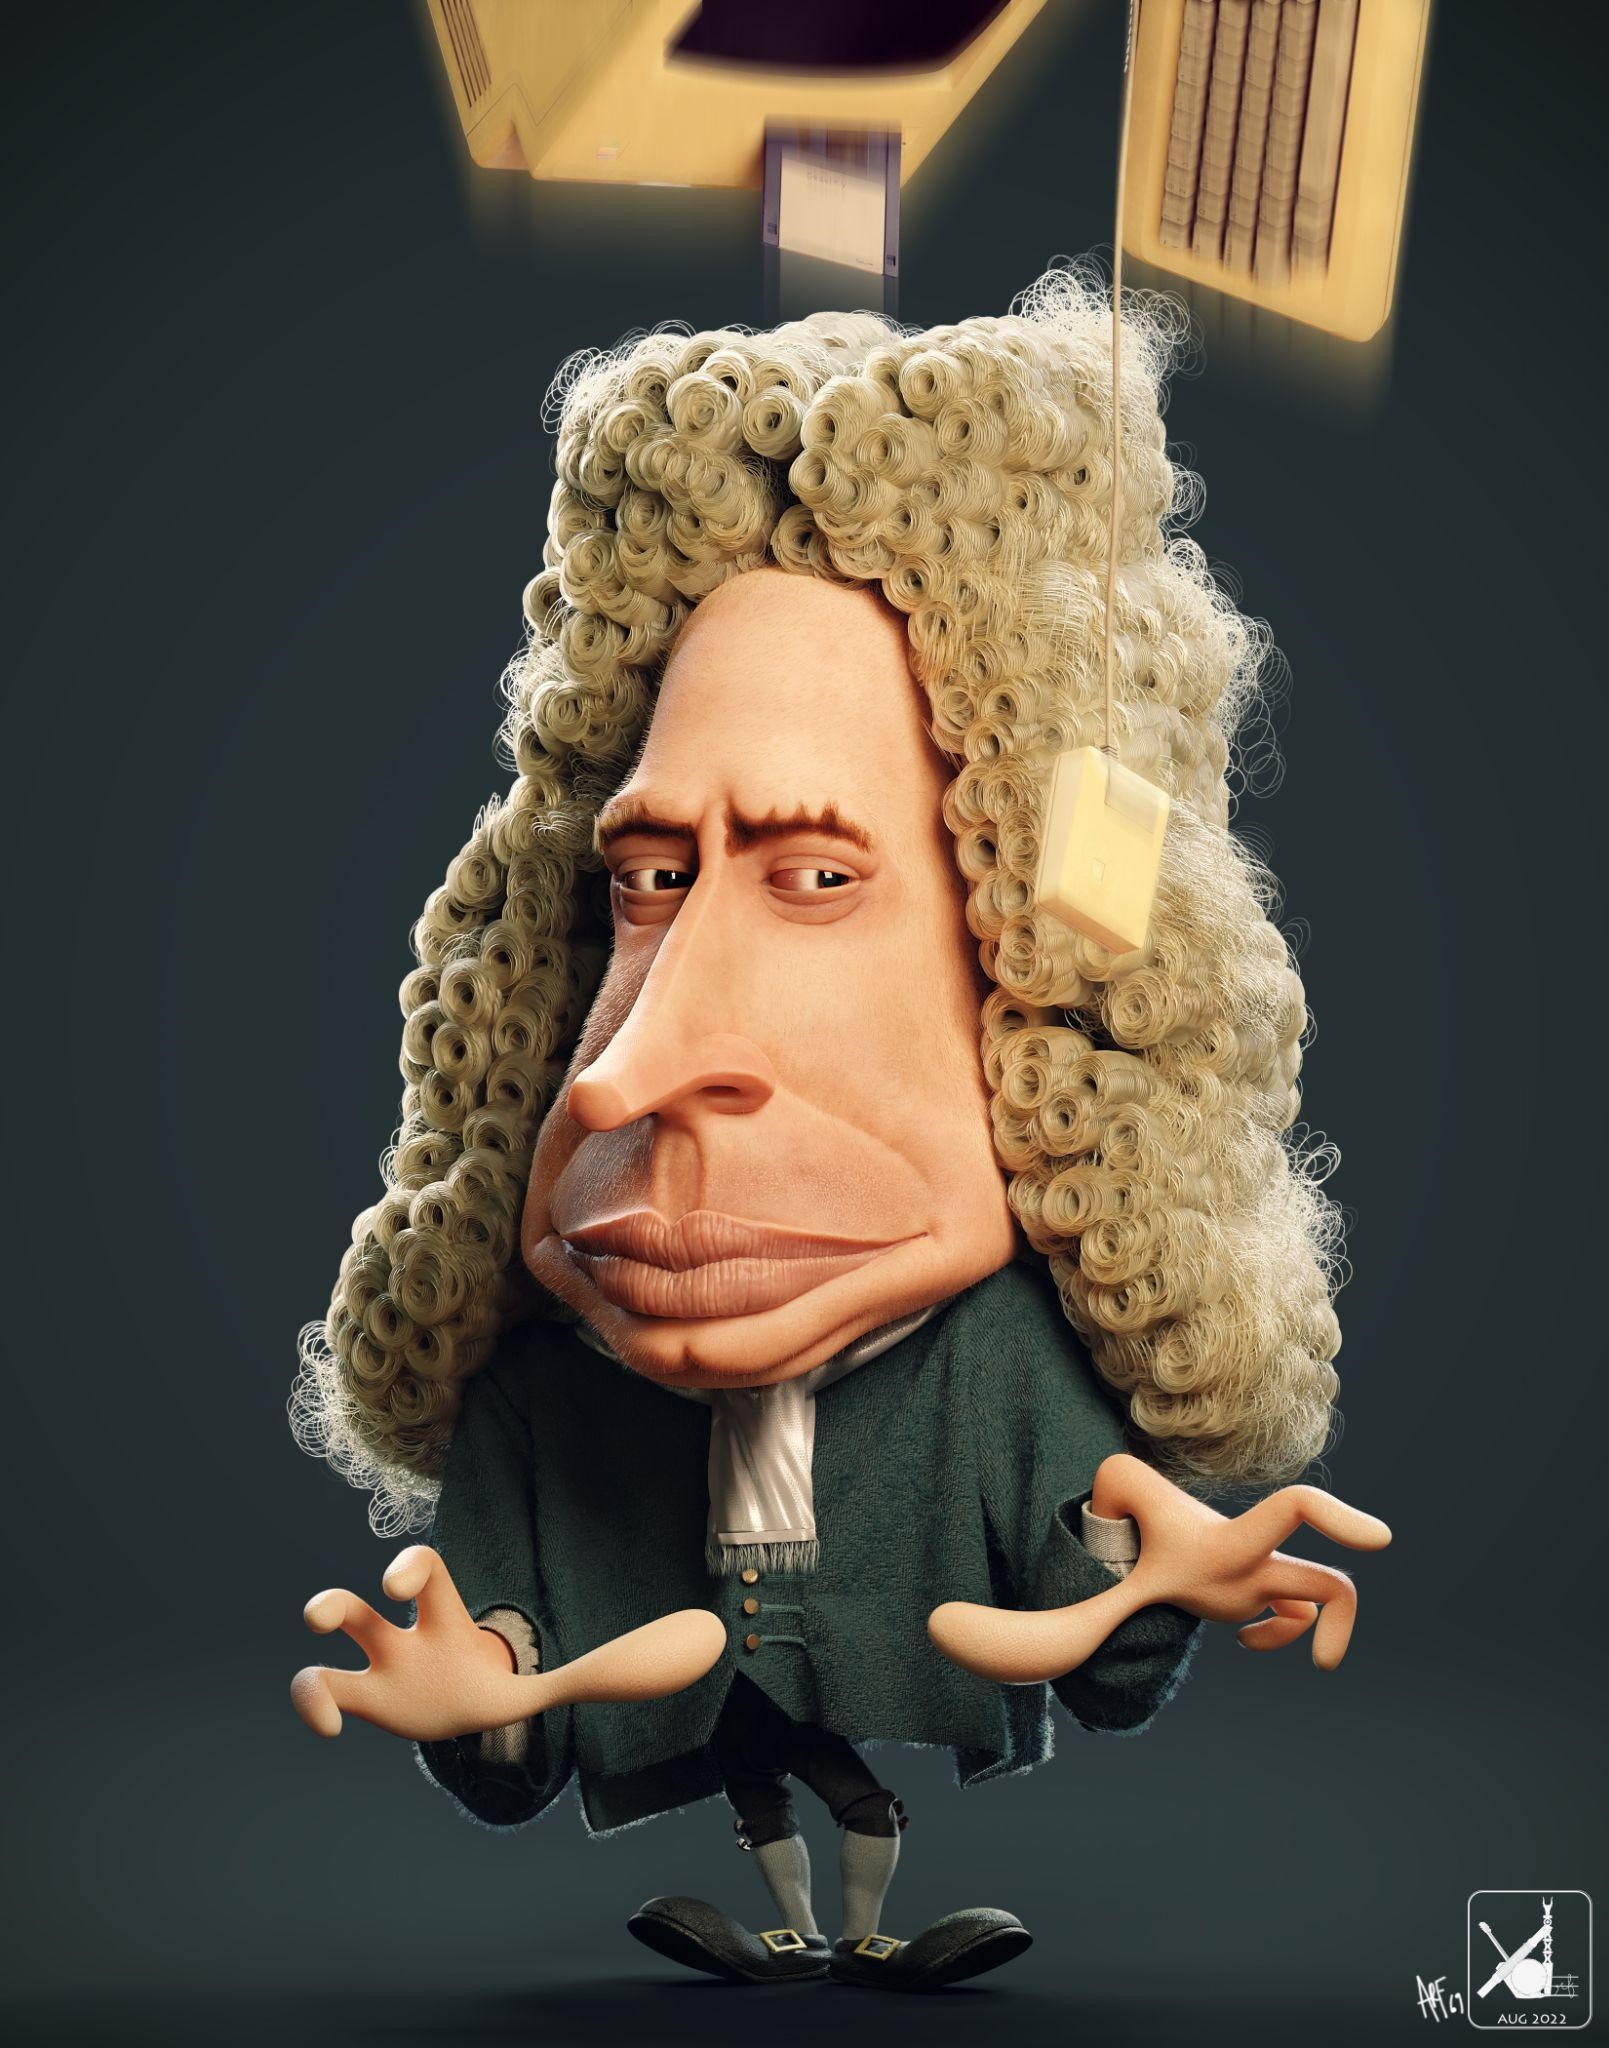
Behind the Scenes: Gravity
INTRODUCTION
Hi, I am Nandrianina Harifera R, or Arf for short. I am from Madagascar.
I really love video games and animated movies. When my mother passed away in 2015, I wanted to make a short animation for her, which was why I started my 3D journey in April 2016. I learnt Blender by following free and paid tutorials.
I quickly and easily got close to Blender, which was not the case for 3DSmax and Cinema4D when I wanted to learn how to use them for fun in 2012.
My passion for 3D has evolved a lot so I have decided to do professional retraining. I studied computer science for three years. I am waiting for my Bachelor’s degree now and I hope to continue for a Master’s degree later.
At the moment, I do freelance work as a 3D modeler.
INSPIRATION
I recently watched documentaries about discovery, scientists, the Bible and conspiracies, and I was wondering what really is the truth in this life. Frankly, we don’t know because everyone has their own truth that they believe in and this project is my perception of reality.
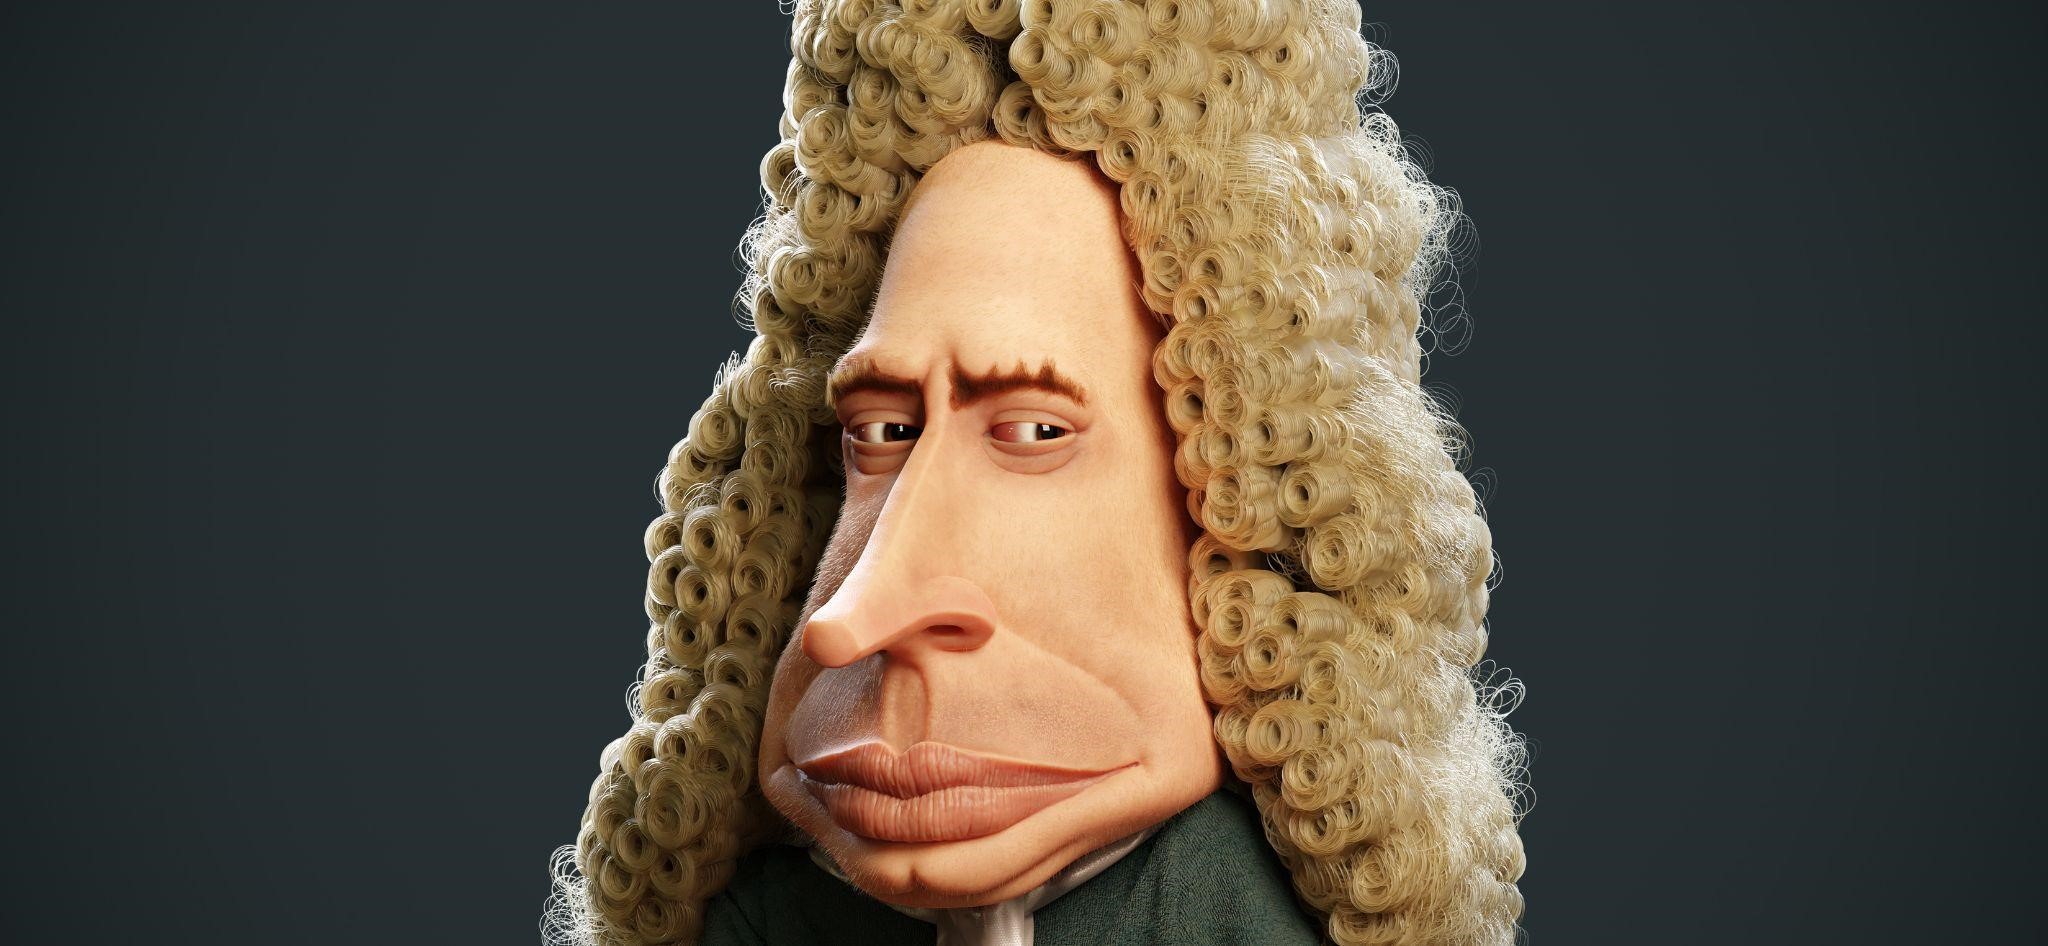
The Apple told in the Bible could be a stylistic device to tell us that humans got sinned by a computer (a Mac one). A computer could be the Tree of Life. And the knowledge, written in a floppy disk, has been given to Sir Isaac Newton…
That’s crazy isn’t it?
Anyway, I am very passionate about character drawings, portraits and caricatures. This project was a good opportunity to practice sculpting, modeling and texturing.
MODELING
I used Blender 3.1 for modeling the character, Marvelous Designer (MD) for modeling the clothing, Substance 3D Painter (SP) for texturing, and Photoshop (PS) for final touch.
First, I did a block-out but I have no screenshot for that because I sculpted it directly—I feel sorry for that. Nevertheless, I always recommend doing a blocking to see how it will look with a simple shape.
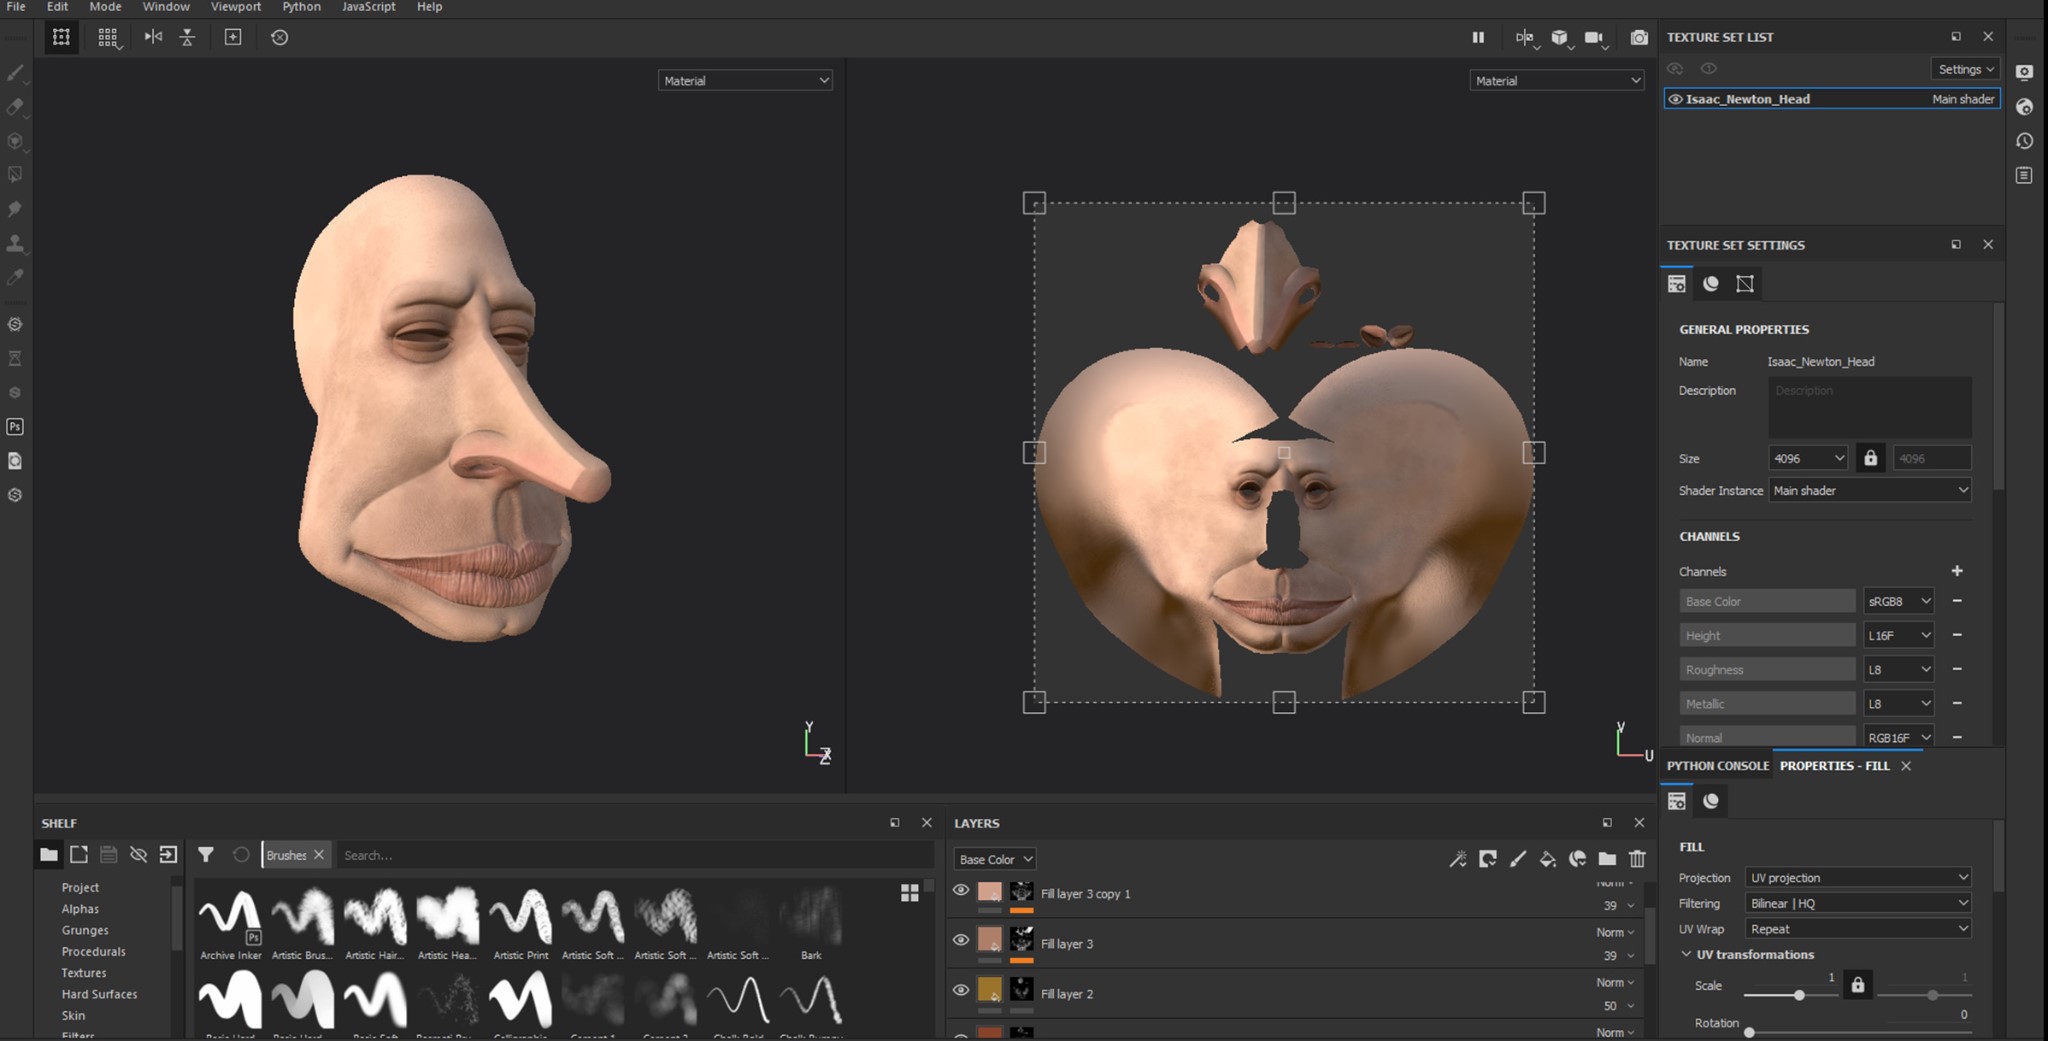
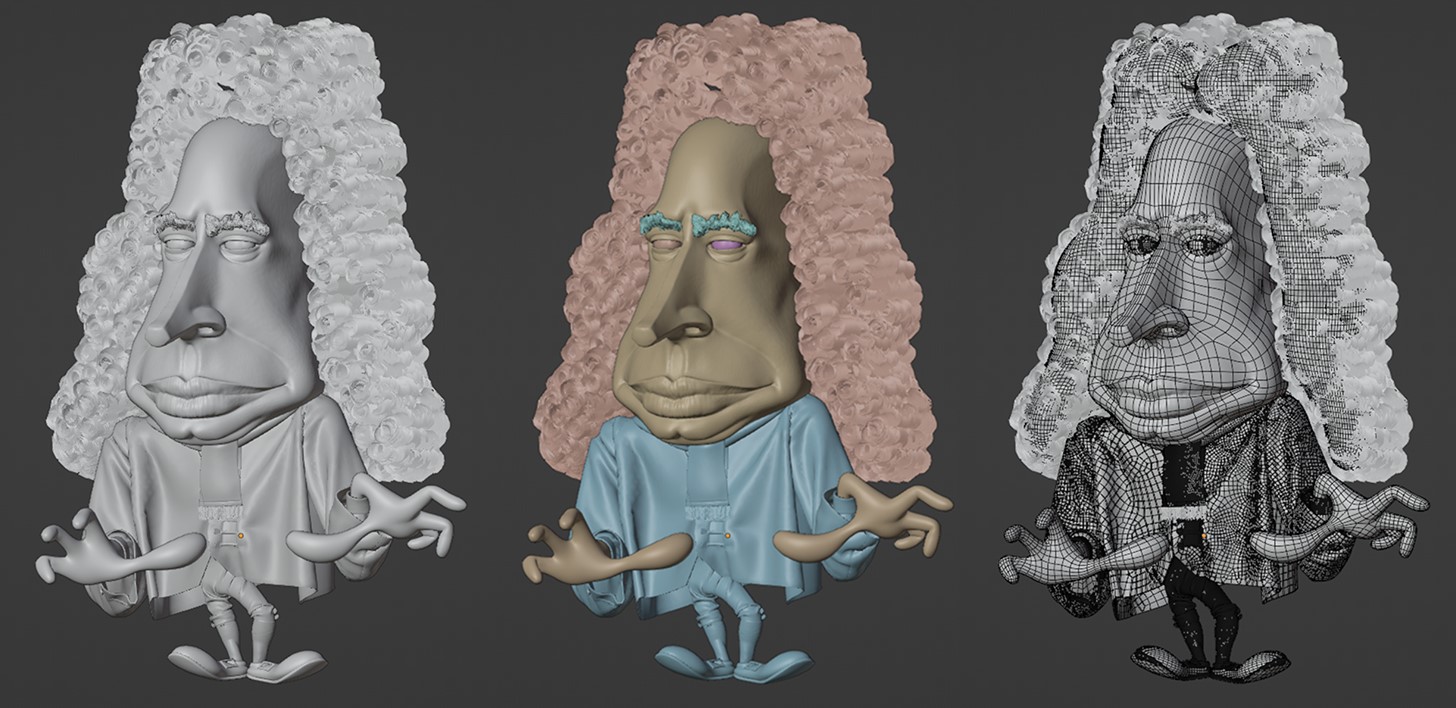
I sculpted the face first using the voxel remesh for the overall shape. For the details, the Sculpt toolbox add-on was really helpful. It looked like this:
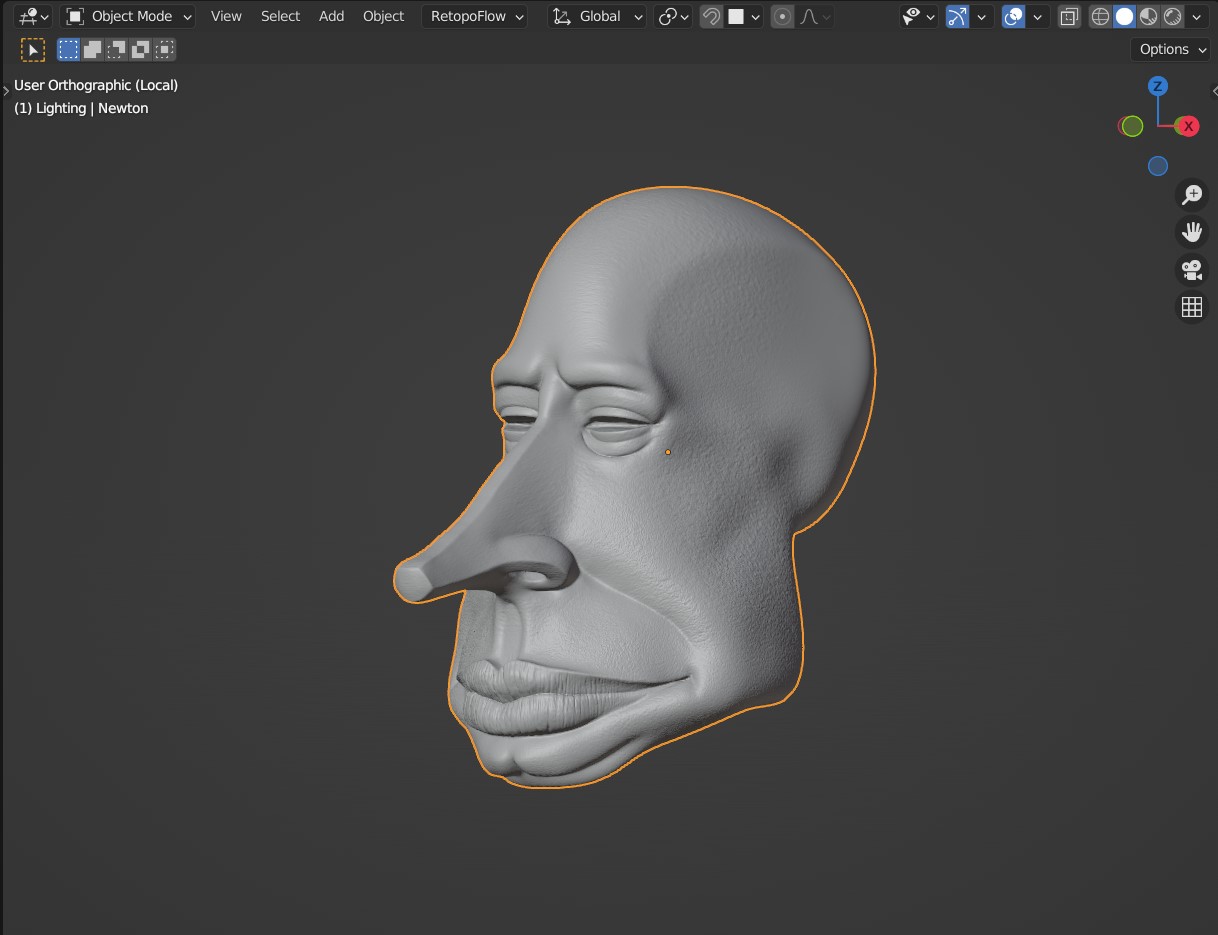
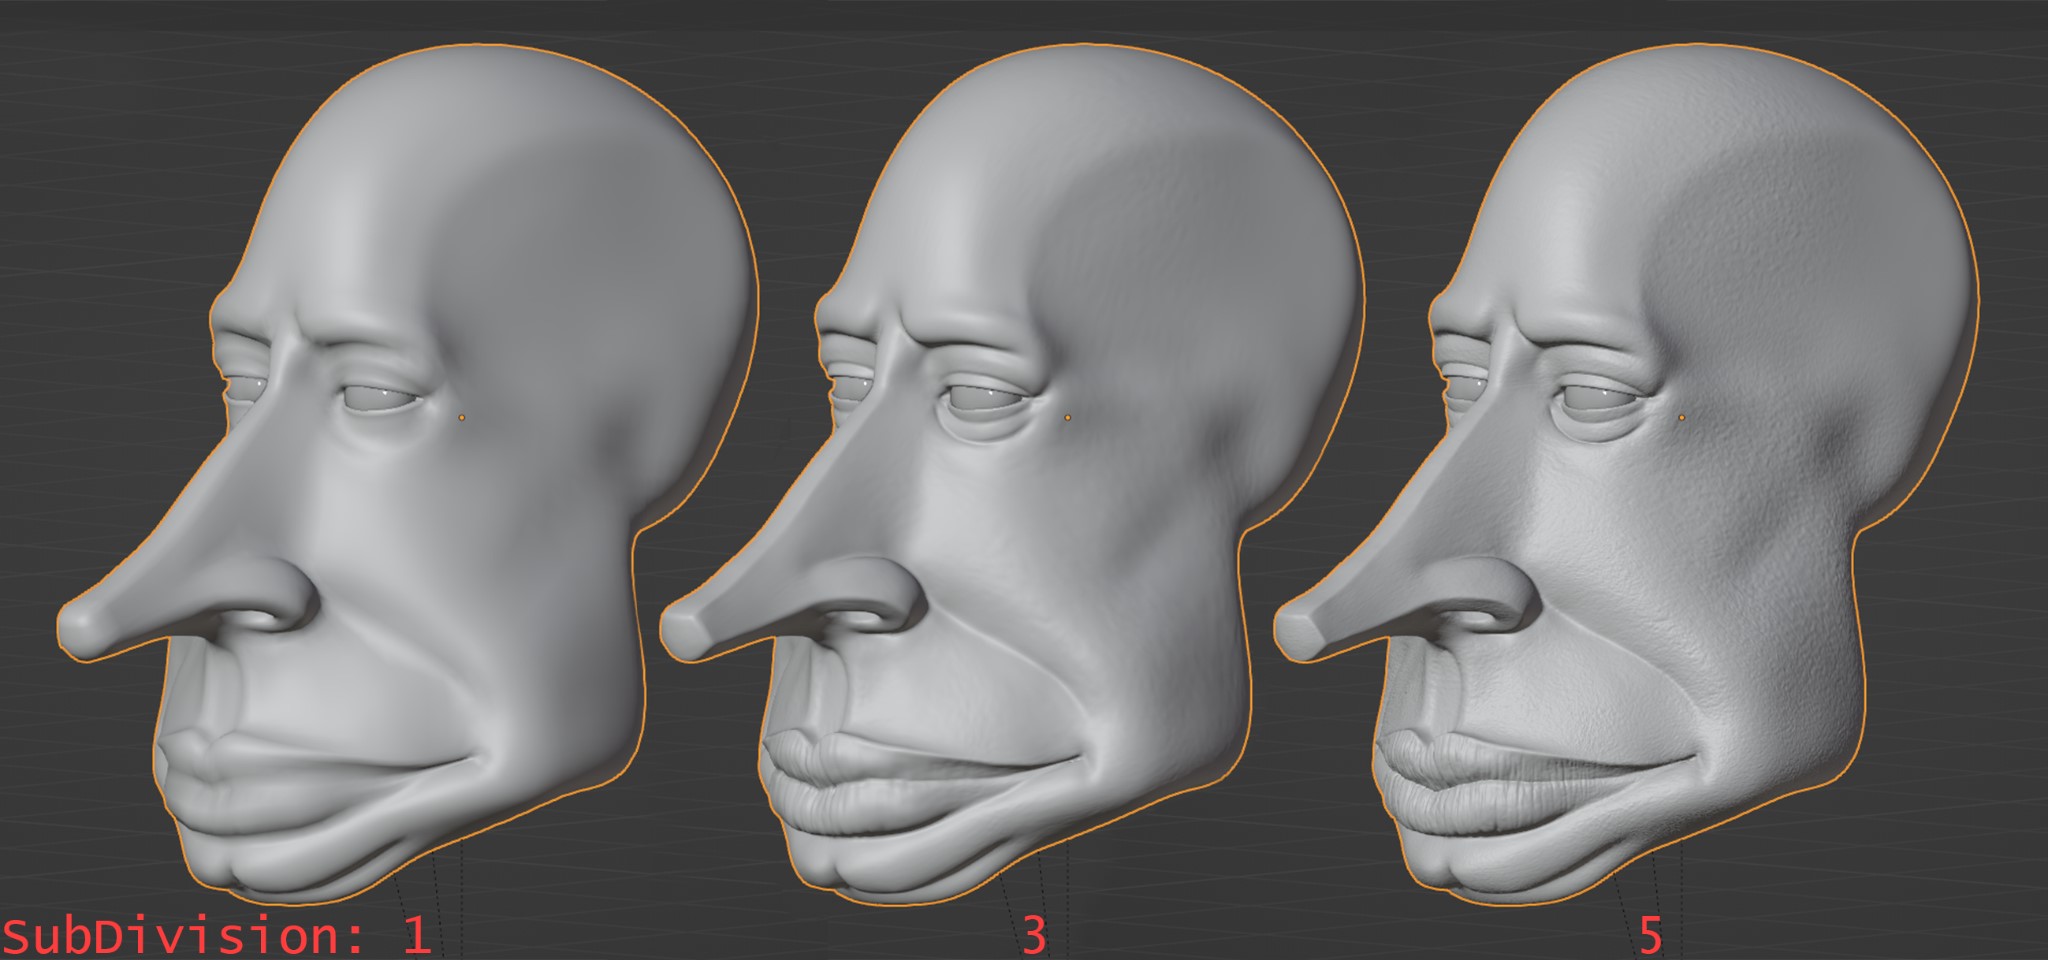
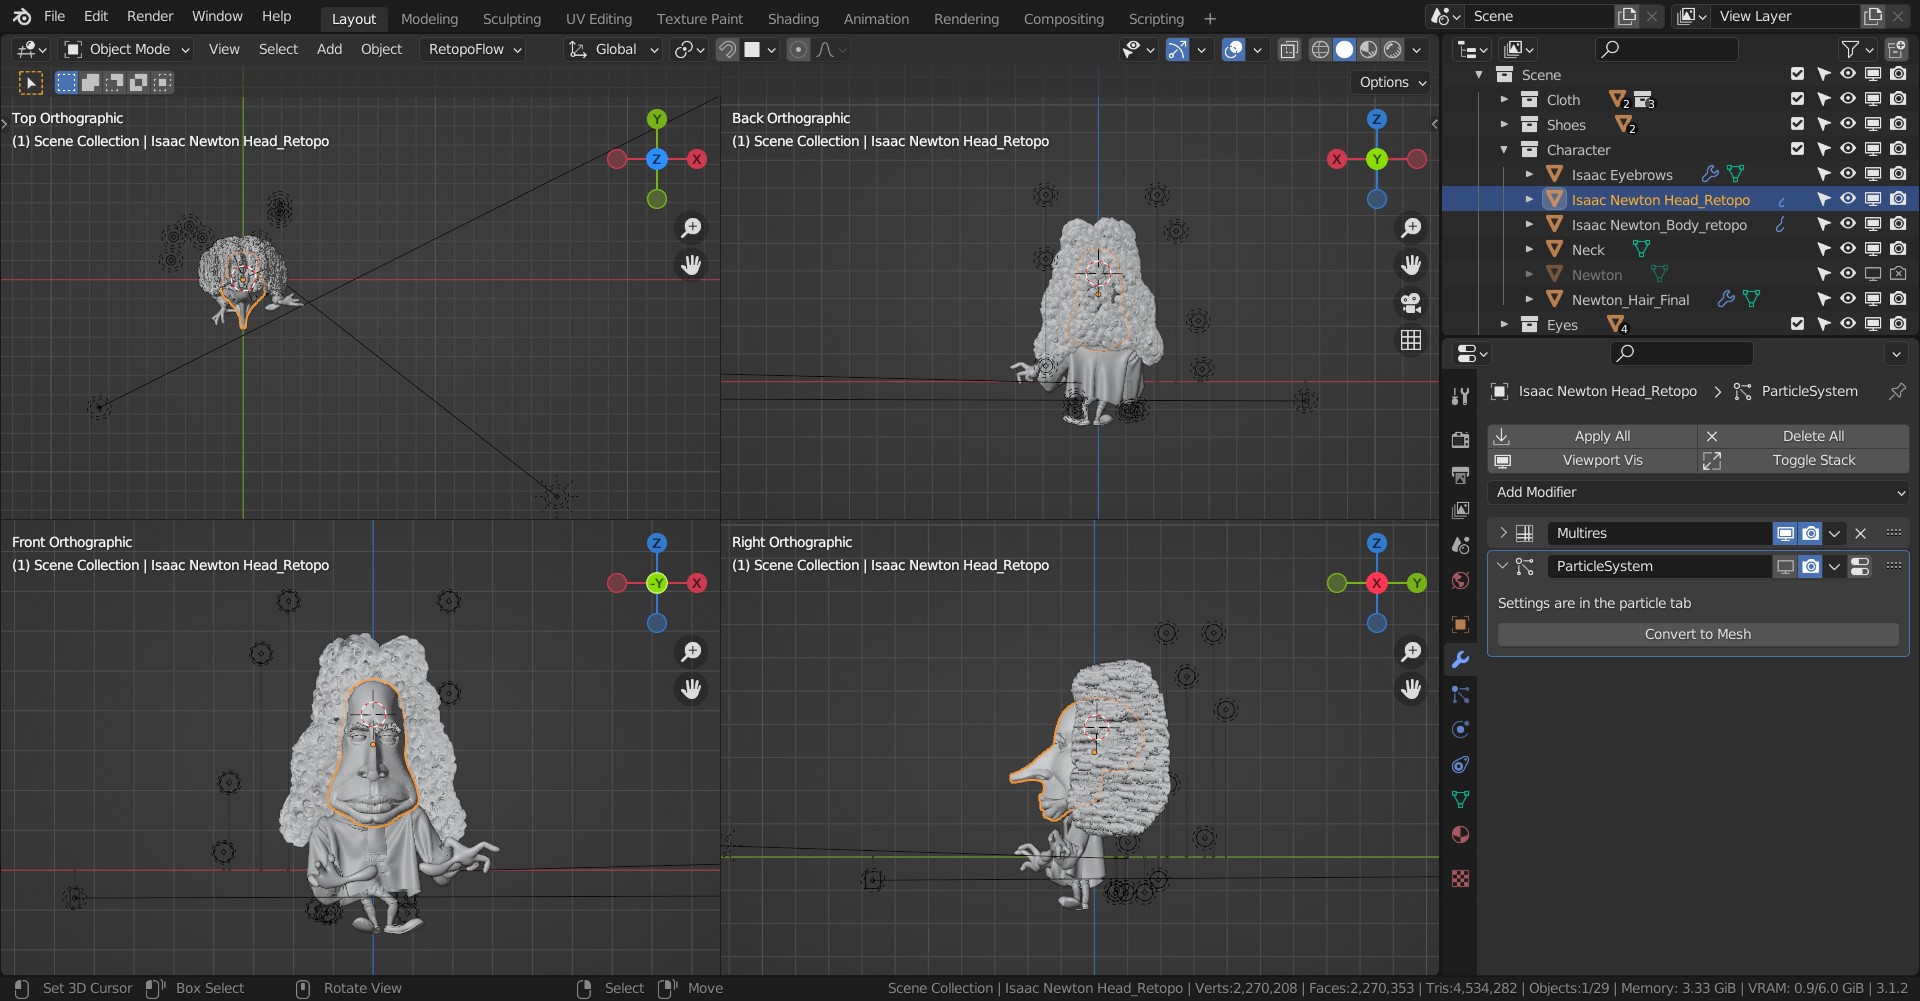
After that, I did the retopology and UV Unwrapping. My first thought was to bake normal, but then I just shrunk the retopo model on top of the sculpt and added a multi-resolution modifier. I got a nice result when I increased the subdivision.
To make the body, I used Skin modifier and Subdivision modifier to get a simple shape and added the sculpting after.
I also did a retopo and UV unwrapping for that.
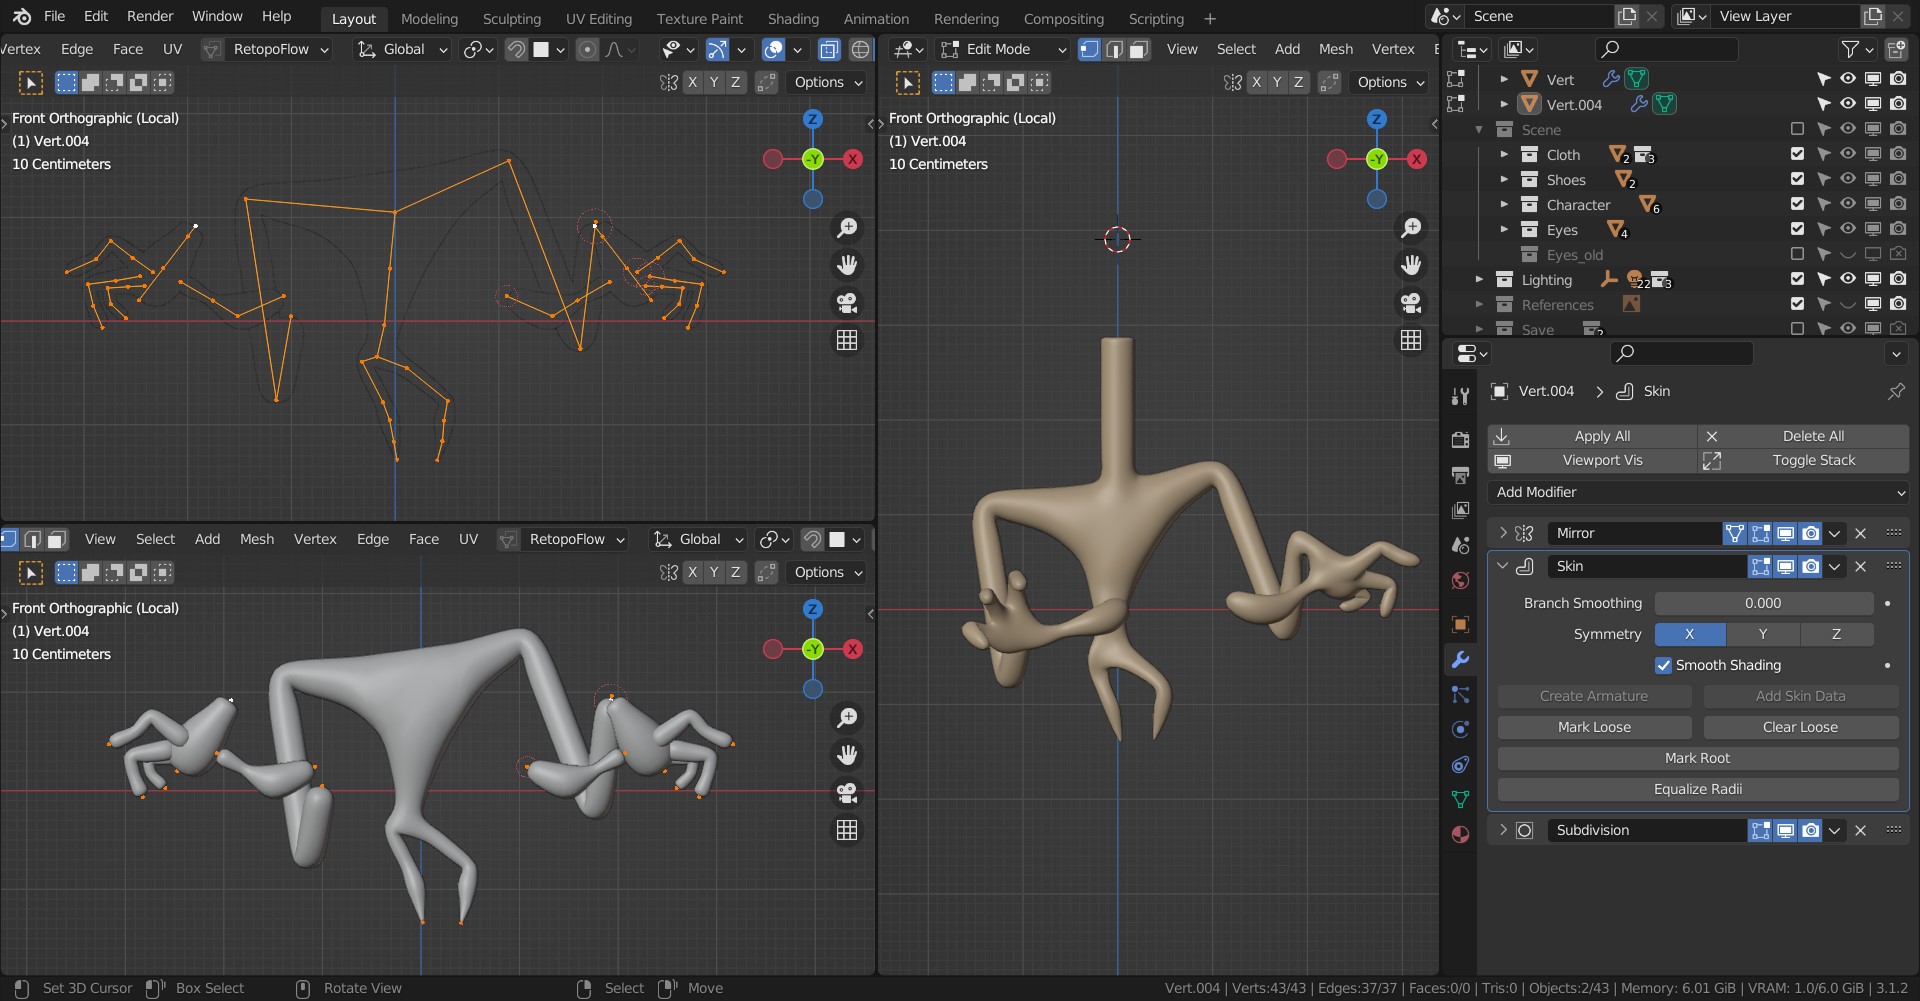
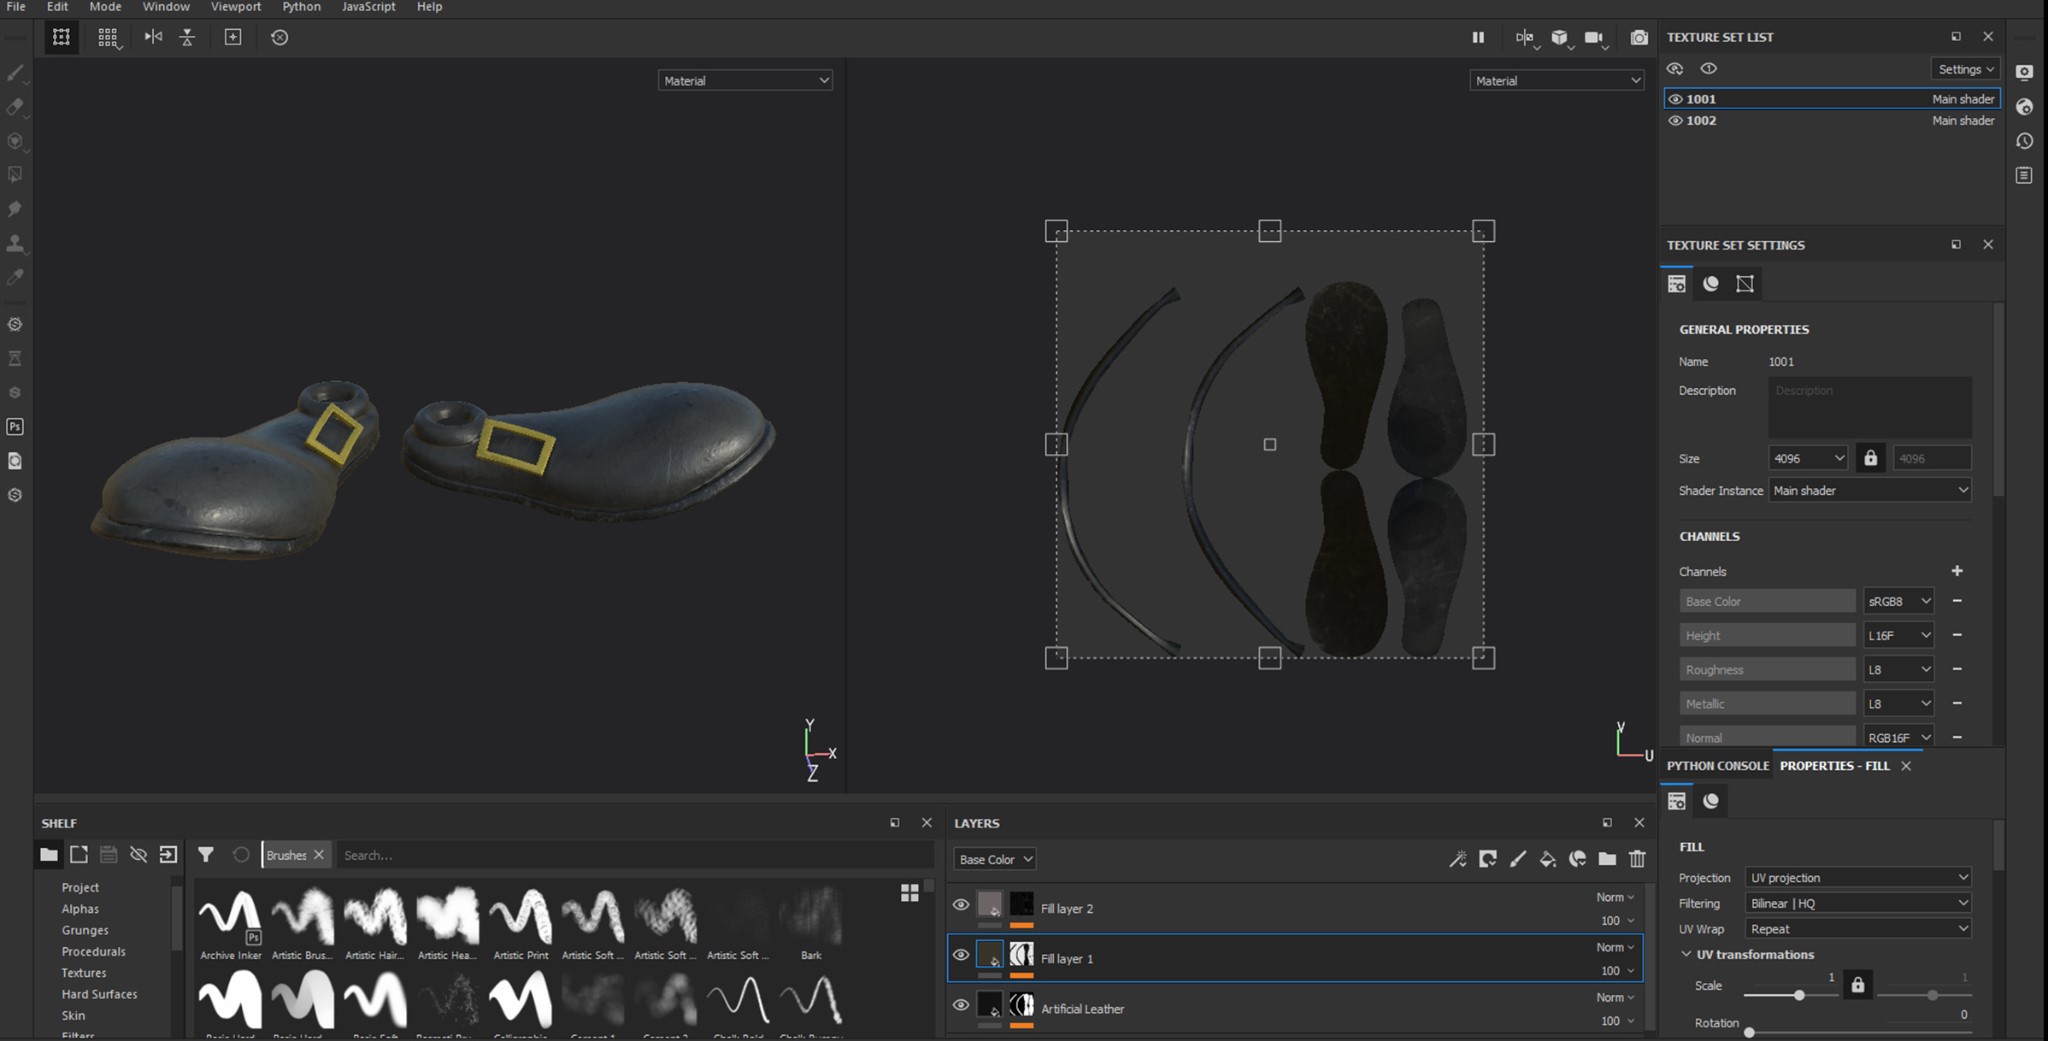
I applied this body as Avatar on MD (Marvellous Designer) later. I did the same process for the shoes.
Afterwards, I jumped to MD to produce the clothing. It was a bit tricky because the shape of the body was unusual.
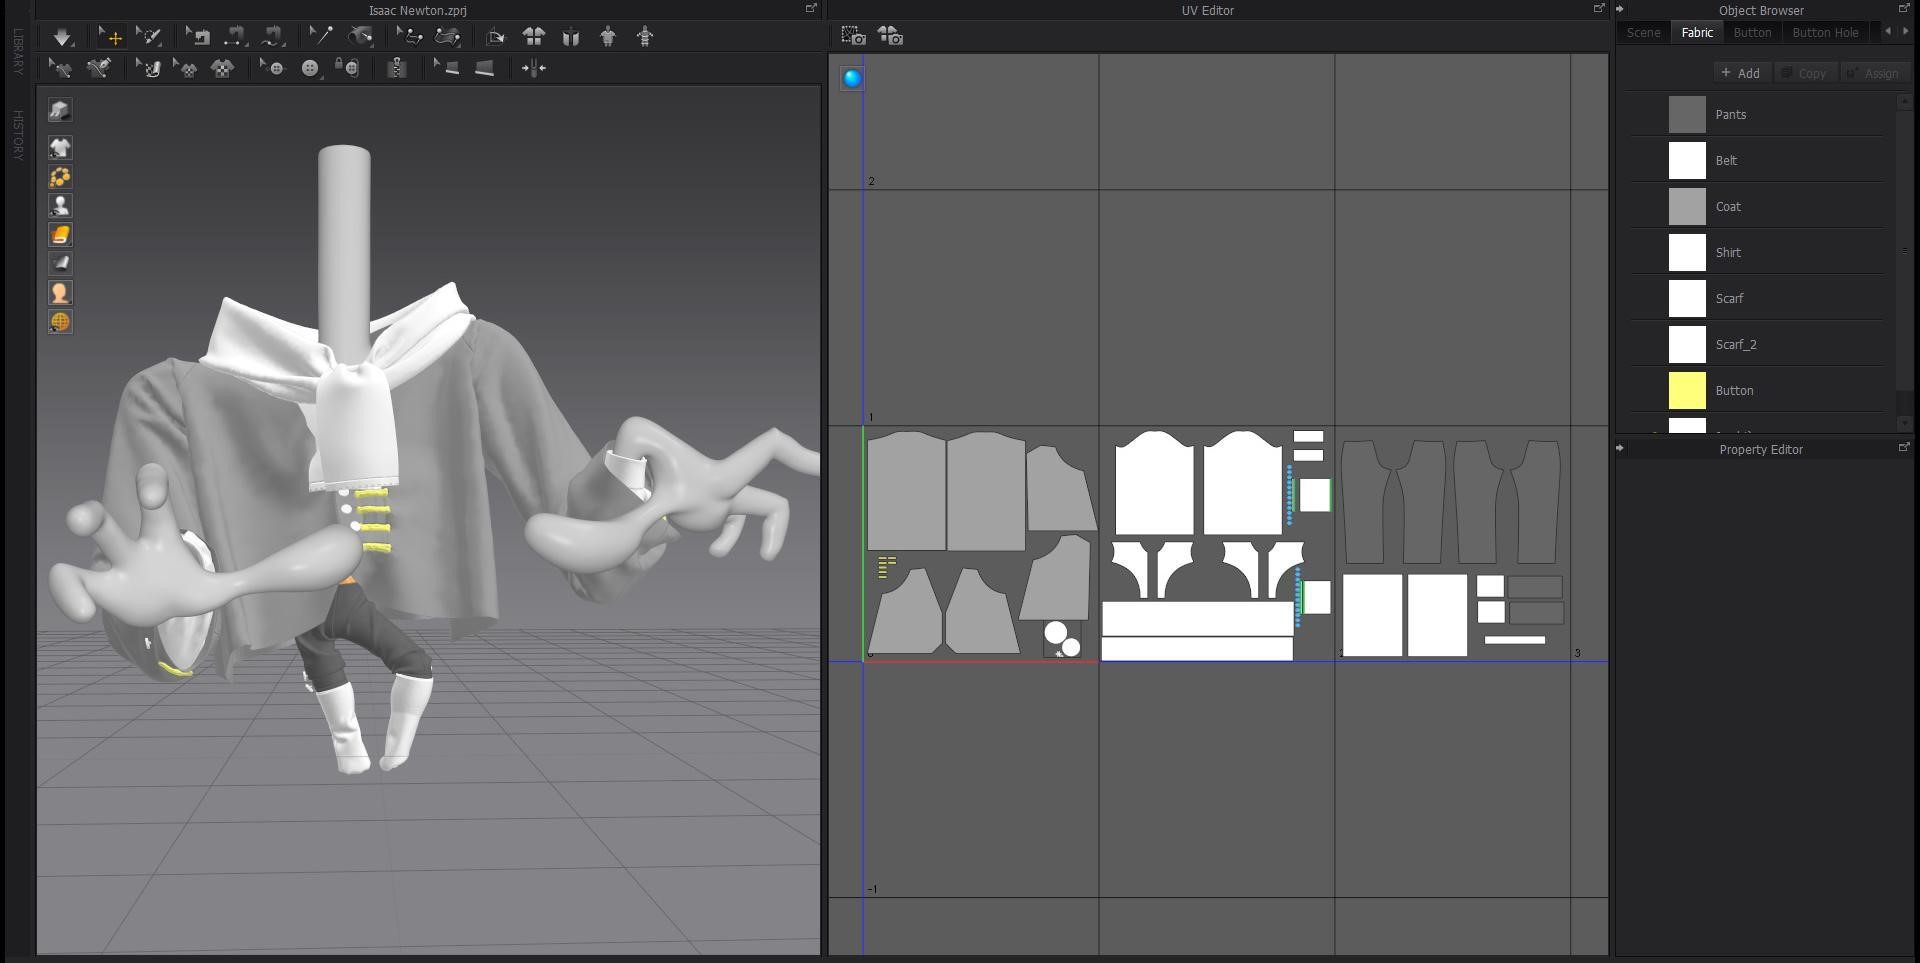
In the right part, I created the UV base on the 2D garment pattern, and exported and imported them into Blender as FBX with thin option and unweld enabled.
I did not proceed to retopo this mesh, as the quad topology from MD is enough. But, I added thickness with a solidify modifier on the jacket, the shirt and the scarf.
TEXTURING
When everything was ready, I moved to SP for texturing.
My goal was to have Physically Based Rendering (PBR) and grungy materials for which SP is really good.
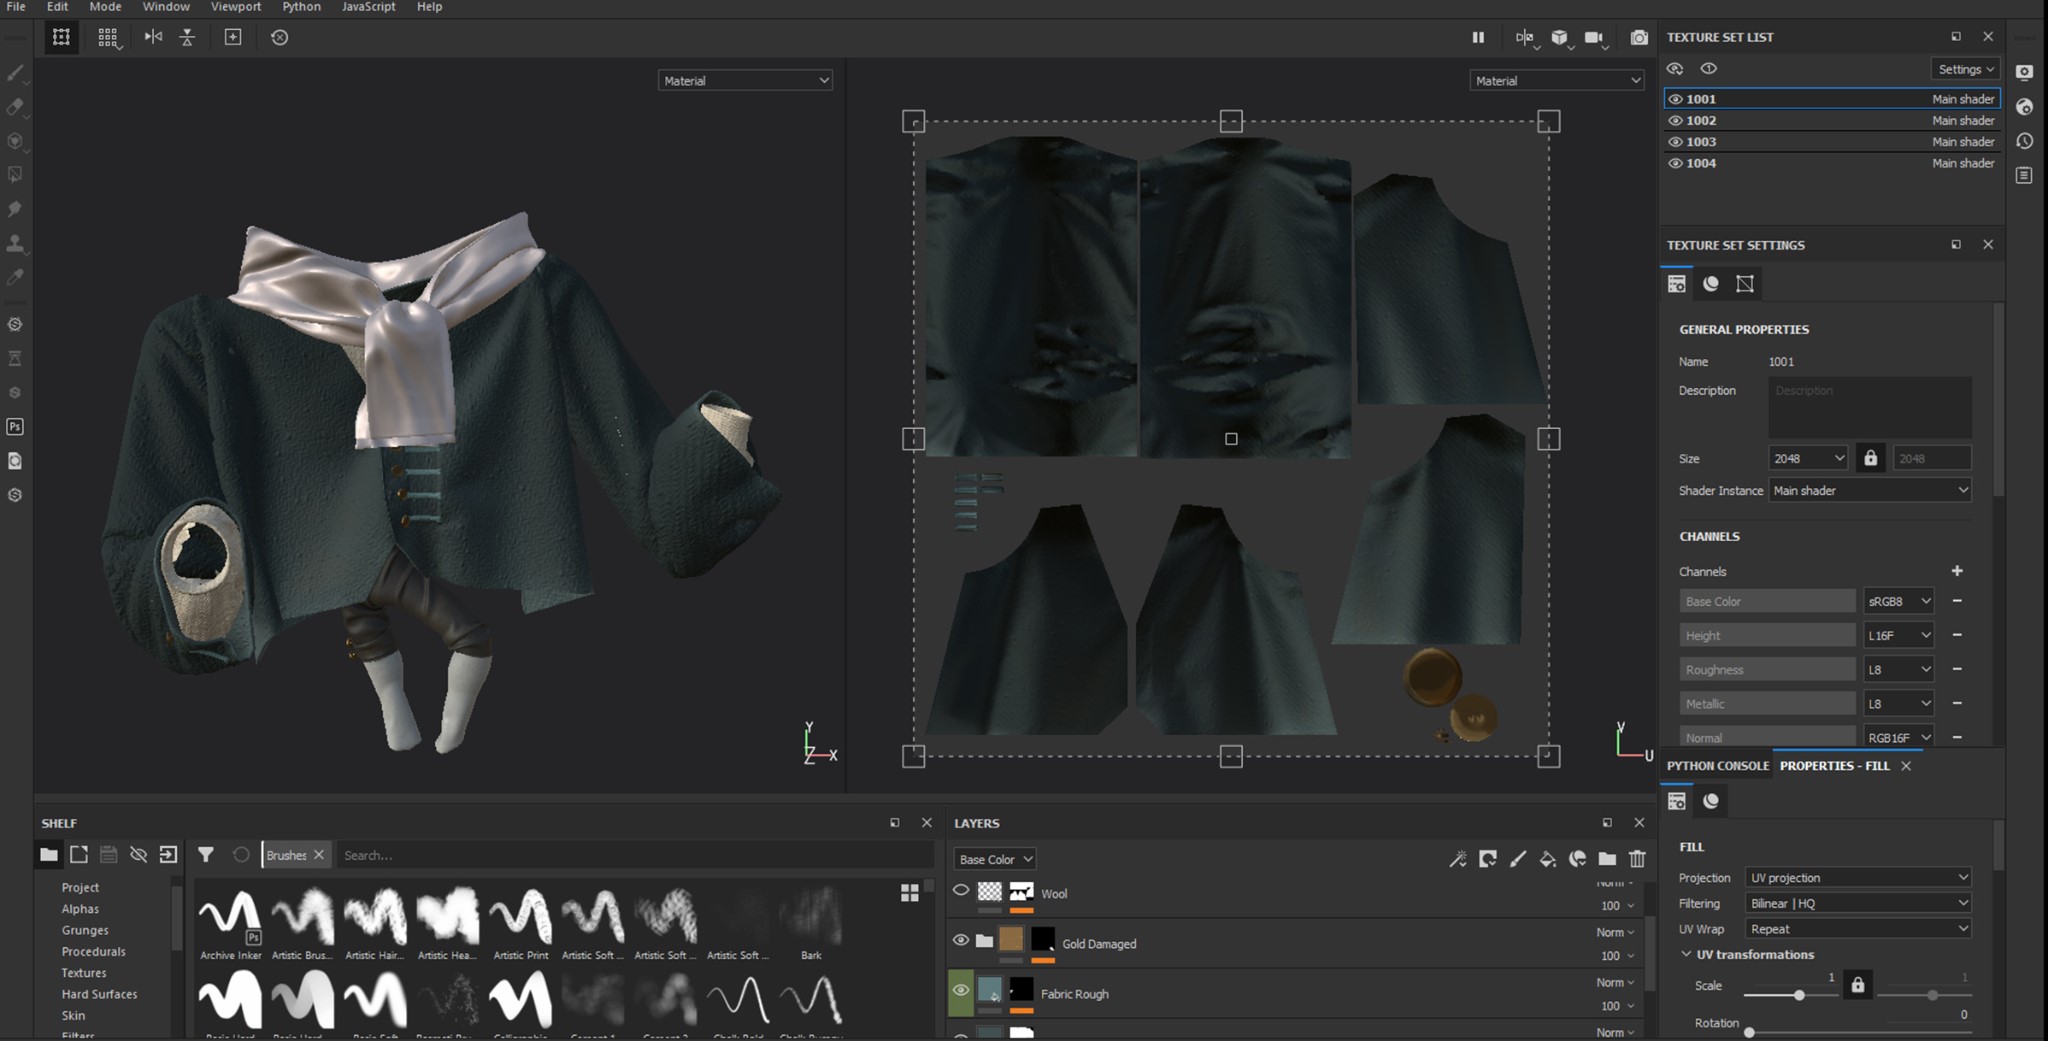
(The default basic Materials offered by SP were enough to produce awesome results.)
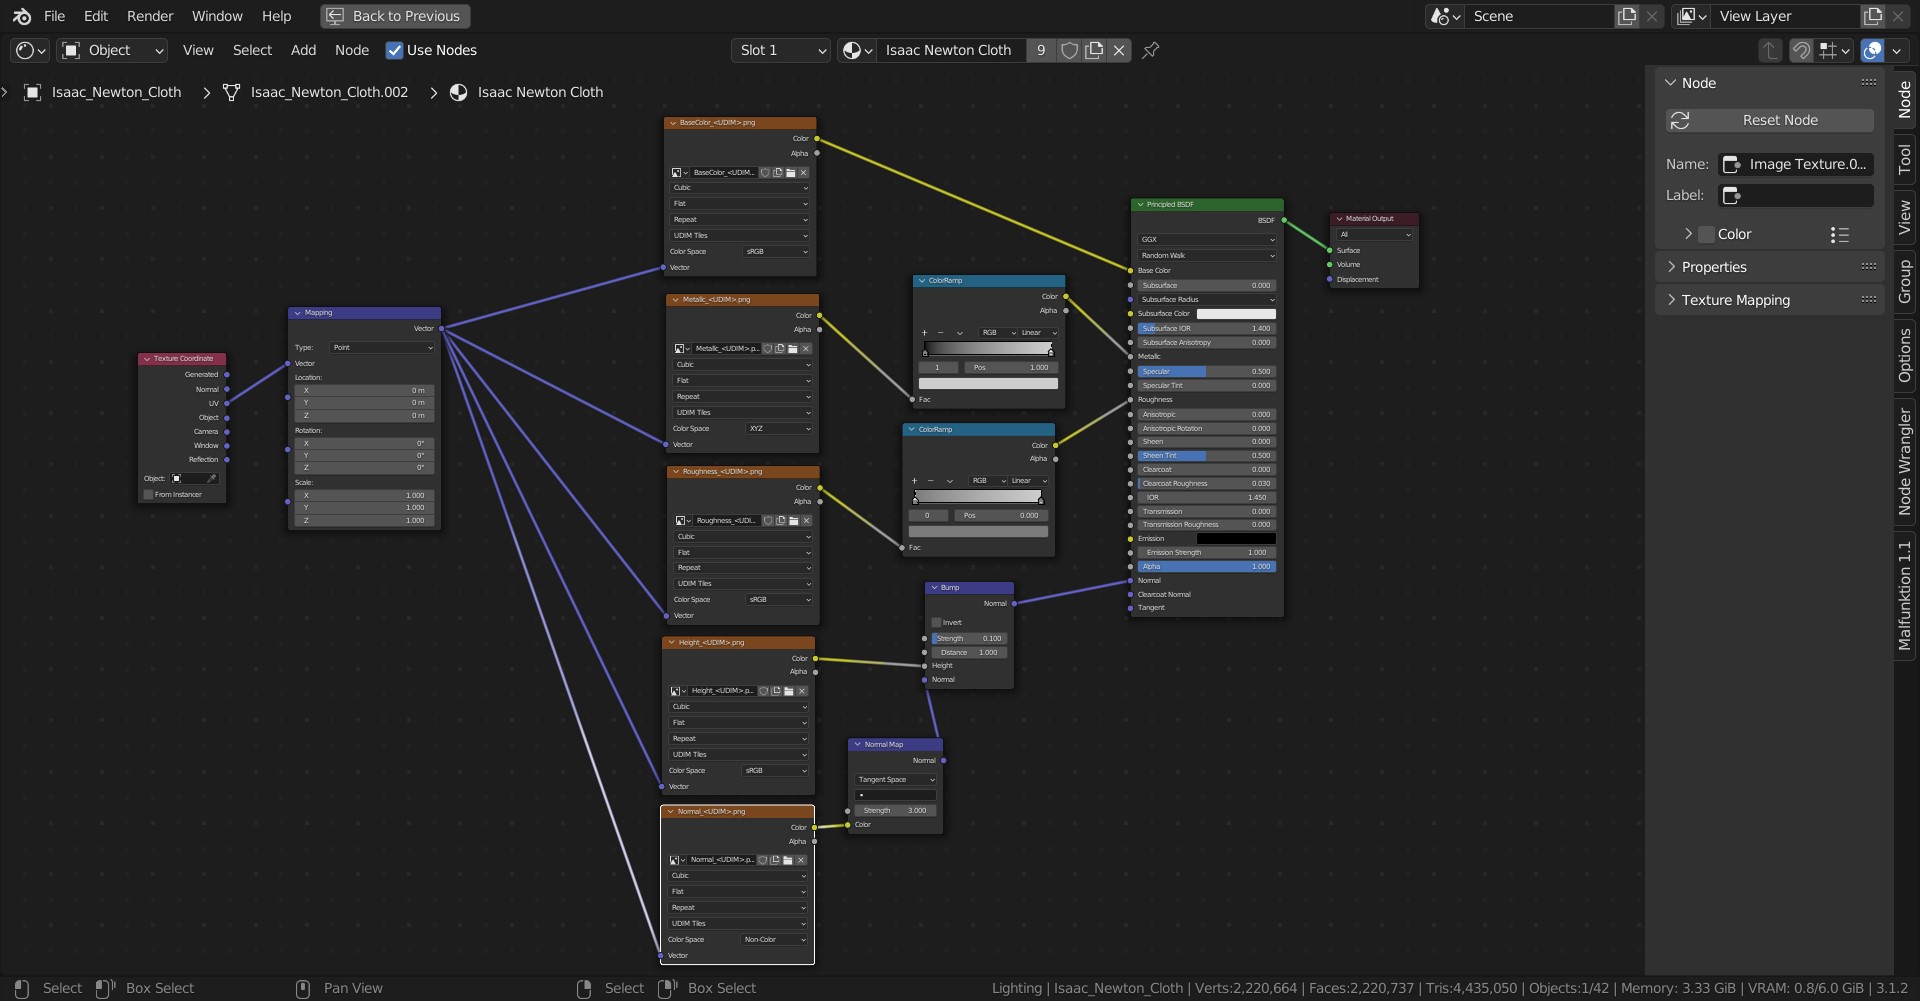
After exporting the textures in 4K, I used them in the Shader editor. The basic PBR maps used here were Base colour (Albedo) map, Roughness map, Metallic map, Height map, and Normal map.
HAIR PARTICLES
All this time, I was looking for the right way to make the wig.
This part was very difficult and I don’t know how much time I spent on it. I did not find any tutorials on how to make a wig on the web.
After many nightmares and insomnia (joke), I was super happy to find the best look for the wig.
Here is a little tutorial about how I made it:
Some test renders I did before the final result are there to show you how much I struggled to get a satisfying result.
LIGHTING
For the lighting, the HDRi “Vintage Measuring Lab” from Polyhaven works fine with the “Anthony M” setting in the Pro Light studio add-on.
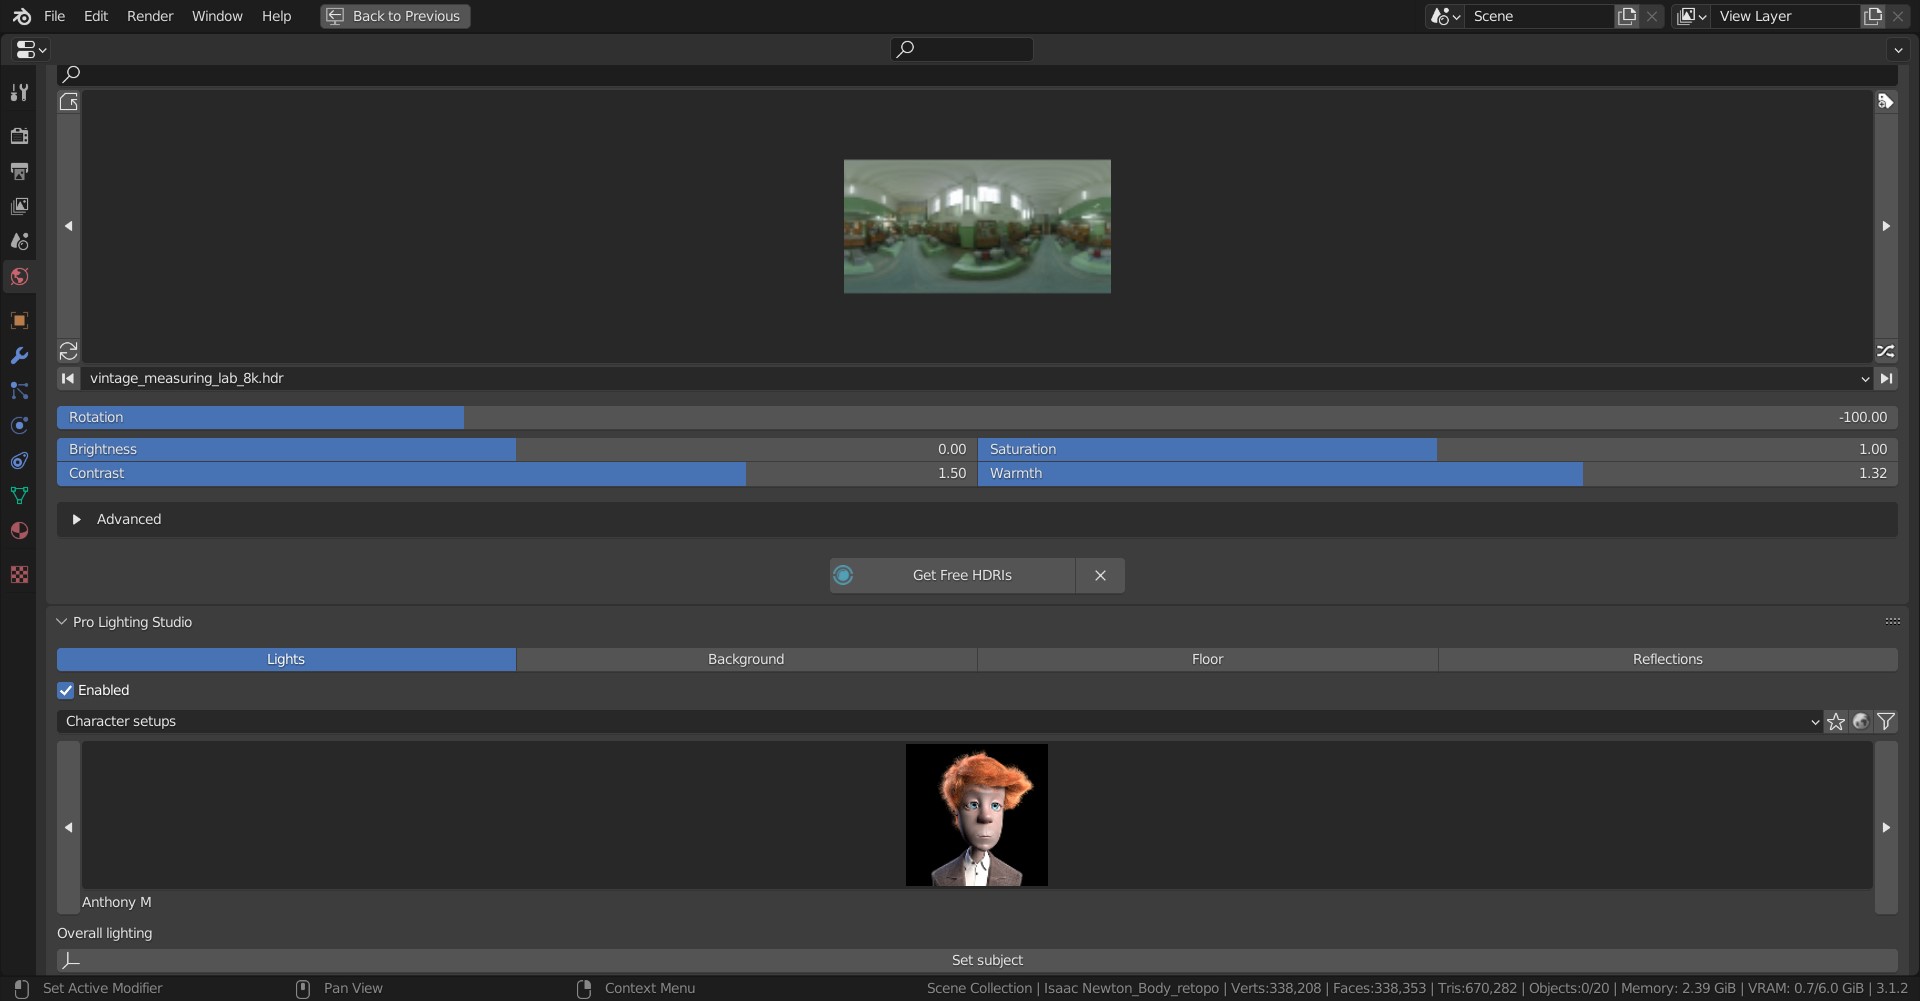
In addition, I put some Point lights from the back of the character to capture a cool Rim light effect. Plus a very soft Sun light, and Area light from the left and right are also used.
RENDERING
Render Settings:
- Render Engine: Blender’s Cycles
- Resolution: 3300×4200
- Samples: 1024
Add-on used:
GRAVITY
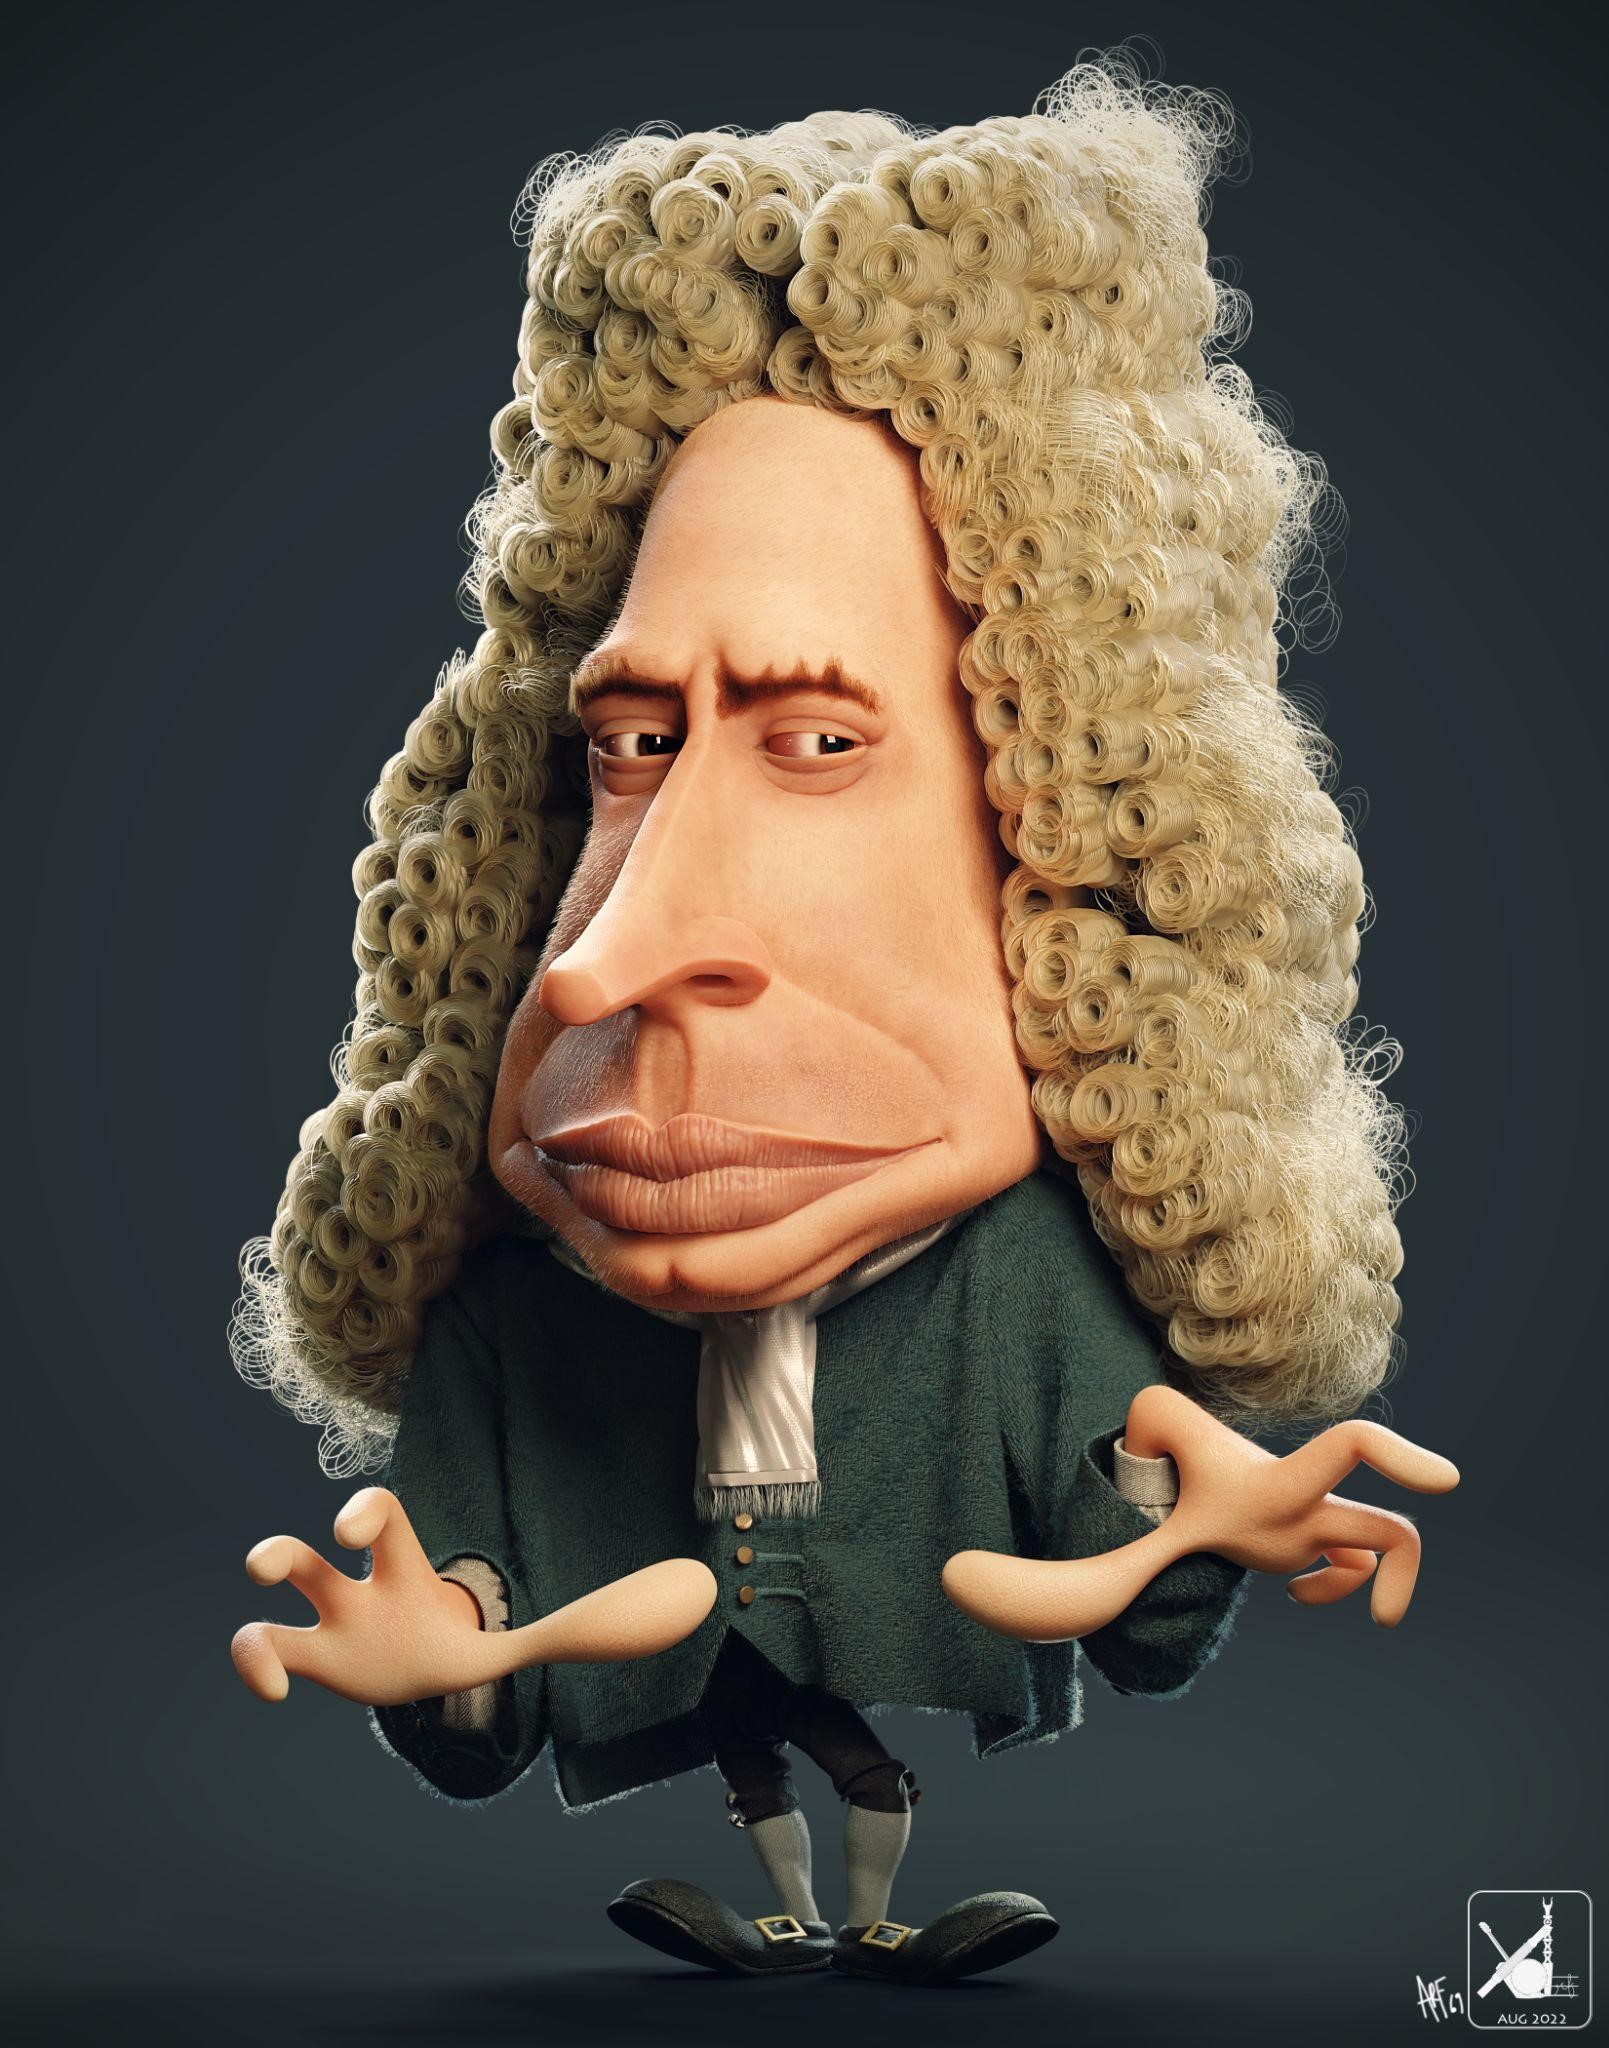
And that’s it! I hope you like it!
You can find more of my work on Instagram and Artstation. Thank you for taking your time to read!
About the Artist
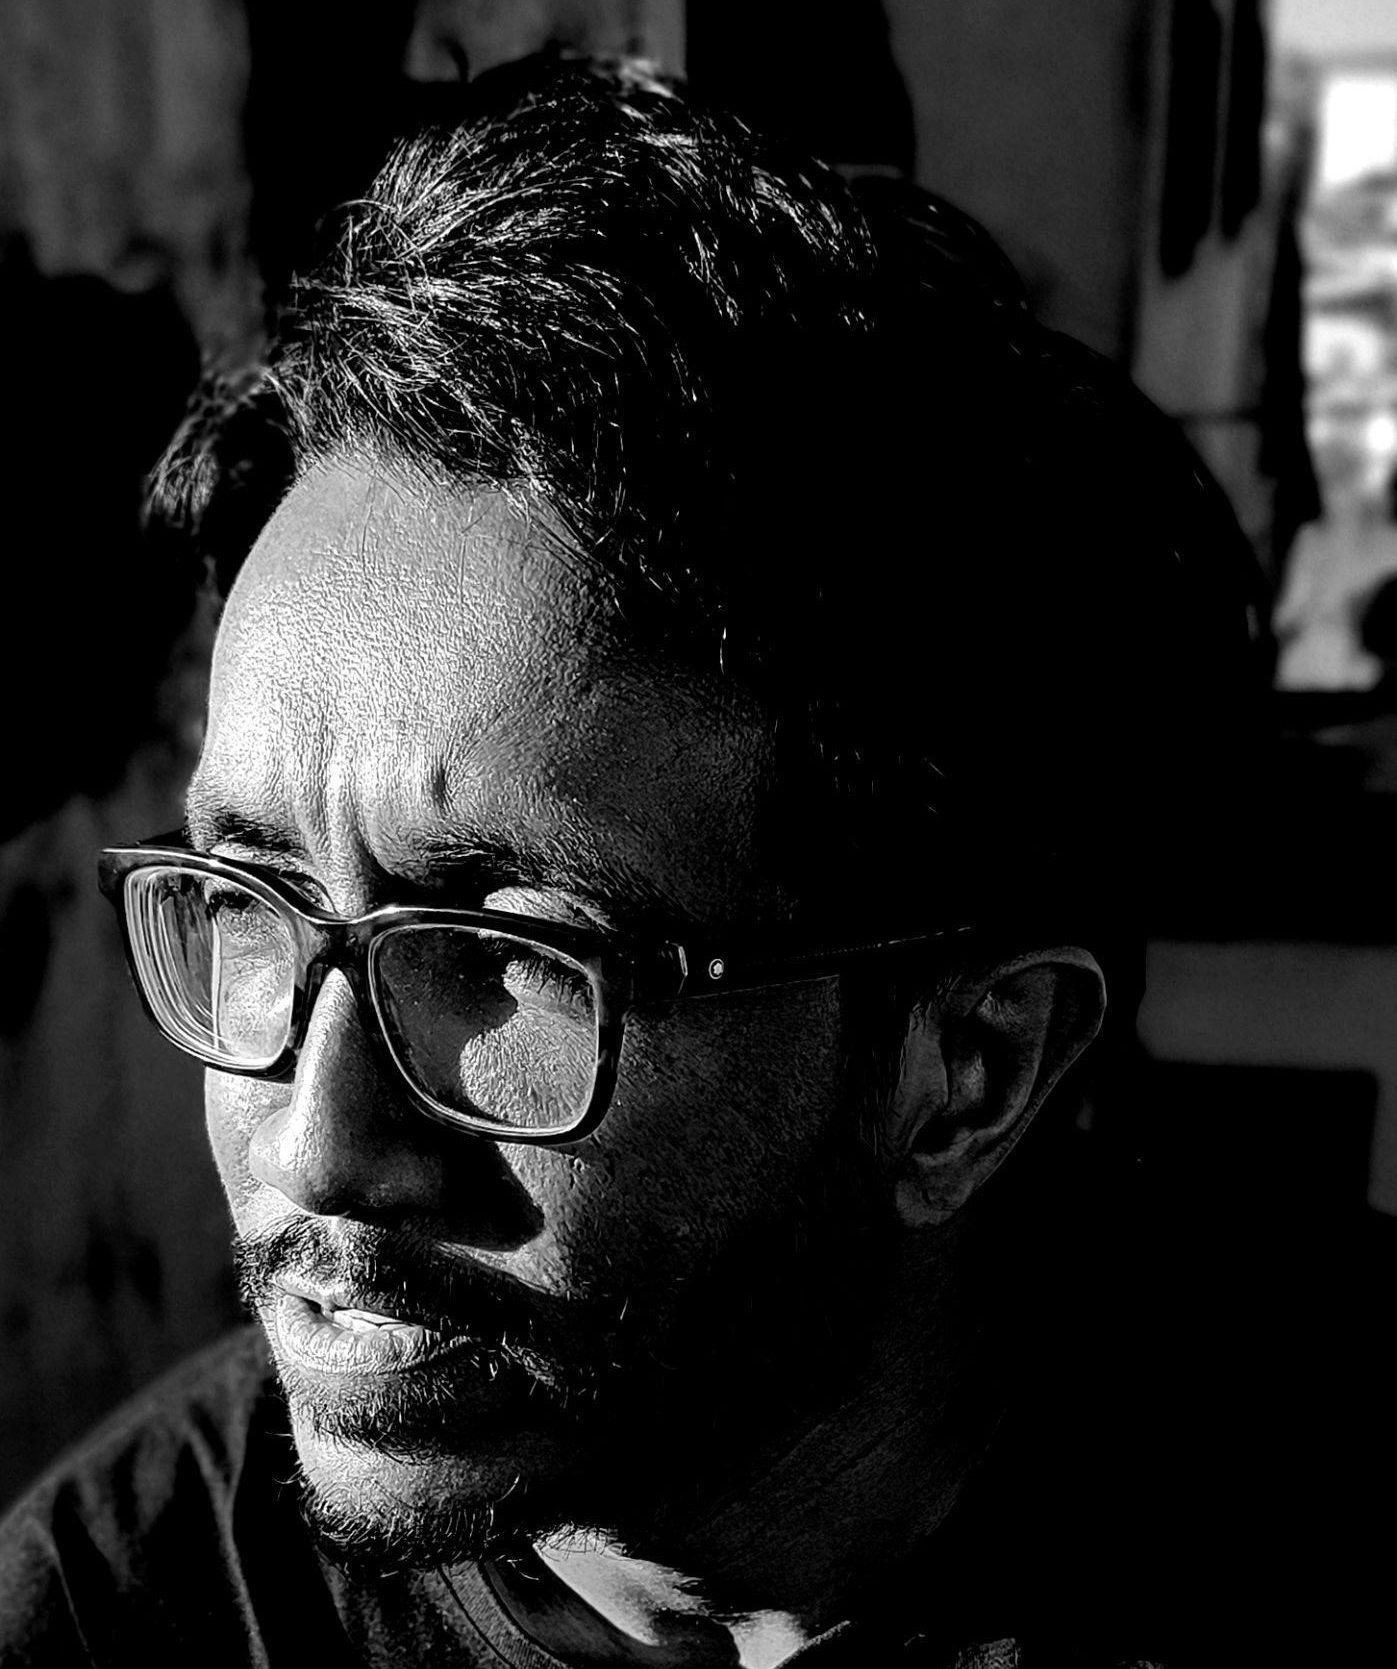
Arf, a Junior 3D modeler from Madagascar who works as a freelancer. He creates cool artworks with Blender during his free time.


Now that is some excellent caricature!