Behind the Scenes: Bird House

INTRODUCTION
Hi there, my name is Adarsh and I’m a 3D artist from Karnataka, India. I love to create nature scenes with a realistic approach. I started learning Blender two years ago by watching YouTube tutorials and it’s been an amazing ride ever since.
To be honest, I’m still an intermediate artist learning Blender and I heavily rely on premade assets, but I do make some of my own by photo-scanning or simple modeling.
INSPIRATION
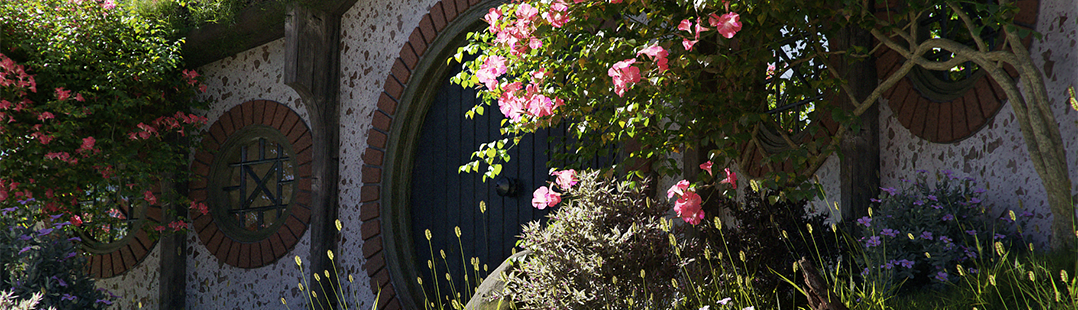
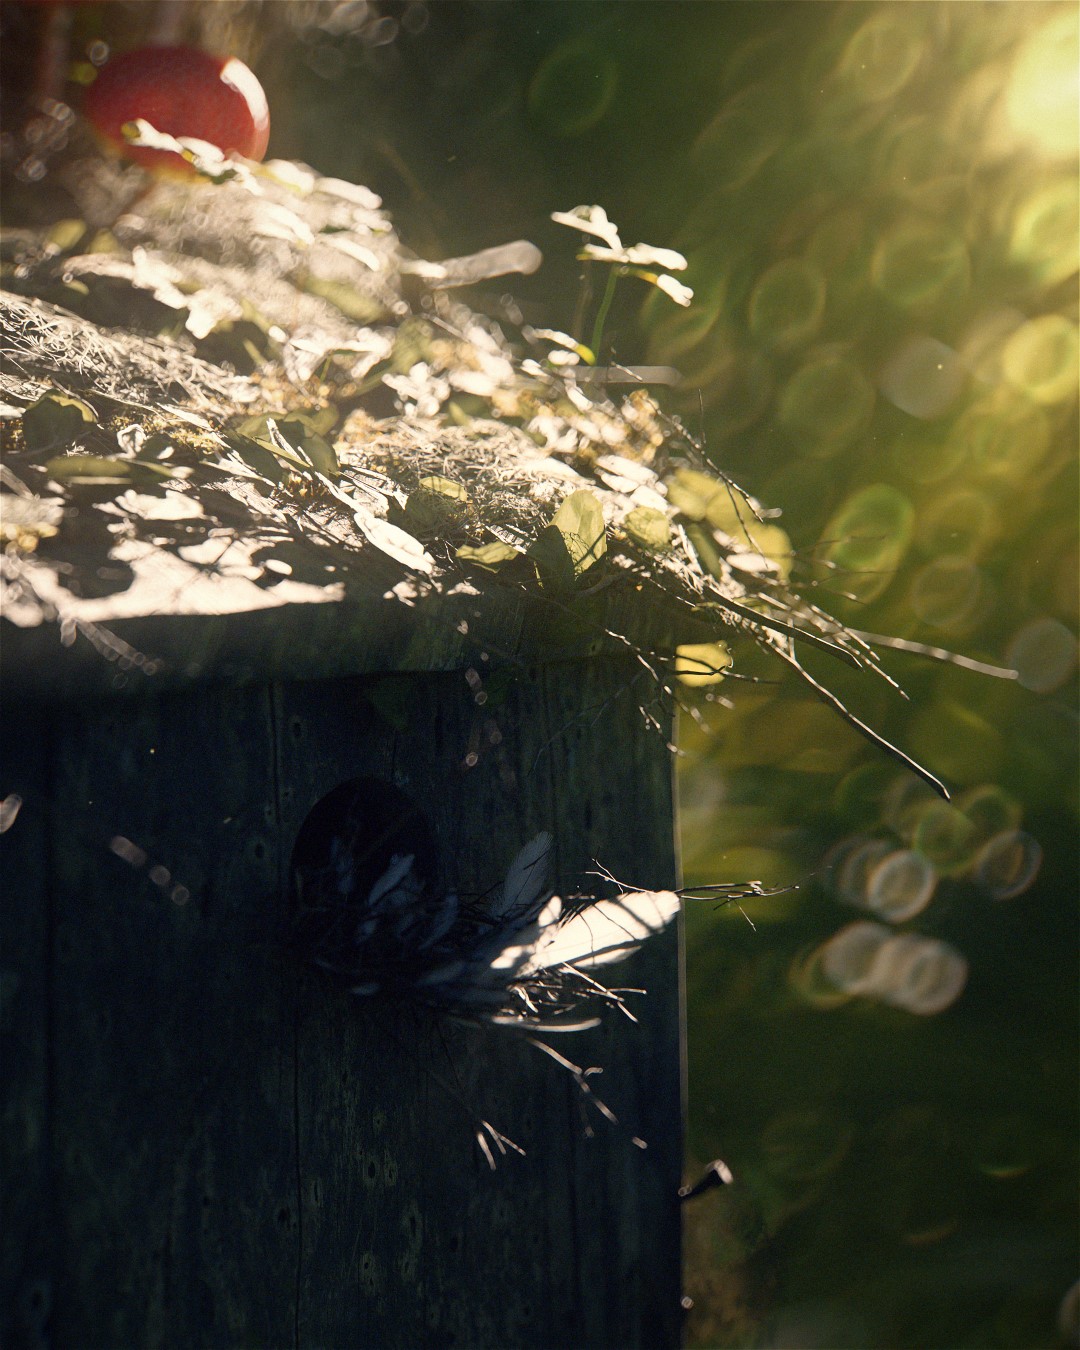
For this scene, I wanted to create a birdhouse hanging on a tree covered with moss, debris, and sticks as if nature took over it.
So I started looking for references on Unsplash which is my go-to website for finding ideas of any sort.
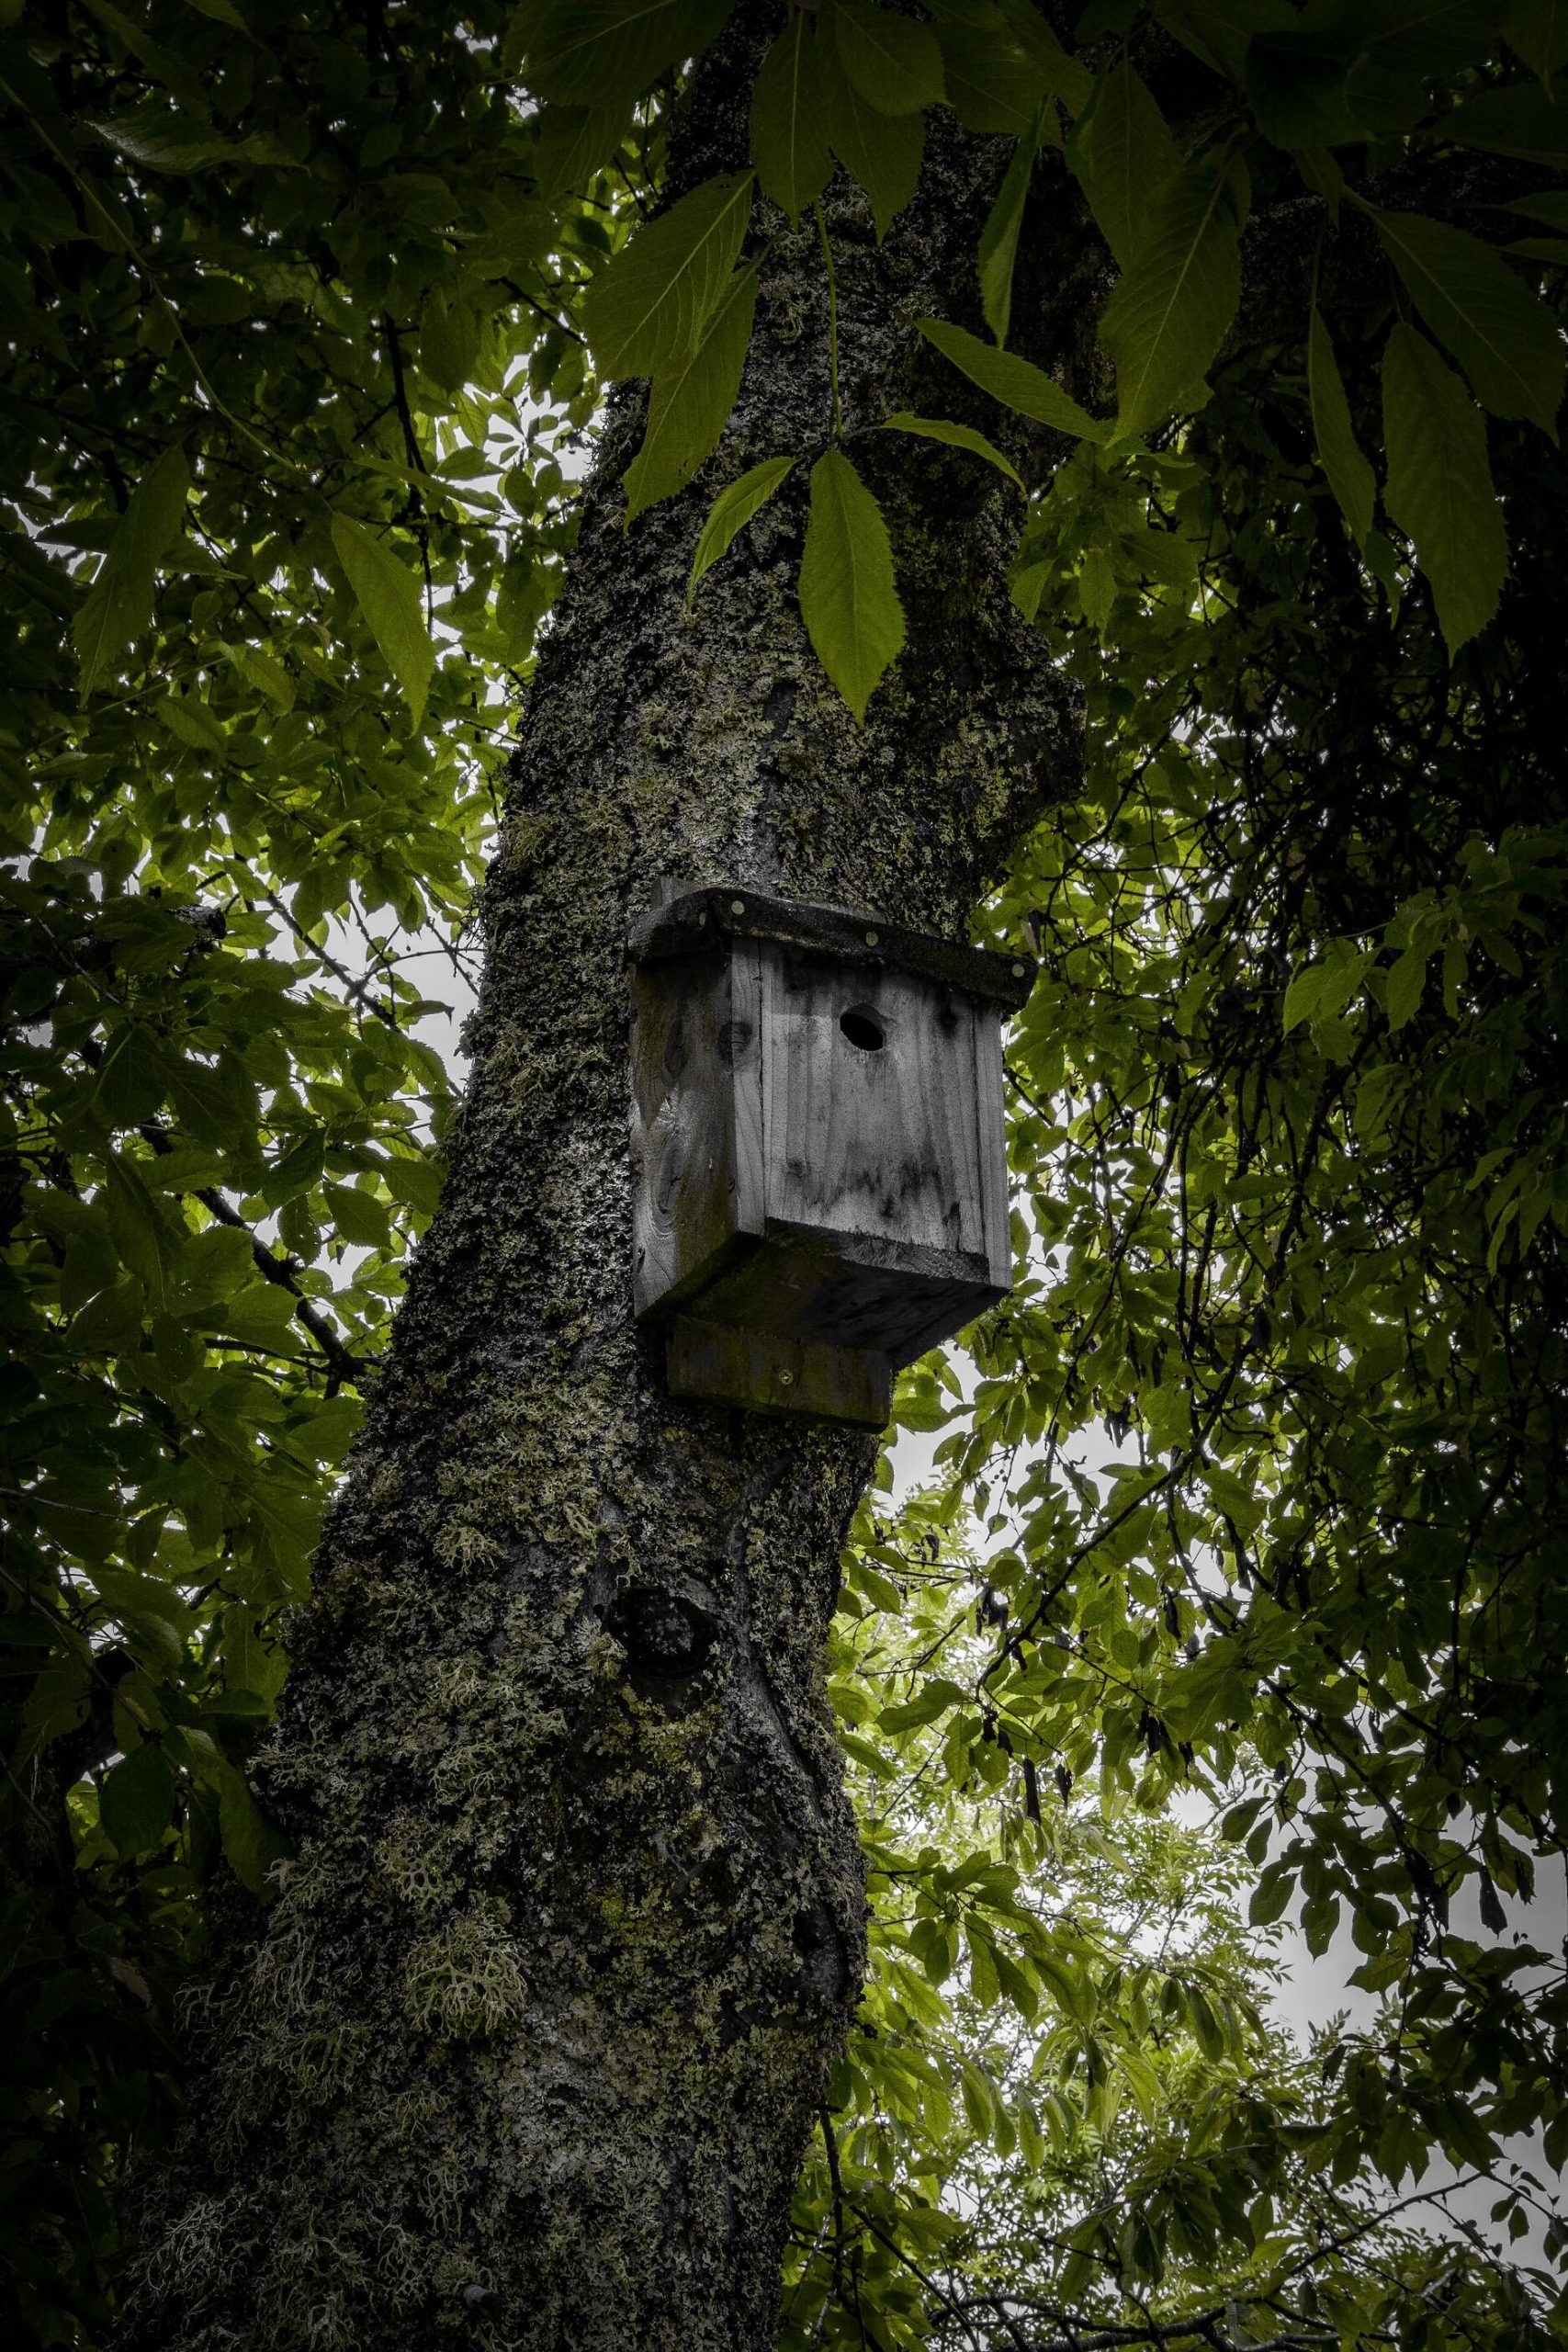
Then finally, I found this image that seemed interesting to me.
MODELING
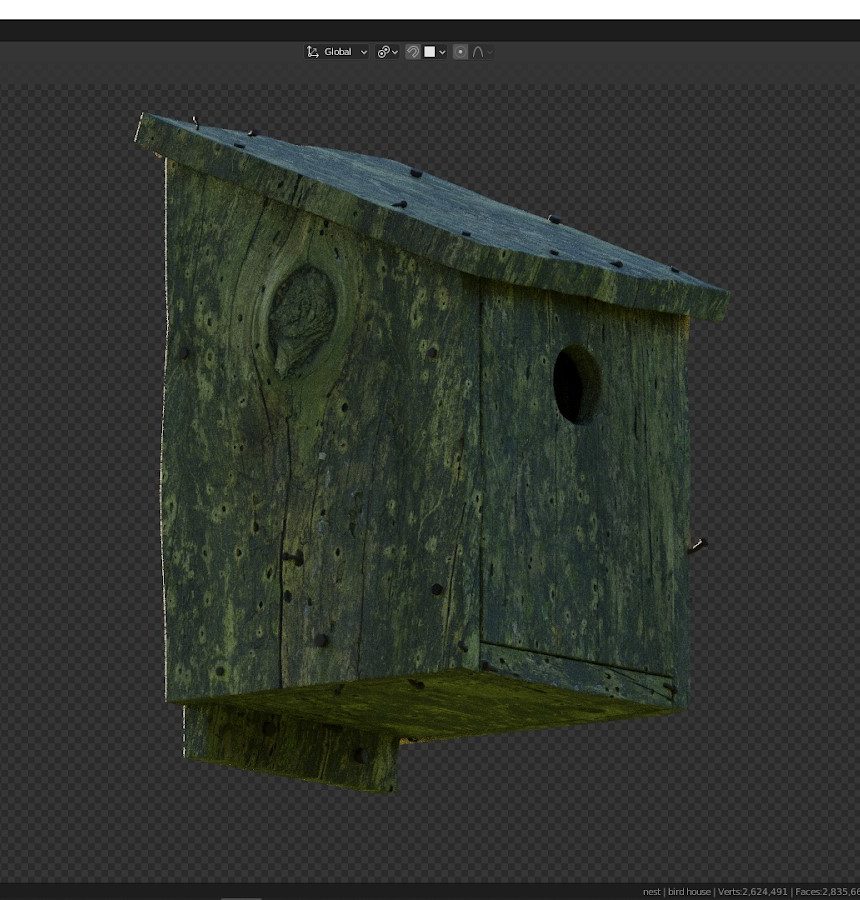
I started the scene by modeling the birdhouse which was the main focus for this project. I added a cube and adjusted the shape to match the reference.

I added loop cuts where they were needed and for the hole, I used loop tools addon within Blender to convert the loop to a circle.
Then it was just adding bevel to the edges and making the birdhouse look irregular by scaling in beveled edges, and moving a couple of vertices with proportional editing enabled.
Finally, I added some rusty screws for more detail.

So that’s it for the modeling.
TEXTURES
Just basic texturing by using wood surfaces from Quixel megascans. I added a mixRGB node and plugged the same albedo into both color sockets, while I added a hue saturation node for one and made it a little darker, for which I used a simple noise texture.

Here is the node setup,

SCENE BUILDING
Scene building was mostly gathering assets and making moss cards.
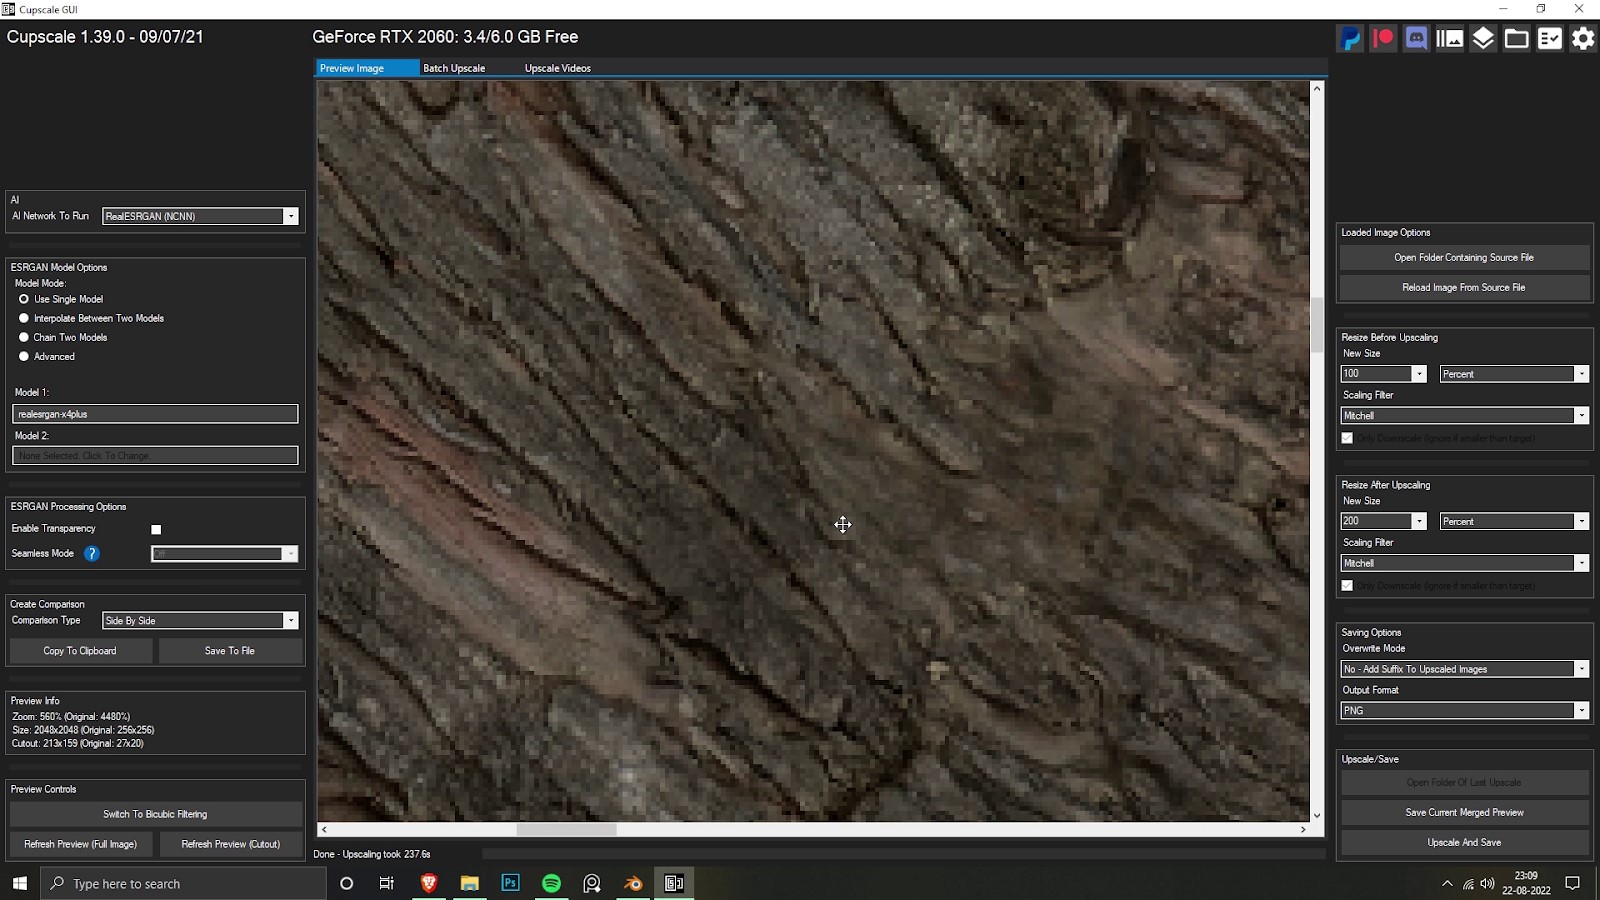
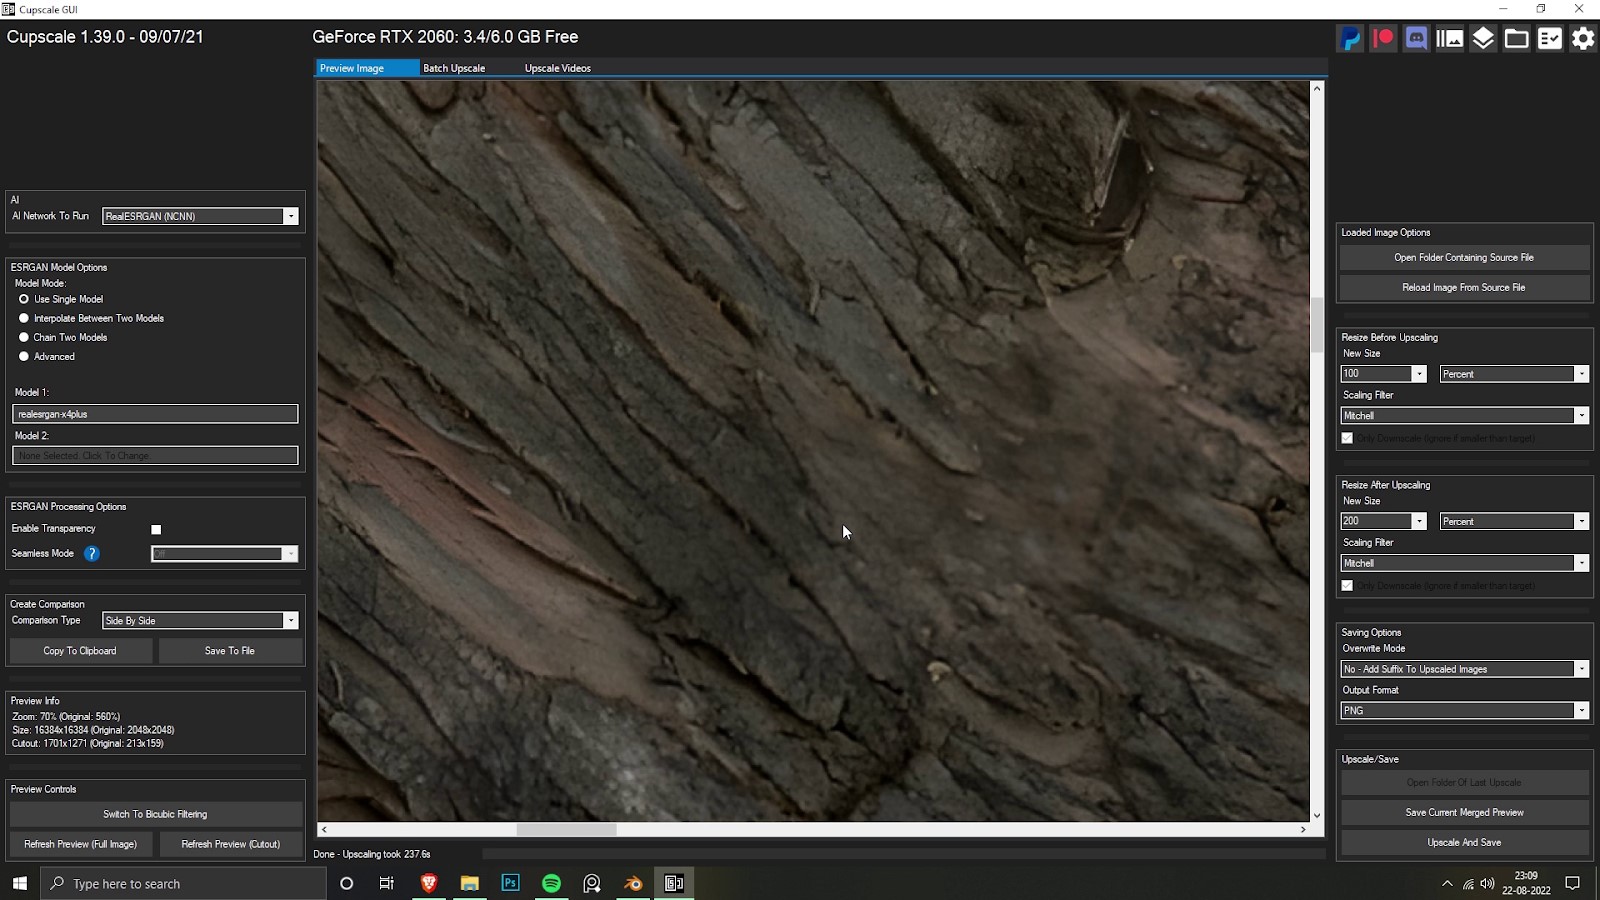
I used these awesome trees from the moonik office. These were really cheap and high quality, as the textures were of low resolution at 2k. I used CUP SCALE GUI to upscale the texture quality, even though the tree was completely covered in moss.
I also got some foreground trees from Maxtree which were free.
Then I went to Quixel megascans to find some moss, lichen, and small branches. After that, I imported the textures as planes and created moss cards with optimized geo to have less transparent clipping.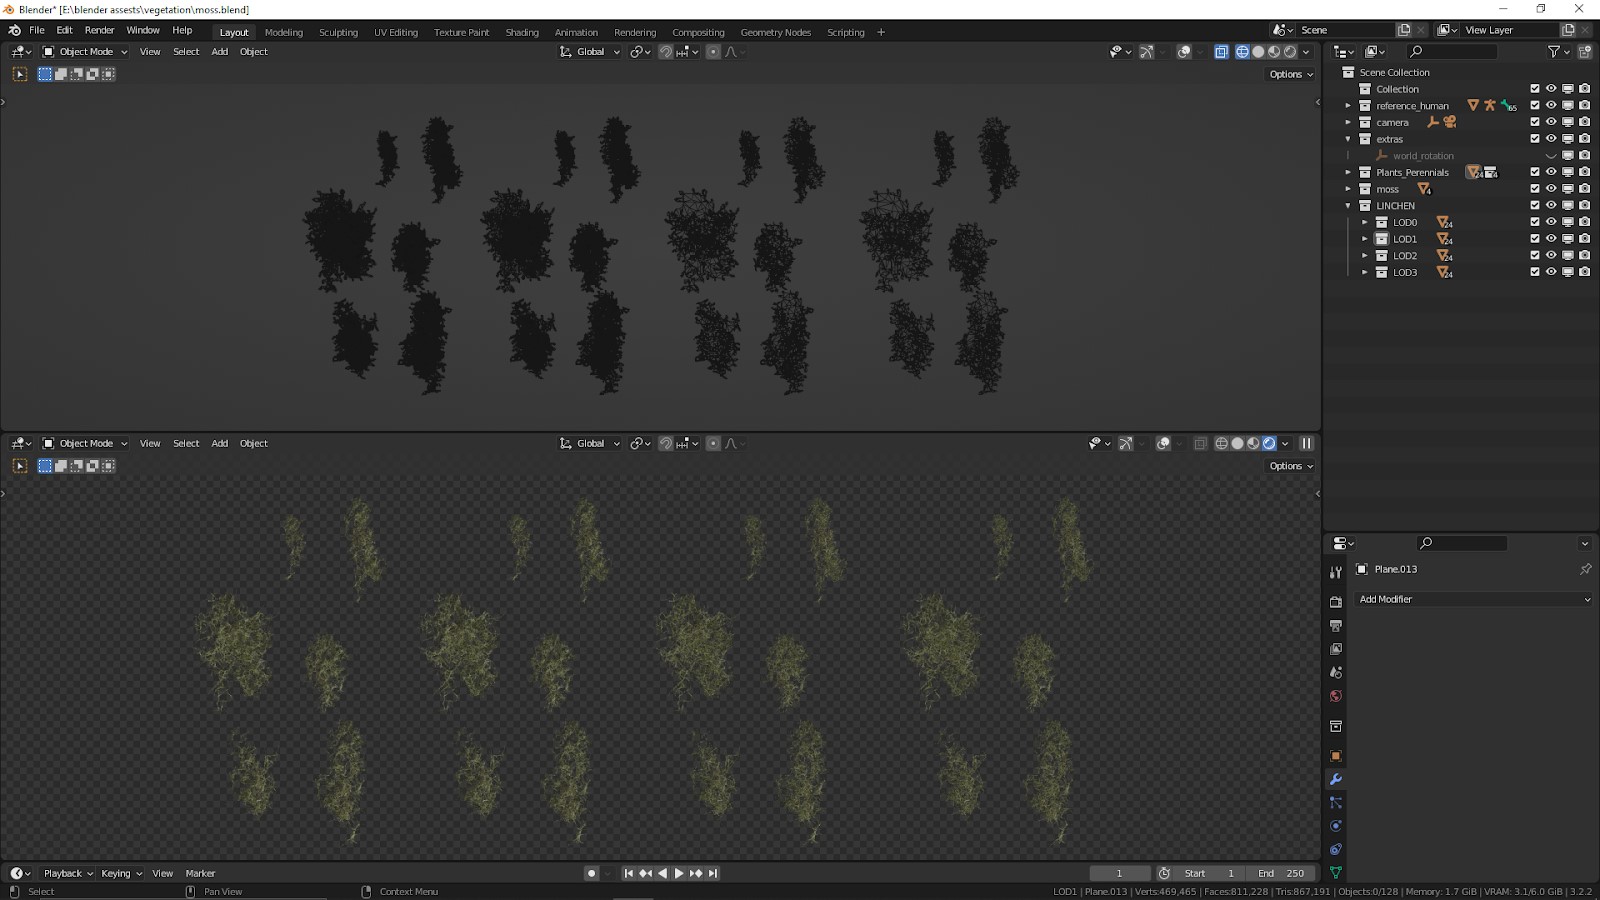
Other assets, like small plants and some more moss, were taken from Graswald’s free collection. The mushrooms and the dead leaves were from the grassblade addon.

SCATTERING
I started weight painting the main tree—where the moss, plants and other debris would naturally be—by making different vertex groups for the assets that I would be scattering later.
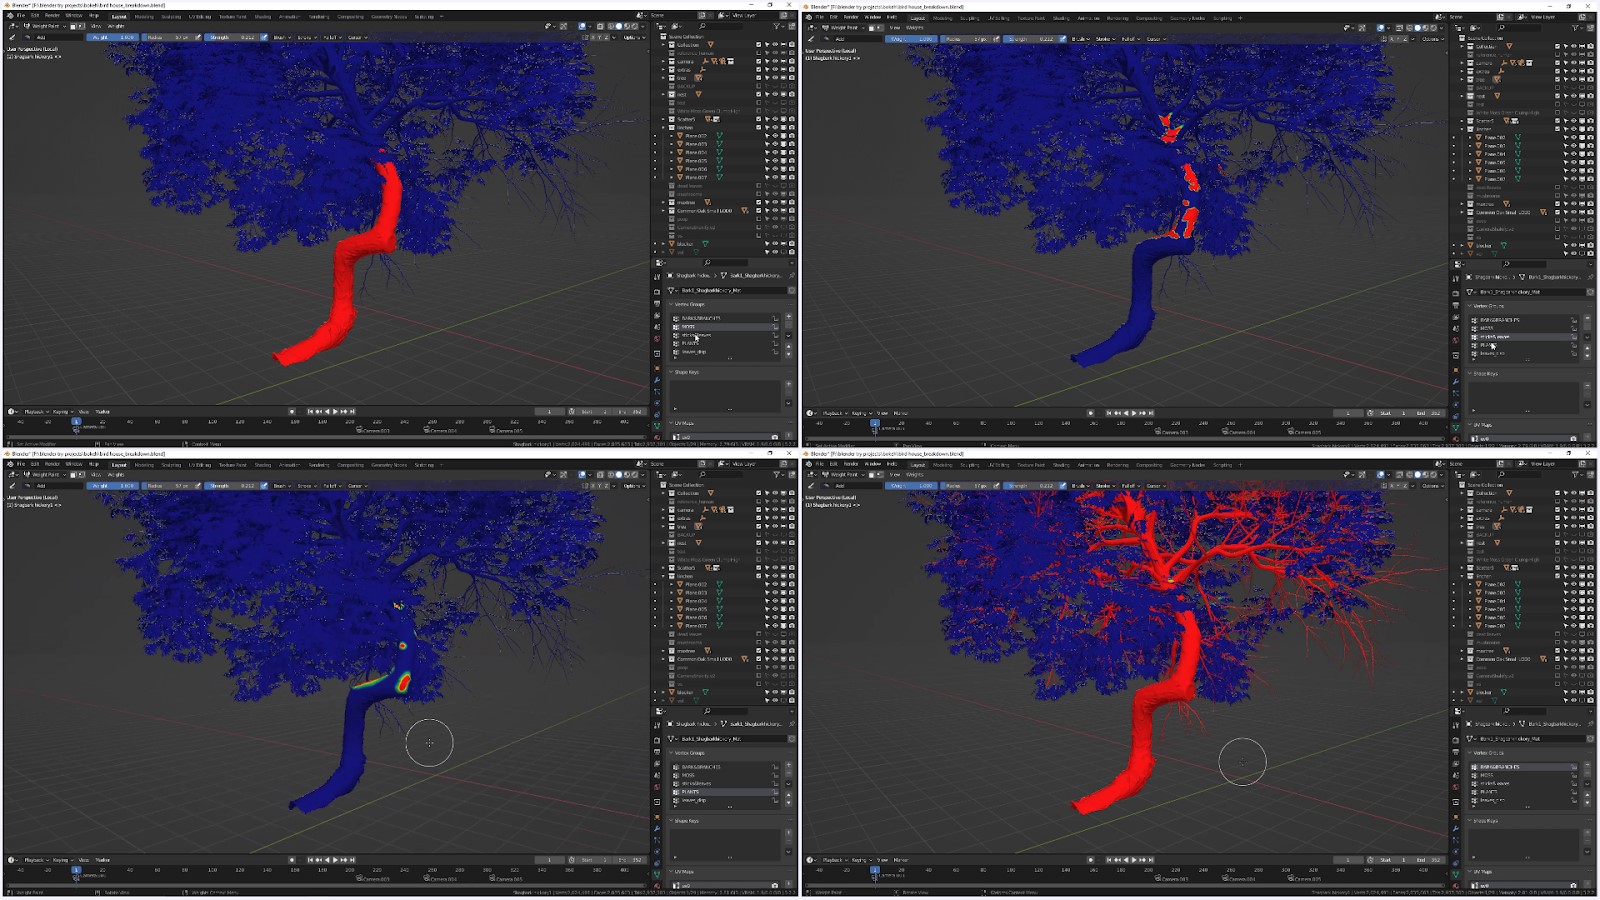
After weight painting, I used the scatter5 addon to scatter assets onto the tree and the birdhouse by choosing the vertex groups made earlier.
Here are the tree scatter/particle systems,
And, here are the birdhouse scatter/particle systems,
The mushrooms and the feathers were placed manually.
LIGHTING
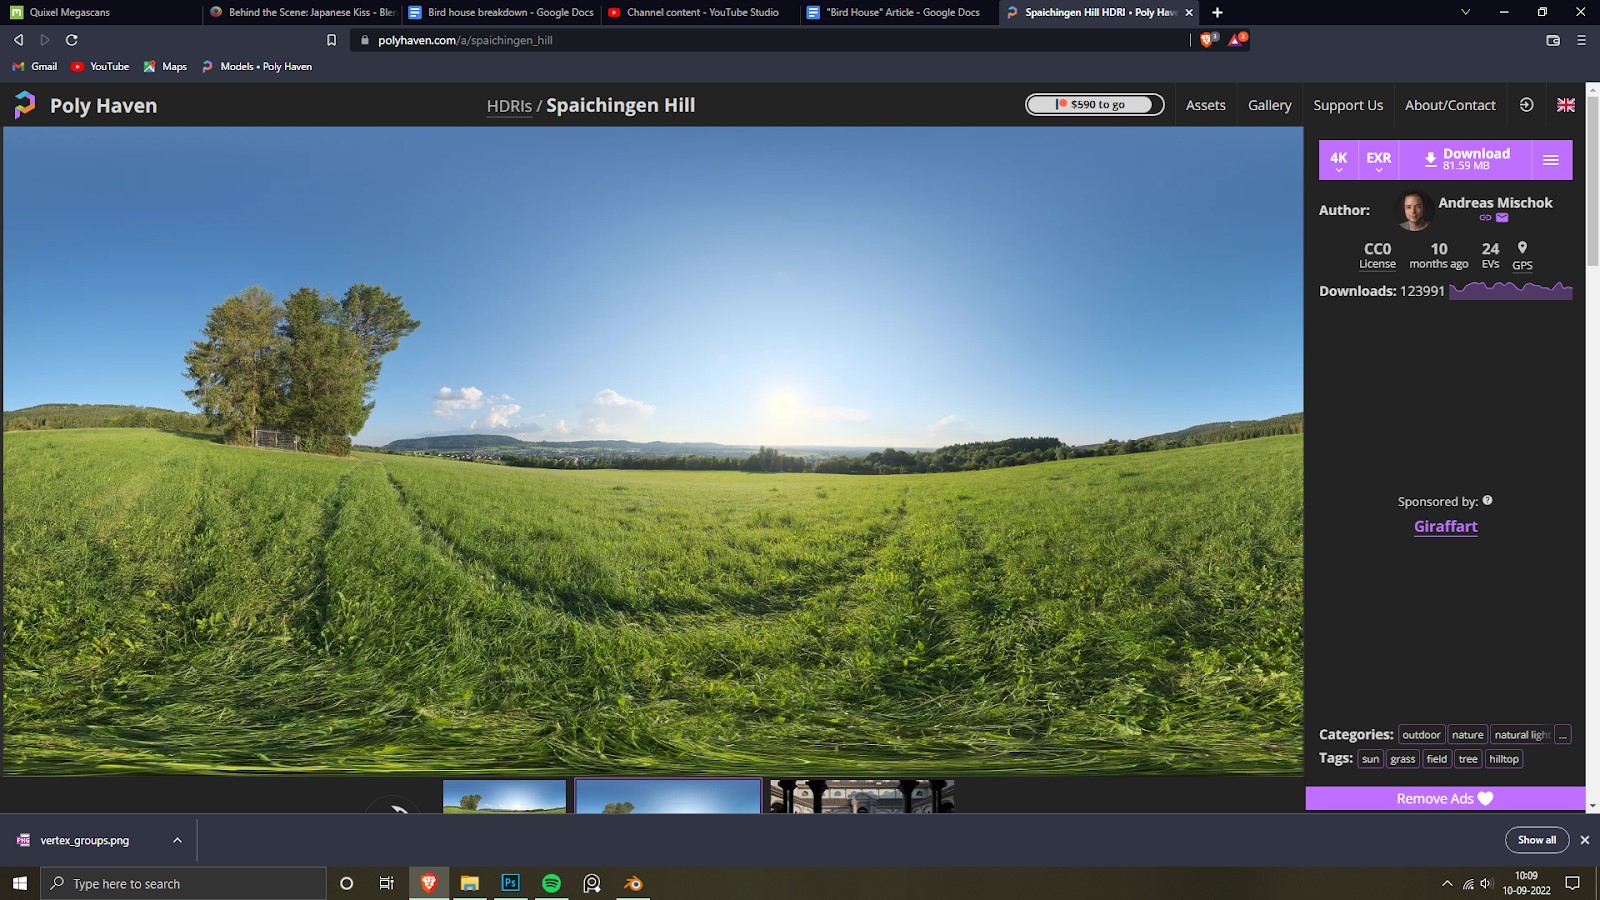
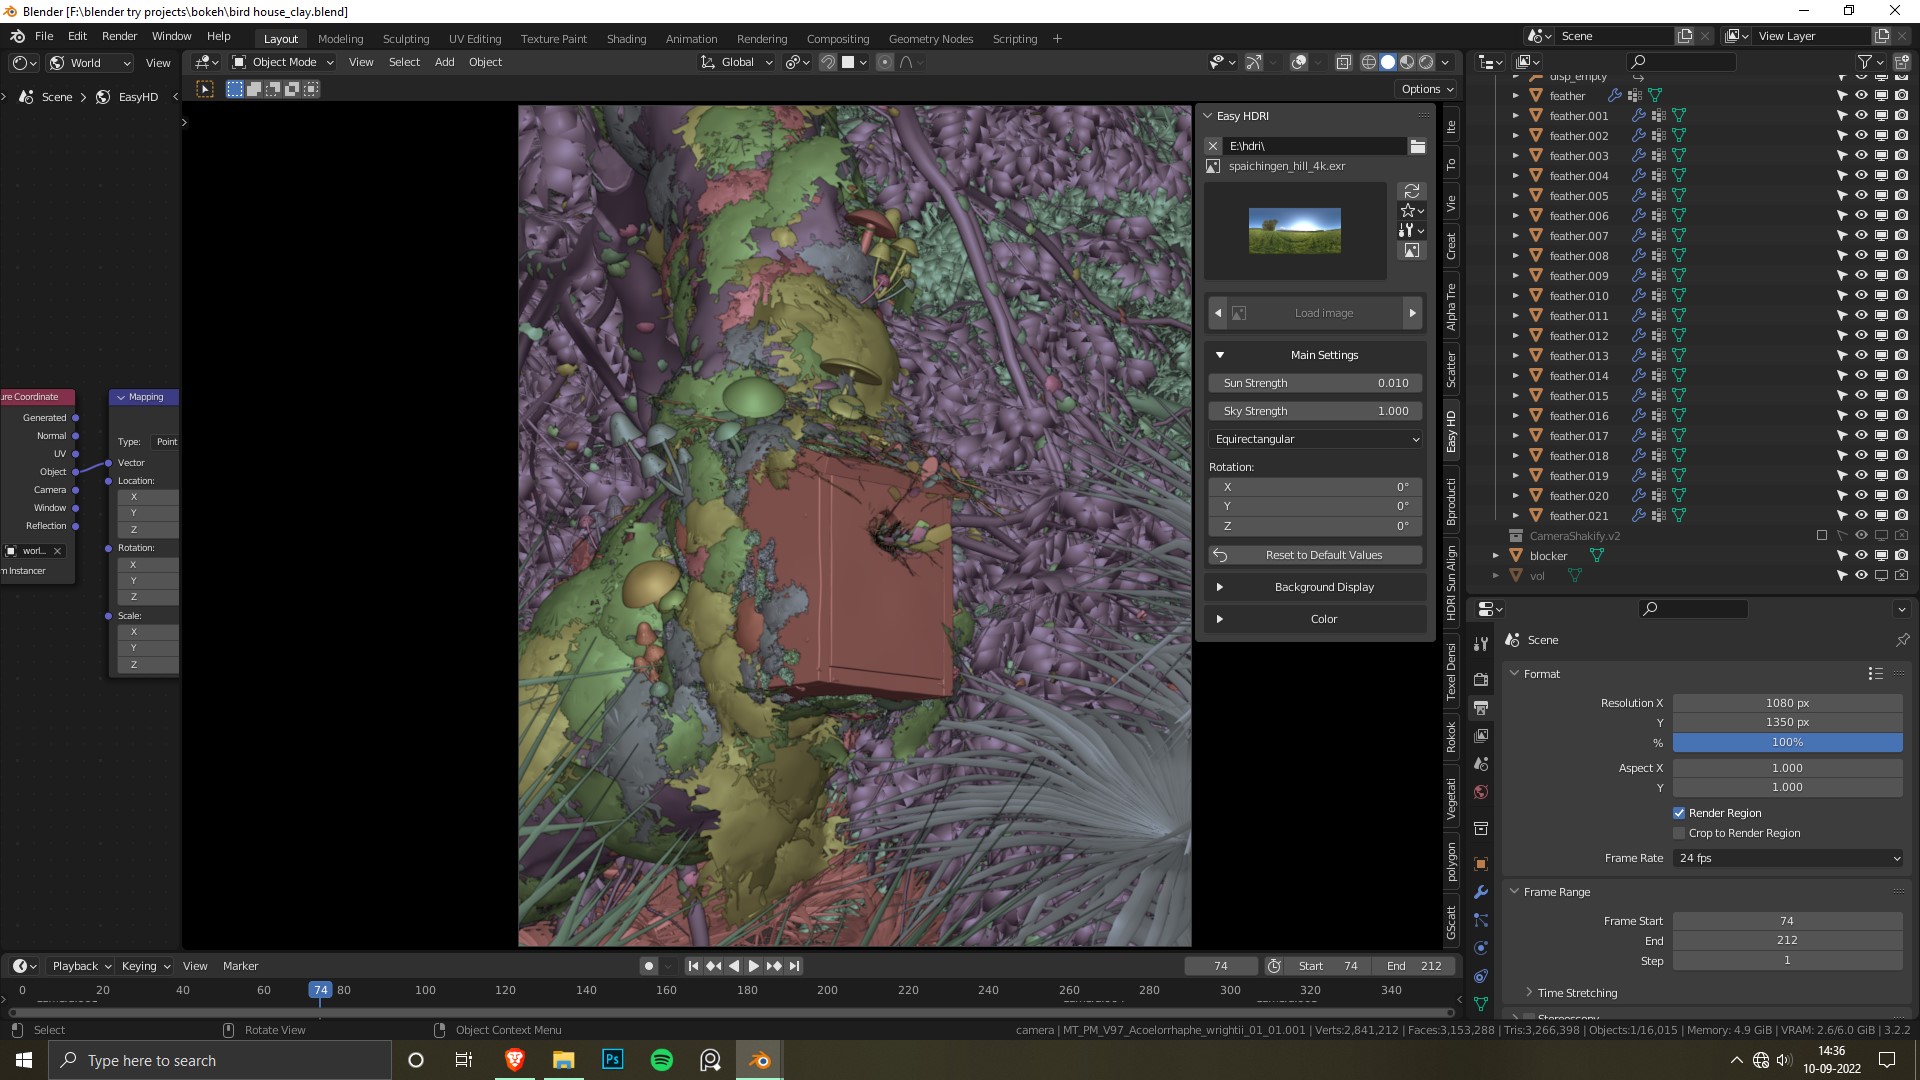
For the lighting, I just used the HDRI “Spaichingen Hill” from Polyhaven, and increased the sun’s brightness using the Easy-HDRI addon.
Here is a viewport display of the final scene,
RENDER SETTINGS
Before rendering the animation, I render out test images by changing a lot of settings and comparing the render times, to remember my settings later and just rename the file name.
For example:
- (NoiseThreshold_Samples_if/timelimit_Rendertime_Resolution)
- (0.05_1000_4minlimit_4.3min_4K)
While using a time limit, you won’t get the same amount of samples per every frame.
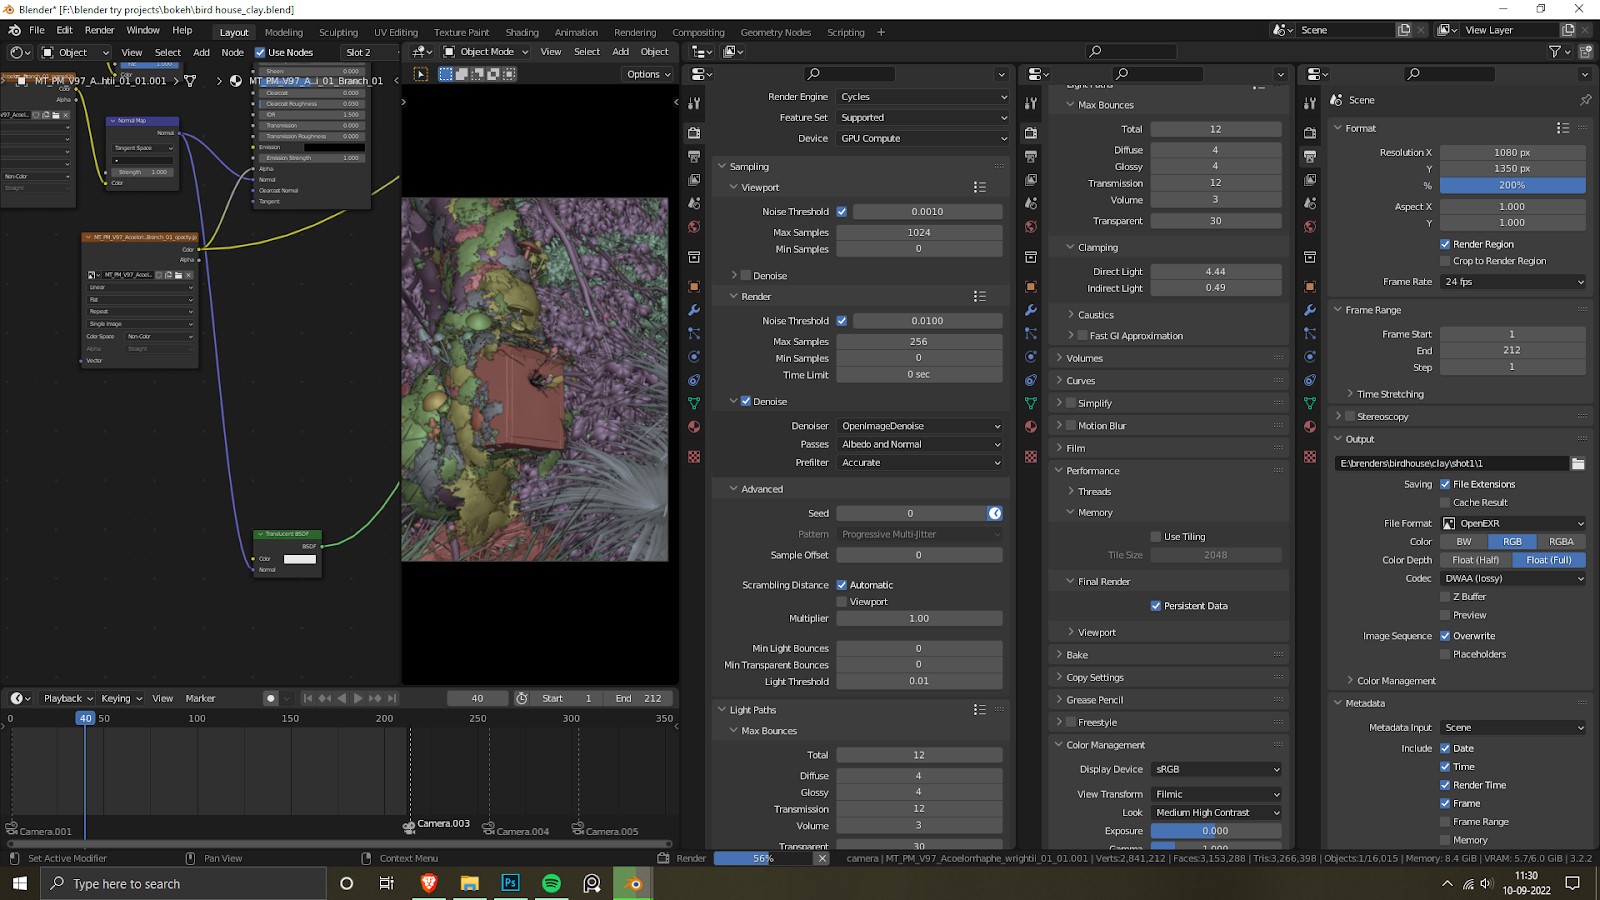
I picked the settings that had lower render times and rendered out the animation.
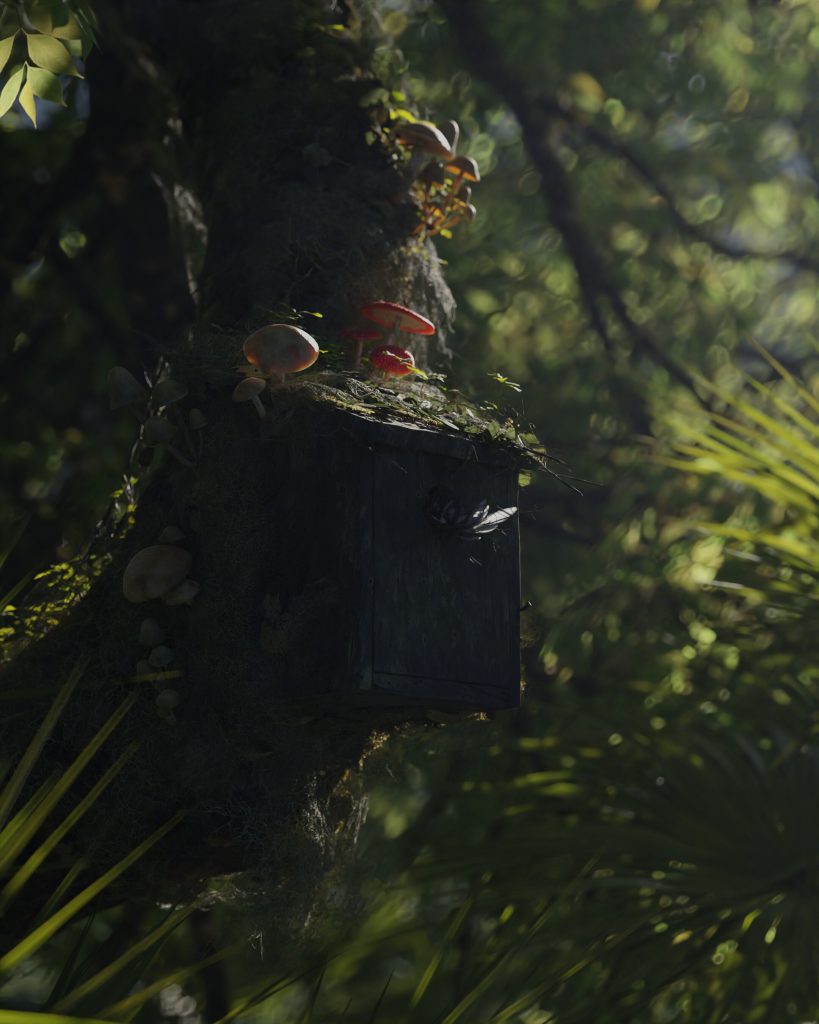
This is the raw render straight out of Blender,
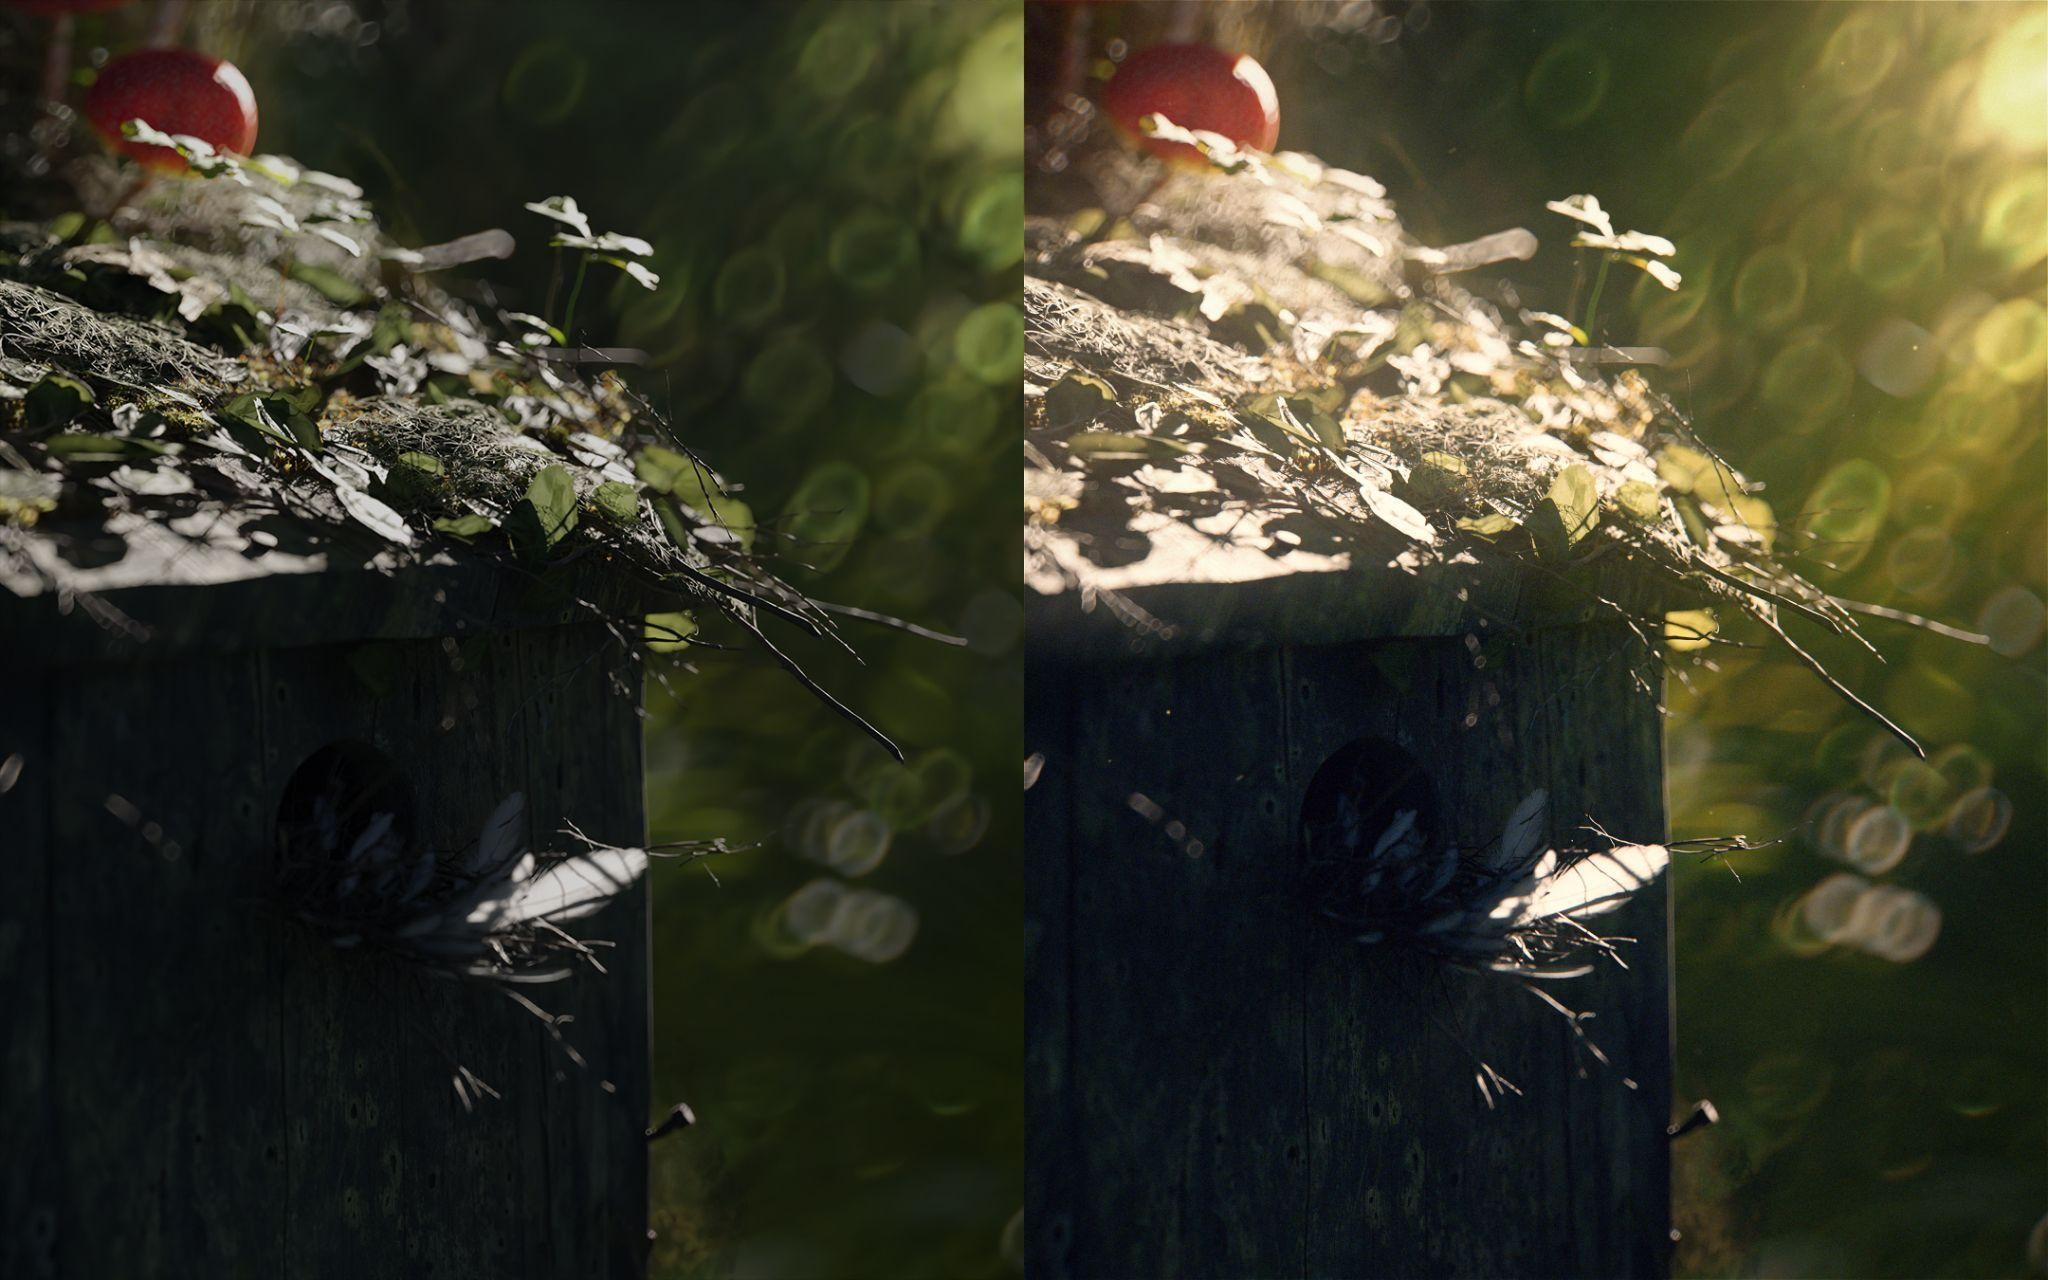
POST-PROCESSING
I used After Effects to color-correct my render and added chromatic aberration, vignette, and a little bit of glow.
The tiny, flying moths were downloaded from Ian Hubert’s Patreon.
By using hue vs hue curves, I make the greens look a bit yellow to get a warm feeling.

The rest was just messing around with exposure, contrast, highlights, and shadows.
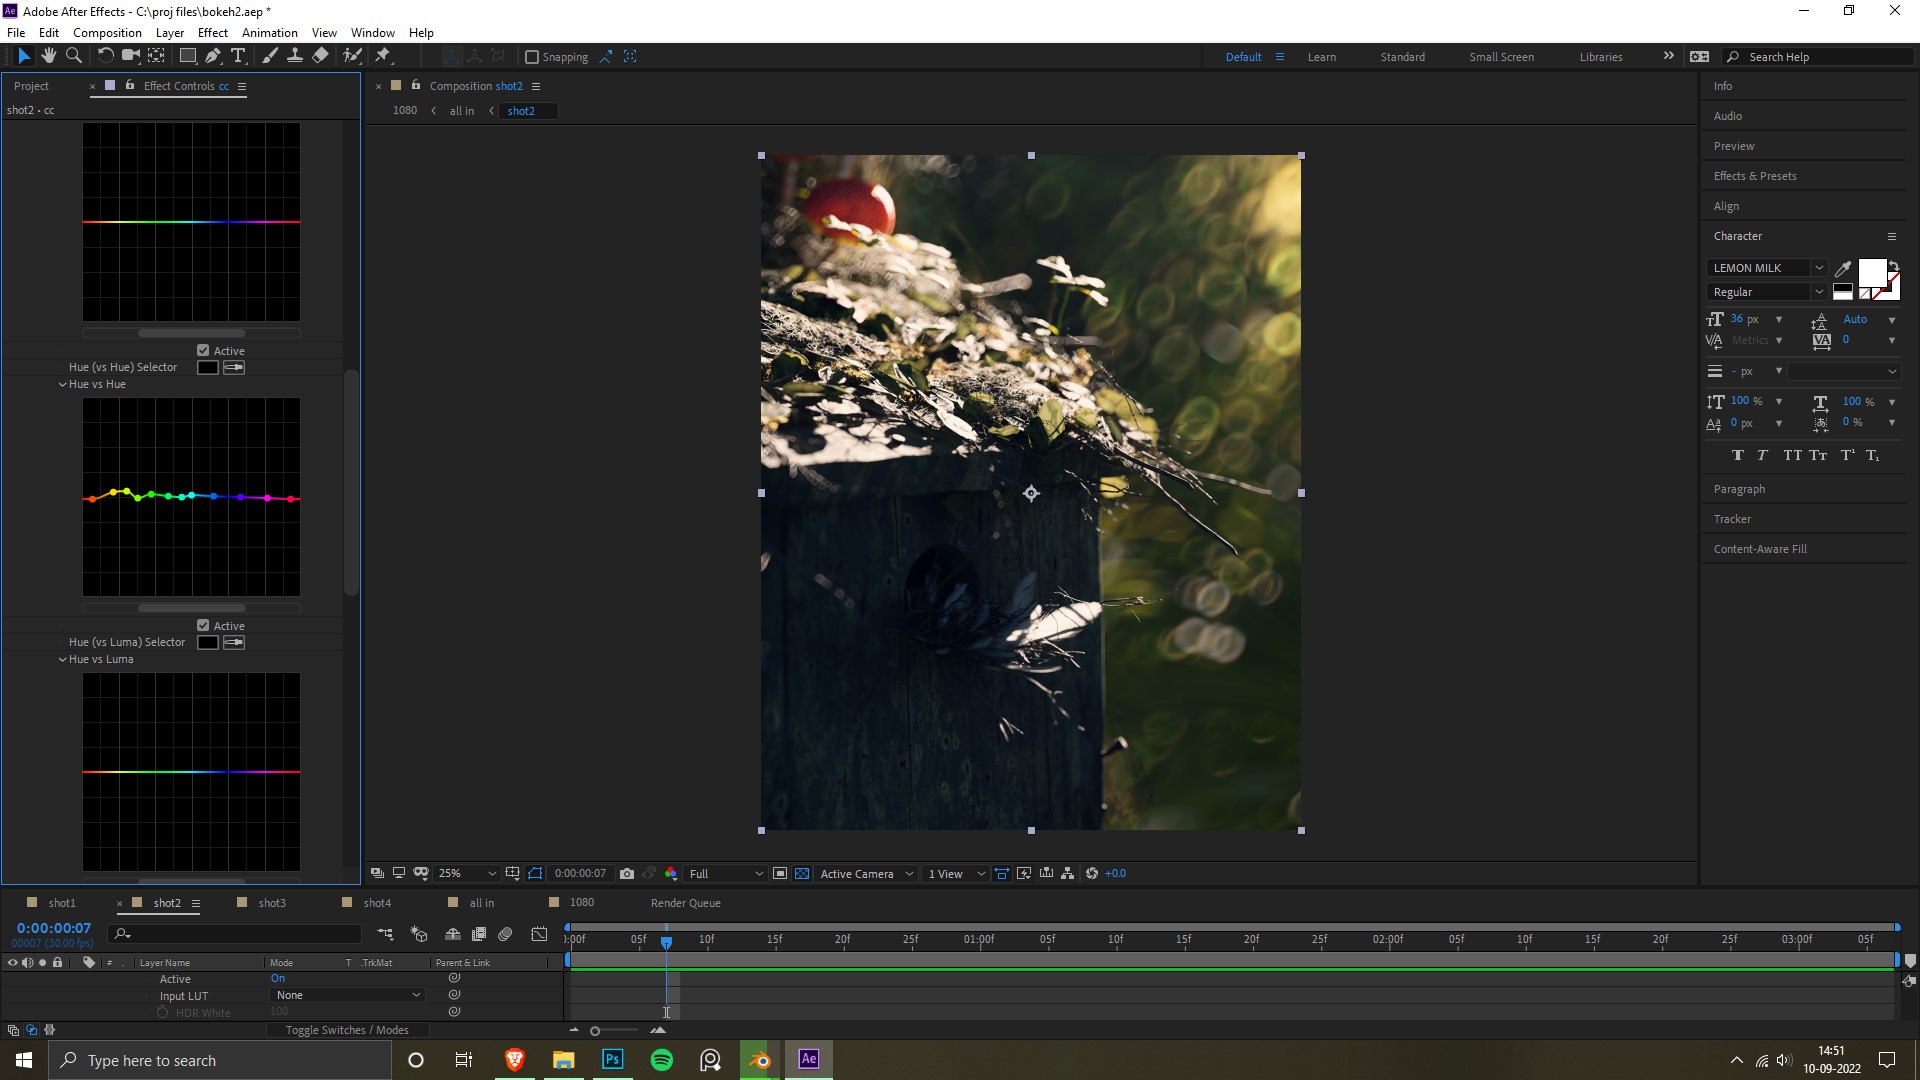
At the end, I added a little amount of film grain to break the smooth render.

Before and after of the bird house,
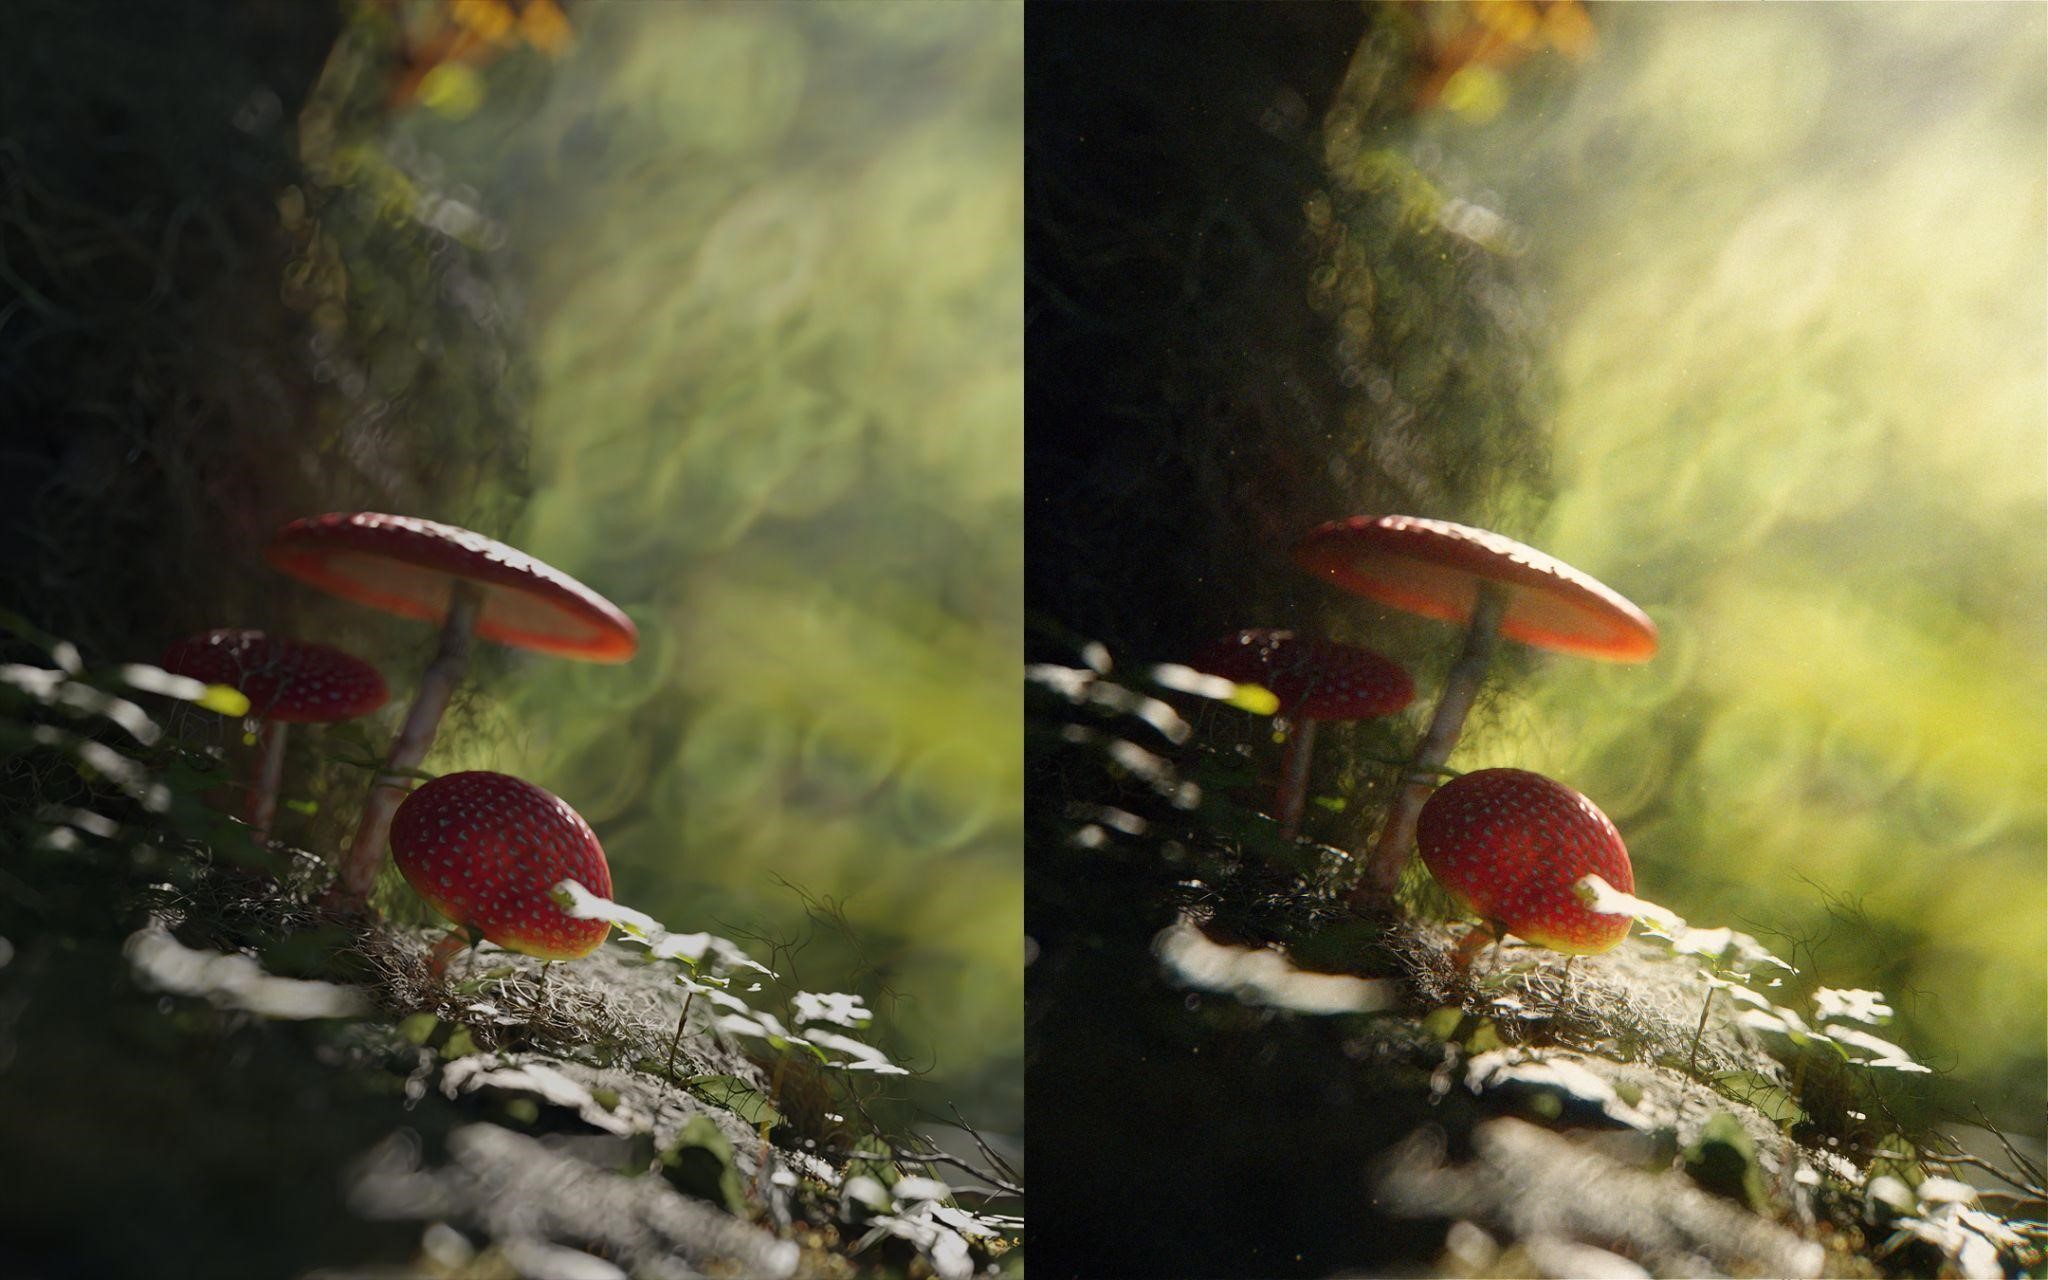
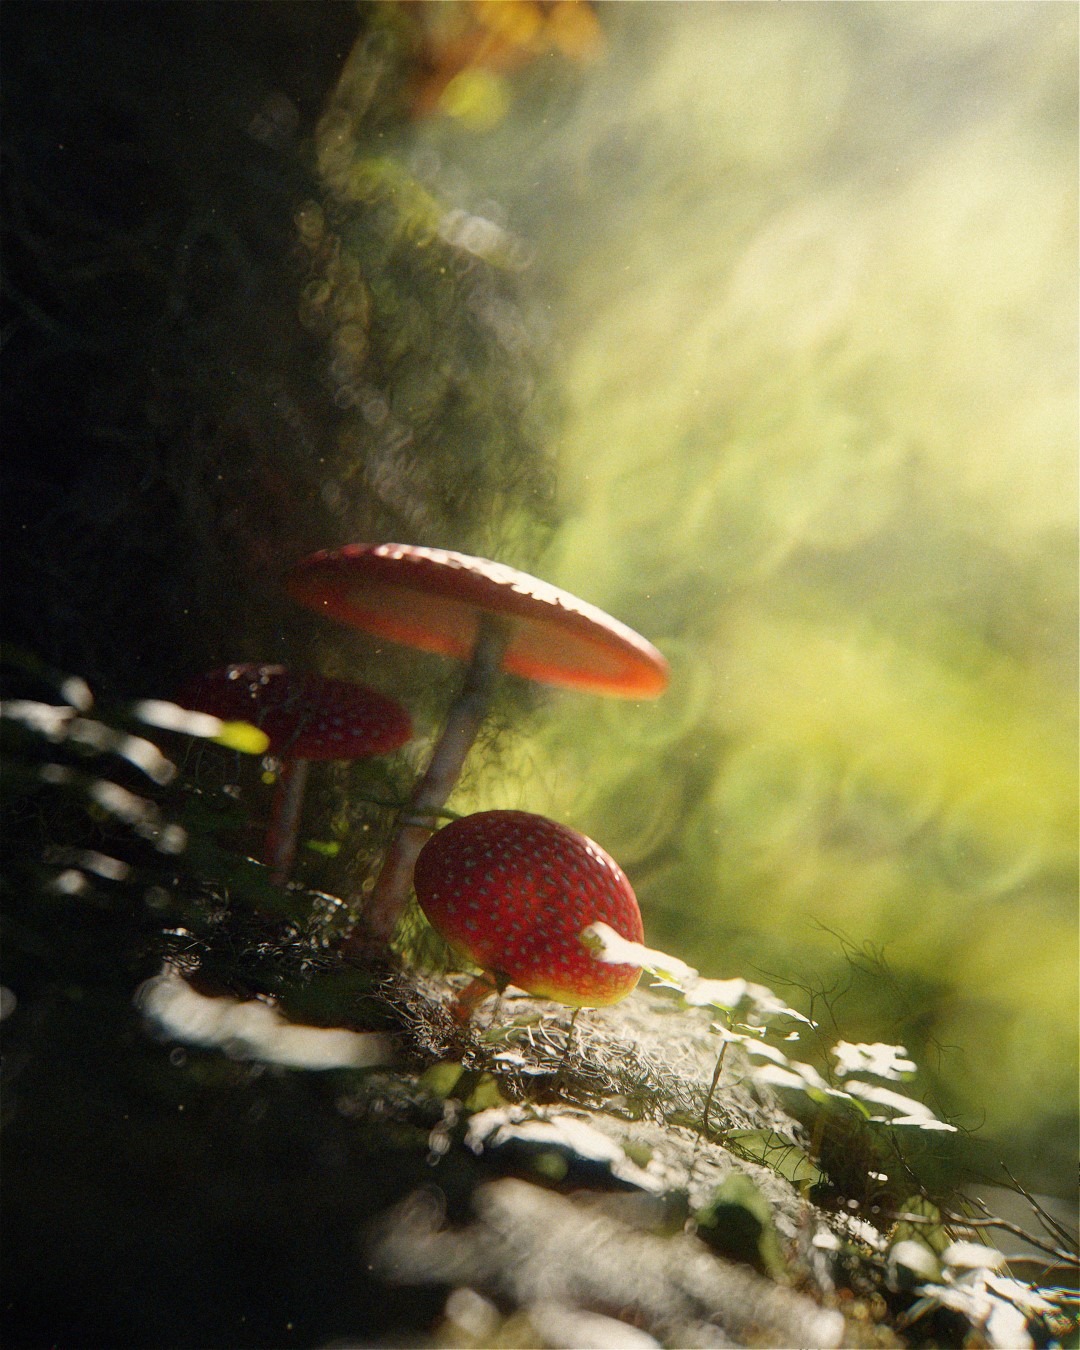
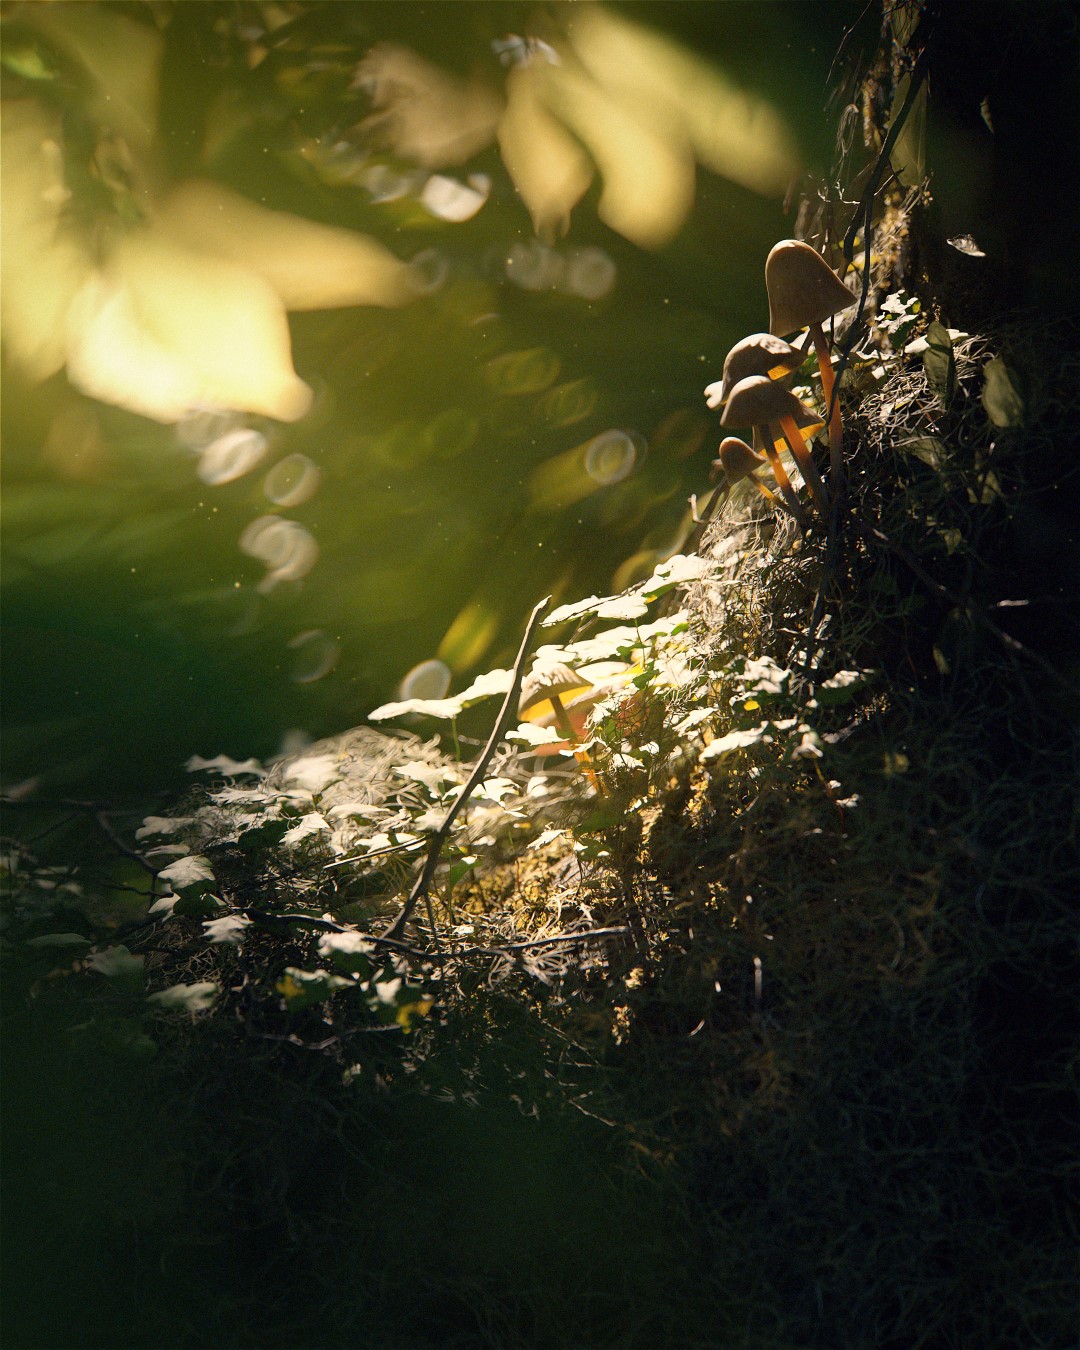
Before and after of the mushrooms,
FINAL THOUGHTS
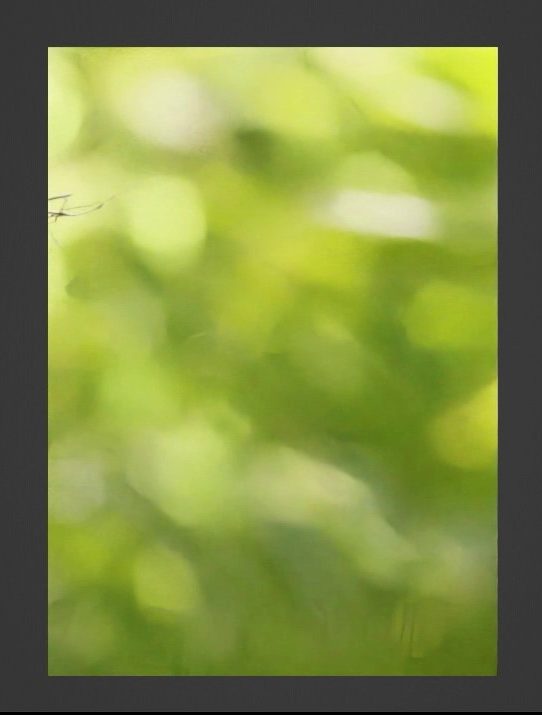
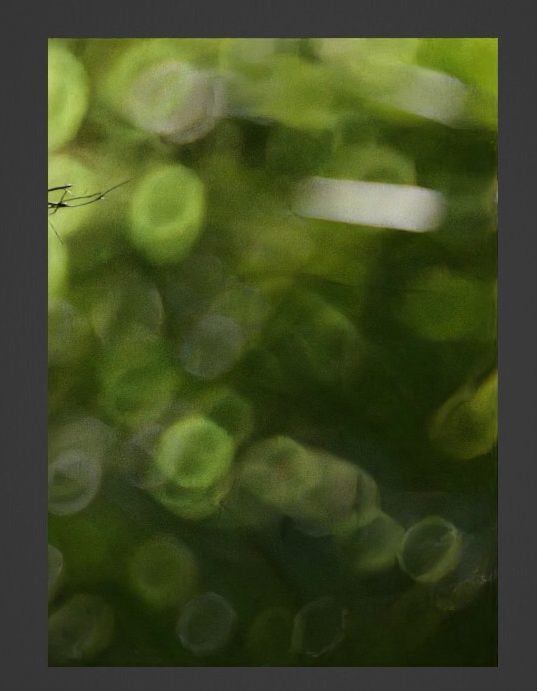
This was one of my commissioned artworks that I did for BProduction’s addon, called CAM-FX.
It lets you customize the bokeh shape and add lens dirt to your render.
The brightness can be fixed by going to film in exposure or it can be done in the post-processing stage.
BIRD HOUSE

Check out the animated version here,
That’s it! I hope you learned something from this breakdown! All my thanks to BlenderNation for featuring my artwork!
Thank you!
About the Artist
Adarsh Gowda, a 3D artist from India who loves creating environments, currently working as a freelancer.


Wow! Immpressive and Amazing.