

INTRODUCTION
Hello everyone, my name is Pablo Bandinopla. I’m currently focusing mostly on 3D character modeling using only Blender. I don't use a tablet for sculpting; instead, I use a mouse. I would love to have one of those cool tablets where you can see what you work on, but my lovely country is basically printing money like toilet paper so the economy is not helping *sour humor*.
INSPIRATION
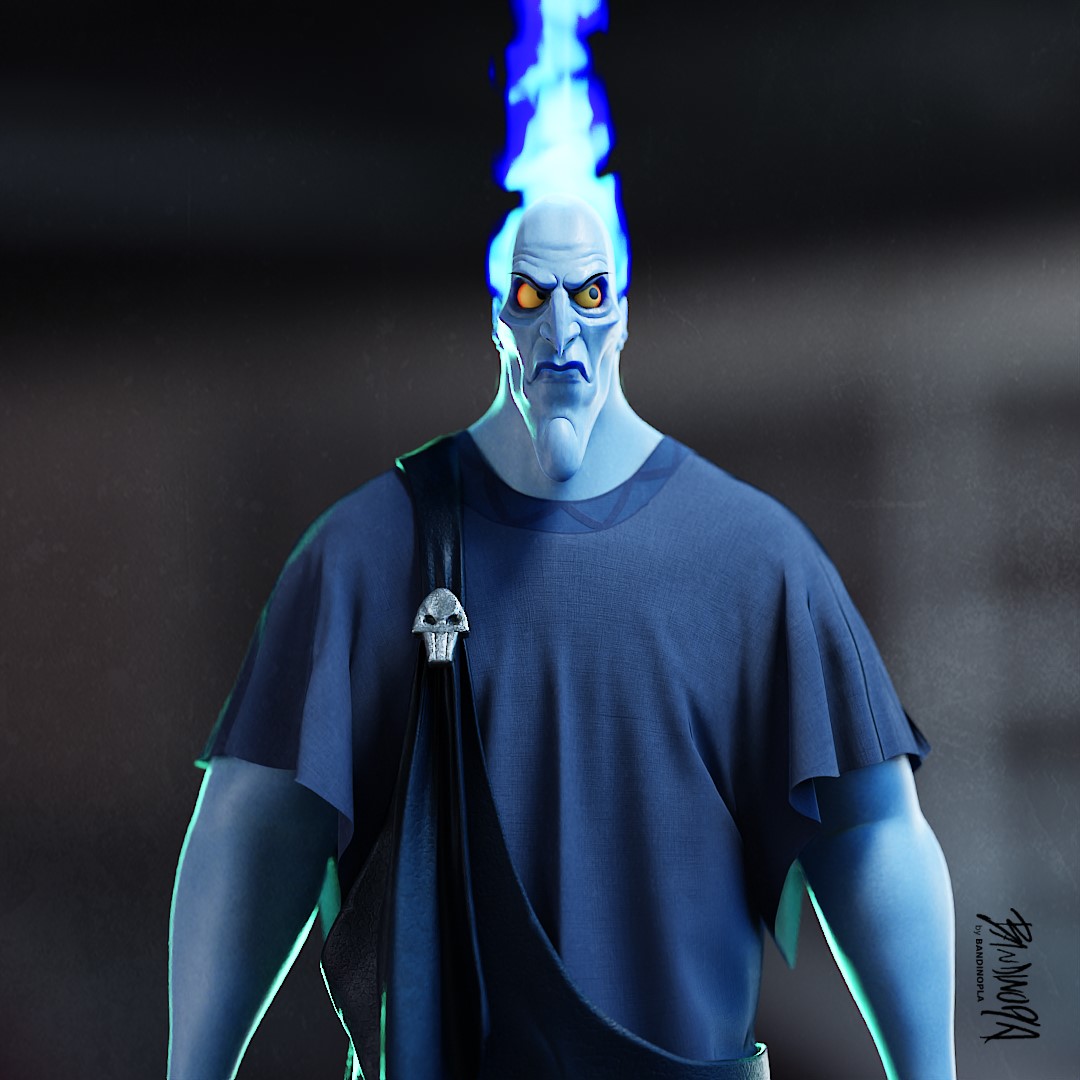
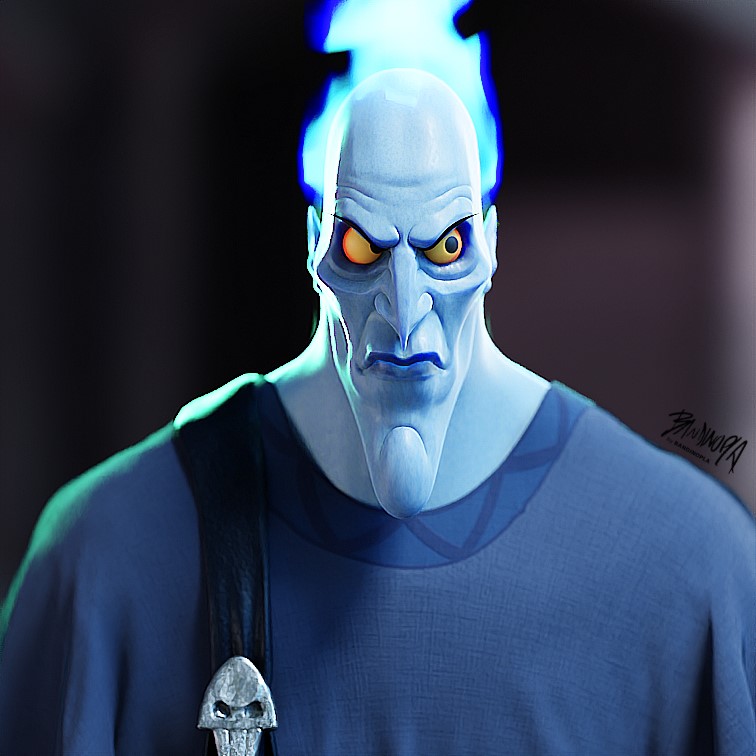
For this piece, I was inspired by the movie Hercules, made by Disney. The character Hades is one of my favorite villains because of his sense of humor. My goal here was to try to do a 3D version of him using somewhat the style of the movie but not 100%, like some of the lines and the flow of it. Also, it was a good opportunity to use fire, something I was pending on trying in blender.
PROCESS
This one was a quick one, done in about an hour or two. I did this entirely in Blender. First, I started with a base mesh I made by myself, a generic male figure, and started to distort it with the sculpt tool to get a stylized look, following the image references of the character from the movie.
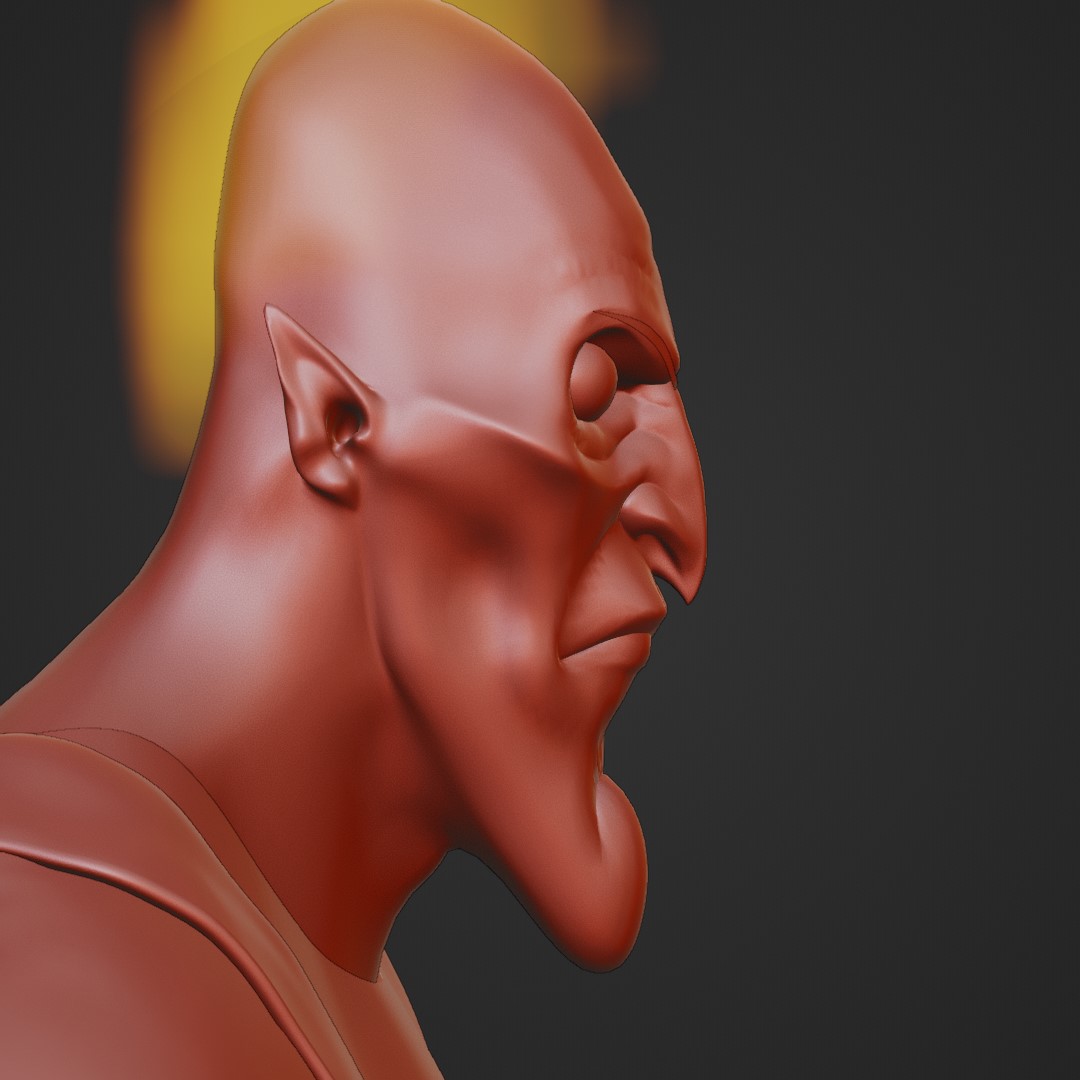
Then I did a basic t-shirt outline and simulated a cloth on it, and repeated the same process for the black cloth with the skull buckle.
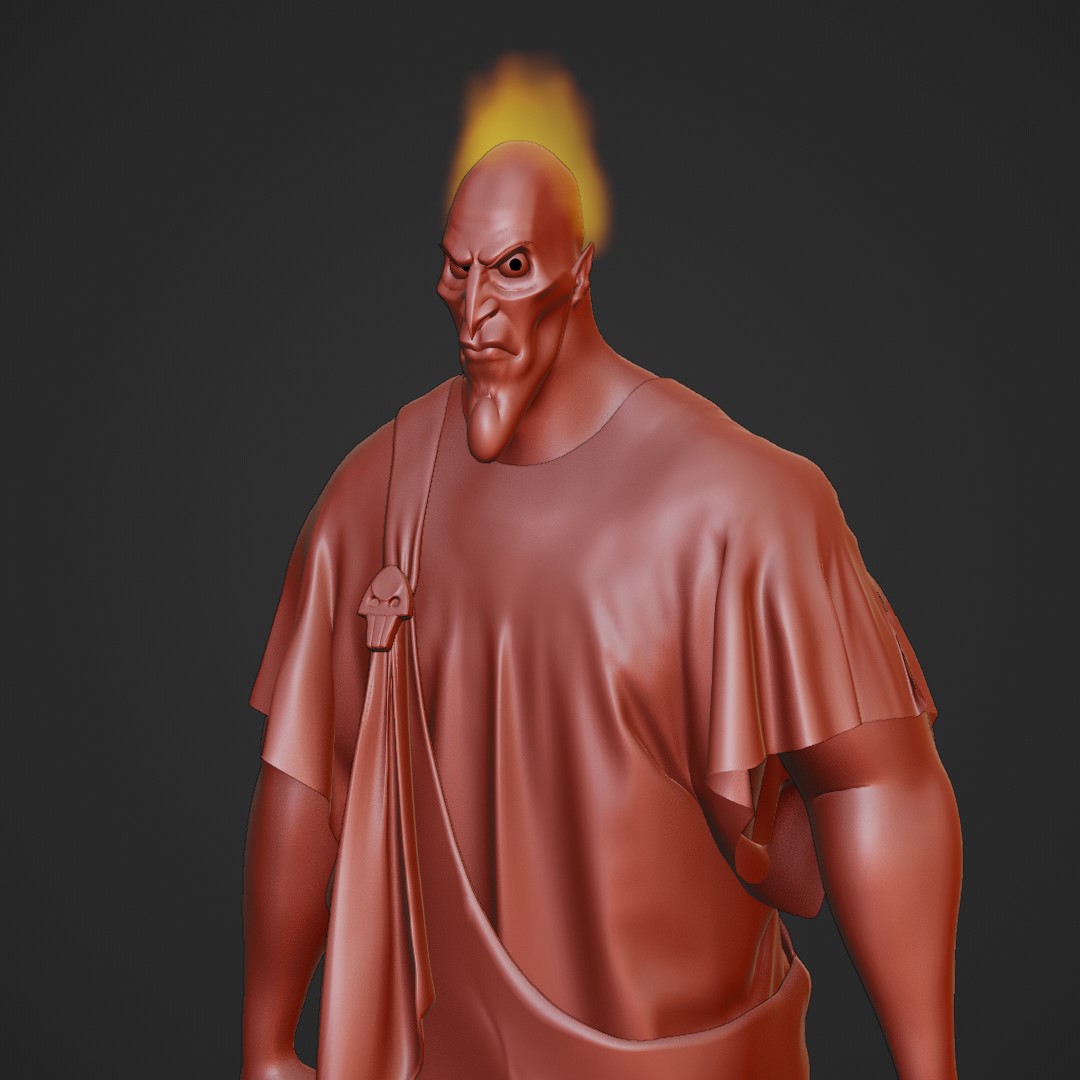
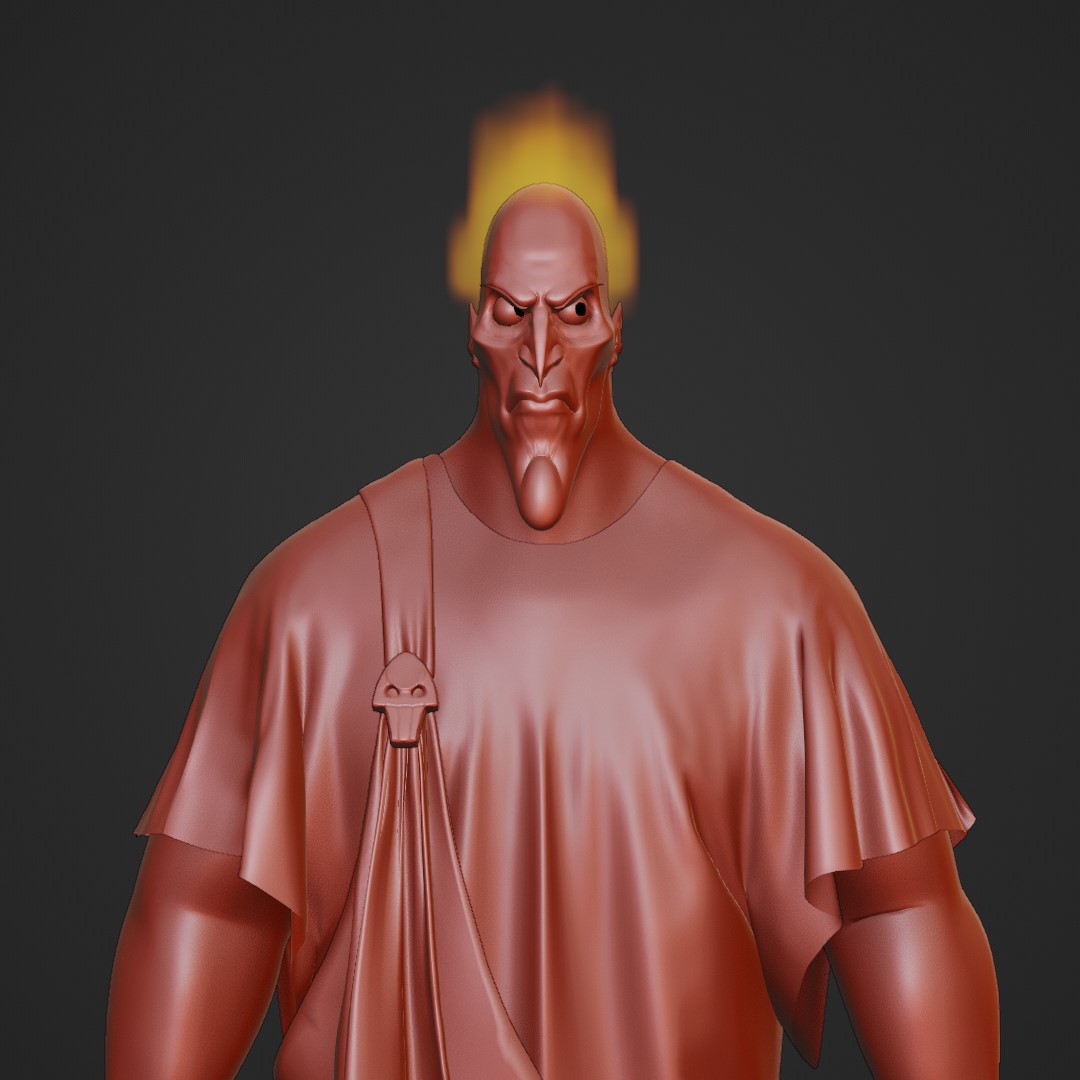
After the modeling and clothing was done, I applied a basic texture to get a better feel of the character (a mix of ambient occlusion, colored with a color ramp and some noise mixed + a basic multiply image drawn in Blender for specific areas) and went to the next step of simulating the fire using Blender’s manta flow.
Here I used the “heat” attribute as a source for the emission strength of the Principled volume, and set the density to 0. I combined a few color ramp nodes with math nodes to adjust the intensity and look, and did the same for the emission color where I tinted the heat with a blue ramp.

A few tweaks here and there until the fire looked alright and finalized it with a blueish texture using nodes.
To get that cartoon look on all the materials, I used a modified fresnel node to add a border to all silhouettes, kind of like in a drawing. This is the clay render of the final model.
After a few test renders, I found an acceptable state so I started to do all the polishing retouches on textures (including decals) and the final shape, after which I rendered the final images.
HADES

Thank you for reading!
I hope my work has inspires you to use blender. Have a nice day!
About the Artist
Pablo Bandinopla, a Software developer by day, 3D artist by night from Argentina. Currently available for freelance opportunities. He has also worked in projects for Disney in the past as part of an outsource team that had them as client doing 3D interactive applications and casual games for kids.
1 Comment
Great work. Can you make it animated?