
INTRODUCTION
Hello, I’m Niilo, a 3D hobbyist from Finland. My current day job isn’t a creative one, but I’ll start my studies on game design next semester. I started learning Blender in my spare time a few years ago, and I’ve just recently started posting my work on Blenderartists.
I’m currently doing a series of mainly food-related still-life artworks, using subjects that are familiar to me. In the future, I plan to realize some more imaginative, ambitious ideas as well. I also plan to start releasing my work on various other social media platforms.
I modeled and textured this artwork in Blender, rendered it with Cycles, and made some minor post-processing in Gimp.
INSPIRATION
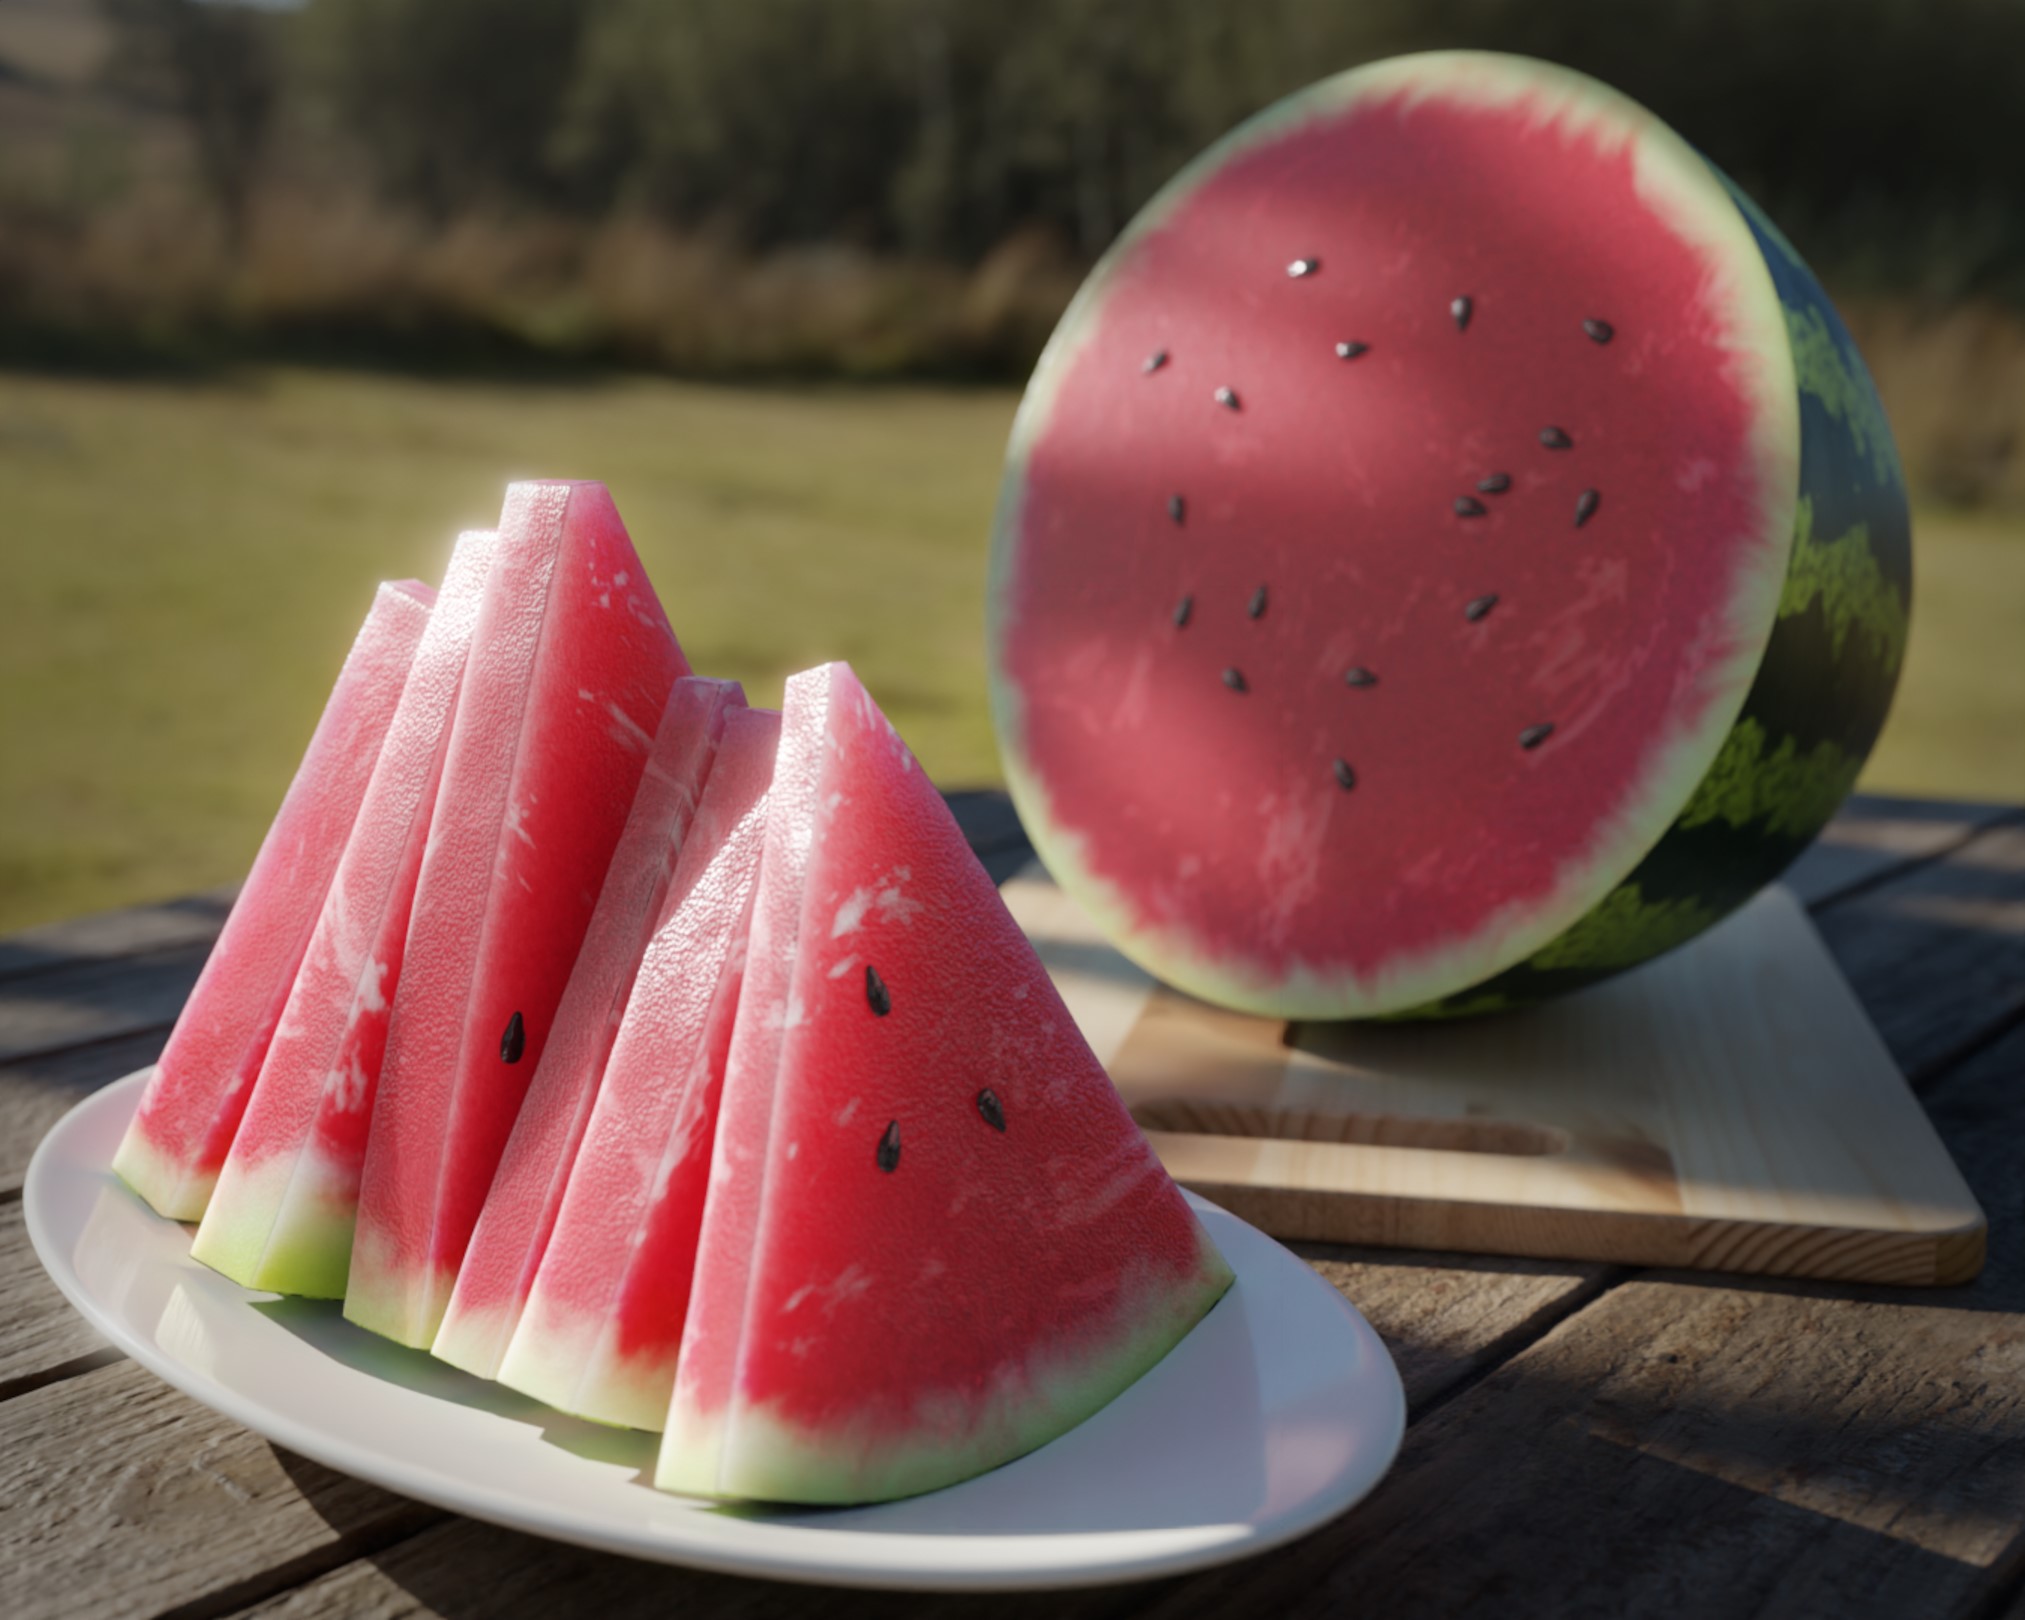
I wanted to do a still life with a summery feeling. I chose watermelon, one of my favourite fruits, as the main subject. My main goal was to capture the feeling of freshness and juiciness.
Once I’d chosen the theme and subject of the image, I started thumbnailing some ideas for the composition. I settled with slices of watermelon in the foreground and half a watermelon in the background. Then, I collected some reference material from Google and Pinterest to help me while producing the final image.
MODELING
The subjects were actually very simple to model. I modeled one slice of watermelon as a triangular form and duplicated it multiple times. I then modified every slice to be of slightly different thickness and shape.
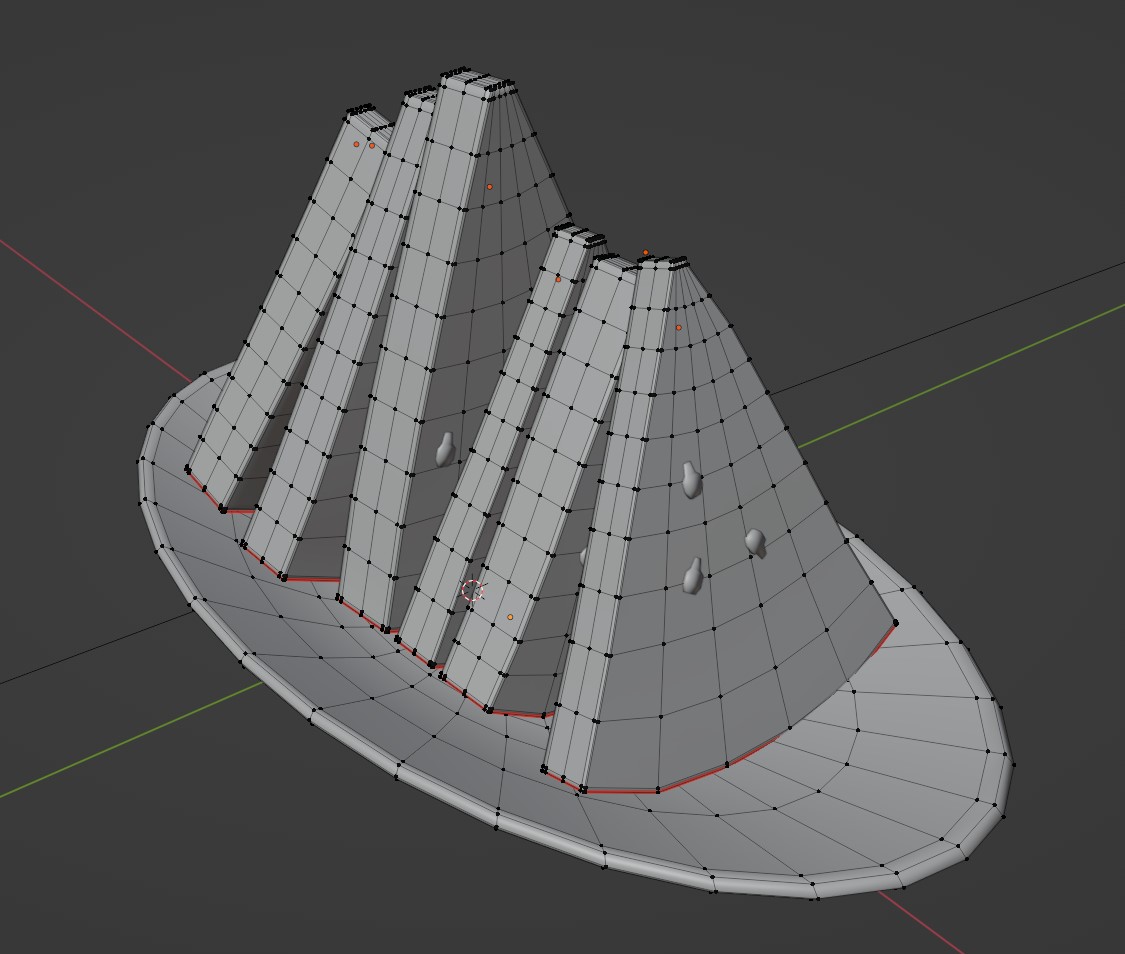
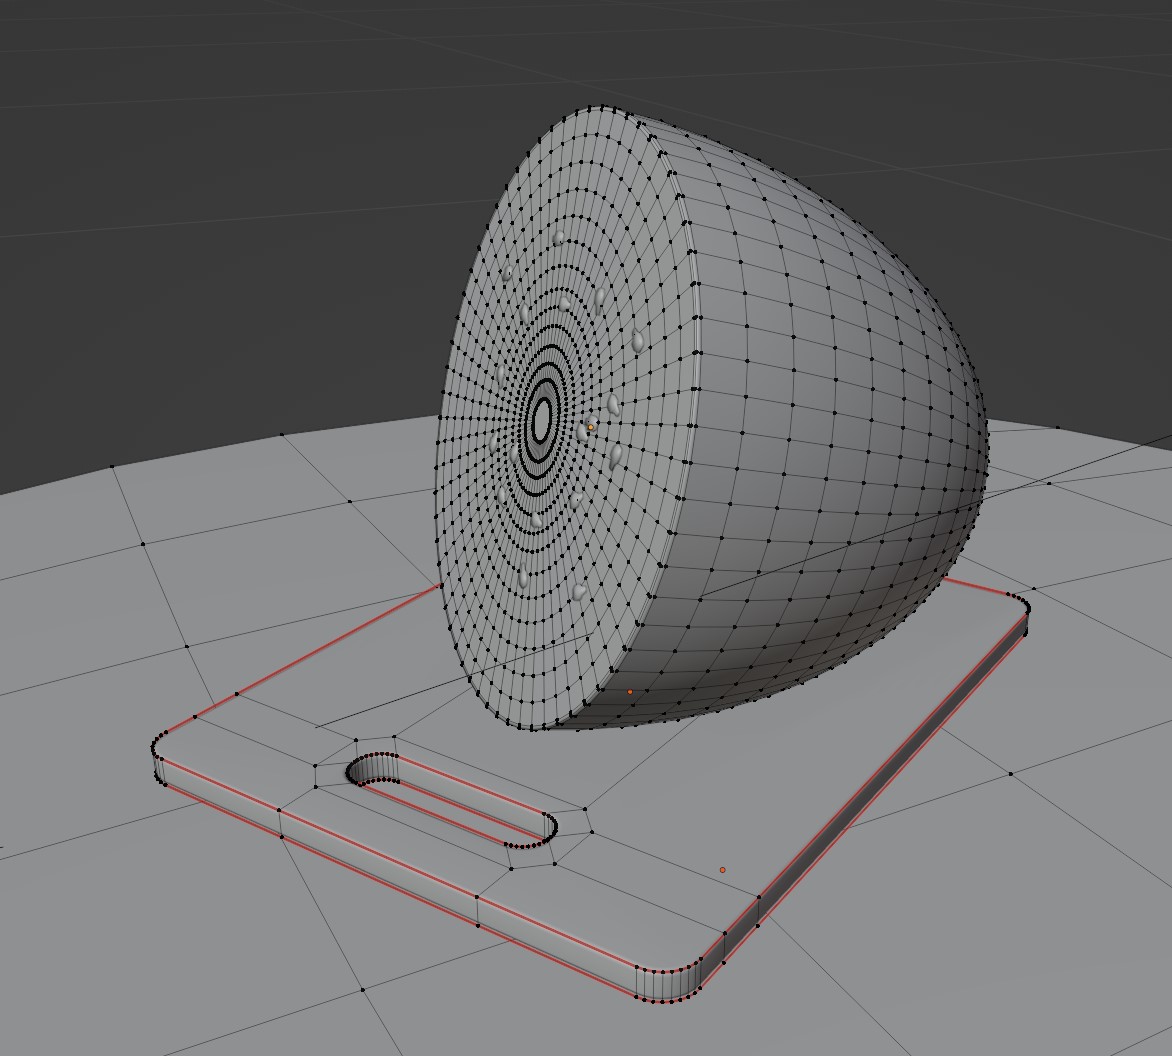
The half of the watermelon is just a UV sphere cut in half. The topology for the cutting board turned out to be a mess, but I decided not to spend much time correcting it, since it’s not the main focus of the image anyway.
Finally, I did the watermelon seeds using geometry nodes. I had never used that feature before, but it seems to be a very powerful tool and I plan to implement it in my upcoming projects.


The modeling process was quite straightforward, but it would be the texturing phase that was crucial in accomplishing the goals set in the planning stage.
TEXTURING
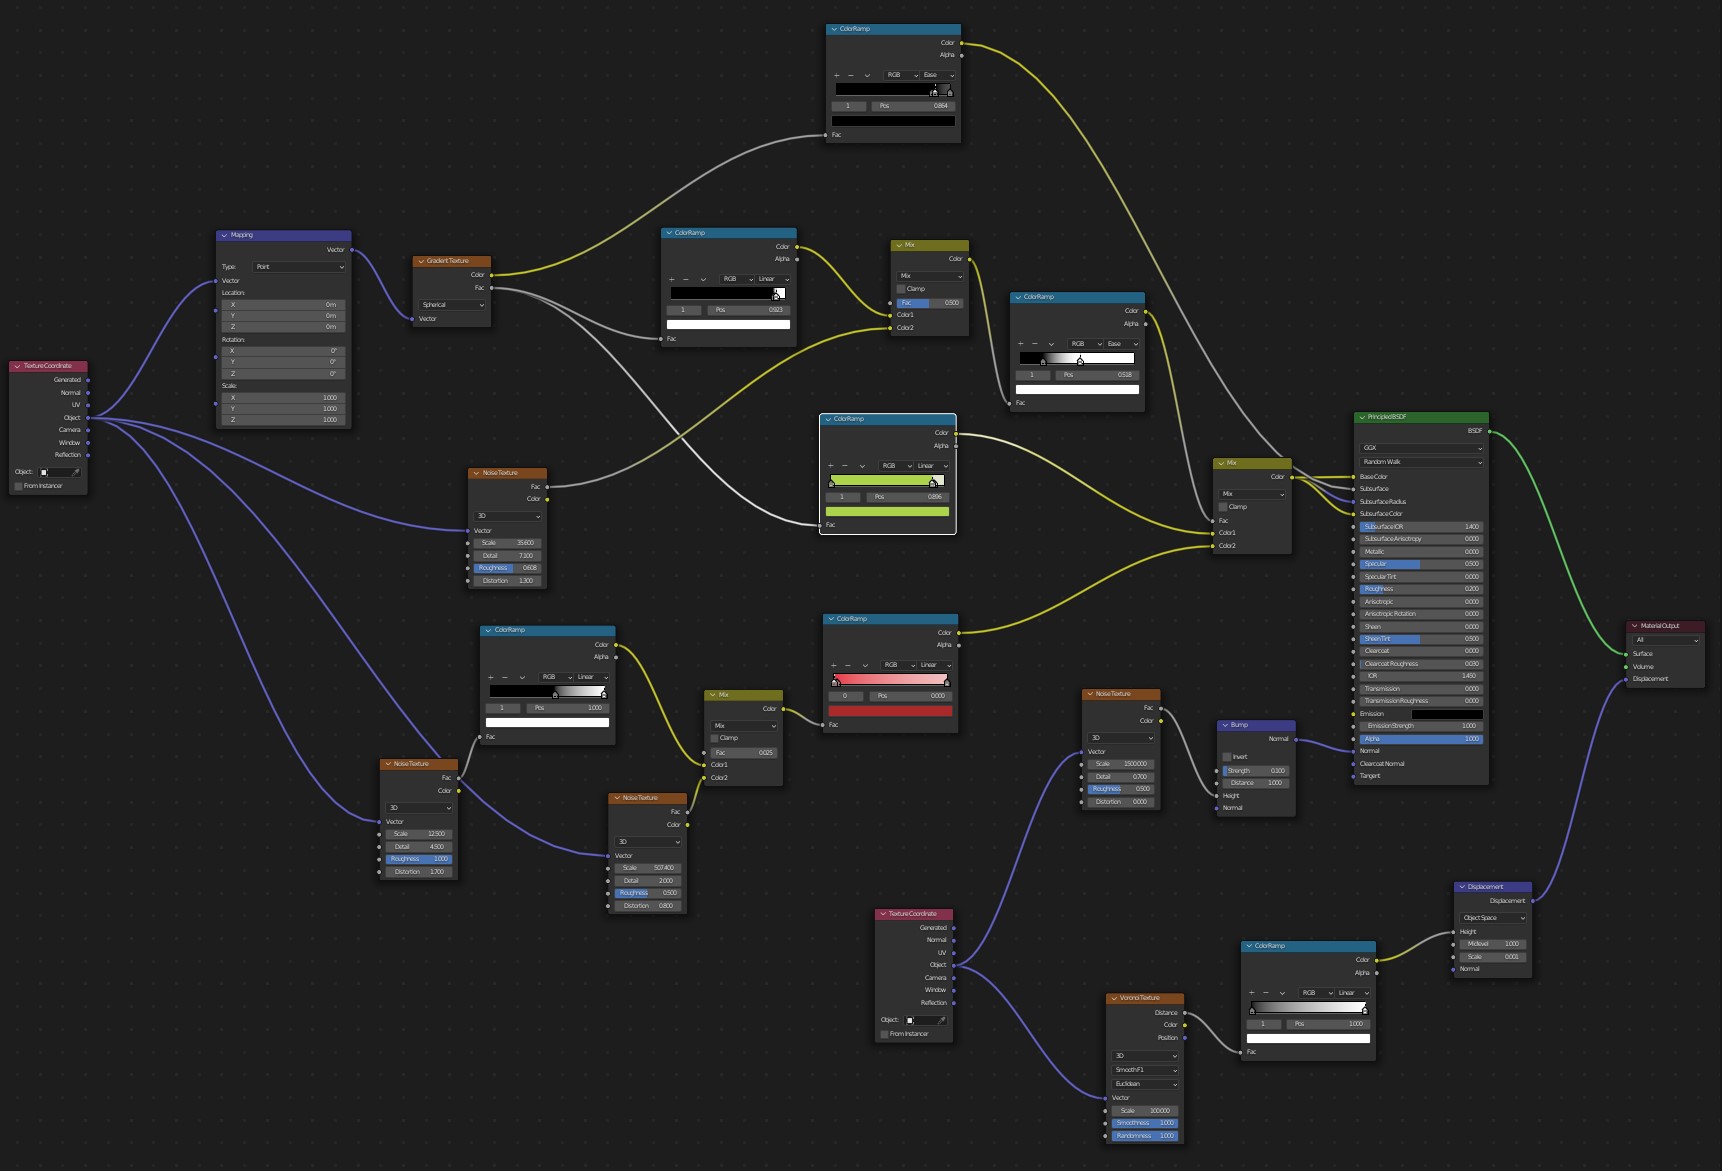
I decided to texture the watermelon procedurally using the node editor. While working, I closely observed the reference images. My node-setups ended up being quite messy, but I’ll do my best to explain what is going on.
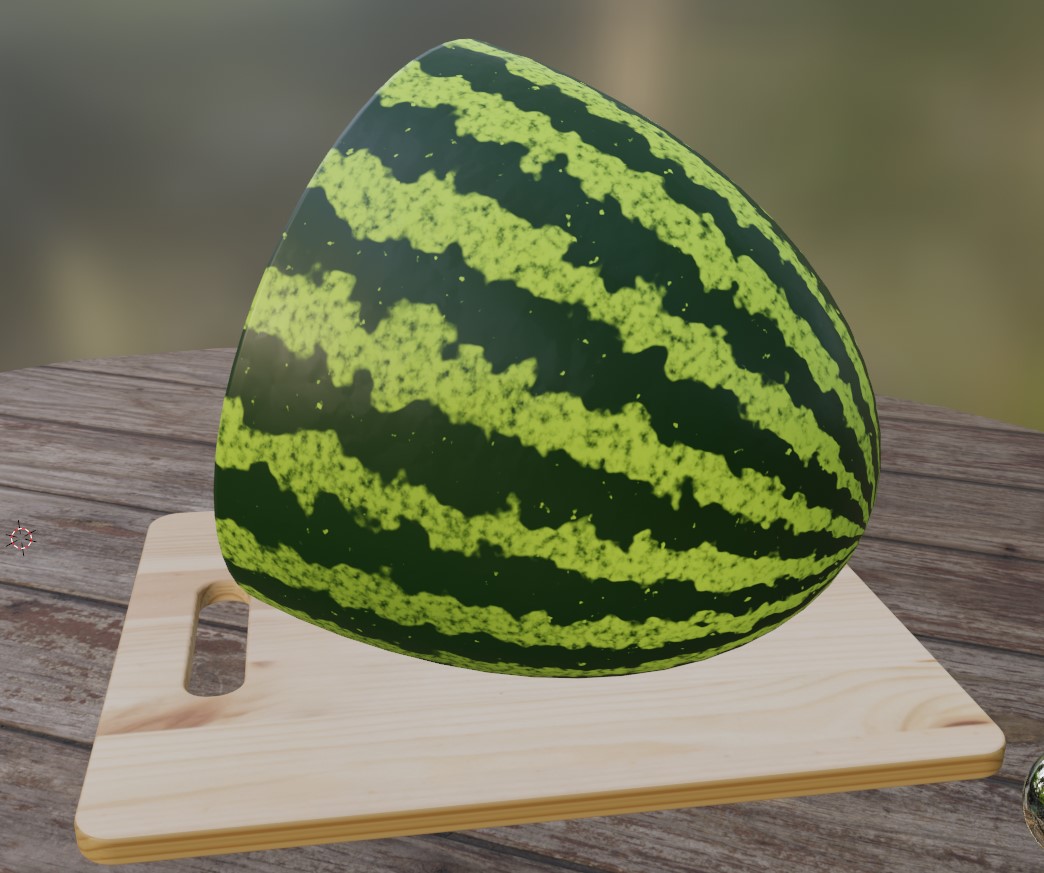
First, I made the material for the rind by using a distorted wave texture, and then applied layers of noise “leaking” on both the light and dark stripes. I applied the final colors by using a Color Ramp node.
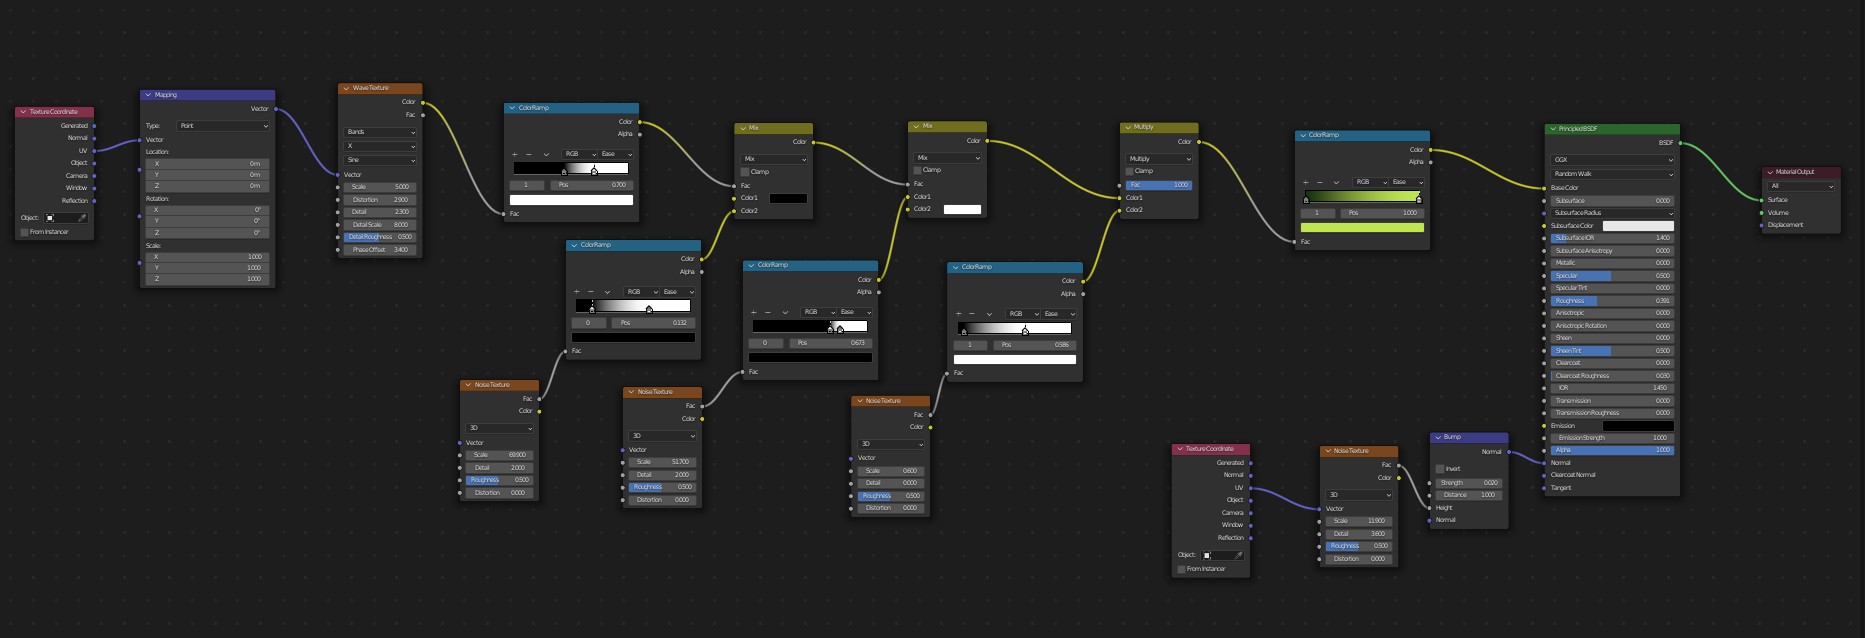
The flesh of the watermelon was much more complicated. I used a spherical gradient texture and mixed it with noise, and that gave me a mask to separate the outer and inner parts. I made the inner part by mixing two distorted noise textures to reproduce the swirly patterns found inside a real watermelon. I then applied the final colors using the Color Ramp node. The outer part is just a gradient texture going from green to white. Finally, I combined the parts using the mask done at the start.


In addition to diffuse color, I applied subsurface scattering for the inner part, a noise texture for small bumps on the surface, and finally a displacement map to make the surface more imperfect as a whole.
The texture for the table was downloaded from Poly Haven and the texture for the cutting board I had photographed myself in the past.
LIGHTING
The lighting setup is really simple. I used an HDRI downloaded from Poly Haven as a background and made a light cookie using a plane with a noise texture. I placed it in front of the sunlight, giving an impression of light filtering through foliage. It also helped to visually separate the watermelon half from the watermelon slices in the foreground, bathing in full sunlight. I used backlighting to emphasize the wetness and subsurface scattering of the watermelon slices.

RENDERING
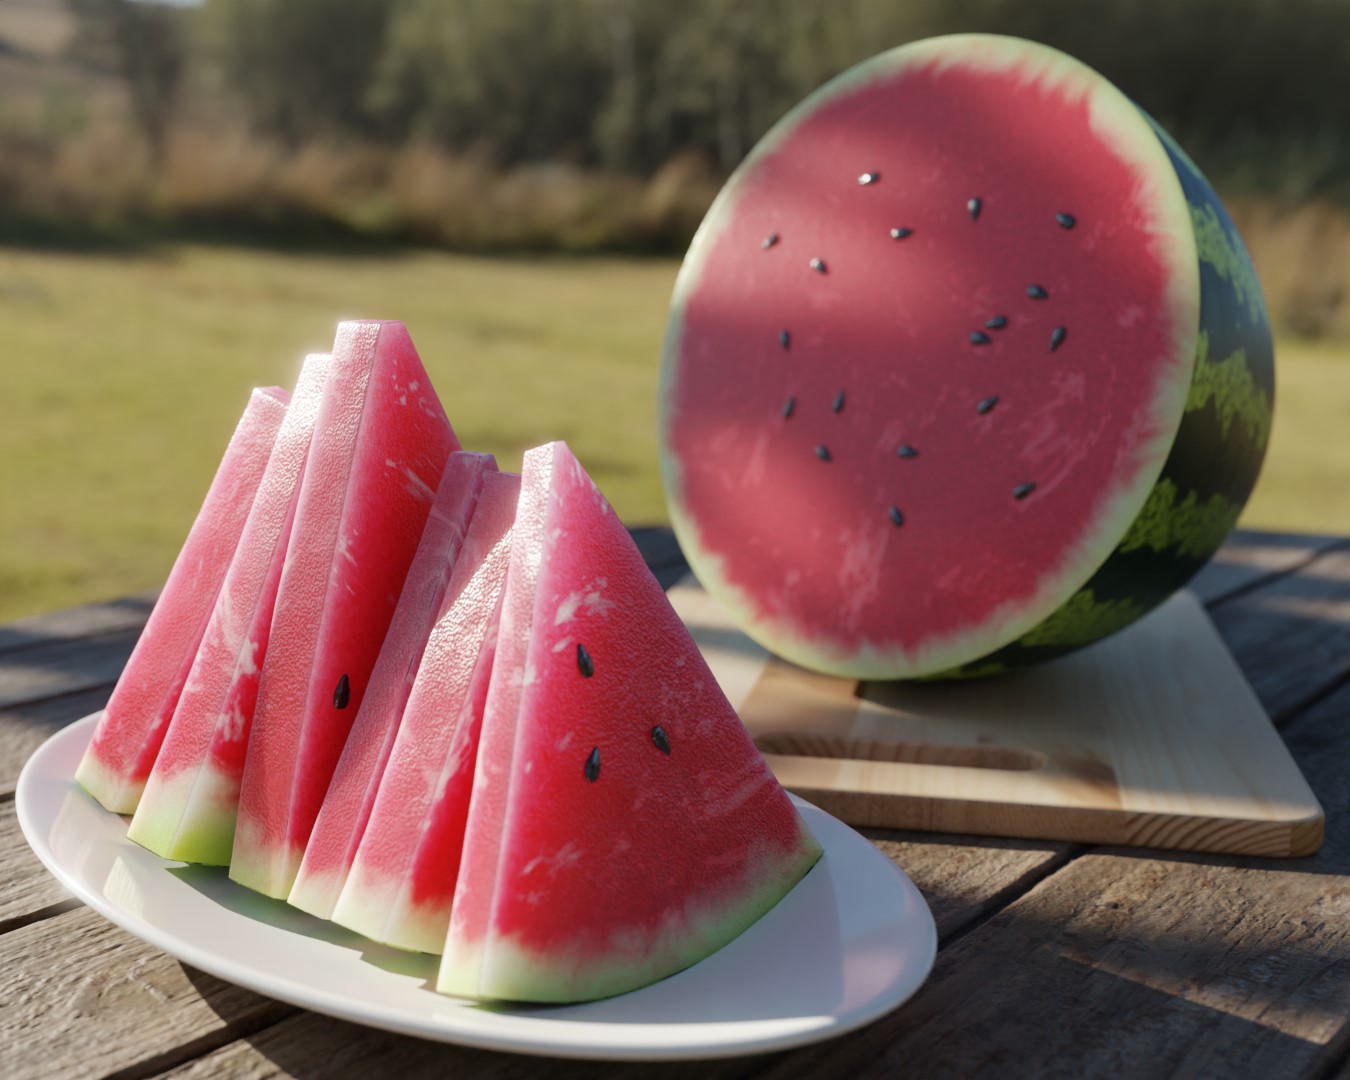
I rendered the image using a resolution of 1350x1080 pixels. The first version, shown below, had a composition that felt somehow uneasy to me, but I couldn’t figure out what was causing it.
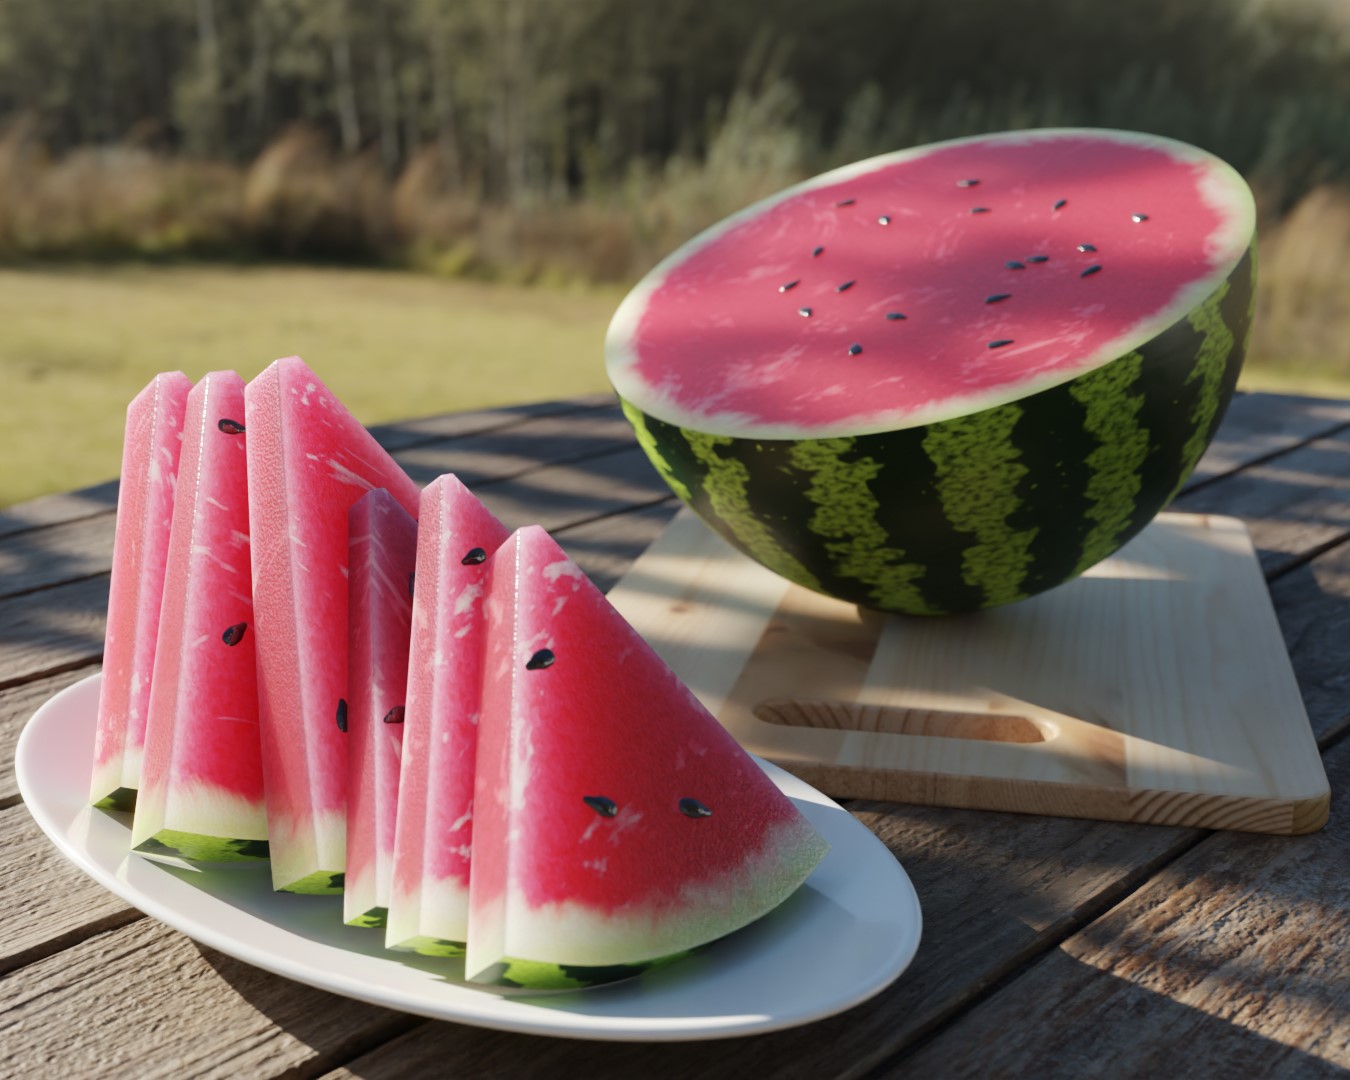
After sleeping on it, I determined the main problems of the image: the watermelon slices formed multiple arrow-like elements pointing away from the picture frame and the watermelon half seemed unbalanced, just about to tip over. After adjusting the slices into a more upright position and making the watermelon half fall over, the composition improved considerably.
POST-PROCESSING
After rendering the final image, I imported it into Gimp and upscaled it by 150%. I then gave it a vignette with a very large, soft brush, and the final image was ready to be posted at Blender Artists.
WATERMELON
Thank you for reading my article, I hope you have a great summer!
About the Artist
Niilo Korte, a 3D hobbyist from Finland. He will start his studies on game design next semester.
1 Comment
There are far too less seeds in you melon to be believable!