

About Me:
Hello! My name is Margarita. I’m a 3D artist from Belarus. I like to work with 2D art and create 3D artwork based on it.
Initially, I graduated from the Academy of Art as an interior designer. I worked in the industry for a while, additionally studying graphic design. But one day, I decided to turn my attention to the game dev industry. I was interested in a variety of gaming styles and I began to study this area of design.
As a result, I started taking courses to create game environments in 3D. The teacher introduced me to a program called Blender. He not only teaches but also works in a game dev studio and uses Blender for his workflow. He taught me how to create models of different complexity plus how to sculpt, retopologize, and also texture the models using nodes. He also taught me how to work with Substance 3D painter.
Inspiration
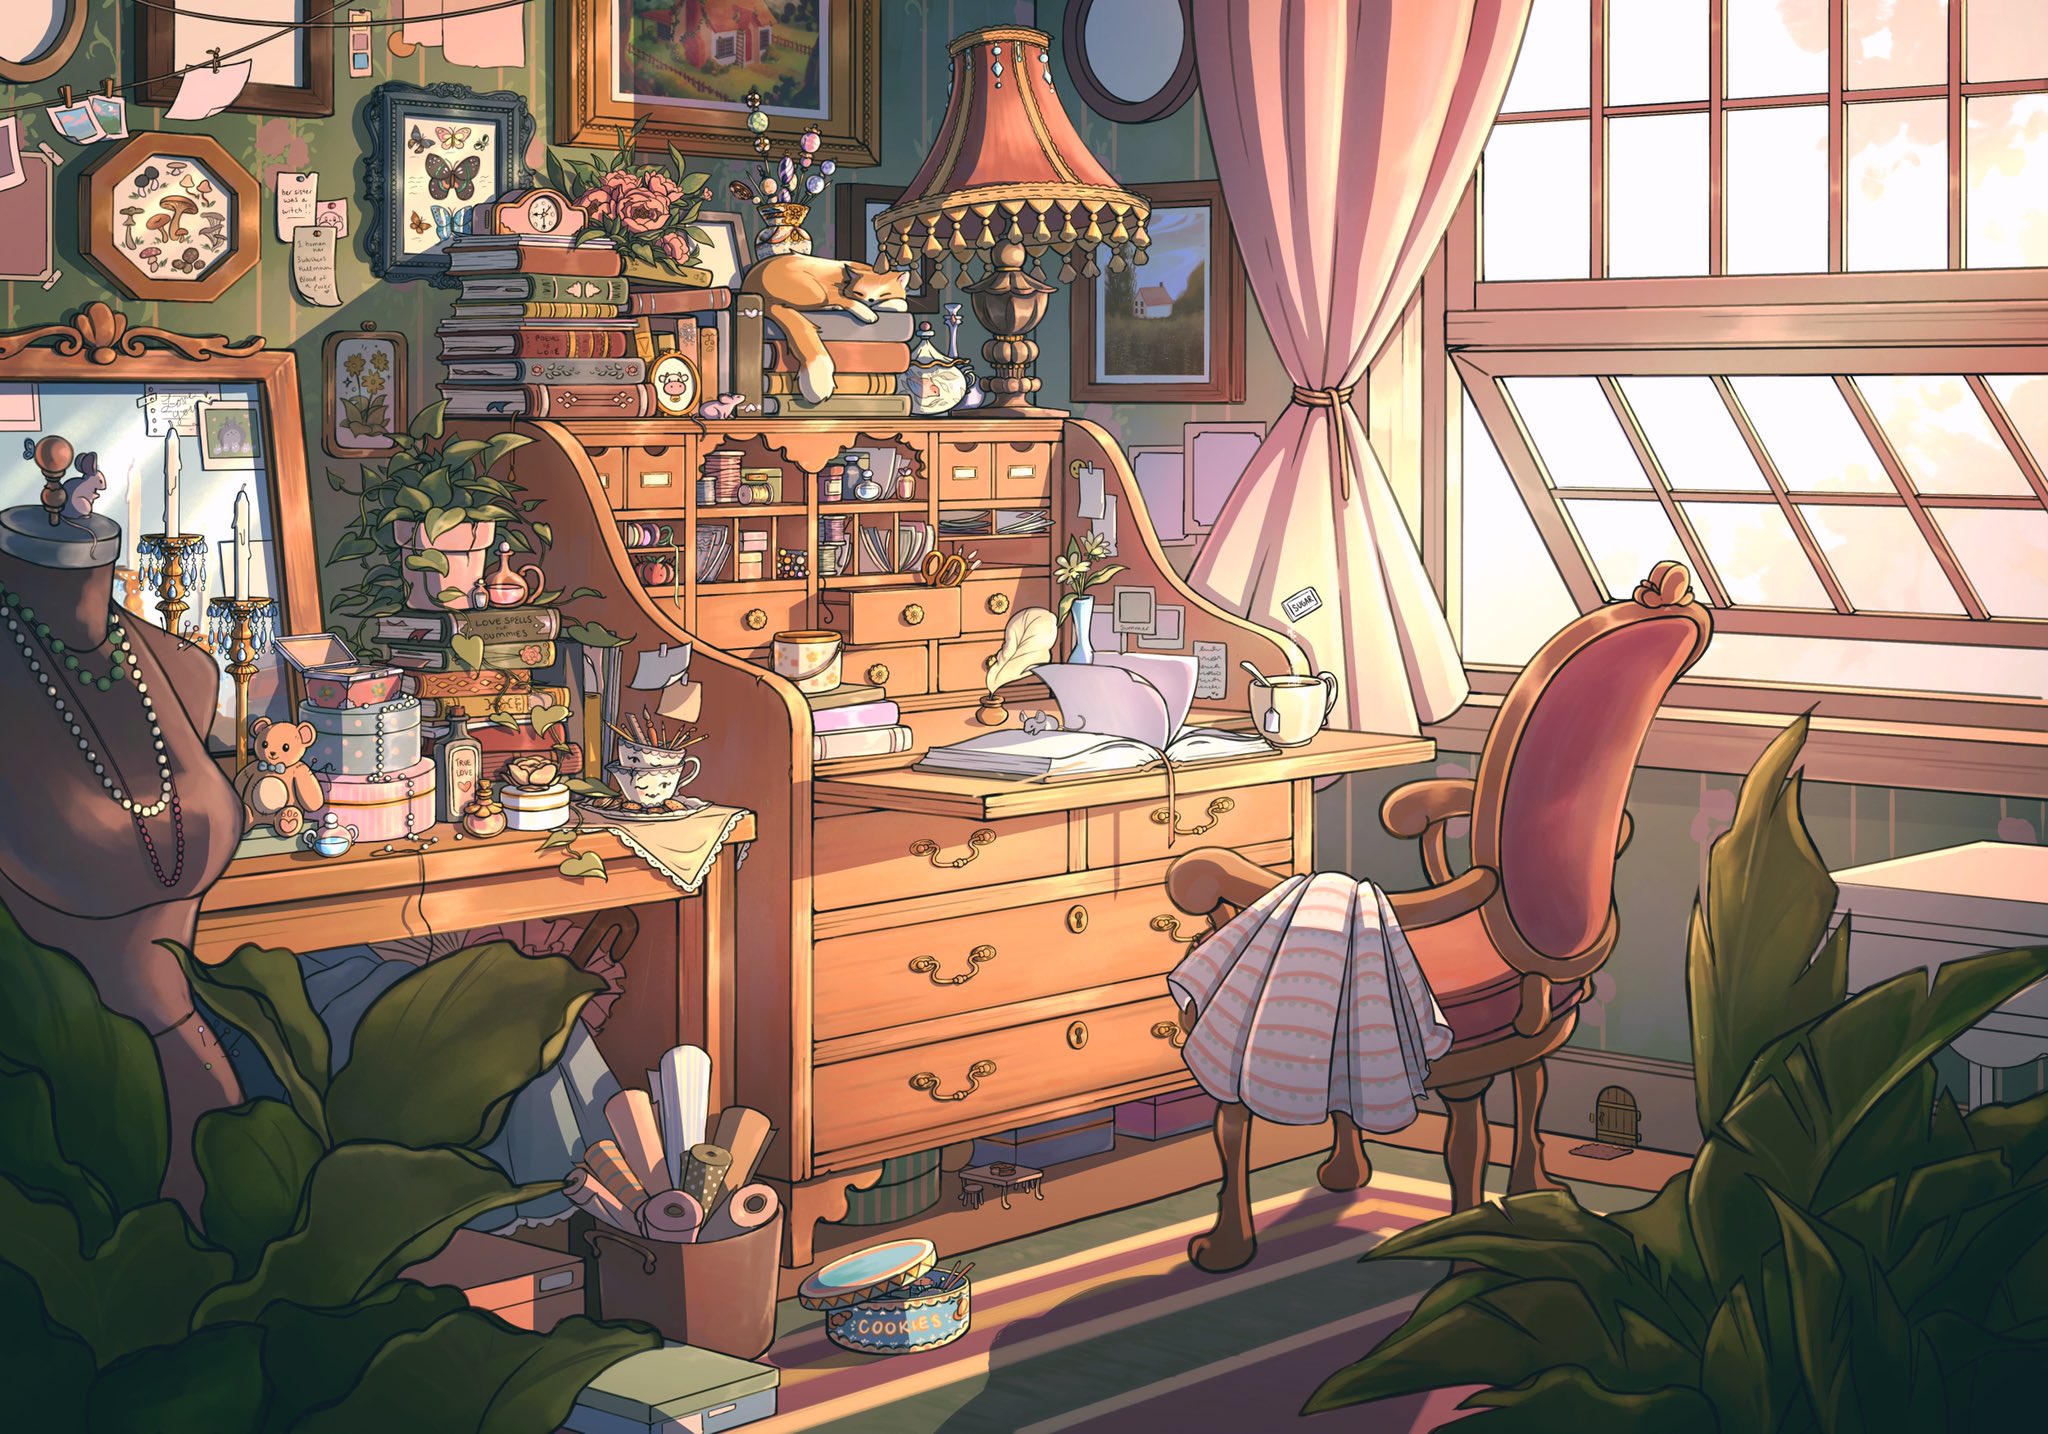
I started making models from different references. After finishing one of my last artworks I started to look for more 2D art to continue improving. So I came across a beautiful artwork by Evergreenqveen which is called Witch's study. My goal was to get as close as possible to the 2D art in my 3D work, so I had to study a lot of tutorials on how to create a cartoon effect in Blender. At some points, when I couldn't find what I needed, I had to solve the complexities myself.
Modeling
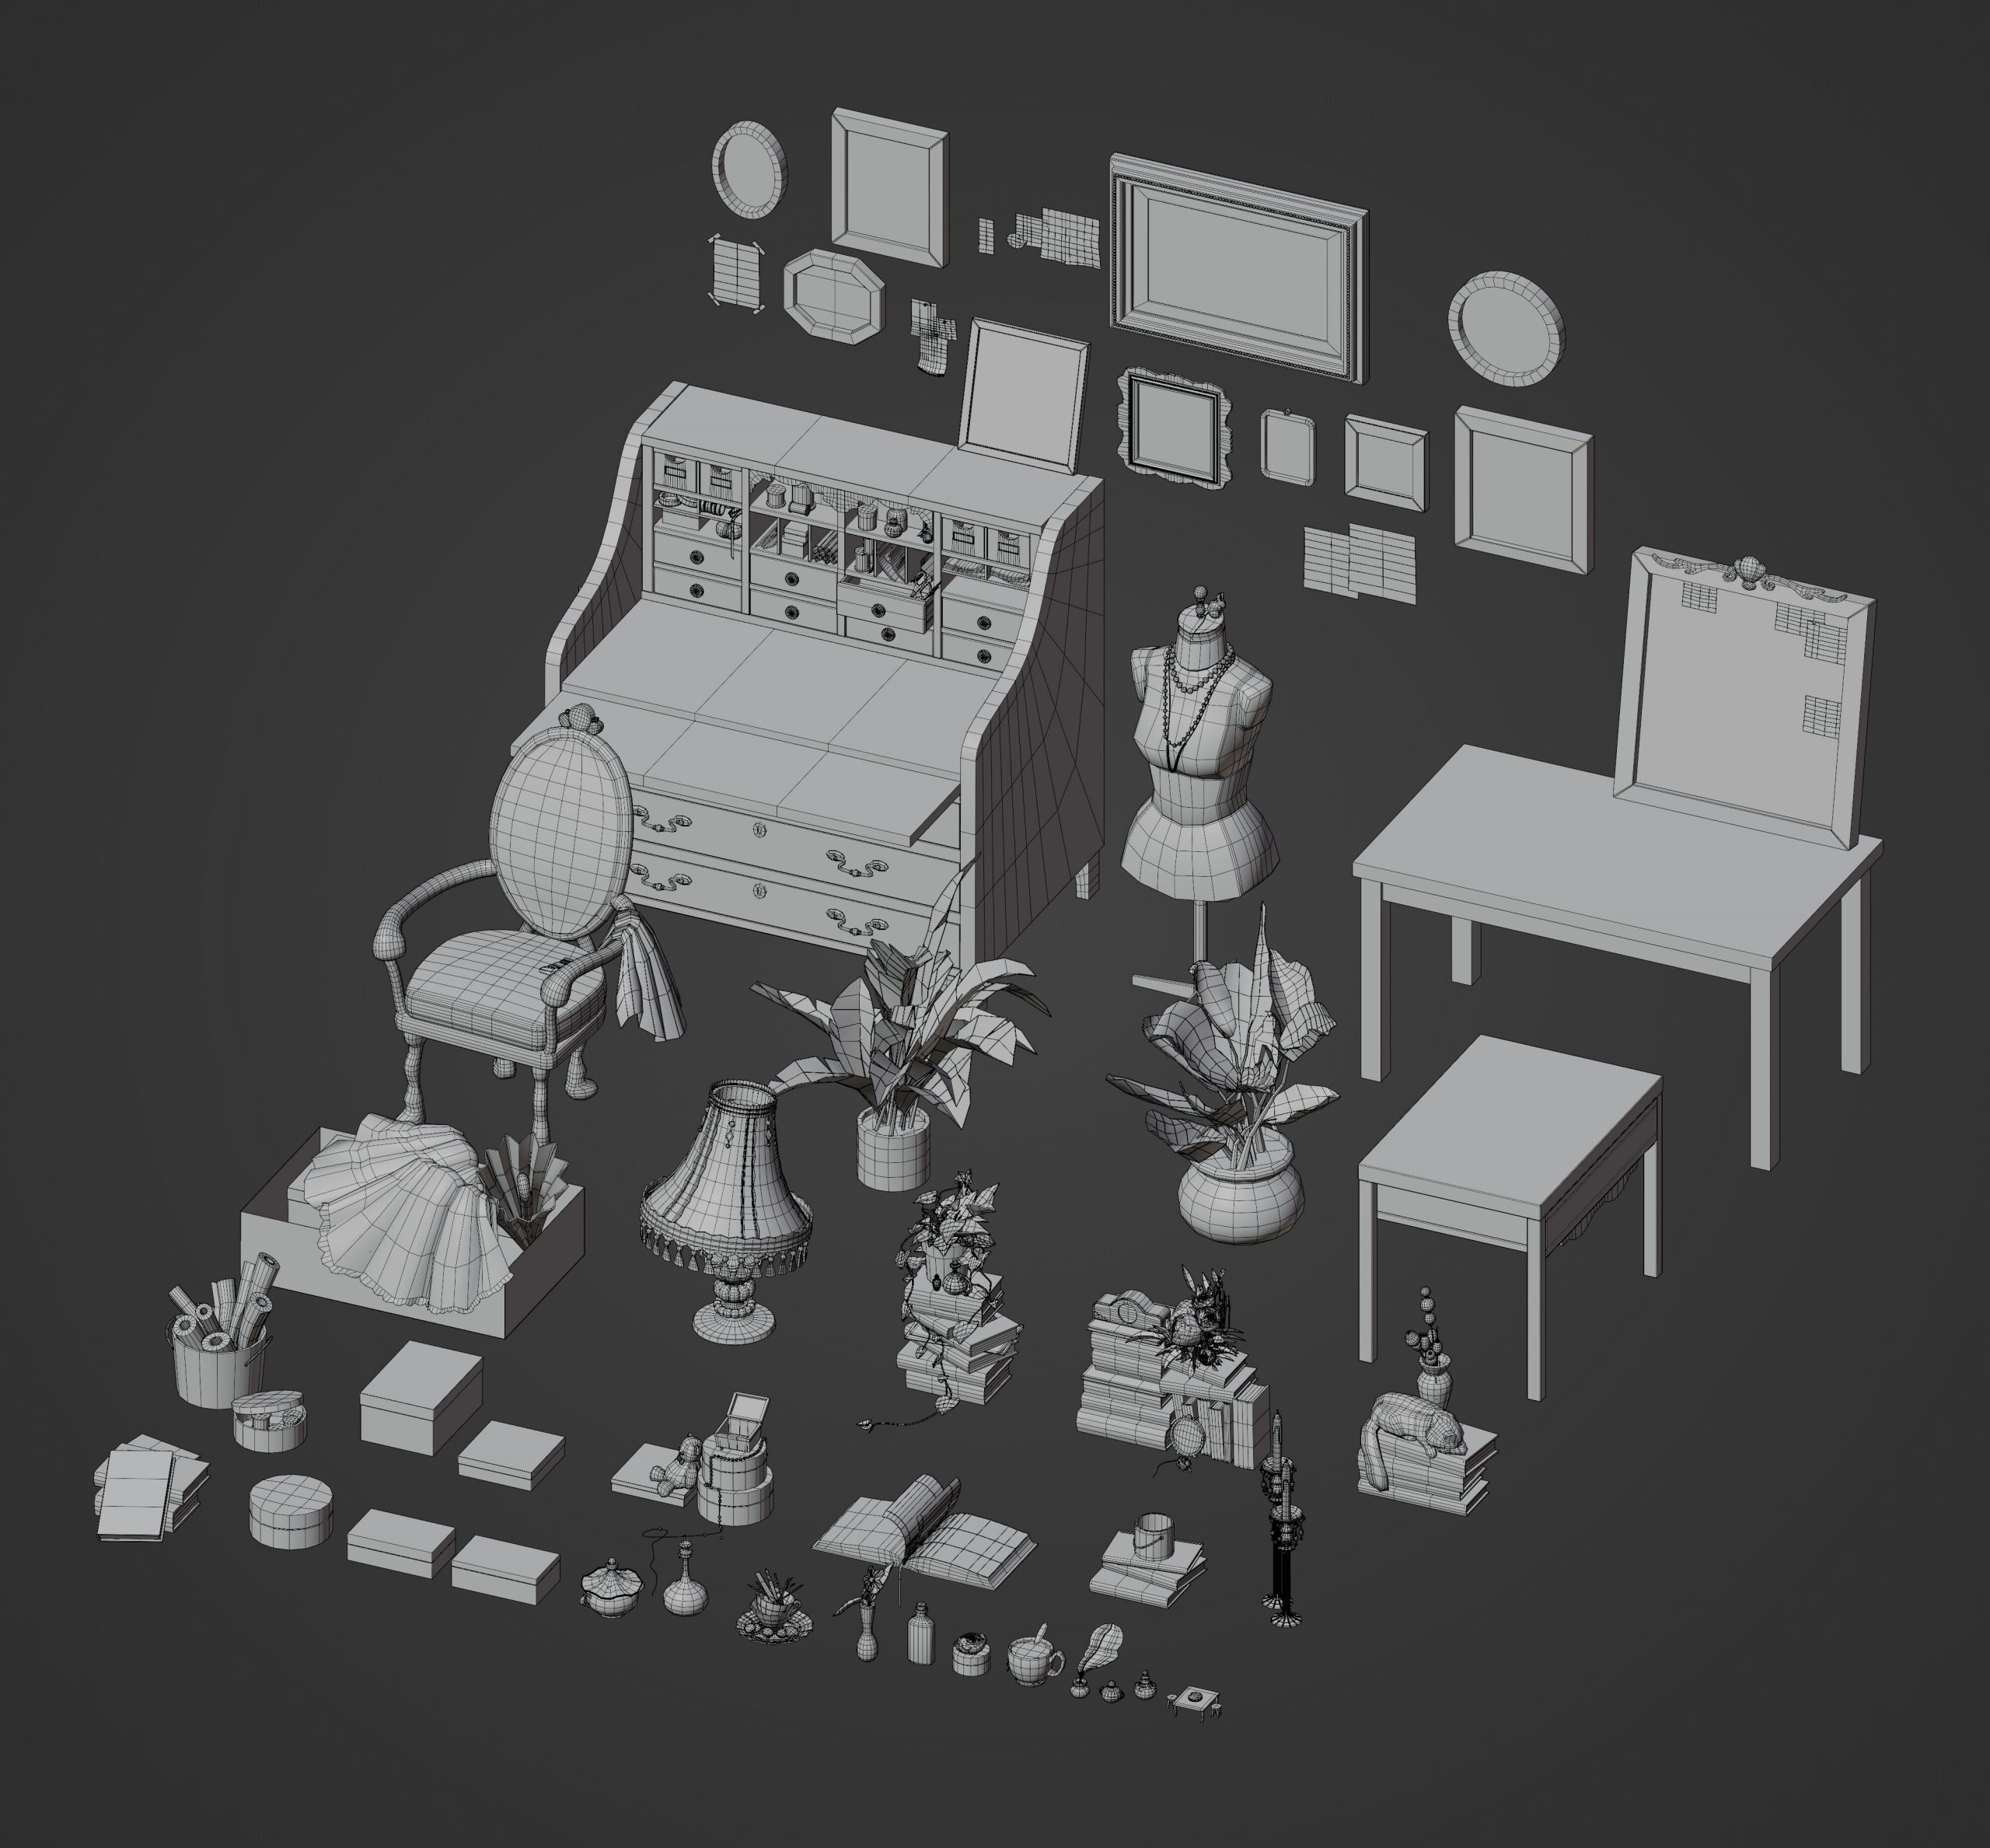
In the first stage, I had to carefully work out the models since I decided to do everything low poly.


I tried to reproduce the shape and character of the elements from the reference––I created all the objects that were in the picture. Therefore, the scene looks full of a lot of details and is interesting to the viewer.
Texturing
But, the main challenge was to make quality textures for the models.
Initially, it was necessary to understand how to achieve the effect of outlining the models so that they would be similar to the reference. I found one way to create outlines around the edges of objects using a special combination of nodes (like the table and the skirting board in the picture).


Then, I connected a painted texture to this combination of nodes (like books with captions and drawings in the picture).


In addition, I needed to add some more nodes that would create outlines on circles and objects where there were no clear edges (like the cylindrical objects in the picture).


In general, most of the time I spent on the artwork was texturing the models because I was trying to make textures as detailed as in the 2D artwork.
The entire texturing process was done in Blender.


Lighting
The final step was the installation of the light sources in order to convey the lighting and the mood of the reference image.
For the daylight, I used ambient light and additionally a directional light source from the window to simulate sunlight and a cold directional light source from the other corner of the room to beautifully illuminate the scene.
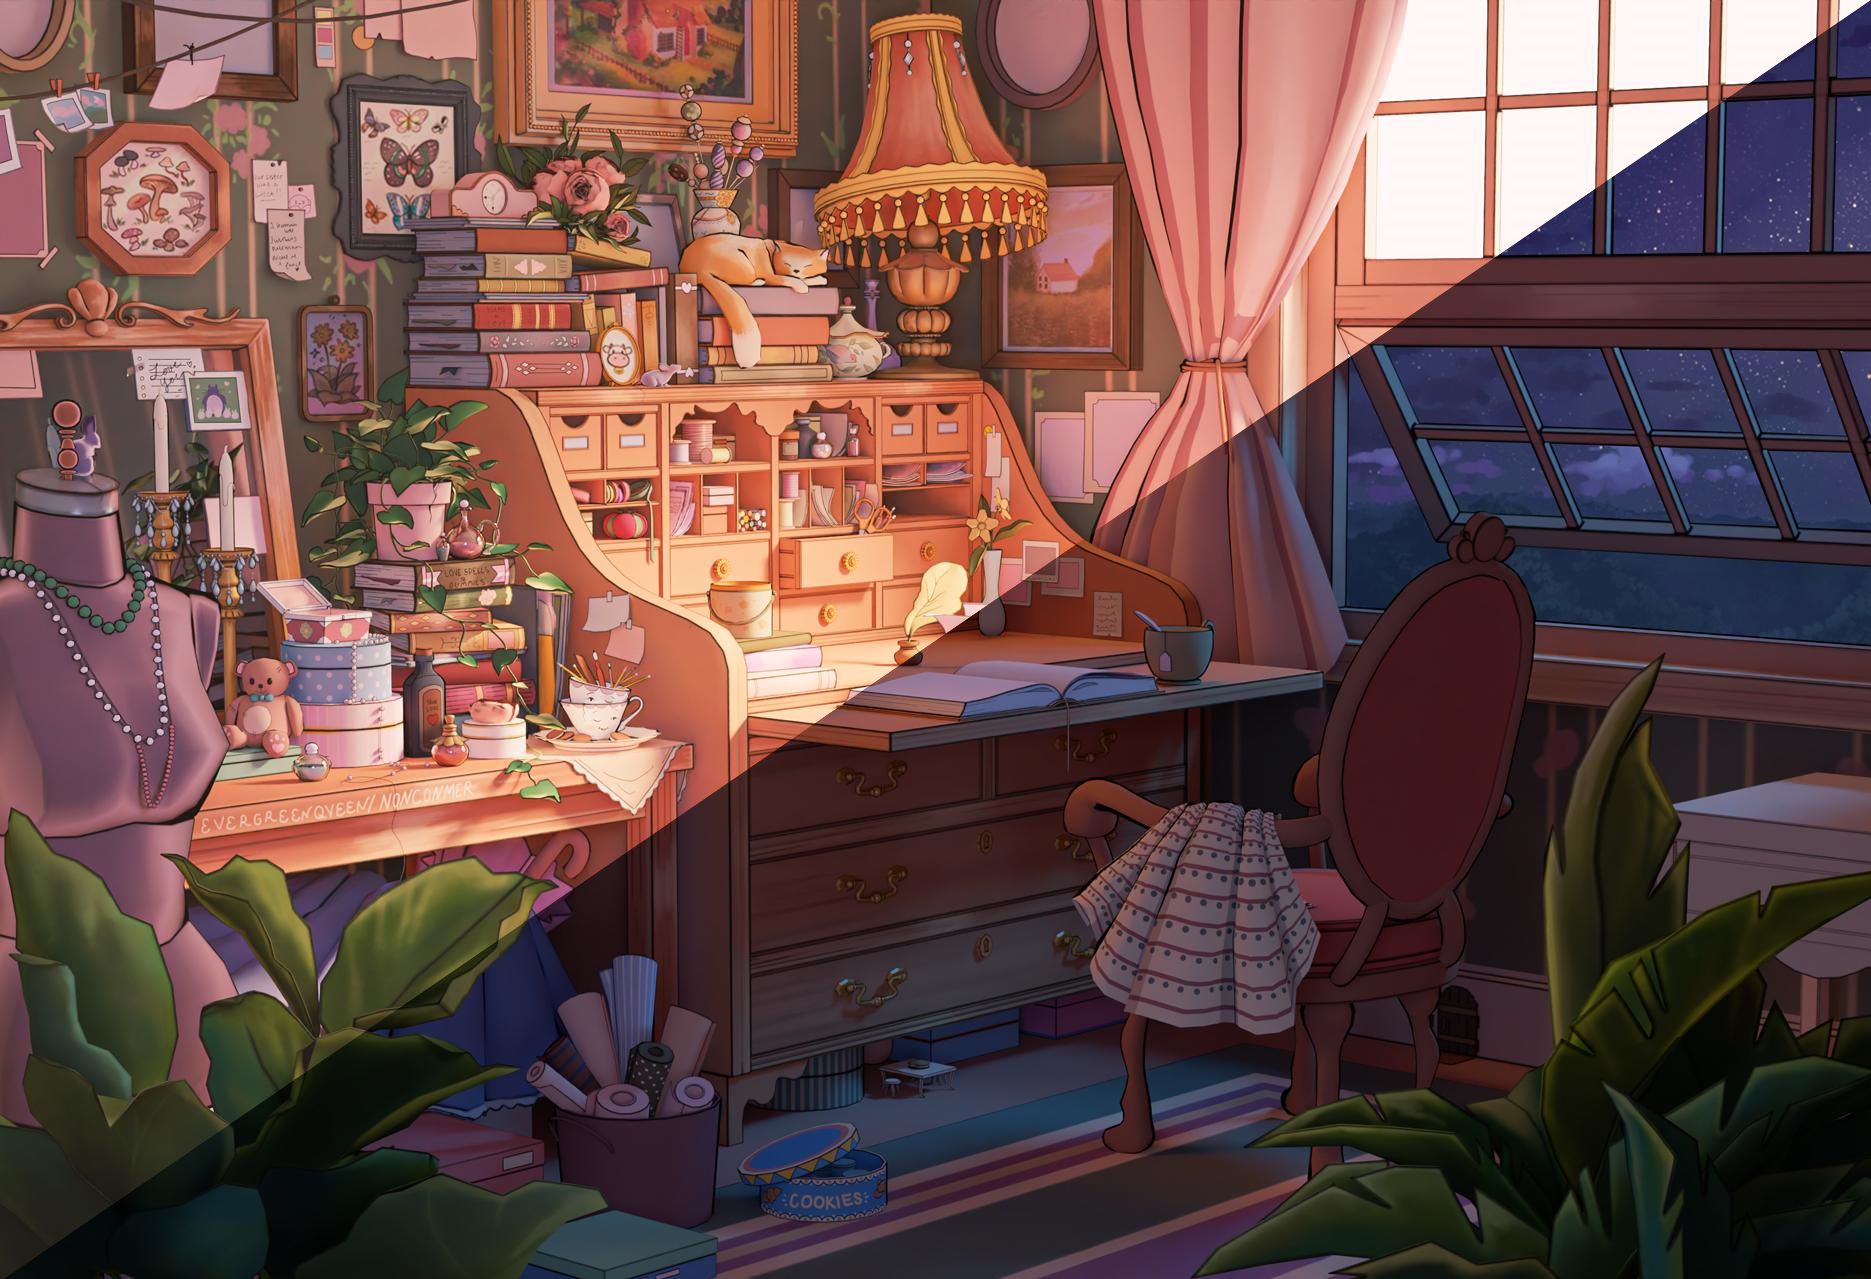
Rendering with the night lighting was entirely my improvisation. I decided to create a mysterious and magical mood with the blue glow from the window combined with the warm light from the candlelight sources, and the light from the table lamp. I also added a dim light source directed at the foreground. After the rendering was complete, I decided to finish off the scene by putting a picture of a night scenery in the background of the window in Photoshop.
This is how the final renders of the scene came about. Hope you like it!
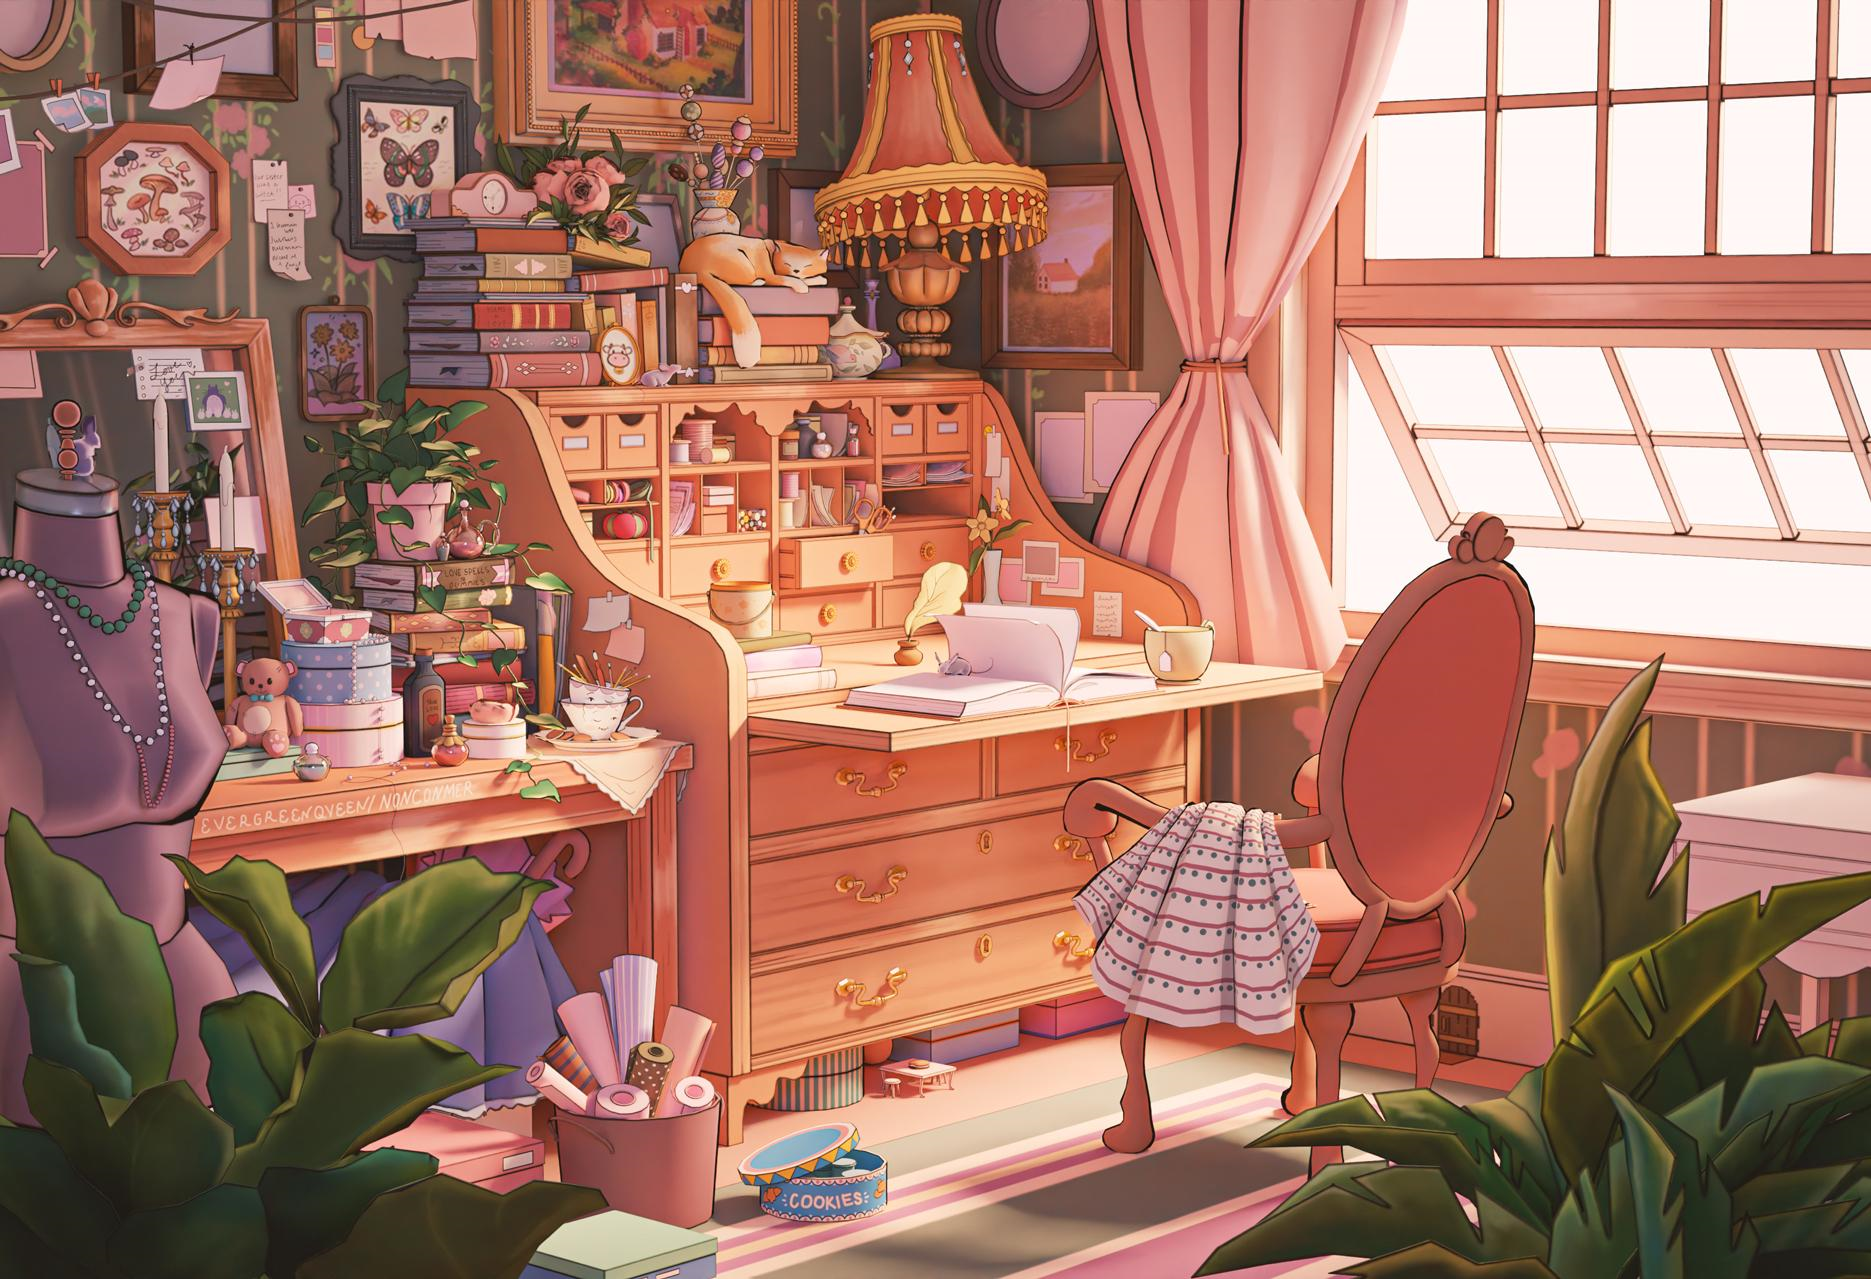
Daylight Render

Night Render
About the author
Margarita, is a 3d/2d artist looking for her way into the game dev industry.
1 Comment
Margarita, i like your Render (Image). Can you make the process in youtube. Many people maybe want learn from you. Don't forget to upload your news in blendernation. Everyday i always open Blendernation. I am not always active online in Instagram or Blender Artist or Artstation.
Thank you.