ABOUT ME:
Hi, I’m Magali, Magsu.art from France. As a teacher, I use visual arts in my pedagogy to make learning fun and memorable.
For digital visual arts, I usually use Adobe Suite, Blender, and Unity. For coding and scripting, I mainly use HTML5, Python, and C#. I started integrating machine-learning models in my toolset. These are among the skills I currently need to improve the UX of an AI-based learning platform I co-invented.
I use a modest MSI laptop that embeds an NVIDIA RTX 2060 GPU, and also two affordable yet great XP-Pen branded display tablets: an Artist 24 Pro and an Artist 15.6 Pro. These tablets are a real timesaver that I mostly use for drawing with paint tools and for Blender jobs like the one in this article.
As for Terry Gilliam and Tim Burton’s universe, it is awesome! To me, they are painted with a near-perfect mix of useless-by-needful rococo, paradoxically colorful goth style, and steampunk genre.
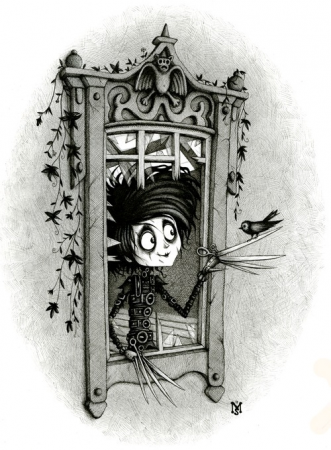
The version of Edward Scissorhands by the artist and Instagrammer @littlewhitebatofficial was so inspiring that I decided to restyle it in 3D for an animated loop.
1. THE WINDOW
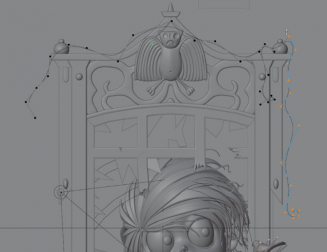
I first modeled half of the stone window frame and made use of the Symmetry Modifier to reflect the other half. The engraved curved pattern was first drawn with Nurb Curves which were then converted into meshes.
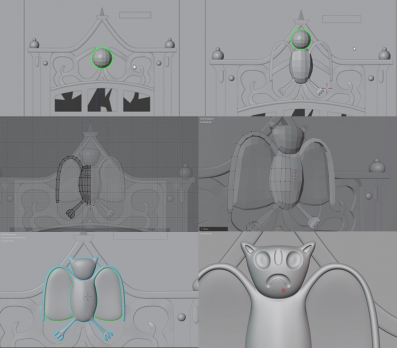
As for the gargoyle, I got the head and belly done by turning a couple of cubes into spheres by setting the radius to 1. The Symmetry Modifier allowed me to save half of the job. The different parts were then joined to make a whole one-piece gargoyle. In sculpt mode, I smoothed and sculpted the wings, the eyes, the nose and the mouth.
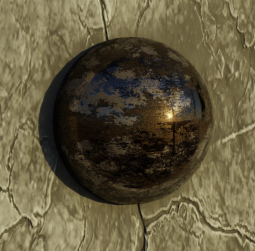
The wall was made of a plane on top of which I placed the Old Medieval Plaster material from Blenderkit. I added an Ambient Occlusion node to darken the cavities. I did the same process for the sculpted frame. To improve the contrast, I lightened the wall to bring out the frame.
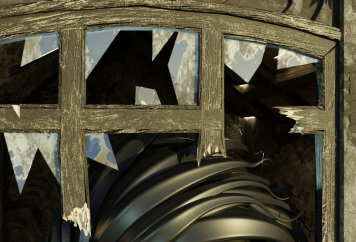
To break the window cleats, I didn’t ask Bruce Lee to kick them for me ;) Instead, I first subdivided the edge to be damaged. Then, thanks to the random proportional editing feature, I simply moved some vertices to get that awesome broken effect.
The wooden pieces of the window needed a texture that looked like it had been eroded by the weather, and an Ambient Occlusion node managed to do that perfectly by partially removing the stain.
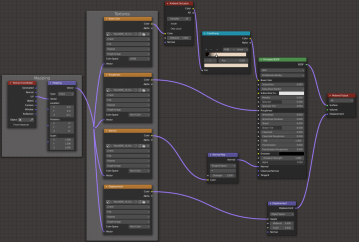
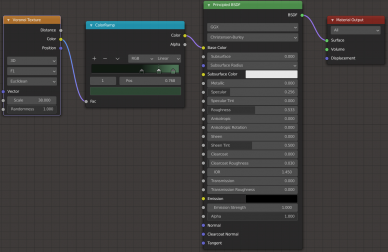
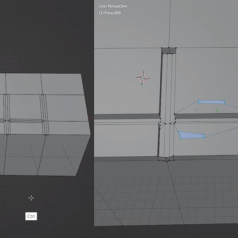
The broken glass was made from a plane I cut with the Knife tool. Aging was achieved through an Imperfection node connected to the glass shader’s roughness via a Color Ramp node.
The rusted aspects of the nails were done with an iron material.
2. THE IVY PLANT
The final touch for that neglected façade was accomplished by the climbing ivy. I used a curve for the stem and modeled one leaf as a template for the other ones
I designed the spots on the leaves with a Voronoi node and plugged it in the Color Ramp node.
3. THE ATTIC
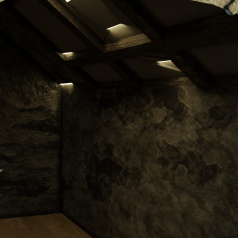
For more realistic light ray bounces, I roughly modeled the attic, although it was barely visible. The interior composed of three walls, a parquet floor, and a roof with timbers. I used a simple plank shader for the floor and the Old Medieval Plaster shader for all the walls.
4. THE CHARACTER
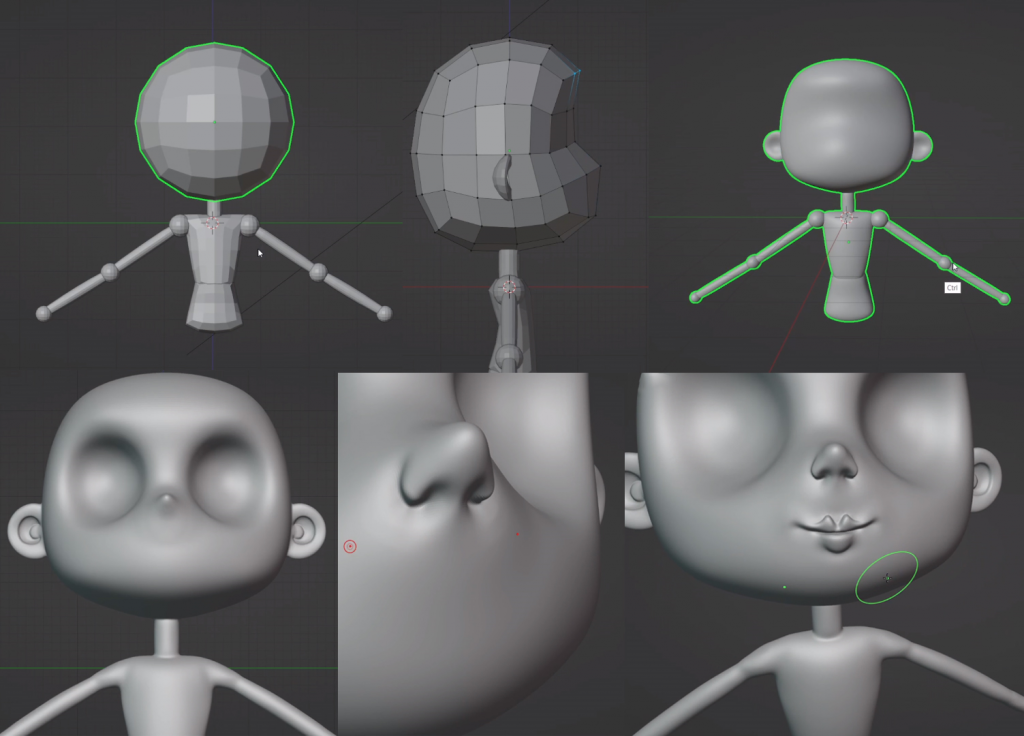
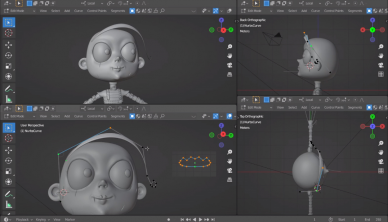
To model a character, I usually start by creating spheres as I did for the gargoyle. Then in edit mode, I model the different parts without subdividing. When I’m happy with the general form, I add a Subdivision Modifier and join the members together. After this, I shape the different parts of the face in sculpt mode.
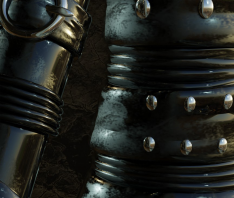
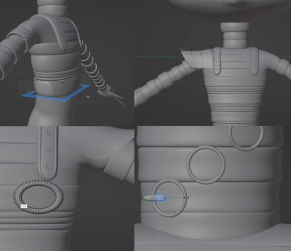
The clothes were mostly made of torus-shaped objects that were shaded by feeding an image of fingerprints in the Roughness input of the Principled BSDF node. That worn leather jacket now gets relief thanks to the sculpted folds.
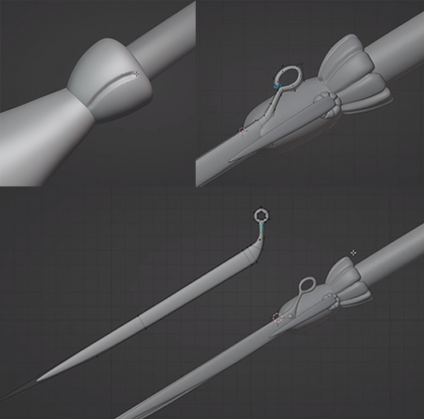
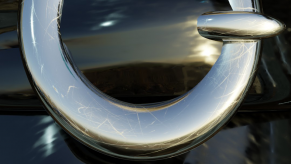
For Edward’s scissors à la Freddy Krueger, and the superfluous—yet mandatory because Edward is kind of Frankenstein’s cyborg monster—accessories like buckles and nails, I applied a metal shader on which I used an imperfection image texture connected to the Roughness input.
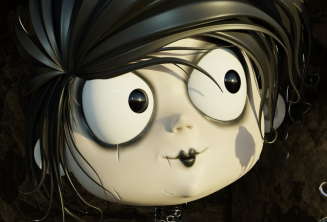
Let’s colorize Edward with salmon-ish skin and Goth makeup. For the hair, my lazy side whispered to me to design a lock of hair, duplicate it and reshape it to build the whole mane. So, to design the lock, I first shaped a Nurb Circle by moving vertices. Then I added it as an object in the bevel settings of a Nurb Curve. The PVC toy look was achieved with a shader (Specular at 0.325 & Roughness at 0.355).
Here is the final look of Edward. Sorry for the legs, Ed, but I don’t want you to move away from the attic.
5. SETTING UP THE SCENE
I added an armature to the character in order to set it at the right pose.
 Then, I linked the character blend file inside the room blend file. For the bird, I found a free model on Sketchfab, imported it, slightly edited it, and colorized it in blue. By the way, I wonder why birds are often depicted in blue for at least a century.
The light blue emphasizes the contrast between the darkness of both Edward and the interior, and on the other hand, the Sunrise HDRI based brightness of the outside. It symbolizes the eagerness to discover and explore, seized with so much curiosity that, who knows, this feeling might take over, leading him to venture out to the strange world of humans.
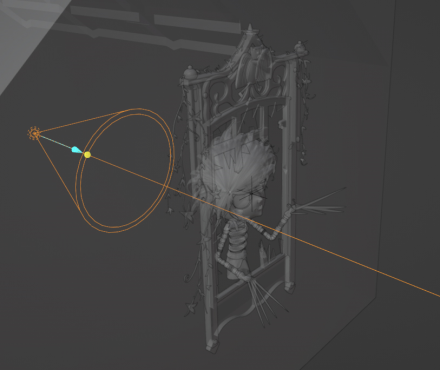
The attic was too dark so I placed a spotlight behind the character to pop him out of the background.
To achieve this lighting result, I used the Knife Tool to draw some rectangles and placed them on the roof. There I added an Emission shader to recreate the passage that light seeps through.
I finally rendered the scene in Cycles at a resolution of 2200x2800 pixels with the OptiX denoiser. I chose 200 samples for clear textures.
And voilà!
Here is the first part of the time-lapse series of 3 videos for making Edward Scissorhands:
Next step: Animating it as I did in my YouTube series.
About the author
Magali, 2D/3D Digital Artist, teacher, coder, and what else?
















1 Comment
Very nice, both in the end result and in your explanations of the methods you used! Videos are always nice, of course, but I particularly appreciate it when an artist also takes the time to give a written description of the process they followed and the methods they used. Thank you. :)