Behind the Scenes: Cute Sewing Room
About
Hello, my name is Svetlana, I’m from Moscow, Russia. I’ve been in design for more than 10 years, but in the field of UX/UI. When the pandemic started my company allowed the designers to work from home and I discovered that I had a lot of free time to start something new and challenge myself.
I decided to go with Blender: it’s free, the community is great and supportive, and there are so many tutorials online.
My first attempt to learn it was not good at all: it kept crashing for no reason, the interface was scary and unfamiliar. New 3D terminology seemed to summon a demon if said out loud.
I dropped out.
I opened Blender months after the first try, and wow, it was like meeting the old buddy, who said “Oh, it’s so great to see you, where have you been for so long?”. The interface was great and familiar, terminology didn’t scare me anymore. The only thing I regret is that I gave up too quickly the first time.
Inspiration
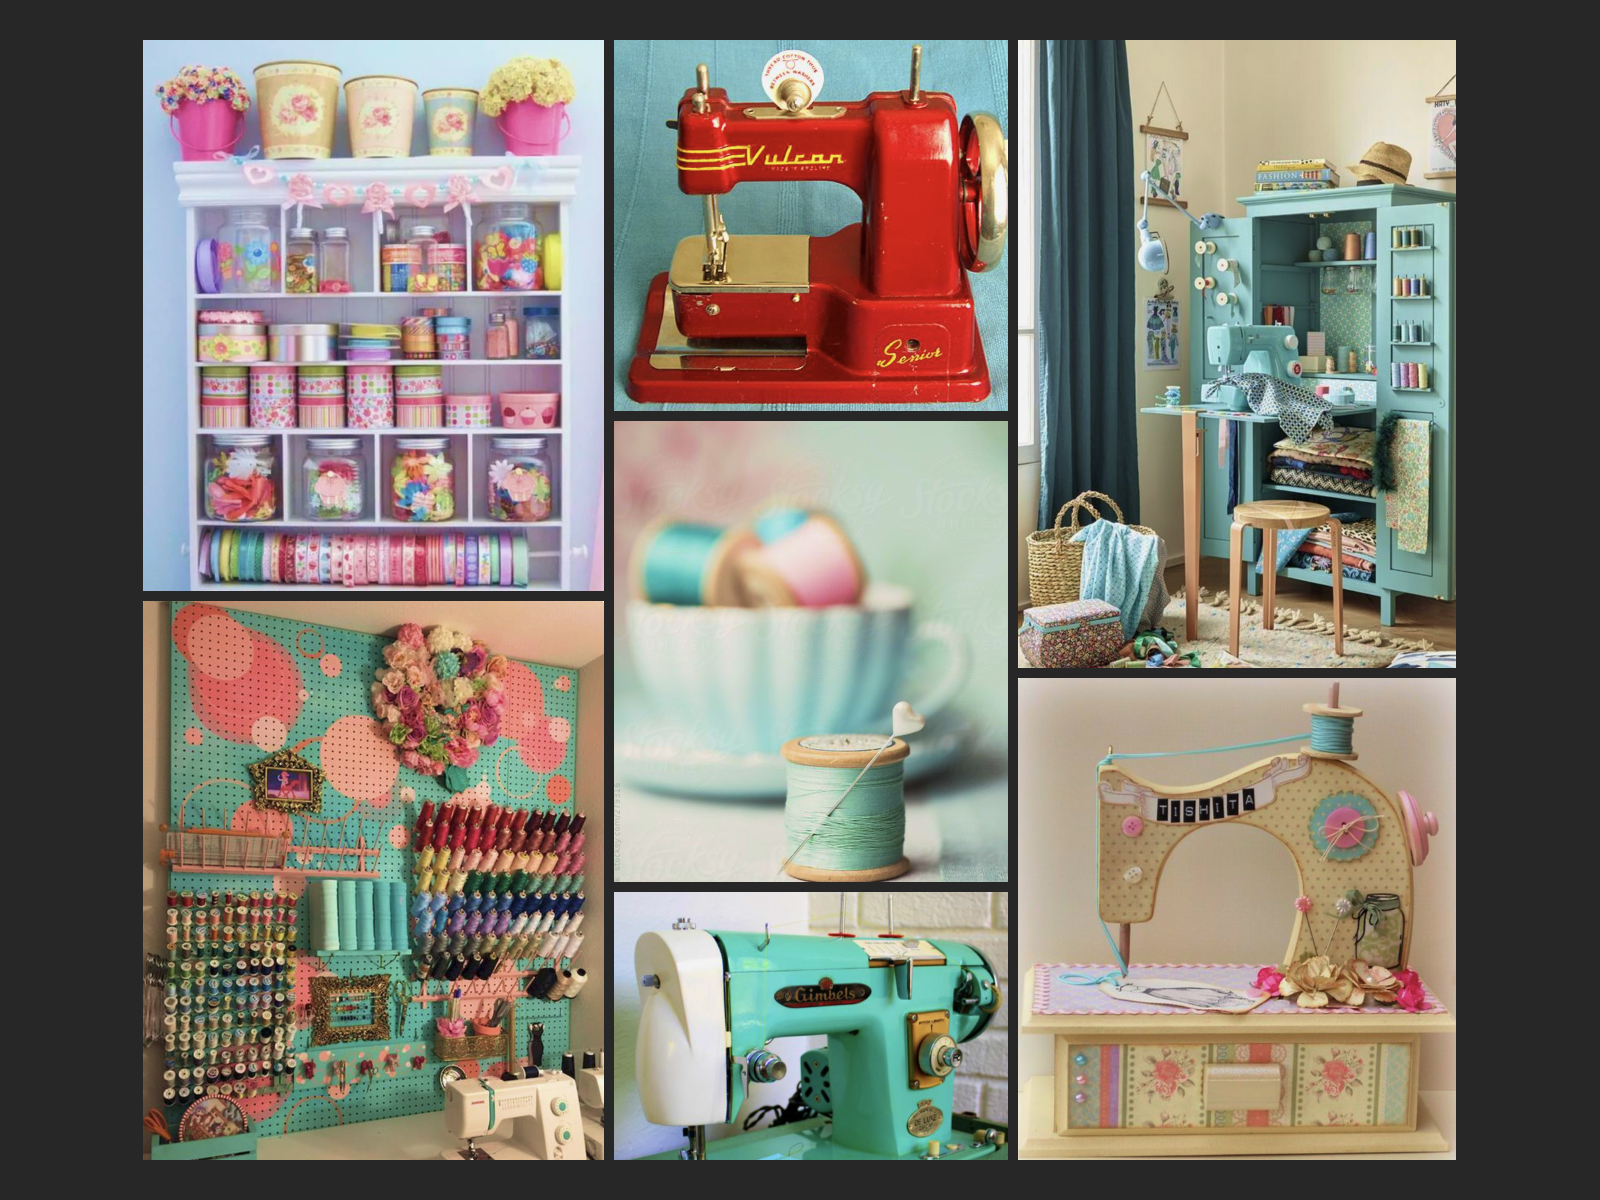
My favorite source of inspiration and references is Pinterest: I find tons of ideas there and carefully organize them.
Modelling
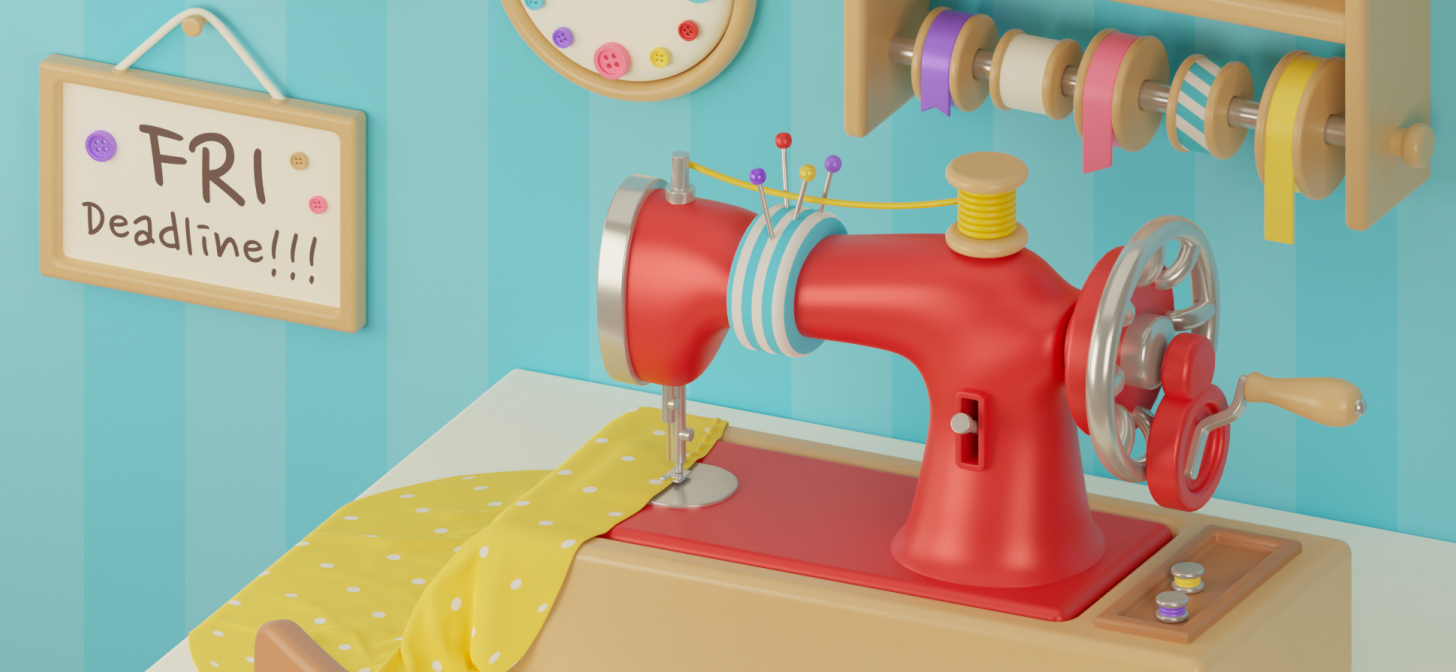
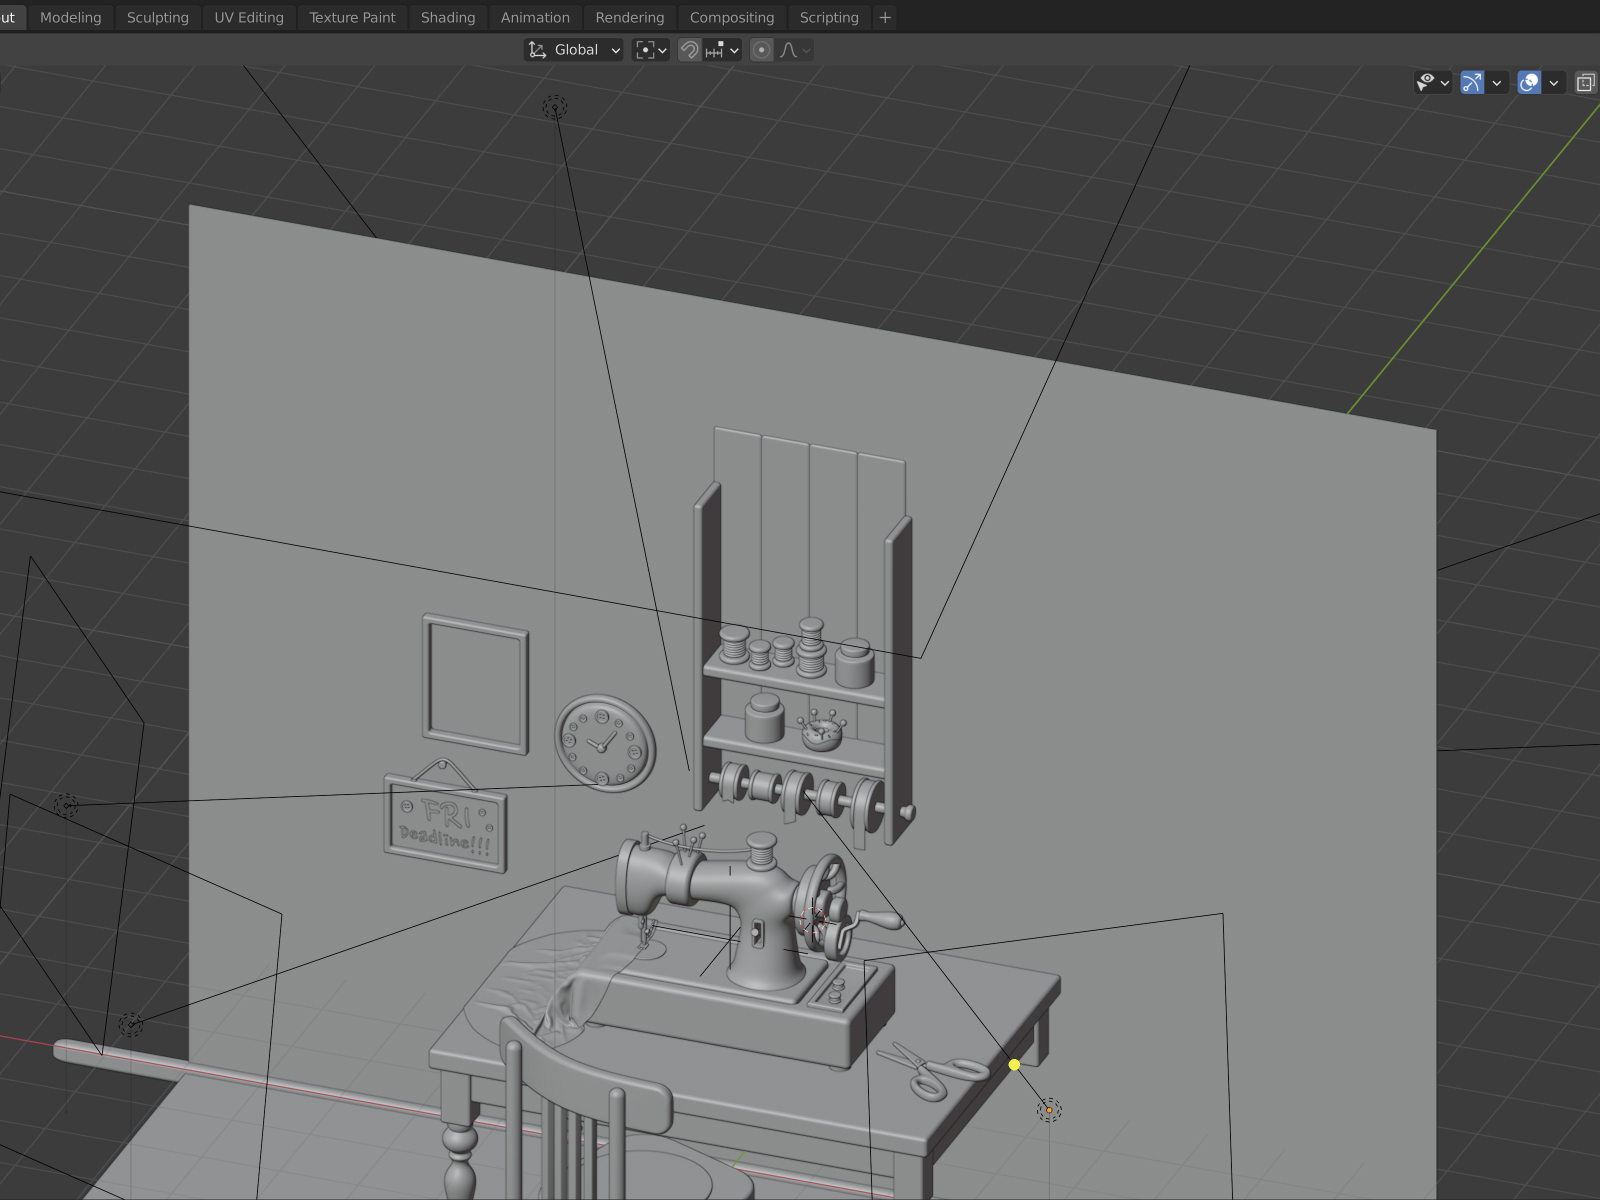
I started with the sewing machine and made it very quickly: it was ready in an hour after I began. Mostly I had problems with what would surround the machine. I tried different settings but nothing worked out, so I decided to put this work in my “Unfinished projects” folder forever for some time. But I pulled myself together and finished the scene with the help of a famous donut by Andrew Price. :)
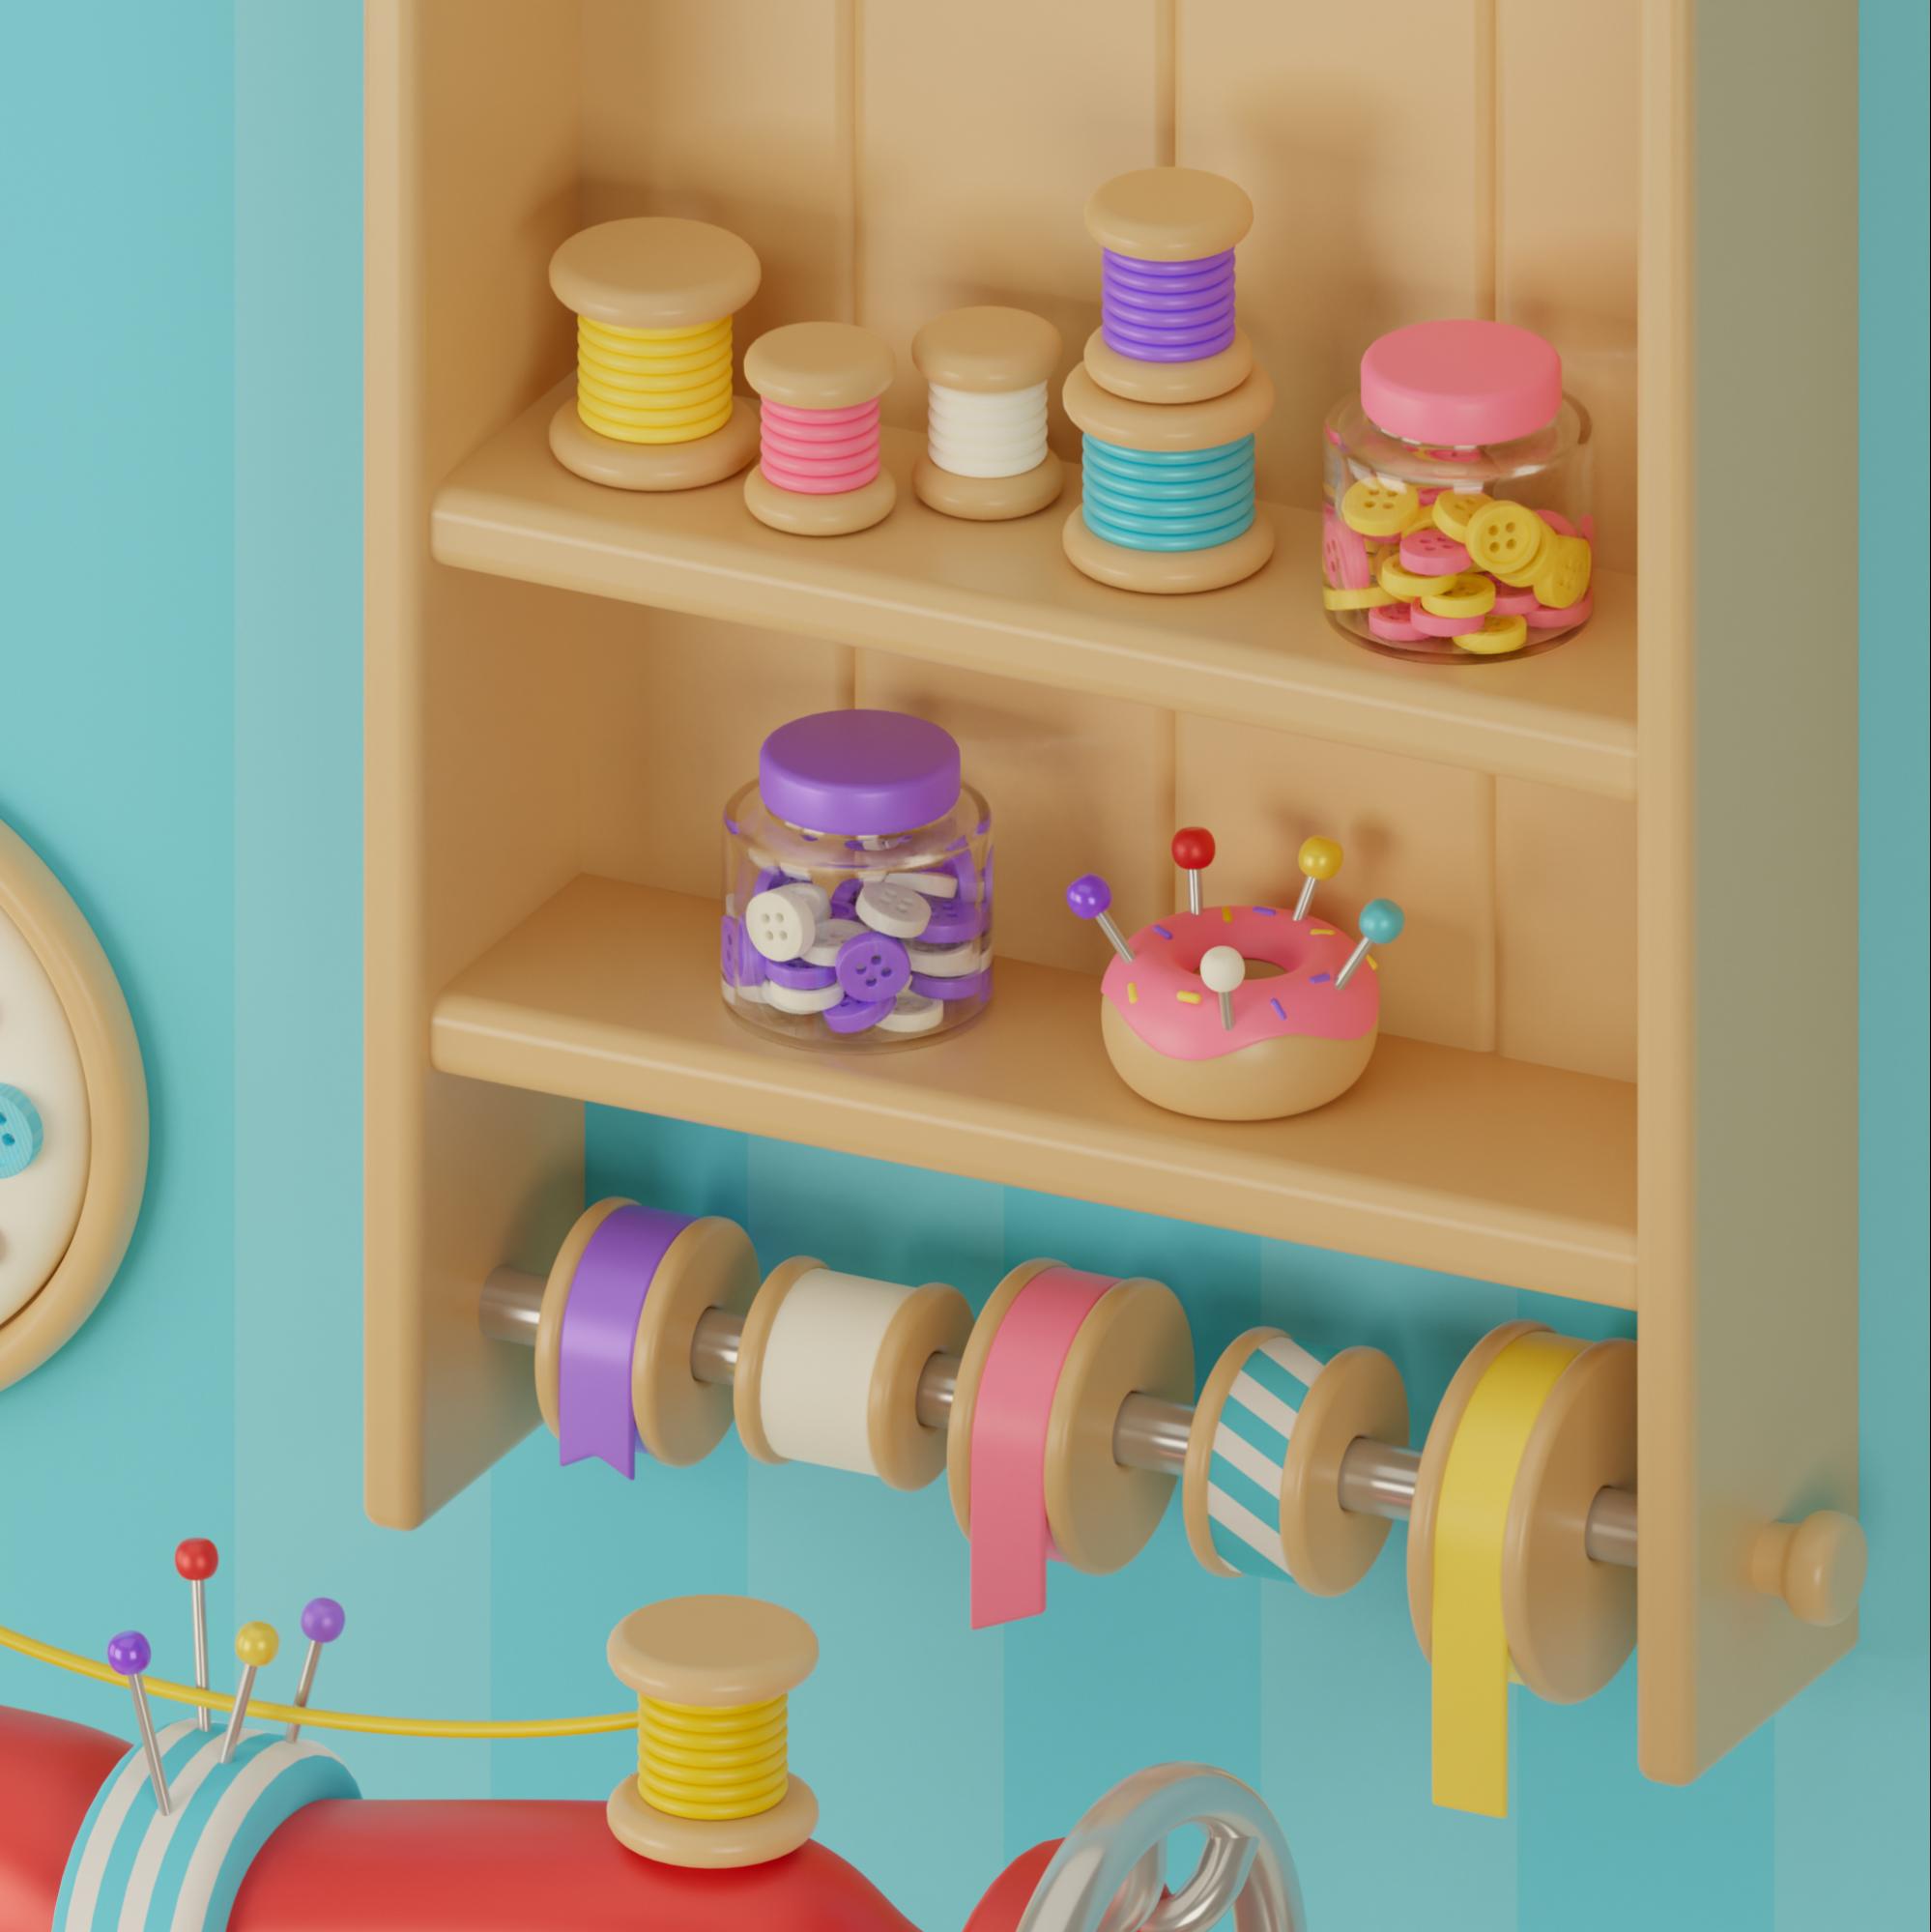
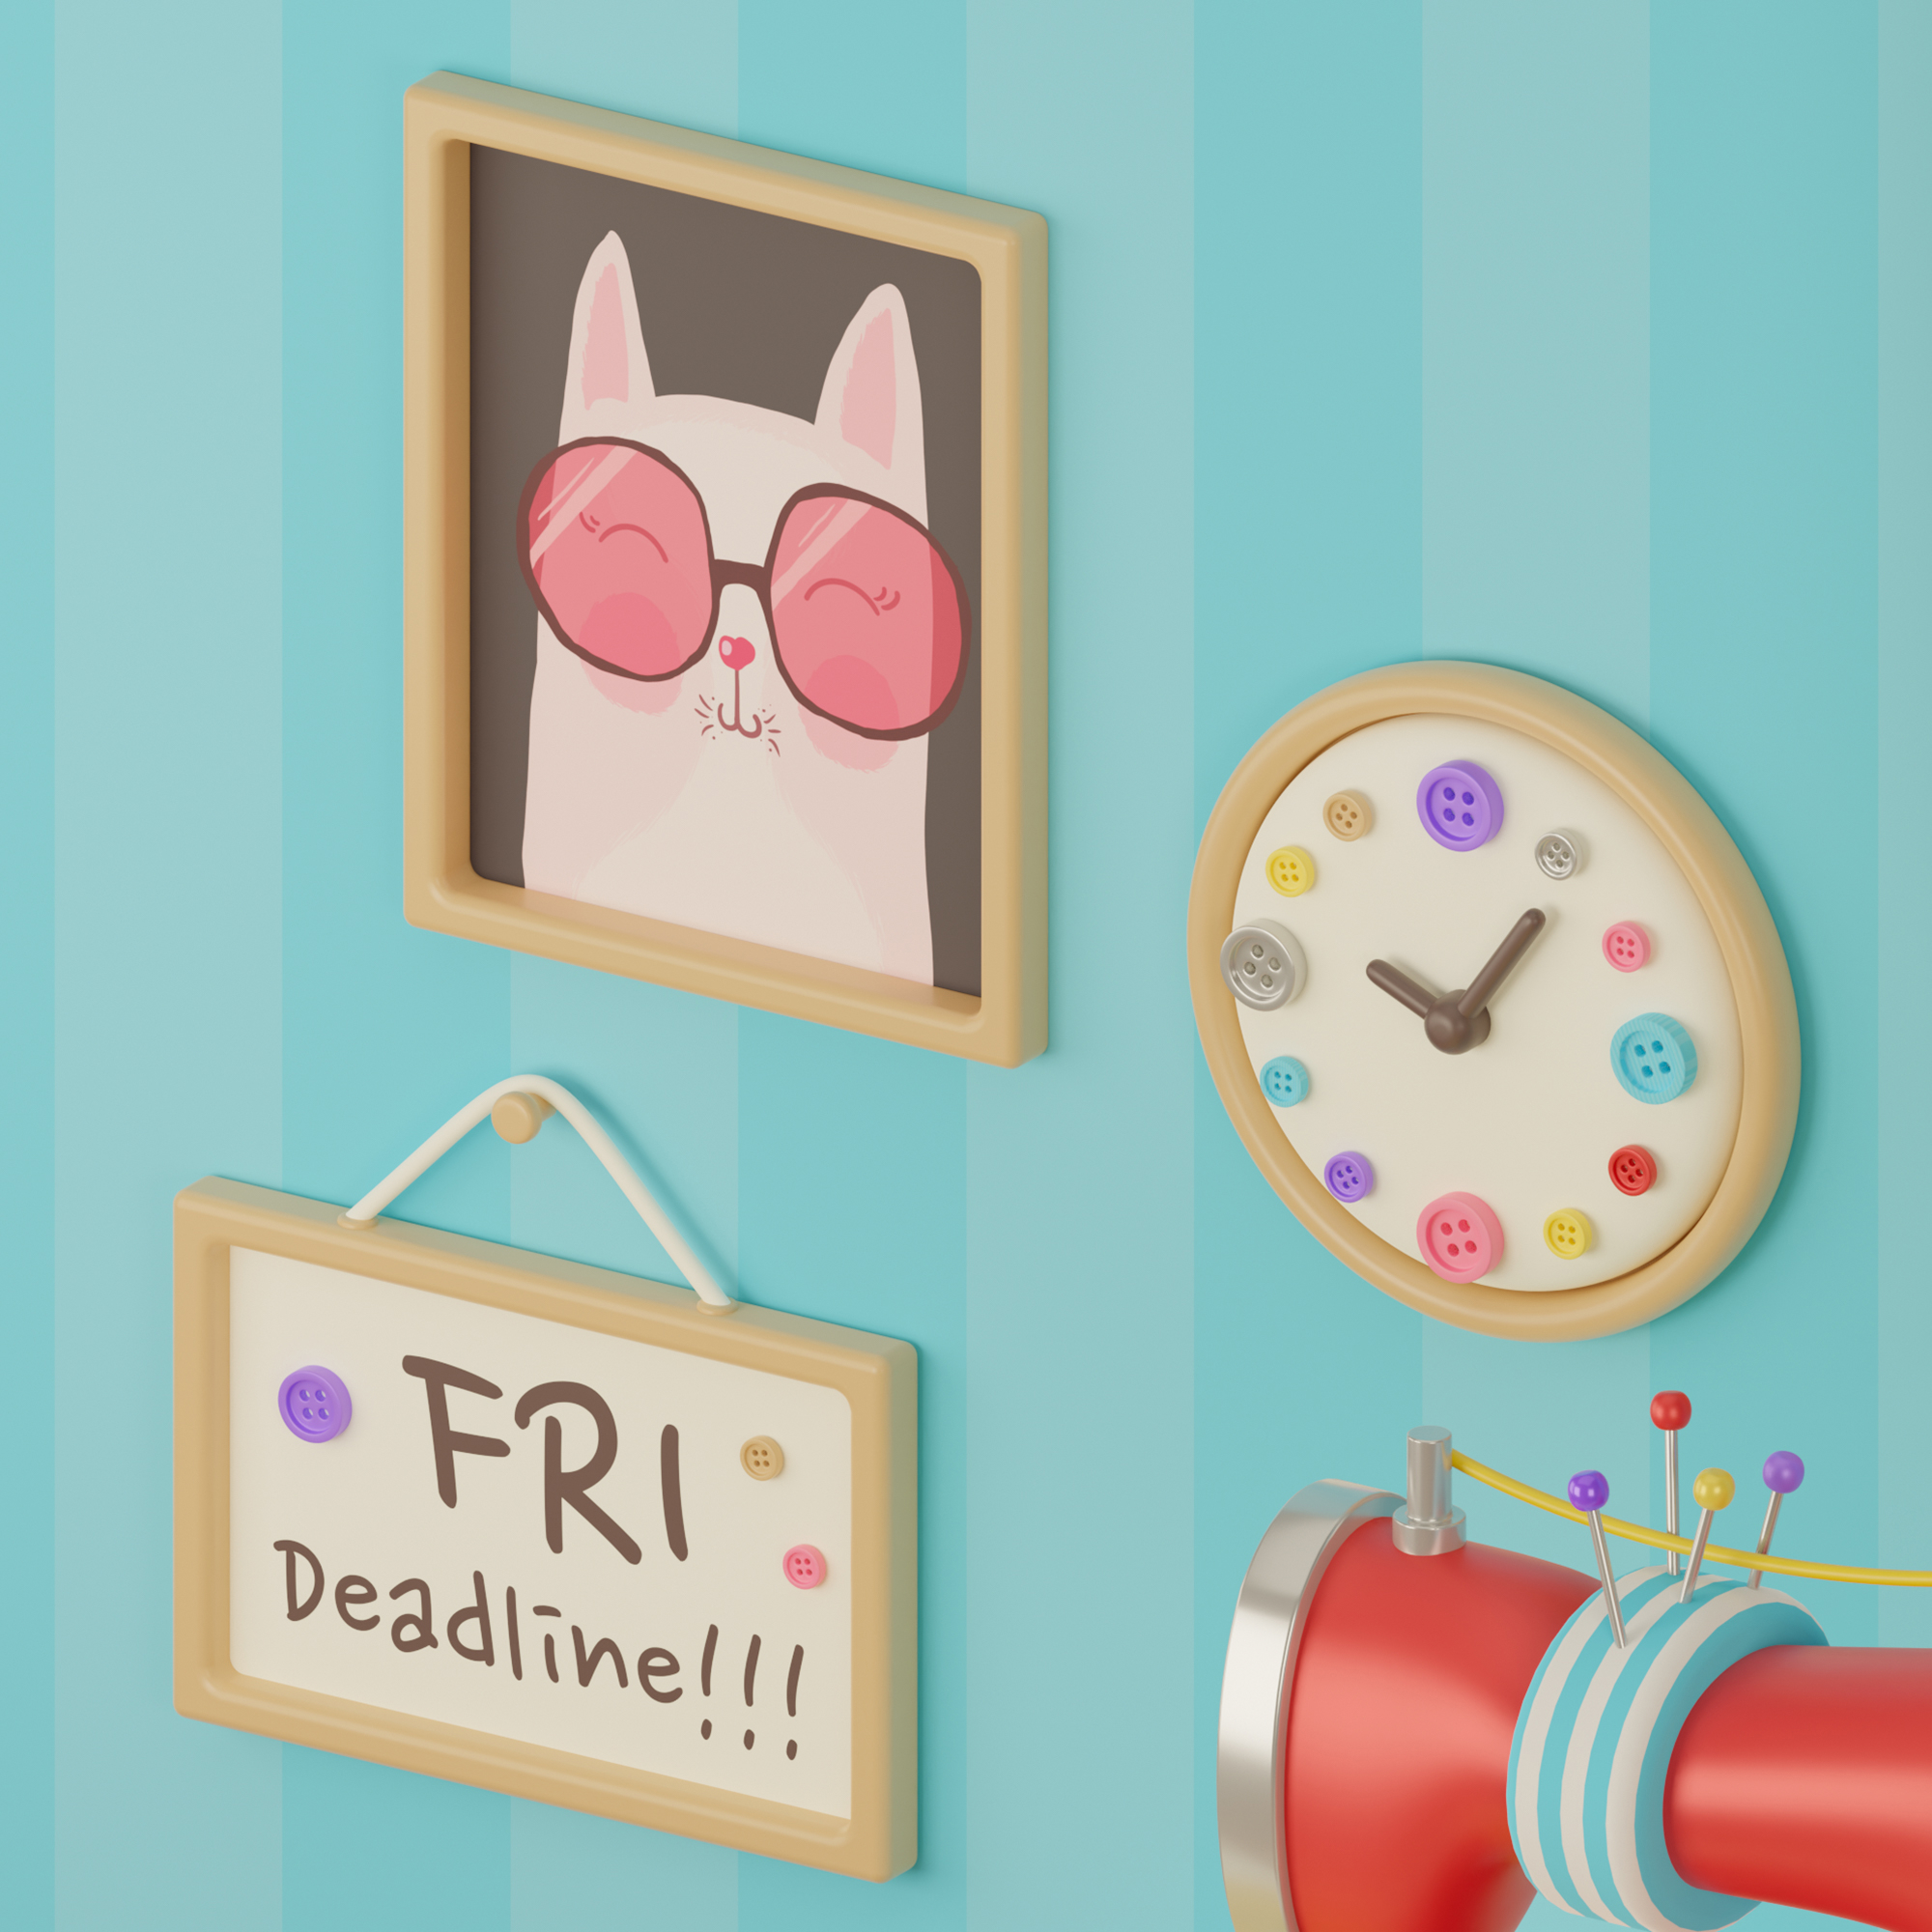
I drew this cat a while ago and decided it would be a perfect fit for the scene.

Texturing
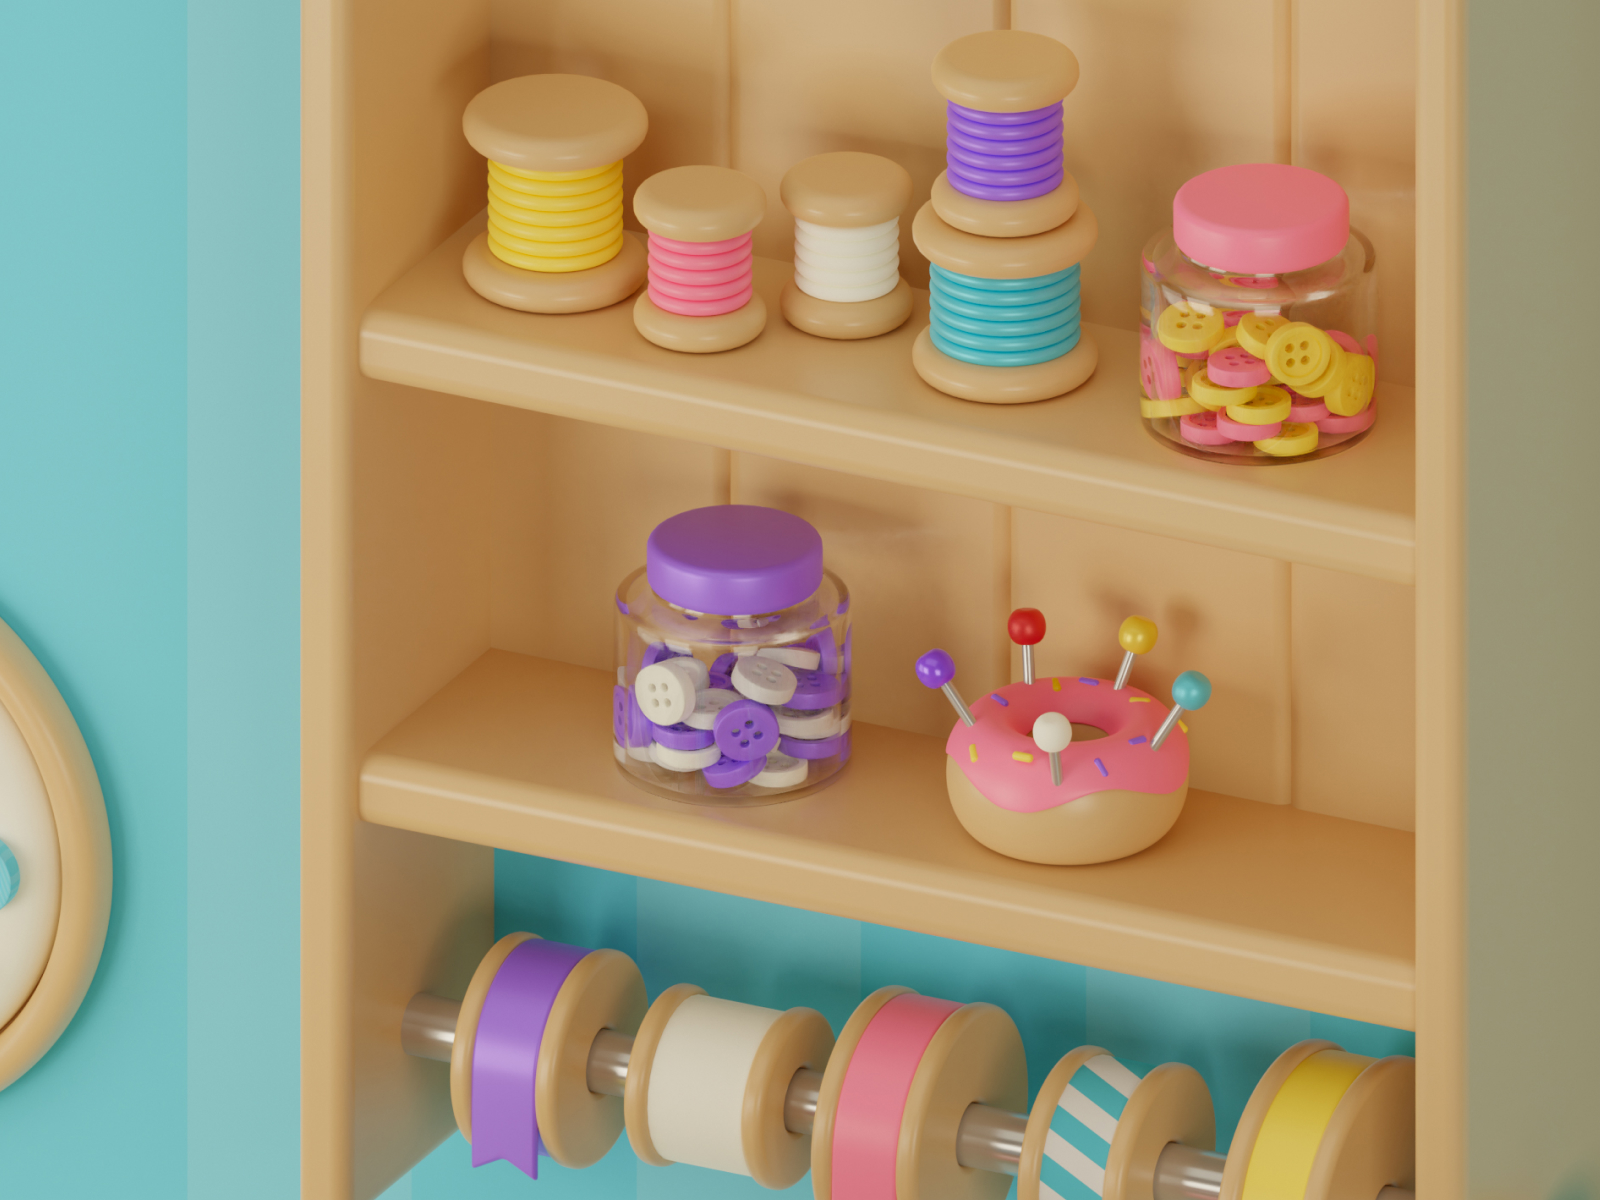
I used very basic materials: almost all objects have only Principled BSDF shaders with different roughness settings.
As for the cloth, here are the material settings:
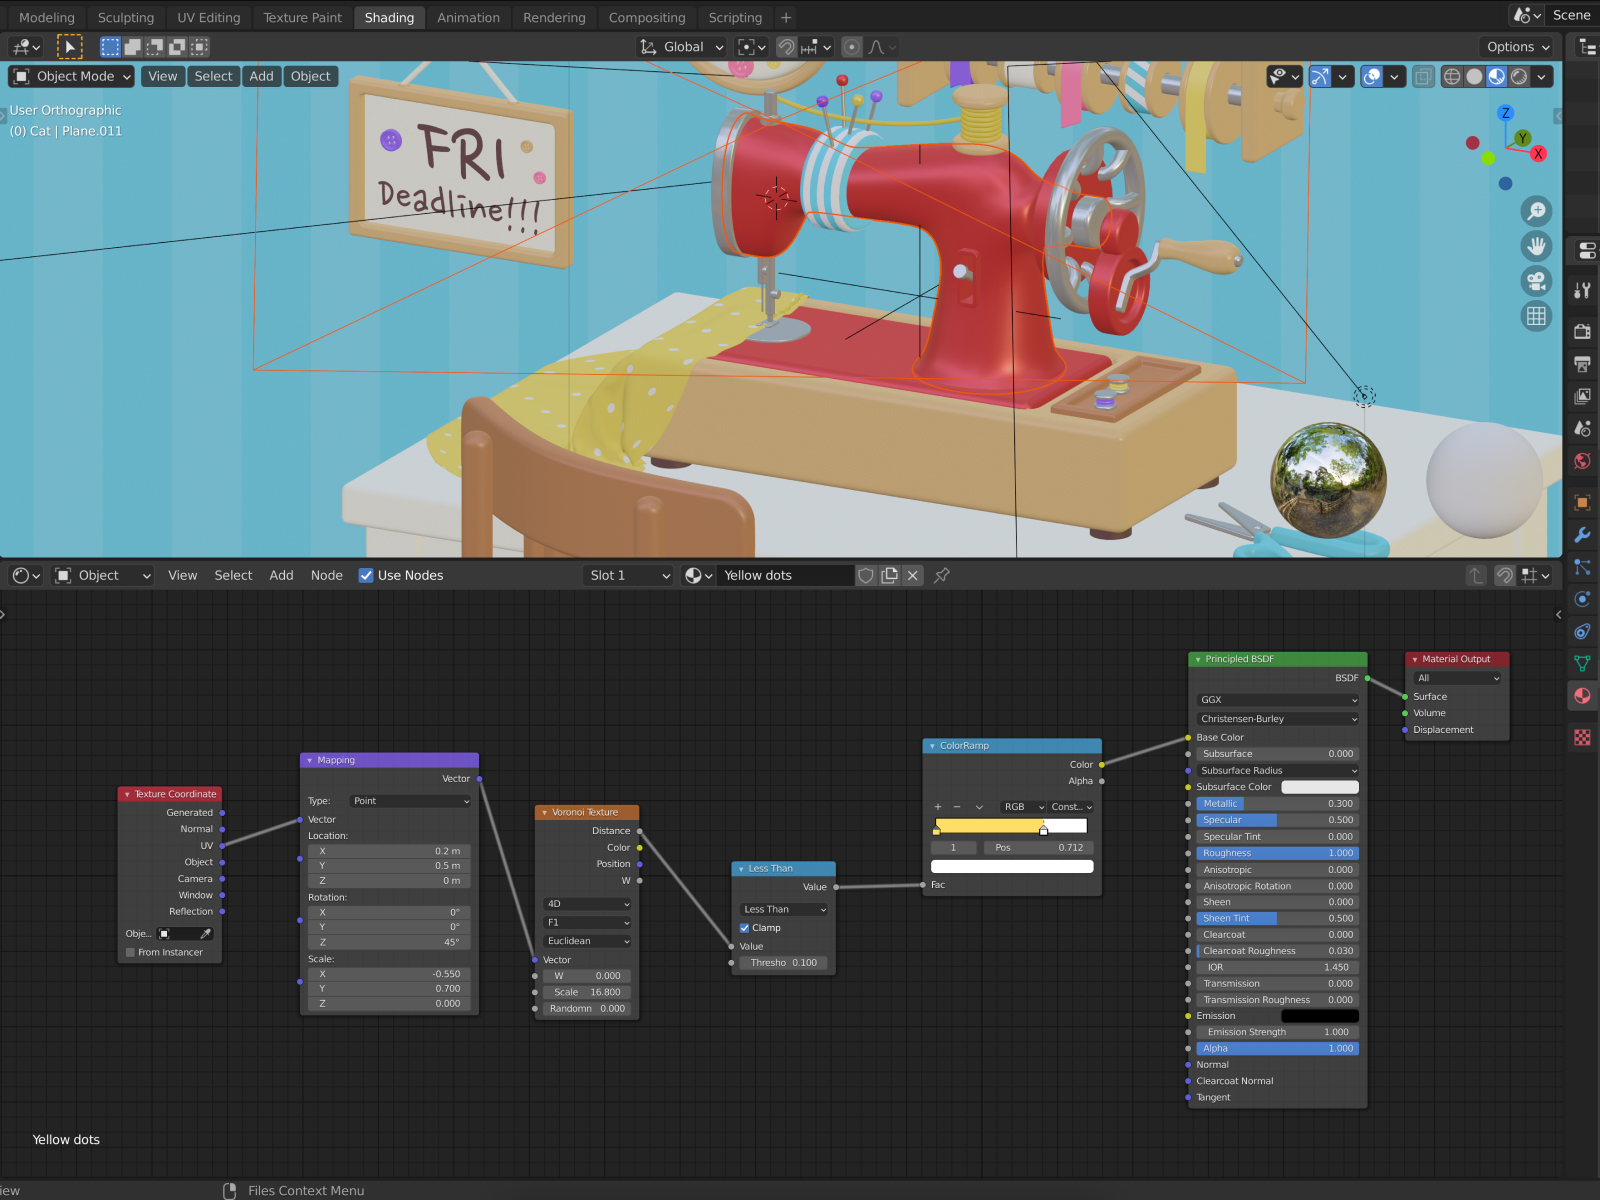
Similar settings are used for the wall and striped objects:

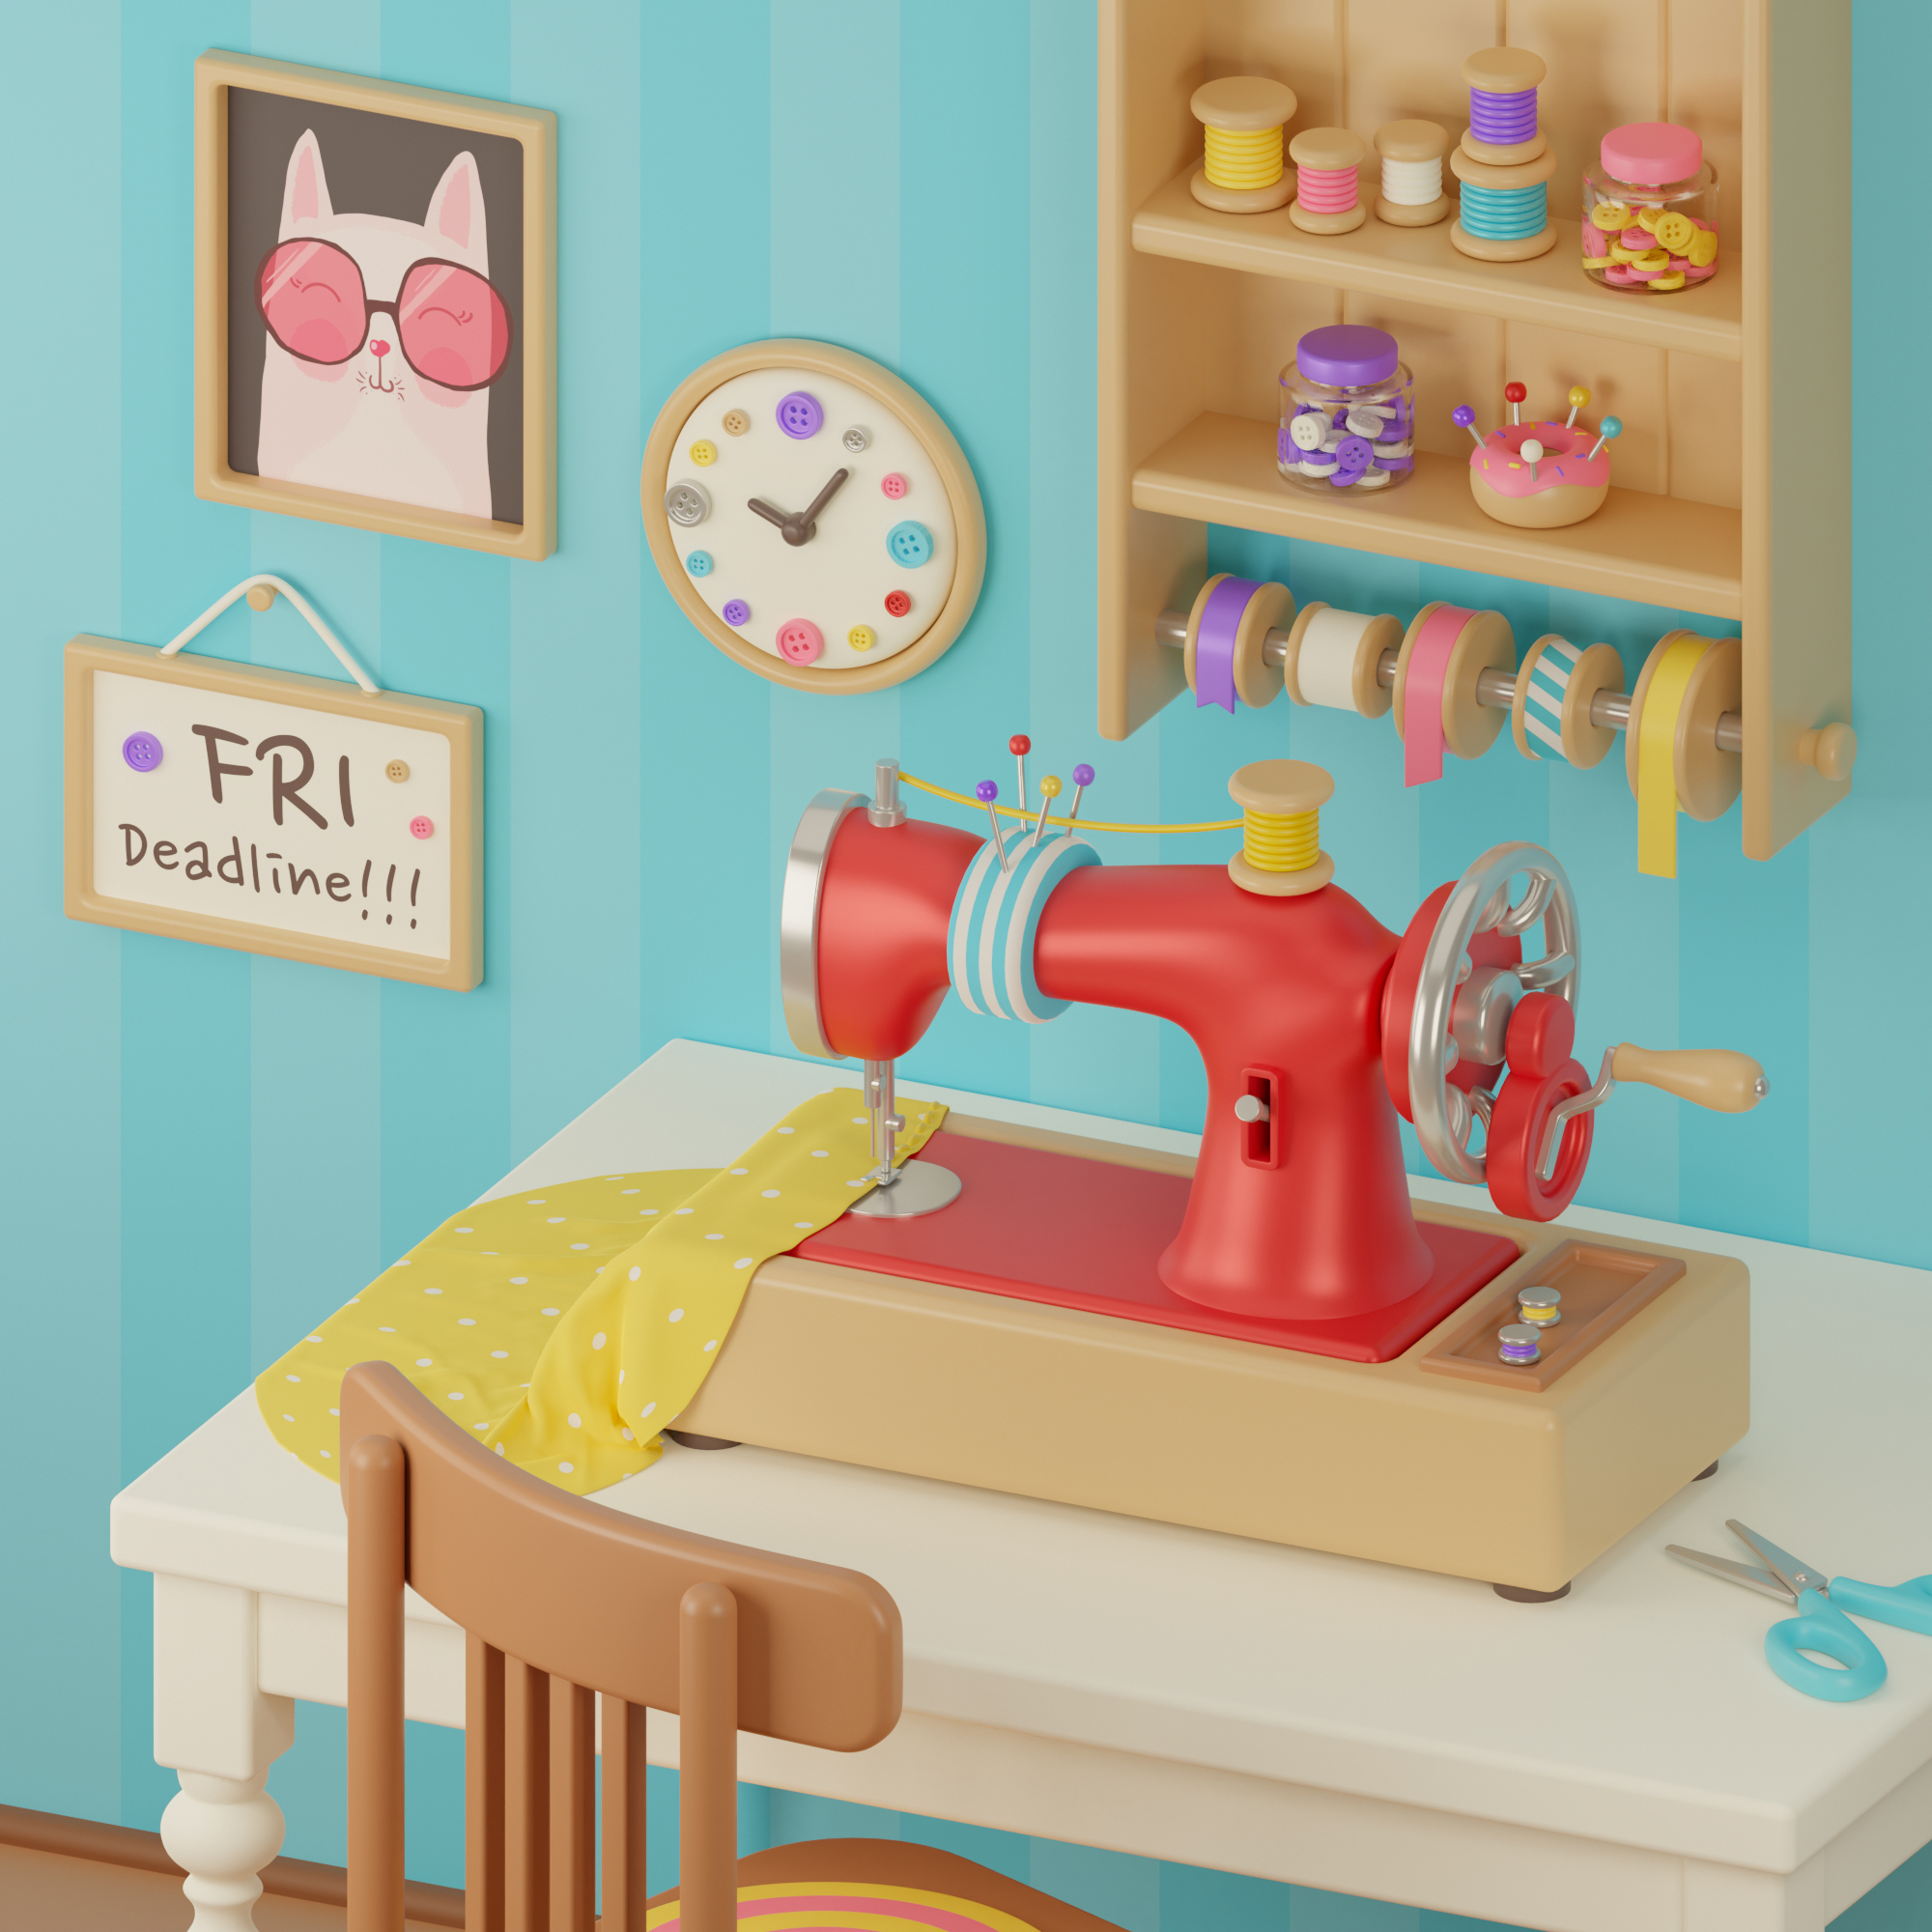
Lighting
Lighting is my favorite part: it is the time when magic happens. Good lighting can save the scene even if the models are not so good. And bad lighting can ruin the perfect model. I used 4 area lights in this scene.
Final render and some advice for the beginners
I started Blender a year ago with no prior knowledge of 3D, gave up and started again. It may seem a bit difficult at the beginning but it will get easier and easier with time. And the minute after the final render—when you see on the screen what you’ve planned and seen only in your mind—it is precious and worth all the effort.
About the Author
 Svetlana Tretyakova, Junior 3D Artist


