Introduction
Hello everyone, my name is Farrukh Abdur Rahman. I am from Pakistan. I am a self-taught 3D artist. Most of the knowledge and skills that I have learned over the years are from tutorials, books, and creating personal art. Currently, I am working as a freelancer with different clients for games and other related 3D projects.
Idea and Inspiration
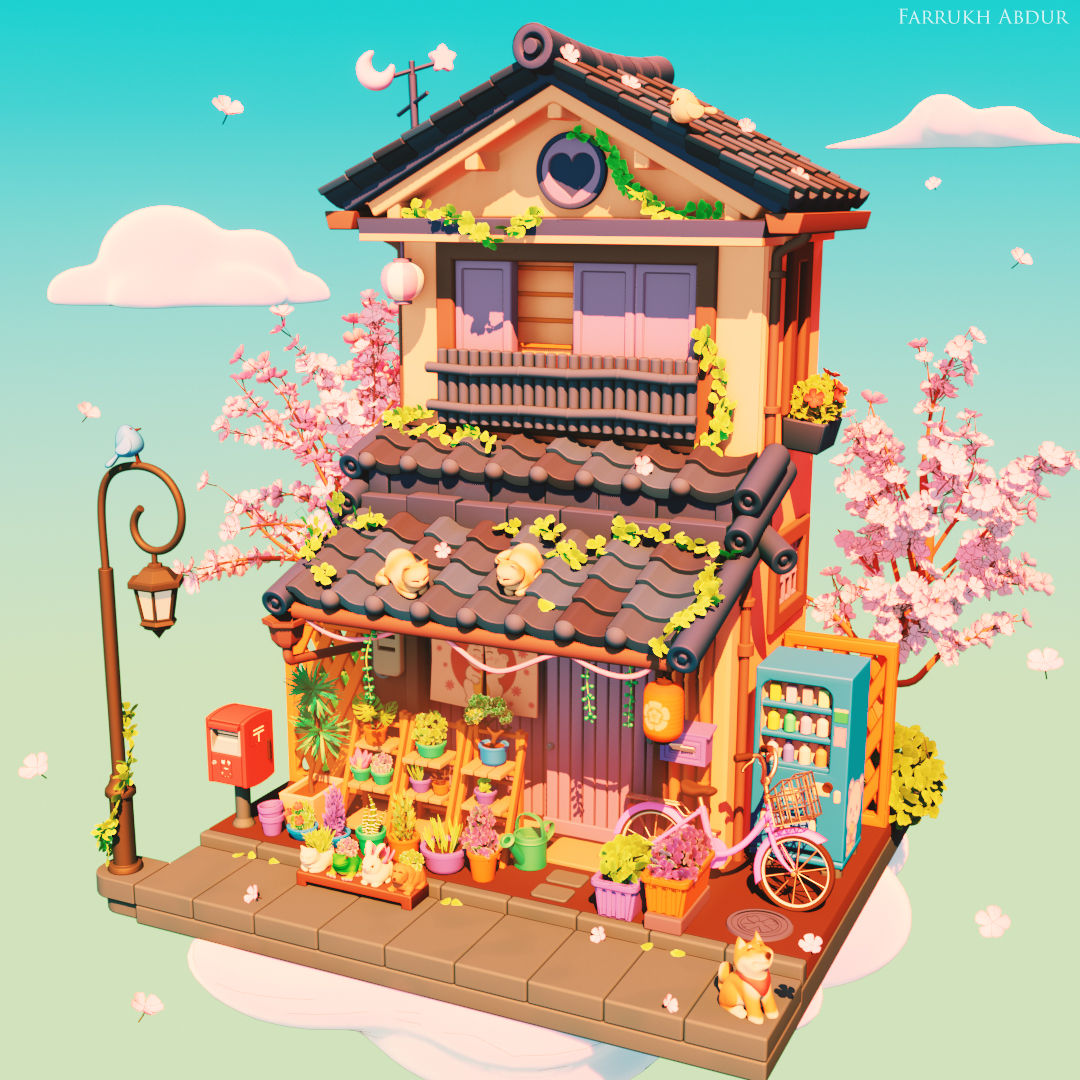
I have a deep interest in Japanese design, nature, and plants. Alongside that, I have also been working on my 3D exploration game that is based around Japan. Thus, it felt natural for me to create something with the same theme and that has plants and Japan-themed elements in it.
Software
For this artwork, I have used Blender for modeling, sculpting, and rendering.
References
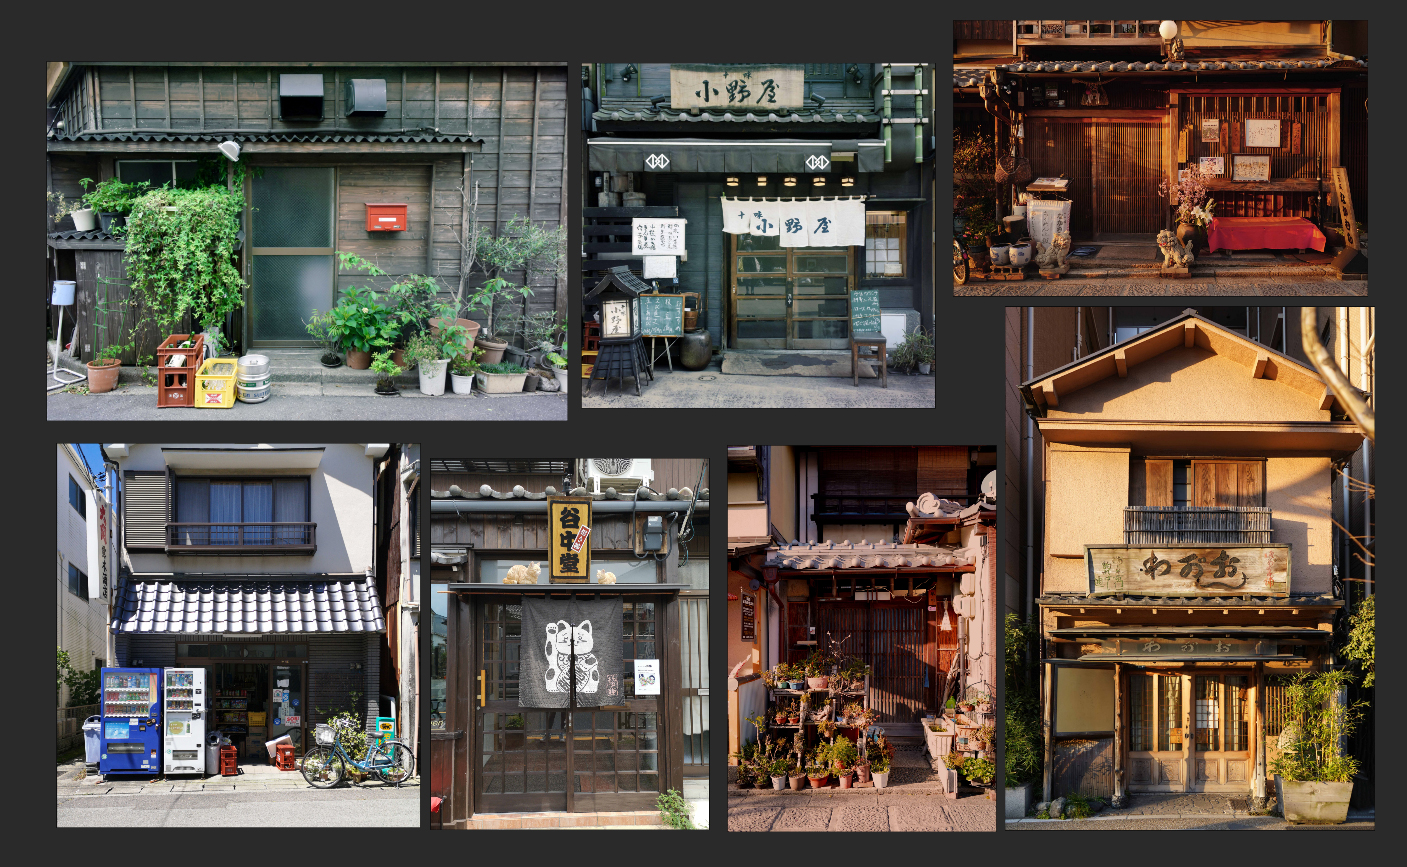
I started collecting reference images for two main areas that were storefronts and plants. I used the PureRef program to arrange all of the collected images, as it is one of the best image reference tools.
Here are some of the images that I used for studying design and ideas:
For storefronts, I mainly used a storefront collection pack from Elora. It includes a great collection of high-quality images. I also collected images of specific objects and plants from Google search.
Modeling
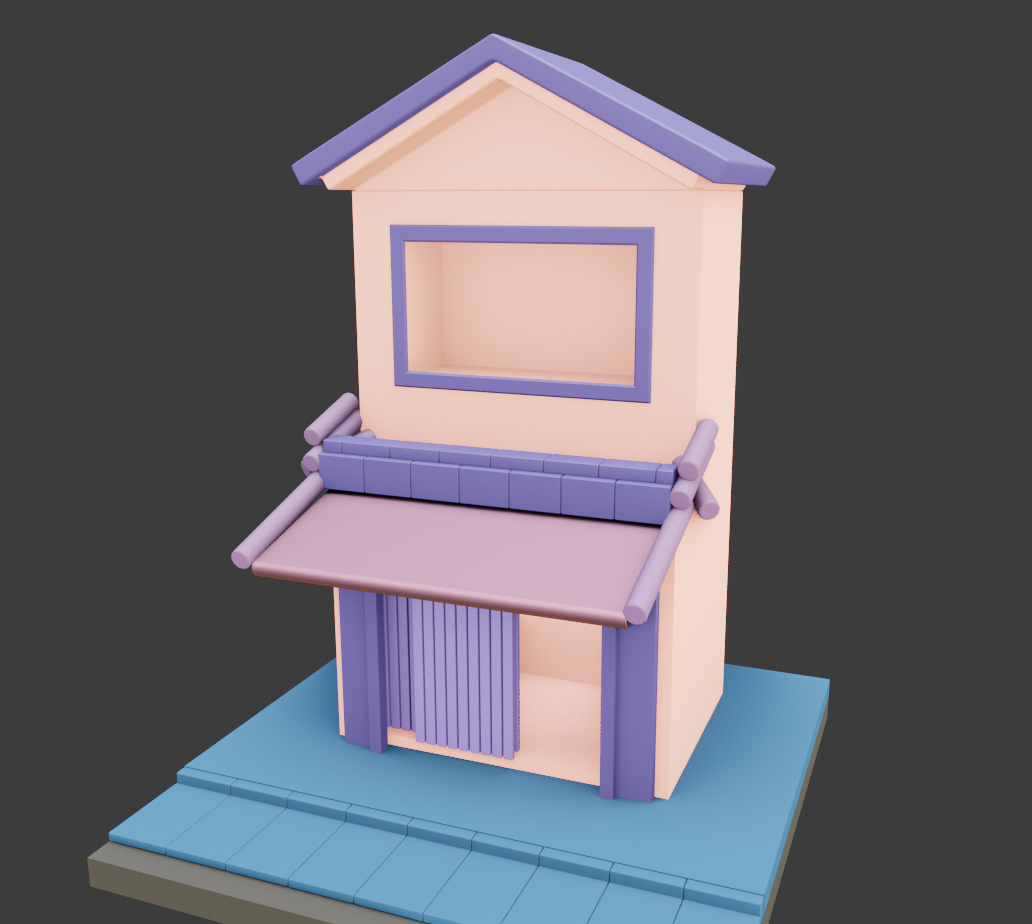
For the modeling part, I first created the blockout space for the main store. This helps me to visualize how I would like to have the windows, doors, roof, and overall shape. One important aspect while working was to keep things simple and reuse objects, with variation, wherever possible.
Most of the models were created from basic primitive shapes like cubes, cylinders, etc. Some models use a bevel modifier for extra edge detail. For each model, I followed a related reference, but just to get an idea of the shape. I was not going for something very realistic in terms of details.
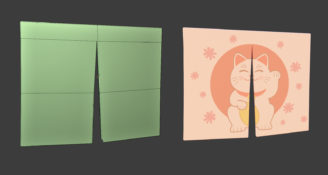
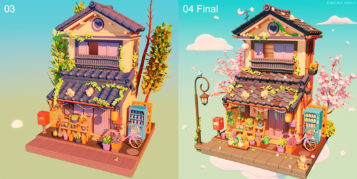
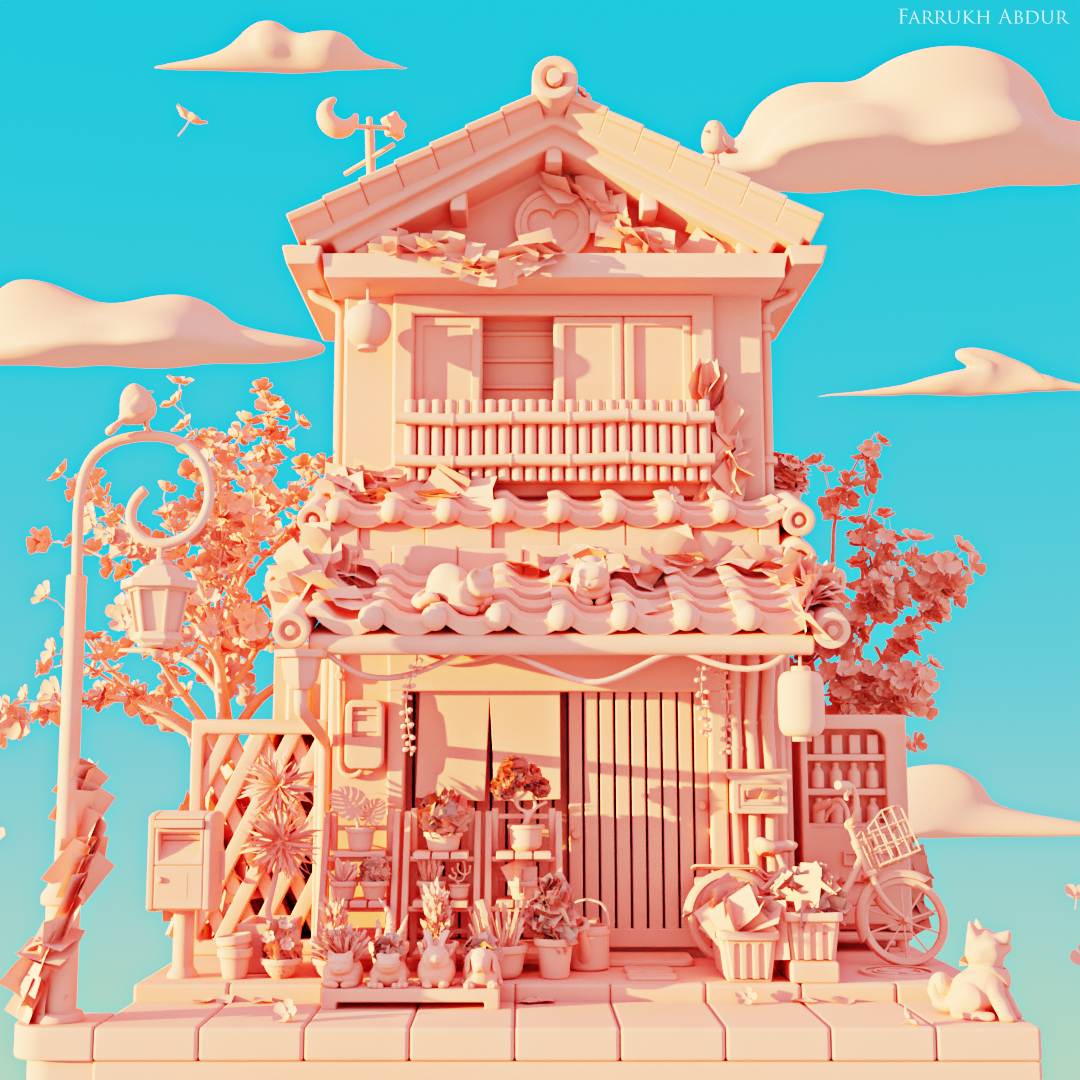
In the process, you can see how the design evolved and changed. In the early stage, I set up the lighting and assigned color materials so I could visualize how things are shaping up. At each iteration I moved things around, changing the scale of objects to experiment with different results.
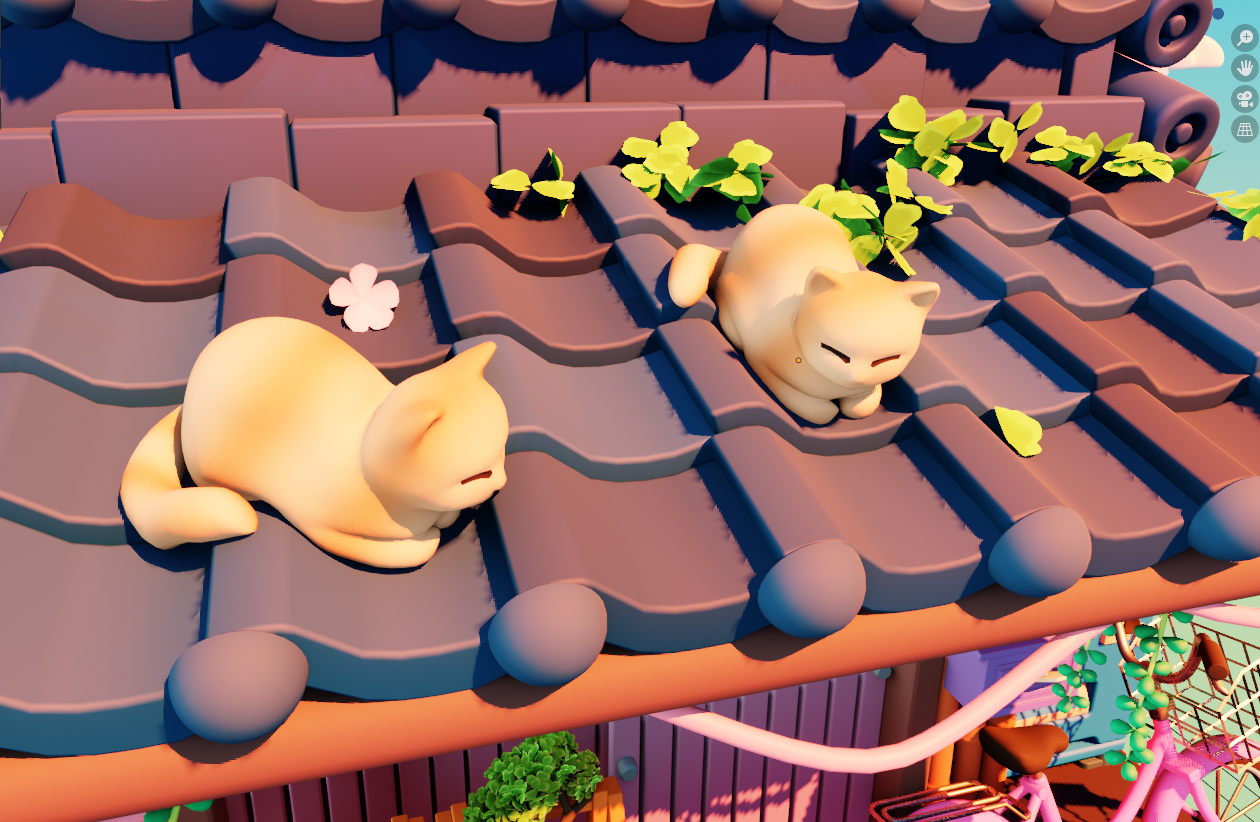
Some extra details like scattered leaves and cats sitting help to make space more alive.
Plant Models
The models were created using simple poly modeling techniques. Some were almost the same but used a different color material for variation.
For anyone interested, I have a tutorial on my YouTube channel for creating succulent plant models.
To save time, some of the plant 3D models are from my previous project, ‘The Plant Room’.
Ivy Creation
The ivy is based on a particle system generated over a low poly mesh. I created one ivy leaf and used it as an instance to be spread over the base mesh, which, in my case, is a cylinder. Using the rotation and scaling in the particle options, I was able to achieve the look I was going for.
The good thing about using a particle system is that it dynamically adjusts itself over the base mesh shape if there are any changes made to it.
This project was done using Blender 2.91, but the same result can be achieved with more control using geometry nodes, which are now included in Blender 2.93.
Here you can see the particles applied over a sphere and used as a plant/bush-type object later on.
Roof Tiles
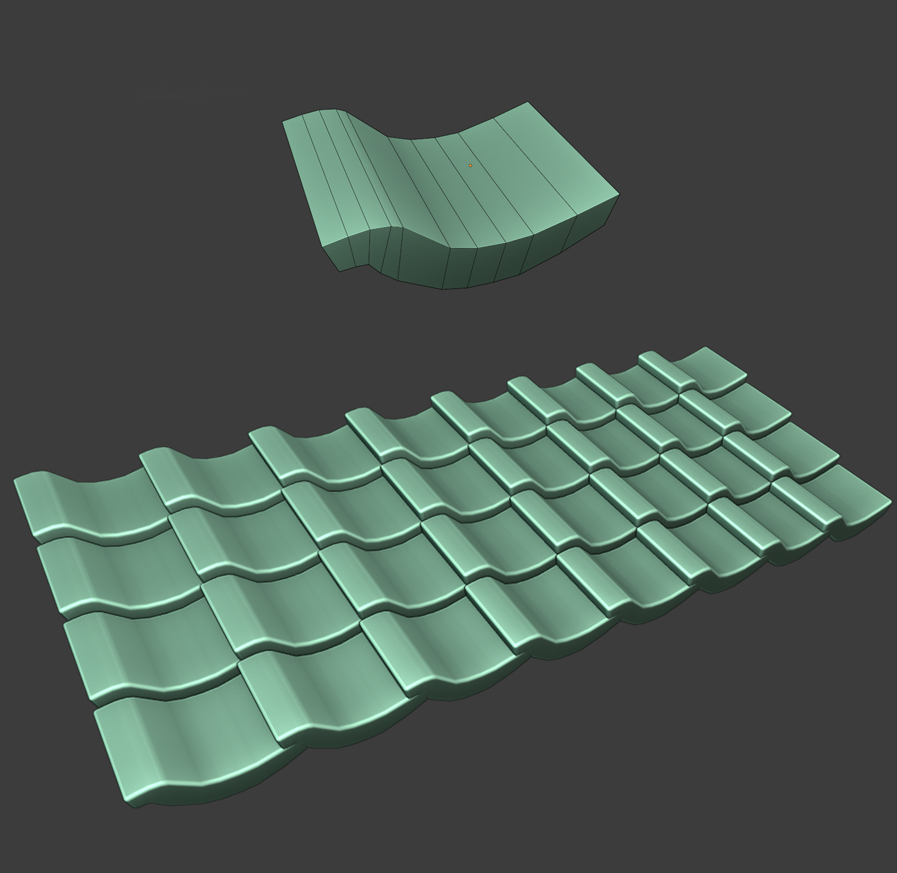
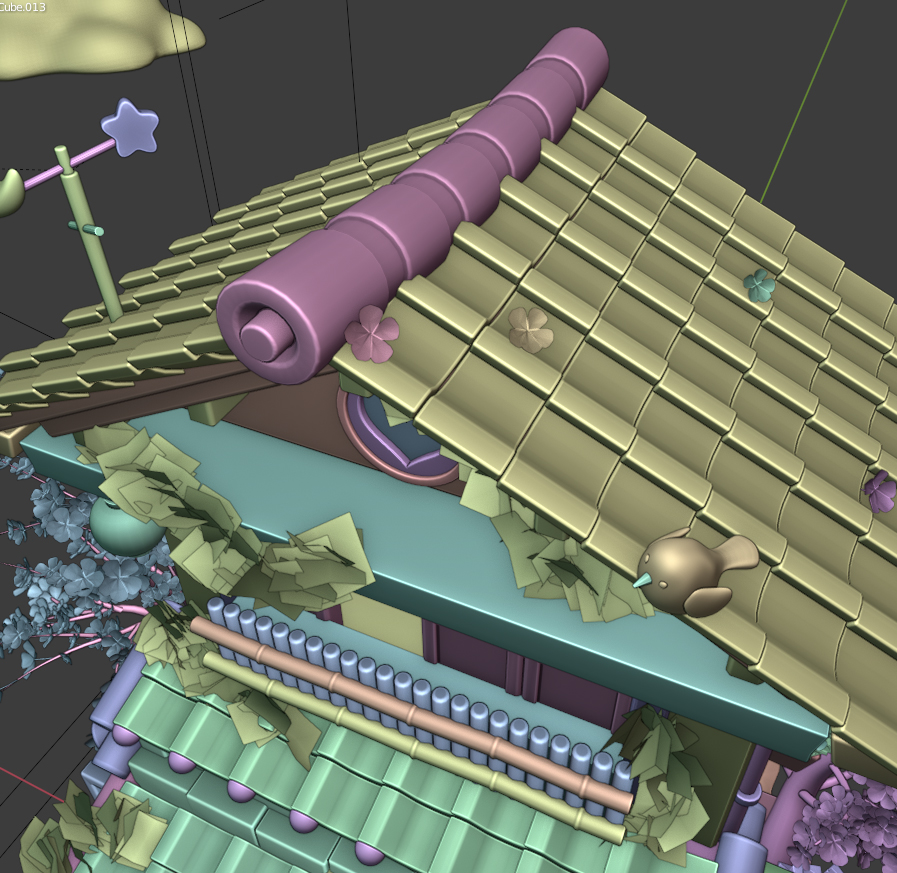
For the roof tiles, the first step was to build one roof tile shape. Then, using an array modifier, I created a few rows of tiles. Any change in the main tile is reflected across all other tiles, as they are instances of the main tile. A bevel modifier helps to add highlights to the edges.
All the tiles were created using arrays and placed over the top of the roof.
Sculpting
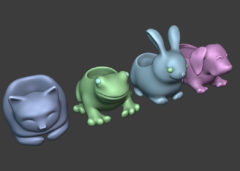
I used sculpting tools in Blender for some of the 3D models like the cats and planters. I started with creating a basic raw block and then remeshed to join the head, ears, and other parts. Next, I used a smooth brush over the mesh. I was only focusing on creating an overall model shape that looked decent. Later I remeshed to create a low-resolution model.
The planters were created using the same method mentioned above alongside using sculpting tools.
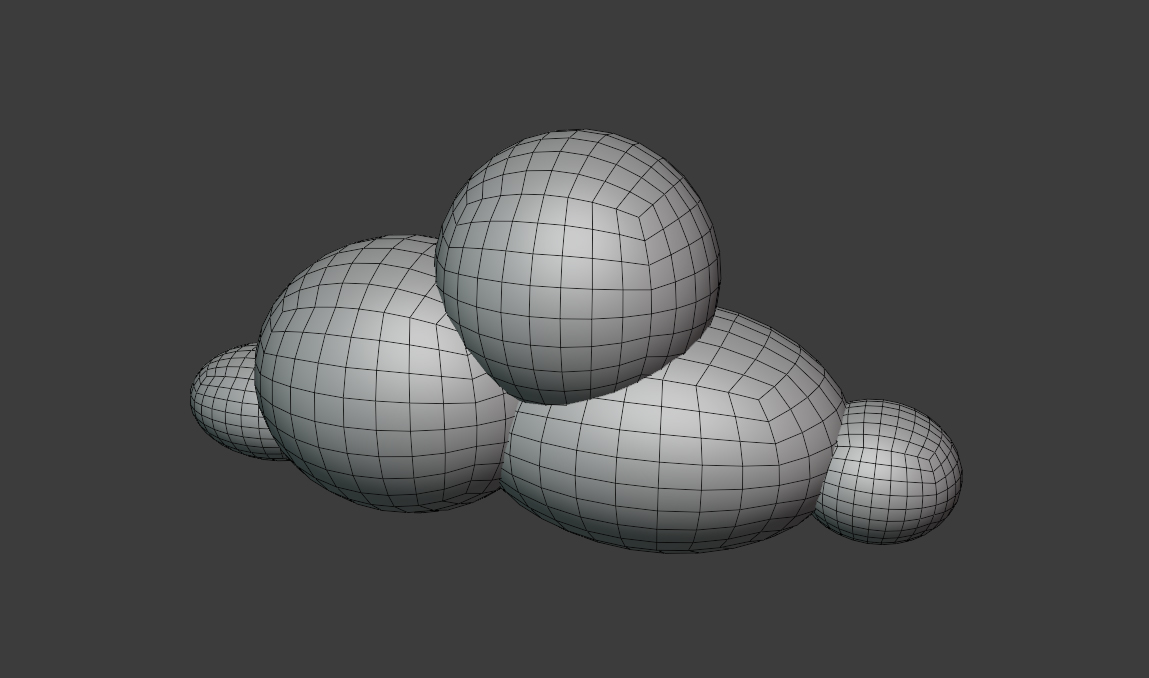
I used simple sphere meshes of different sizes to make the overall form of the clouds. I used the scale tool and the sculpting move brush for shape blockout. One thing to note here was that I kept the meshes low poly as I did not need complex details.
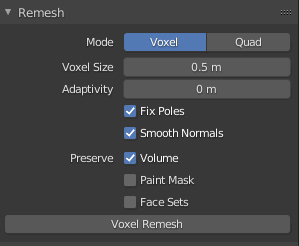
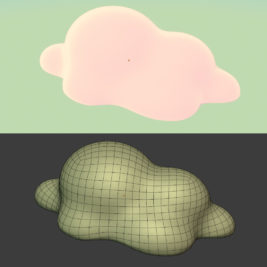
After I had created a few different cloud shapes, the next step was using voxel remesh to connect them seamlessly as one mesh and smooth them out. Quad remesh helps to create a clean, even topology.
Trees
For trees, I used a nice free Blender add-on, mtree, which is great for tree creation in a fast and easy way. For the flowers, I created a custom low-poly sakura model, which was then applied over the tree. Since mtree uses a particle system for leaves, it was fairly straightforward to assign my custom flower petals and spread them across the tree branches.
Scene Management
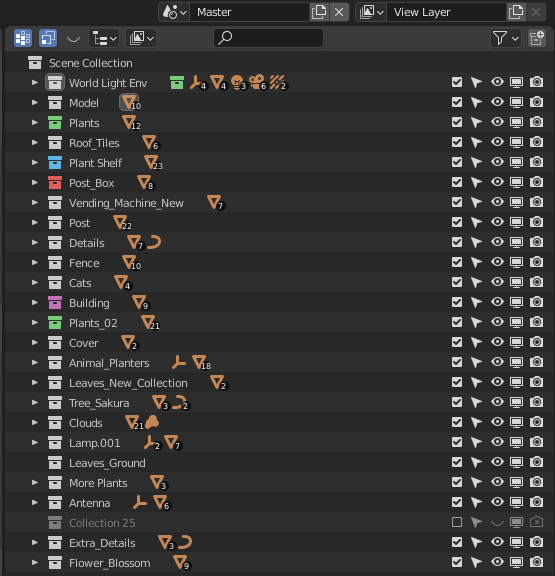
In making a 3D scene like this, it is easy to lose track of things; it can become a hassle to find where each object is. From the start, I tried to keep things as organized as possible. I used collections and named them. It was helpful to enable, hide, and look up things when needed.
Rendering
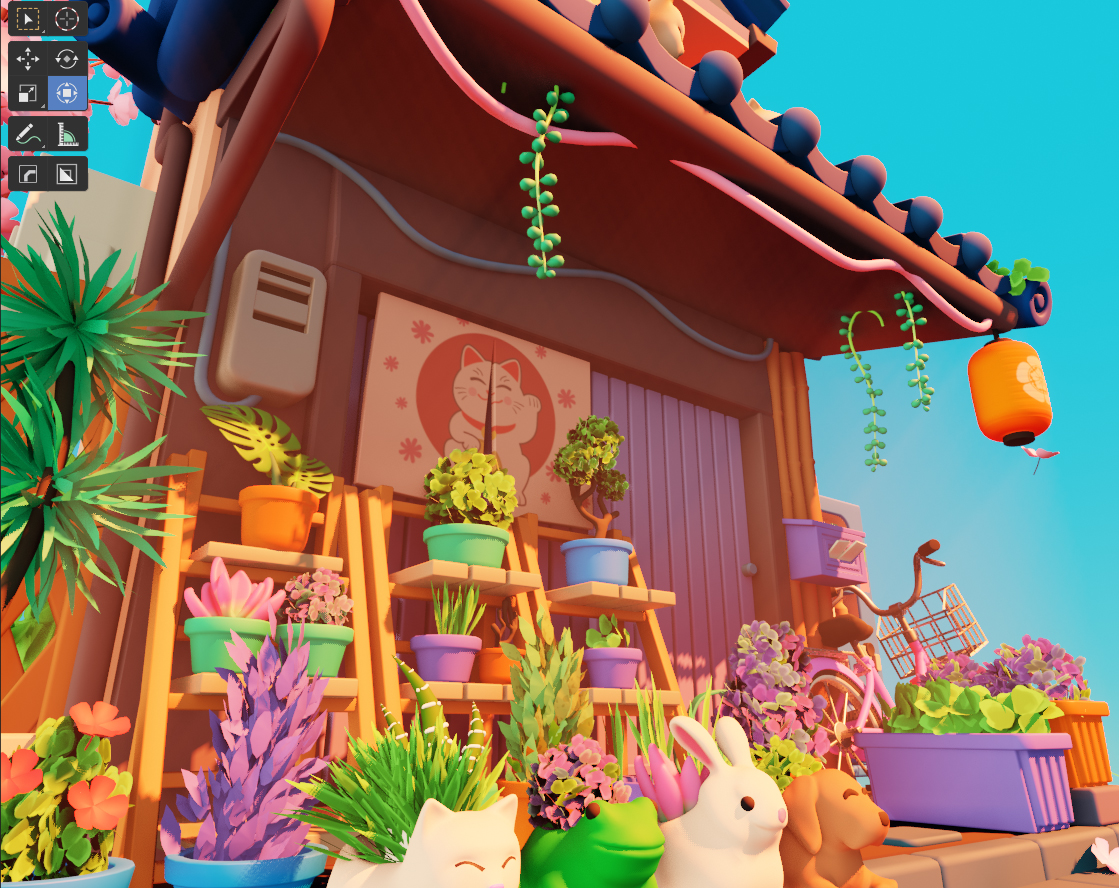
For this project, I used Eevee for rendering. One of the main advantages of using Eevee is its real-time rendering view, which greatly helps to see how things are looking during lighting, materials, and modeling adjustments.
There is a small volumetric area that I added, as well, outside the door area.
For ambient lighting, I added an HDR environment texture map to the world. Then I used a gradient color node for the background. The setup I used hides the HDR map and keeps HDR lighting with a seamless color background.
The world node setup I used.
Next, I added a sun light, as well. The sun light helps to create strong shadows with additional lighting.
I created a day and night version of the plant store. Since I was using Eevee for rendering, it was easy to make real-time changes in the light. Everything gets updated instantly.
For the night version, I used a nighttime HDR map and positioned the sun light at a different angle, changing the color to a dark blue tone.
That basically wraps it up. I hope someone will find this Behind the Scenes useful. I would like to thank BlenderNation for the opportunity. I am happy to share the process and had a great time working on it.
Thank you very much! Stay safe, take care, everyone!
Final Presentation Views
About the Author
 Farrukh Abdur Rahman, 3D Artist



















3 Comments
Very, very nice.
Gorgeous work!
Beautiful project, I liked it