
First (and short) experiences in 3D
My name is Jean-Michel, I am originally from Provence, south of France and I live in Berlin, Germany. I have to confess that I don't have any artistic or CG background in the academic sense as I oriented myself more to computer development and network administration. My graphical work has been mainly done as a hobby (except a few quick jobs for an interface, an icon set, etc.). Anyway, I have never been really attracted to 3D creation, and my first (and last) experience in that domain goes back to the mid-’90s when with a friend, as teenagers, we were scripting some scenes on Persistence of Vision Raytracer (POV-Ray) without any modeler, or Luxart (a French freeware raytracer program that doesn't exist anymore). It was taking ages to render a simple 320x200 image on our good old 386DX PC.
My first encounter with Blender dates back to the end of the ‘90s when it was often included, as well as The Gimp, into the Linux distributions I was working with at that time. I gave it a try a few times, but its interface seemed relatively complex if not a little scary and I did not persist anymore.
Second try?
Here in Berlin, with my wife, we founded a little graphic studio a few years ago. We are screenprinting her creations and illustrations (she is the real artist) on apparel, bags, or art posters and selling them at the local art markets. Slowly it came to me the idea to integrate a touch of Augmented Reality and I started to work on how we could make that interesting and original for our creations. 3D elements would be necessary, for sure. That's when Blender came back to my mind. I downloaded it and had a quick look at the new interface (version 2.80 had been released shortly before), but I didn't go further than the "Default Cube" as I was really busy with my current work.
Corona lockdown, the good moment!
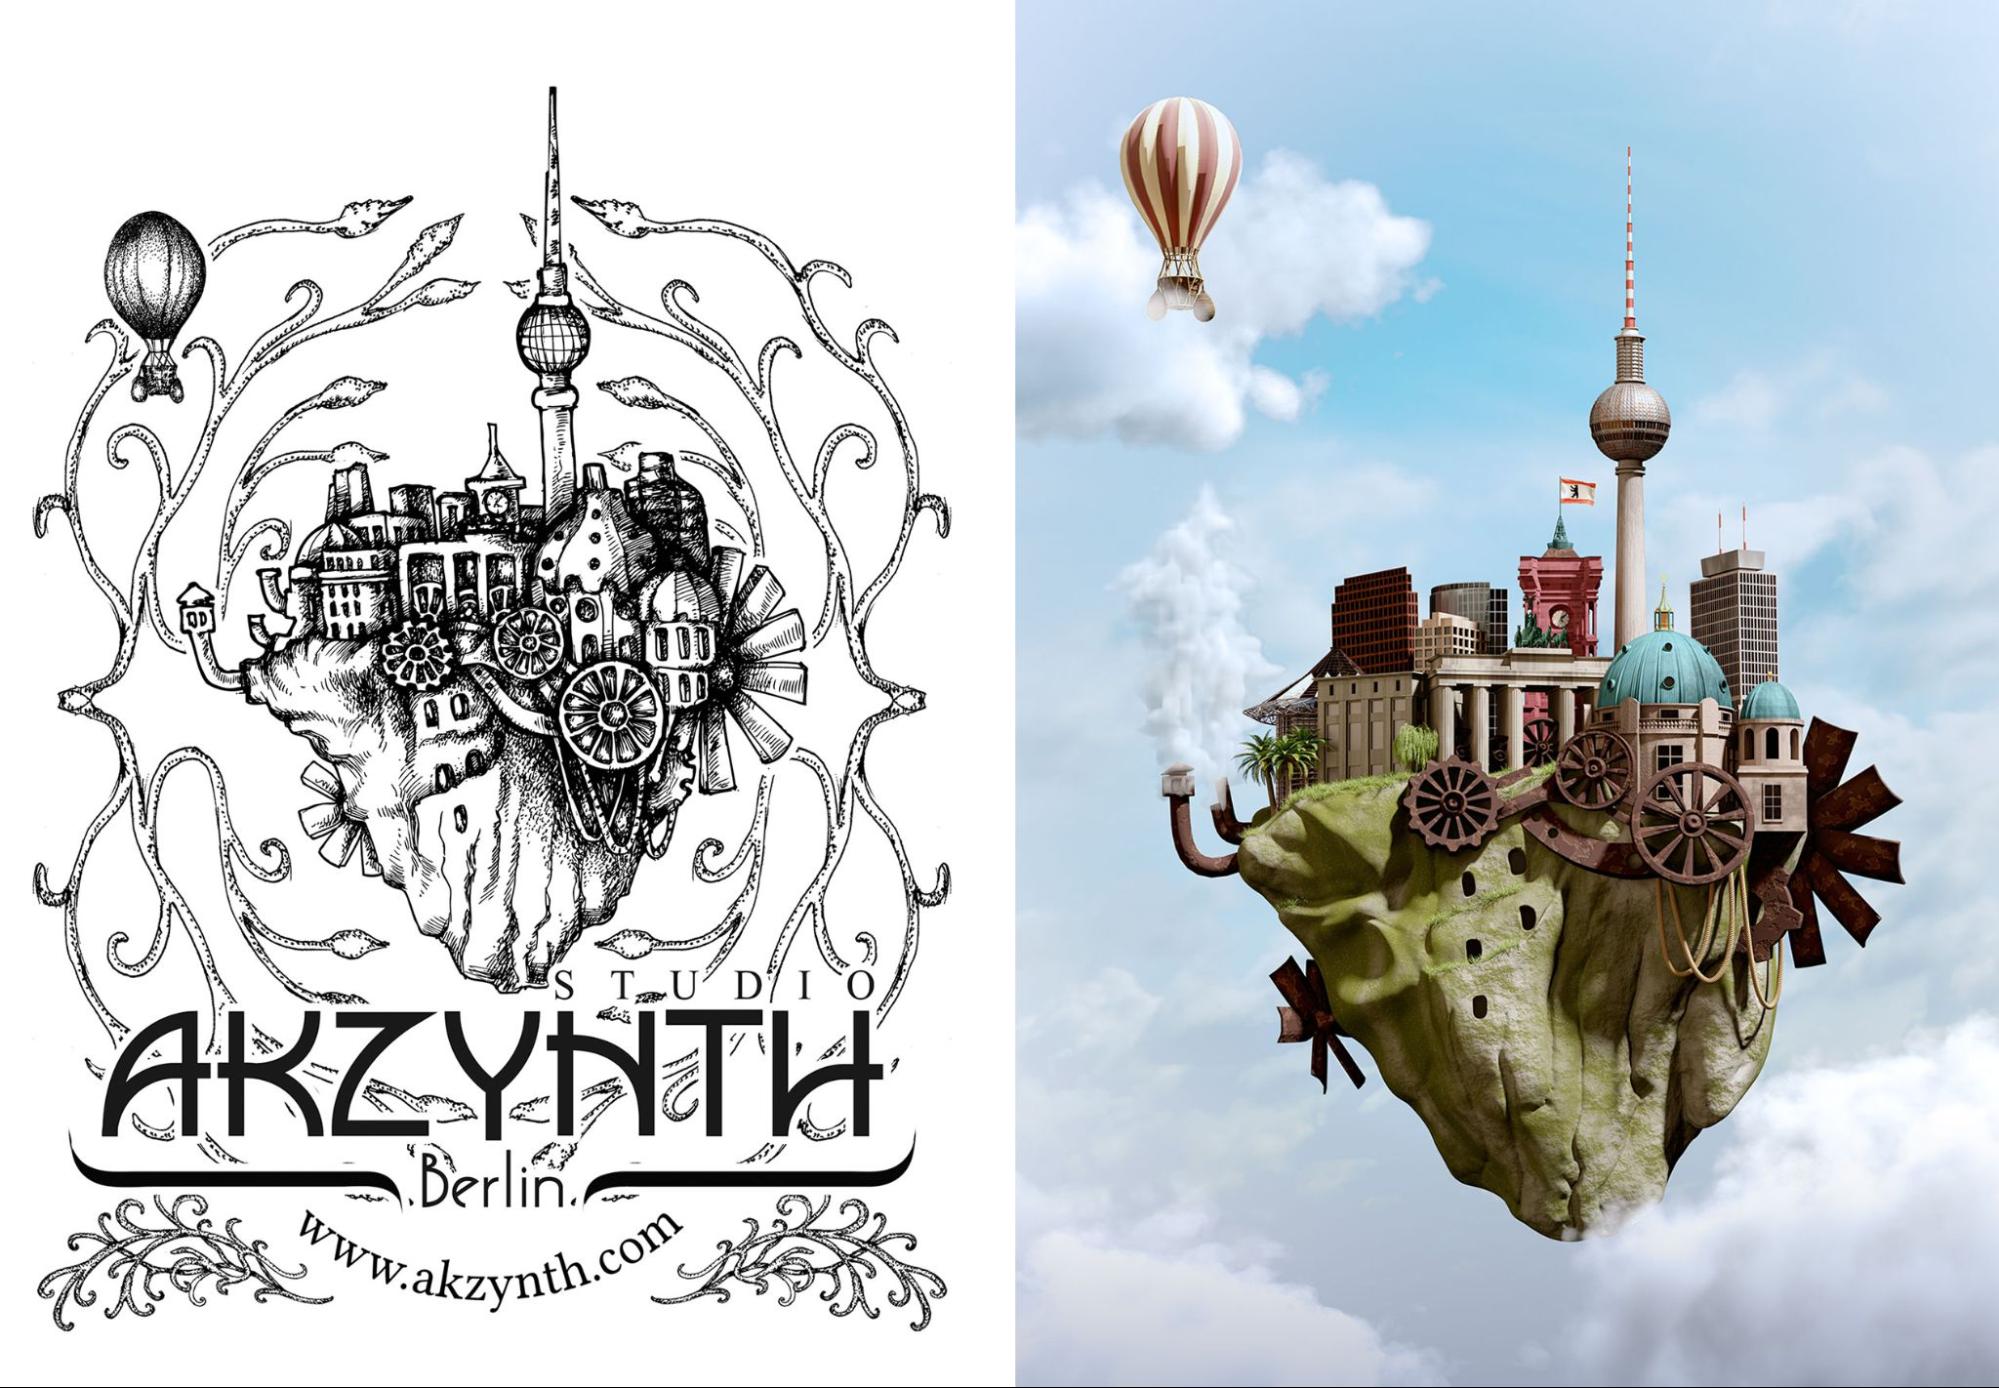
Then the COVID-19 crisis happened and we had to stop all our business as Germany went into a general lockdown. I found myself stuck at home with a lot of free time that I decided to use for some projects I usually never had the time for, like facing Blender. I read a lot about it, watched many tutorials (like the famous donut), and finally challenged myself to turn our logo, which represents some iconic monuments and buildings of Berlin on an island floating in the sky, into a 3D scene. This was completed after a big month of hard work and I ended up with several 3D assets of Berlin that I had modeled, a primitive version of the Brandenburg Gate amongst them.
I worked on more and more scenes, often inspired by the city of Berlin and I got better and more comfortable with the use of Blender. One of these scenes was a view of the city's famous square, Alexanderplatz, and its iconic world clock, but in a kind of cyberpunk future.

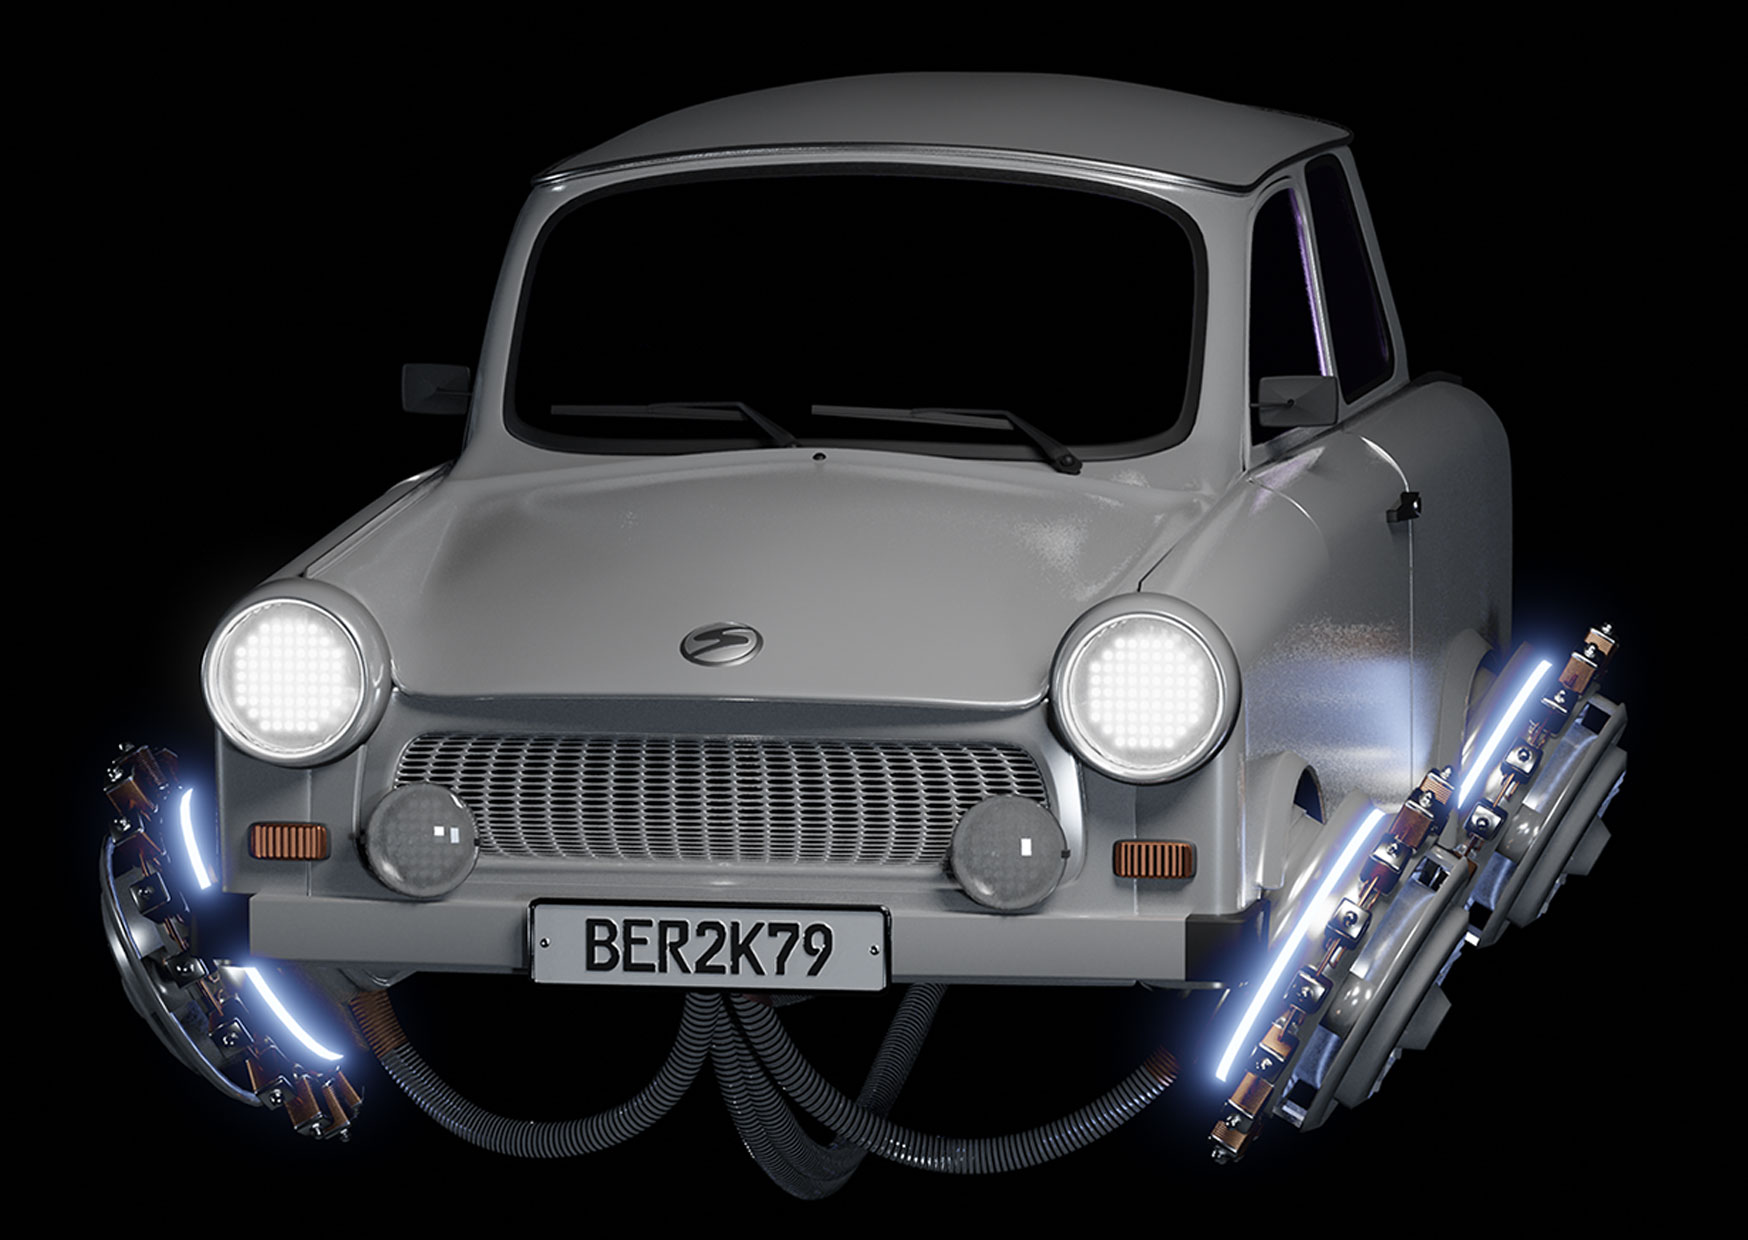
For this project, I also needed a flying car, a typical one to fit with the place. A Trabant (an old East German car) would be an obvious choice, an interesting mix between the past and the future. So I modeled my first car ever.
Inspiration and evolution
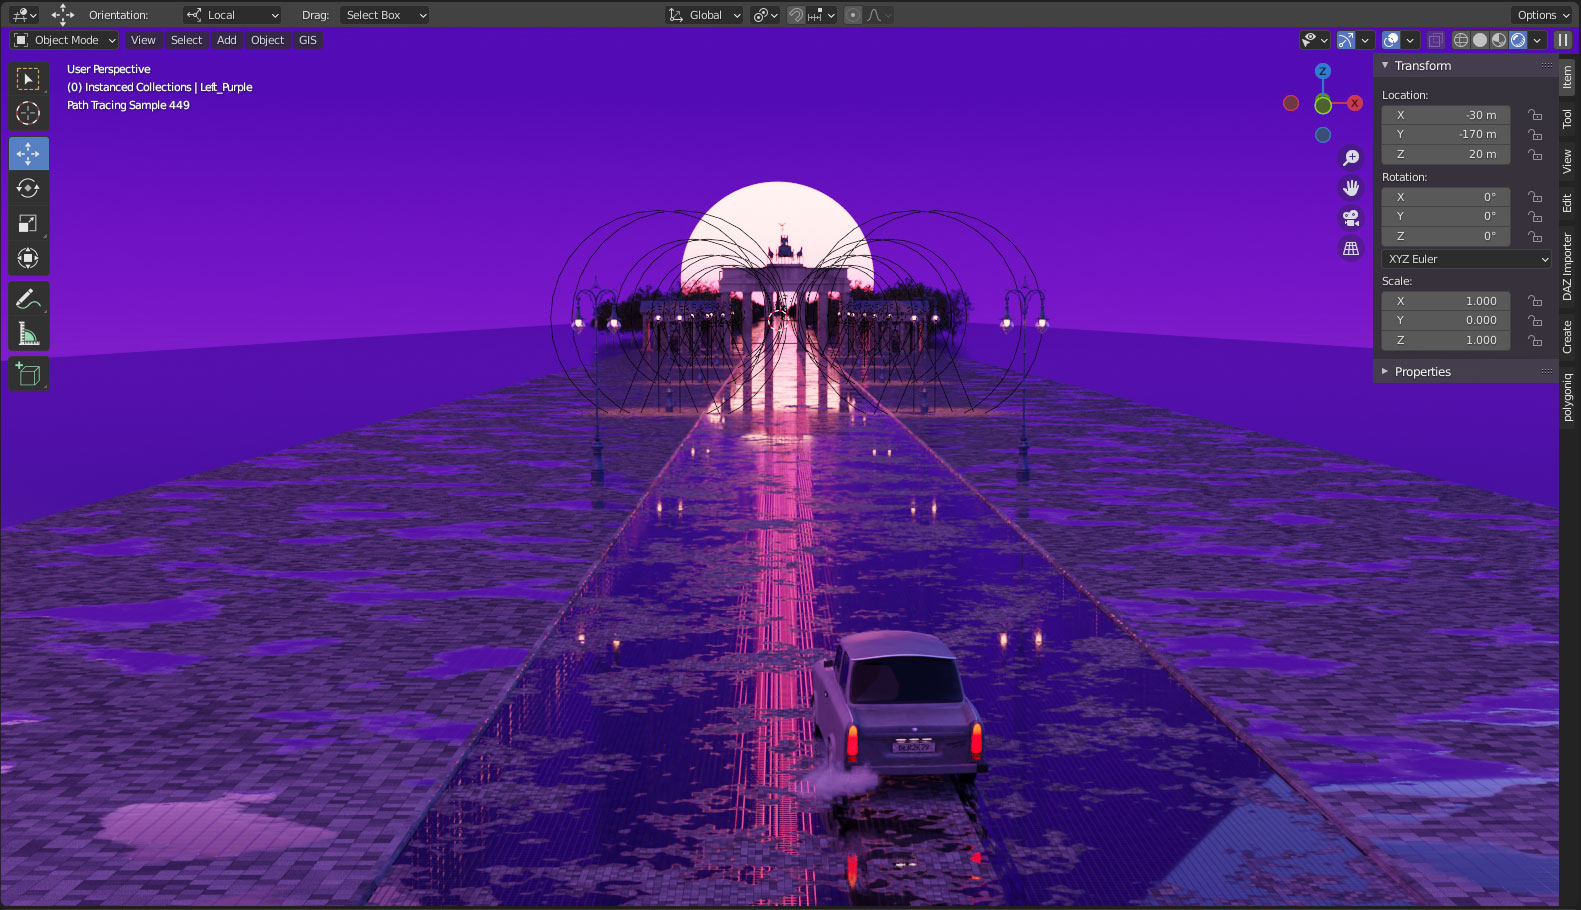
Before starting a new project that I had in mind for a while, I decided to have a little bit of fun with the assets I had already done, just for a couple of days, I thought. I had the idea of a scene with the Trabant running towards the Brandenburg Gate and the west, facing a huge sunset in an 80's Synthwave atmosphere (you know, typically a sports car rushing towards a minimalist huge orange sunset on the horizon, all in a pink/purple tone). I had even planned to put some palms on either side of the road.
But as the composition of the scene progressed, I started to see something different in it, something more serious that reminded me of the strong and recent history of the city. So I decided to move to something more realistic, maybe with a specific after-the-rain (it comes the sun) atmosphere—less flashy than planned, anyway. I replaced the idea of the palms with the street lamps that I have modeled based on the real ones. I added the typical (in Berlin, at least) little blocks of stone on the roadway and sidewalks and the puddles over them. Every material and texture has been made procedurally.
Modeling and recycling
In the background, to match with the real perspective, I have used the Siegessäule, the victory column, another emblematic monument of Berlin that I had modeled for my first work (the Berlin in the sky) but actually never used. It is surrounded by the Tiergarten, a huge park in the center of the city that starts just behind the Gate. Those trees are parts of the amazing Botaniq library for Blender.

The Trabant car is the one I had already used for the previous cyberpunk work, but not flying this time, so I added the four wheels (oh, and an exhaust pipe, too).

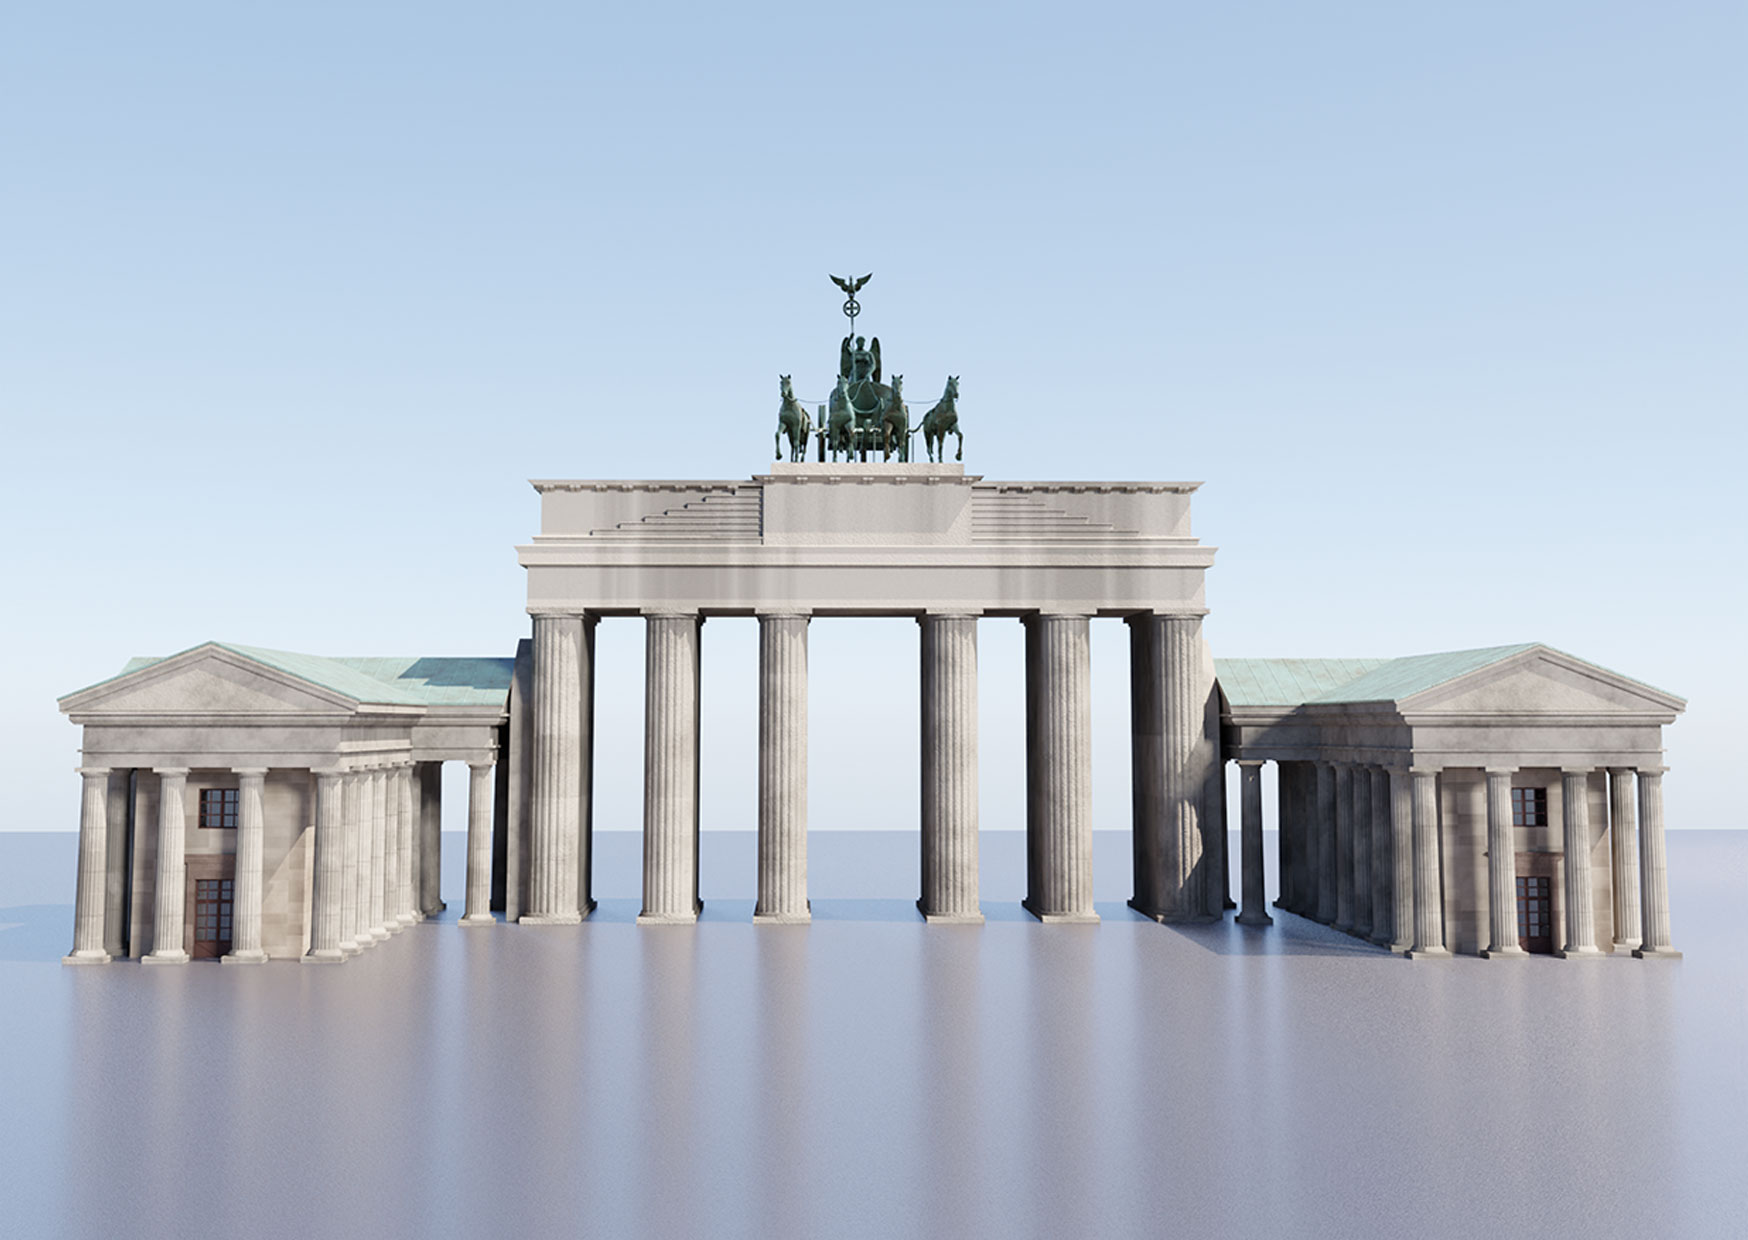
And finally, the Brandenburg Gate itself. I re-used the one from my first project—it's even the first thing I have ever done in Blender. I have improved it with more details and realism and added the two wings on both sides.
The light
Last but not least was the light. It is a really important element that can totally change the spirit of the scene. And it's not easy to understand, that's why it is a very special job in the industry, I guess. Anyway, it took me most of the time that I spent on this work to get what I wanted with the light, or almost, and find the right balance between the elements and the volumes as well.
Rendering
The render in Cycles took a bit of time because of the volumetrics and also the resolution of the final image. Indeed, we intend to make it printed in DIN A1 format high-quality to offer it to our customers as posters, canvas, or metal prints at our usual Berlin markets. The resolution of the render has been set to 7016 x 9934 pixels at 300 ppi, far from the 320 x 200 we did a few decades ago for a much much longer render time.
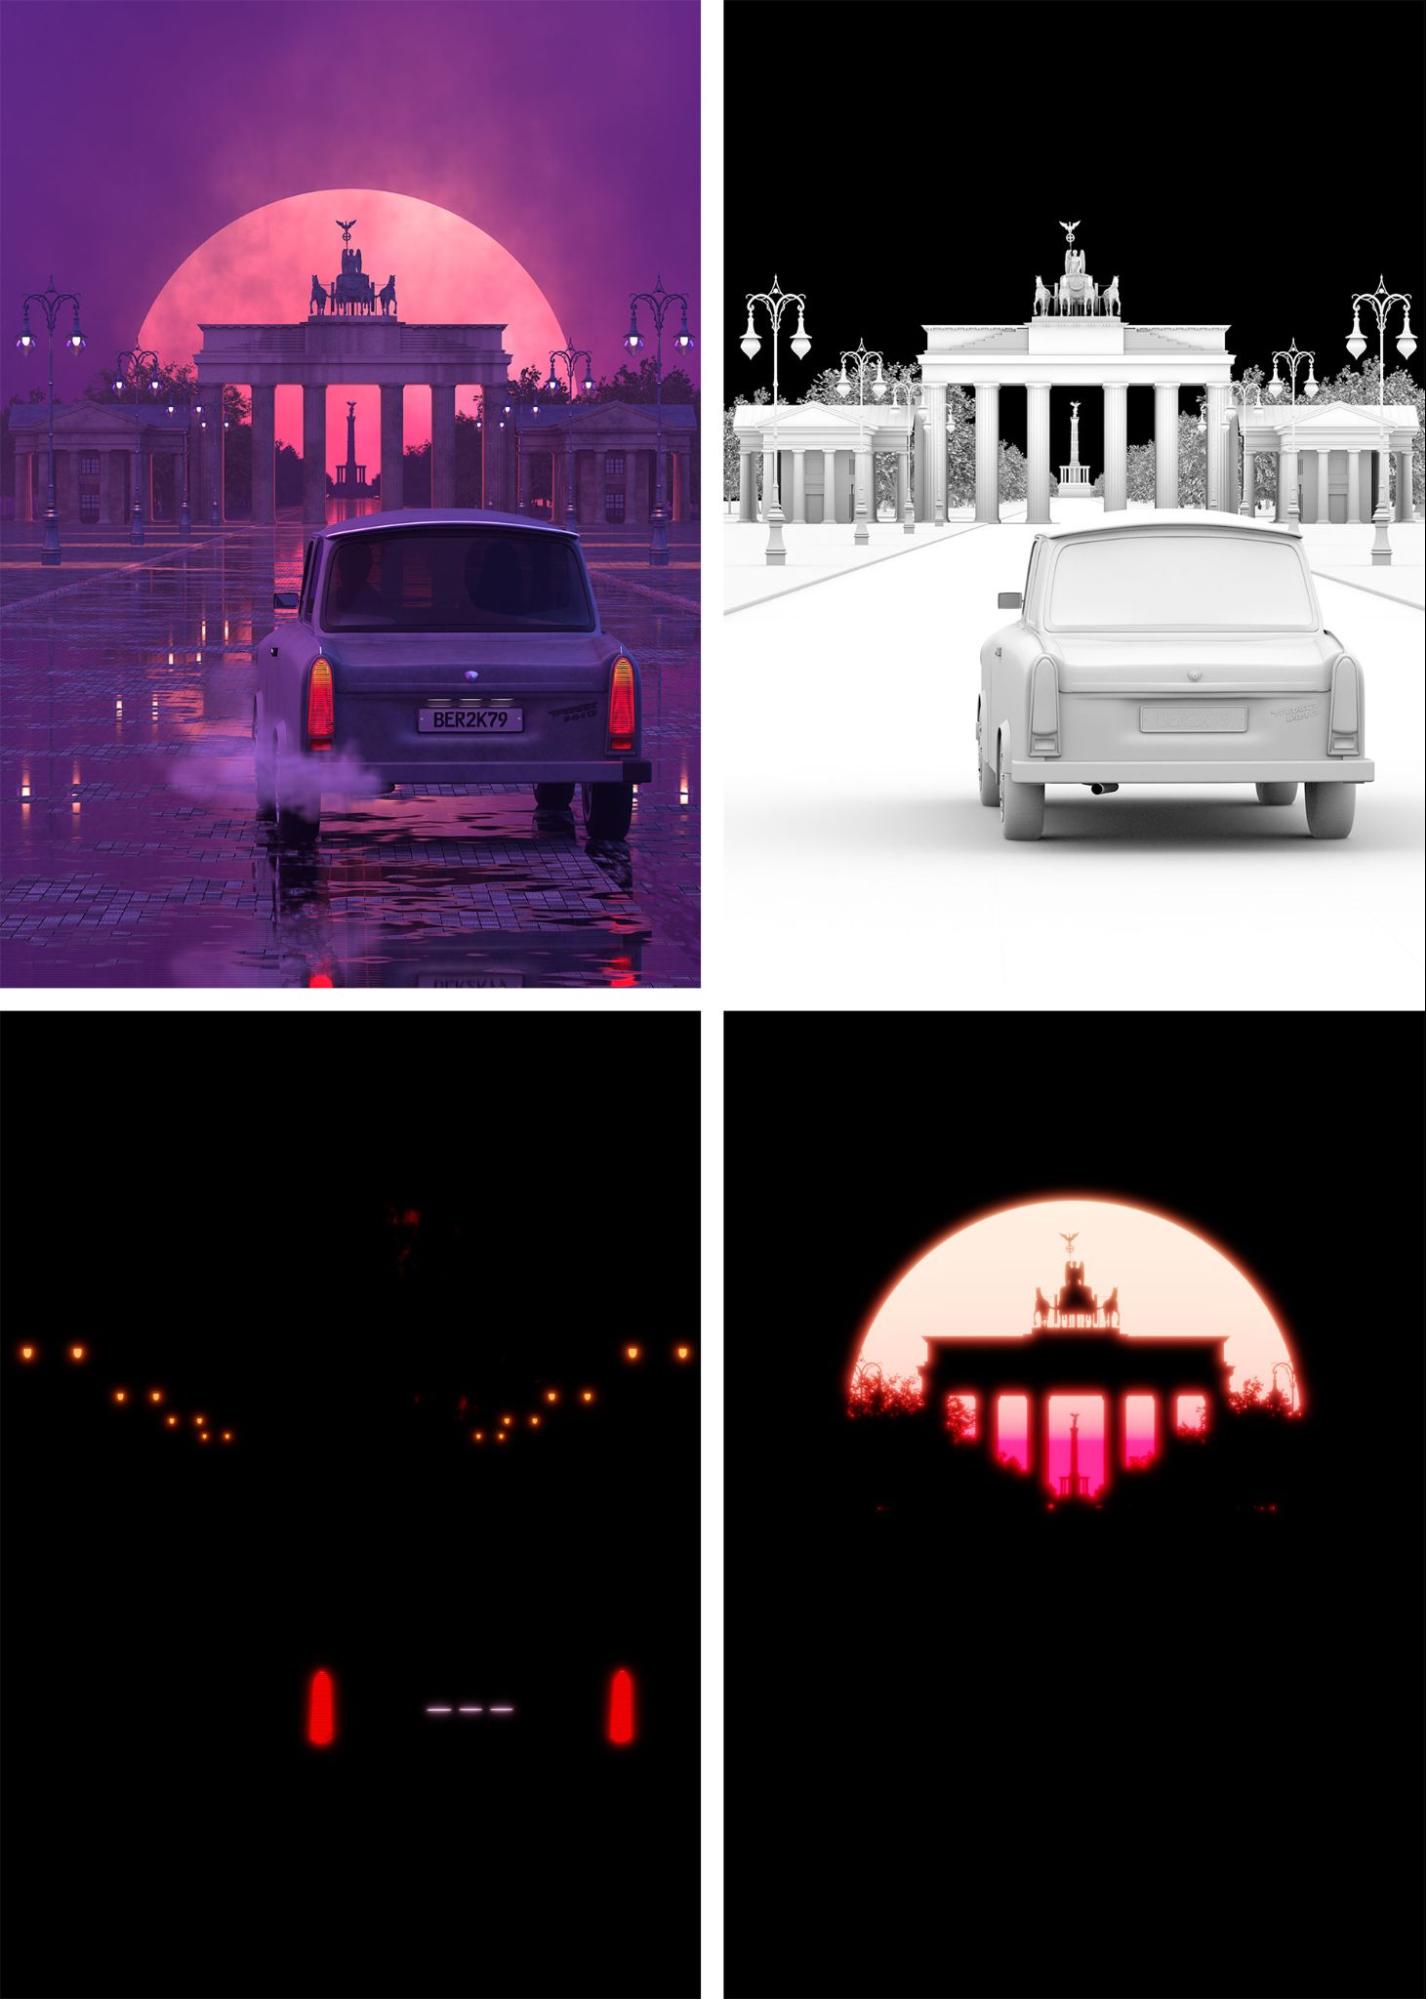
And compositing
A bit of compositing was done in Photoshop to finely adjust the color balance and the brightness and contrast. I also edited the emission pass with glare separately with an adapted strength for each element.
Et voilà !

About the Author
 Jean-Michel Argaud, 3D Artist
1 Comment
Great work and nice atmosphere!