

About
Hello, my name is Rabia and I live in Turkey. I am studying Visual Communication Design at Sakarya University. When I was a kid, cartoons always made me happy, so I made a decision to take part in an animation project that will make children happy! It is my goal to take part in such a project. I met 3D design in early 2020. Thanks to Blender and countless YouTube tutorials, I continue to improve myself in this area.
Inspiration and references
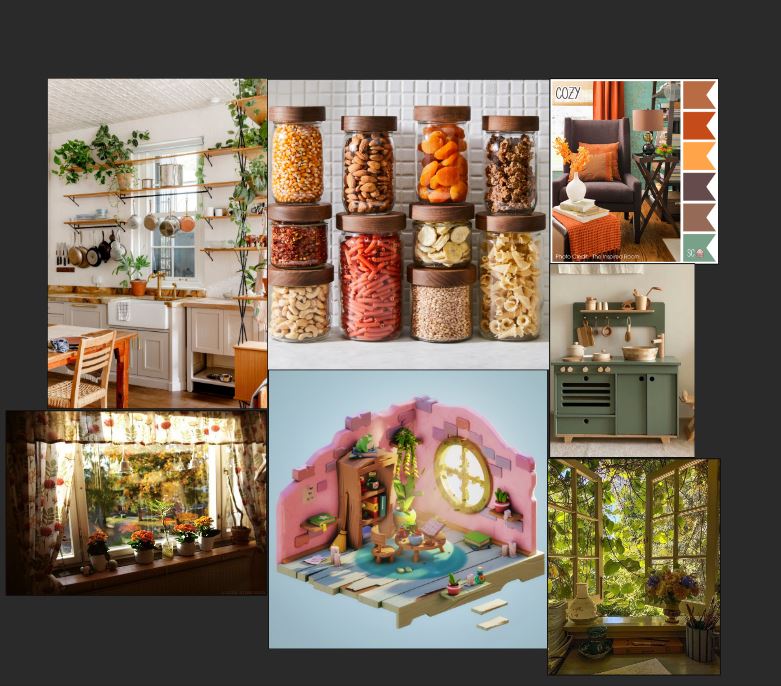
I wanted to design a cute and warm isometric room that you would always want to live in. In this project, I started researching to make it happen. I decided that one of the areas that made us happiest was the kitchen (at least eating makes me very happy). I got help from many images.
Modeling
Before starting the project, I asked myself what kind of atmosphere I wanted. It had to be daylight and bright to create a warm atmosphere. For this, I cut out two window holes and let the light fill the room. I tried to arrange the order and details of the items as if someone was really living in this room. I wanted to add liveliness to the scene with the eggs in the pan, the tea set on the table, and the plates scattered around.
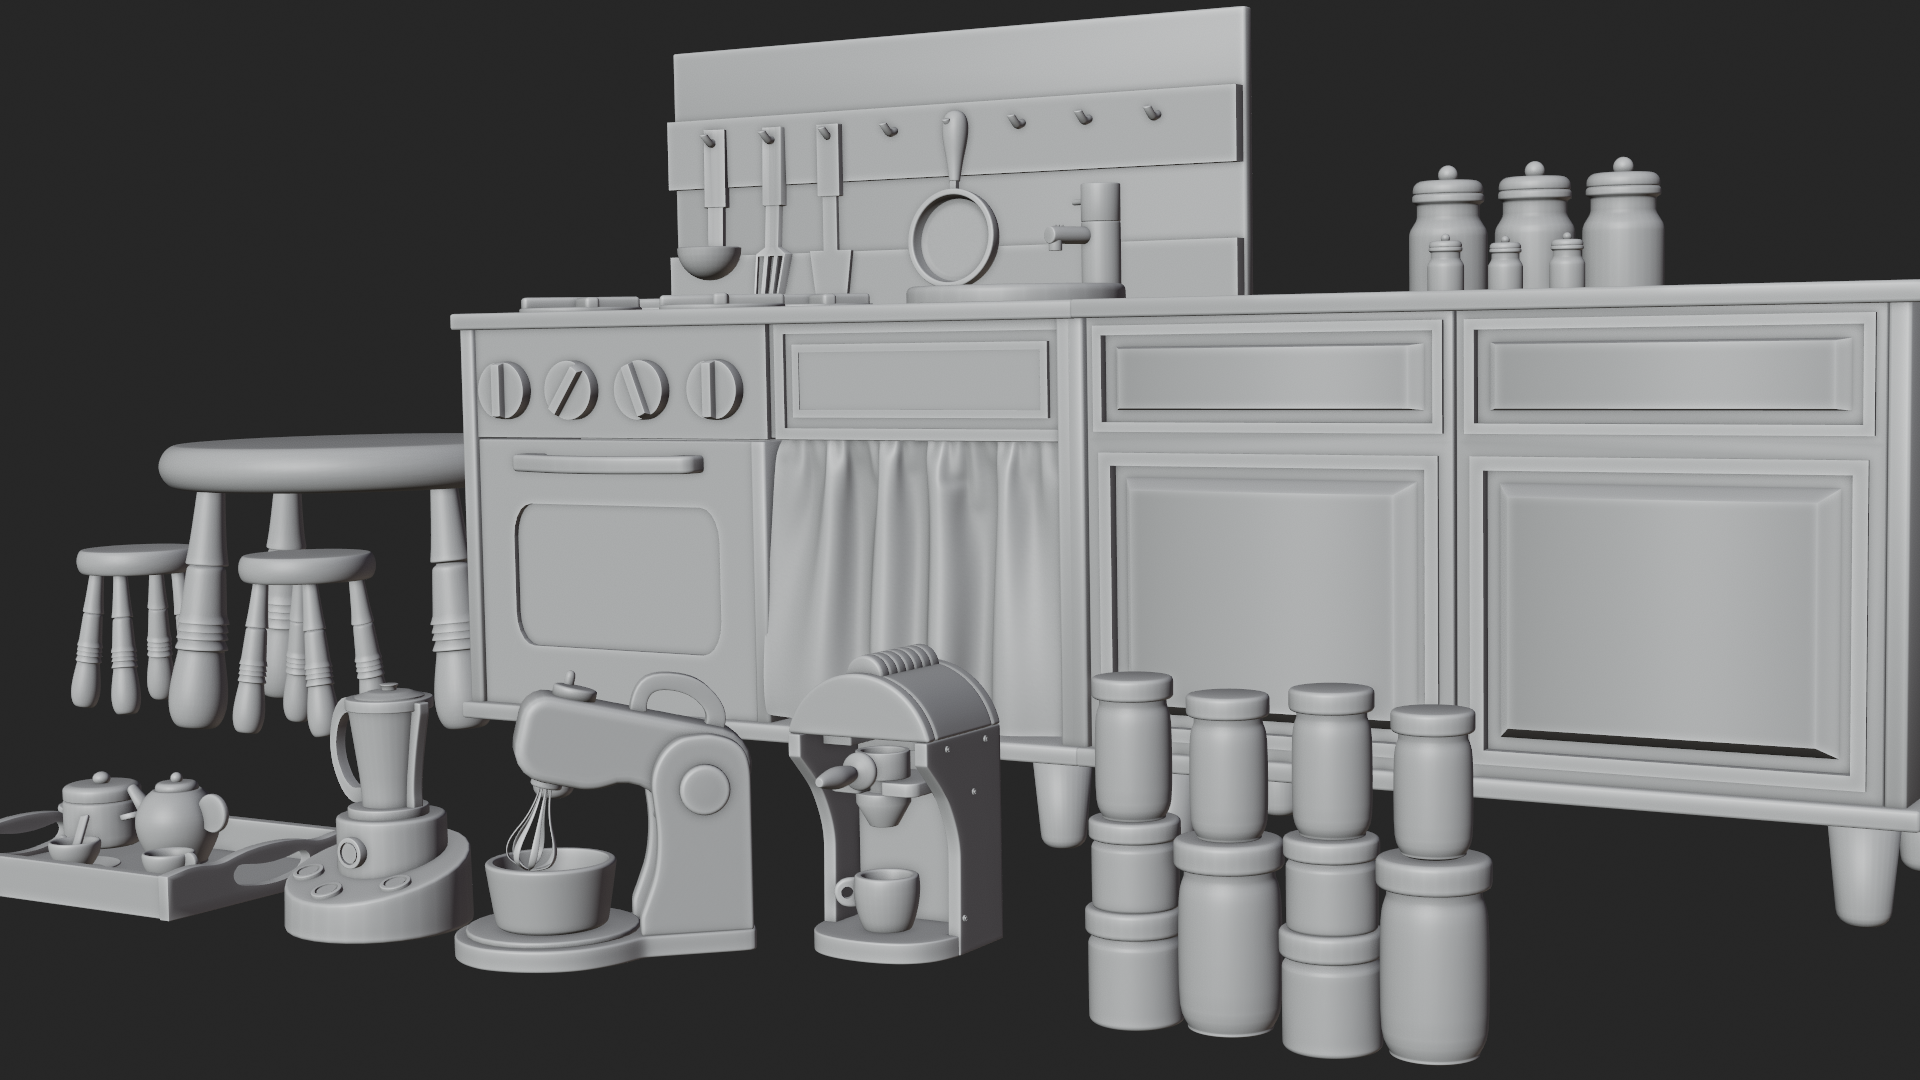
I tried to keep the models fairly simple for a cartoony style. So overall, most models emerged from basic meshes. I used a subdivision modifier to create a smooth look on most objects. I used the wireframe modifier for windows and some flower pots.
For the fabric under the sink, I used cloth simulation. I added a plane and subdivided it, then I applied a plane cloth simulation. I chose the vertices on the upper parts of the plane and made a group from the vertex group selection. I entered the shape section of the cloth simulation settings, and then I selected the vertex group, added a shape key, and reduced the vertices I had chosen. I added a keyframe when the value was 0, I moved the time bar a few frames and made a value 1, and such an image came out.
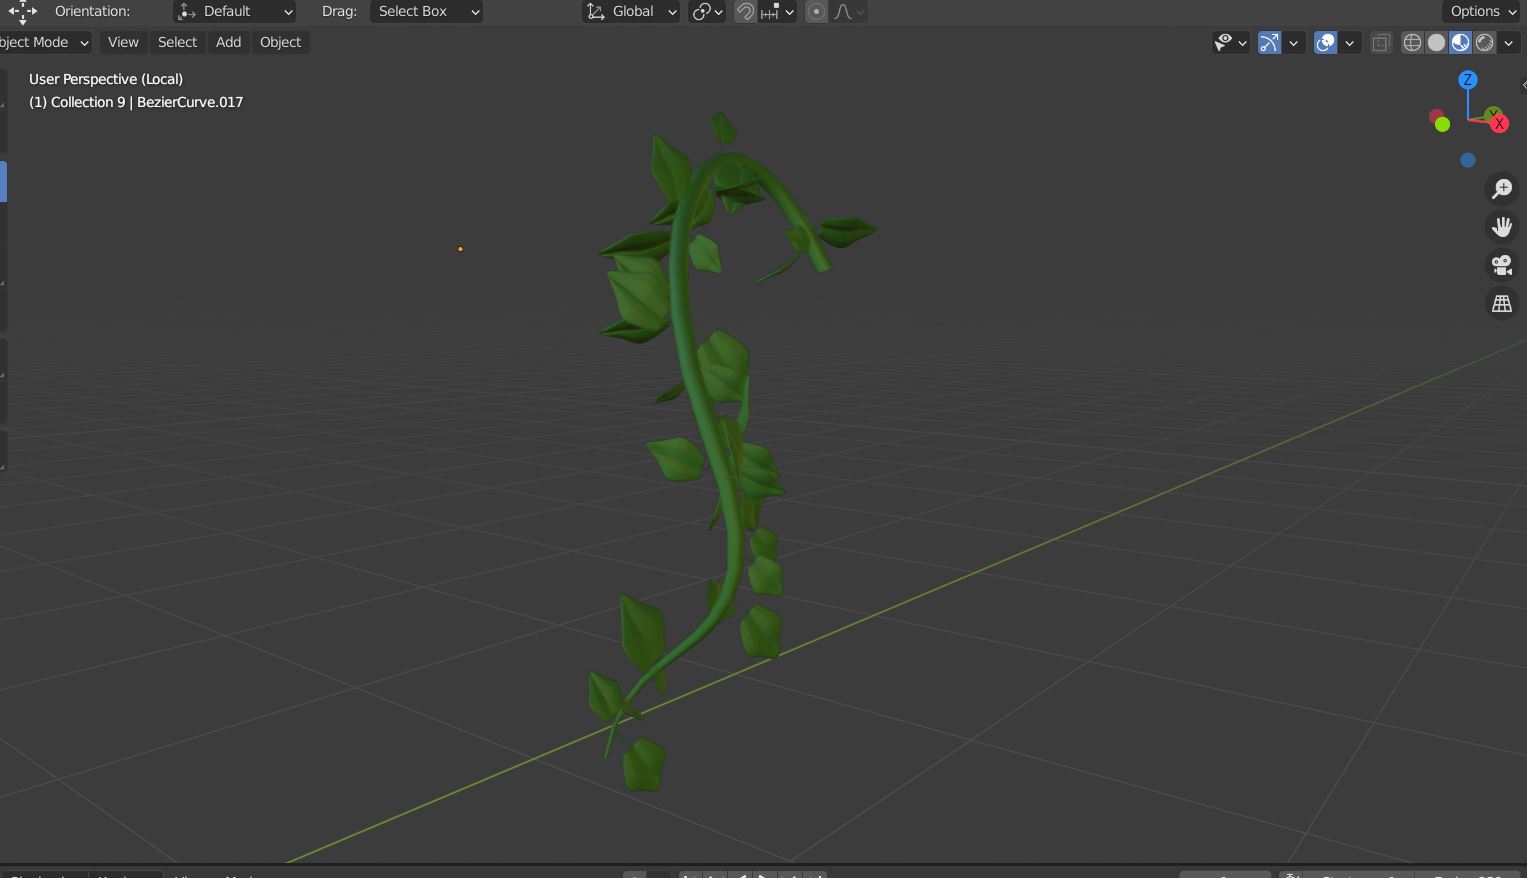
The part that was different from the other models in this project was the ivy. I made the ivy with a bezier curve. I created a shape by shaping the Bezier curve and wrapping it around the windows, then I converted the shaped Bezier curves to mesh. I modeled a leaf and added particle from particle properties to the bezier curve that I converted to mesh. I chose the leaf as the object from the particle render settings and the ivy appeared.
Texturing
In general, I tried to use single-color materials in the models. I just used color ramp + gradient texture in the plants.

Lighting
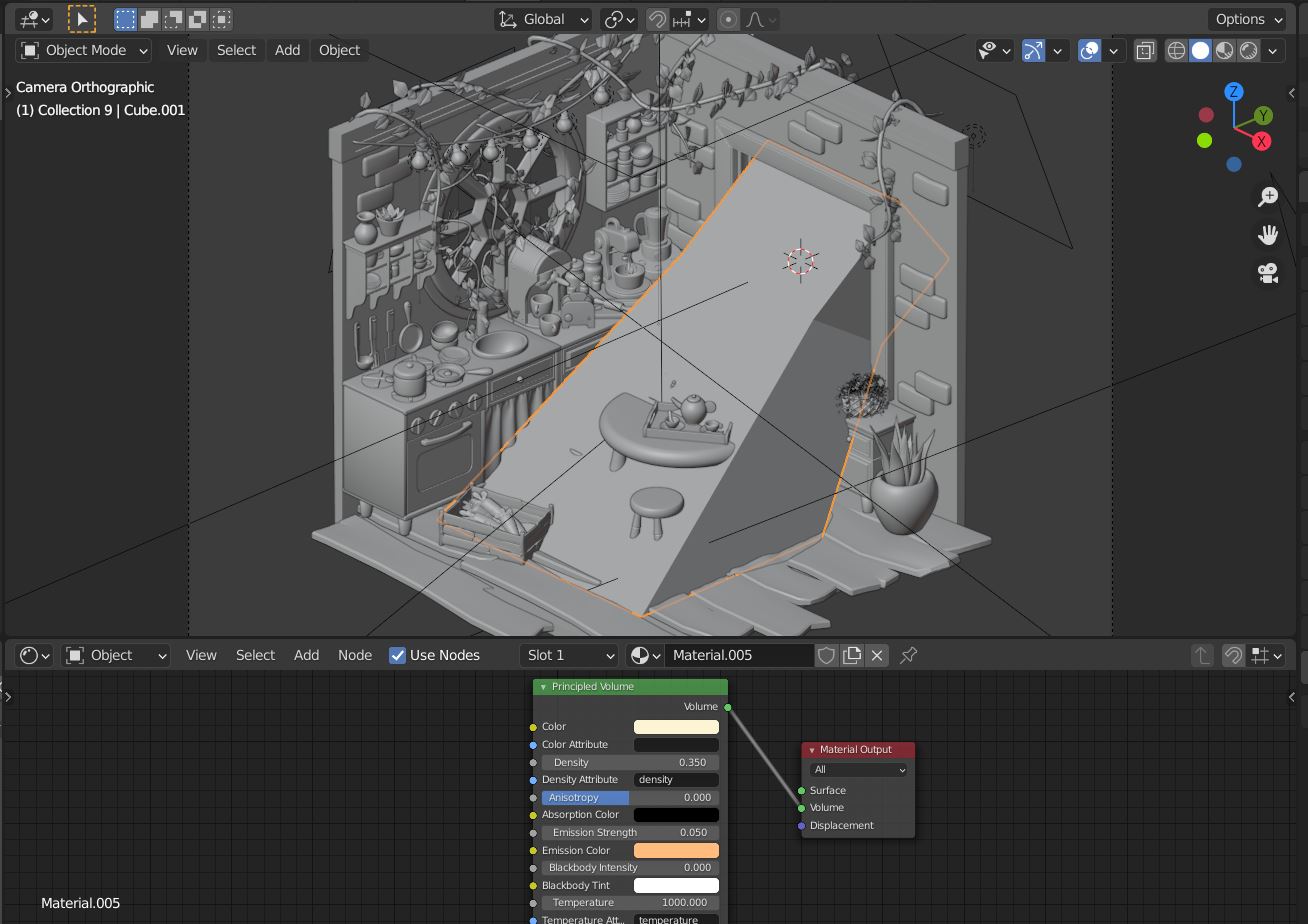
I used 5 area lights for lighting and point lights for bulbs. I created a cube and changed the material settings to principled volume for warmer air.
Render
After all the modeling and lighting were finished, it was time for my favorite part. Render! For the background, I chose the color I wanted from the world section, entered the Cycles render settings, and selected high contrast from the color management, which made these colors clearer. I rendered with Cycles. The entire project was done with Blender. Render examples are below, hope you like them. :)


About the Author
 Rabia Türkoğlu, Junior 3D Artist

4 Comments
Very inspiring indeed, Rabia! :-)
thank you :)
Beautiful scene, and very useful informations.
many thanks Rabia ;o)
i am glad to hear that :)