
About me
My name is Israel Soteldo. I am Venezuelan and I am 25 years old.
I started my career as a VFX artist in 2012. I began my career with After Effects and Cinema 4D software, then I spent 7 years using After Effects and the Element 3D plugin. Once I finished working with Element, I decided to move forward with some other 3D software until I decided to try Blender 2.8.
Currently, my team and I are developing a fan-made feature film called "Revenge of Ultron" using Blender as the main rendering software.
At the same time, I dedicate myself to freelance work and to create CG wallpapers made with Blender for my Instagram followers and Patreon patrons.
About the project
This project was born as a continuation of an image I made in Blender that went viral. The image had the 3 Spider-men from the Sony and Marvel movies.
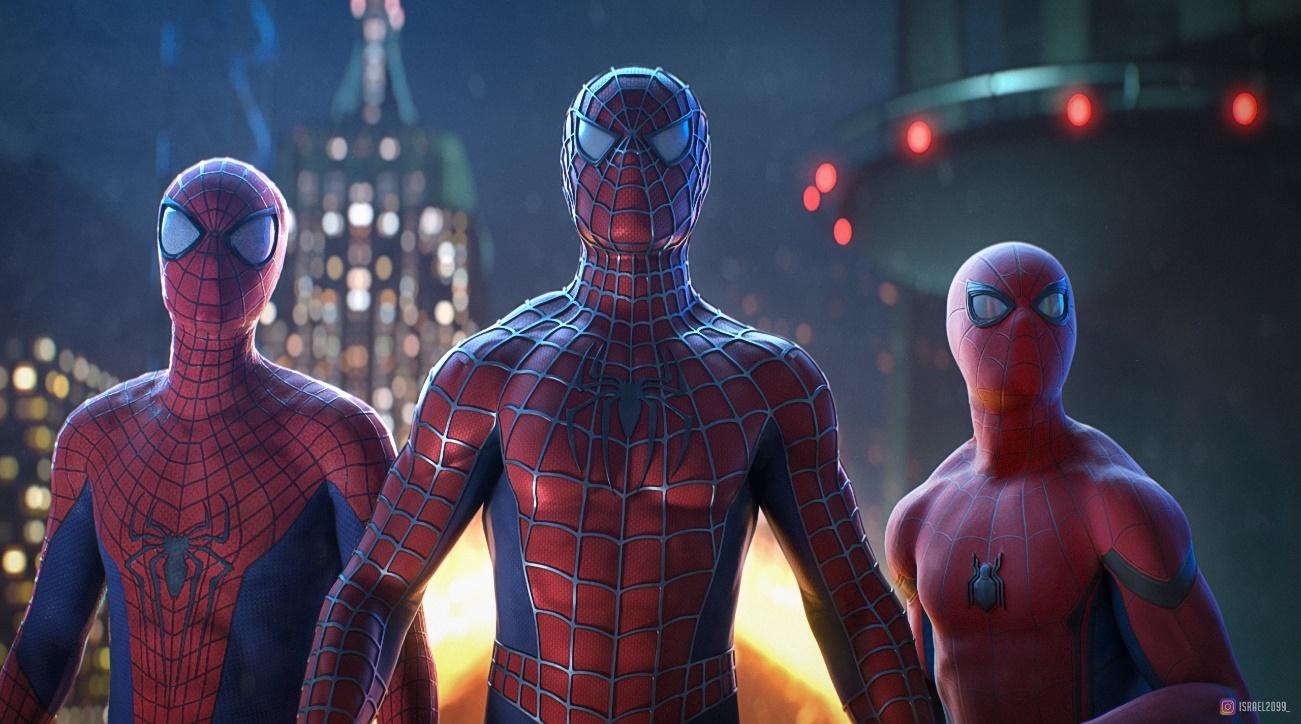
Inspired by the rumors of the upcoming Doctor Strange in the Multiverse of Madness and Spider-man 3 from Marvel Studios, I wanted to create a Spider-man wallpaper that had the essence of Doctor Strange and the Spider-man multiverse:

Rig and pose
I bought this Spider-man model on TurboSquid. Then I did the rig and the pose using Mixamo. Finally, I made some adjustments to the body pose and finger position in Cinema 4D.


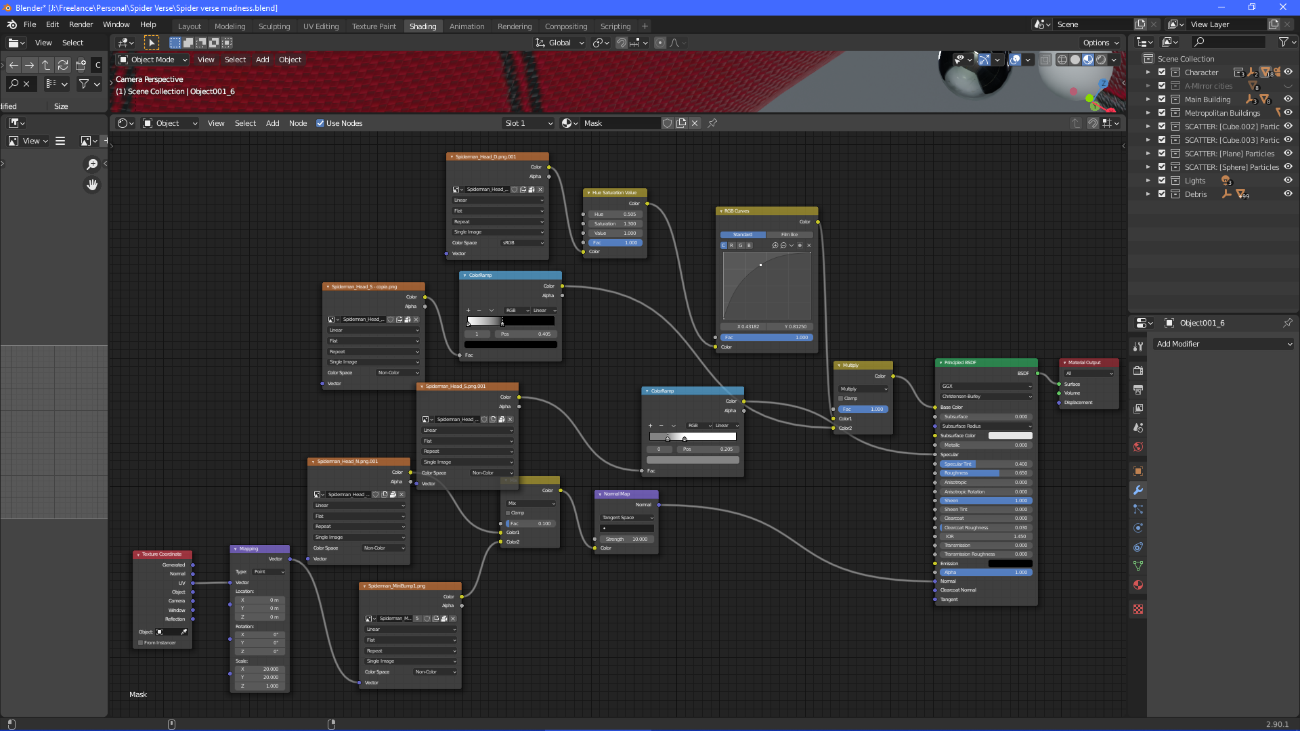
Materials
I used the textures that came with the model to create a very basic material, using only Base Color, Specular, and Normal.
Placing a value of 1,000 in Sheen was essential to give the fabric look to the surface of the model, as well as adding a second normal map texture for microrelief.
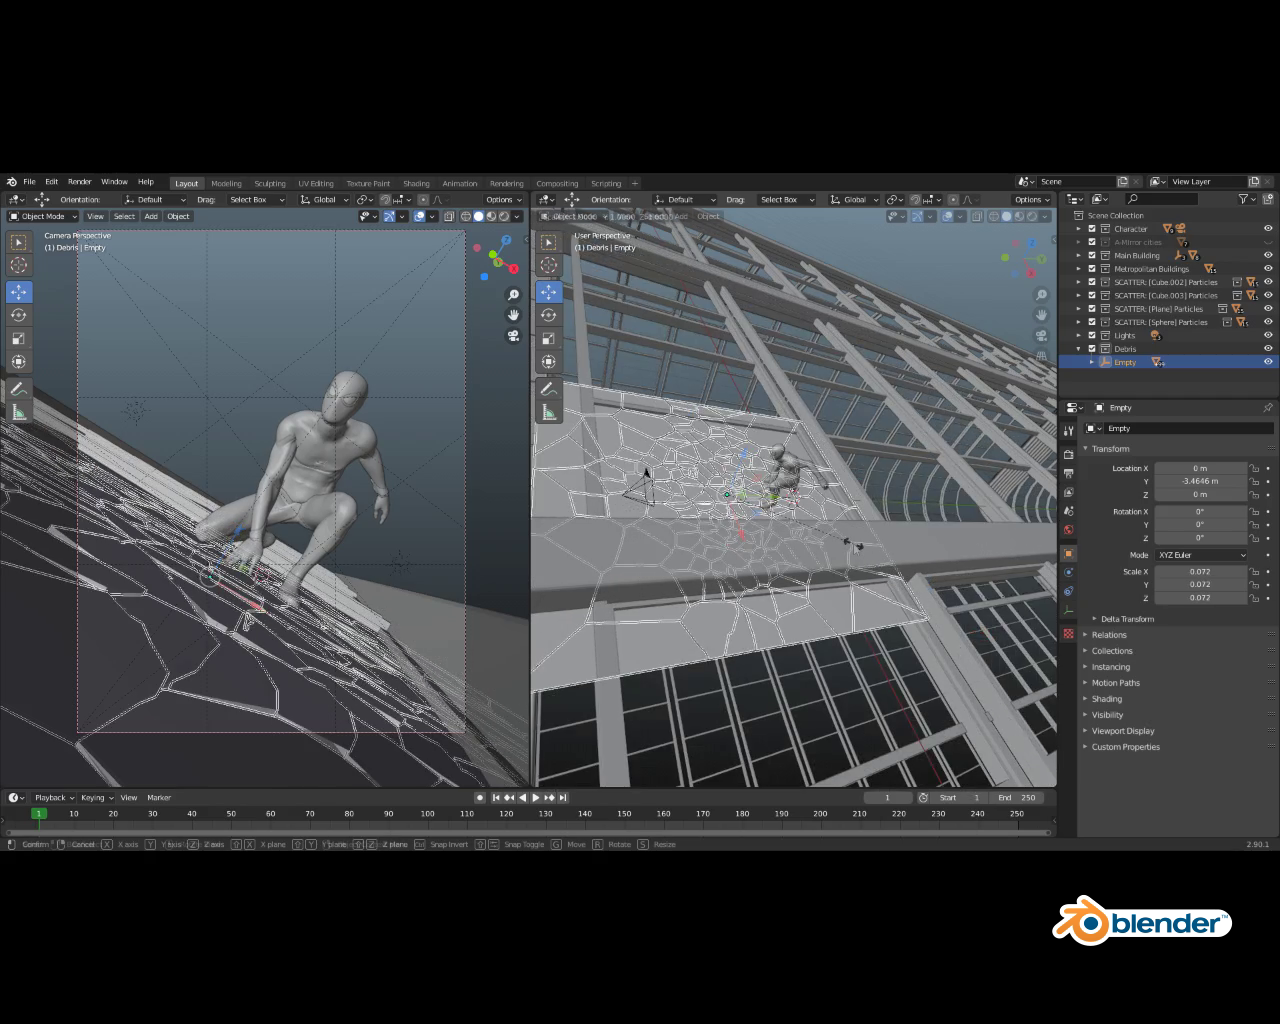
Building layout
What appears to be the most difficult part of the image was actually the easiest. I was inspired by one of the mirror dimension scenes in the Doctor Strange movie.
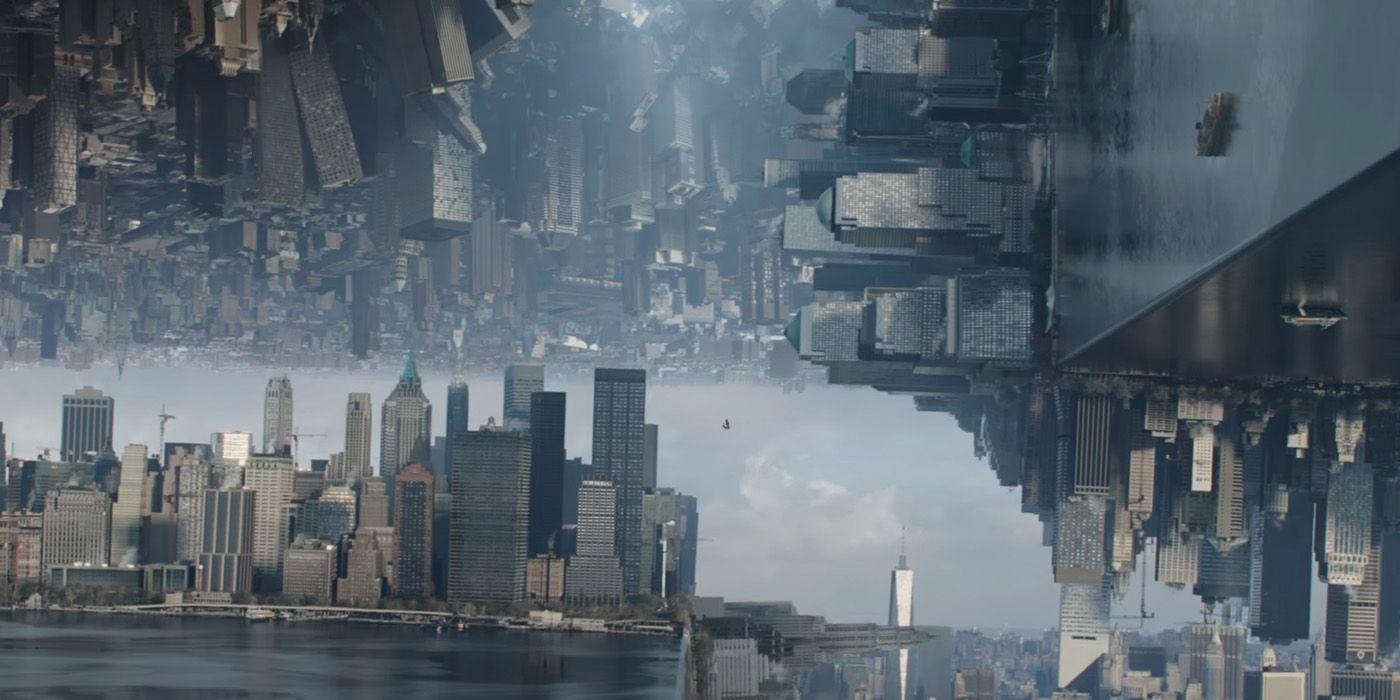
To do something similar to this, I used various NY building models from Video Copilot’s Metropolitan pack as particle systems, with a simple beveled cube (and also a sphere) as the base. This process can be done manually, however, to save time and have more control, I used the Scatter 4.0 addon.


Ground and shattered glass
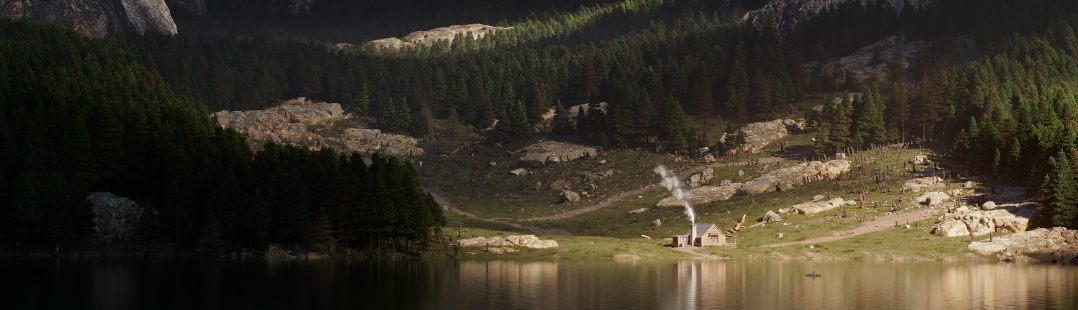
For the floor, I used a building model from the Kitbash Every City pack.
Creating the broken glass had to be done manually in Cinema 4D, using a cube and the Fracture Voronoi module.


I exported the model to Blender and made the necessary adjustments in terms of scaling and rotation of some parts to give the desired look. I also removed the original windows from the building model, since they are off-camera.
HDRI and lighting
For this composition, I have used 3 sun lights, two next to the model and one behind to give a sensation of volume in the body of the model, and also to intensify the depth effect of the background. And for the HDRI, I used a mirrored sky texture.


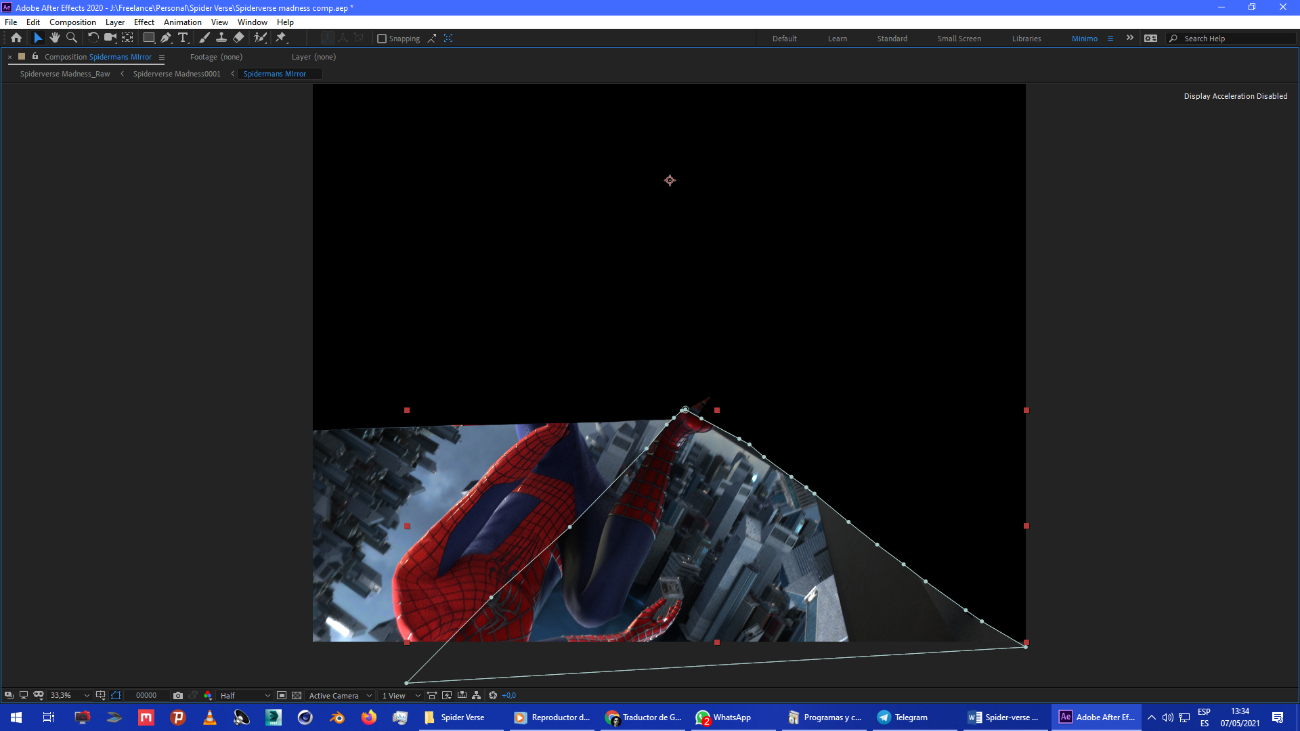
Spider-man’s alternative versions on the reflection
In case you didn’t notice, Tobey Maguire and Andrew Garfield's versions of Spider-man can be seen in the reflection of the broken glass. How can we do that in Blender?
Well, I did not find a more practical method than to render a section of the frame with each of the Spider-mans; that is, repeat the process of rigging, pose, and materials with two other Spider-man models, render, and then assemble everything in post.


Rendering
The project was rendered to 2000 samples at 3160 x 4096 for compositing in After Effects.
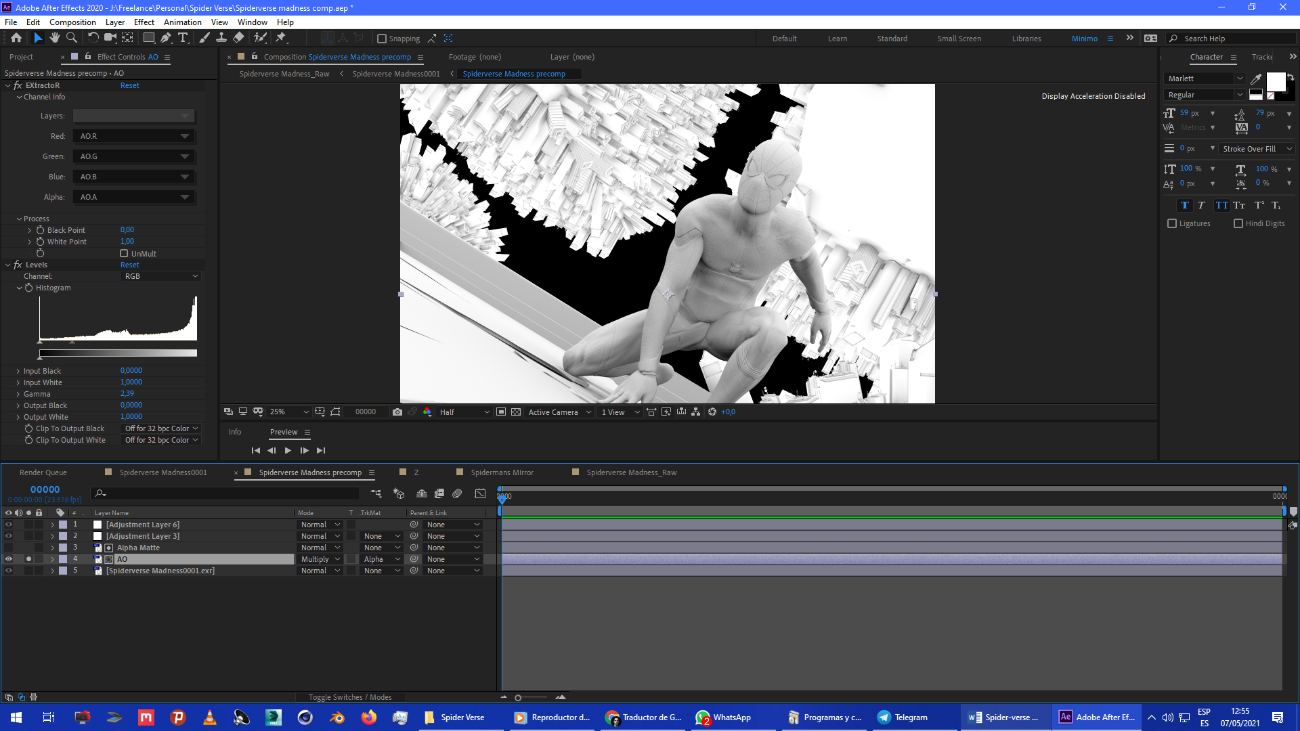
In order to add some final effects to the image, I rendered the combined pass along with the depth, mist, and ambient occlusion pass.
The portion of the frame in which the reflection of the 2 other Spider-mans is seen in the broken glass was also rendered as mentioned above.


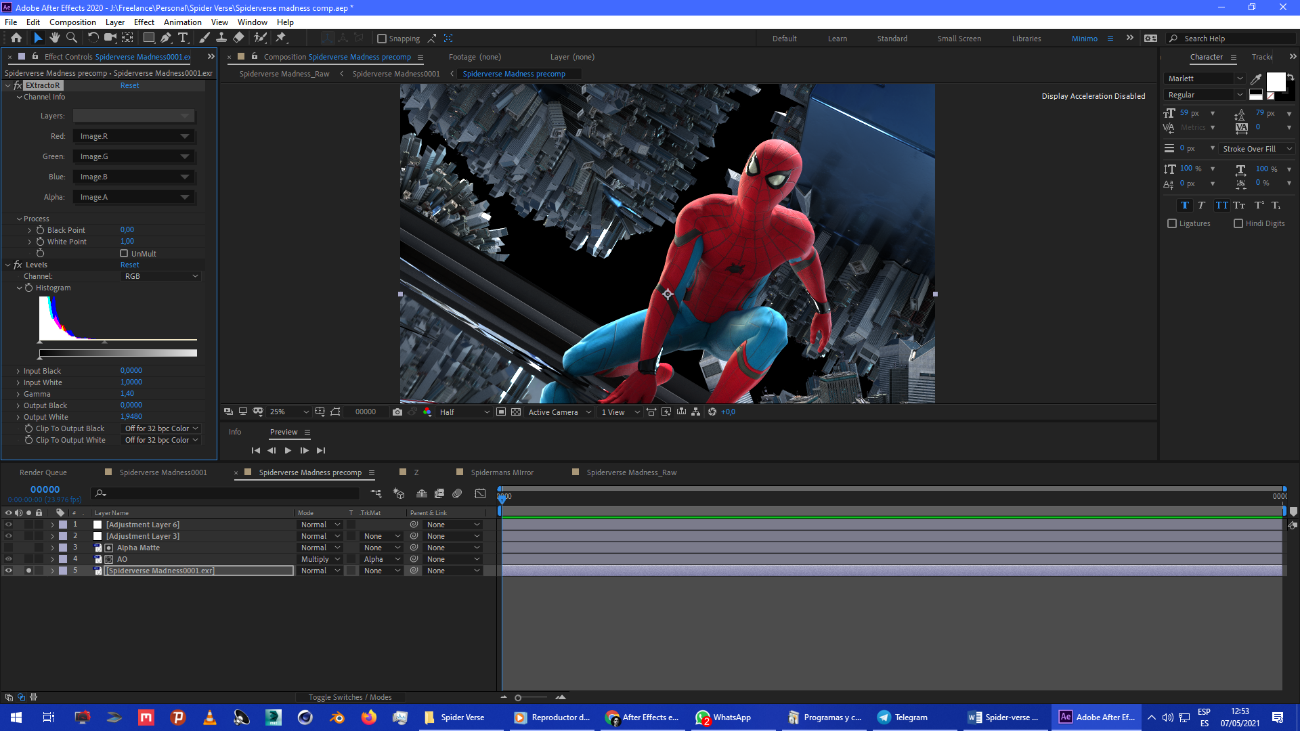
Compositing
For compositing, I have used After Effects. Perhaps it is not the most suitable with Nuke but it is good enough. In the end, what matters is the artist!
To extract the passes from the EXR I have used the ExtractoR plugin. I also added the Levels plugin to normalize the color gamma.
I duplicated the EXR layer and put the Ambient Occlusion pass in transfer mode multiply, to accentuate the AO a bit more and contrast with the highlights.
I cut out the other Spider-mans using the mask tool to make the reflection in the broken glass.
I used the Z depth pass to create a fog effect in the background, to create the feeling of vastness.
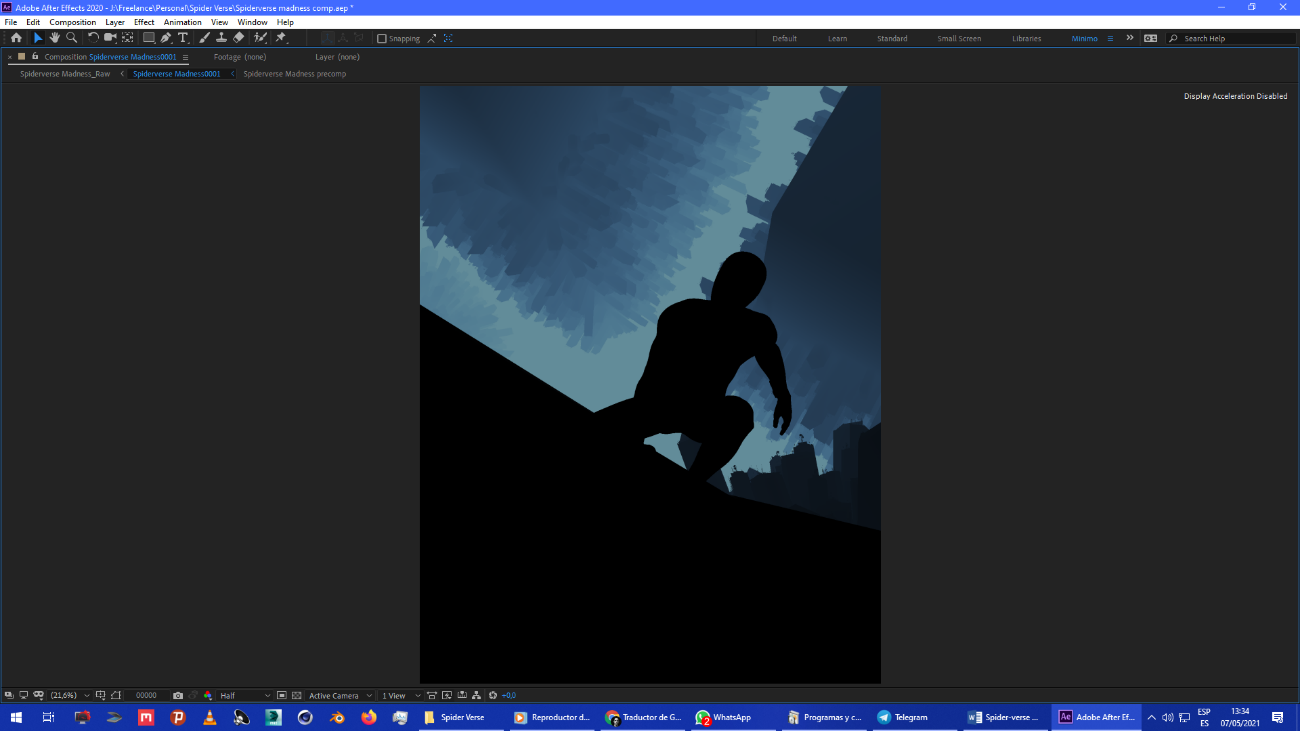
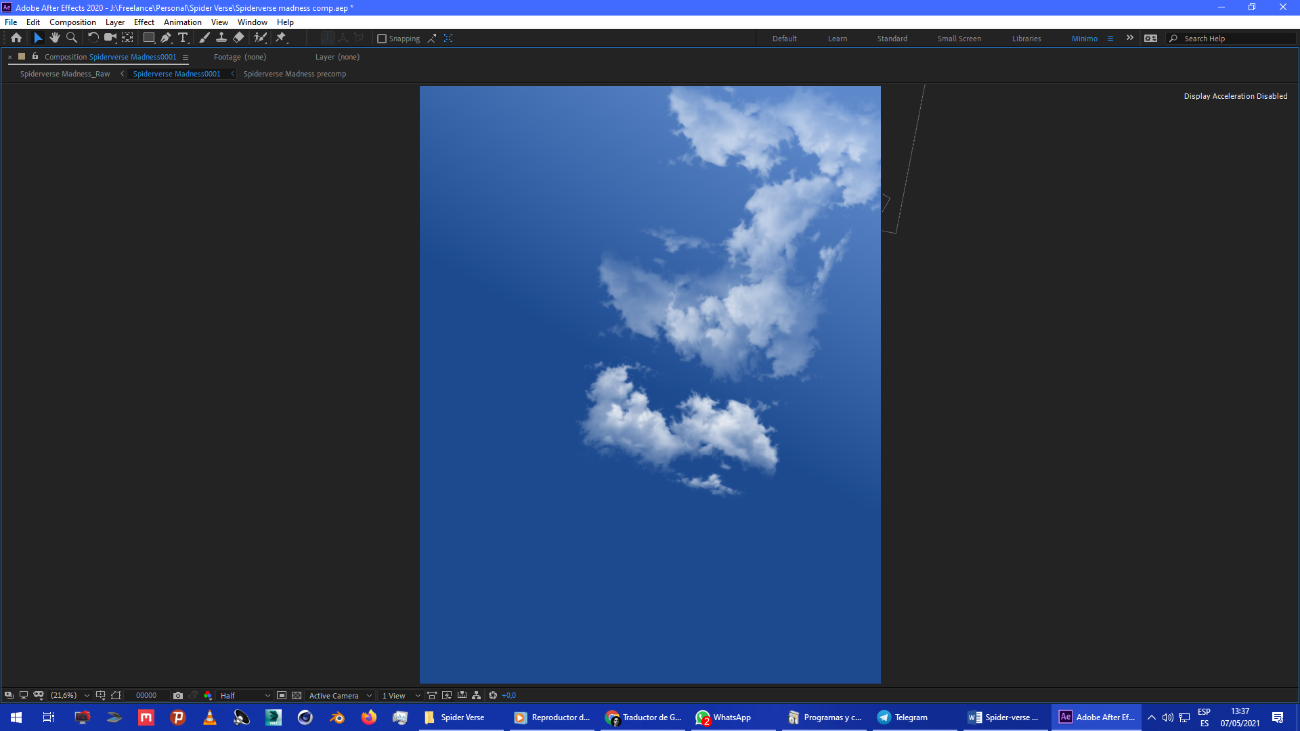
In the background, I added a simple blue gradient with stock images of clouds.
Here is the final result in After Effects:
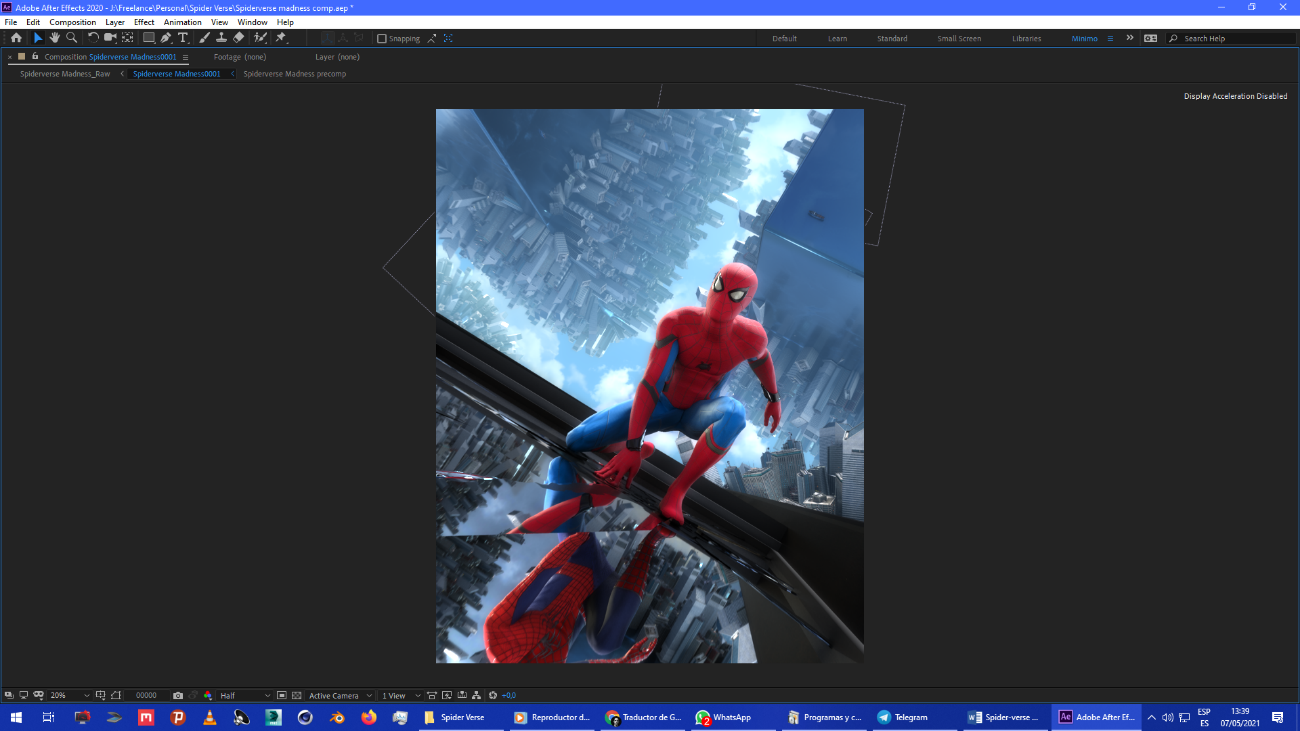
Then inside Photoshop, I added a CameraRaw filter to adjust the colors. Here is the end result:
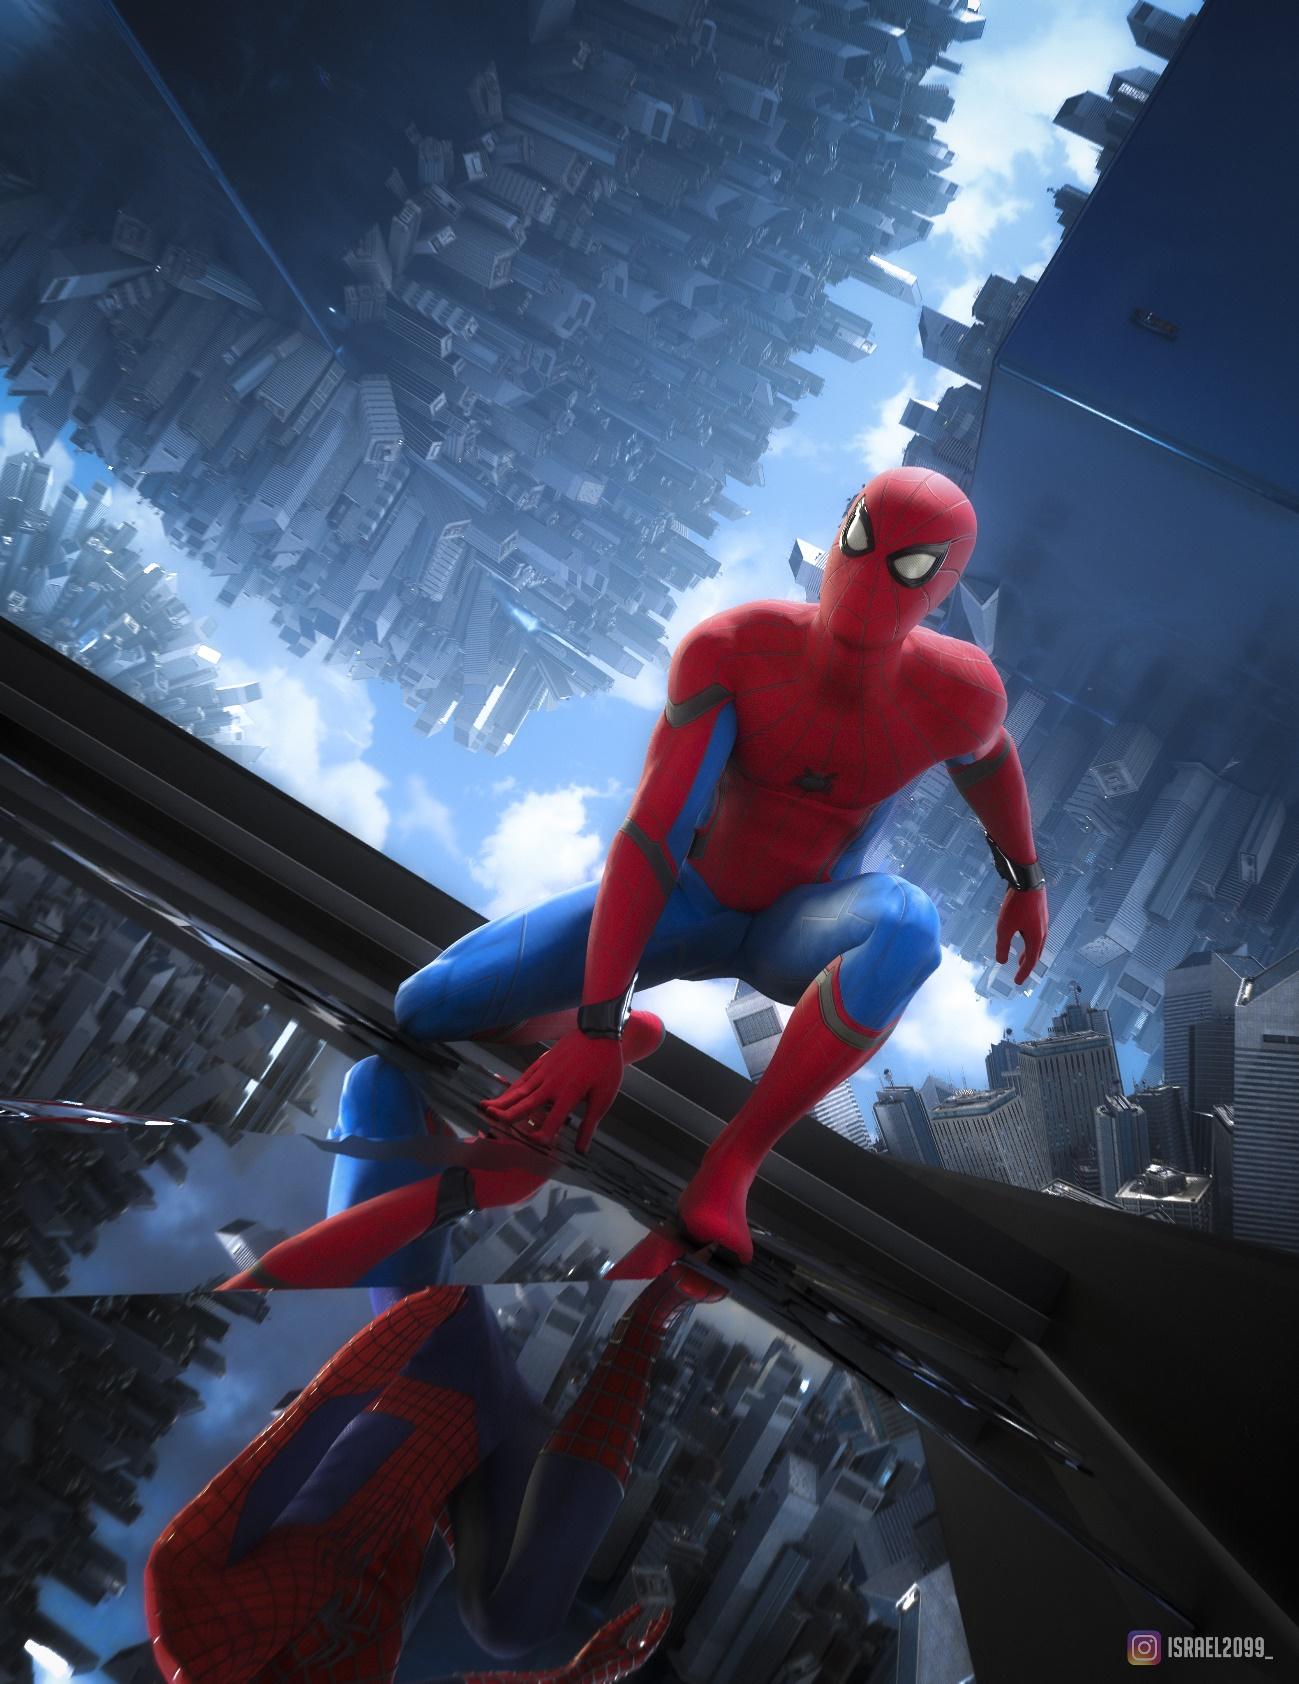
I hope this breakdown has worked for you. Good luck to everyone.
About the Author
 Israel Soteldo, 3D Artist
2 Comments
Excelente trabalho, muito profissional. Parabéns
Excelente trabalho Soteldo, muito profissional. Parabéns