Behind the Scenes: Poirot 3D Portrait

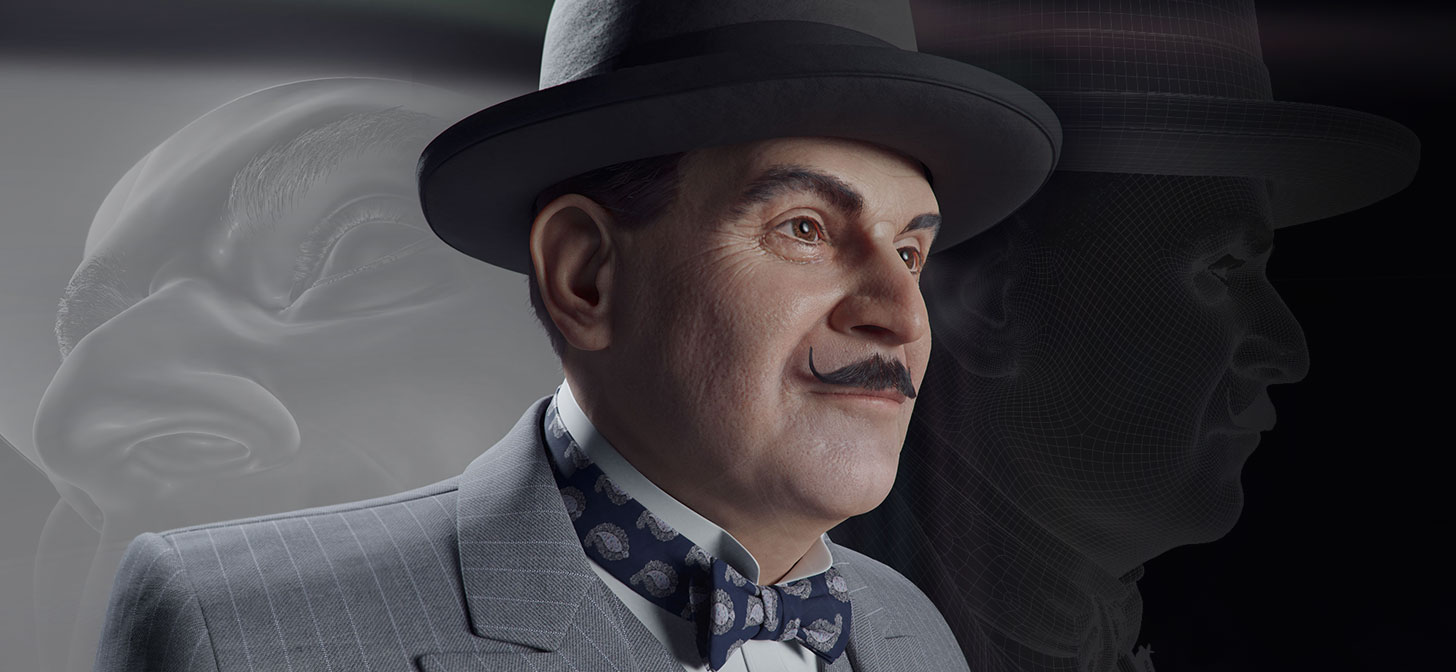
Hi, everyone! I’m Andrew and I’m from Saint-Petersburg, Russia. I’d like to tell you about the creation process of “Poirot 3D portrait”. Although I’ve been a 3D artist for a long time, I just started learning Blender. Actually, this is my first serious Blender project (and the only one so far).
For my project, I chose the main character from the “Agatha Christie’s Poirot” TV series. David Suchet is a very recognizable actor so I thought that would make it easier to achieve a good likeness (so naive!).
[sponsor id=’qarnot’]
Sculpting in ZBrush
This time I used ZBrush for sculpting. My method is very simple: look at the photo, sculpt, look at the photo again, sculpt more… repeat 1000 times. :-)
I started from a base mesh (with UVs) that I had modeled by myself earlier.

I prefer saving a lot of screenshots and renders to see the progress of the work and fix errors. I also added draft models of the hat and clothing. Later I modeled them again in Blender.

I didn’t use any scanned data for the face details. First, I added procedural noise, then I used a standard brush with a skin pores alpha (you can see it in the picture below), and finally I added the rest of the details manually using the DamStandard brush and other built-in brushes.
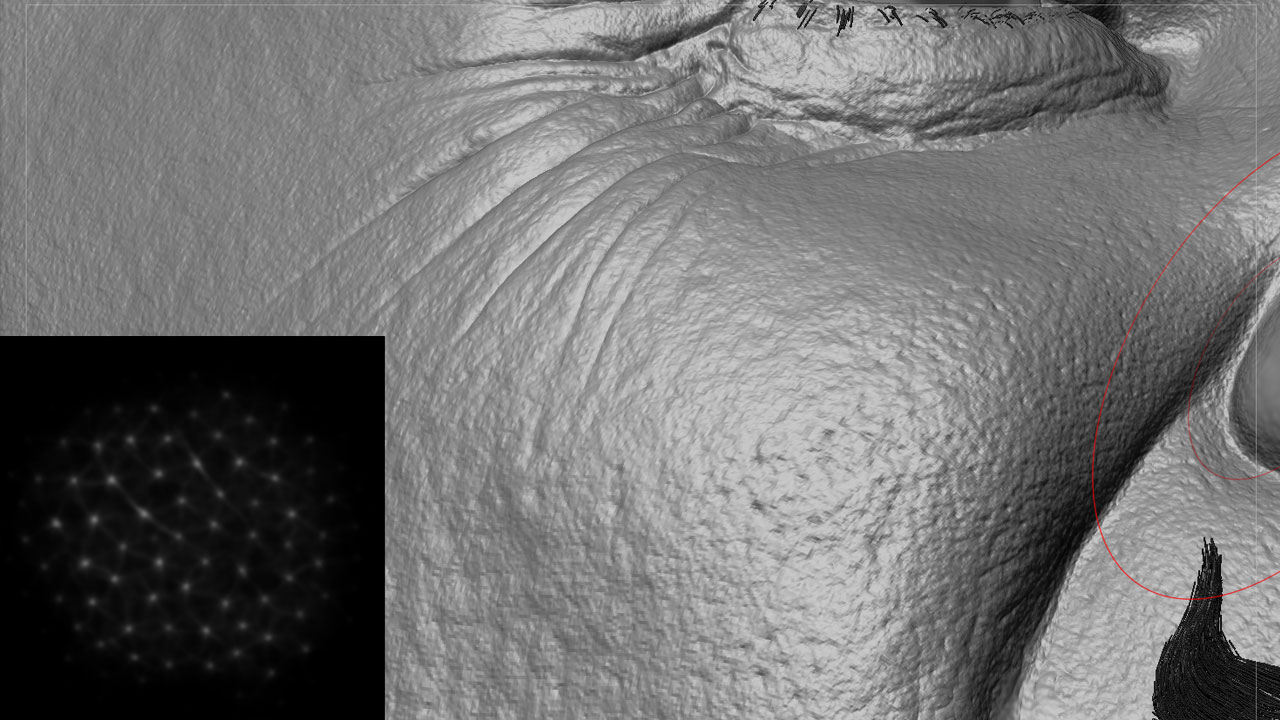
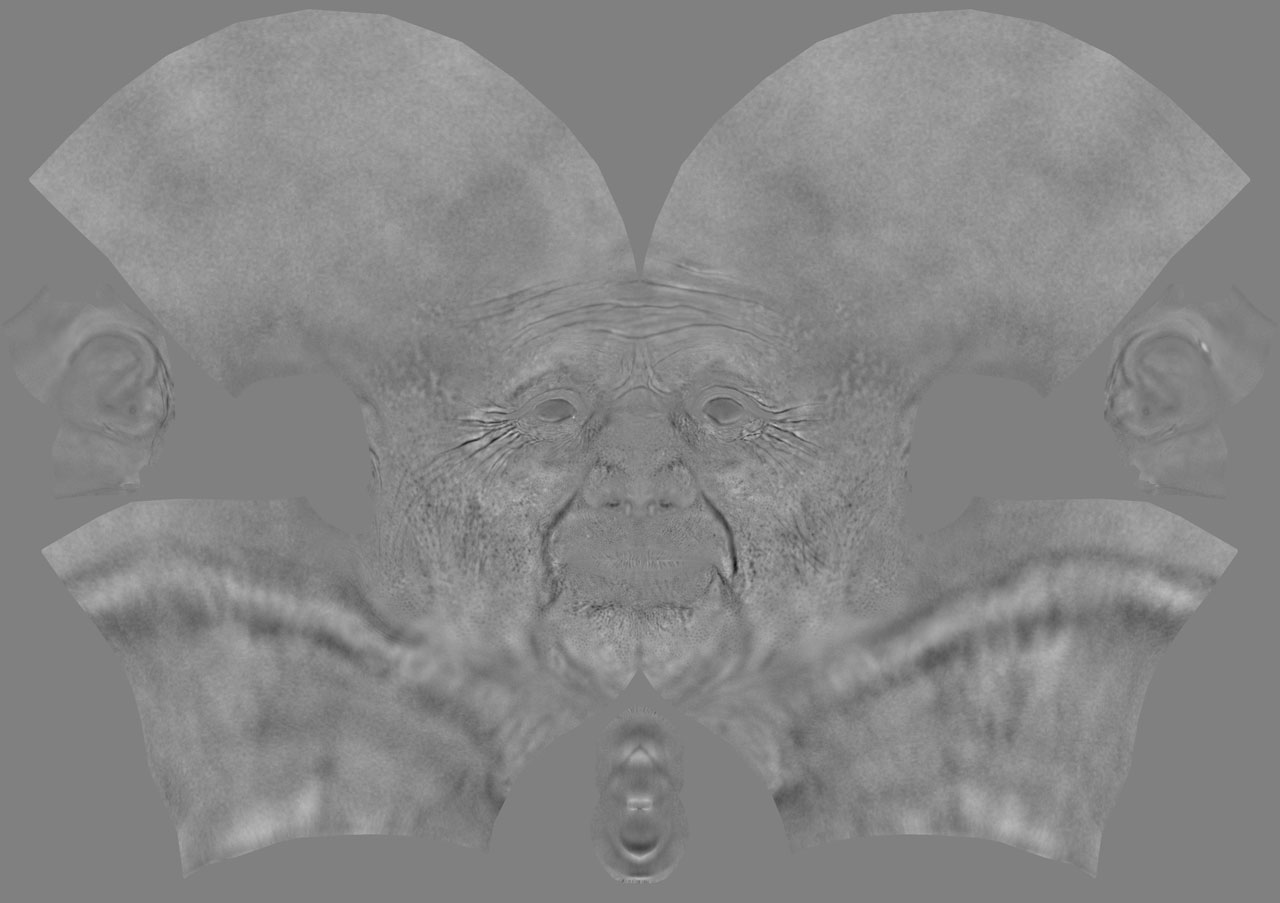
When the sculpt was done, I exported a mid-poly mesh (43K points) and baked displacement map from the same subdivision level. The finished head model contained more than 11 million points.
The baked displacement map looks like this:
Modeling and rendering in Blender
I modeled clothes, hat, and bow tie using the same method: mesh modeling, solidify modifier, subdivision modifier. I used a mirror modifier for symmetrical objects like a jacket or shirt.
To avoid stretching the UVs at the clothes’ borders, unwrapping was done after applying the solidify modifier. Maybe there’s a non-destructive way to do it, but I don’t know it.

I used principled BSDF materials with bitmaps in the diffuse slot and with some procedural maps for bump.
All the clothes are configured in a similar way:

For the skin material, I enabled subsurface and added a map for roughness. Maybe it was worth making the material more complex with reflection and subsurface maps, etc., but this time I didn’t do it.

Color and roughness maps:

For the eye, I made two meshes: the inner one with the texture of the iris and the outer one with a round mask and a refractive material.
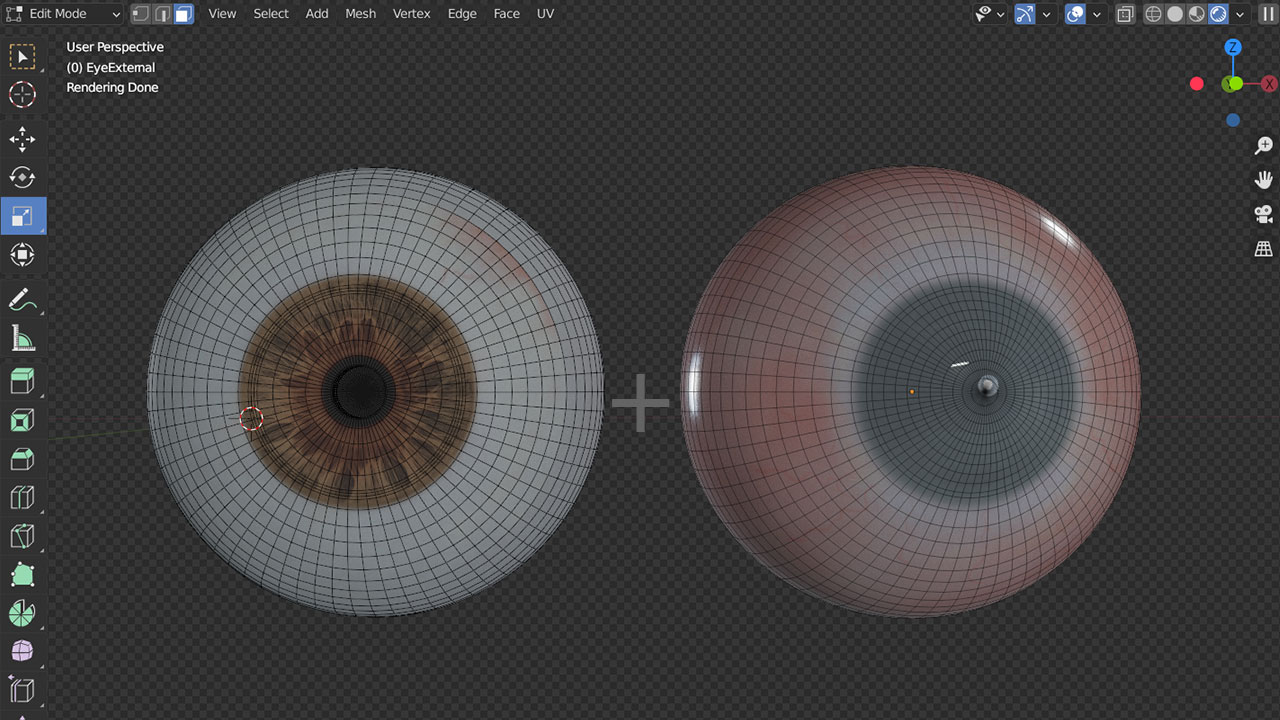
I used a Blender particle system for the hair. The hat covered the hair on the character’s head, so I focused more on the eyebrows, eyelashes, and mustache.
In the picture below you can see a vertex group in weight paint mode and the finished hair particle system.

For all hair particle systems, I used a Principled Hair BSDF material.
Final renders
Finally, I was ready to render a result image.
I used Cycles and the built-in Blender denoiser. You can see my rendering settings in these screenshots:
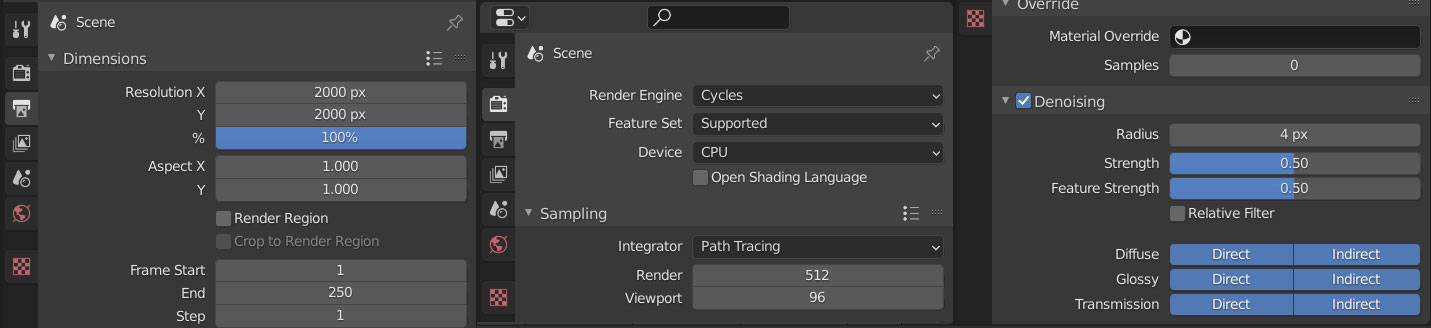
I rendered Poirot with an alpha channel and an HDR background image, which I then blurred a bit in Photoshop. A little color correction and here is the result:
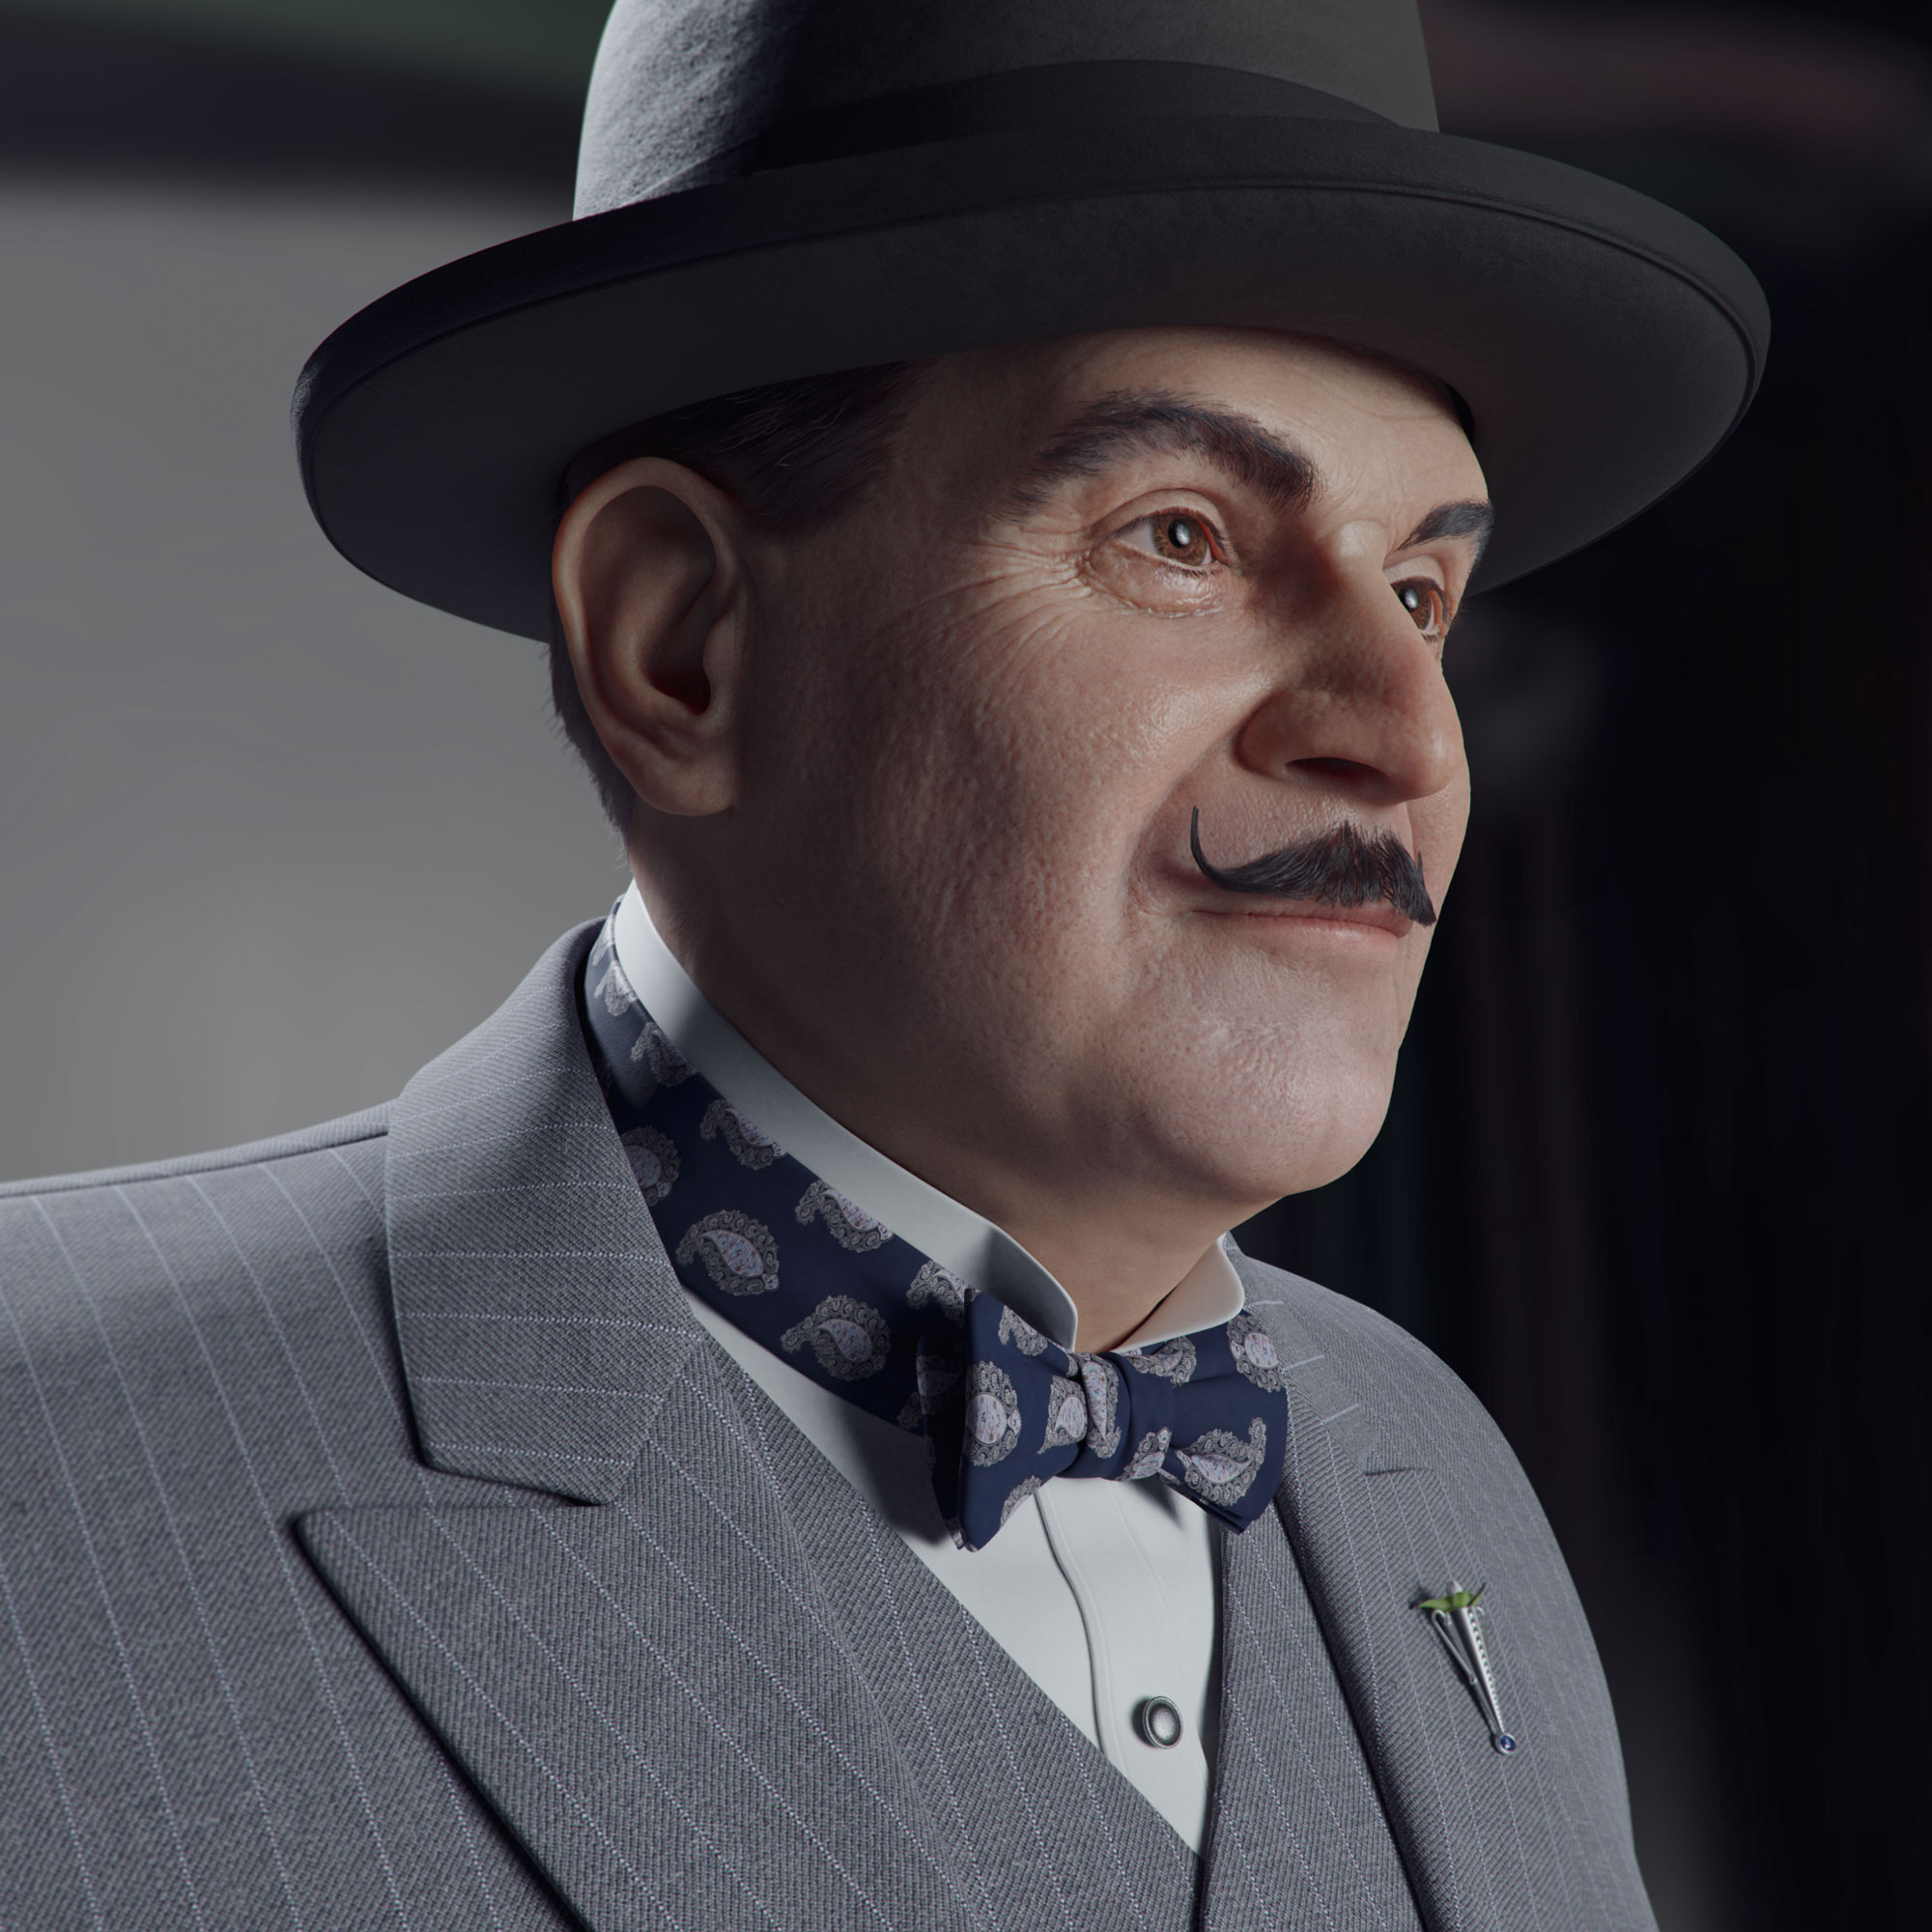
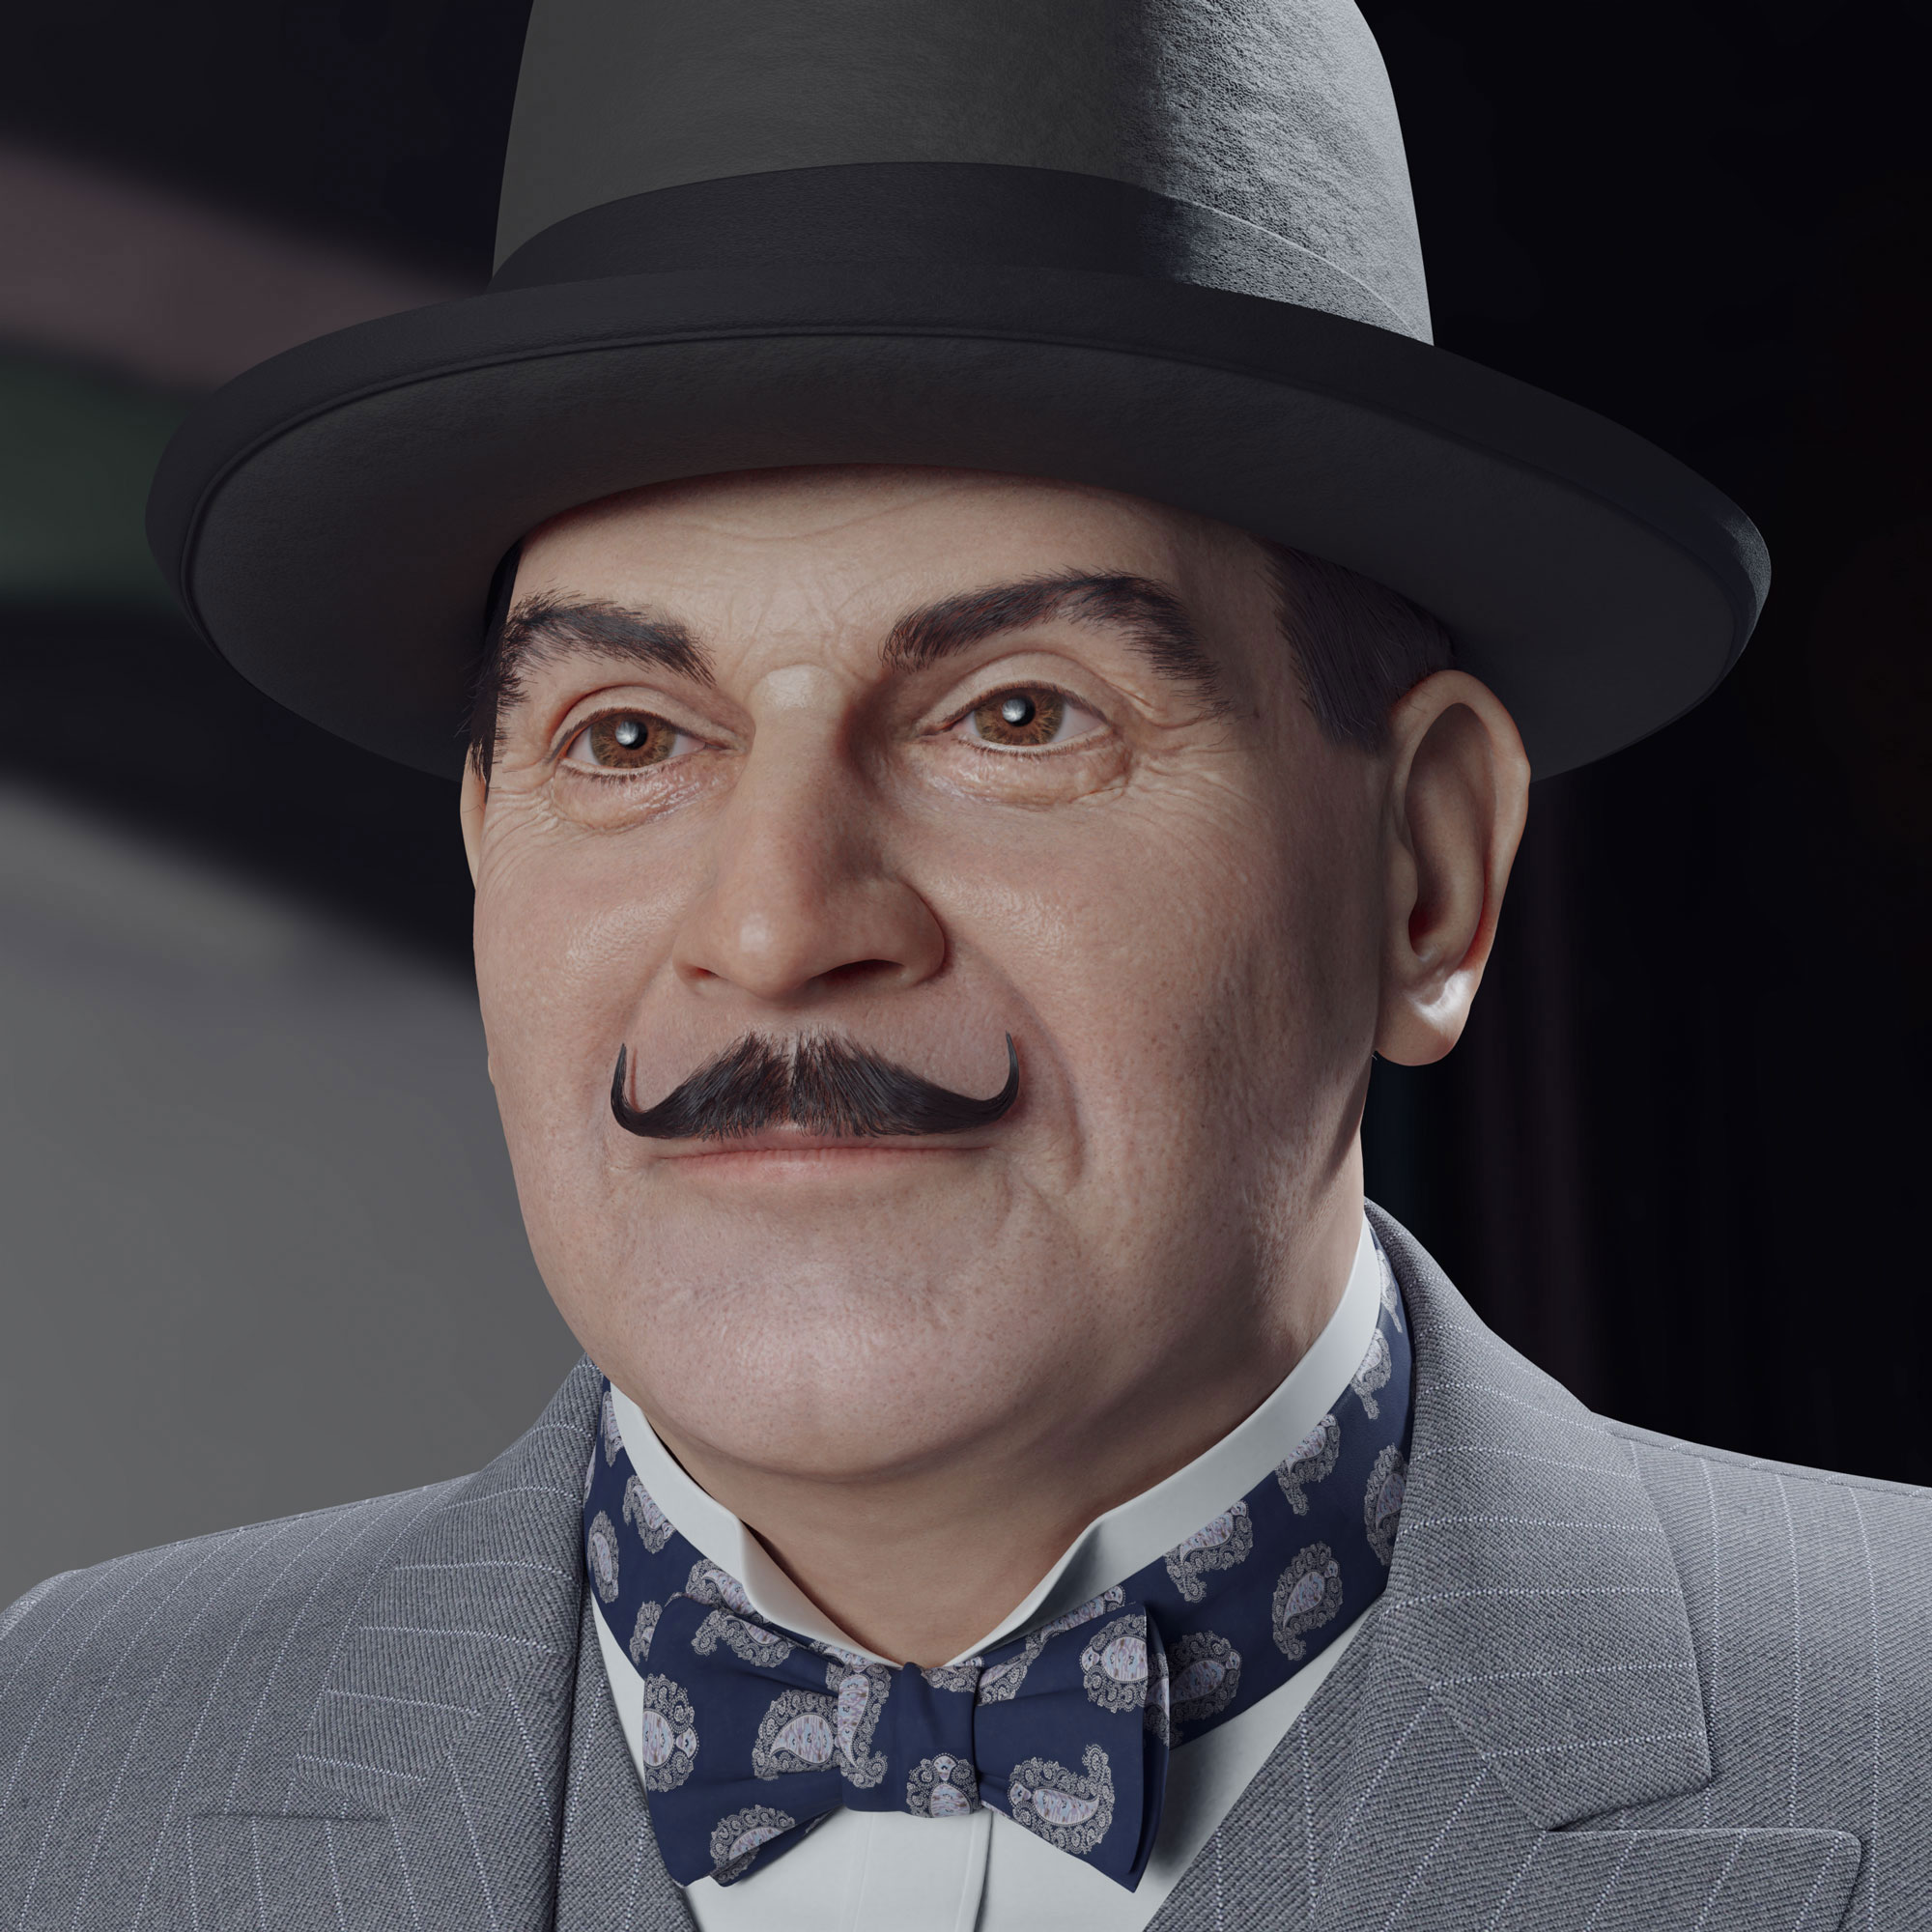
Also, you can watch a short video about the project:
Thanks for your attention. I hope you found this interesting.
About the Author
 Andrew Dudka, CG artist

A perfect portrait!
Keep up the good work!
Goodness gracious, man, this is fantastic. Excellent work.
LoL one of my fav actors, I’m fond of those auntie Agatha plots You did a very good job!
A very good use of the little grey cells.