Automatic motion capture with Deepmotion and Blender
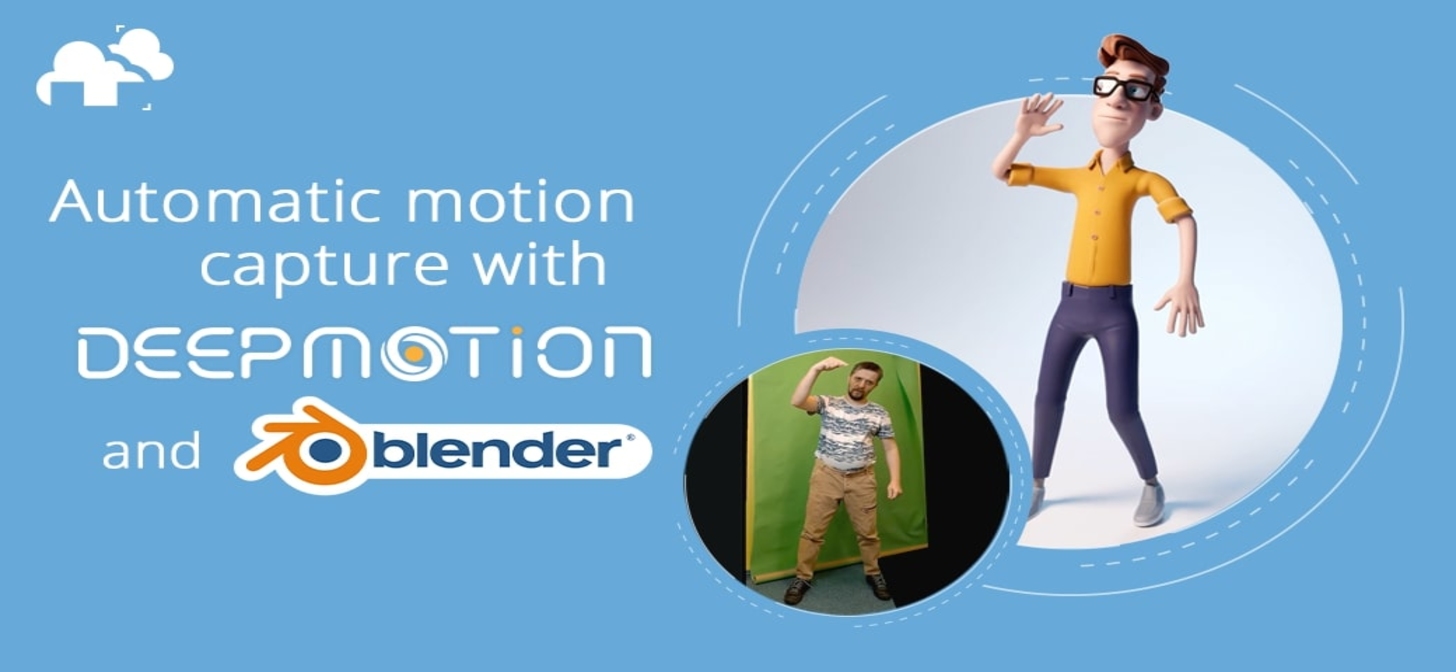
There have been some notable developments in Motion Capture technology in the past year, especially in the emergence of motion libraries and motion capture software. This is great news for us CG artists working outside of big studios, or without access to the typical hardware setup required for mocap. In this tutorial, our resident content creator and 3d artist, DJ, showcases Deepmotion- a promising trackerless motion data capturing system accessible to just about anyone. Read on to learn how to generate 3d animation for your character from a video, and using data from motion capture in Blender!
About Deepmotion

Deepmotion is a company providing various services related to animating with motion data, but for this tutorial, we’ll be focusing on Animate 3d, which the company describes thusly:
“Animate 3D lets you turn 2D videos into 3D animations for use in games, augmented/virtual reality, and other applications. Harnessing our proprietary Perceptive Motion Brain technology, our AI-powered platform helps automate your animation pipeline by providing a solid foundation for your animations.
Animate 3D lets you turn 2D videos into 3D animations for use in games, augmented/virtual reality, and other applications. Harnessing our proprietary Perceptive Motion Brain technology, our AI-powered platform helps automate your animation pipeline by providing a solid foundation for your animations.
Create animations at the press of a button using our easy to navigate web interface. Simply upload any .MP4 .MOV or .AVI file to generate high fidelity .FBX, .GLB, .MP4, or .BVH animations. No suits or special equipment needed, meaning your only limitation is your imagination!”
Exciting stuff! Now that we know what it does, let’s see how to put it to use.
Deepmotion Tutorial
1. Create a Free Account

Register at https://deepmotion.com/animate-3d to begin. The process is straightforward, and the Dashboard you’ll be working with is pretty intuitive.
2. Record A Video With The Motion You Want
Before you start though, here are a few pointers pulled from the dashboard for best results:
- Keep your camera stationary and parallel to your subject
- Make sure your subject is 2-6 meters from the camera and is visible from head to toe.
- Keep your lighting neutral or as evenly lit as possible, with a distinct contrast between the subject and the background (this is why DJ used a green screen).
- The maximum video size allowed is 50 MB, at a length of 60 seconds
- Avoid any objects or props in the shot and keep the subject completely visible at all times (not walking behind a car or tree, for example).
- Keep clothing as tight as possible and avoid covering key joints (no scarves, tassels, or elbow or knee pads, for example).
3. Upload your Video
In the DeepMotion Portal, click “Animate 3d Cloud”. You’ll have an option to use the default character set or a custom character that you provide. In this instance, DJ chose to work with “Default”.

You will then be prompted to select and upload your video and review the guidelines for video prep.
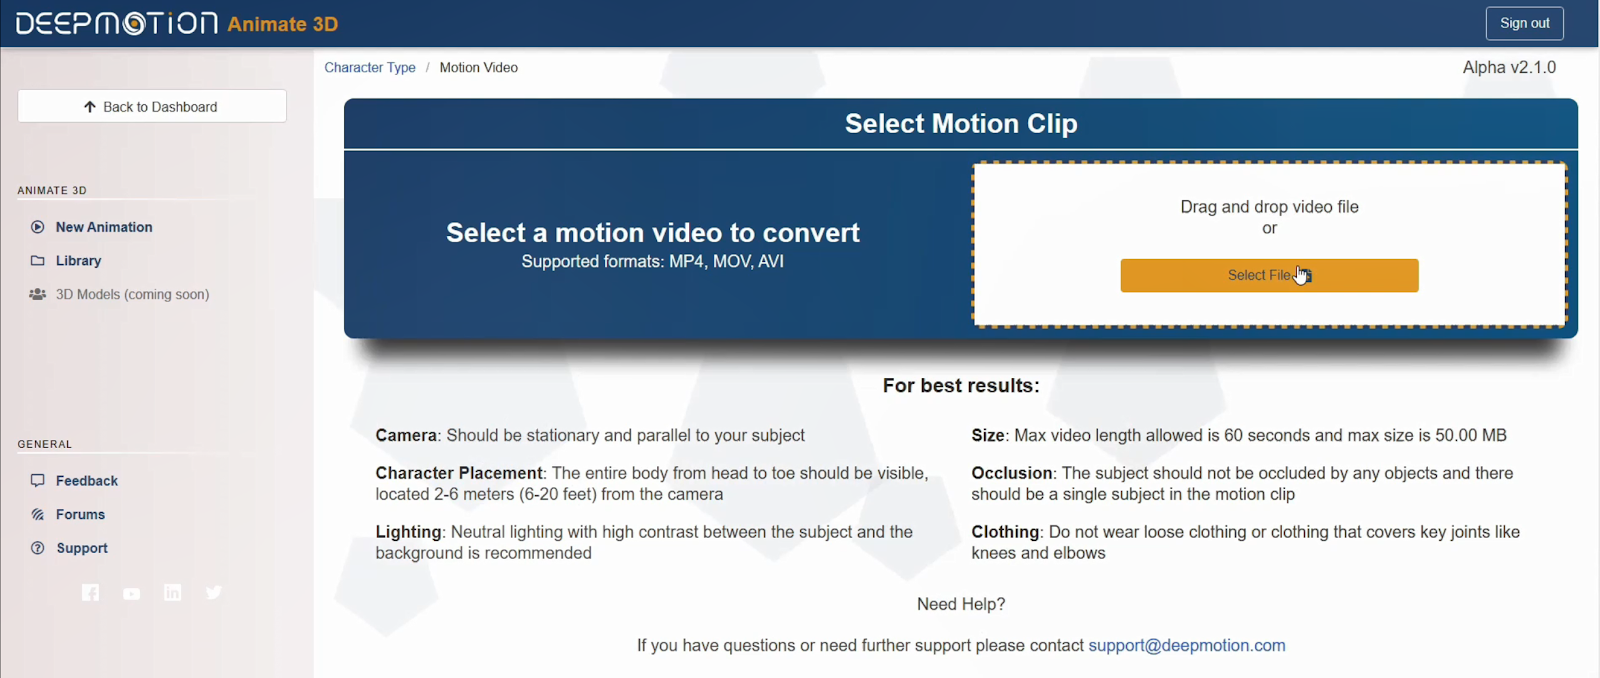
4. Select your Output Formats

You will be offered a few choices for output types, and this will depend on what you need for your project, but for now, we’ll go with the default settings.
5. Download your result
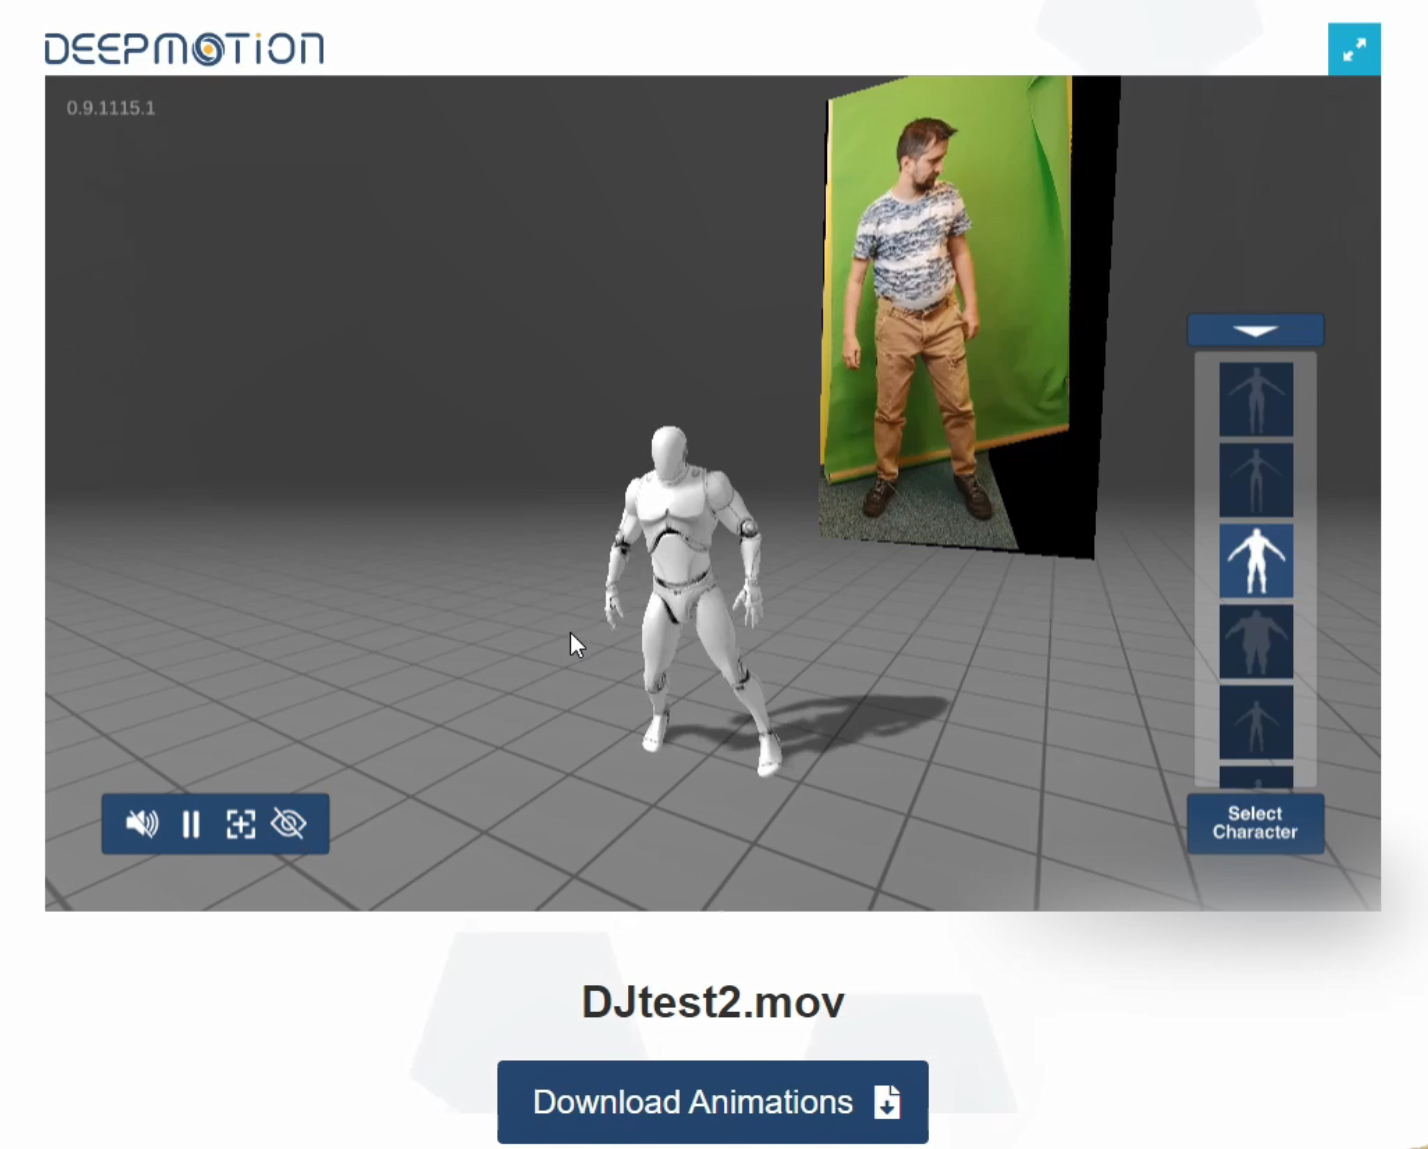
When you’re happy with your final result, hit “Download Animation” below the preview, and from the resulting popup, select the preset model appropriate to your video’s subject, and select which format you would like the rig to be in.

Motion Capture in Blender
6. Transfer the rig to your Character
Whether you’ll be using a character from the Blender Cloud or elsewhere, or one of your own, prepare a scene with the character placed at zero origins (where the default cube is) and make sure your origin point is at the character’s feet.

Import the rig from Deepmotion, and align it to your character (position and scale).
Switch the armature from “Pose Position” to “Rest Position”

With the armature selected, go to edit mode and align the joints to your character.

Once your armature is aligned, select your mesh in Object Mode, then select the rig, and hit Ctrl + P to Set Parent. Choose Automatic Weights.
7. Bind the Rig to Your Character
Once your armature is aligned, select your mesh in Object Mode, then select the rig, and hit Ctrl + P to Set Parent. Choose Automatic Weights.
8. Light and Stage Your Animated Character!

And that’s about it! Deepmotion is looking to be a great way to add a more personal touch to your animations in Blender, as well as an alternative to Mixamo for simpler movements. Give it a try, and happy animating!