
Behind the Scenes: Viking Hut
About me
My name is Filip Pavelko, I am 25 years old, I live in Slovakia.
As a kid, I loved to draw. Our house was full of papers with my drawings on them. Therefore, as a child, I started attending a private art school, where I could further develop my talent. Later, as a teenager, I started attending high school ŠUPKE in Košice, where I studied animation.
At school, I became more and more interested in 3D graphics and Blender modeling. In addition to school, I also devoted myself to Blender in my free time and learned a lot thanks to the tutorials on YouTube.
I have been working in the Slovak capital, Bratislava, for 5 years now as a 3D artist. Graphics are still my biggest hobby. Most often I focus on low poly art. Most of my work is created in this style. Low poly art is a characteristic feature of my work.
[sponsor id=’qarnot’]
Inspiration
In my free time, I like to play computer games, which are often my great inspiration for graphic design.
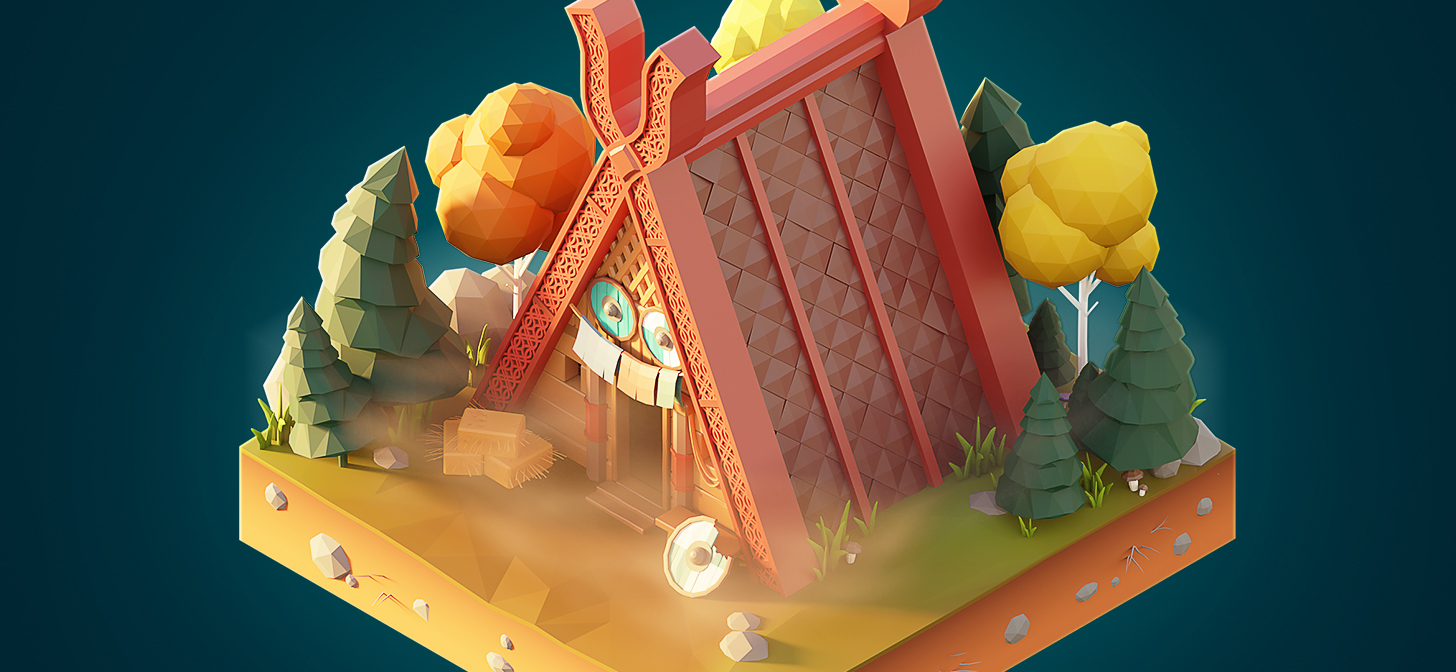
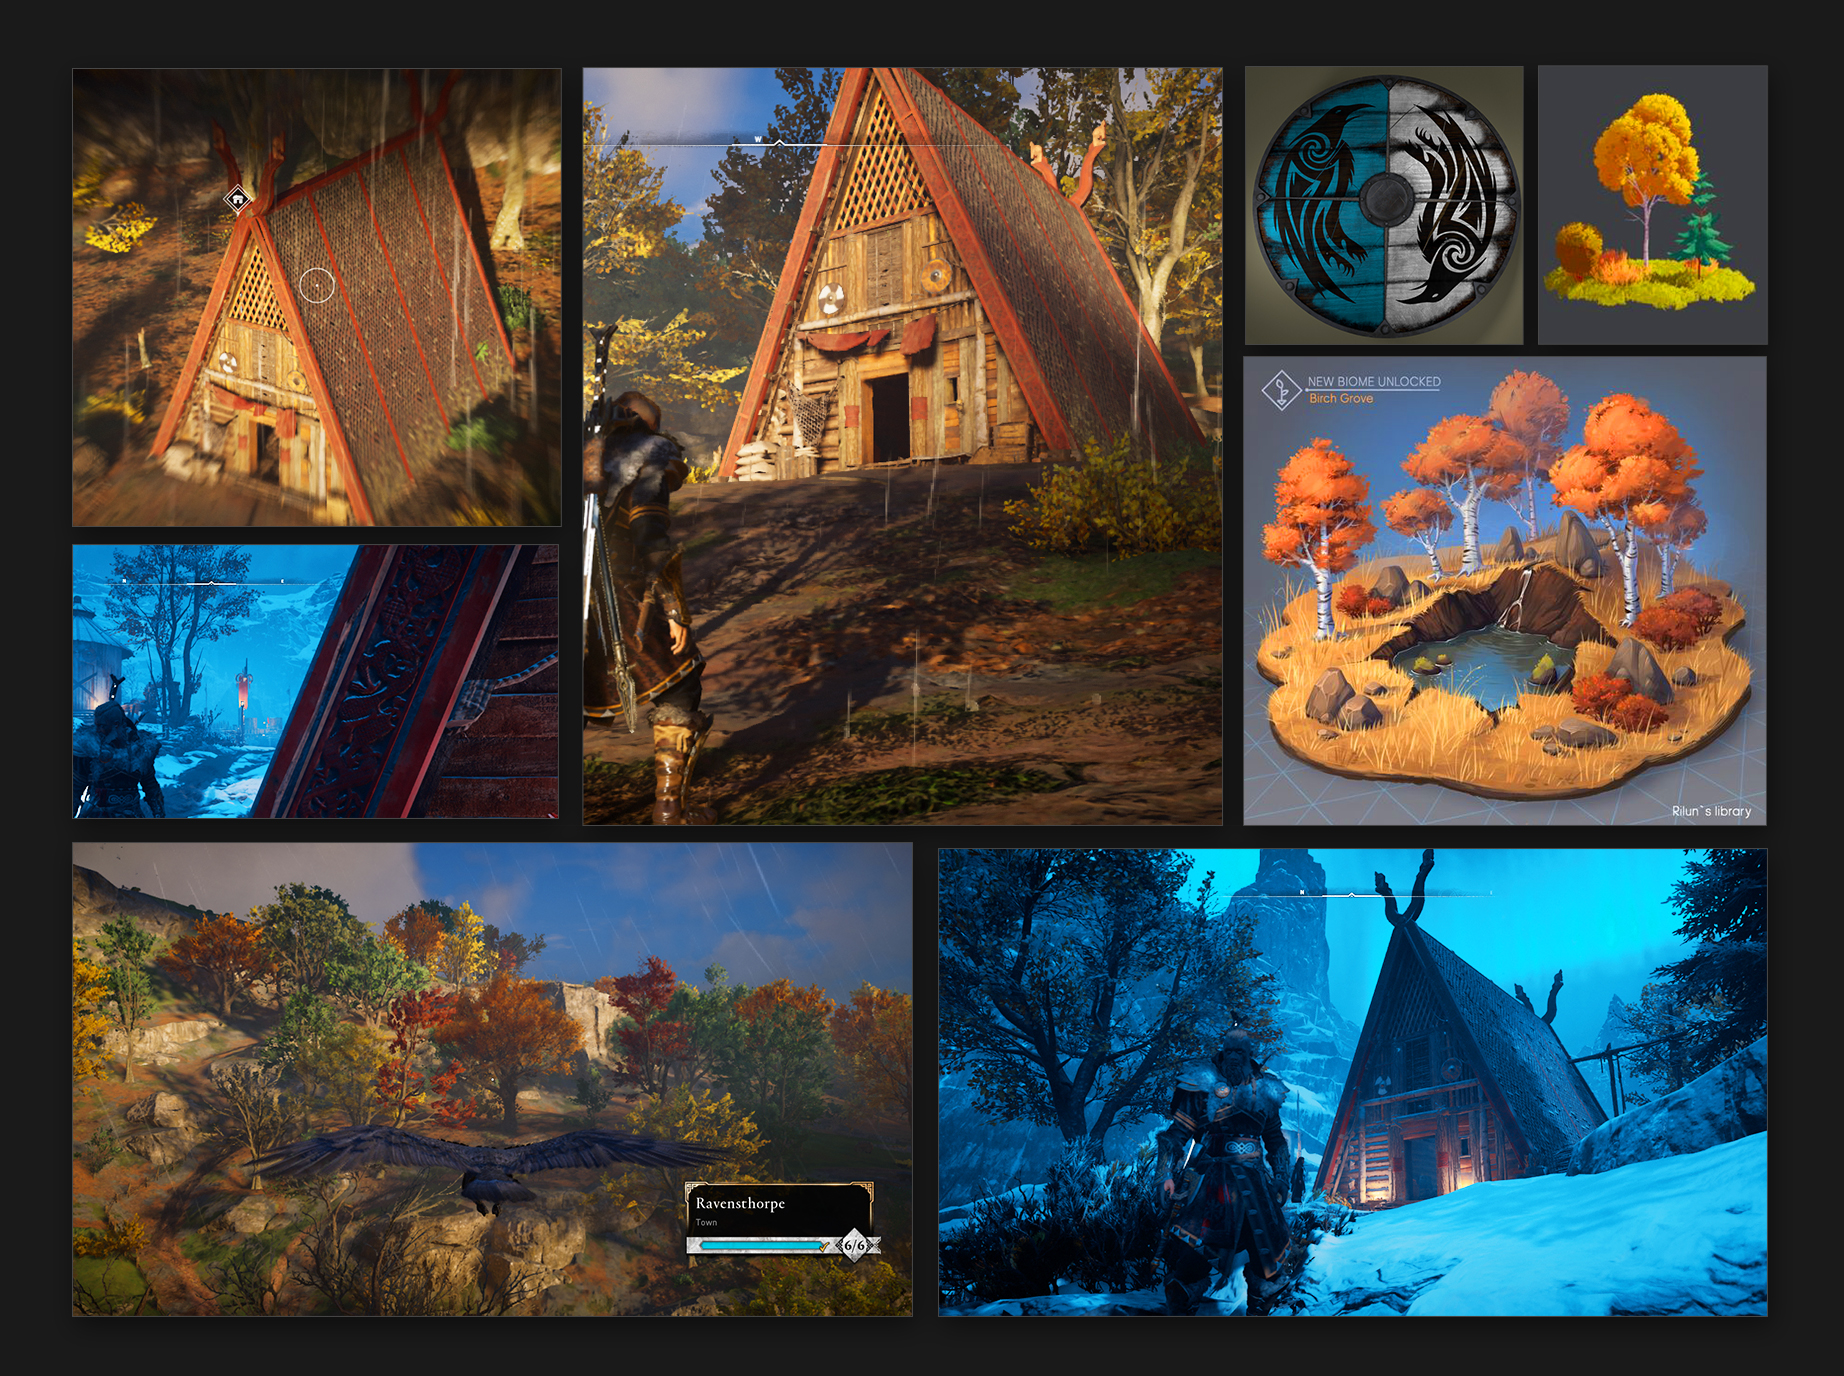
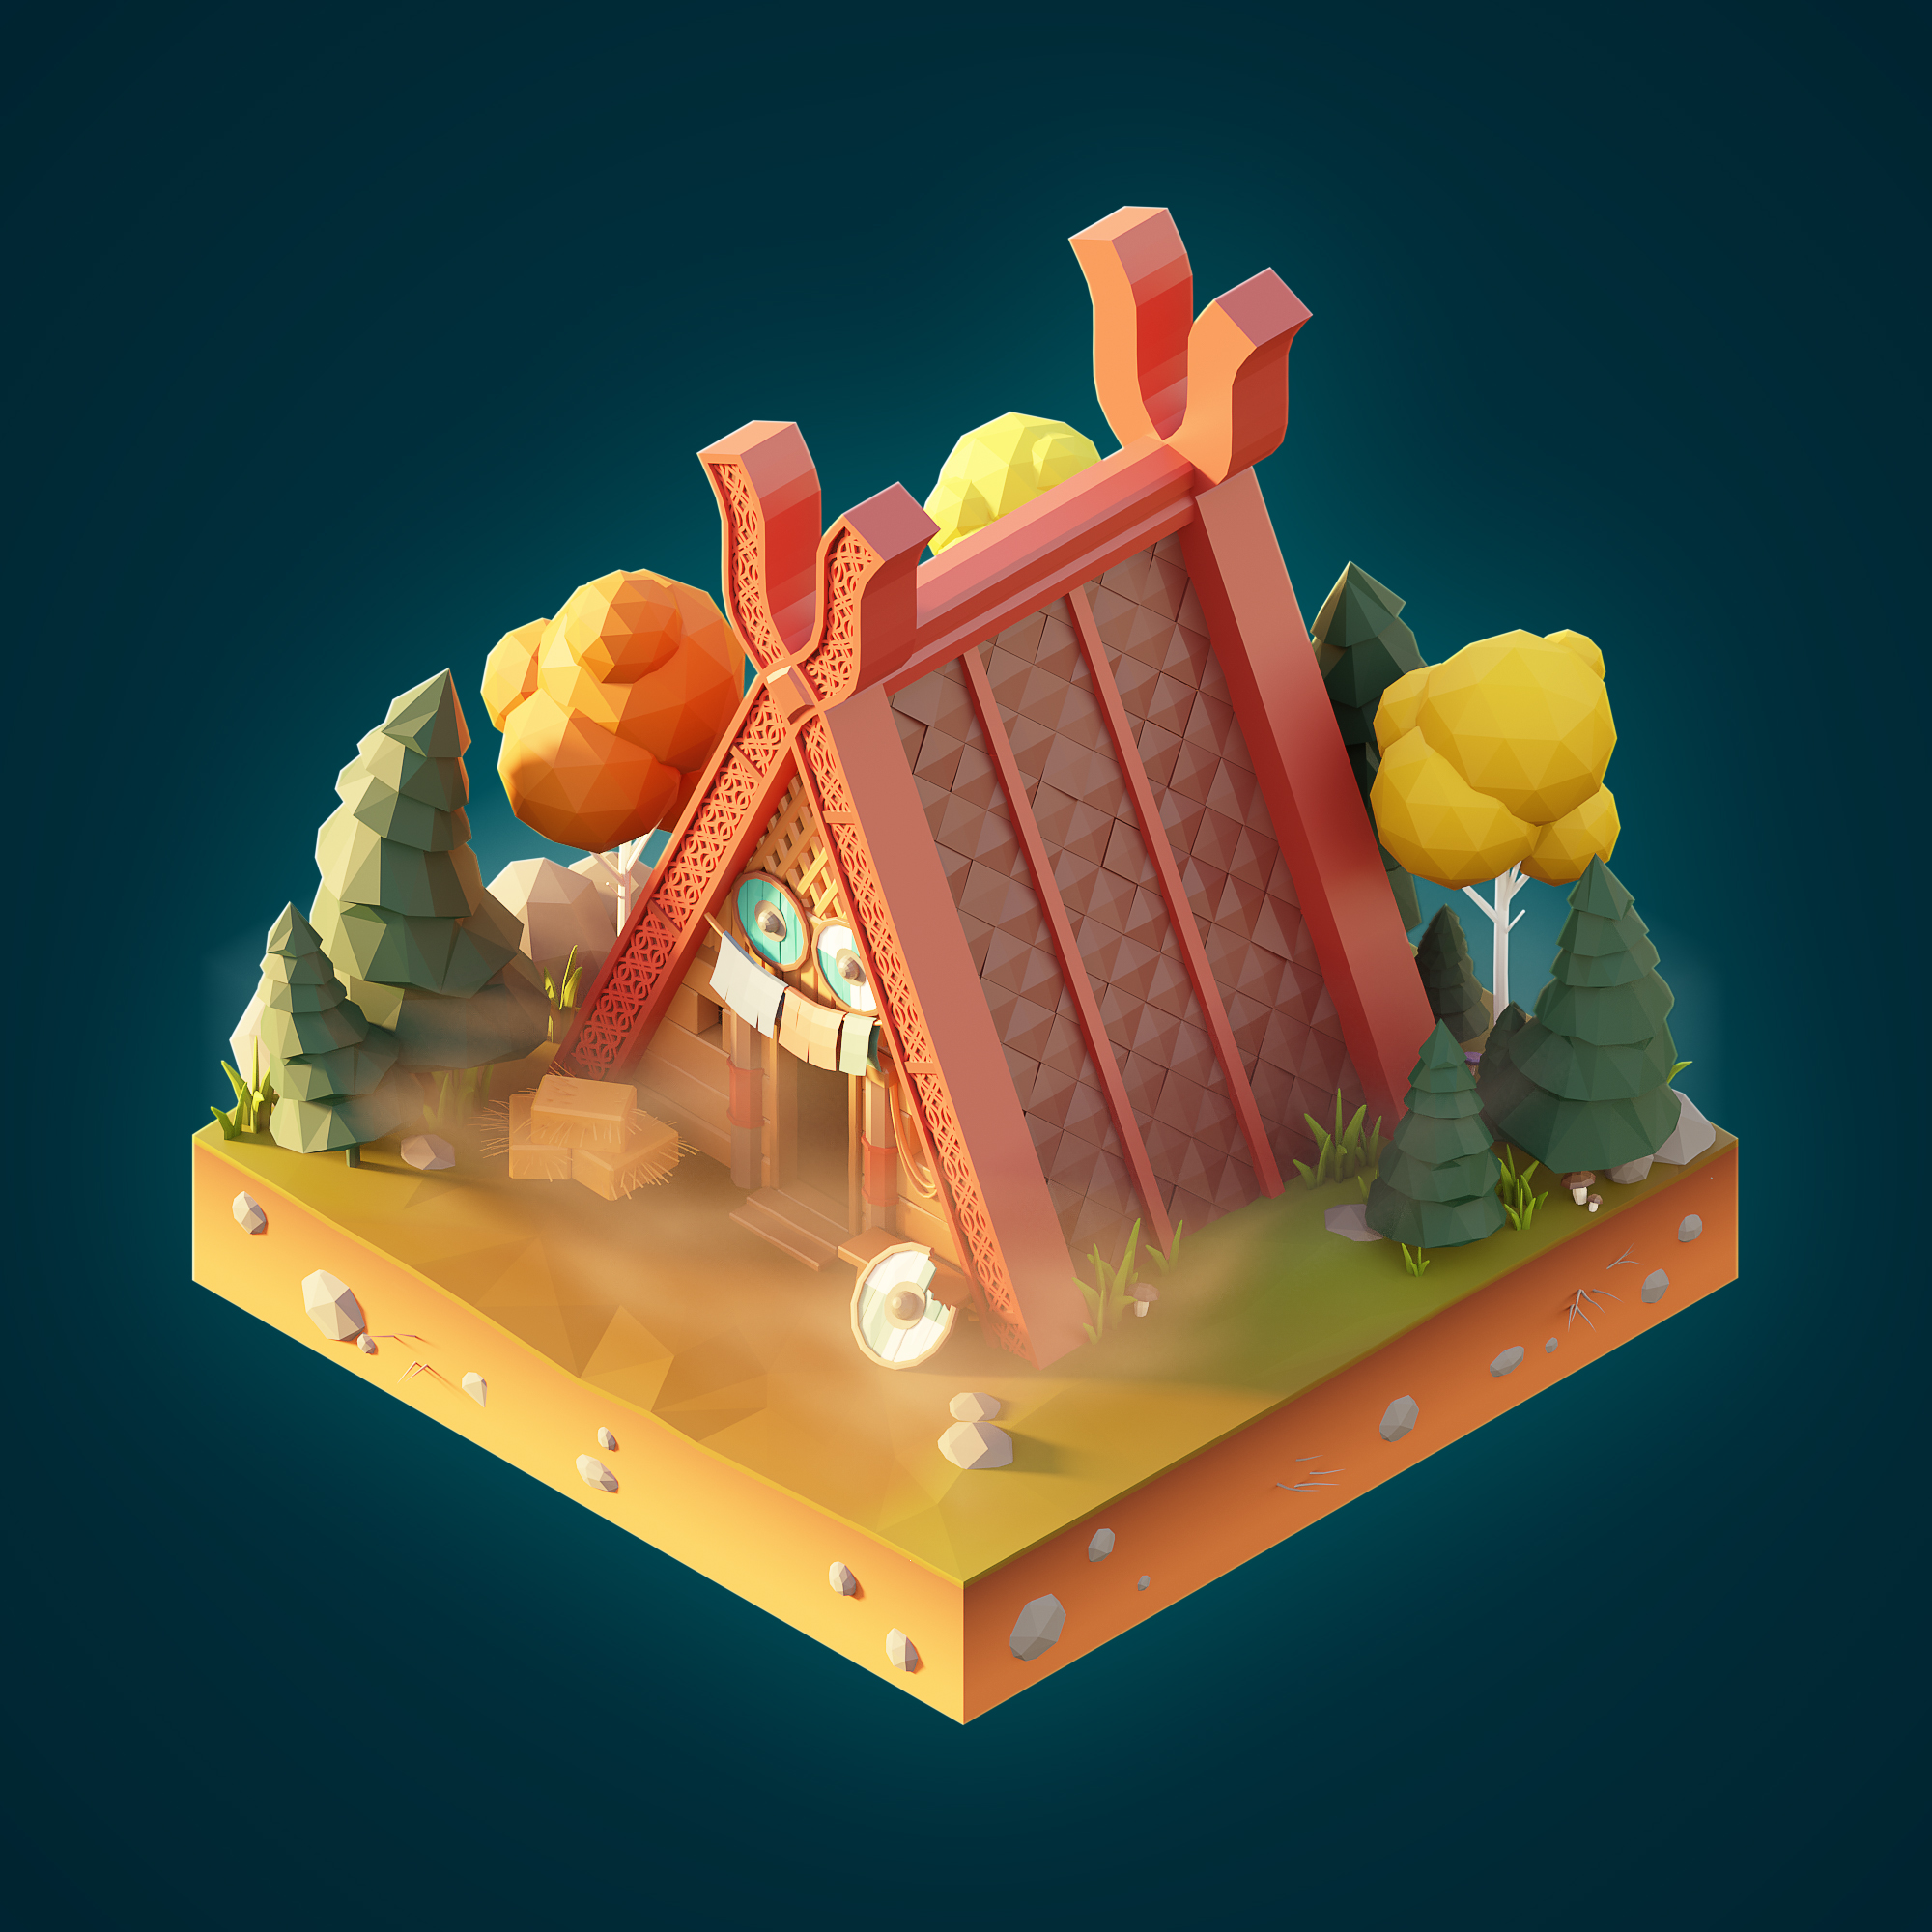
One of my favorite games is Assassin’s Creed. I was very interested in the Viking environment, the autumn colors of nature, and the environment that inspired me to create the Viking hut.
References
Modeling
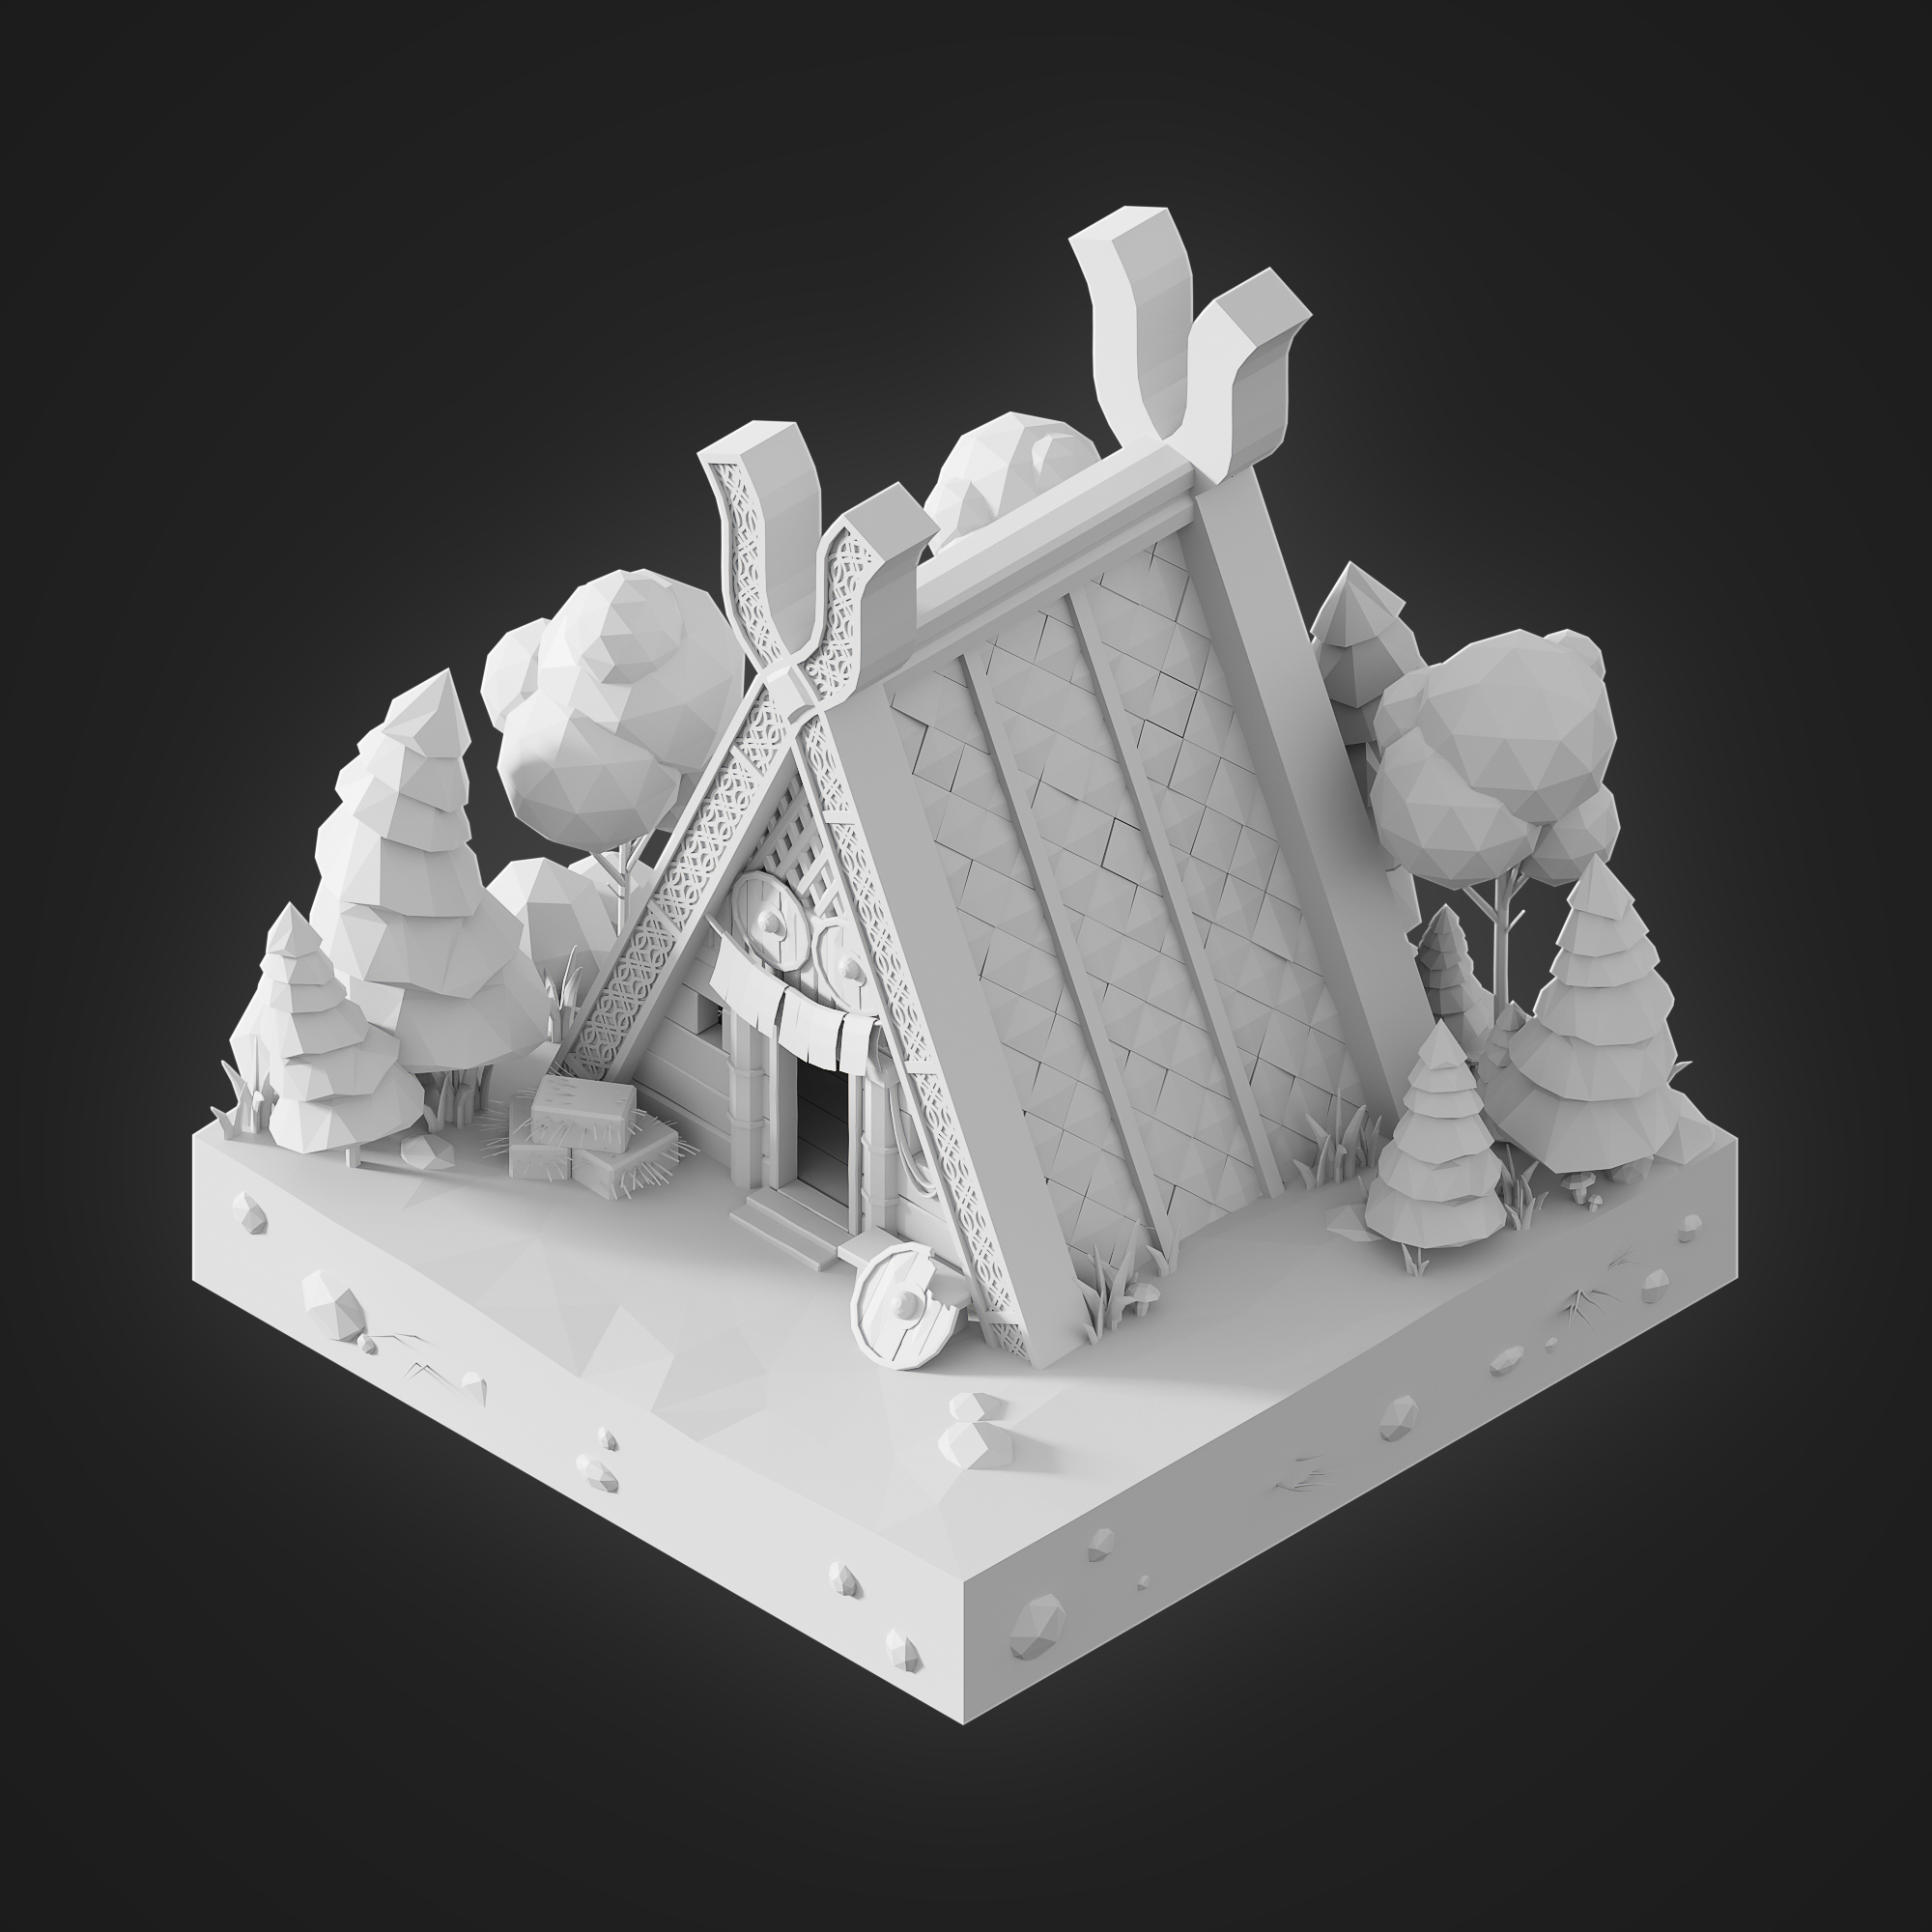
As with any such isometric work, I already have a pre-prepared isometric square, for which I adjust the terrain as needed.
I started with the roughest prisms in which the decorative element is located. This decoration is created using Array + Curve. I continued on the roof where I modeled two tiles that I duplicated using Array.

Next, I applied an array on the roof so that I could randomly deform the tiles a bit.
Next, I prepared the trees, grass, and simple rocks.
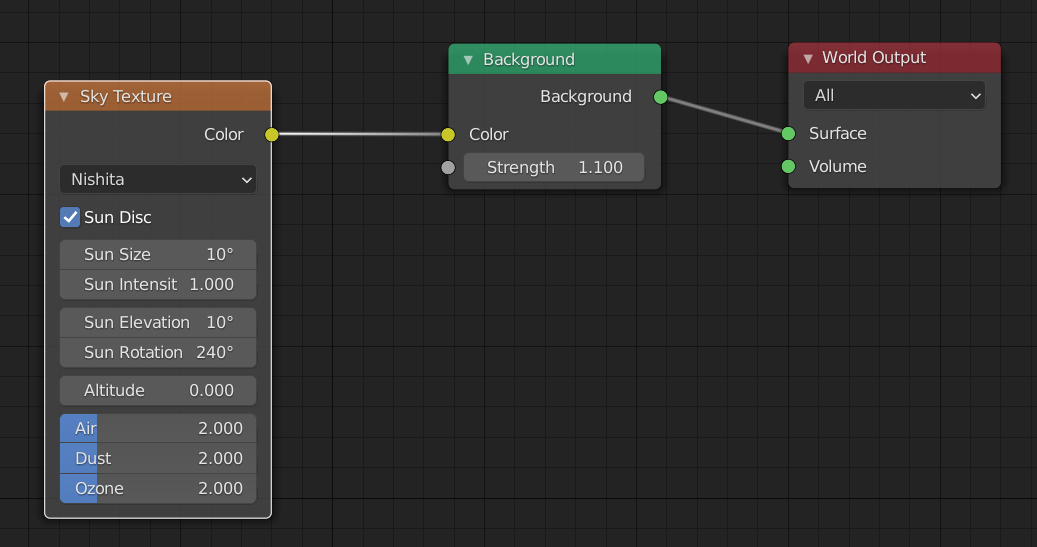
Lighting
I can’t determine which light to use in advance, I just experiment until I’m satisfied.
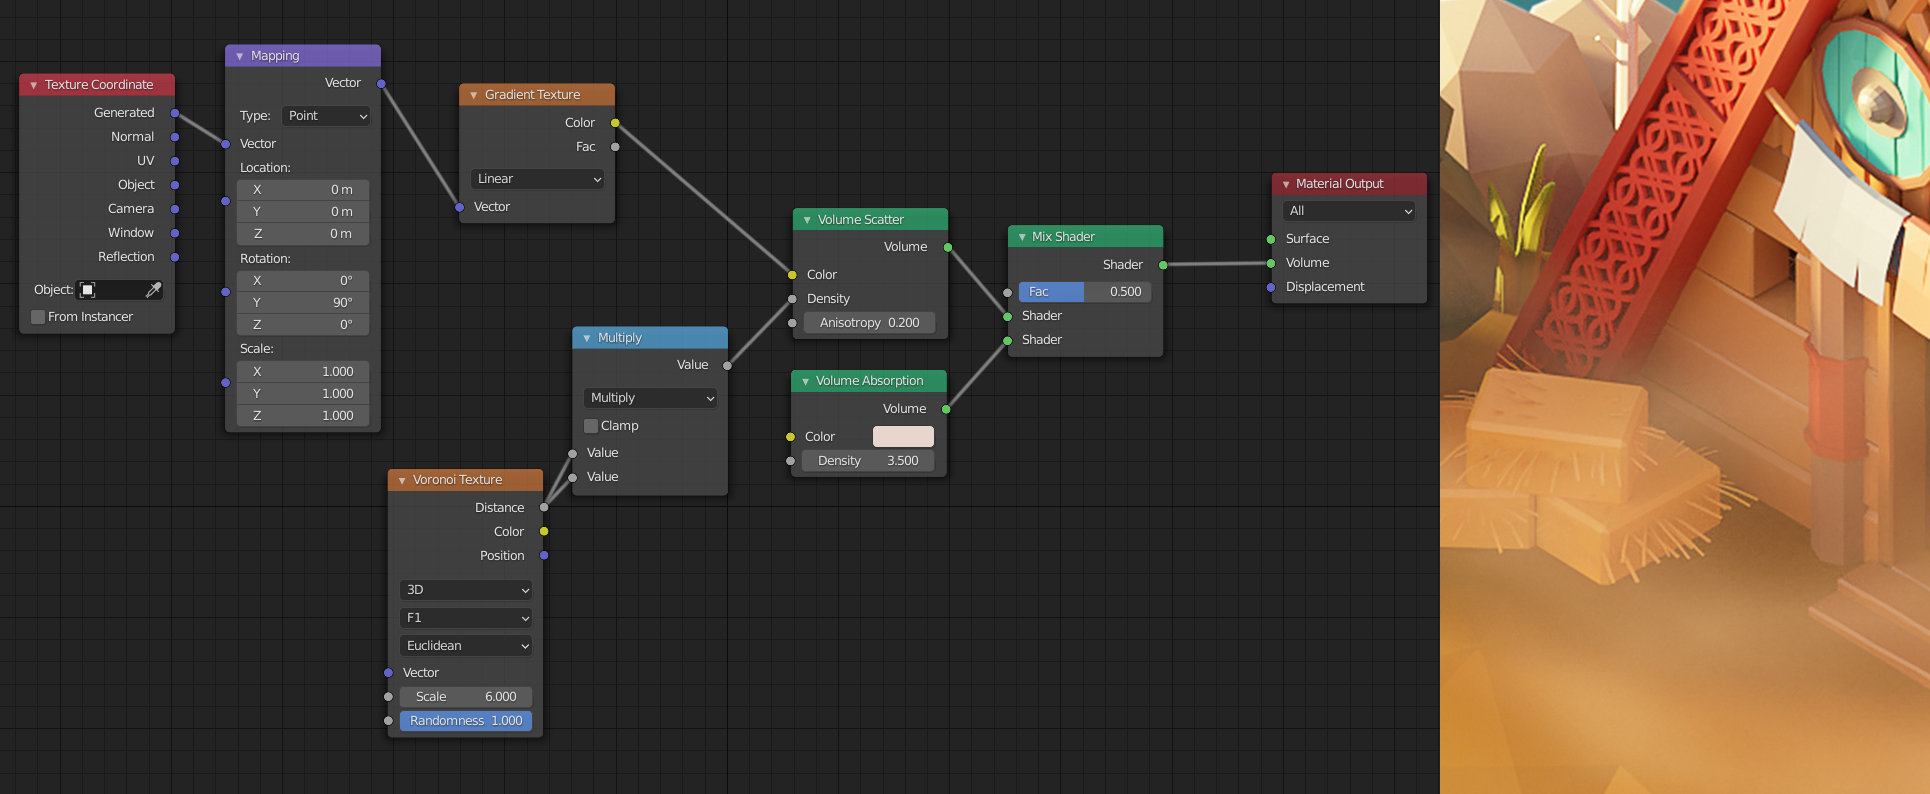
I used Sky texture – Nishita for this scene. Close to the ground, I created fog using volume scatter.
Texturing
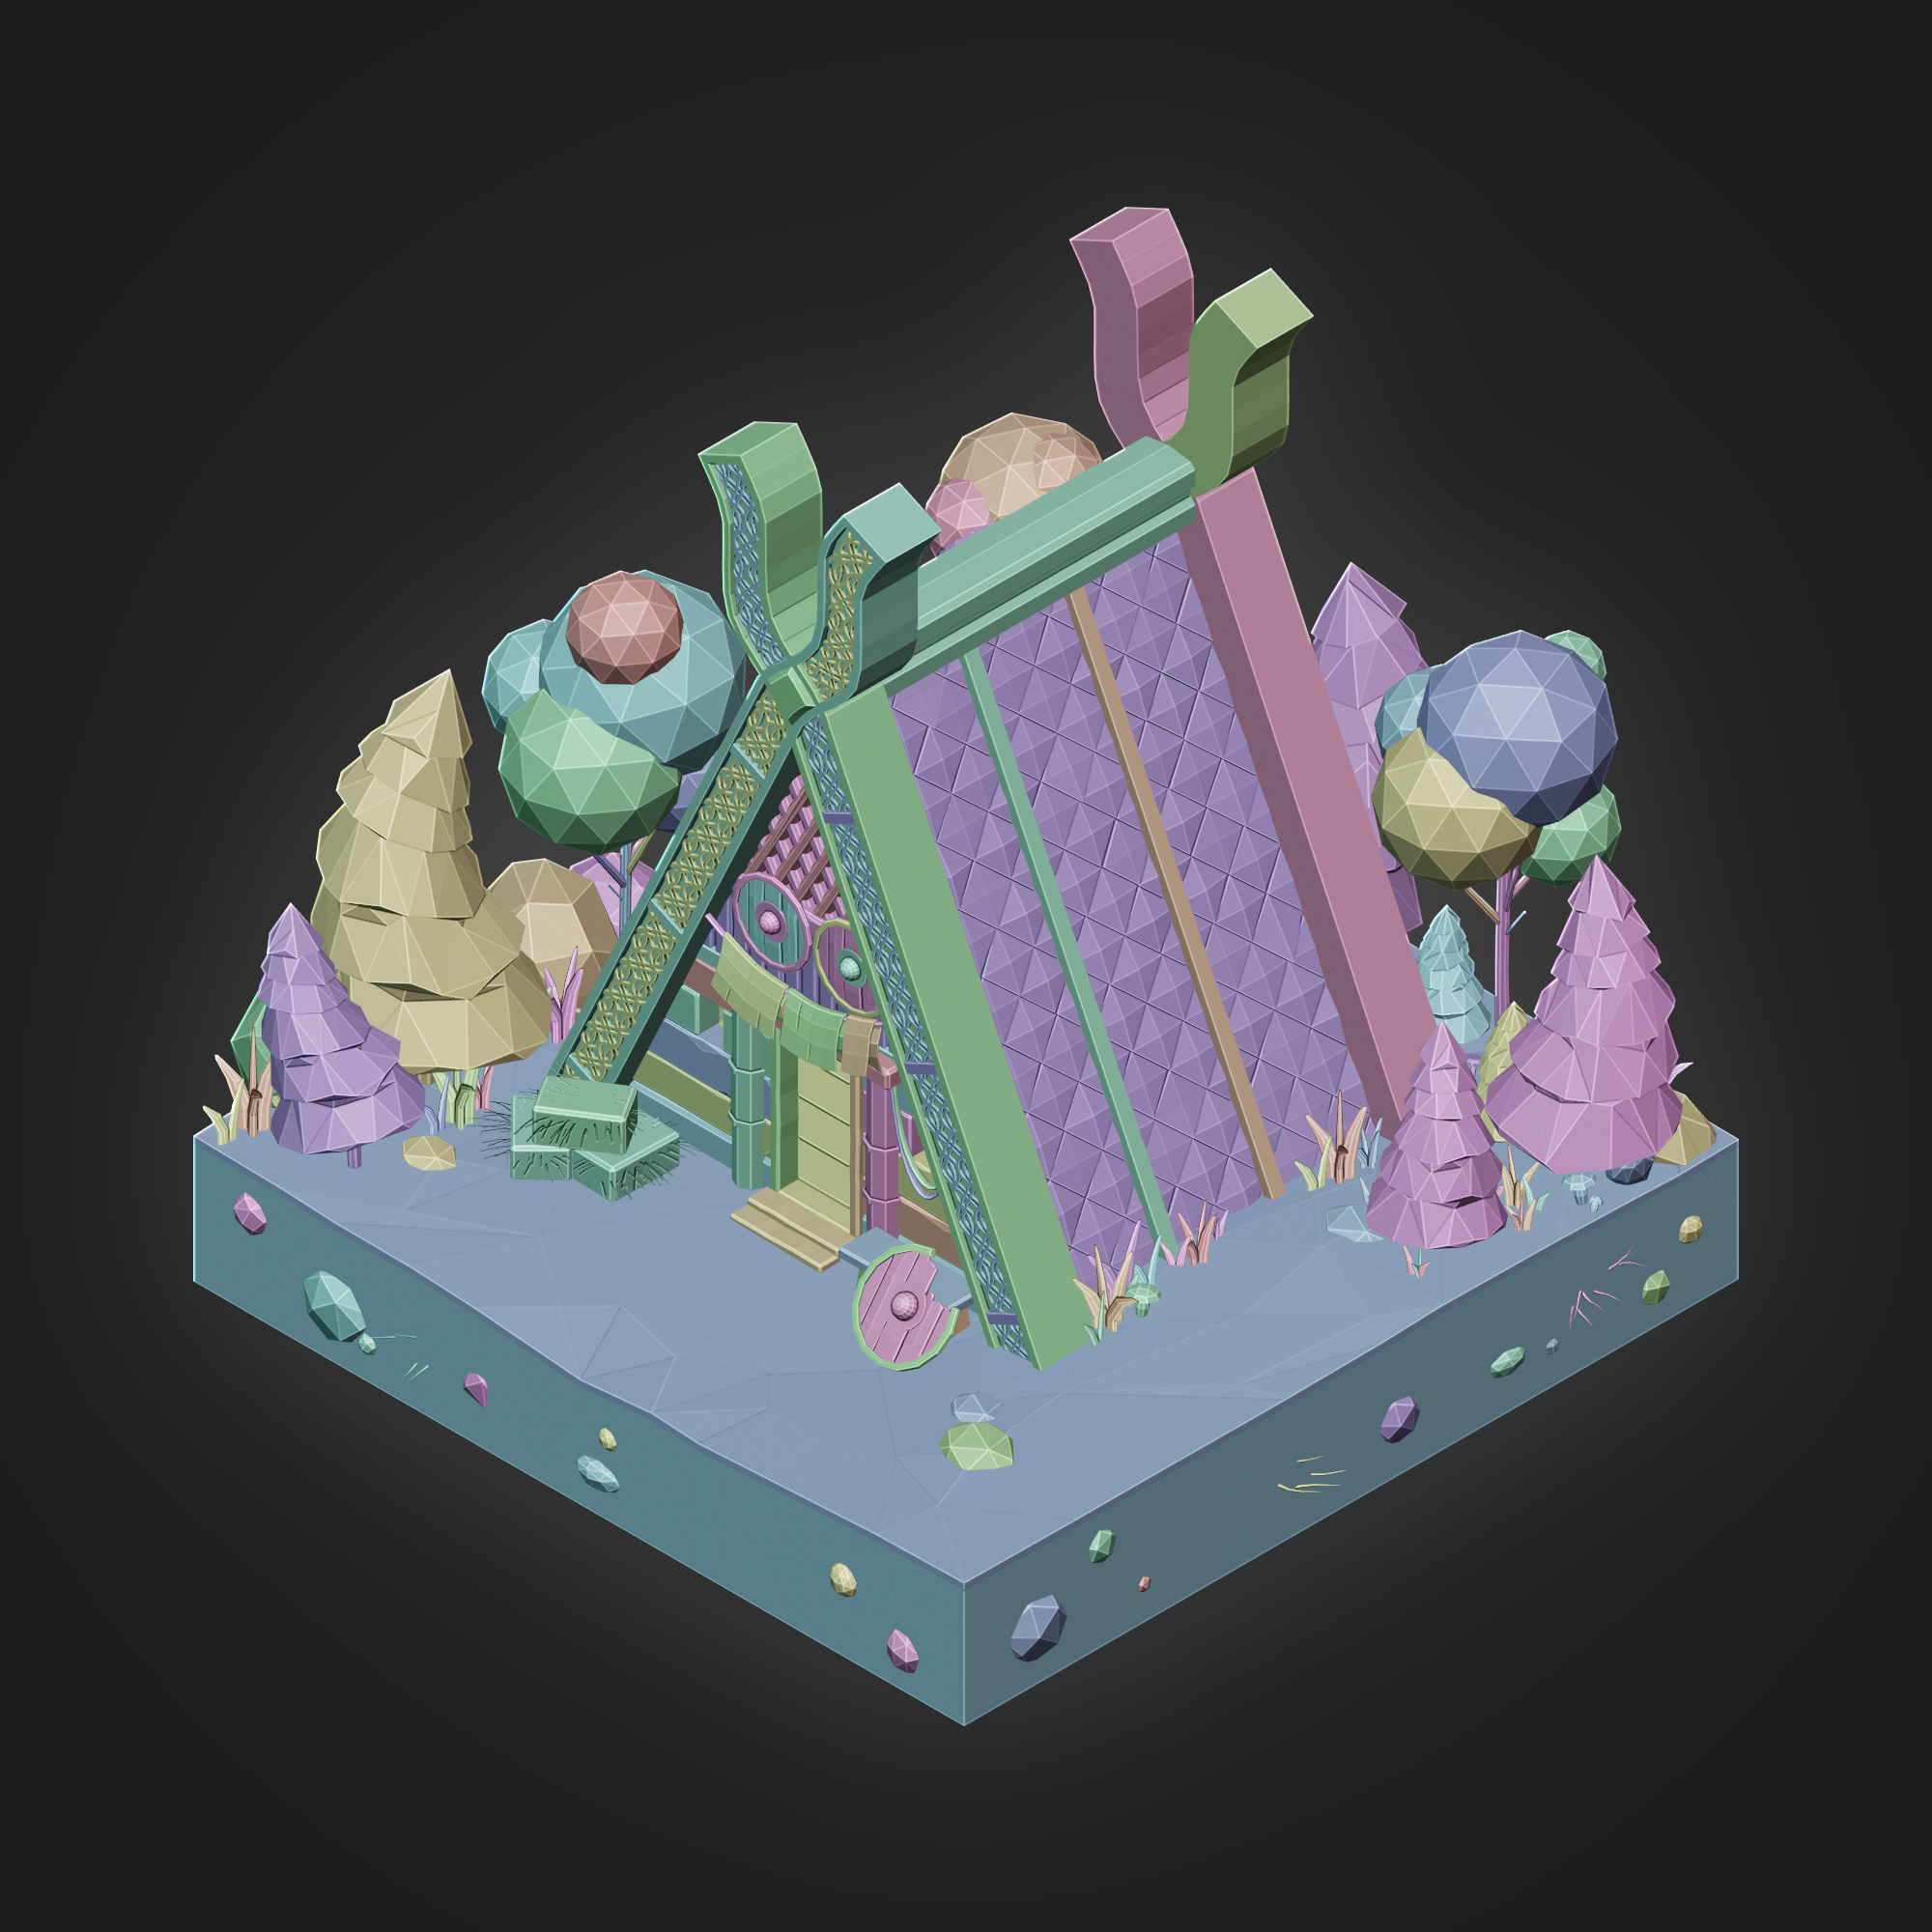
Texturing the low poly scene was very simple. I simply used a principled shader with a base color or gradient for grass, trees, and ground.

Rendering and post-processing
The work was rendered in Cycles. The final post-processing, color, and background were added in Photoshop
Software used: Blender, Photoshop
Renders
About the Author
 Filip Pavelko, 3D Artist


