
Hi everyone! My name is René Chaffins and I’m a digital artist from Chicago, IL focusing on the creation of surreal and imagined places. I had previously tried Blender for half a year in 2019, but was using a laptop and felt that I was unable to achieve and learn 3D in the way that I wanted. I took a break and decided in July 2020 to pick it up again and finally purchased a workstation with a proper graphics card.

Learn more on qarnot.com.
Inspiration
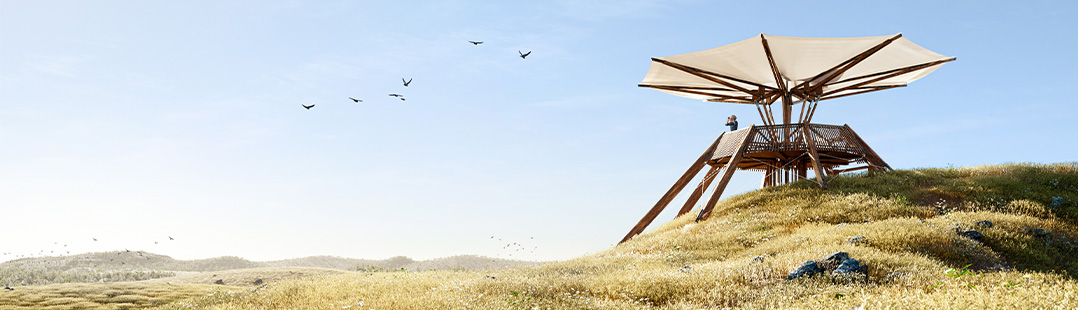
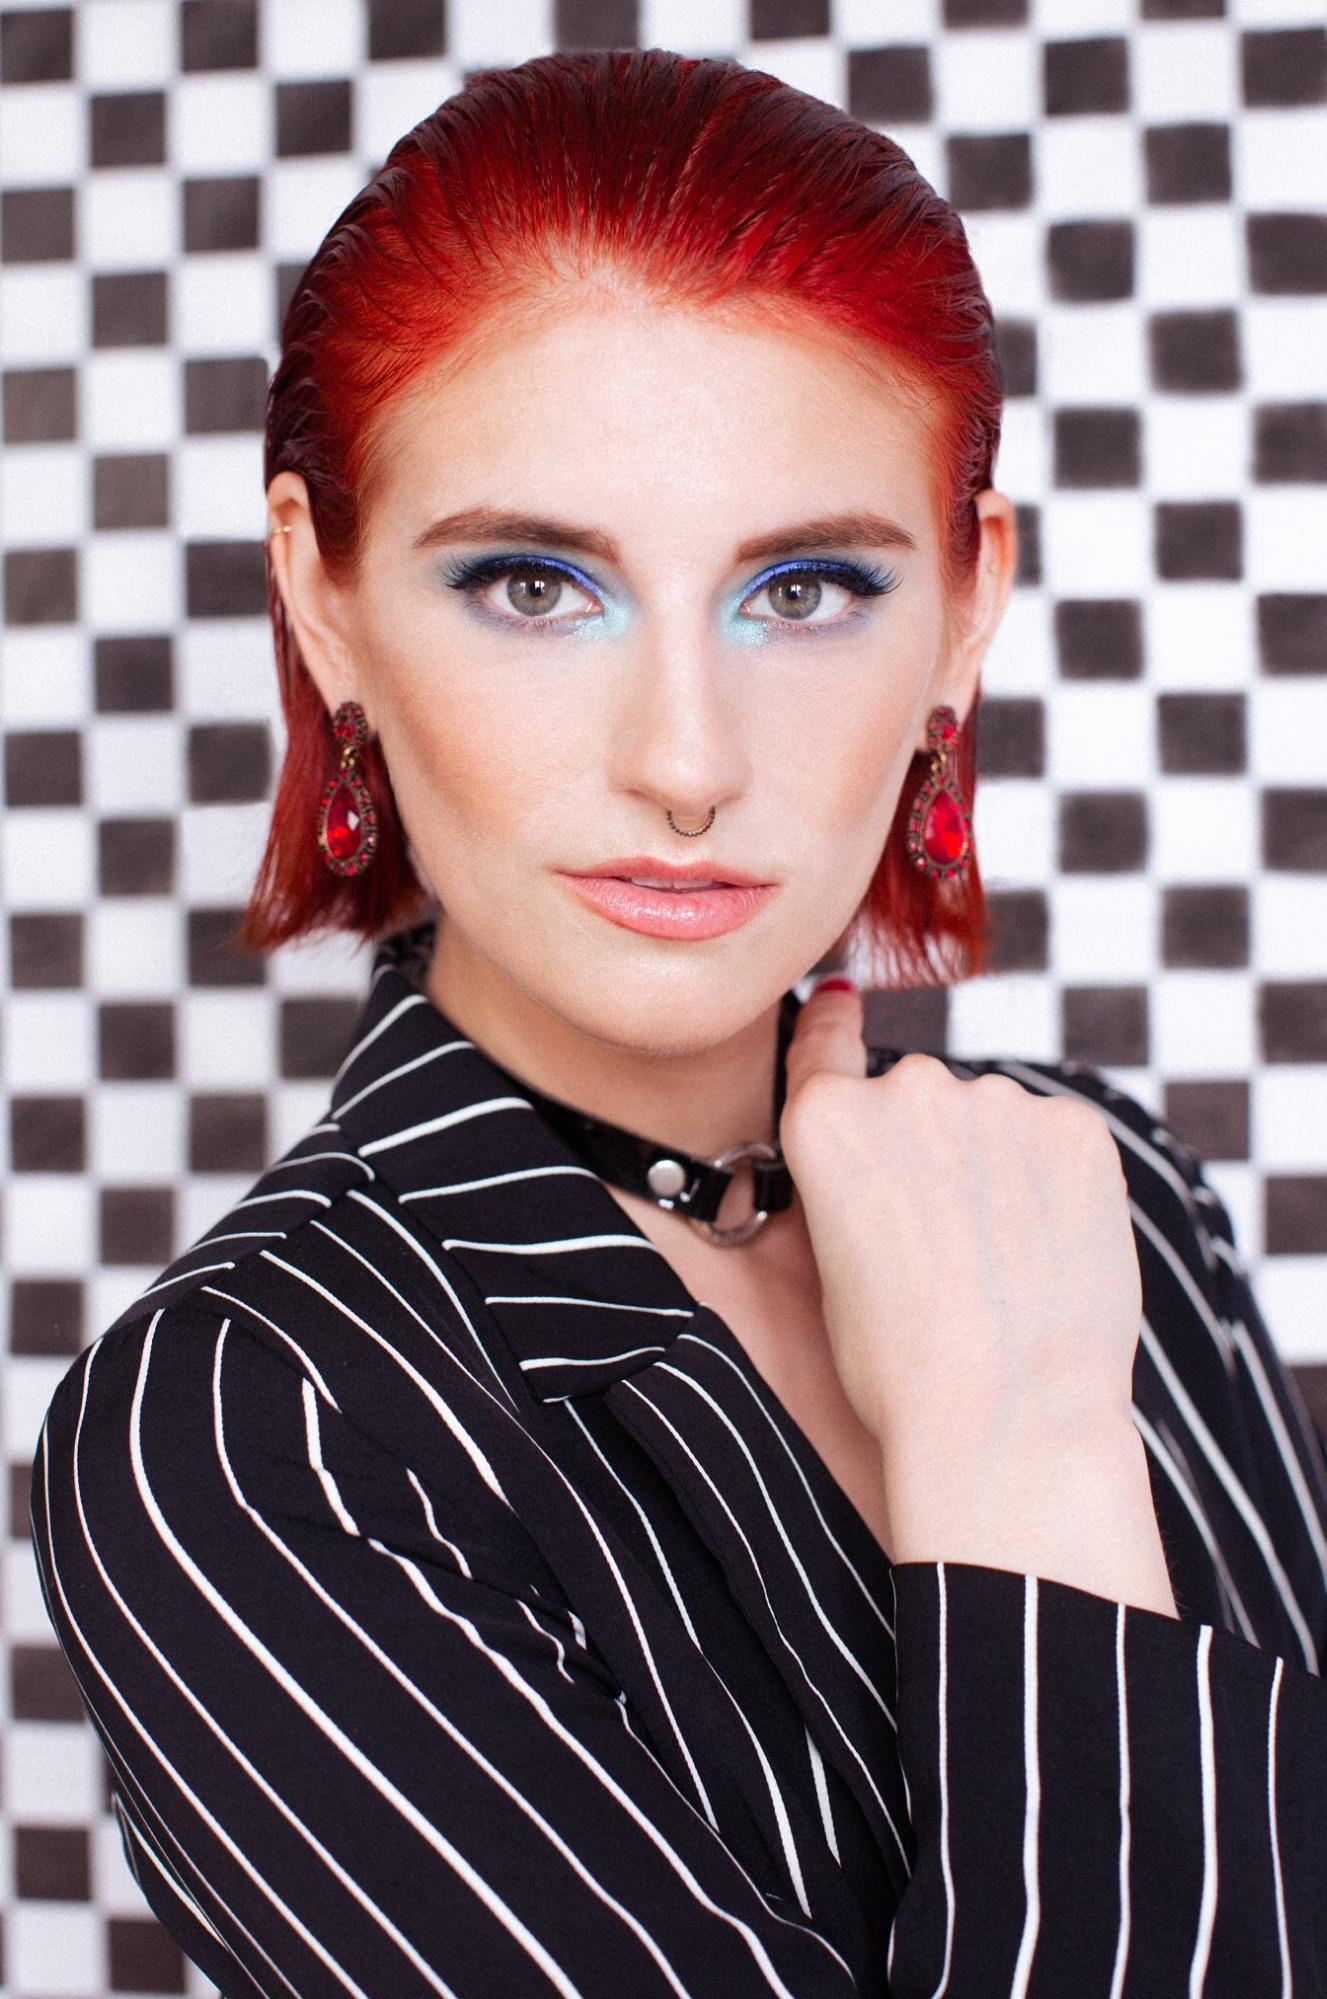
While I am inspired by the incredible work of other 3D artists, I usually draw my primary mood, color, and design inspiration for my personal work from painters, photographers, sculptors, and cinema. I think it’s especially helpful to broaden your field of inspiration to include other mediums and to explore what other forms of art have expressed. For this particular piece, I wanted to create something that reflected the duotone pieces of Sandy Skoglund as well as the encroachment of nature found in Jacek Yerka’s paintings.
Modeling
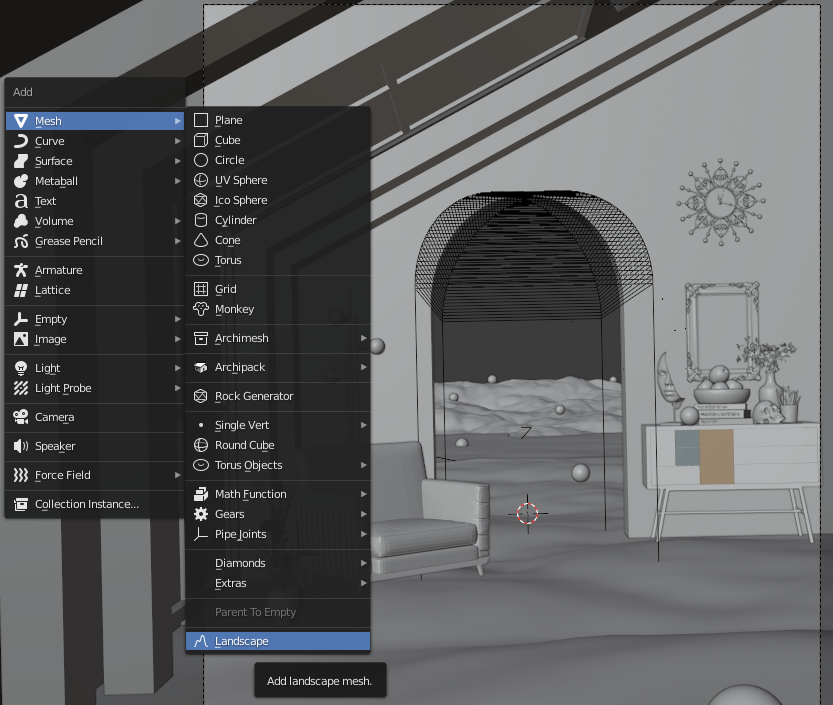
Since this piece was meant primarily as a color and composition study, I didn’t do any extensive modeling and kept the scene relatively simple. The environment was composed of three landscape planes using the Landscape tool in Blender and a fourth water plane with texture-based displacement to create some small ripples.
The building is just two walls. I chose to keep the structure relatively simple since I knew the flower and foliage would be a bit taxing to render so the building actually ends immediately outside of the frame. The wall on the left is a structure from a library of architectural assets I’ve collected from CGTrader and the archway was modeled by beveling the top face of a cube to create a rounded edge and then using the shape to Boolean the doorway.

Foliage was created using the Scatter tool add-on, which I definitely recommend for landscapes. I’ve found that it allows so much more control over placement of particles and in creating exactly the type of landscape you’re trying for.
Additional interior assets are from a variety of sources, including Quixel Megascans.
Materials
Textures are my favorite part of any scene! I usually use Substance Painter or Quixel Mixer to create more complex material mixes, but for this particular scene, I was going for a more simplistic, clean, almost plastic look since it was meant as part of a larger series of dreamscapes that I’ve been working on.
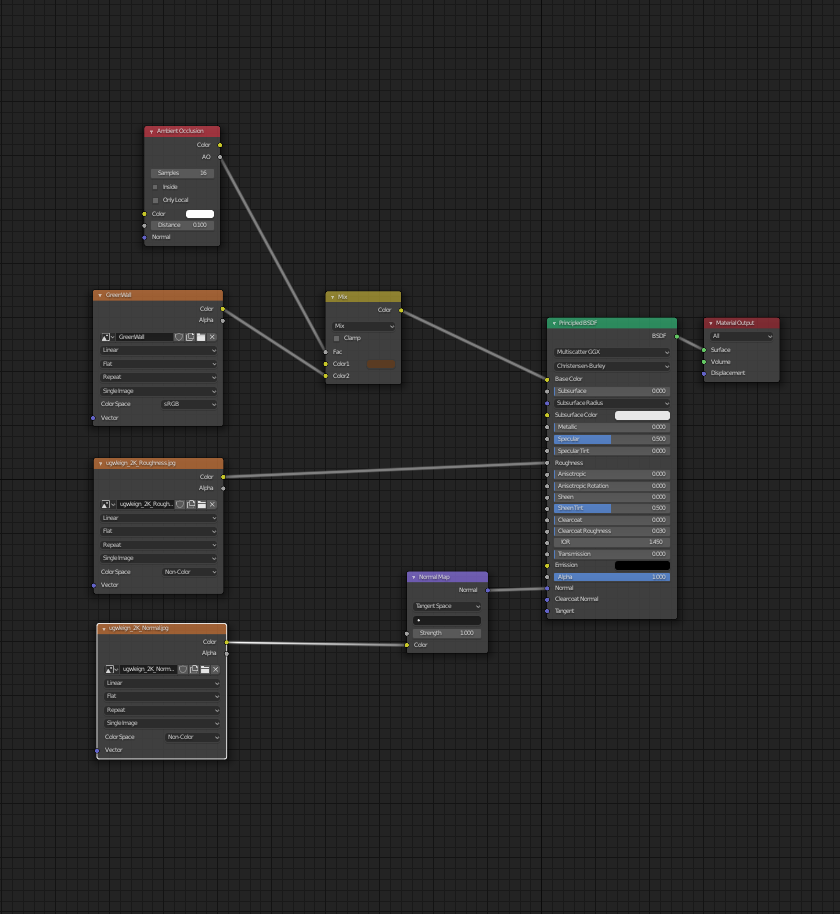
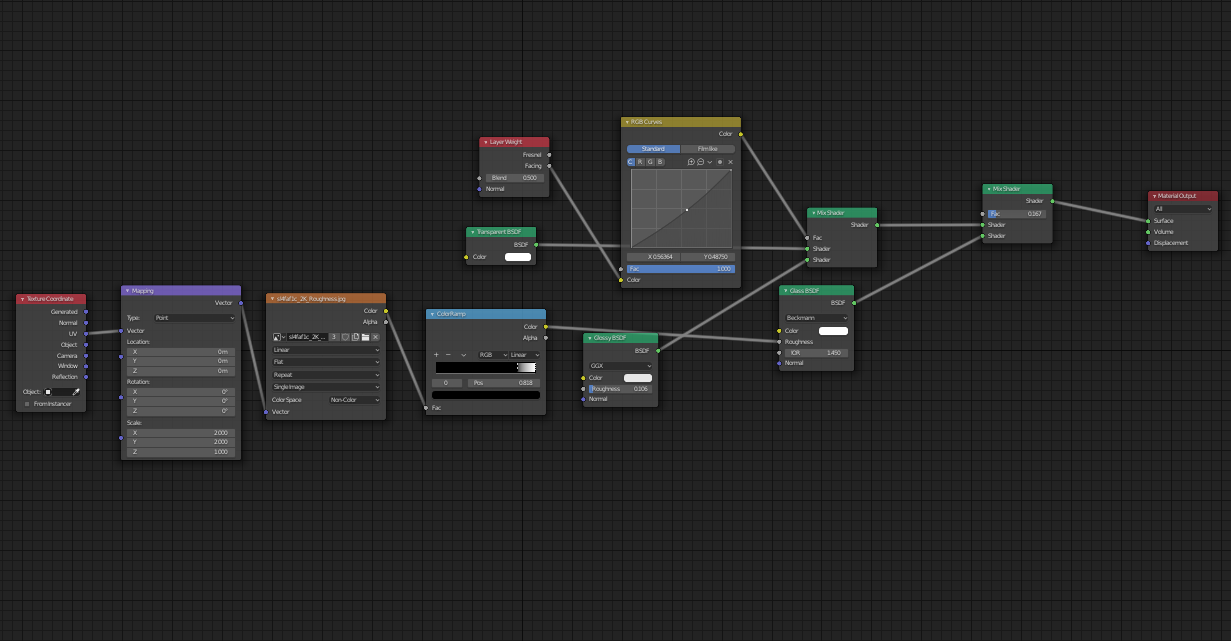
One thing that I do with a lot of textures that I want to appear clean, but with dirt in the crevices, is to mix the Albedo node with a brownish tint and use the Ambient Occlusion node to drive the dirt to the corners, which I did for the walls. The effect is minor, but I think helps with overall realism in scenes.
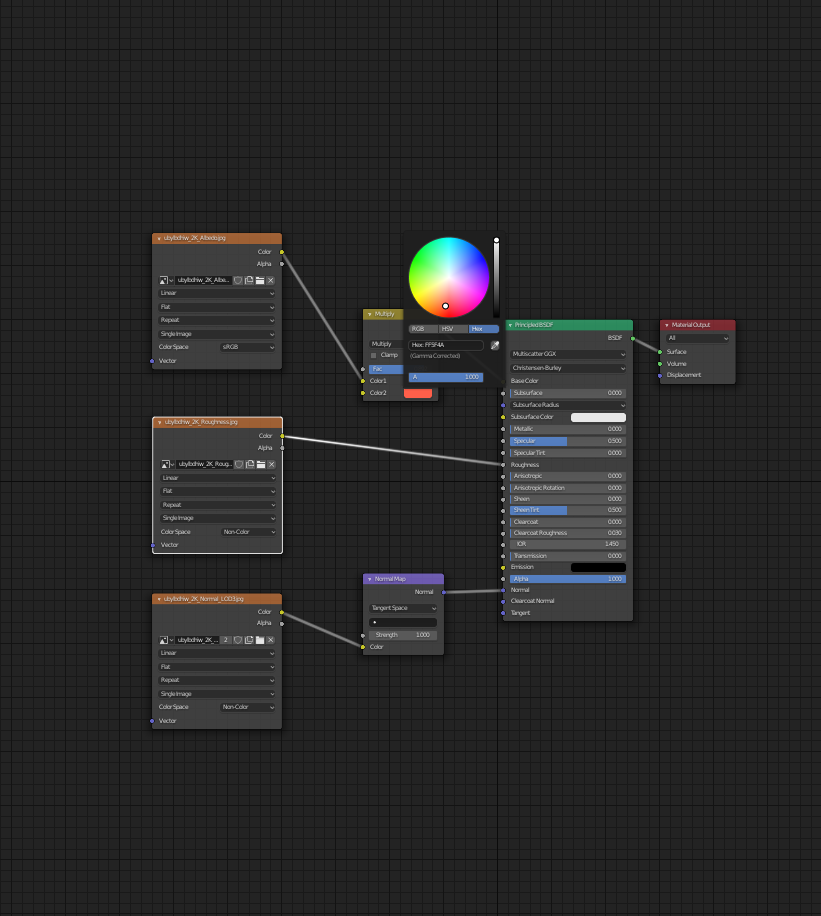
I used Megascans textures as the base and built on them by mixing in the specific tones that I wanted. This can be done within Quixel, but I felt that for this particular piece and look, mixing a Multiply node worked fine for the overall look I was going for. I kept the Hex code consistent for all pieces after I had selected it. Adobe Color is a fantastic tool to help figure out the exact code for complementary colors.
I mixed in a roughness node for glass materials in the scene and crushed it a bit with a color ramp. I’m still not completely satisfied with the way glass and mirror textures usually turn out for me in Cycles and have been experimenting a bit more with LuxCore and Octane to move forward. I think this glass node setup works well for architectural scenes, however.
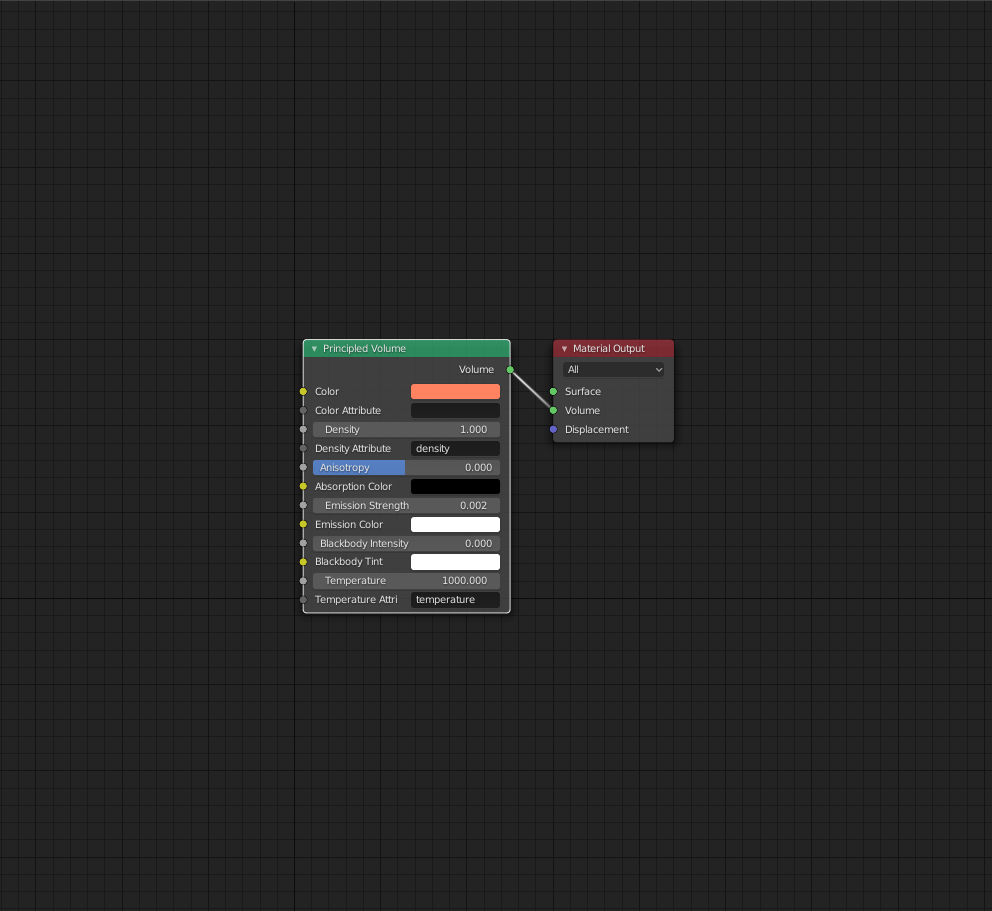
The cloud VDB was created in Houdini by the incredibly talented Kristian Levin. My cloud shaders are always fairly simple. Sometimes I play with the Anisotropy, but I found that it wasn’t needed for the way this particular scene was lit.
Lighting
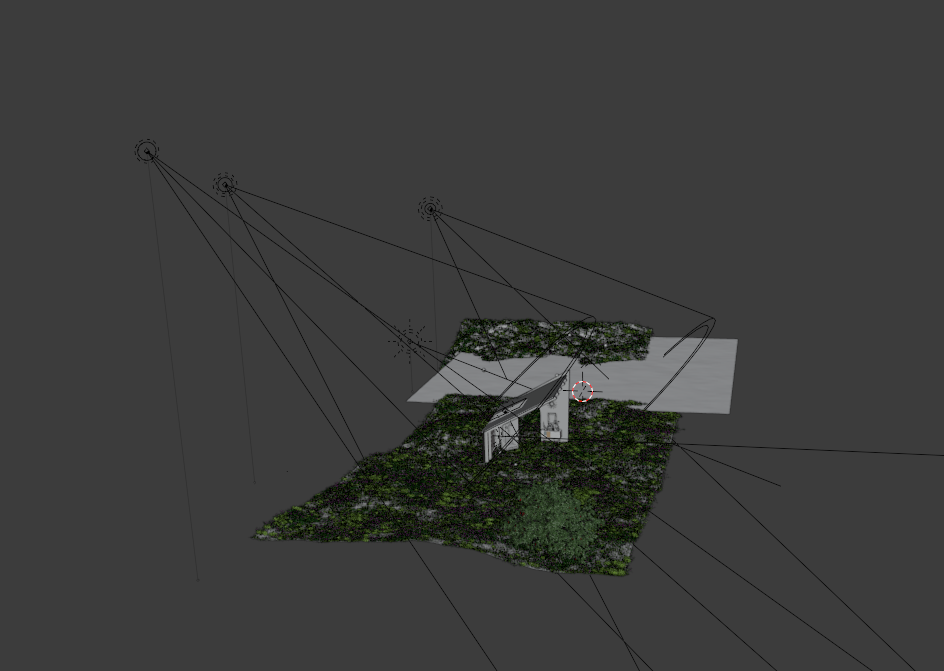
With VDBs, I think it really helps to blast them with a lot of light in order to get them to pop in a scene. However, the other trick to getting realistic landscapes and scenes in general is to have solid shadows. Shadows are equally, if not more, important than light itself. In this particular scene, I didn’t use blockers, but a lot of my nature scenes will have cliffs or trees off camera in order to create dappled or blocked lighting, which is much more interesting to the eye than a completely lit scene. Here, I’m using an HDRI Haven environment to create the general brightness. Additional lighting comes from a Sun light and three spotlights of varying dimensions. I also make sure to always put area portals over the windows in order to help light the interior for these architectural pieces.
Composition
Some quick tips I always keep in mind when creating scenes:
- Take a screenshot while you’re working and flip it in a photo editor. Flipping the scene always helps to see if it’s balanced or skewed.
- Create a medley of large, medium, and small pieces, but also let the viewer’s eye have some space to rest, as well, especially within otherwise busy scenes.
- Add connection and meaning throughout. In this piece, I use the recurring shapes of the sphere to connect the reflected image, the foreground, and the background. There’s a thematic connection between the sculpture of the human face and the skull as well as in the reflection (if you look closely in the finished scene, there is an apple falling from the tree to the sphere below and all of this placed above the bowl of apples).
- Create a pathway for the viewer. The cloud is the main focus and what I assume most look at first, but I hope that there’s a bit of a roadmap when exploring the rest of the scene starting with the sphere, moving to the chair, proceeding to the table, before revisiting the central focus.
Post-process
I do all of my post-process in Adobe Photoshop. The raw render was a bit dull for what I was going for so I used selective color, dodged and burned, and painted in additional light to create more contrast within the image.


Final render
Conclusion
The piece was a lot of fun and I’m definitely going to continue working on dreamscape environments and pushing my creations even further with the surrealist style. You can find more of my work on Instagram or my Website.
About the Author
 René Chaffins, 3D Artist
1 Comment
Amazing art! Definitely check her IG she has much more crazy nice images