

Hello, my name is Gustavo Rinaldi, I’m a professional Illustrator from Brazil.
Even though I work in 2D (both traditional and digital), I have always had an interest in creating artwork using 3D (since I watched Luxo Jr. and got a glimpse of 3D Studio 4). In this last year, I took a bunch of online courses on Blender to achieve this goal and, following a friend’s suggestion, decided to recreate some of my 2D artwork in 3D.

Learn more on qarnot.com.
Concept
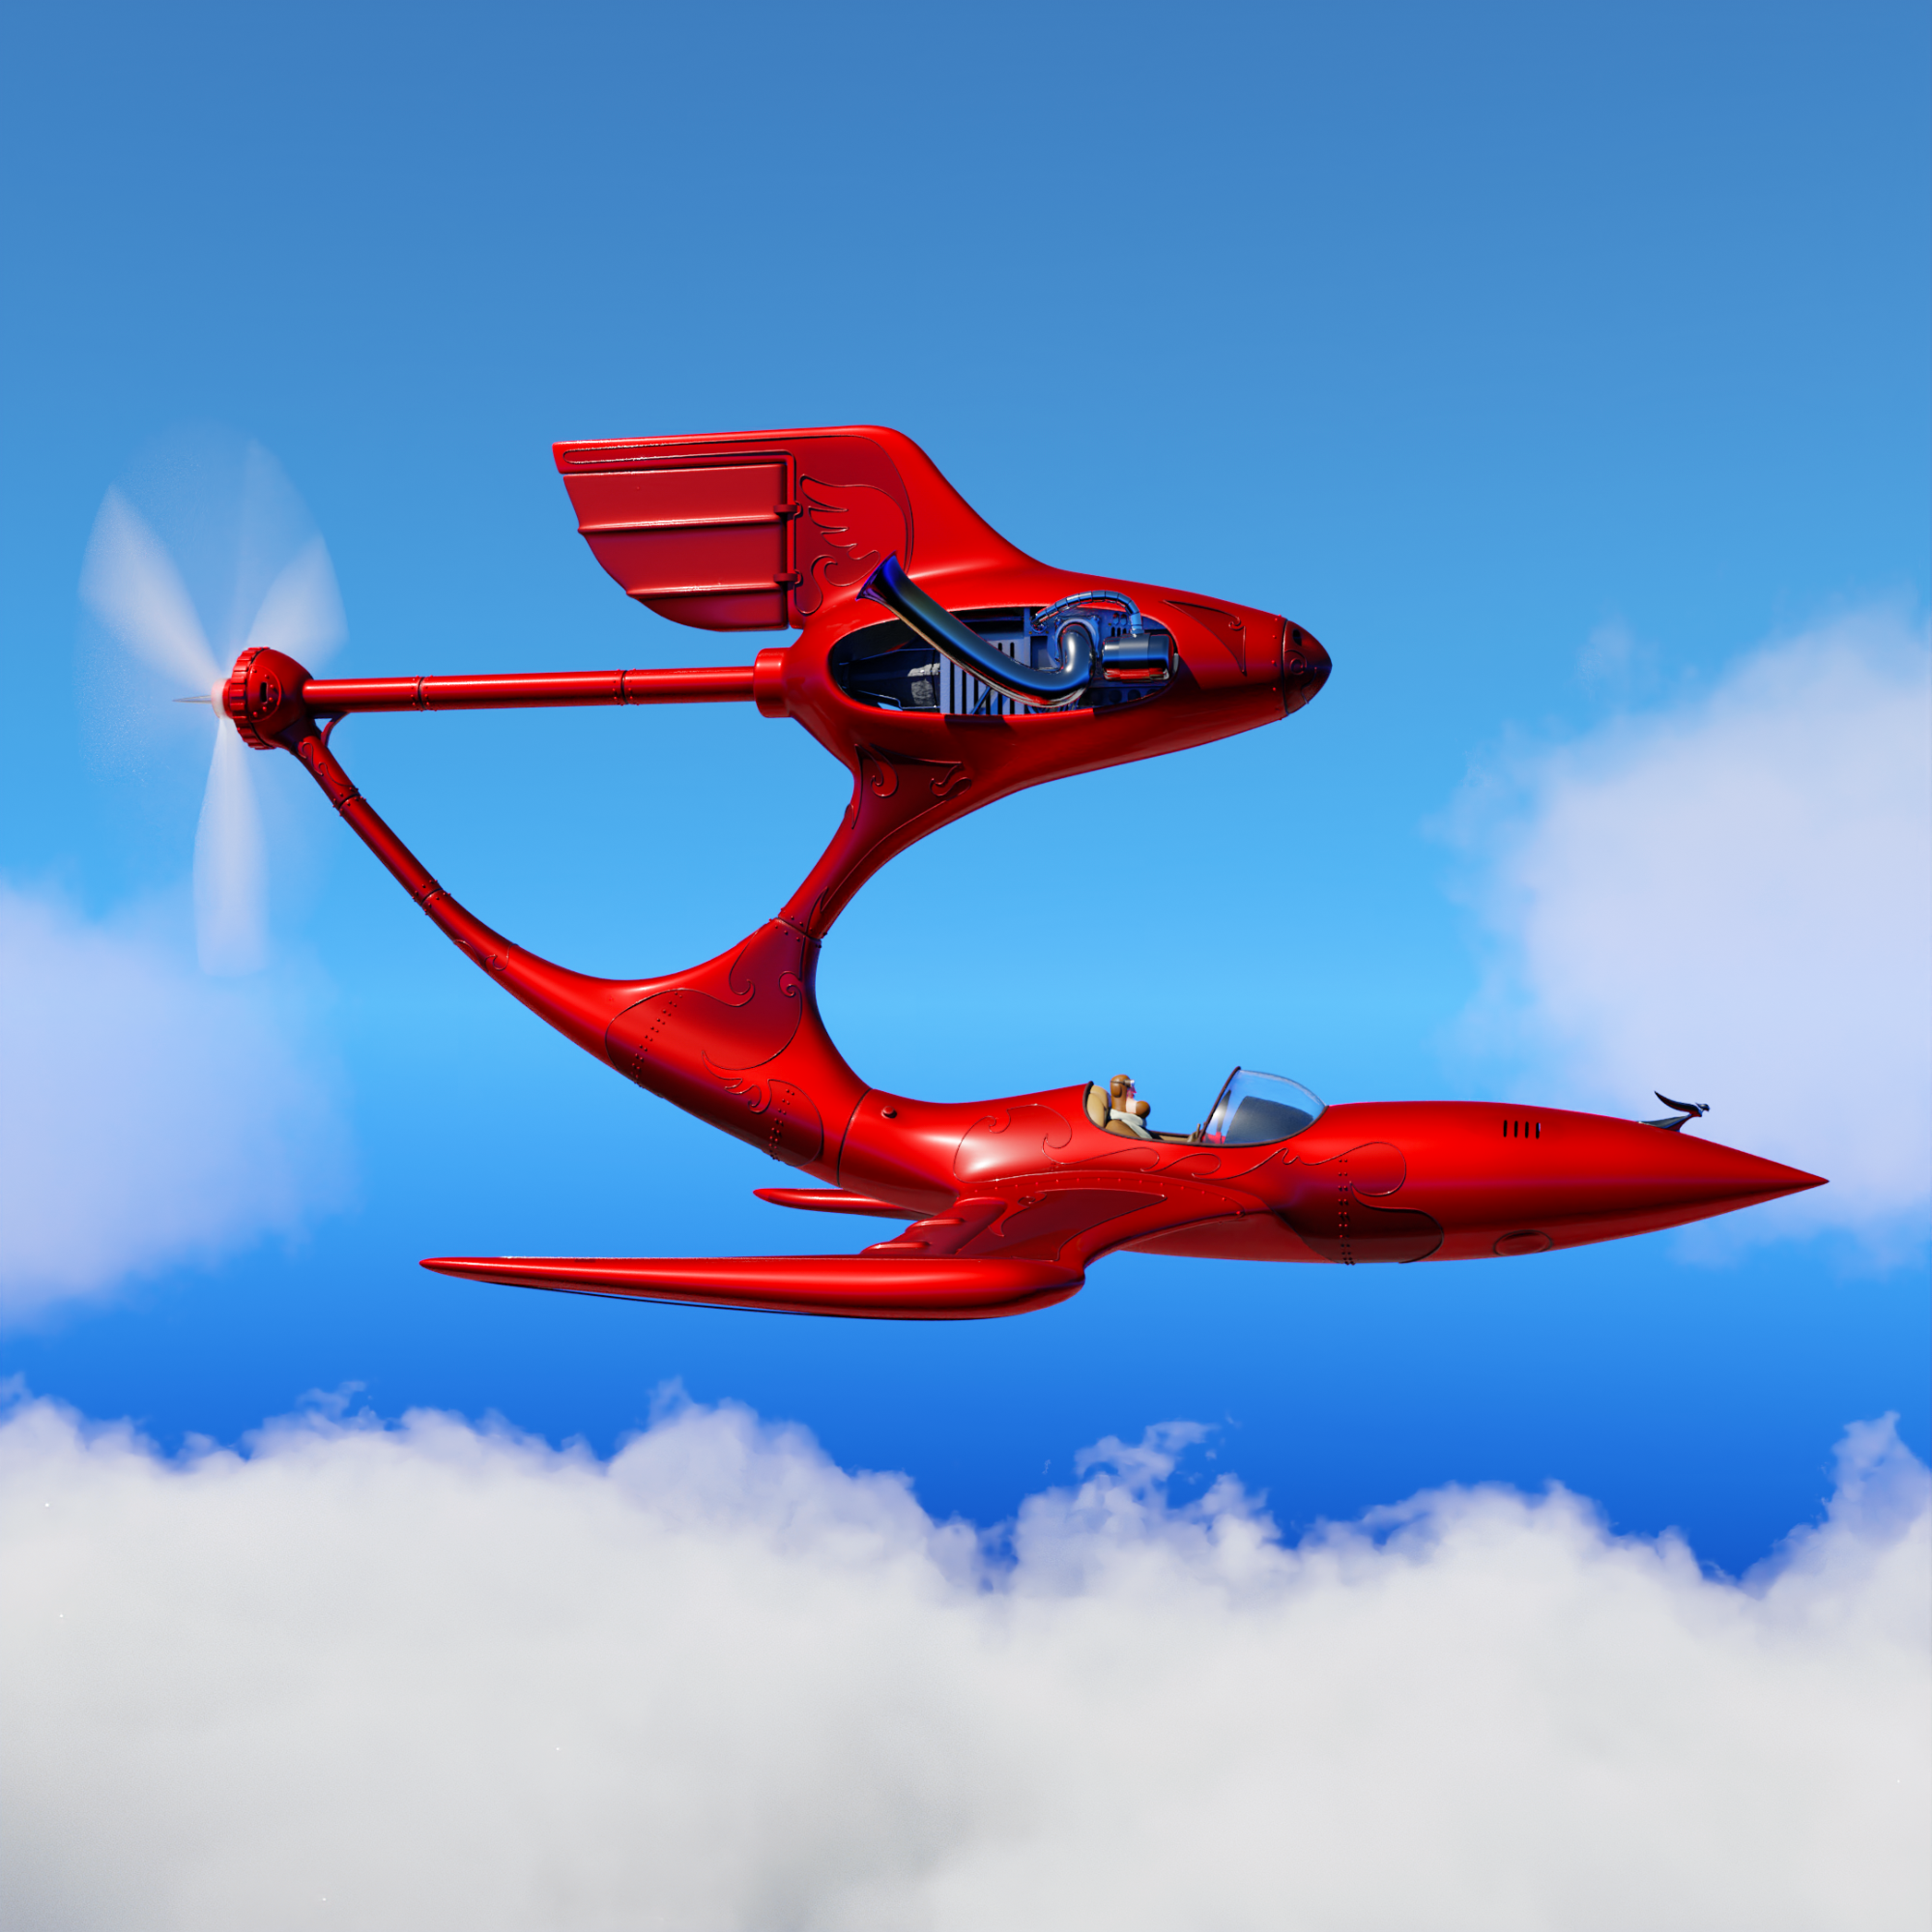
This is my second attempt at recreating one of my pieces. This one is based on an illustration that is part of a series called (in homage to the movie): Those Magnificent Men in Their Flying Machines. My inspiration for the visual is a mixture of Retro Futurism, Dieselpunk, and cartoons.
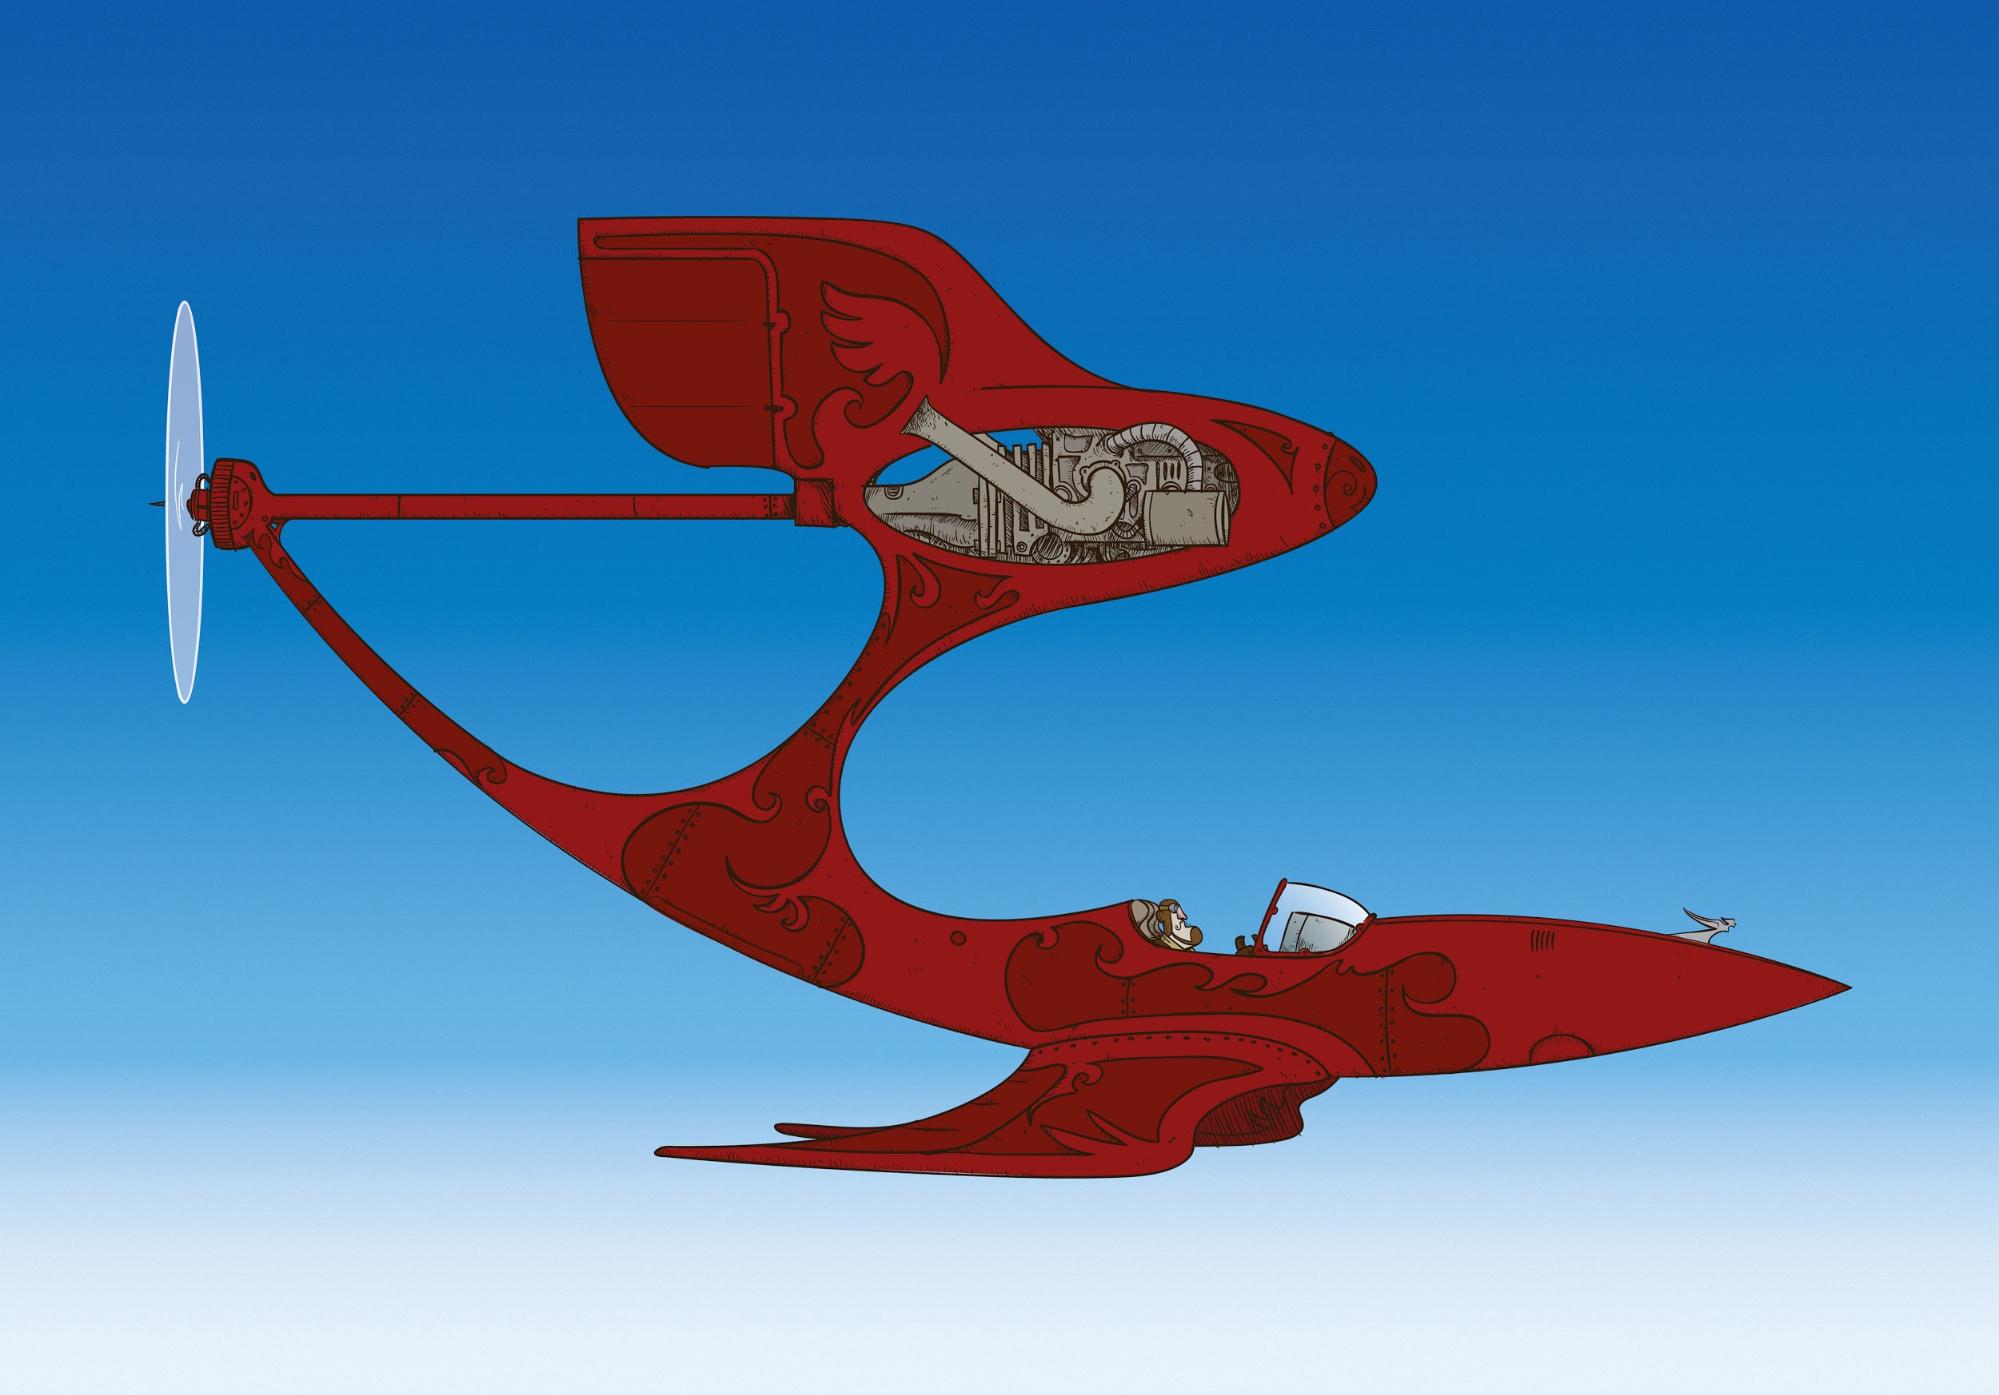
Original Artwork
For this piece I tried to stay as much as I could inside Blender, to learn as much as I could from the software (the version I used was 2.90.1). Even though it was kind of chaotic, with lots of back and forth and no strict procedures (first modeling, then UV unwrapping, etc.) I’m still very happy with what I was able to achieve and hope to keep on improving in my next projects.
Modeling
I began with a cylinder that was extruded and cut to create the main part of the machine.
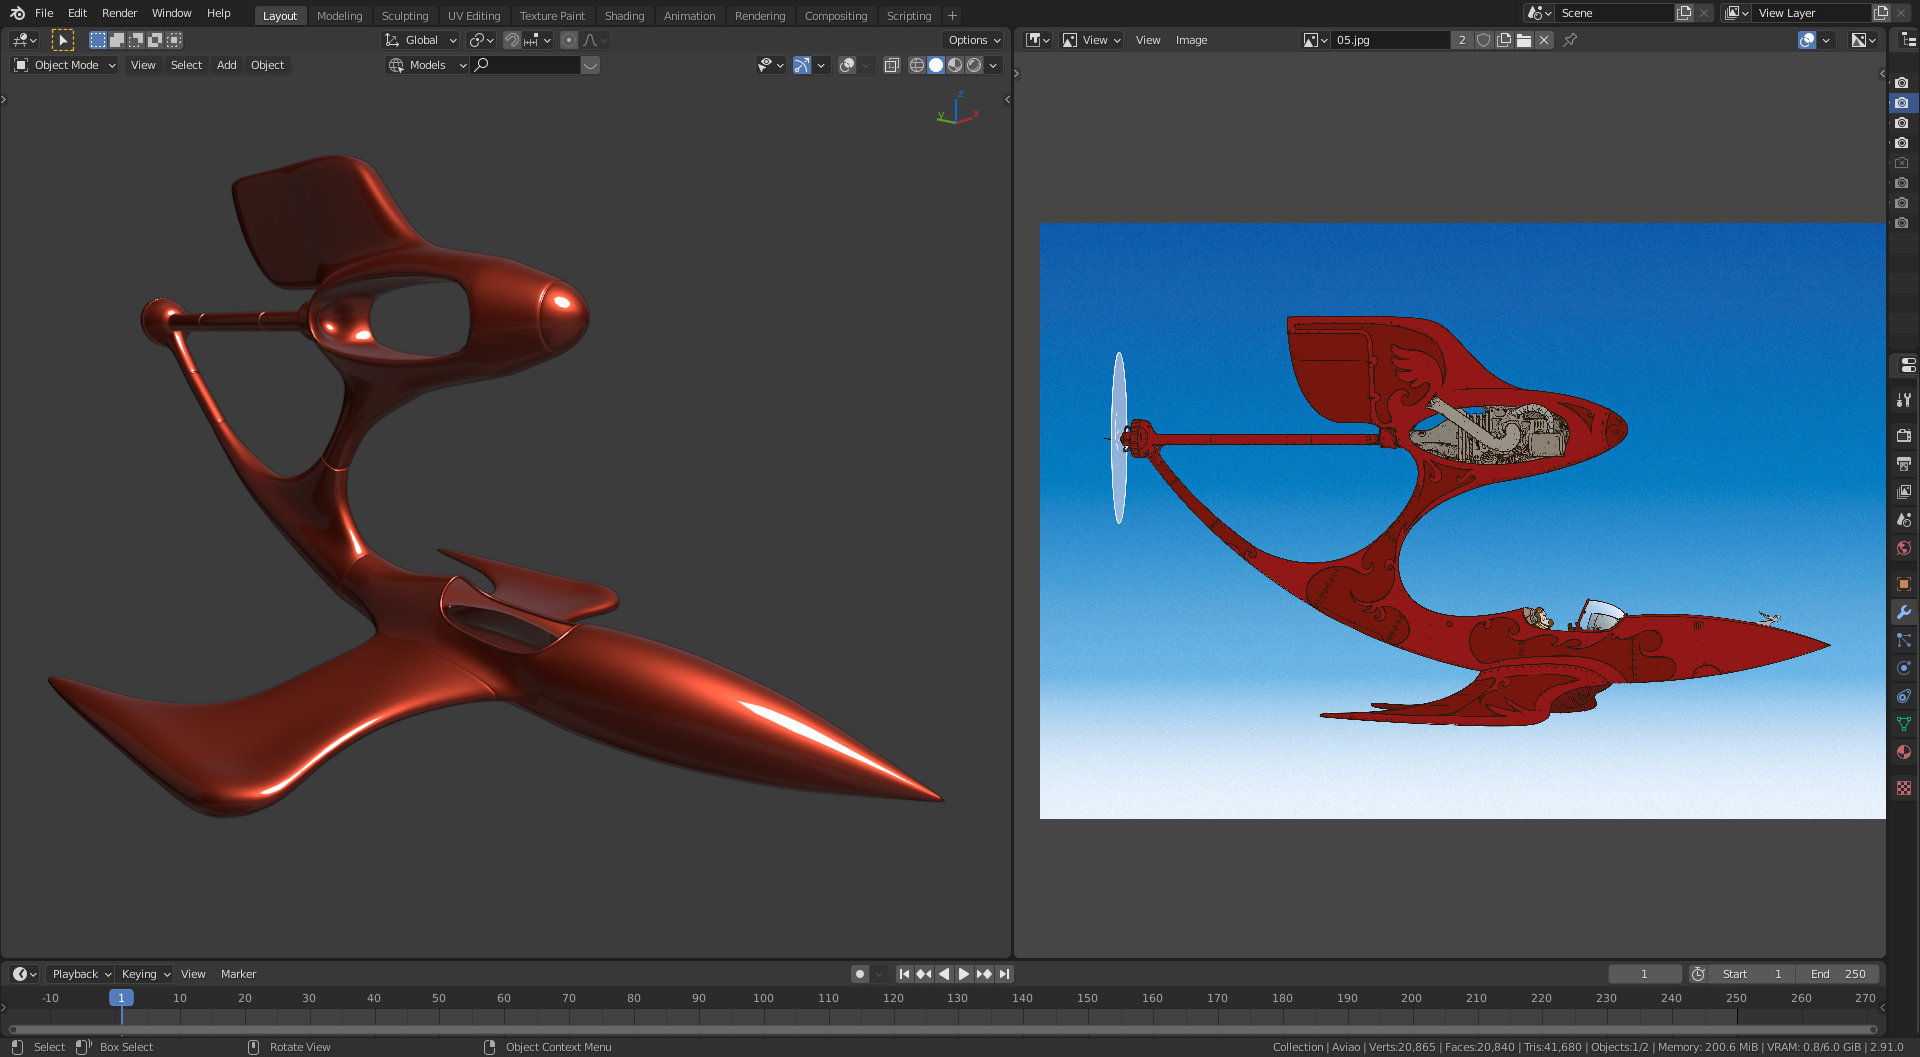
Then I box-modeled the helix and hood ornament. I also wanted to create a duotone effect, so I created a path to mimic the separation I had in the original drawing, added a skin modifier, and used it as a guide to paint the two shades of red.
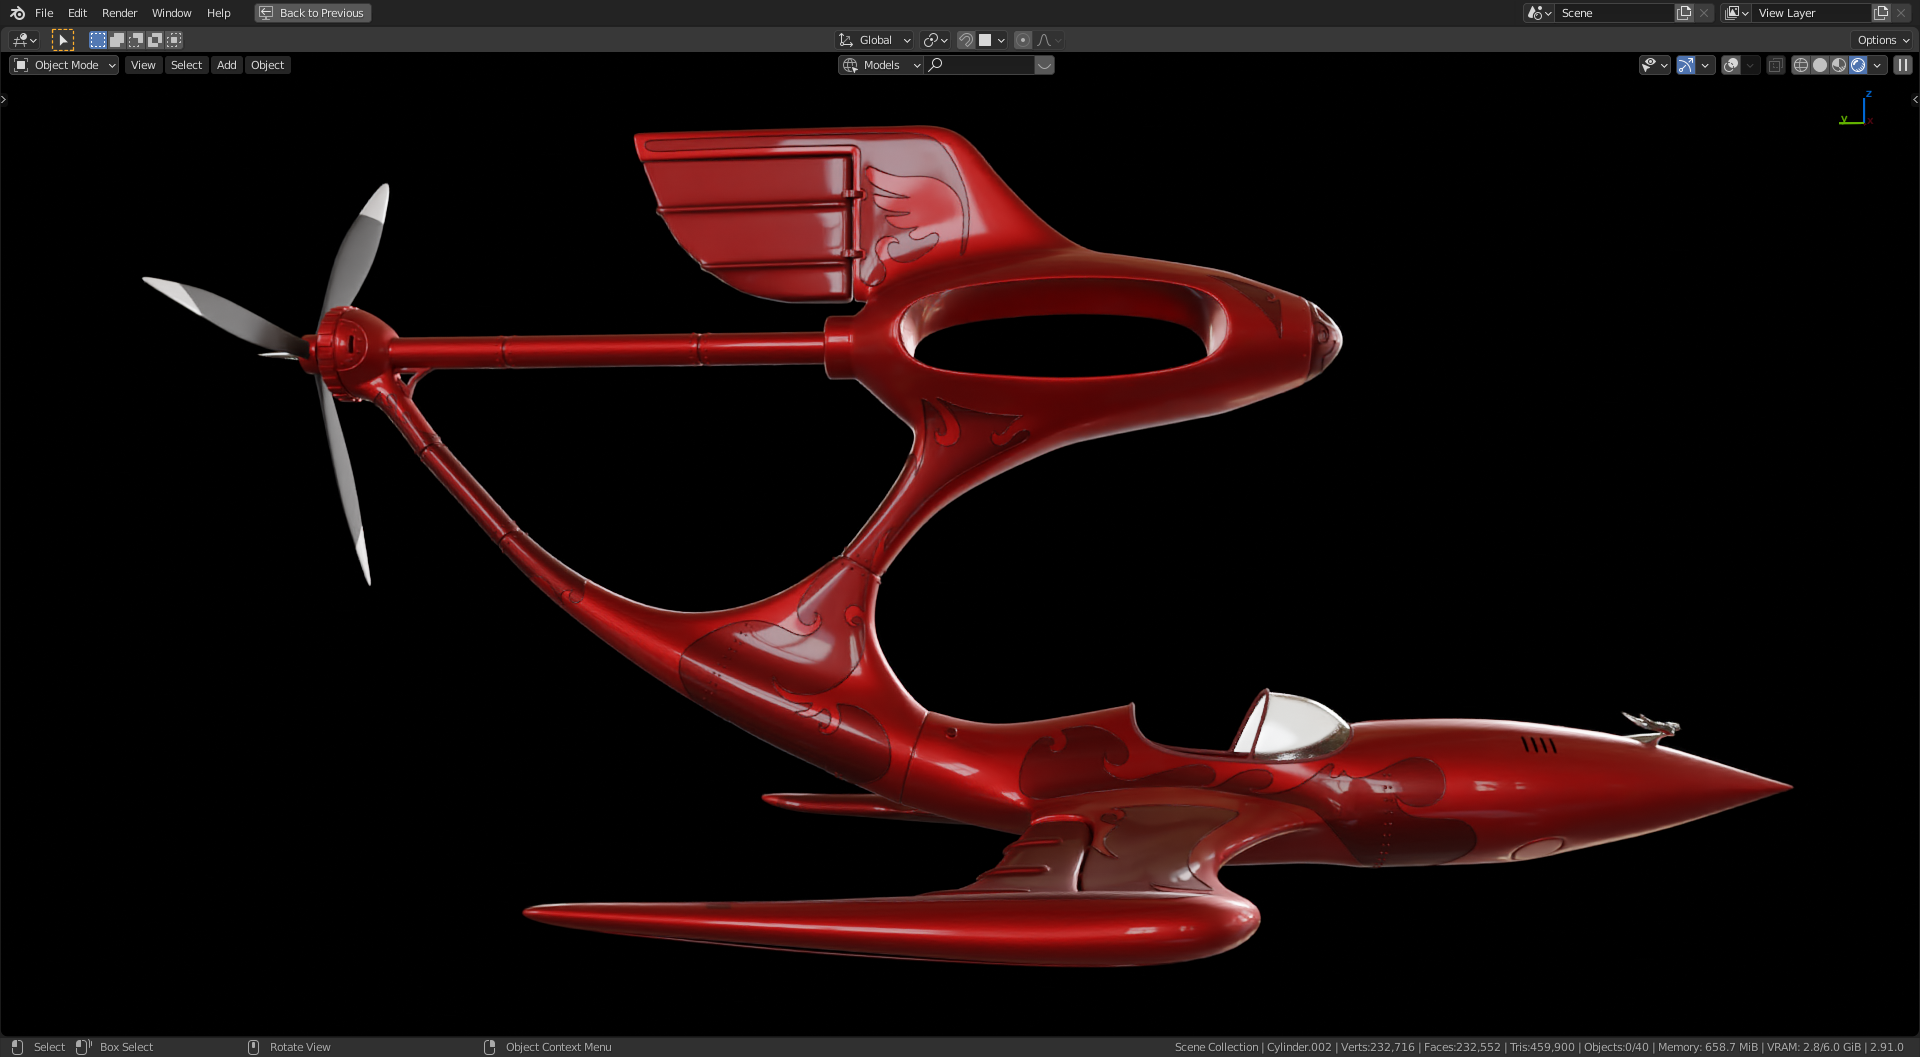
Next, I created the engine parts, also with a combination of box modeling and paths with the skin modifier.
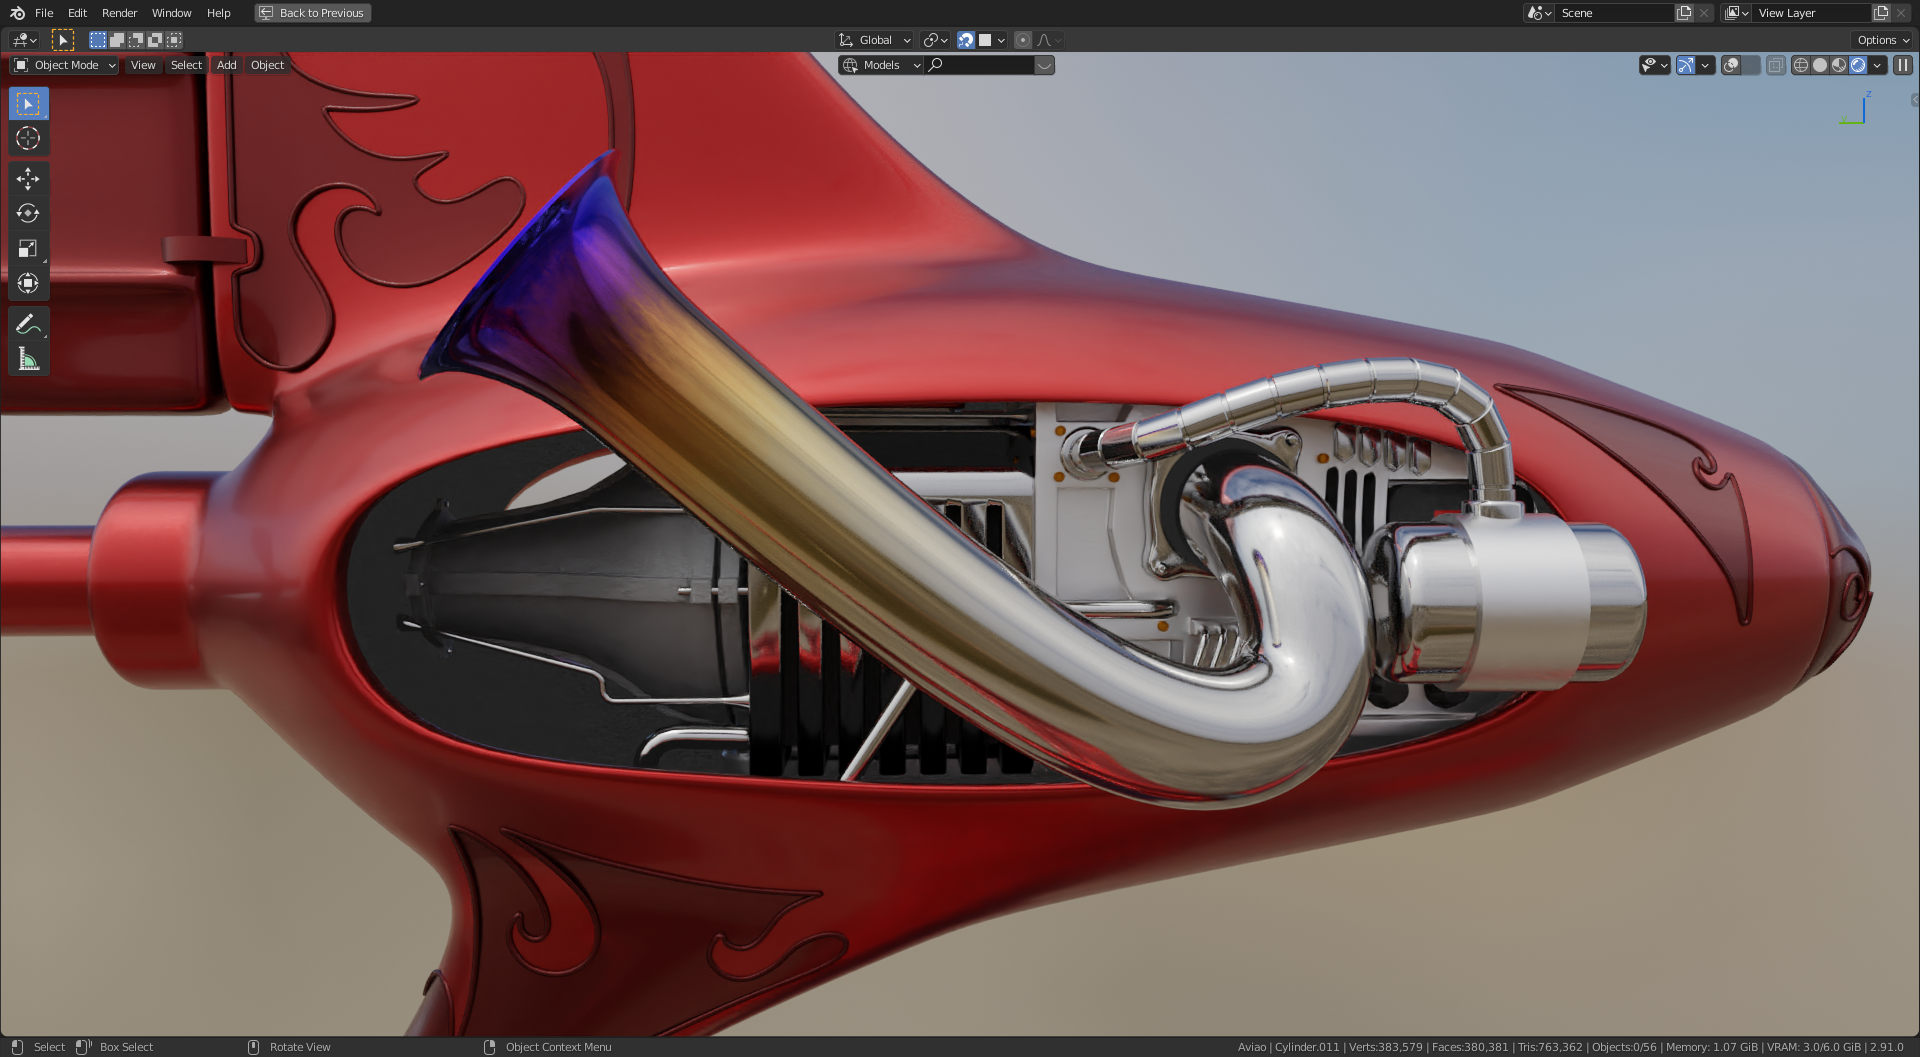
Even though it doesn’t appear in the final render, I decided to create a cockpit as a way to practice.

Next came the pilot, again created using box modeling techniques. Some of the materials (the leather for example) used textures from CC0 Textures which I adjusted to my needs.
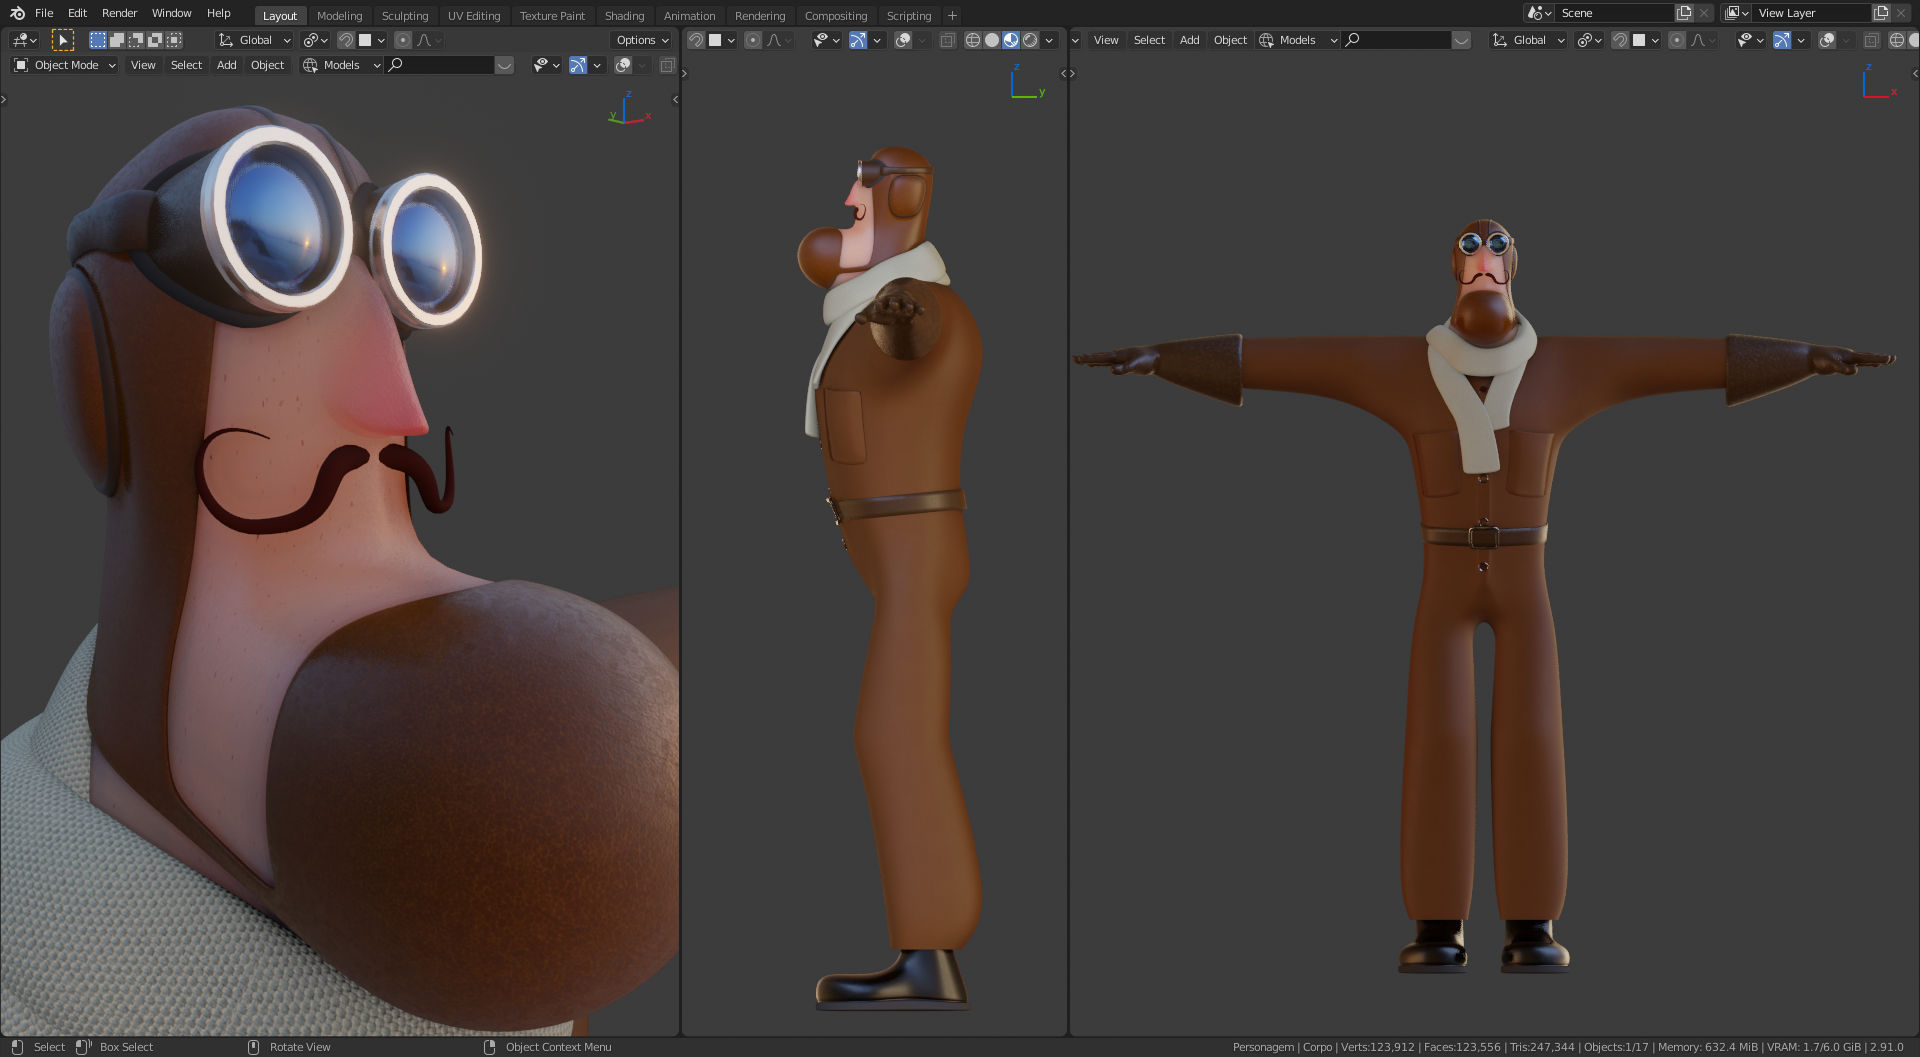
After everything was modeled and textured, I used Rigify on the pilot and posed him inside the plane.
Lighting
The lighting was done using a Sky Texture and a small point light inside the cockpit. The clouds are cubes using a volumetric shader, a technique that I learned by watching a Default Cube YouTube tutorial.
Rendering
Everything was then rendered in Cycles, in a single pass (I have yet to really learn the compositing aspect of Blender) and the contrast and colors were tweaked using Photoshop.
Conclusion
In this project I think I was able to develop some hard surface modelling skills, as well as learn about the Sky Texture and a little bit of volumetrics. I intend to keep on creating new projects as a means to expand my knowledge of Blender, especially on the render/ compositing aspect.
That’s it! I hope you enjoyed my artwork as much as I enjoyed creating them!
All the best,
Gustavo Rinaldi
About the Author
 Gustavo Rinaldi, A 2D Illustrator trying to learn Blender. You can see some of the things that I do on ArtStation, Instagram, and Behance.
1 Comment
Gorgeous work!!!