Behind the Scenes: Premier Lift Group Animation and Website Visuals
About me
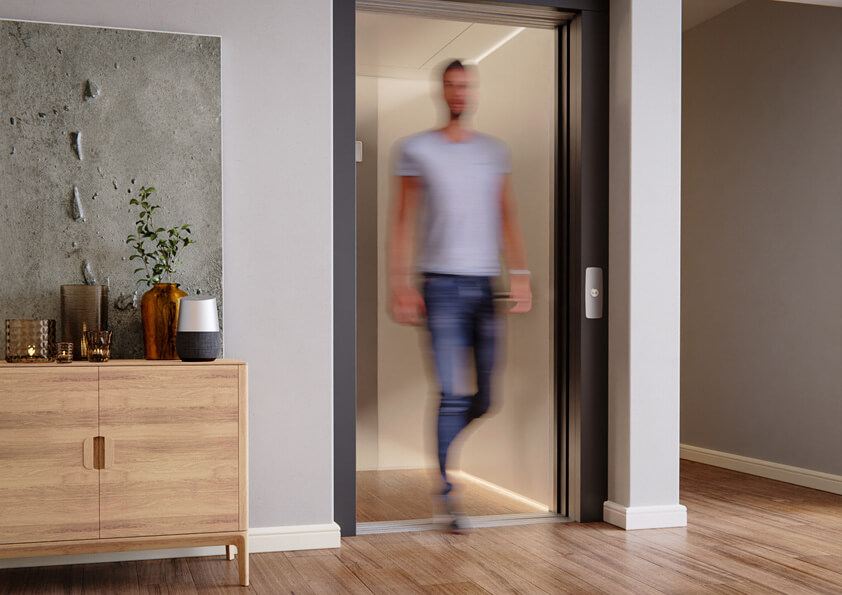
My name is Ryan Plunkett and I work as a concept designer for a company called Premier Lift group in the UK. I have been using Blender for almost 2 years to visualise concepts and support design development with our manufacturing partners on projects for luxury properties and spaces primarily in London.
I have a product design background with nearly 10 years experience using mostly parametric CAD software such as Solidworks and fusion 360. My previous visualisation software of choice was Unreal Engine, but I made the switch when I realised the benefits of a full path-tracing renderer over a rasterized engine with ray-tracing features.
[sponsor id=’qarnot’]
Overview of the project and inspiration
What began as a personal project during lockdown, learning to design and build completely custom websites, morphed into creating a completely new visual identity for the company I work for.
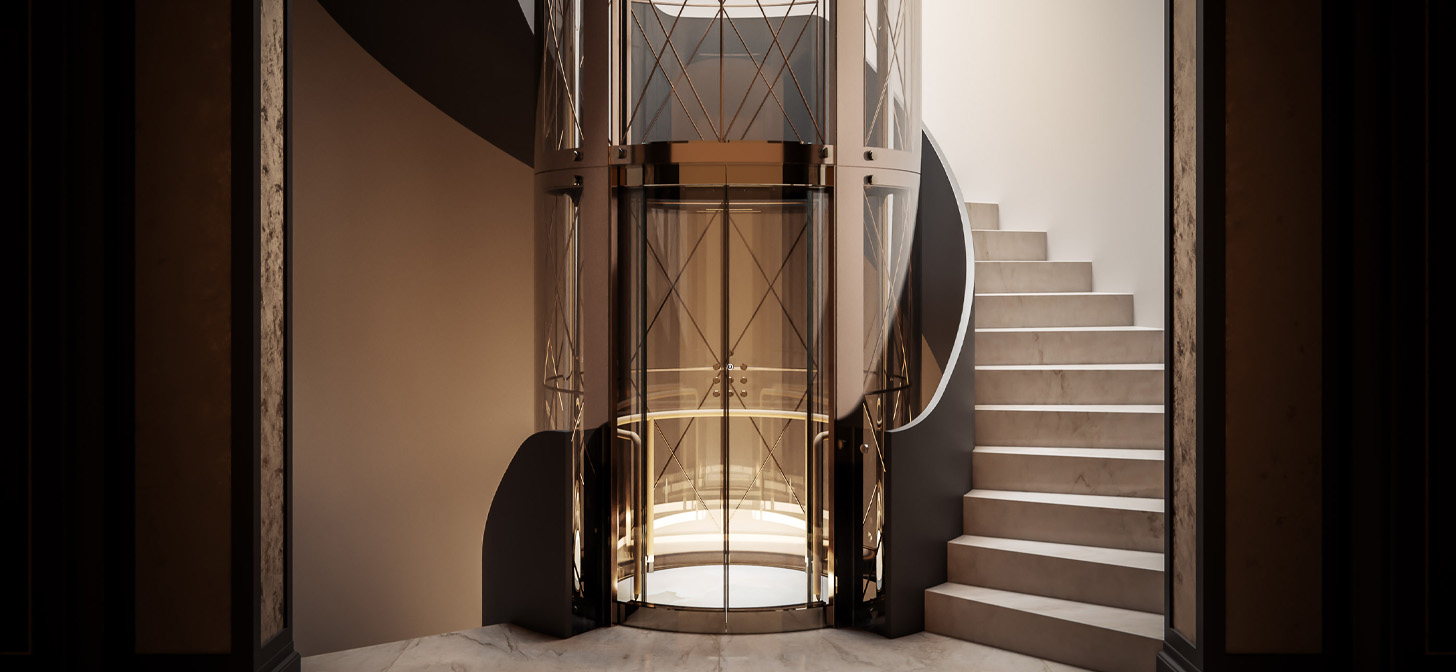
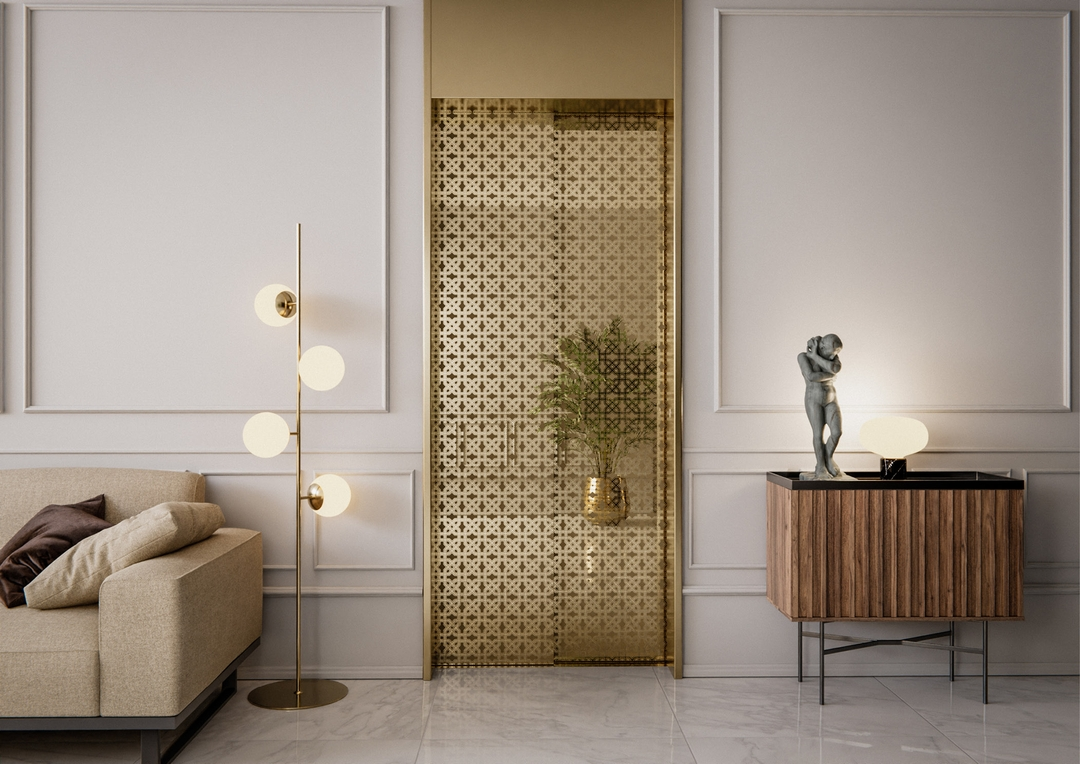
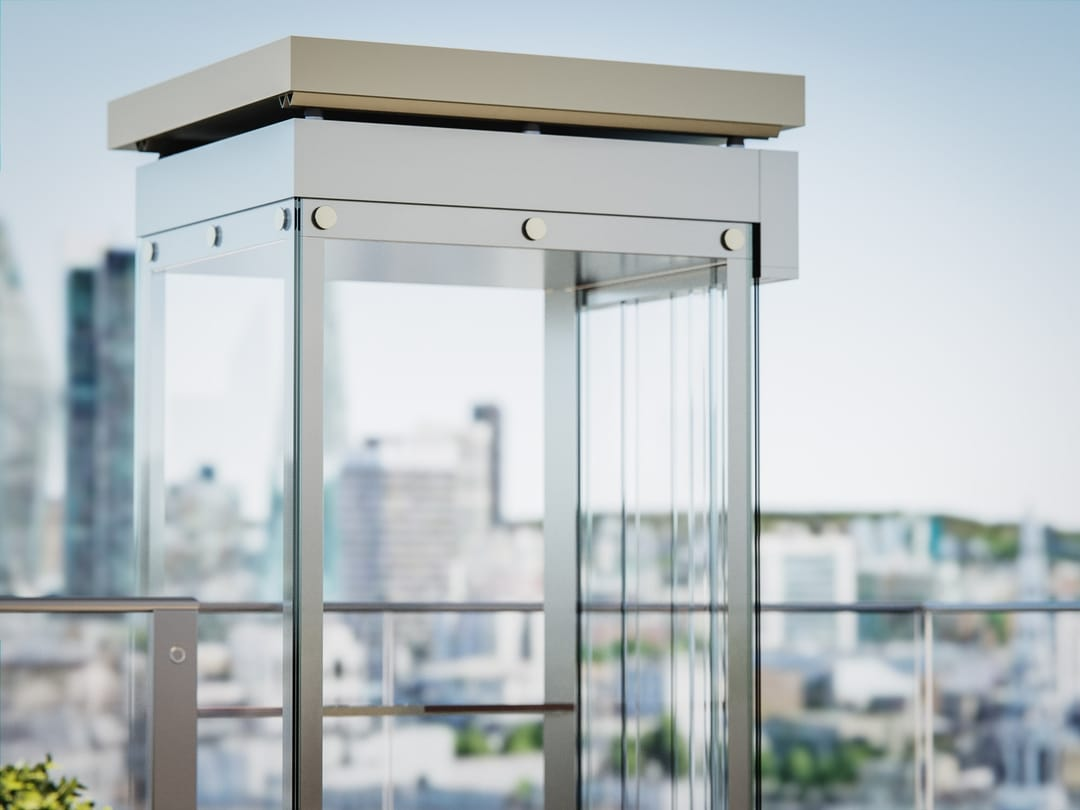
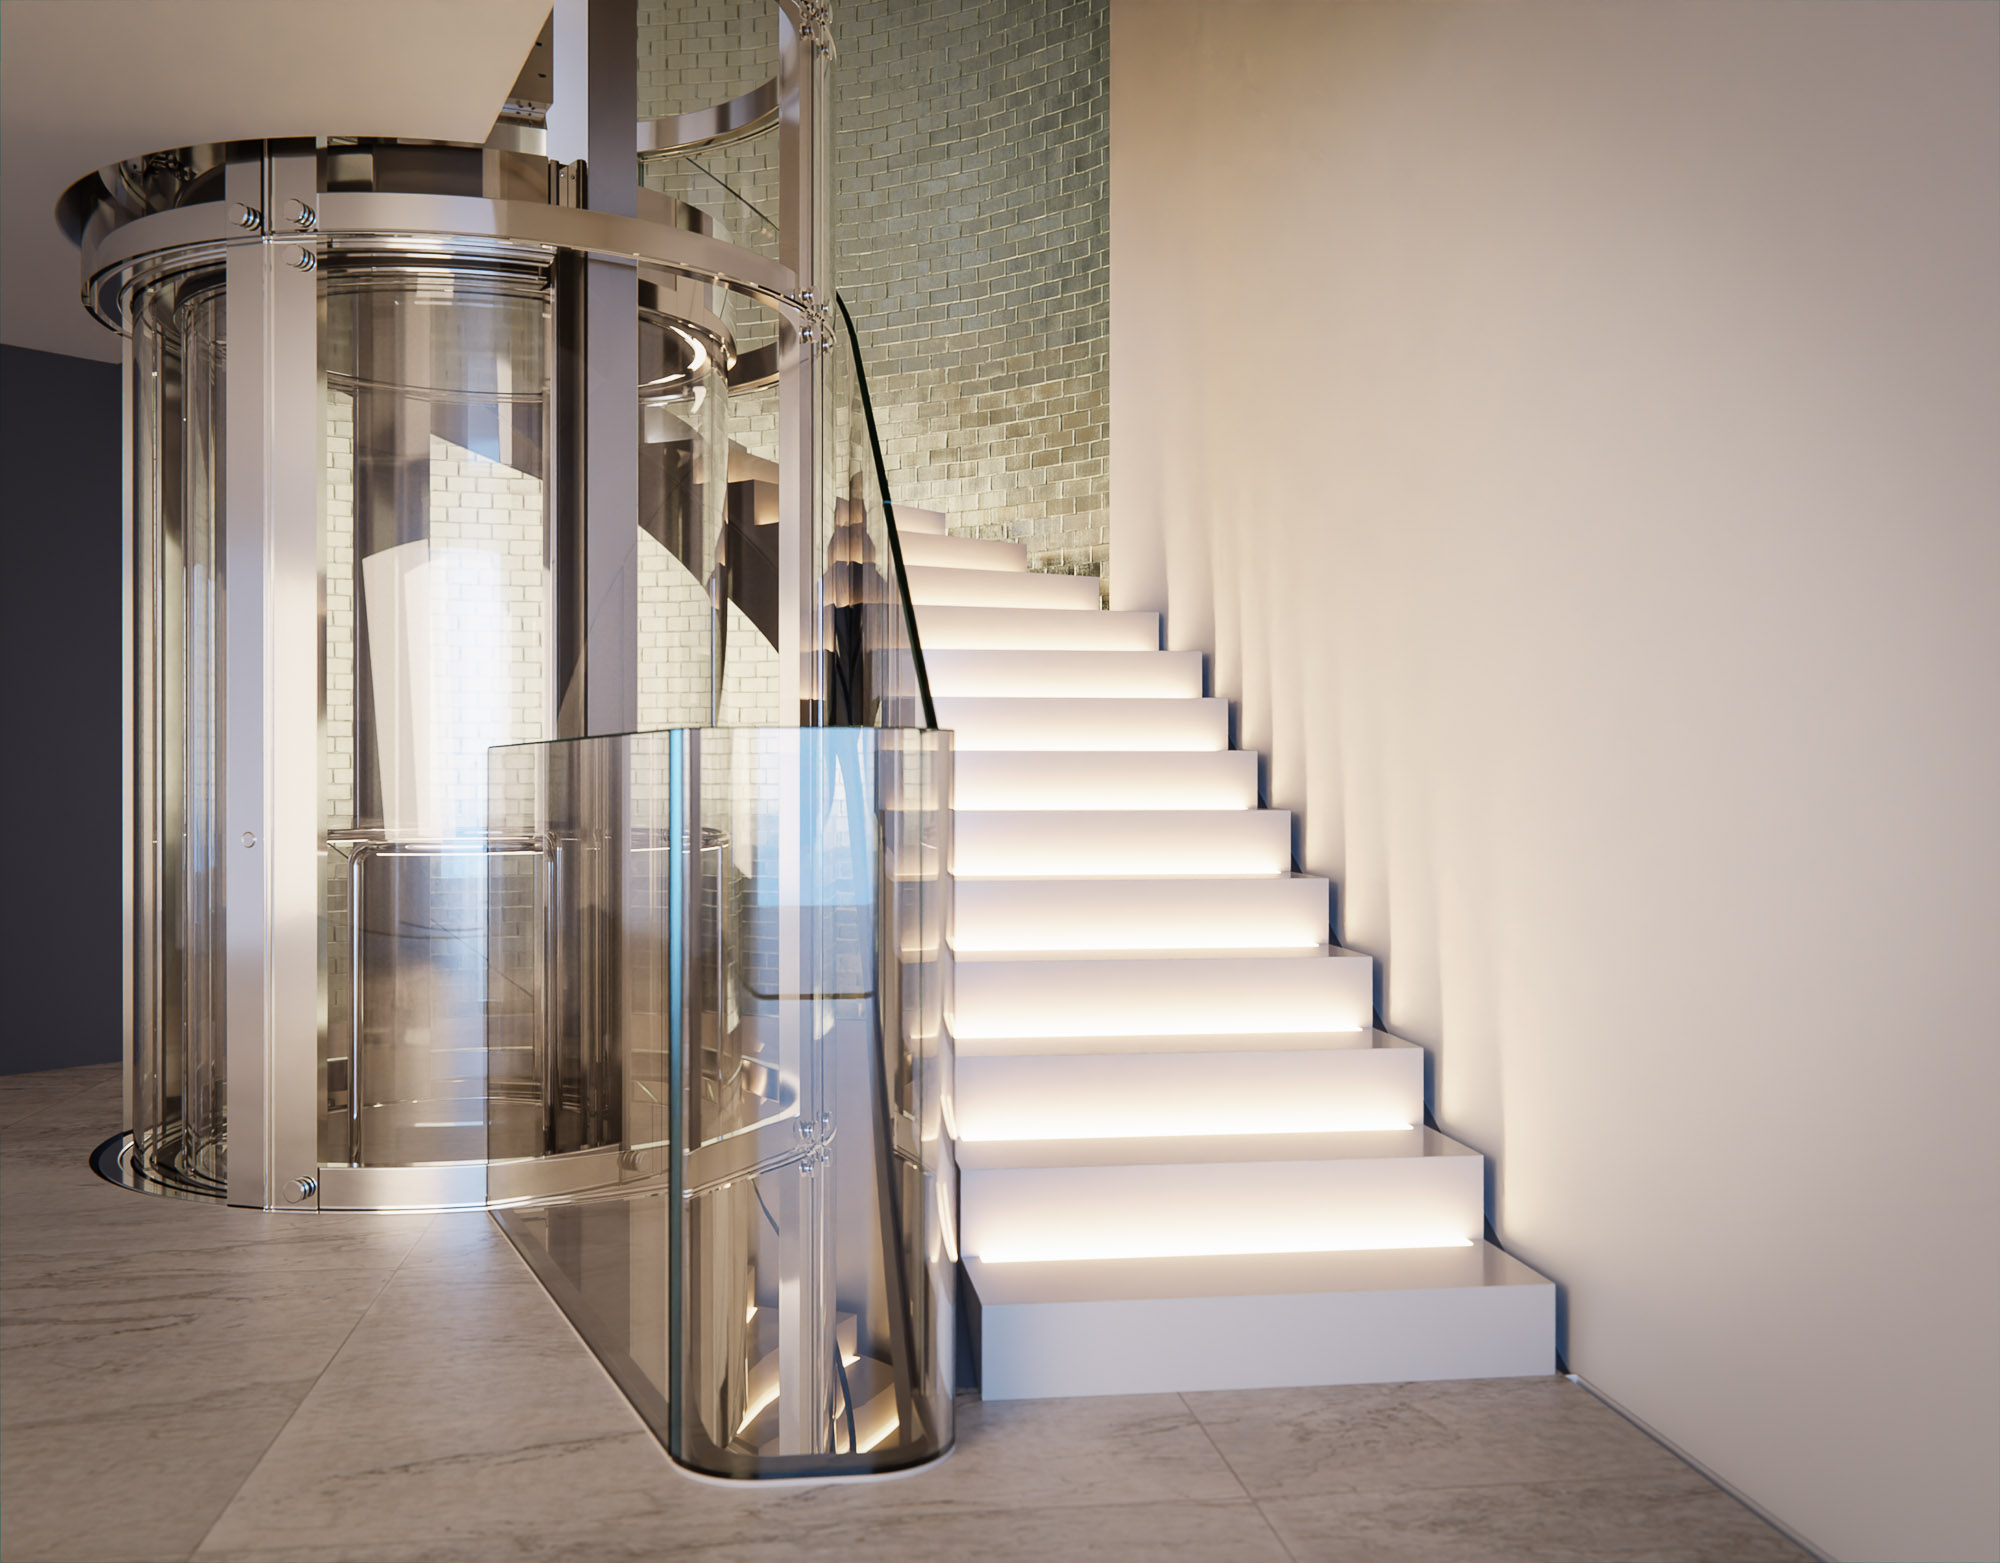
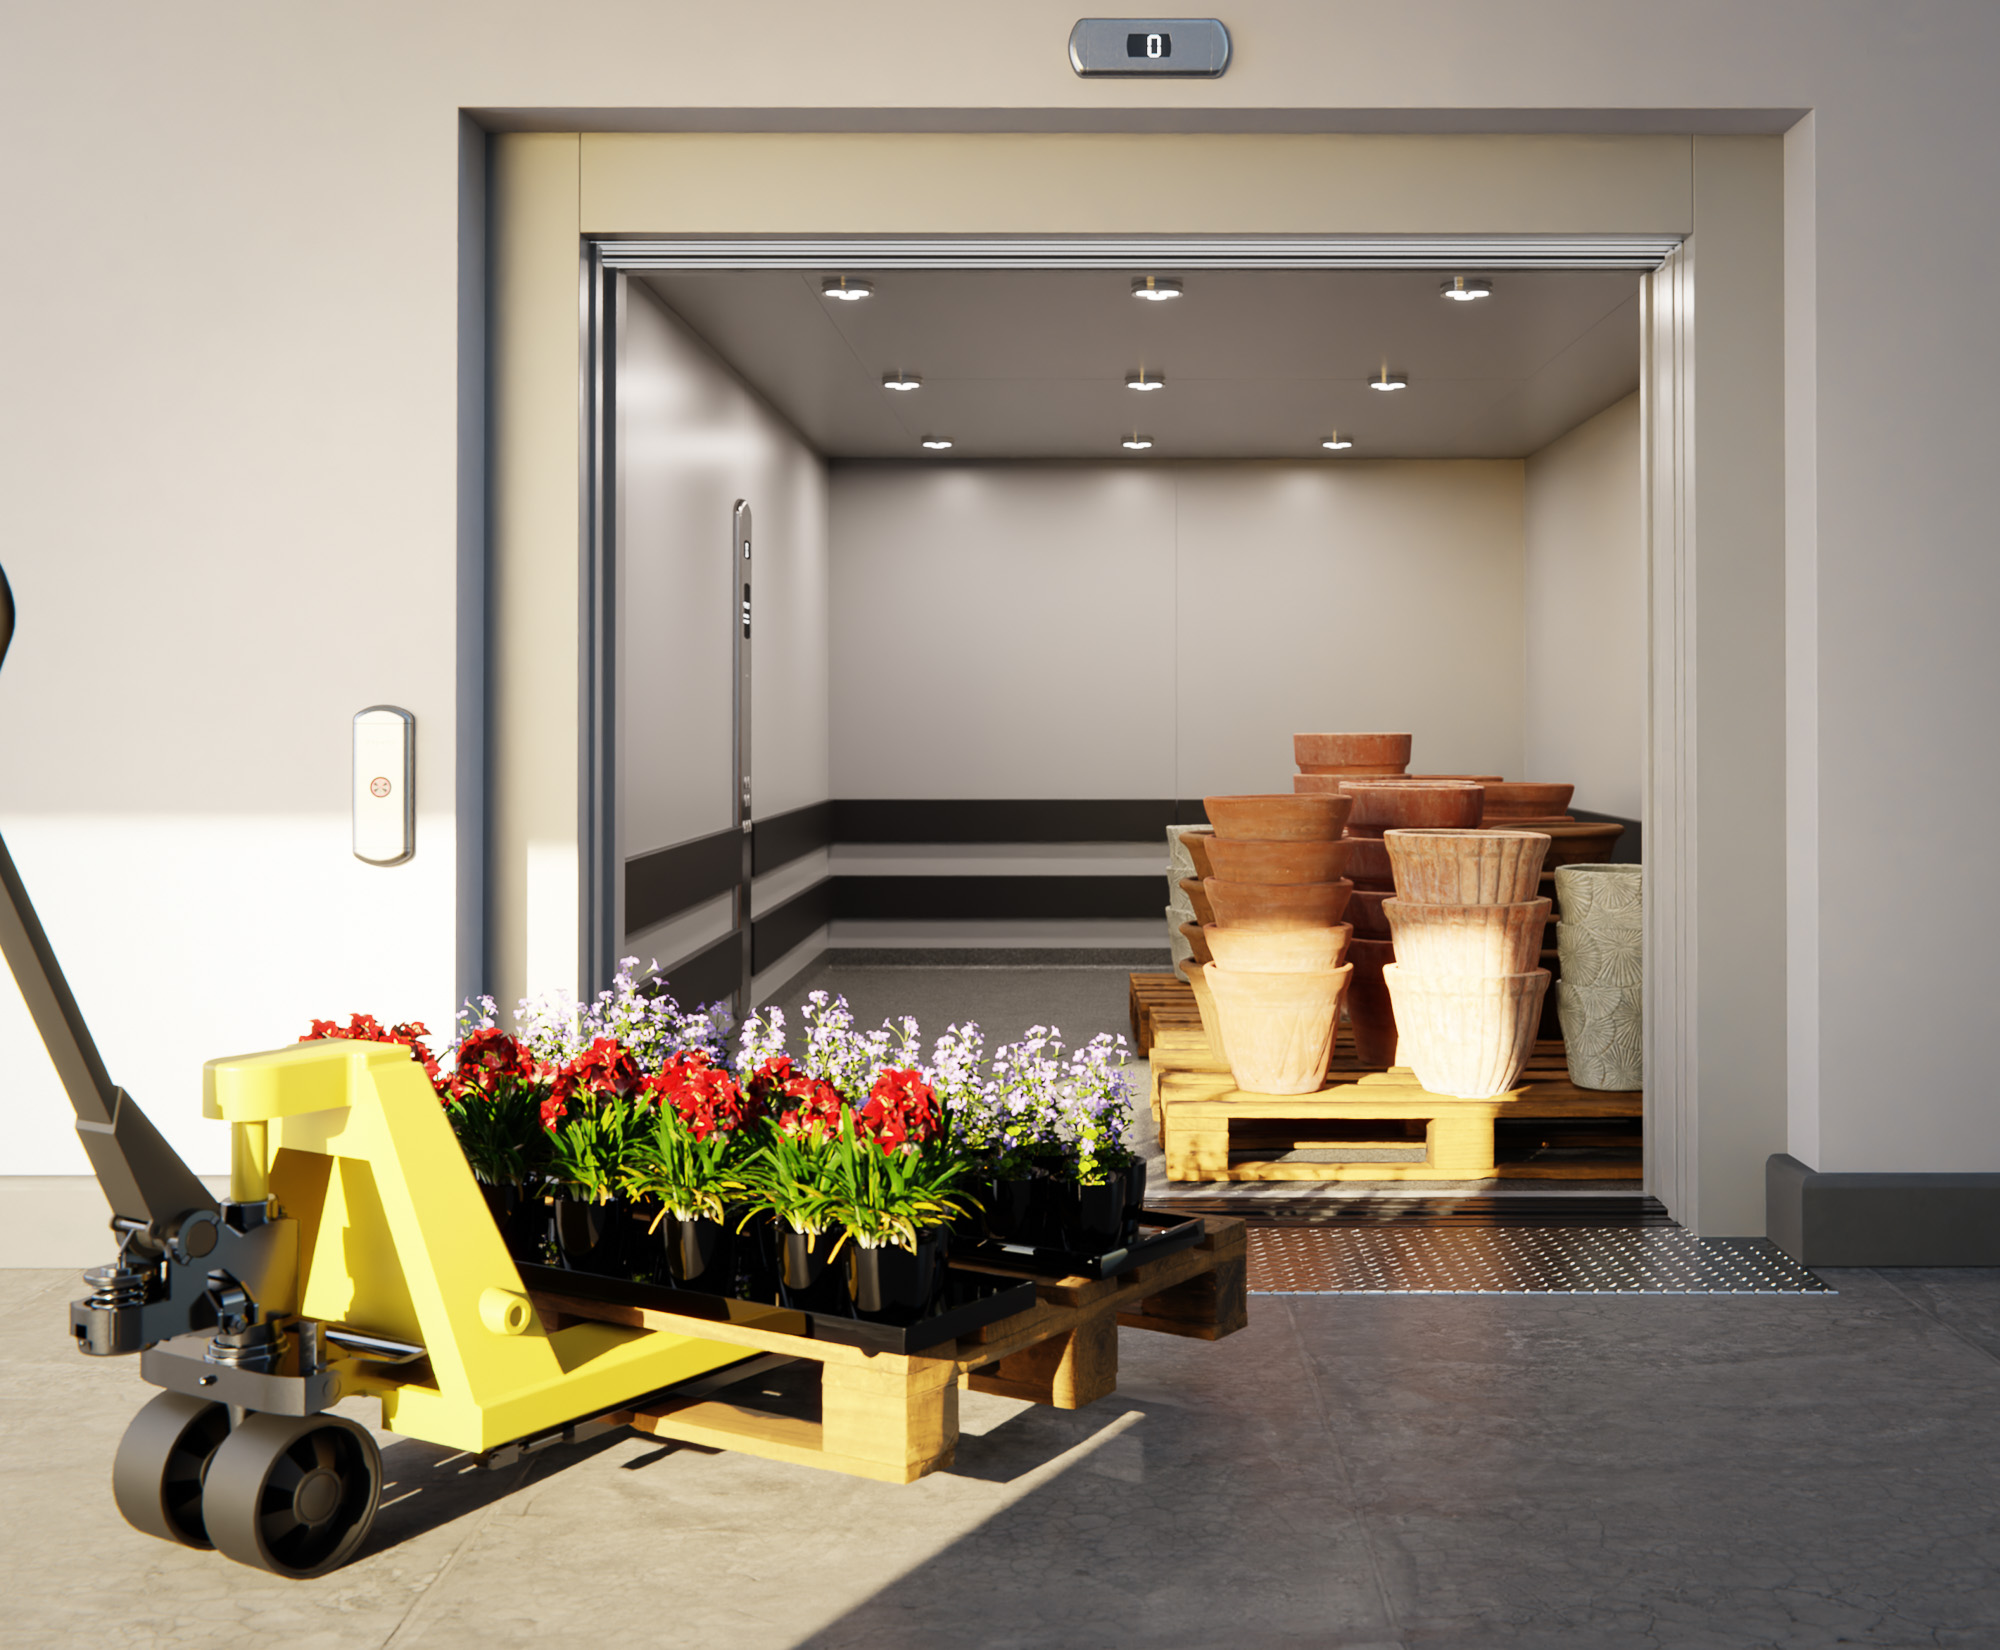
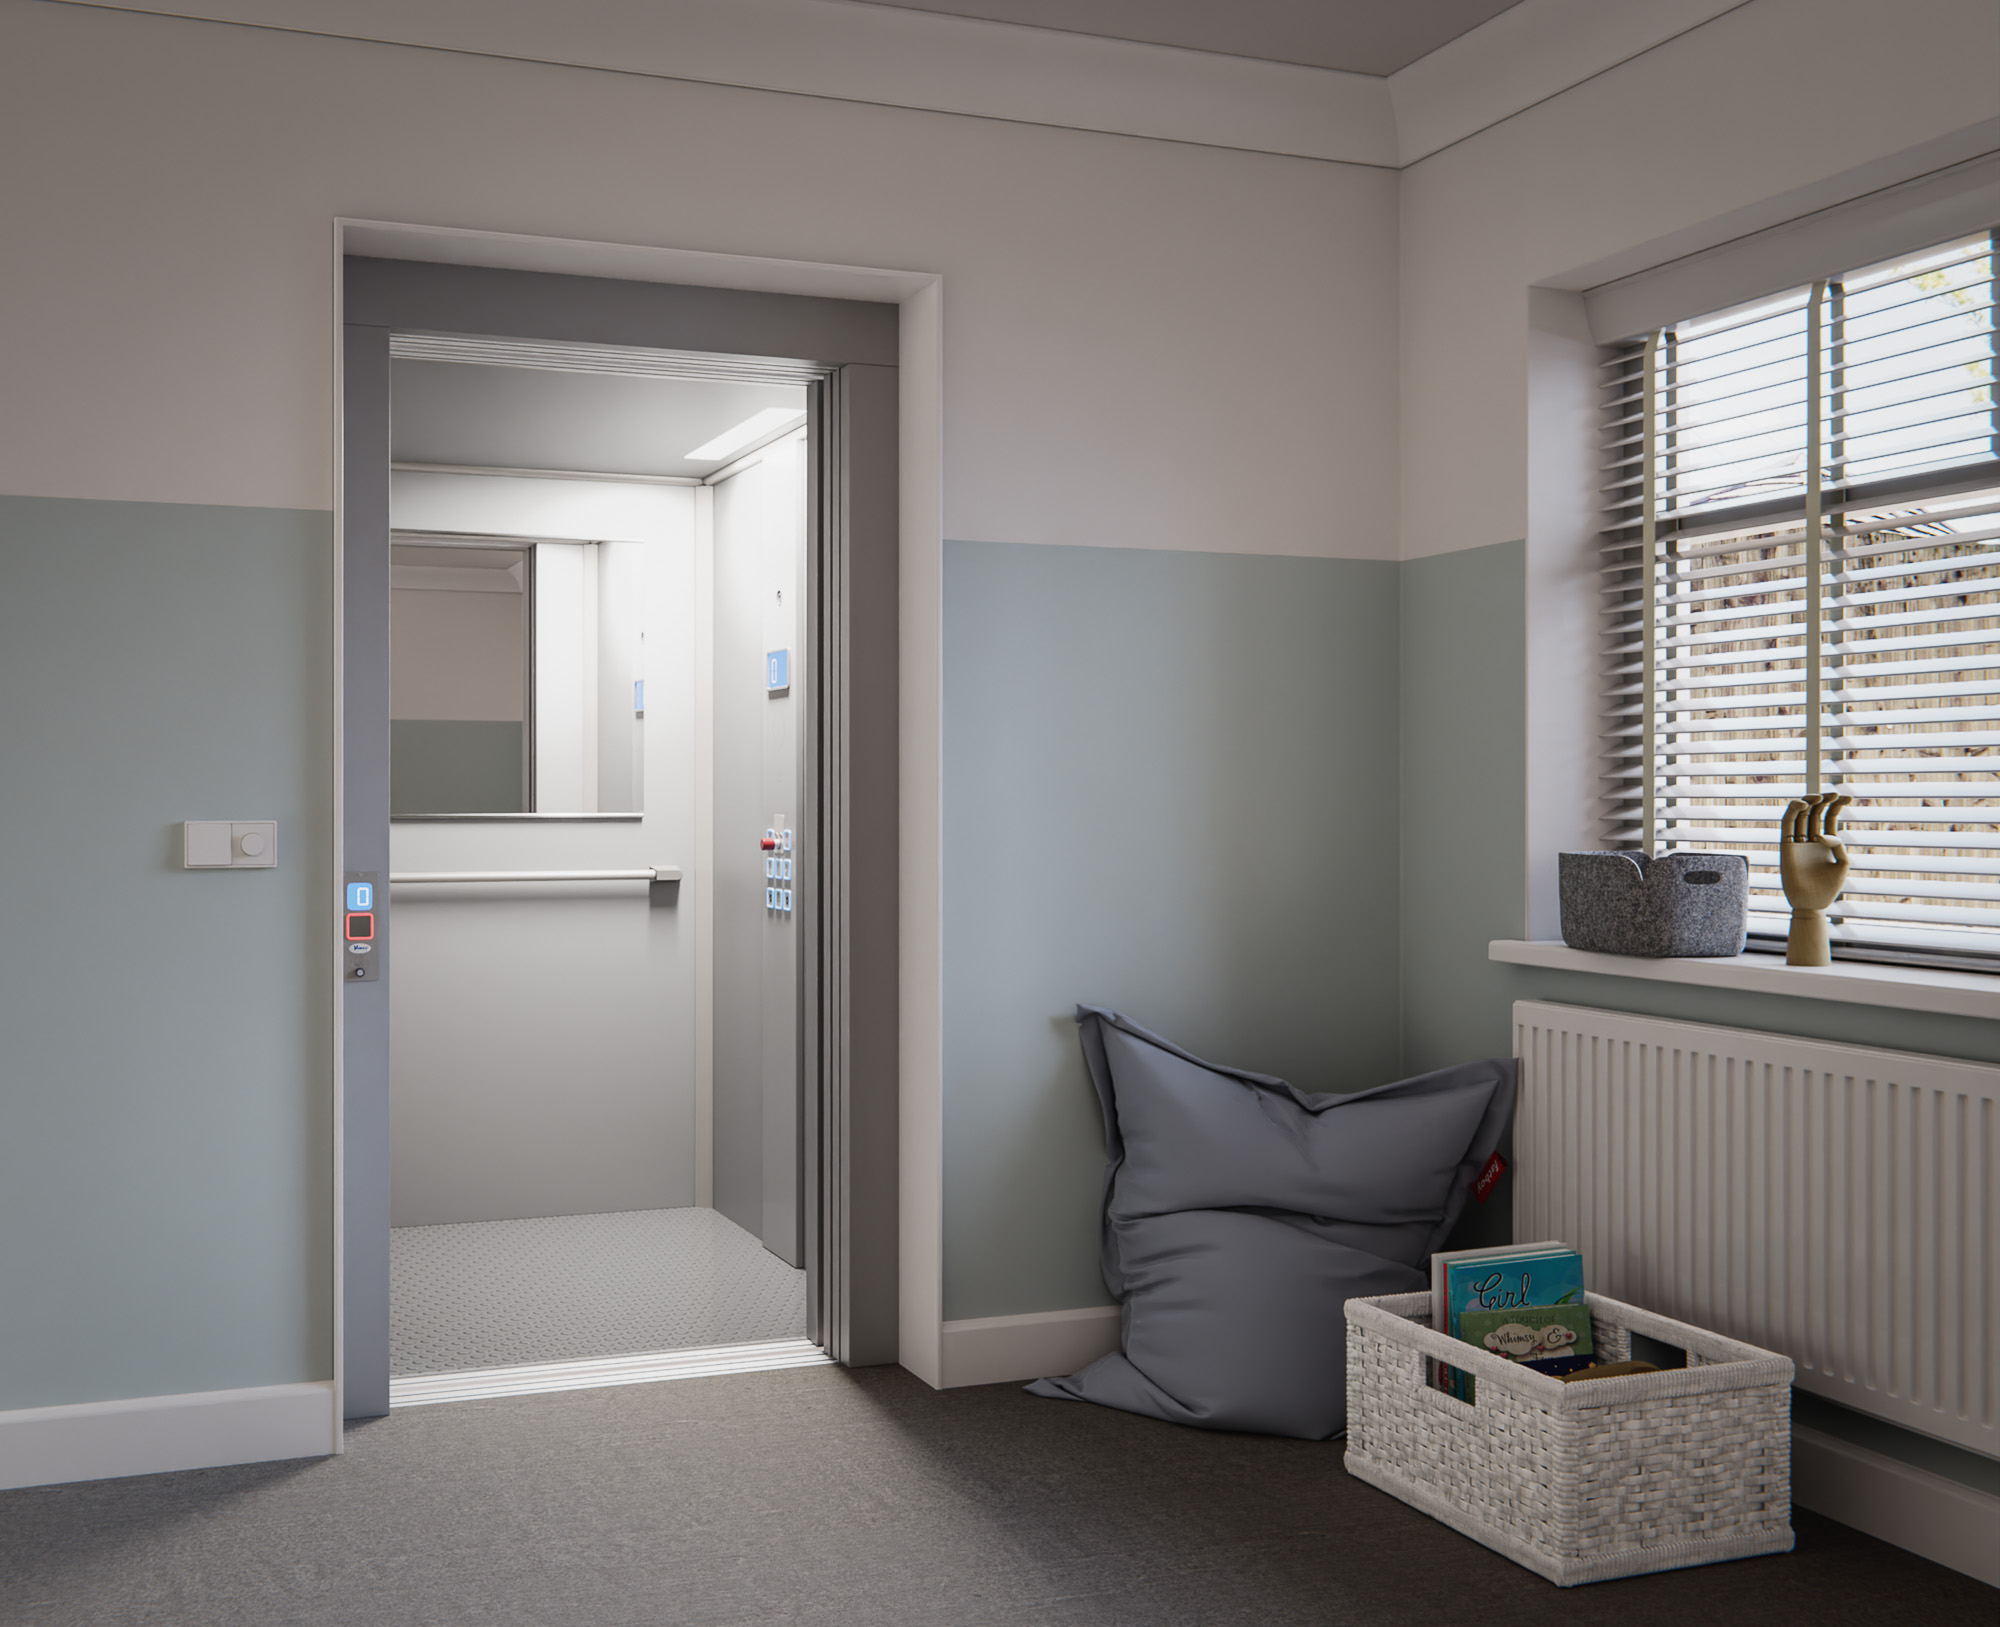
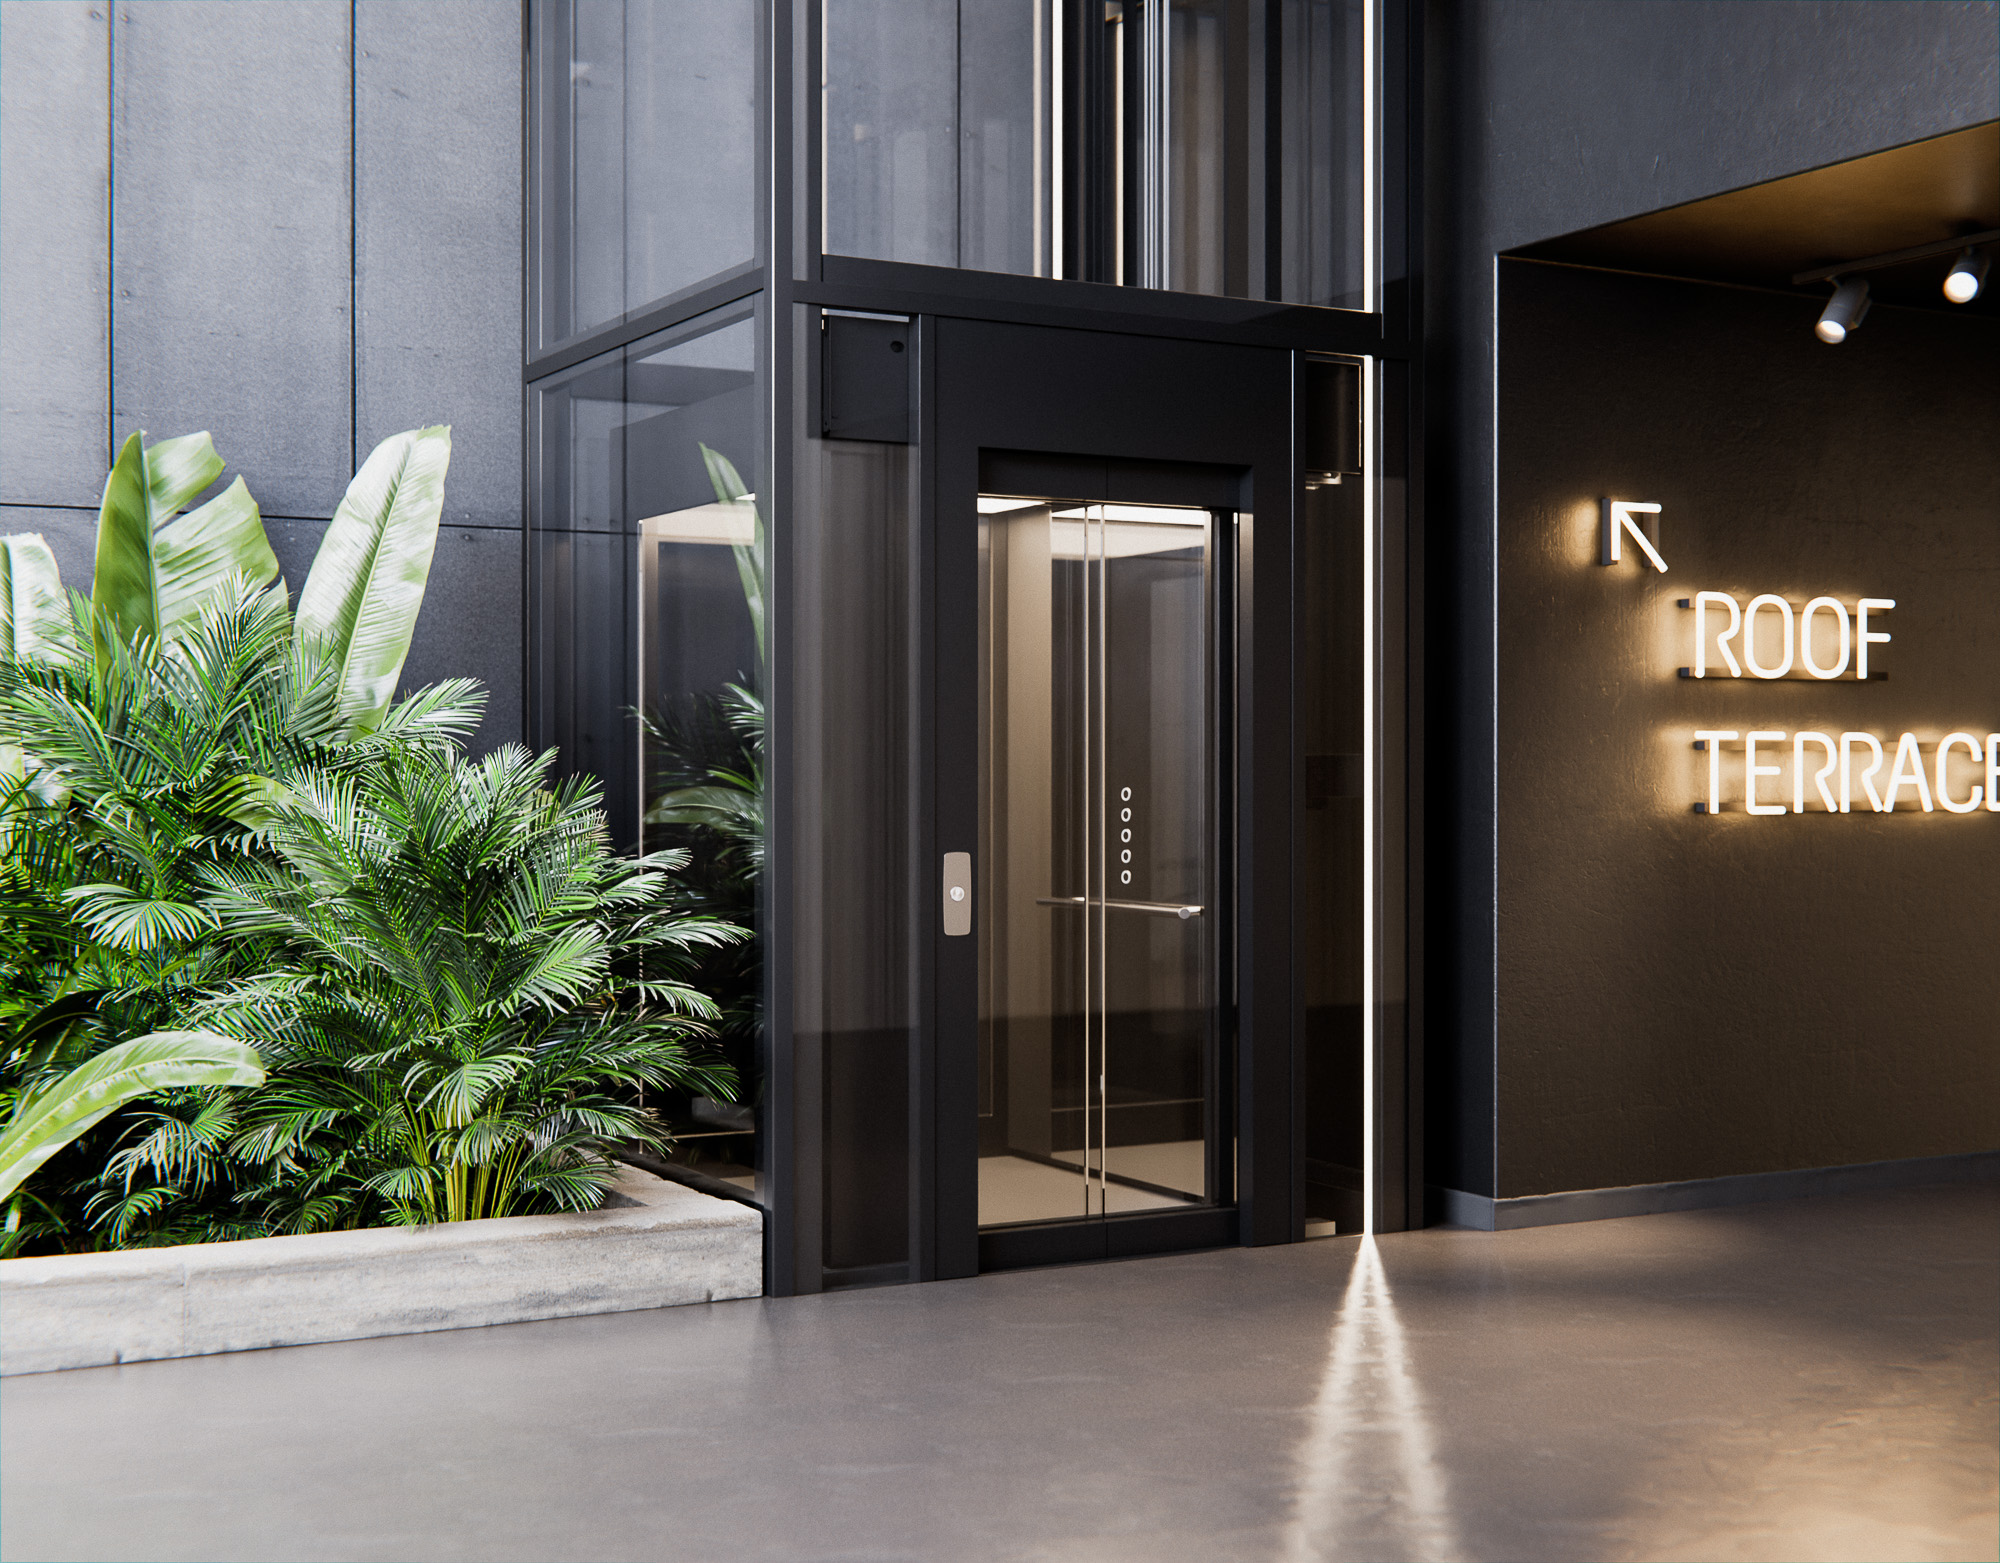
Following the growing trend of modern web design that has an emphasis on 3D visuals to help art direction and navigation through selective colours and short looped video animations, I was able to create a completely new website and brochures that better represent our identity. At the same time, I wanted to create a video animation to serve as an introduction to our entire range of products and the sectors we work in to support marketing the company’s first impression.
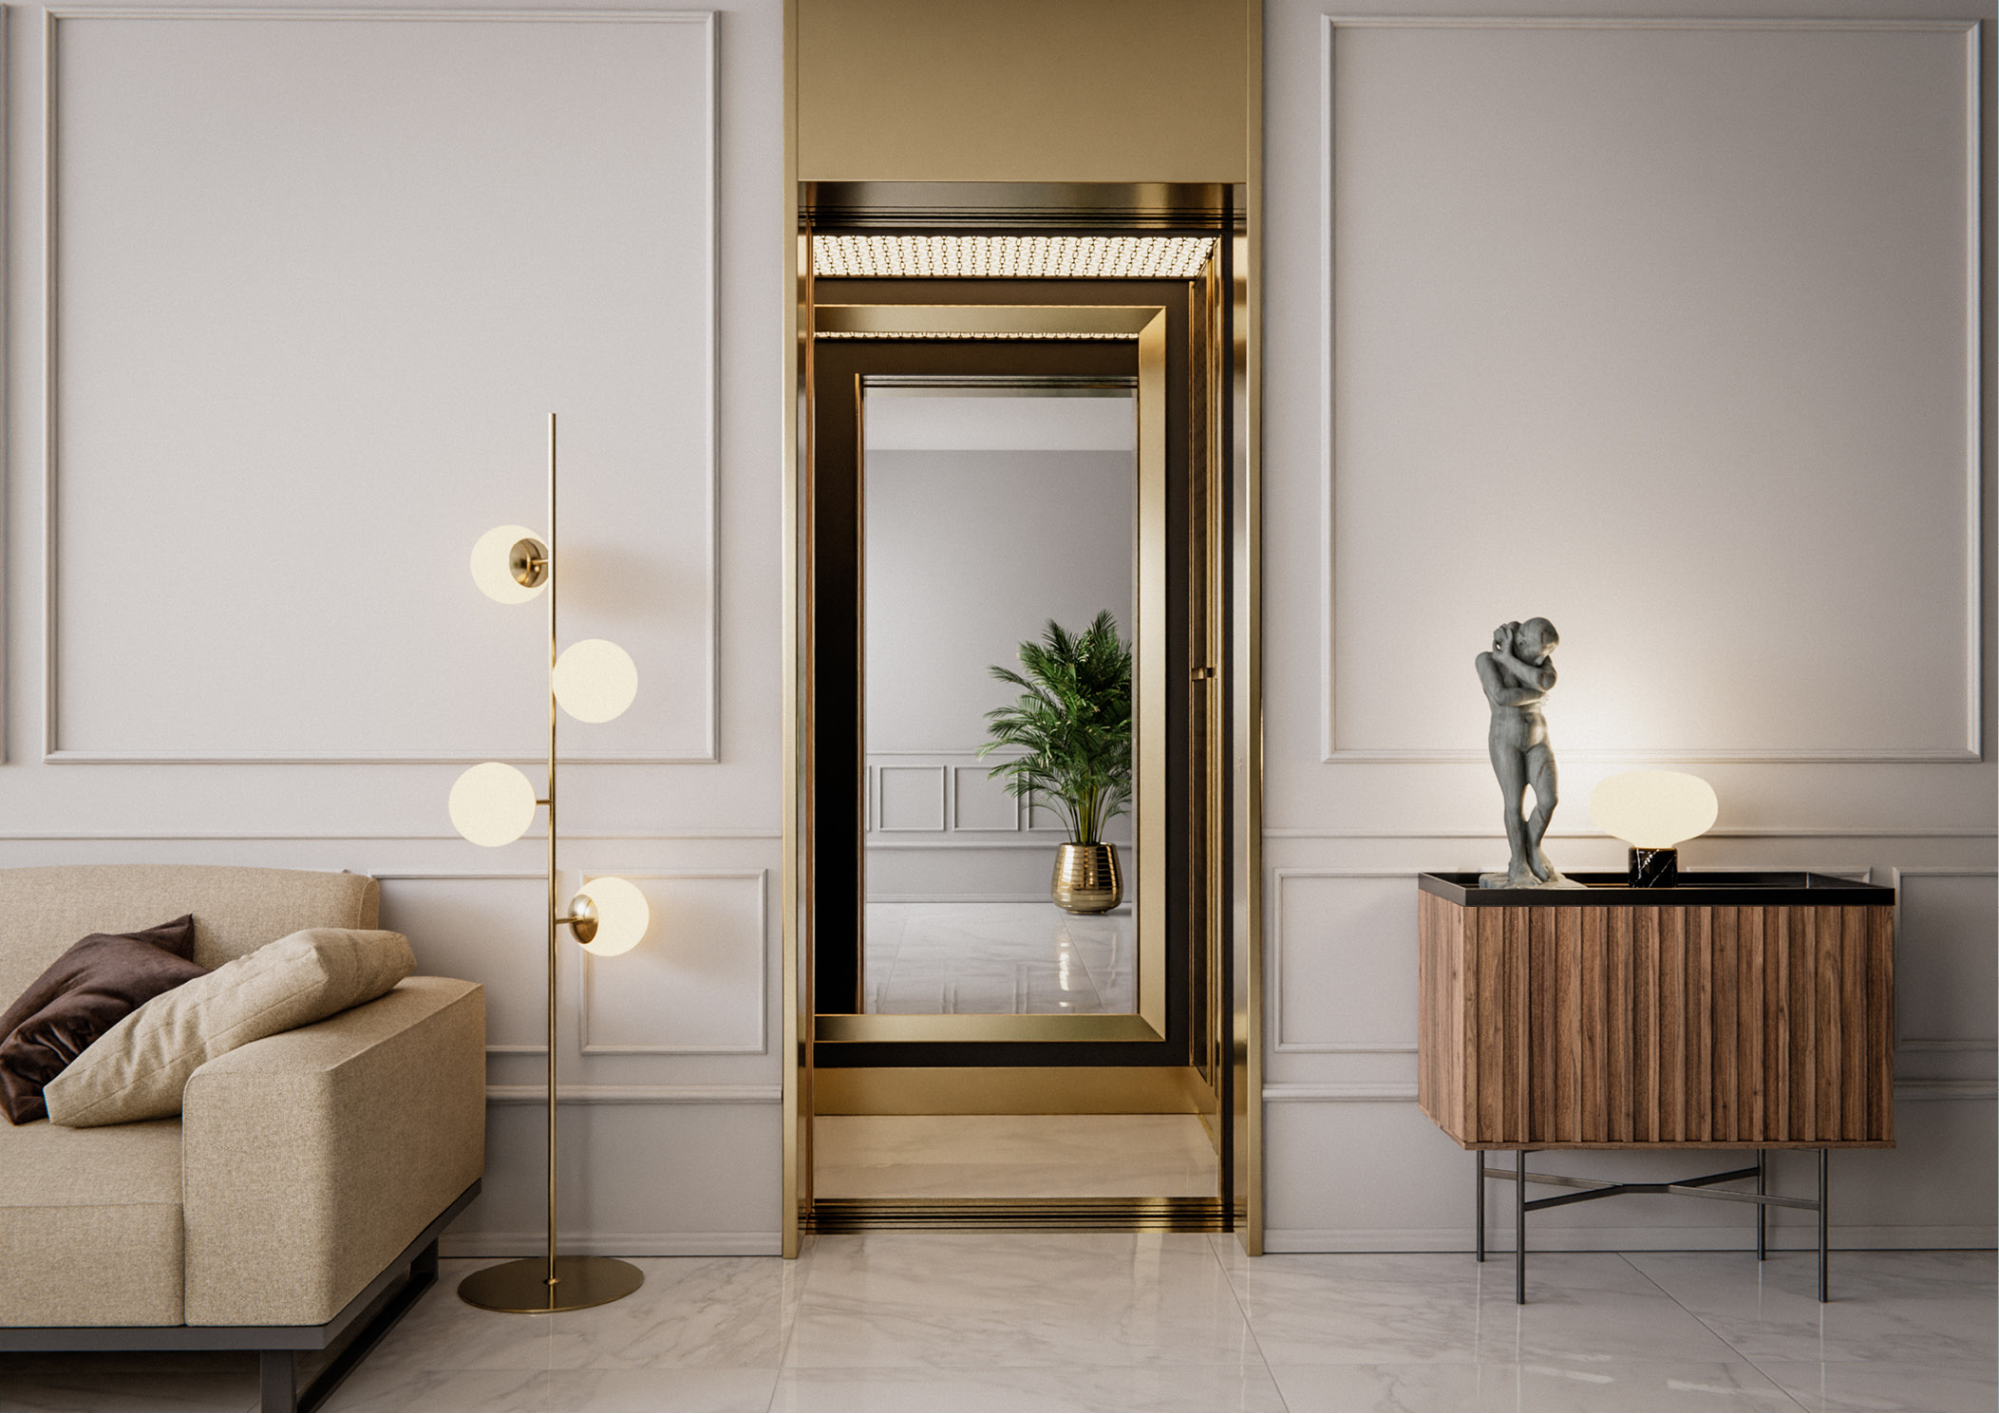
The modelling was completed in 3D CAD software and imported using the fantastic STEPper add-on by ambi with some modelling of rooms completed in Blender.
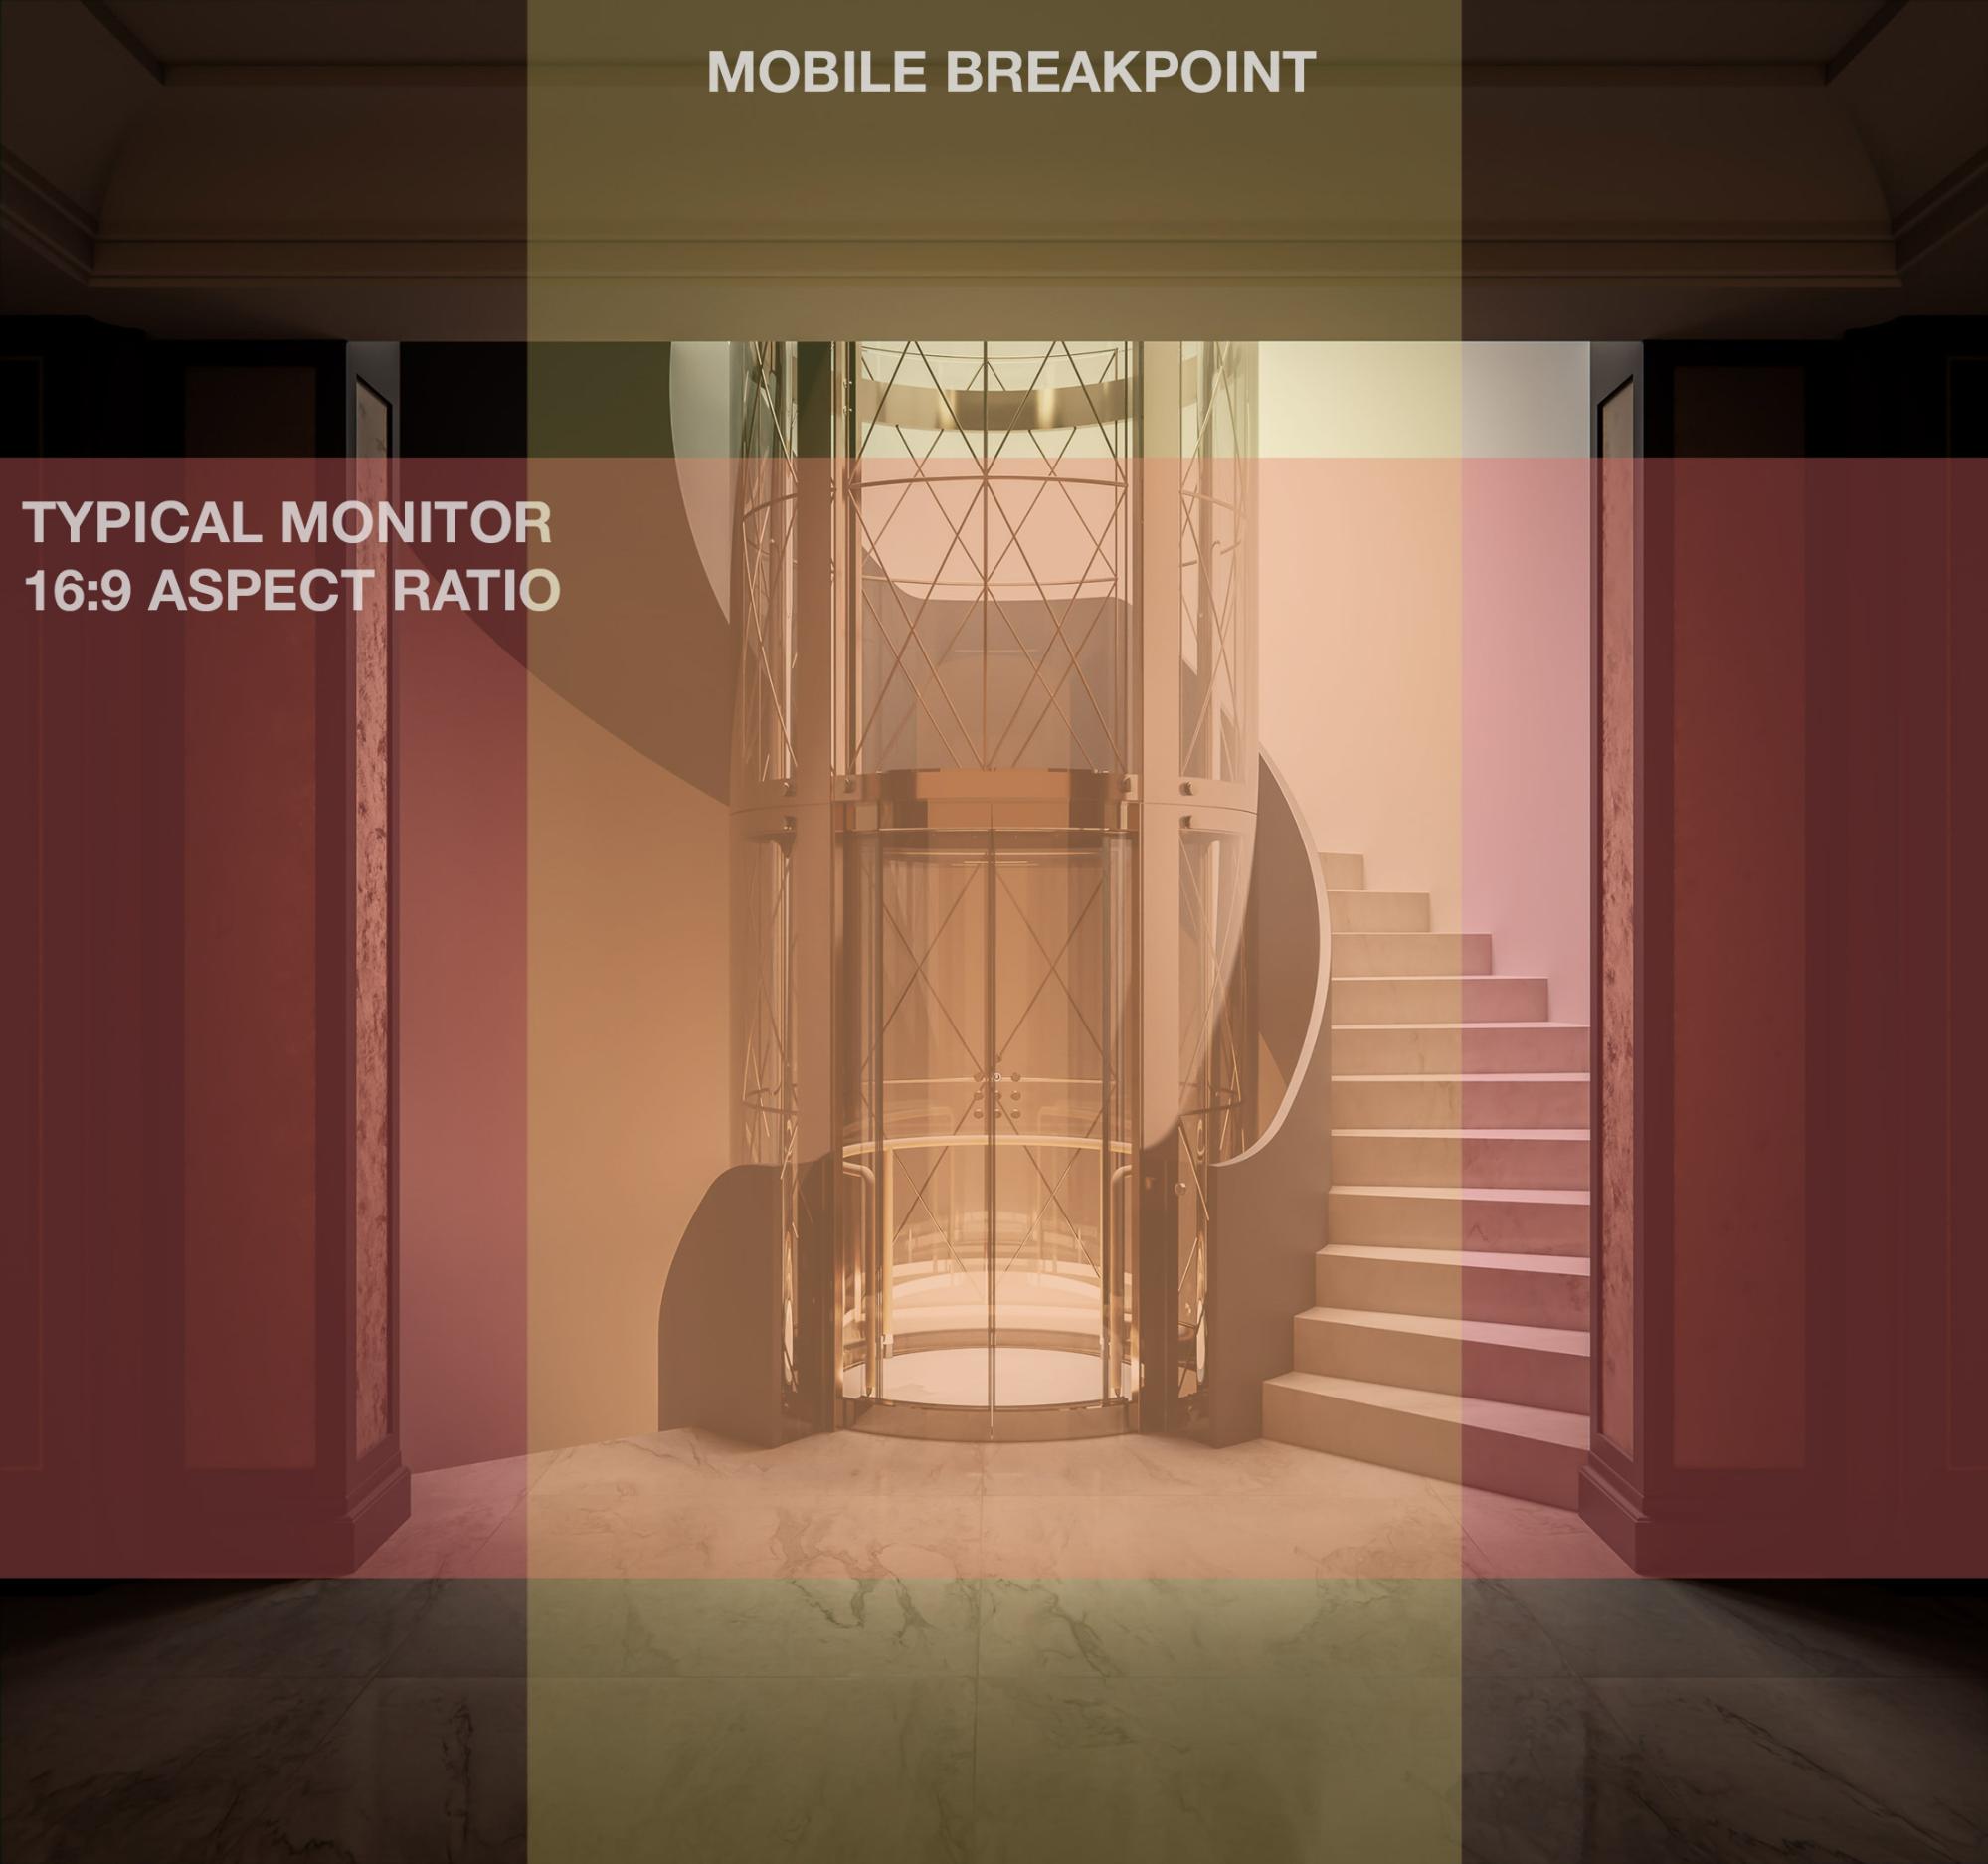
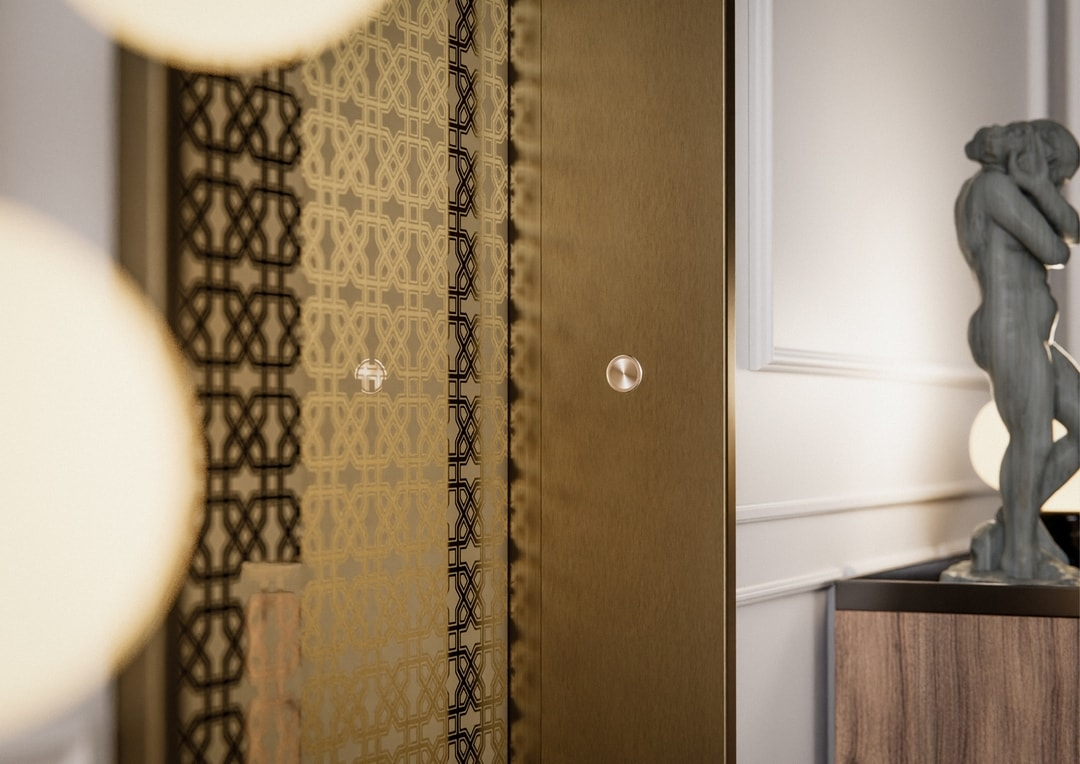
The combination of the advancements in Blender builds and the constant updates of E-Cycles and the denoiser meant that I was able to create more than 150 still visuals for the site and brochures. With this speed, I was able to create the visuals at the same time as designing the website, so hero images have deliberate padding and framing to support different device sizes. This ease of experimentation, I feel, really helped the end result (see below).
https://vimeo.com/501460507
Settings for stills & animations
The still images are rendered at a resolution of 4500px wide with a low sample count of roughly 64-256. I found that using such a high resolution helps the Intel denoiser pick up details that can then be downsampled and colour corrected in Lightroom.
The animations also took no longer than 30-60 seconds per frame rendered at 1920×1080 24fps and denoised in After Effects using Neat Video Pro (as recommended by Blender Guru).
Lighting
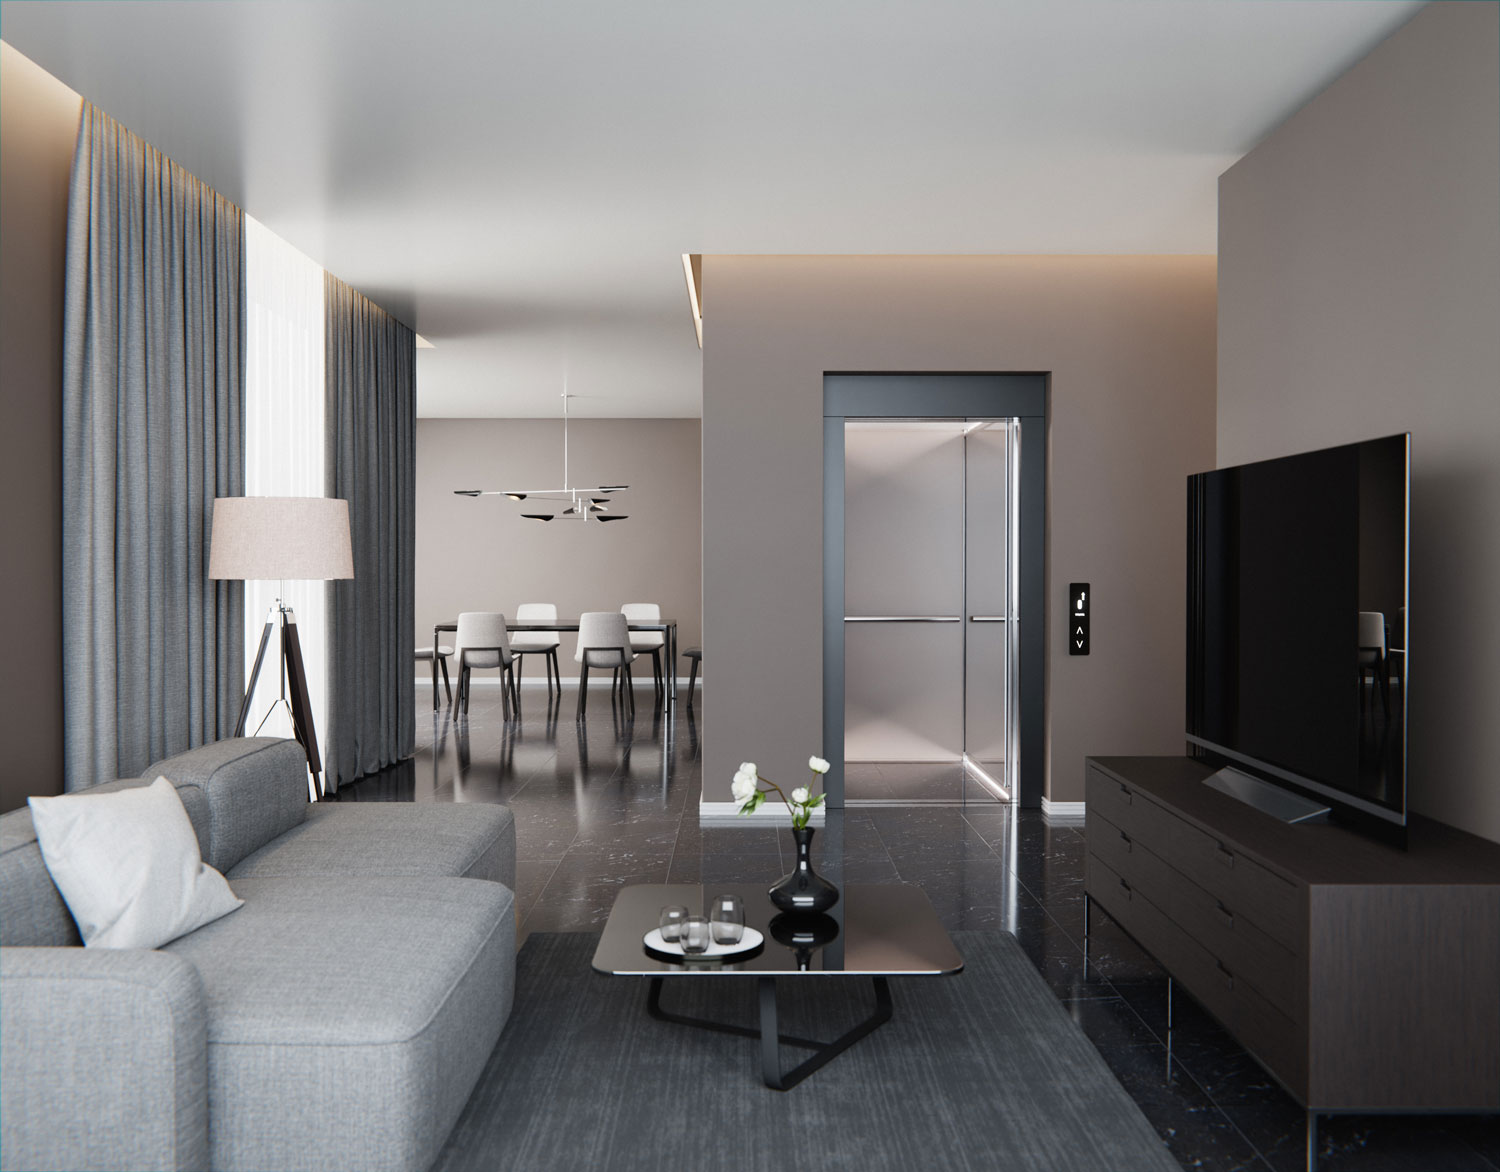
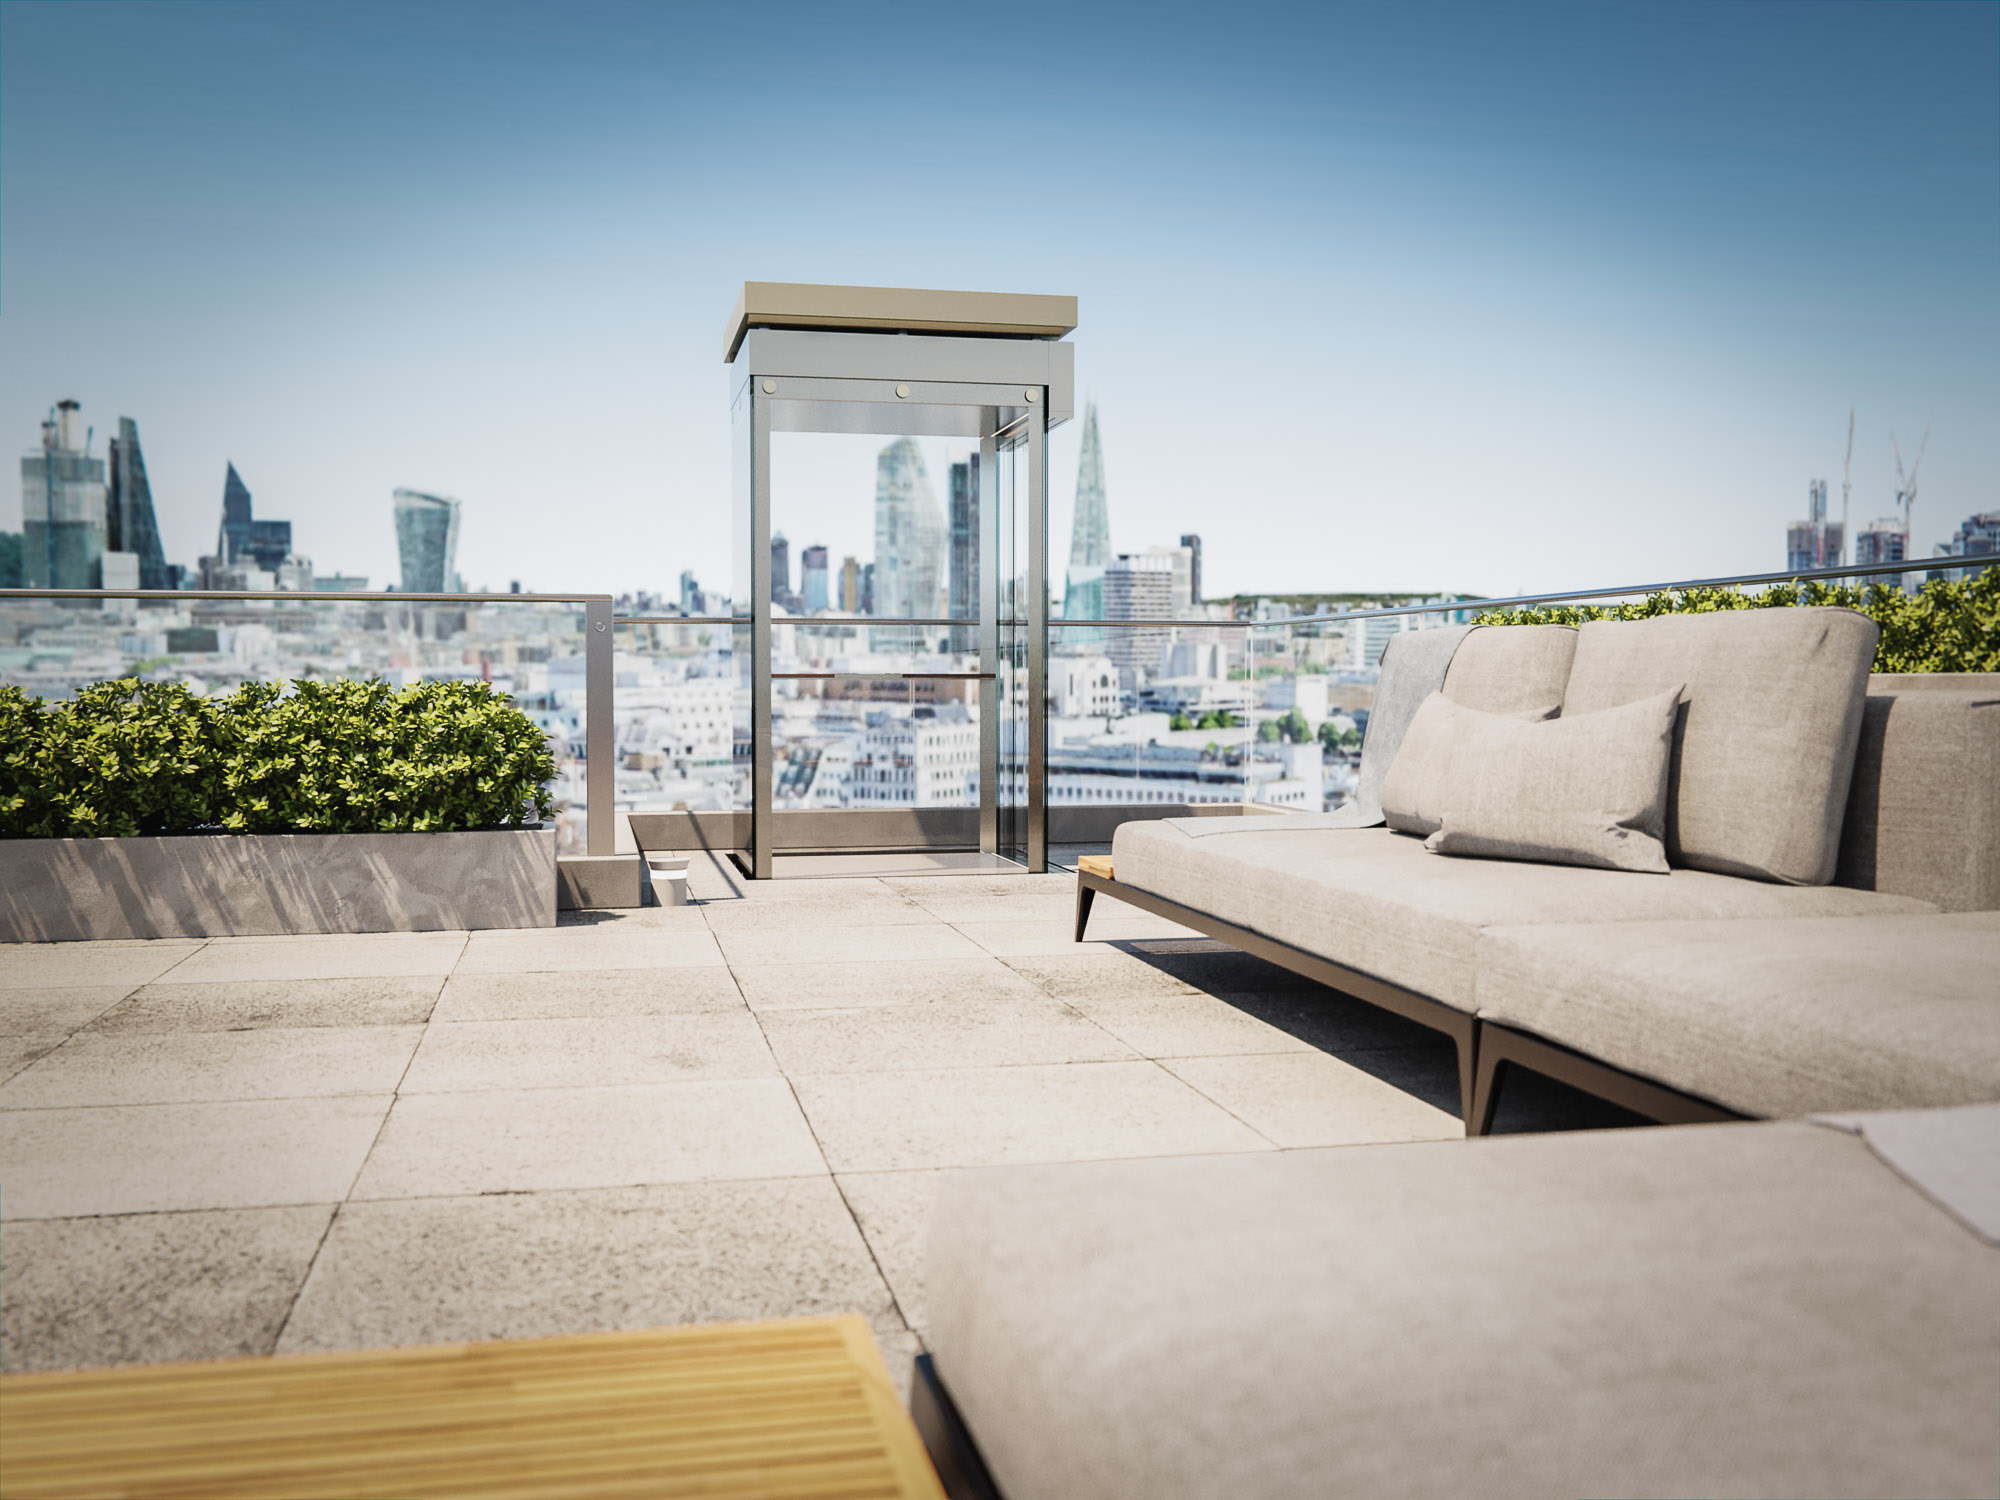
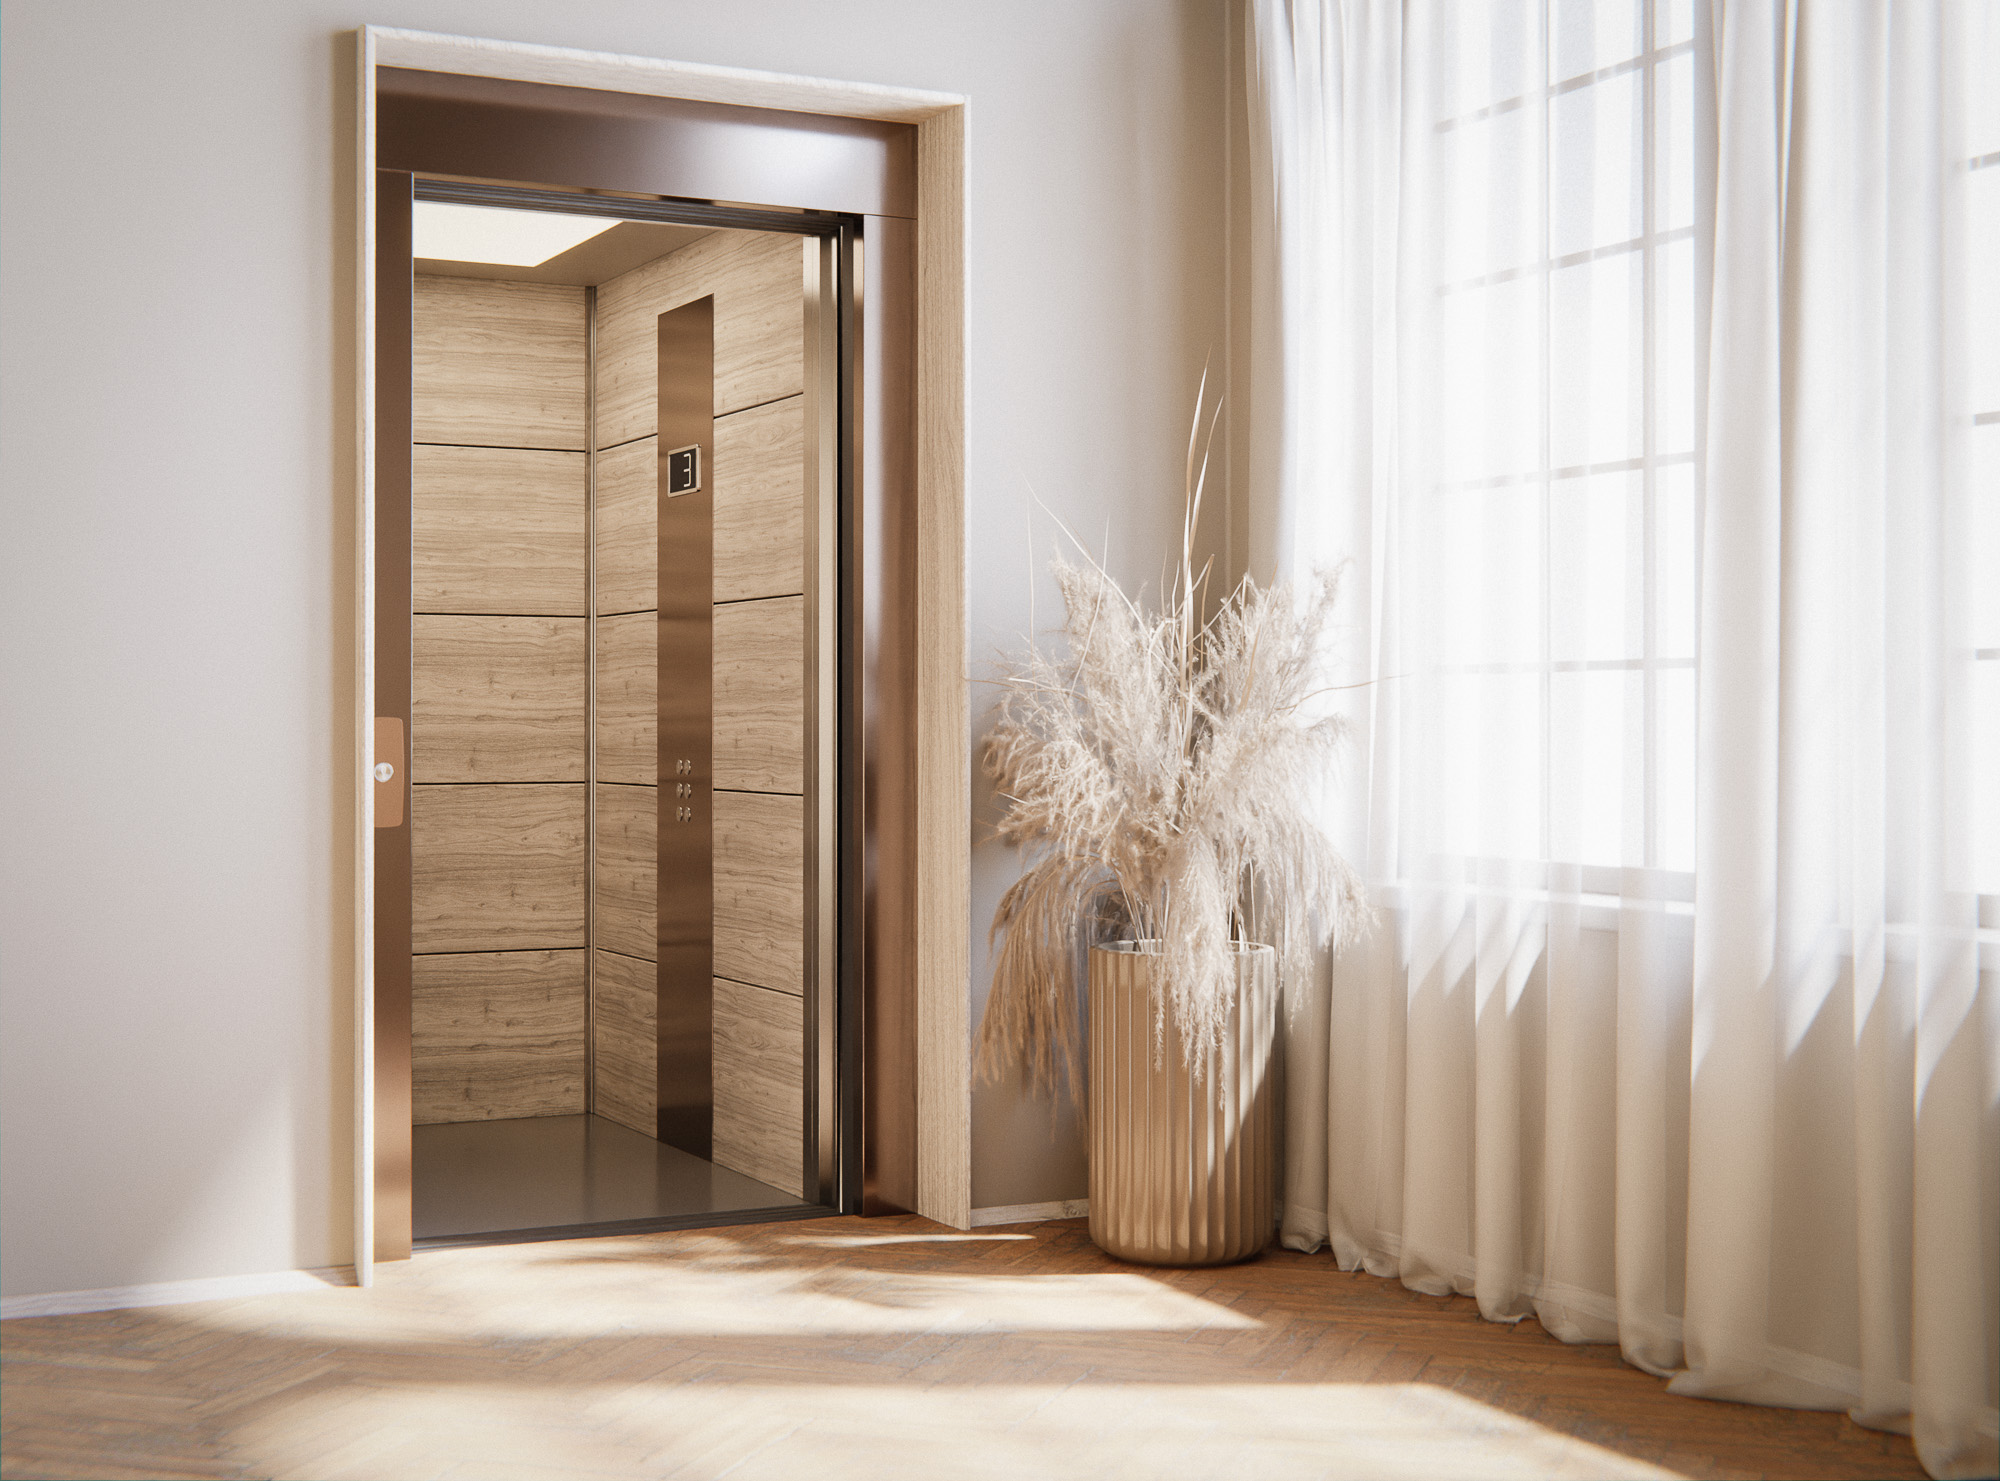
Lighting was different in every scene but for daylight scenes, I would never use HDRIs. Instead, I would use an emissive image plane and a world light or artificial lights with a kelvin value. Depending on the scene, I would either increase or decrease the size of the plane for softer or sharper shadows. I could control how much blue light entered the room by reducing the saturation of the image and reducing the kelvin value to counter the blue from the image plane. I feel this gave subtleties and varying light across the scene, which I felt helped improve realism with more creative control of the final result.


As mentioned by a few people, I would love the Blender devs to add an exclude/include objects option from certain lights. It would help give far greater clarity when trying to describe the shapes of a design without affecting the rest of the scene.
About the Author
 Ryan Plunkett, Concept Designer at Premier Lift Group


The work is amazing. Would you be able to provide a tutorial for one of the interiors you did.
Thank you for sharing
Cathal
Thanks for all the details of what you were trying to accomplish and how you did it.