
Procedural polystyrene and visual study
Umberto Gnocchi writes:
Hi! I’m Umberto Gnocchi, a freelance 3D artist from Italy (www.be.net/umbertognocchi). Shading & lighting are two of my favourite topics about 3D art, so, here we are again with yet another visual study about materials, light and composition!

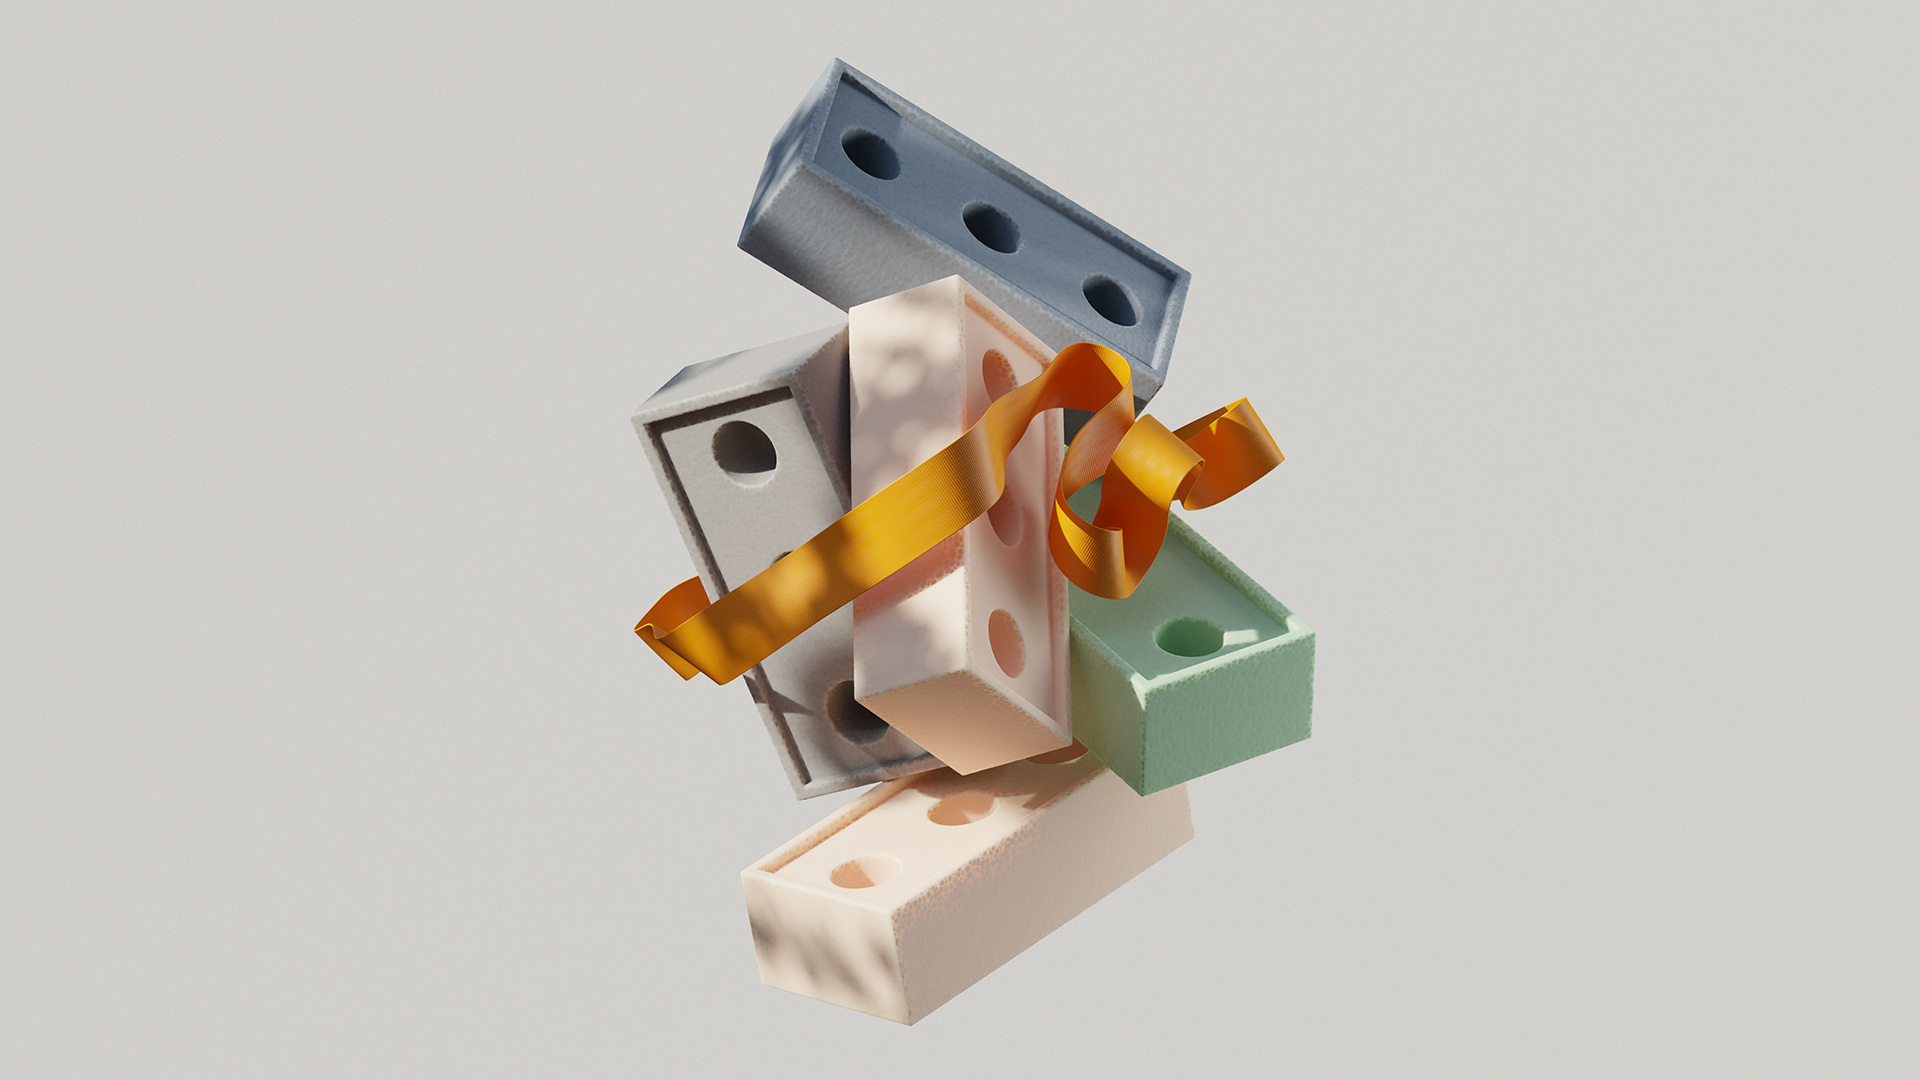
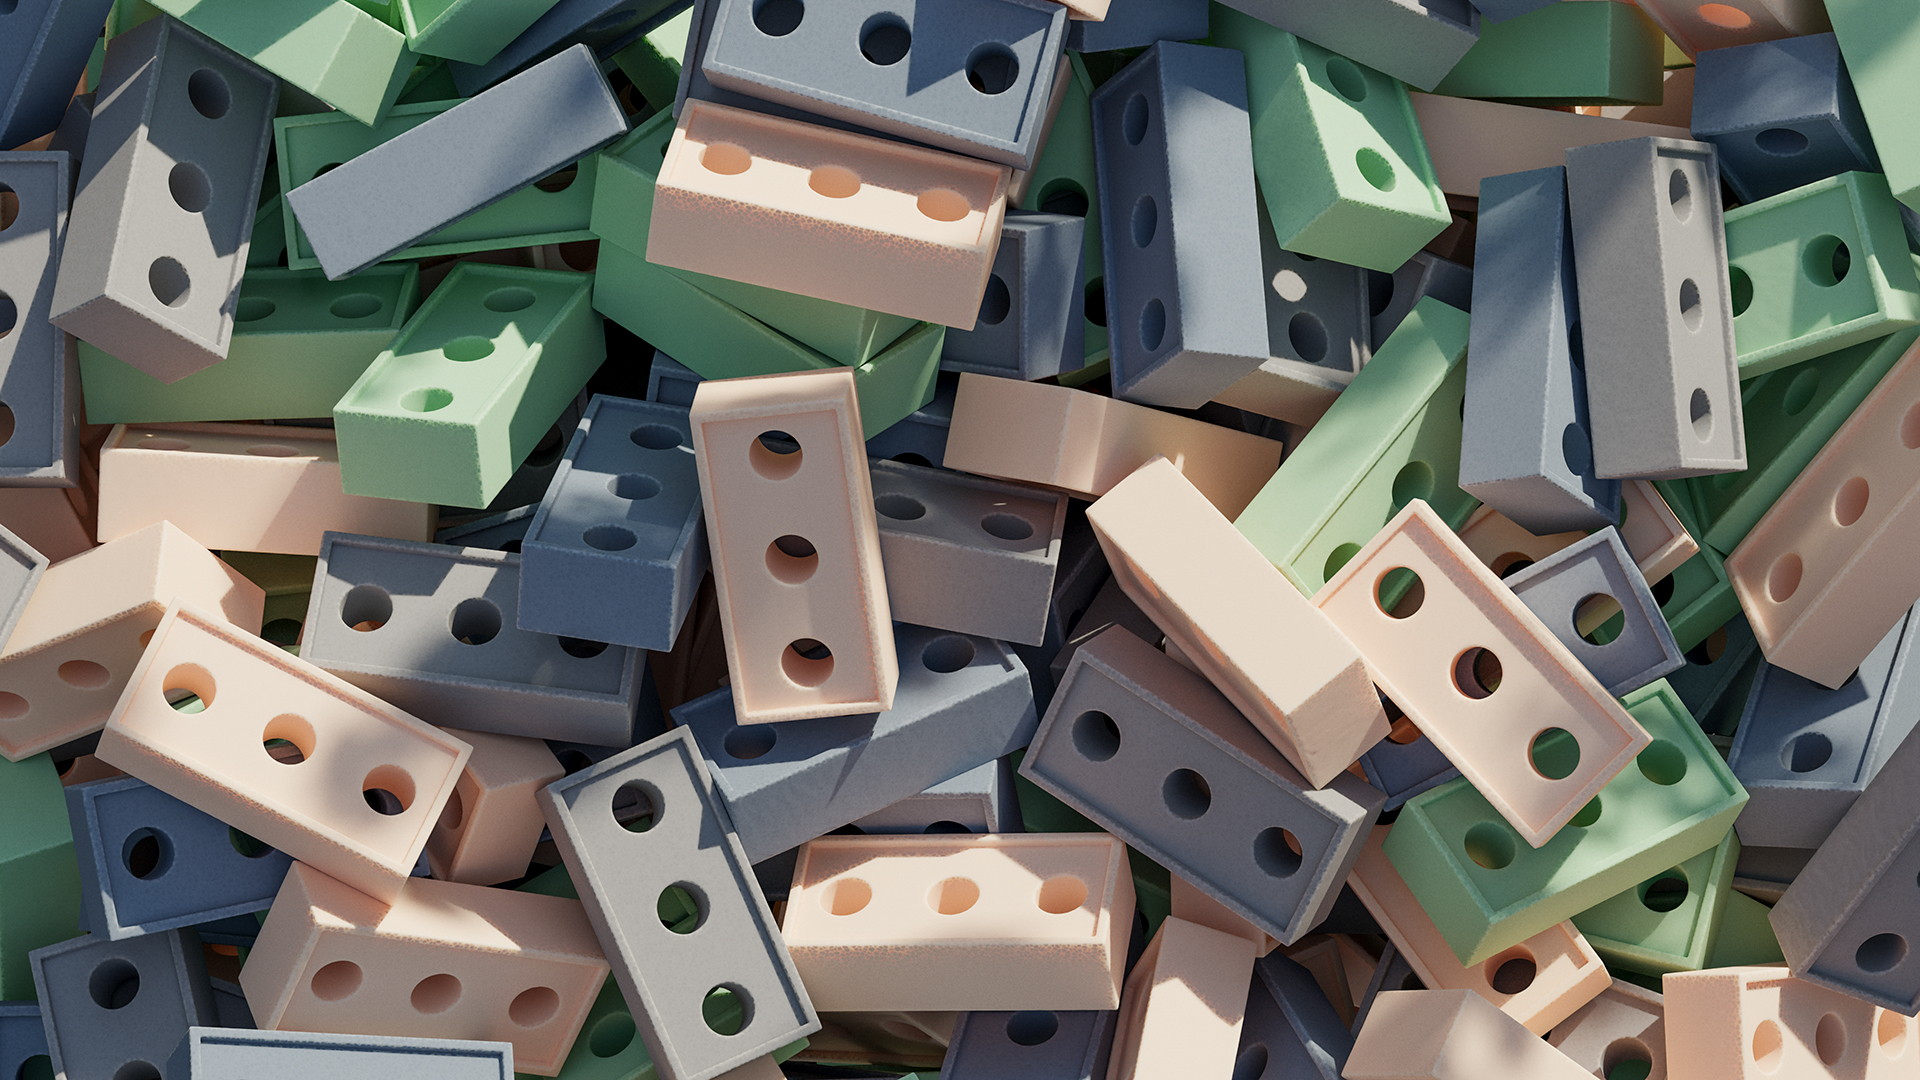
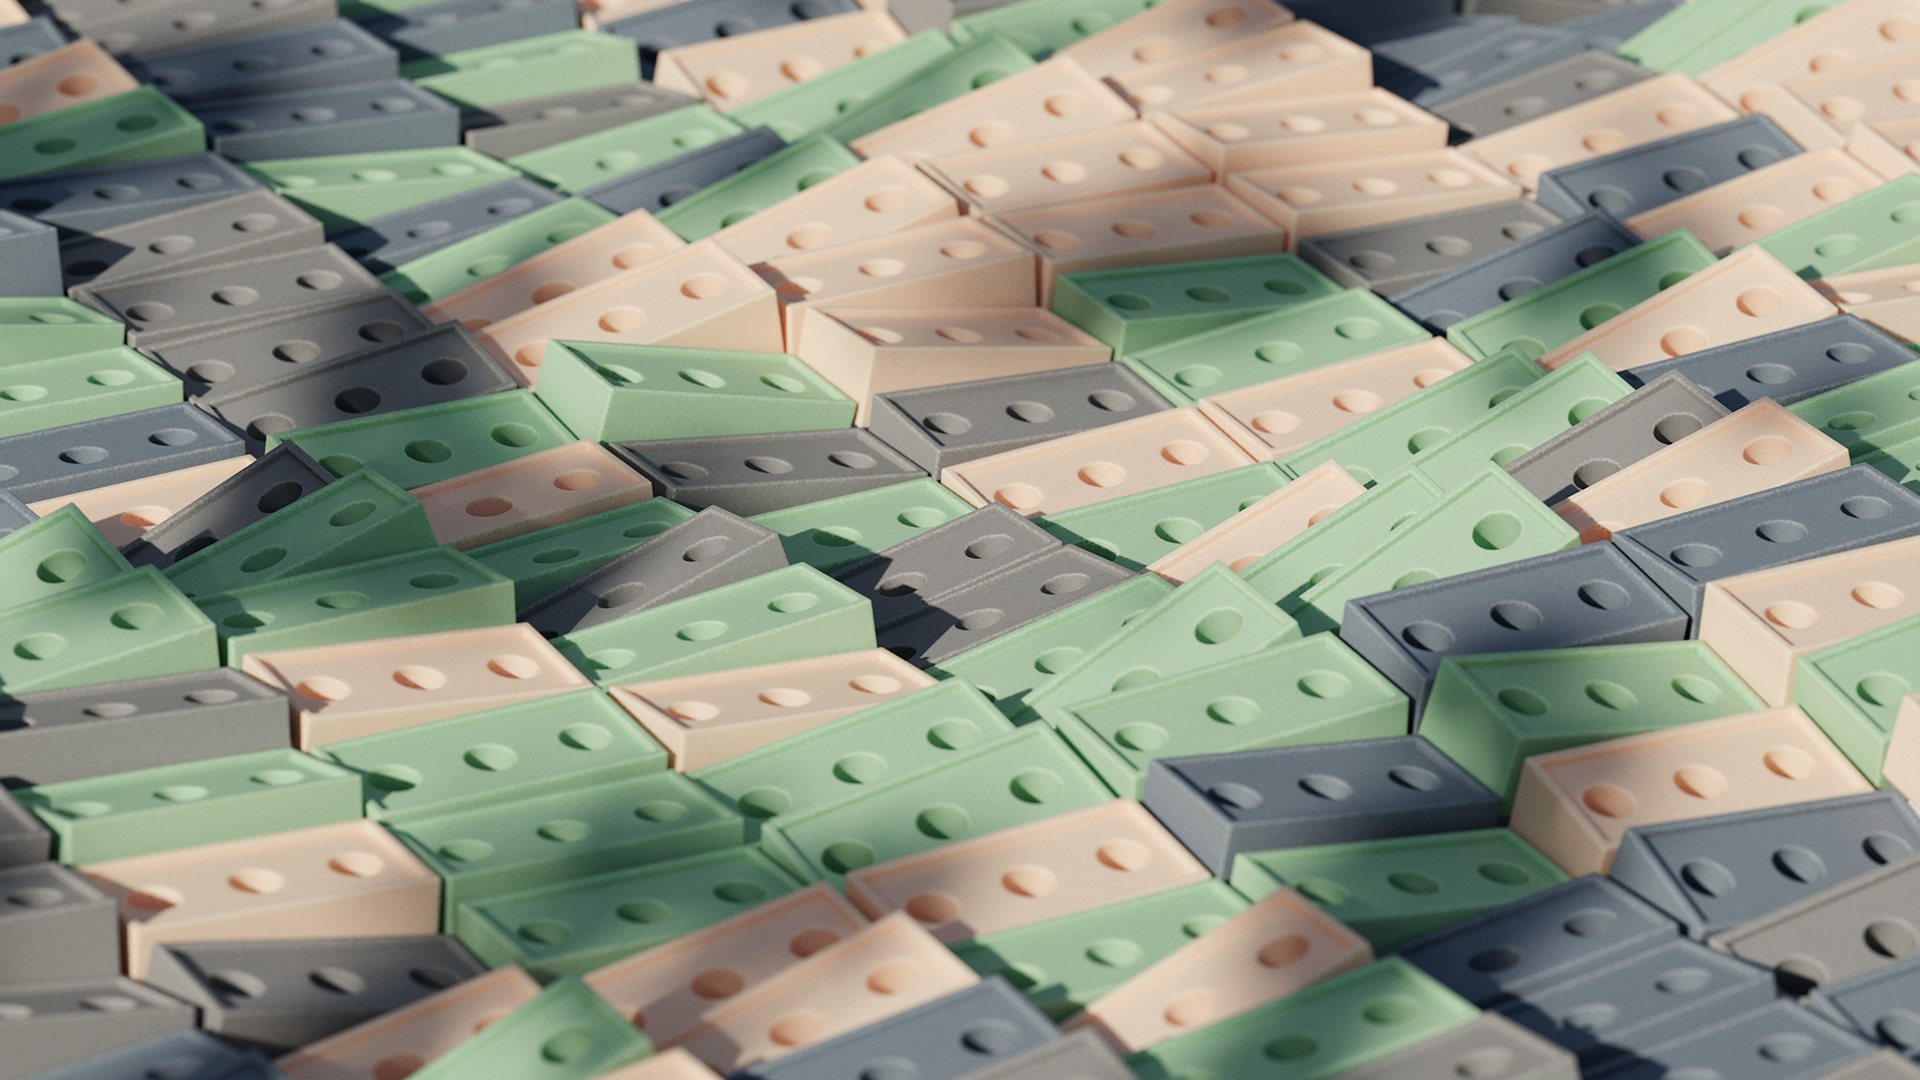
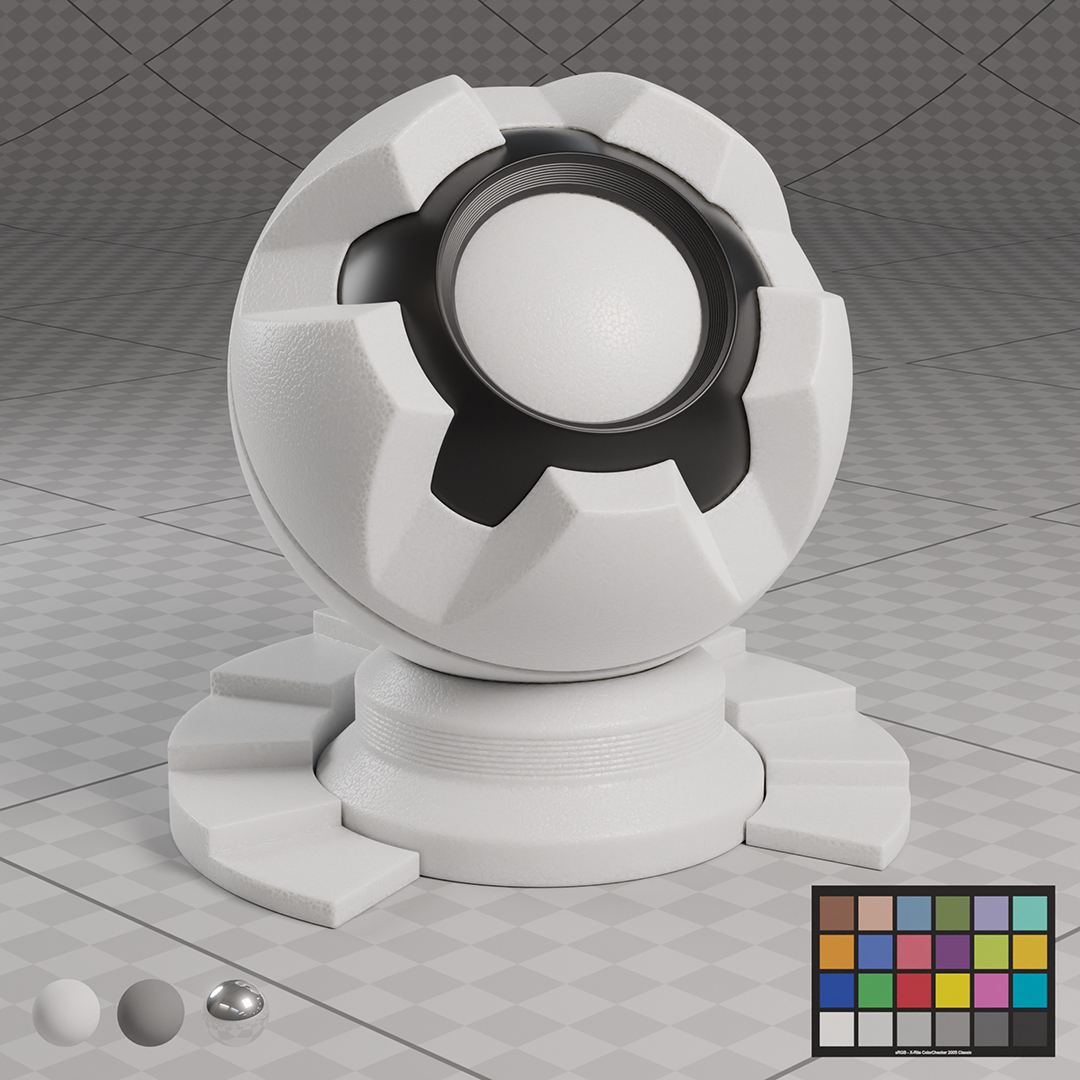
This time I wanted to do everything from scratch and I modeled this very complex hard surface object: a brick, whit not one but three holes. Impressive uh?
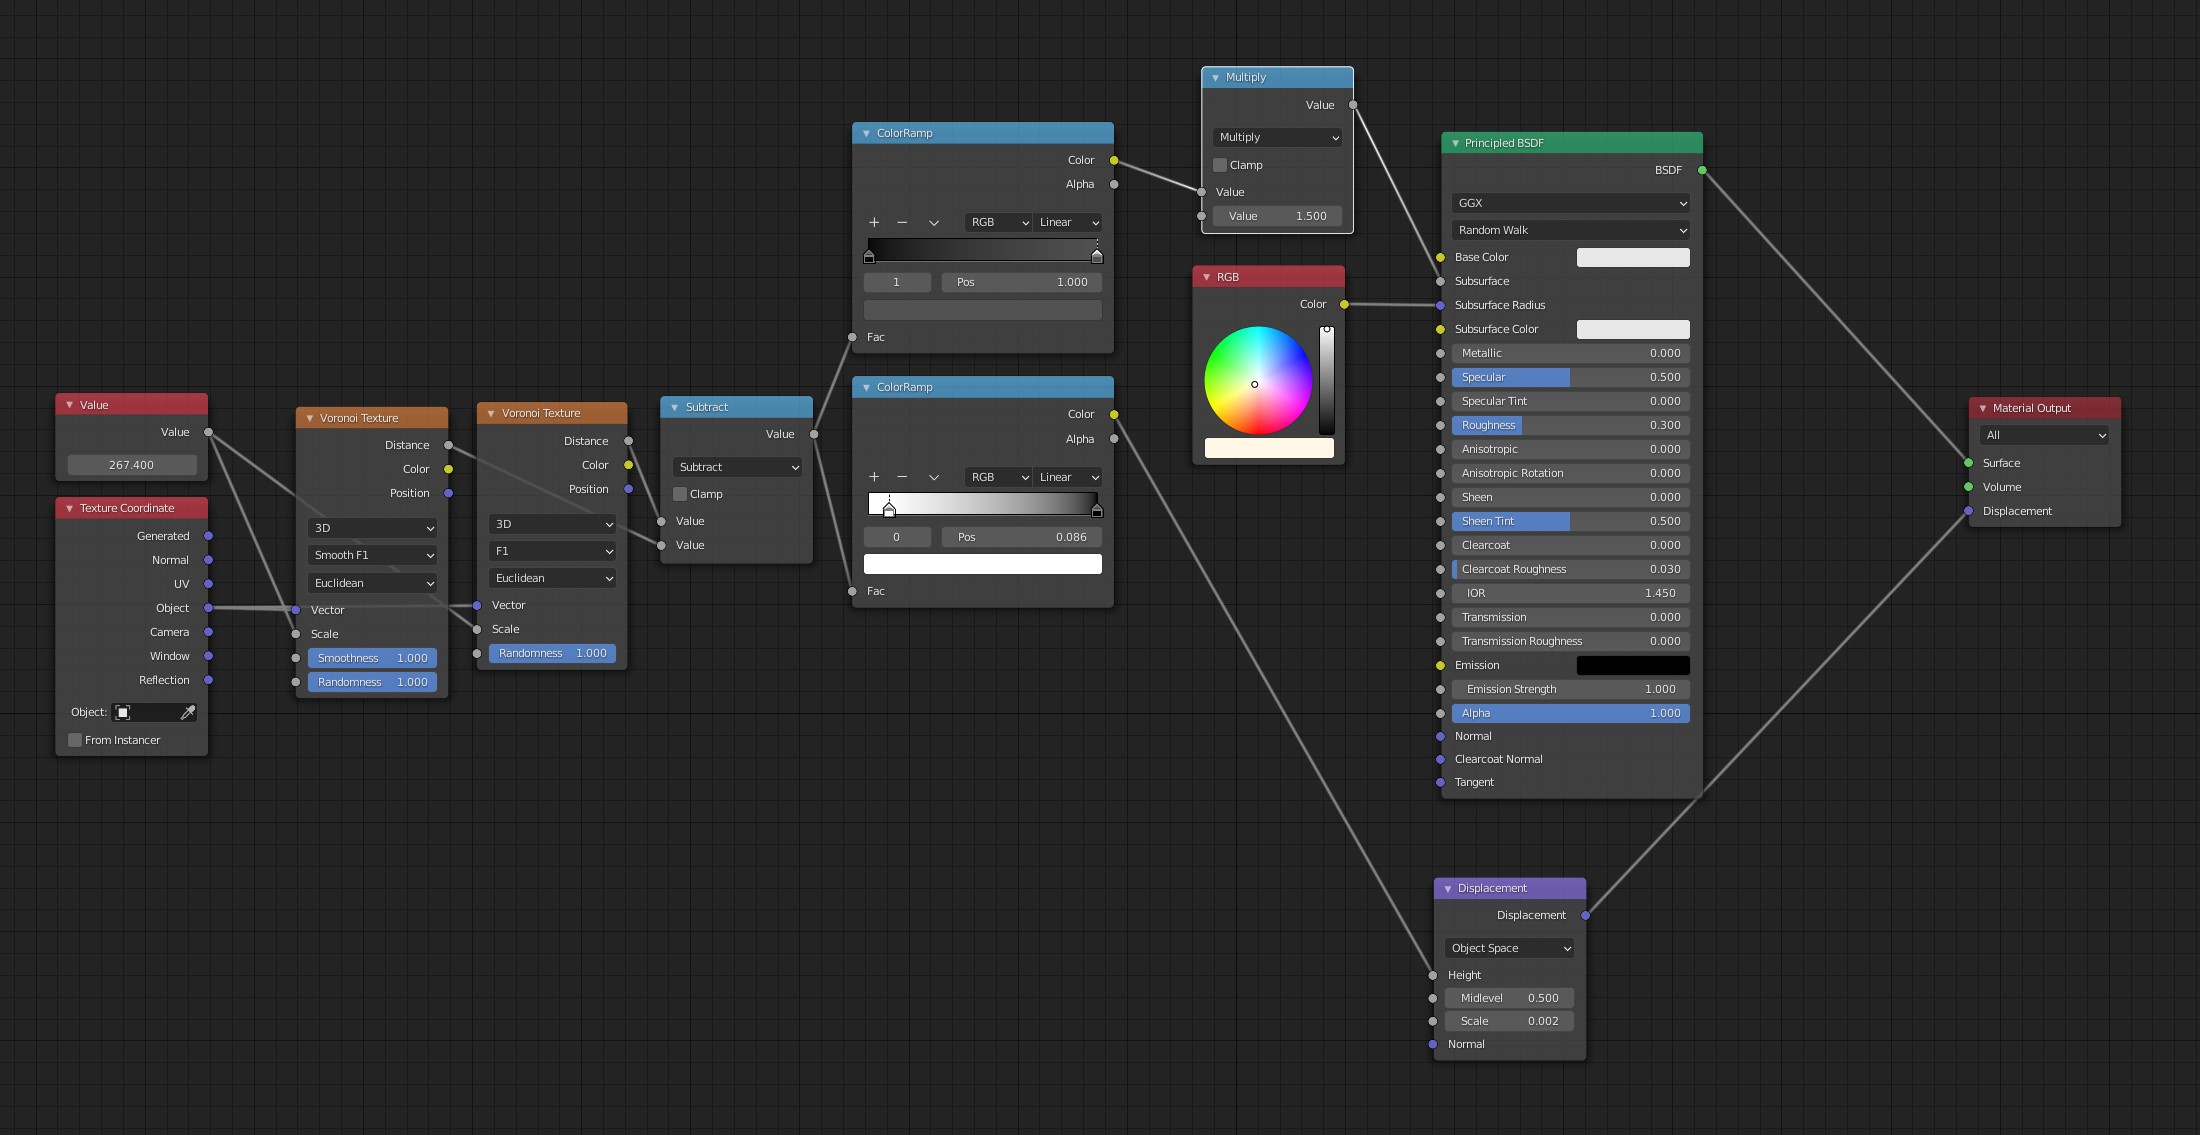
Ok, besides jokes, I made a polystyrene procedural material, and I’m quite happy with the final result. It’s based on a Voronoi texture, you will find the node setup at the end of this post.
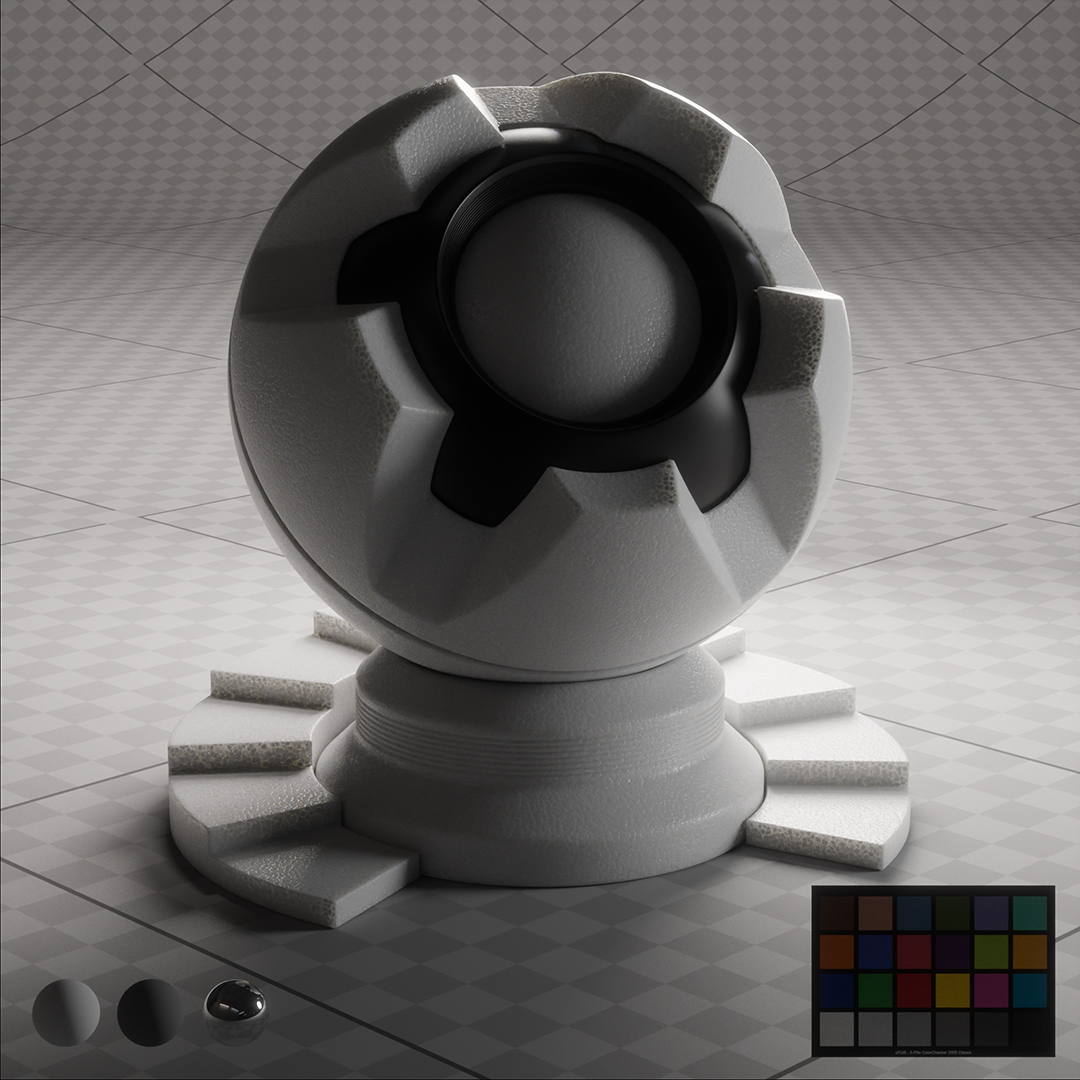
This is the node setup, slightly different than the one used for the bricks, is just more glossy, and white of course. I hope you like it!

can you explain how you use the color checker lower right corner?
To be honest I don’t use it, I’ve placed the checker in scene “just in case”.
To use it for color correction, specifically color matching two shots, you’d setup your NLE so you can switch back and forth between the shot you want to correct and the one that you are matching to.
You’d use the waveform and vectorscope tools to watch the change between the two images, and adjust the one you’re correcting until there is the minimal amount of difference when you switch between the two shots.
Here are some more details and ways to use it: https://www.youtube.com/watch?v=GWIRCMeSnDo