
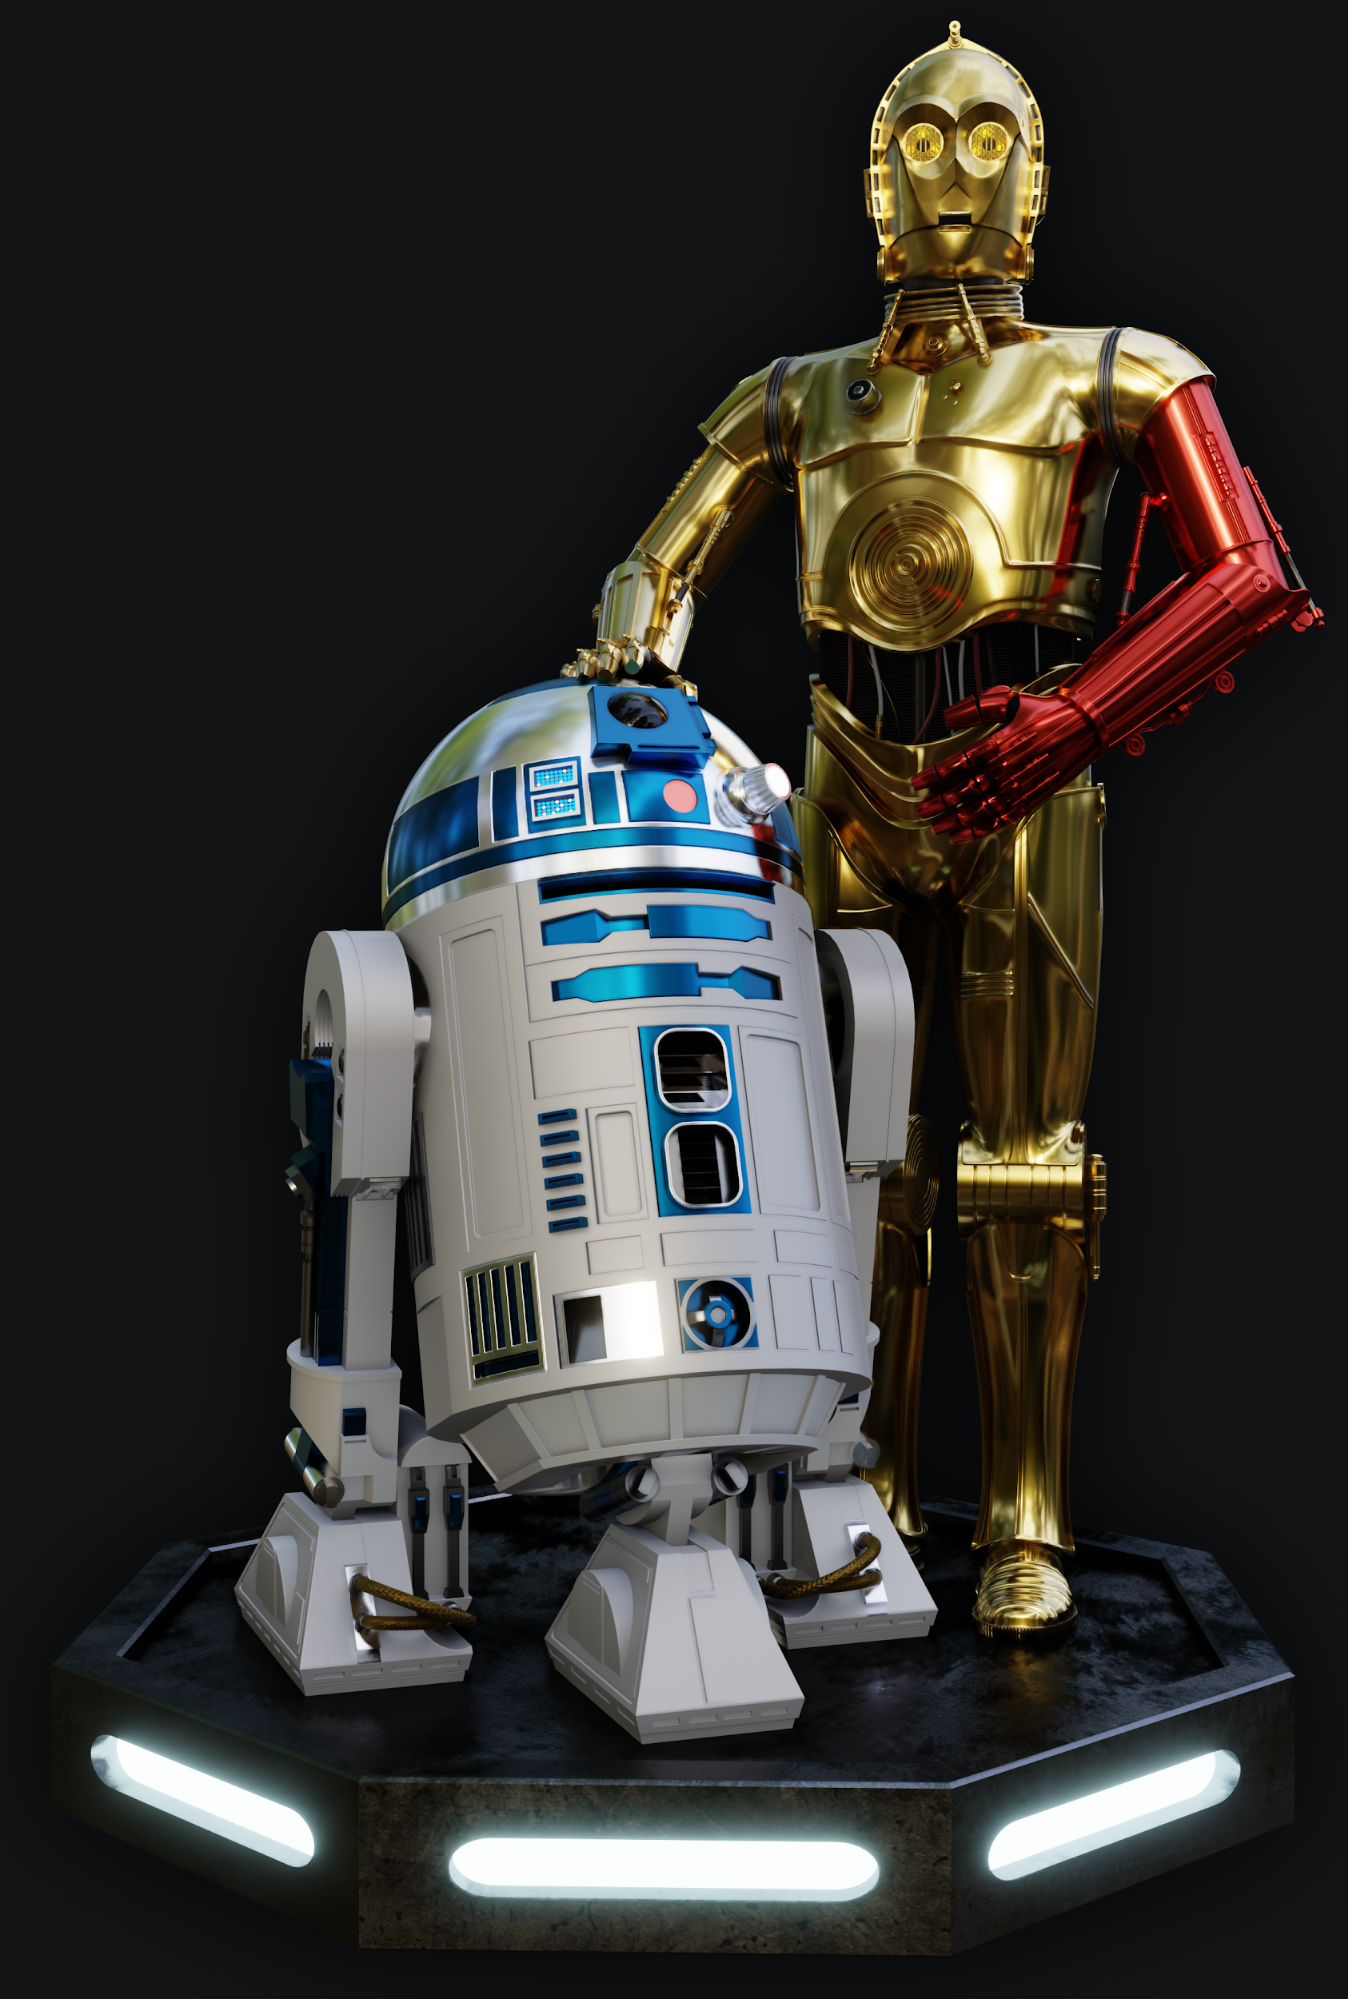
Behind the Scenes: R2D2 and C3PO

About
My name is Christian Egami, and I’m currently living in Osaka, Japan. In 2004, I started my studies with 3ds Max 6 in an Authorized School from Discreet (Actual Autodesk). In 2011, I had my first experience with Blender when I studied online with the talented teachers from 3DBuzz. I have been working as a 3D generalist for product design, TV, AR, and VR.
I made this model to focus on learning Blender better and to challenge myself.
[sponsor id=’qarnot’]
Inspiration
I think the Star Wars universe is a source of inspiration for many generations and modeling the characters brings back memories from my childhood.
Tools
I used Blender for the C3PO modeling and render, Fusion360 for the R2D2 model, and Substance Painter for some textures.
References
I searched many C3PO references on the internet; the design aspects of the model vary from time to time and I had to decide which one I would use for my modeling process.

Modeling
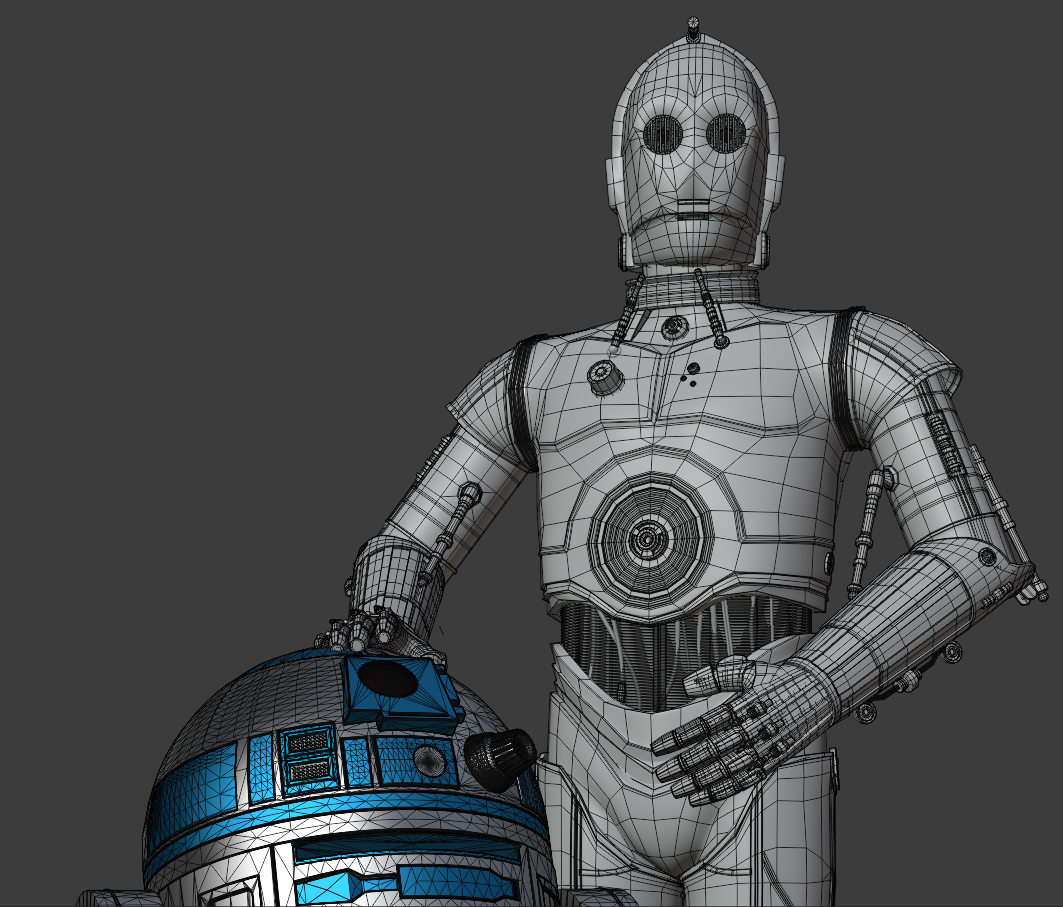
At the beginning, I was focusing more on modeling just C3PO’s bust, but I changed my mind and decided to make a final render together with the R2D2 model I created in Fusion360.
The C3PO model started with the head. I used a blueprint of the head and worked on orthographic views. Poly by poly was my best way to achieve the edge loops I wanted for the model and to create a solid structure for the high-poly mesh.
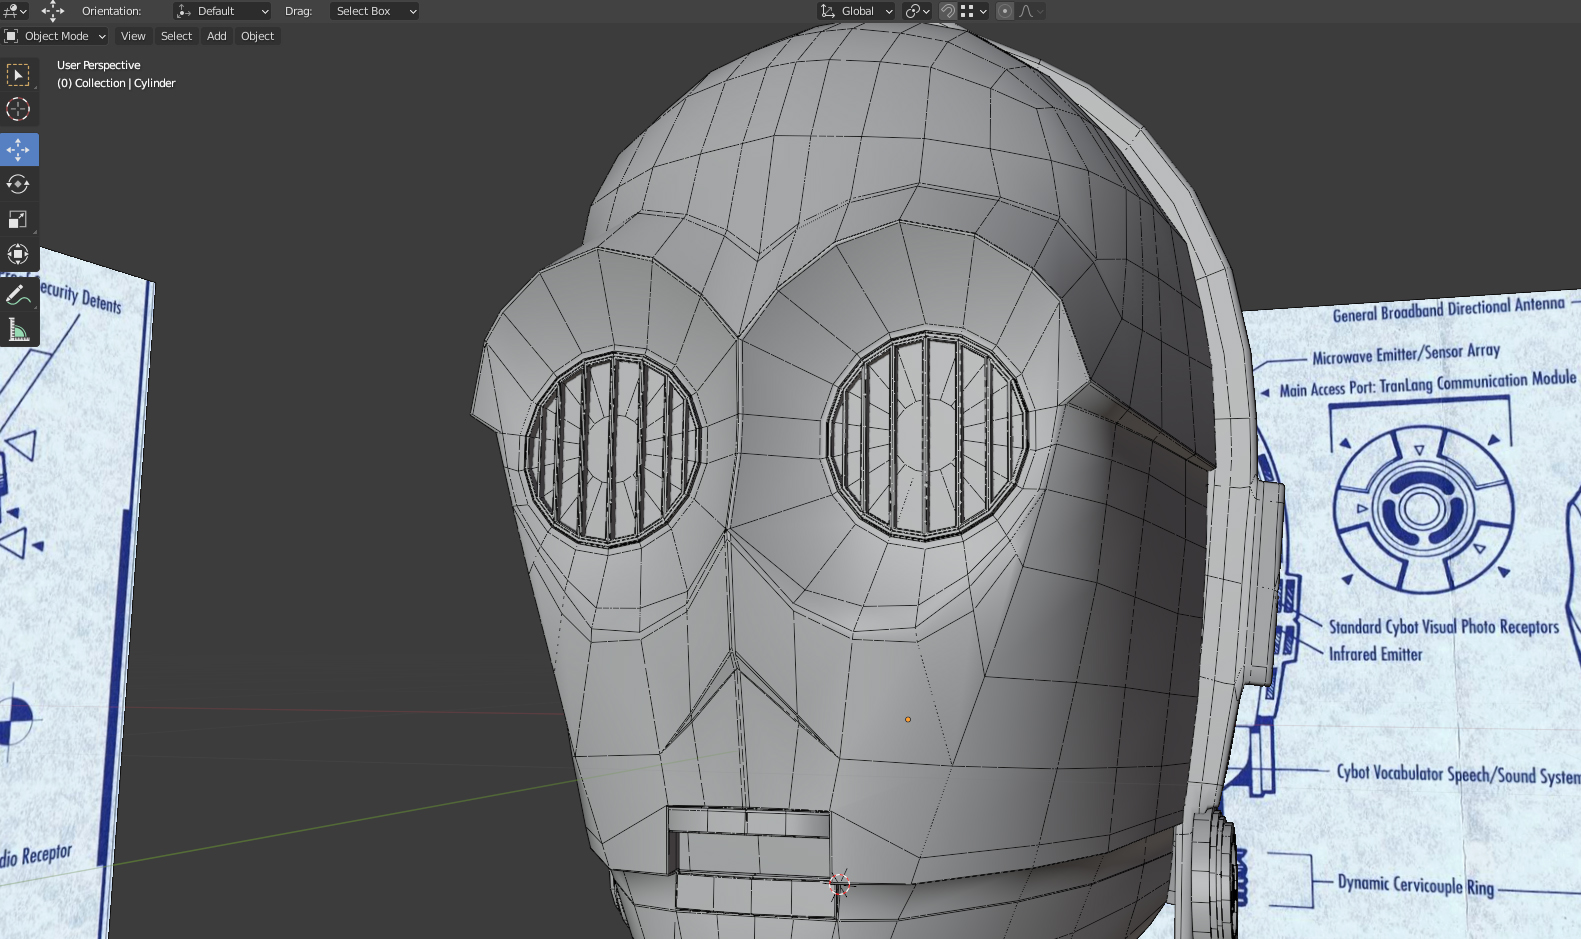

The “annotate” tool is a very useful tool because I can write on the places I have to fix and continue to work on them the next day after looking at my memos.

For the body, I had to make more artistic decisions about shapes.

Because C3PO is composed of many parts, in order to just focus on one part at a time, I created a file for each part and assembled everything in one “ASSEMBLY” file. I love Blender CTRL + C and CTRL + V.
Texturing
For the texture, I used Substance Painter with the plugin Substance Live Link from Xolotl Studio.

Rendering
For the render, I used EEVEE. The HDRI is from Blender’s default library and to keep the consistency between Material Preview Mode and Render Preview Mode, I had to connect the HDRI from the folder “C:\Program Files\Blender Foundation\Blender 2.9x\2.9x\datafiles\studiolights\world” to the World Properties.
I had some issues with the reflection after connecting the baked texture on the model and to fix that I had to triangulate the polygon in order to guide the shader in the right direction.

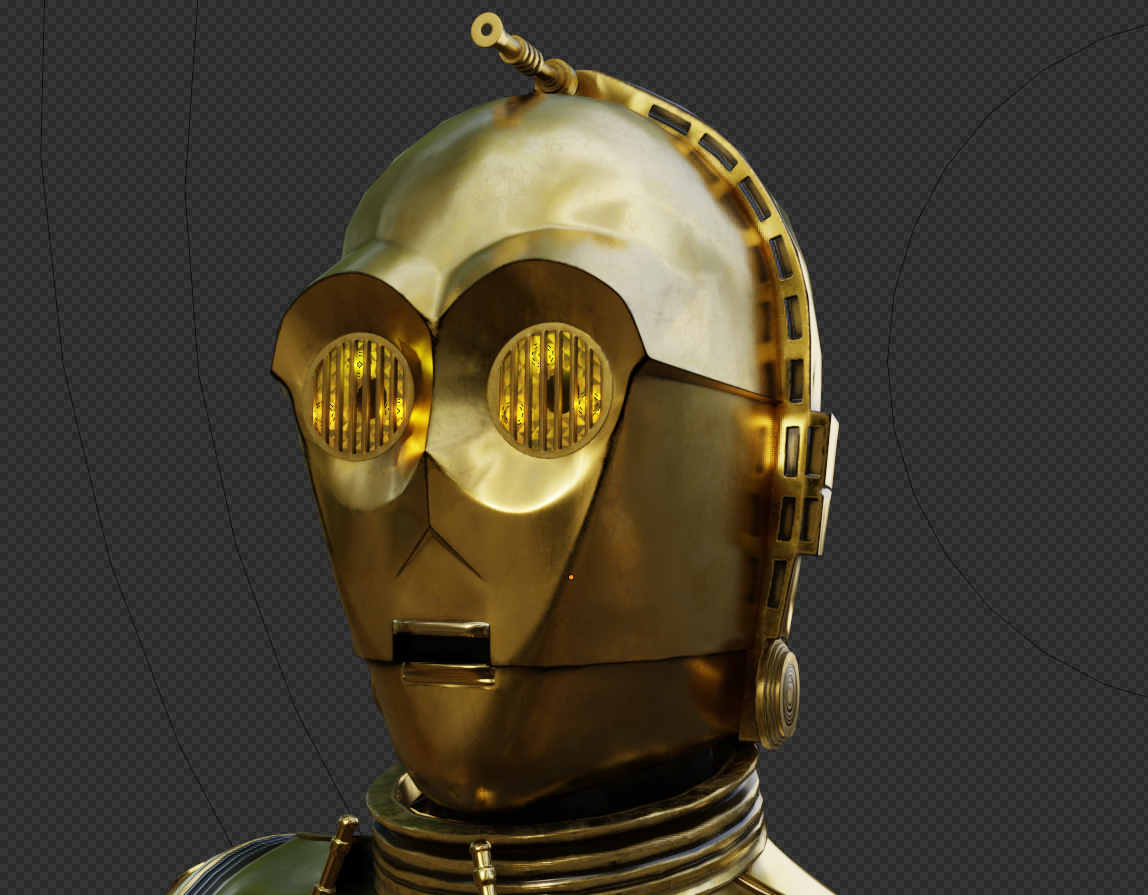
For the eyes of C3PO, I created six small point lights, three on each eye.
Final composition
And for the final image, I imported the R2D2 model from Fusion360 as FBX. I set up some basic lights (Sun and Area lights) and posed the characters.
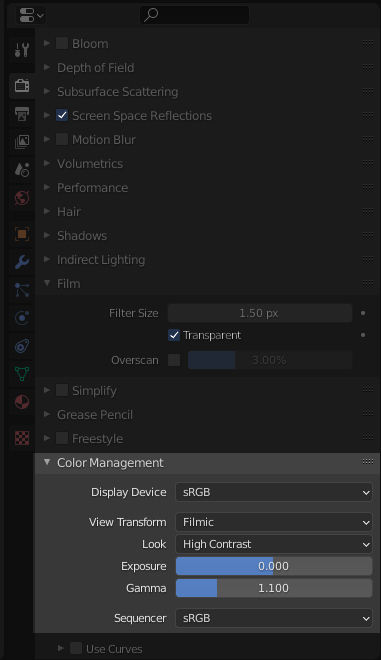
To achieve a better quality render, I played with the contrast option on Color Management (Render Properties > Color Management > Look):
That’s it! Hope you enjoyed this Behind the Scenes and thanks to BlenderNation and the Blender Community for this opportunity.
About the Author
 Christian Egami, 3D Artist


Super nice models!! One could also use scenes to make assembly parts. That way you wont need to open/close each time you need to edit. Though with the shortcut open/close is super easy ofcourse. Plus reusing is perhaps easier because you dont need to go inside a blend file if you want to relink to other files.
Thanks Rombout, for the comments,really appreciate it.
Hi I really like what I’m seeing, please how do I download blender 2.8 vasion, as 2.9 is not working on my computer please I need help
I want to download 2.8 vasion but it keep showing me 2.9 pls what should I do 2.9 is not working on my PC.
Hi Obasi, thanks for the comment. Try this link:https://download.blender.org/release/
Thanks
https://www.blender.org/download/previous-versions/
If you download steam you can download blender through steam and then go into betas and use an older build. I had to do this for an old laptop of mine and was hard to find a workaround. But this worked out really good