Behind the Scenes: Bedroom Arch Vis Animation

Hey! My name is Kristian and I currently live in Vienna. I started out doing 3D as a 3D generalist for a marketing agency in London and then went on to specialize in Arch-Vis. Now I co-own the website iMeshh.com.
I was mostly self-taught until I started working in a professional arch-vis studio. If you’re looking to learn from the best, you should absolutely try to work alongside those who have done it for many years. This can drastically speed up your learning!
[sponsor id=’qarnot’]
Inspiration
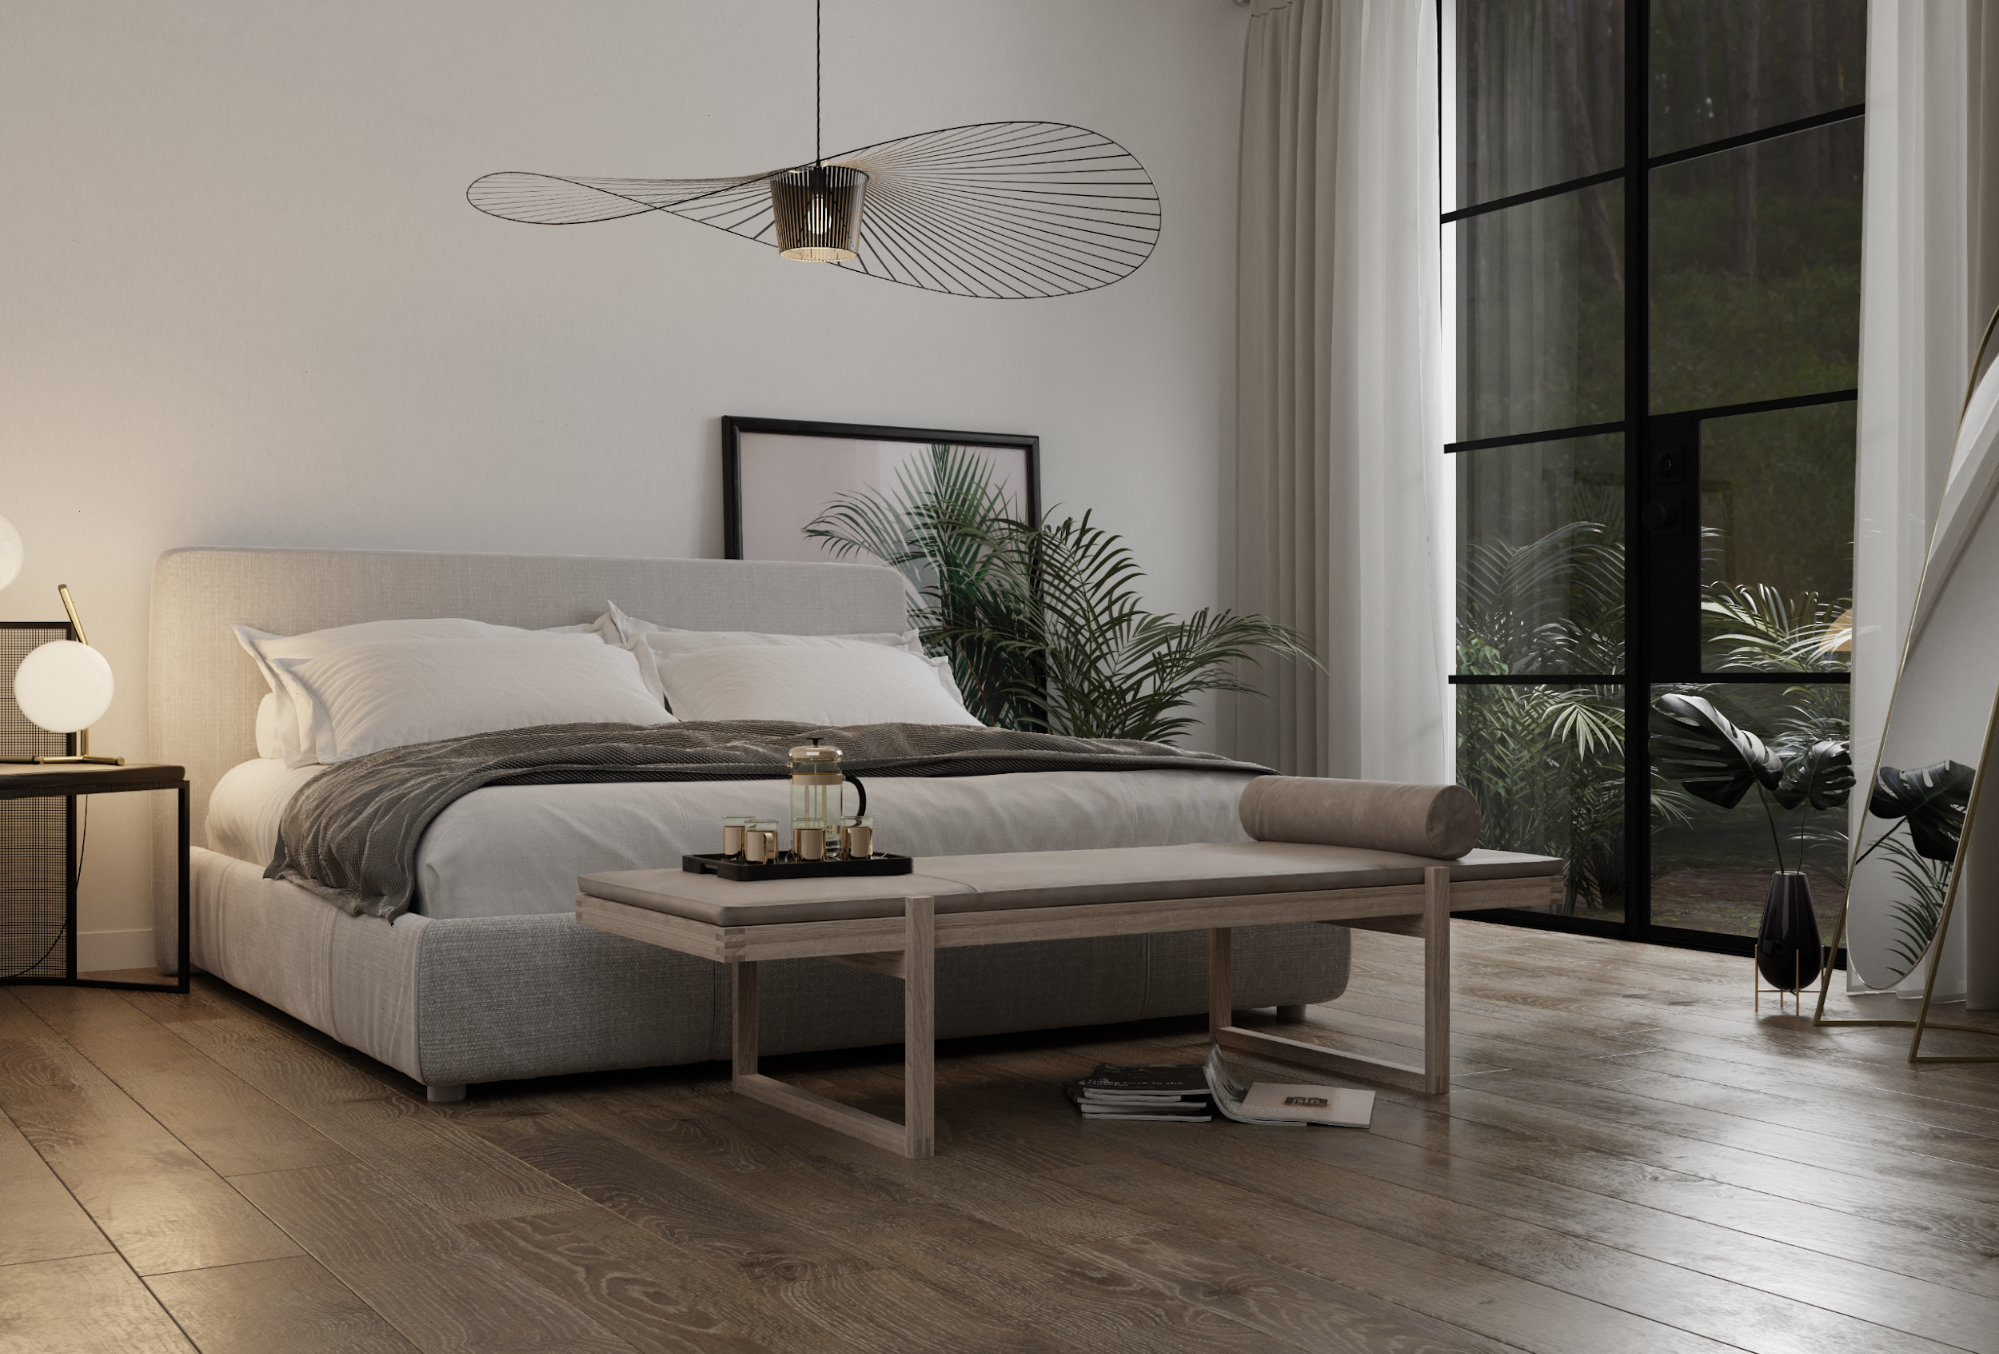
This particular scene was created to promote some new assets that we created for our store. Most of it was modeled by me, so, in this article, I’ll go over some techniques I used.
I wanted to create something a little bit different and I felt like a mystical “moonlit” scene could be cool.
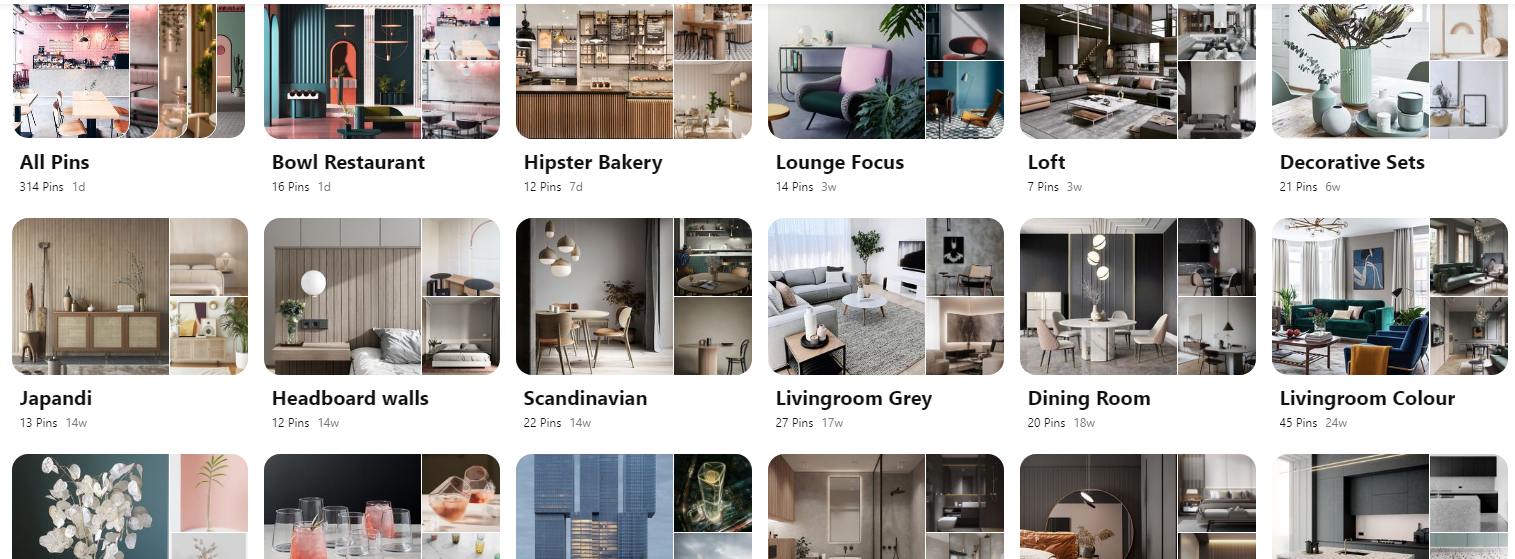
For inspiration, I looked on Pinterest and gathered several images I really liked. I use Pinterest for most things and if you’re not using references, then you are seriously missing out! Here are just a few of the boards that I’ve put together for projects.
Modeling
There are quite a few models in this scene, so I’ll breeze over some basic techniques for a few of them.
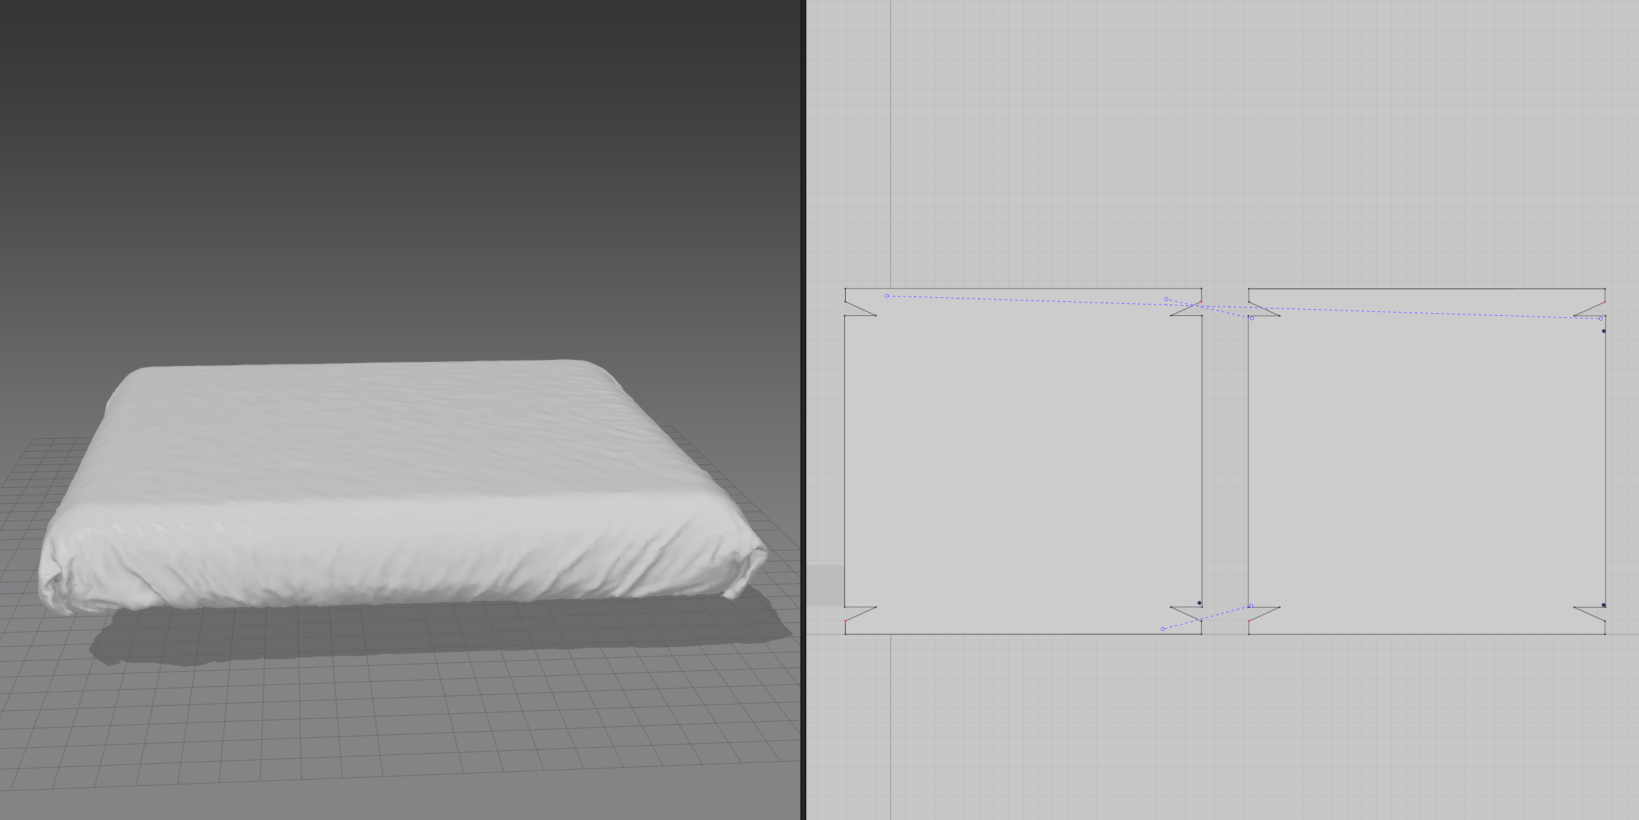
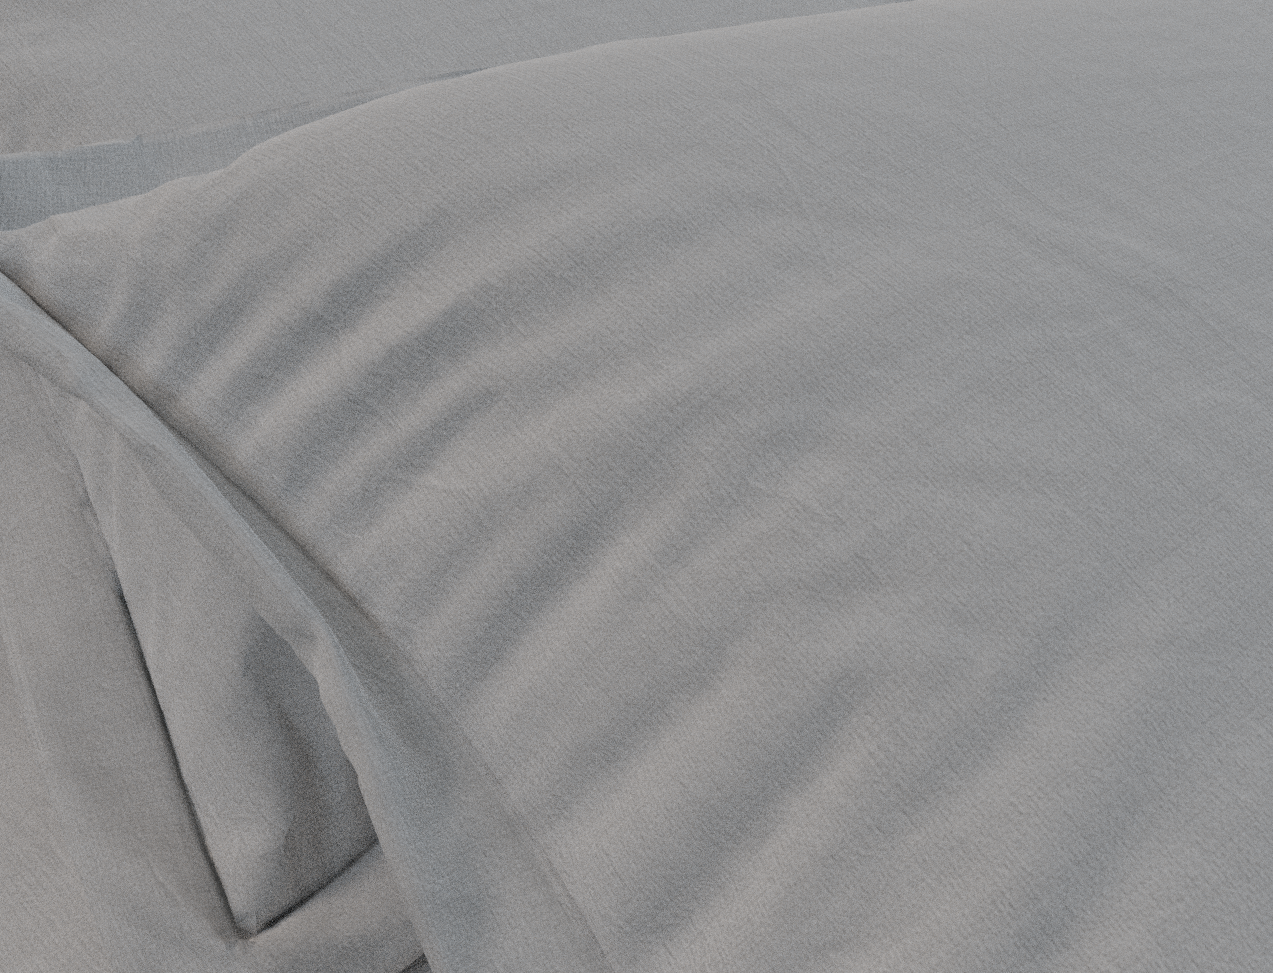
The bed
The bed was created in Marvelous Designer. The idea was to create the basic shape in Blender, and then use that as the base for the simulation.
Below, you can see the basic shape that was used. To create the folds, I created little tags at each end that I used to fold into the bit underneath.
There is no real science here—just pure practice learning how to deal with the simulation. For example: simulate, pause, add a pin, simulate, pause, add pressure, simulate, pause…and hopefully in the end you get a nice fabric!
As a tip, get the rough shape you need with a particle distance around 30/40 to make it fast, and then, just as it’s about to be finished, push it down to 7 or lower for more detail.
Once the bed is made, you can then create the blanket and cushions. The cushions are always my favorite to make! I think these particular cushions are my favorite so far out of all my iMeshh beds.
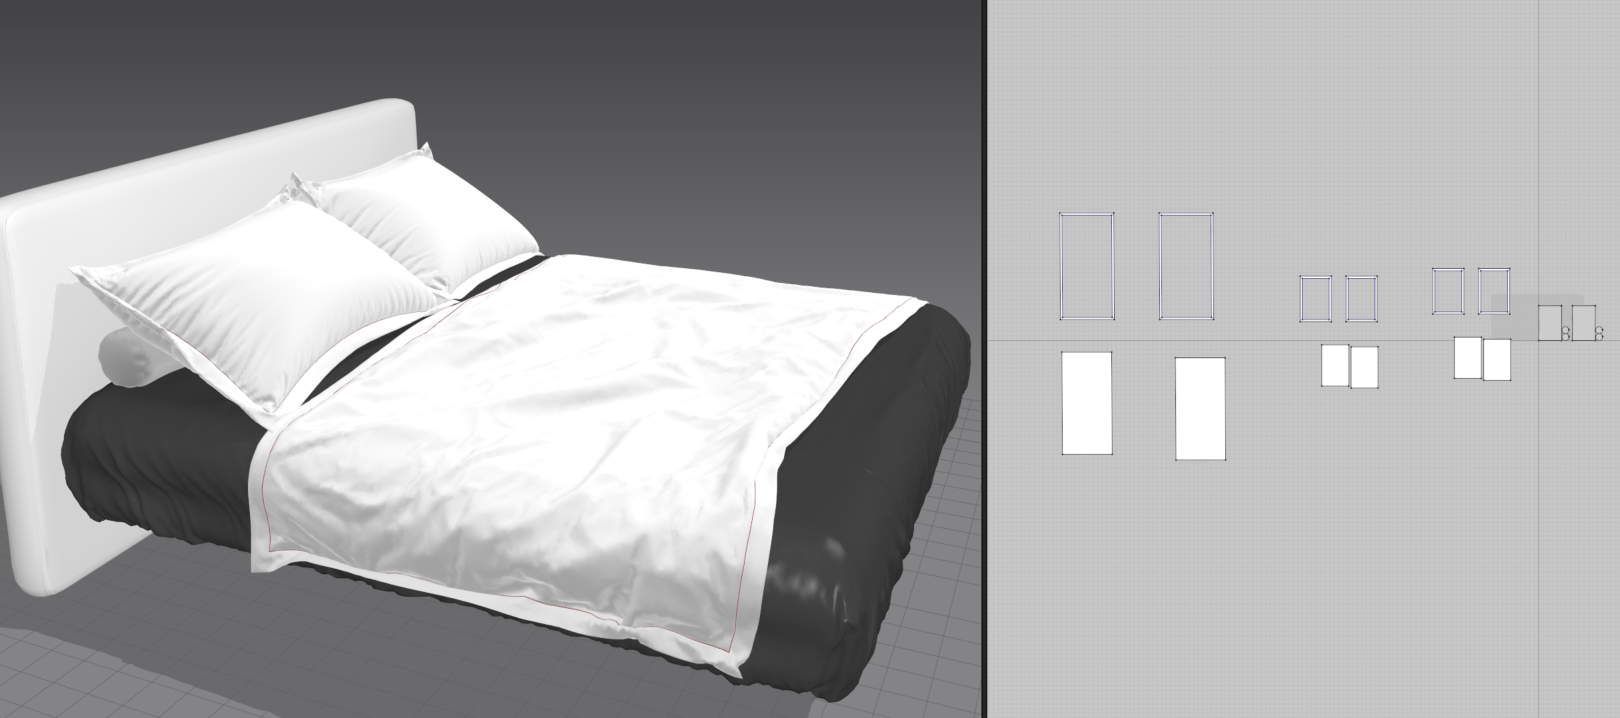
Finally, the white fabric has a normal map with creases built in for those micro details that you can’t get from simulations.
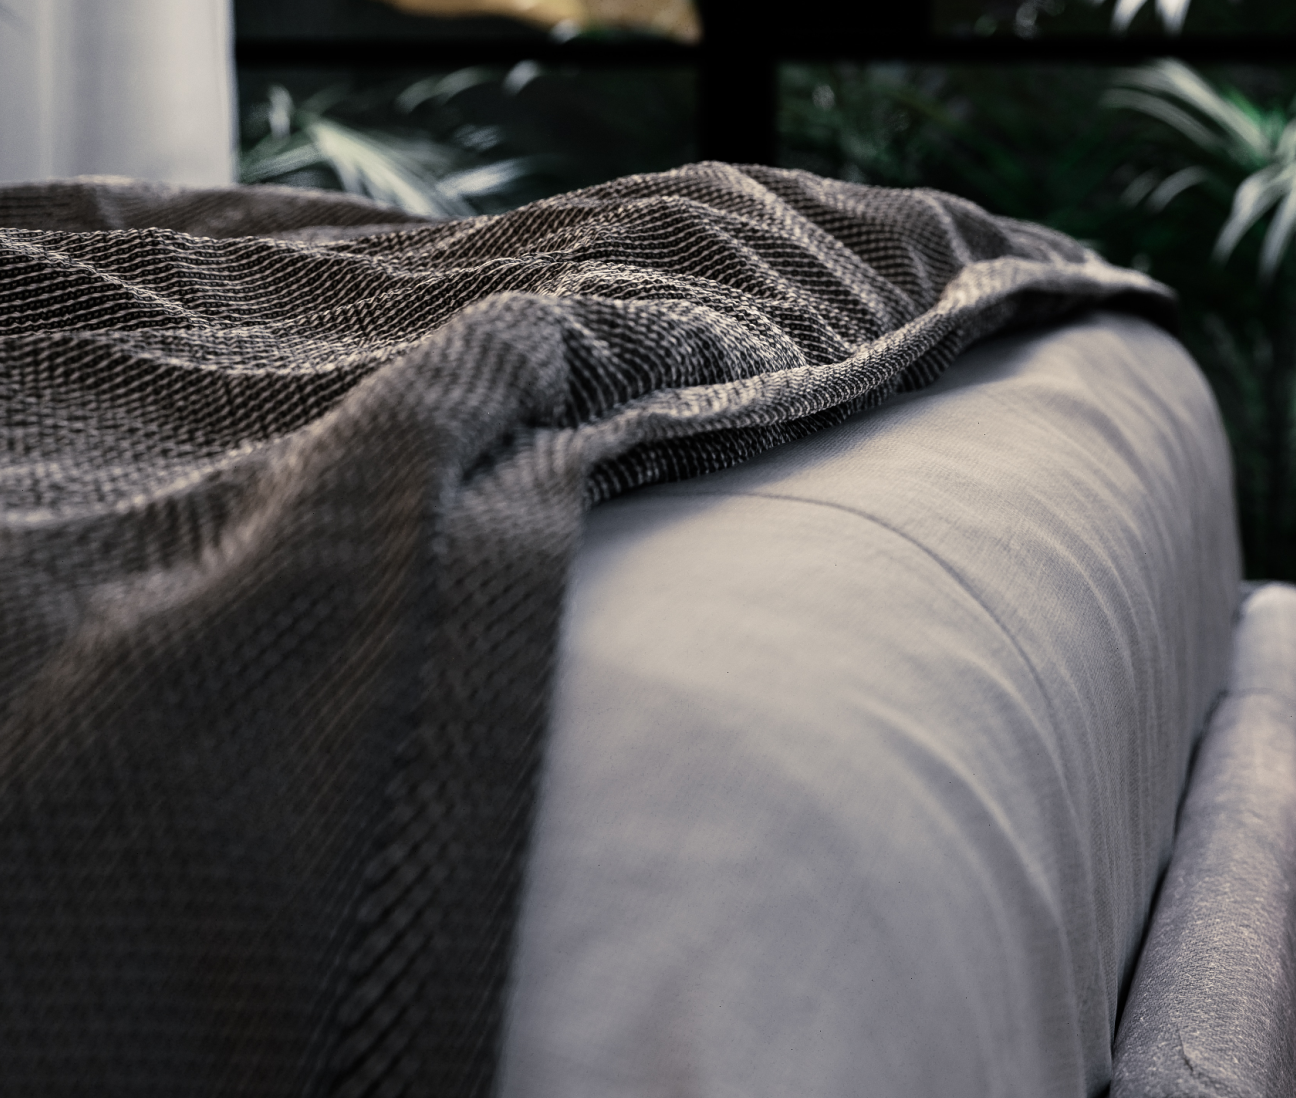
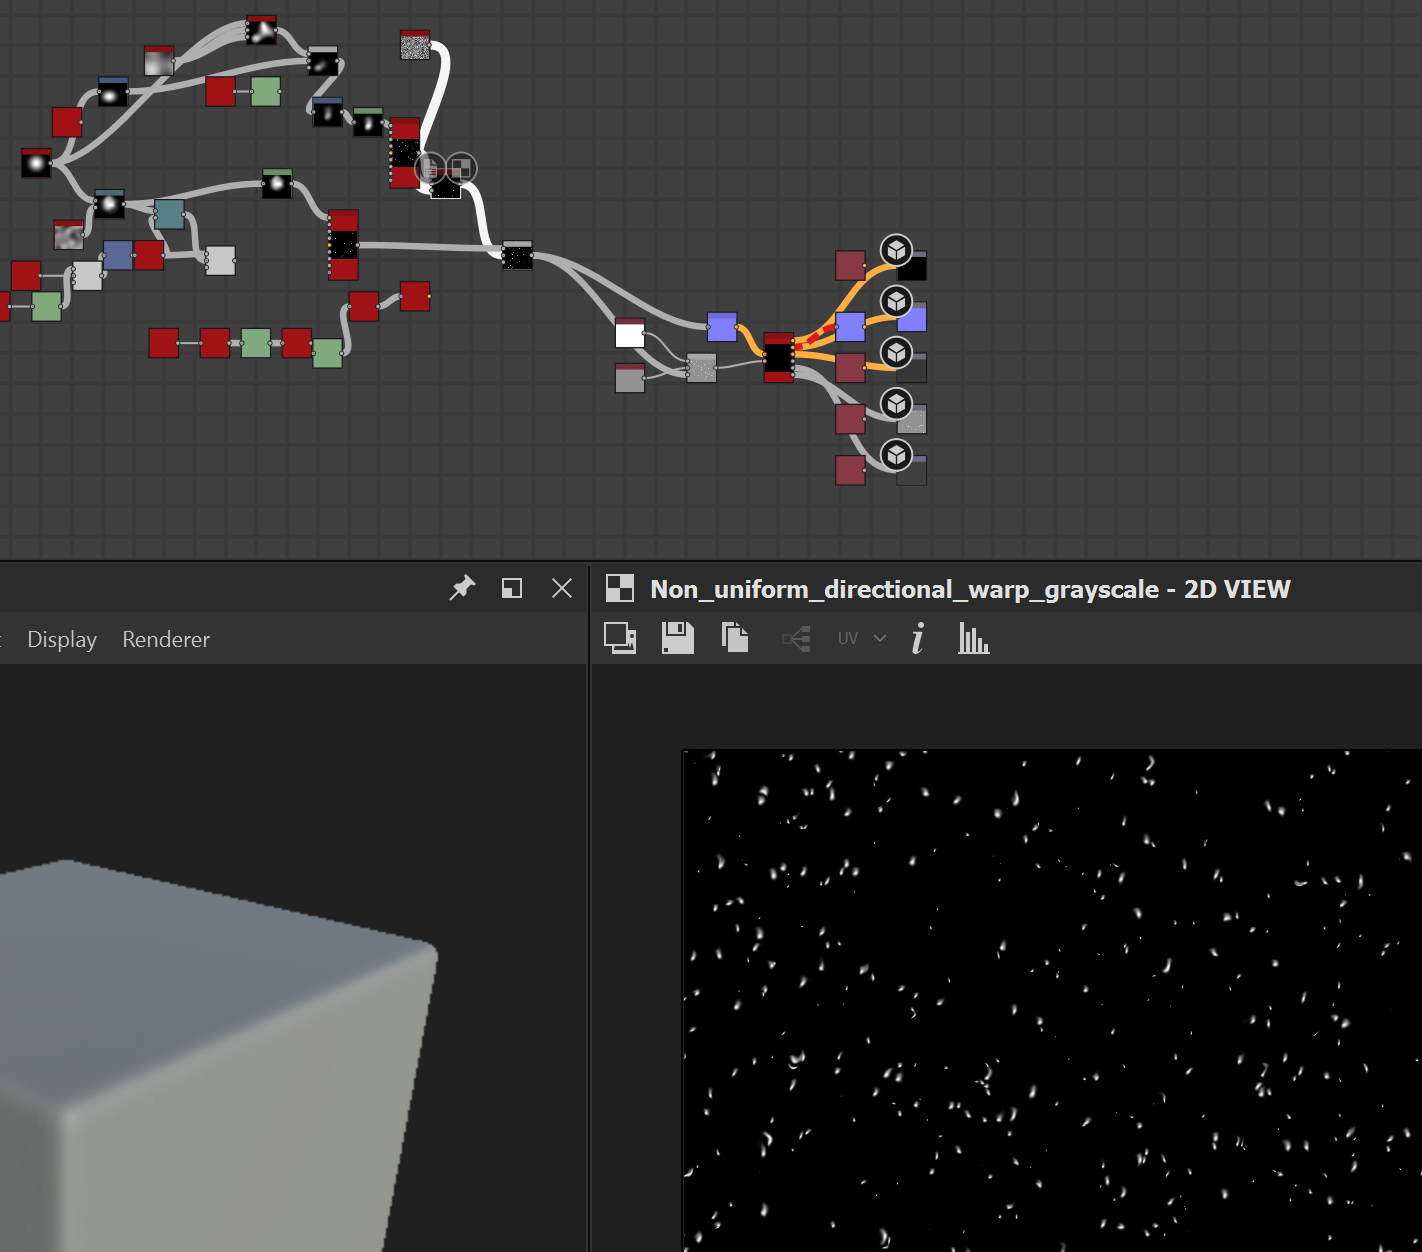
The original fabric on the bed was replaced with a new fabric I created in Substance Designer. I do like the original fabric (it’s red) but I wanted something whiter and I also wanted to see how well my new fabrics look in a real project.
I’m happy with how it turned out!
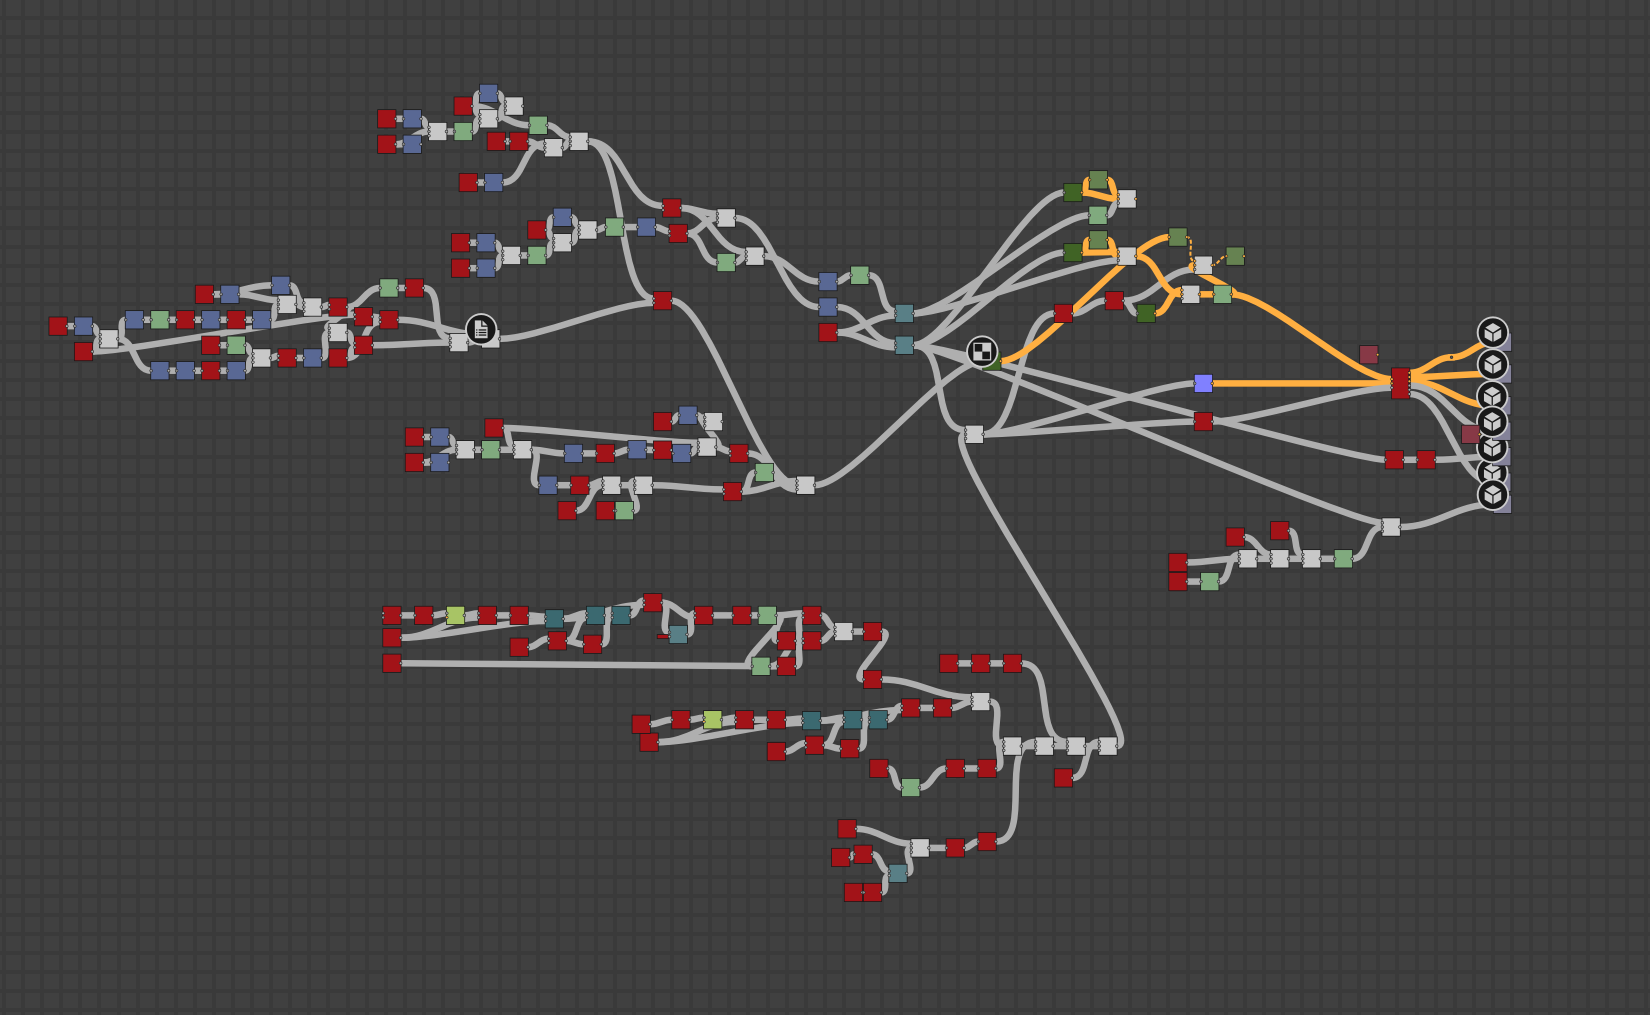
Here is the very disorganized Substance Designer file for the fabric.
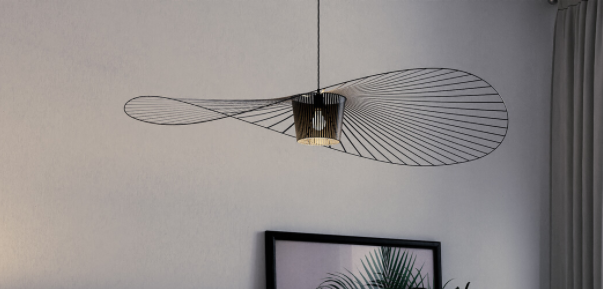
The lamp
This lamp is one of my all-time favorites. I had actually started out using a purchased model for this lamp, but the model was very low quality and, because it was my favorite lamp, I re-modeled it myself to represent the real lamp more closely. As an example, the real lamp has bands that wrap around the outside frame, but the original model just attached that outside frame, which was the easy and cheap route. Here is the comparison. :)
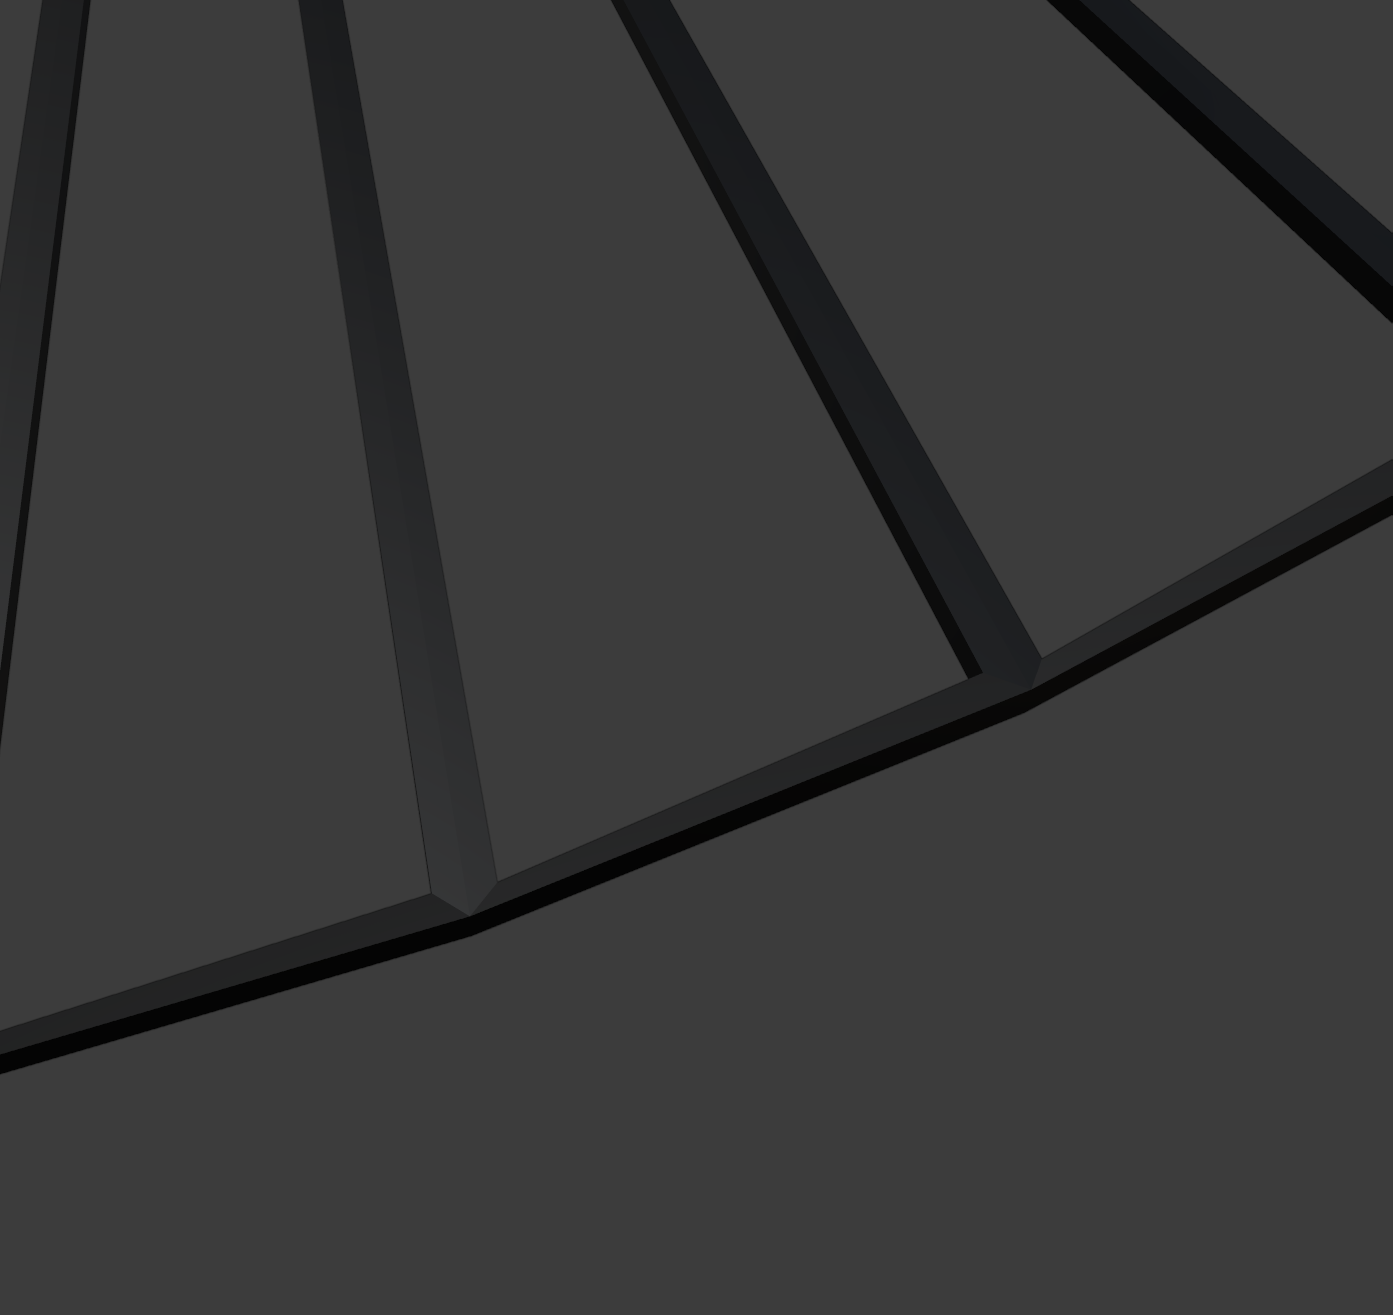
To model it, I just used a basic plane and extruded it, and then created the looping edge. I then duplicated this plane around a circle and pushed each end to the right position to create this “hat” look.
The day-bed
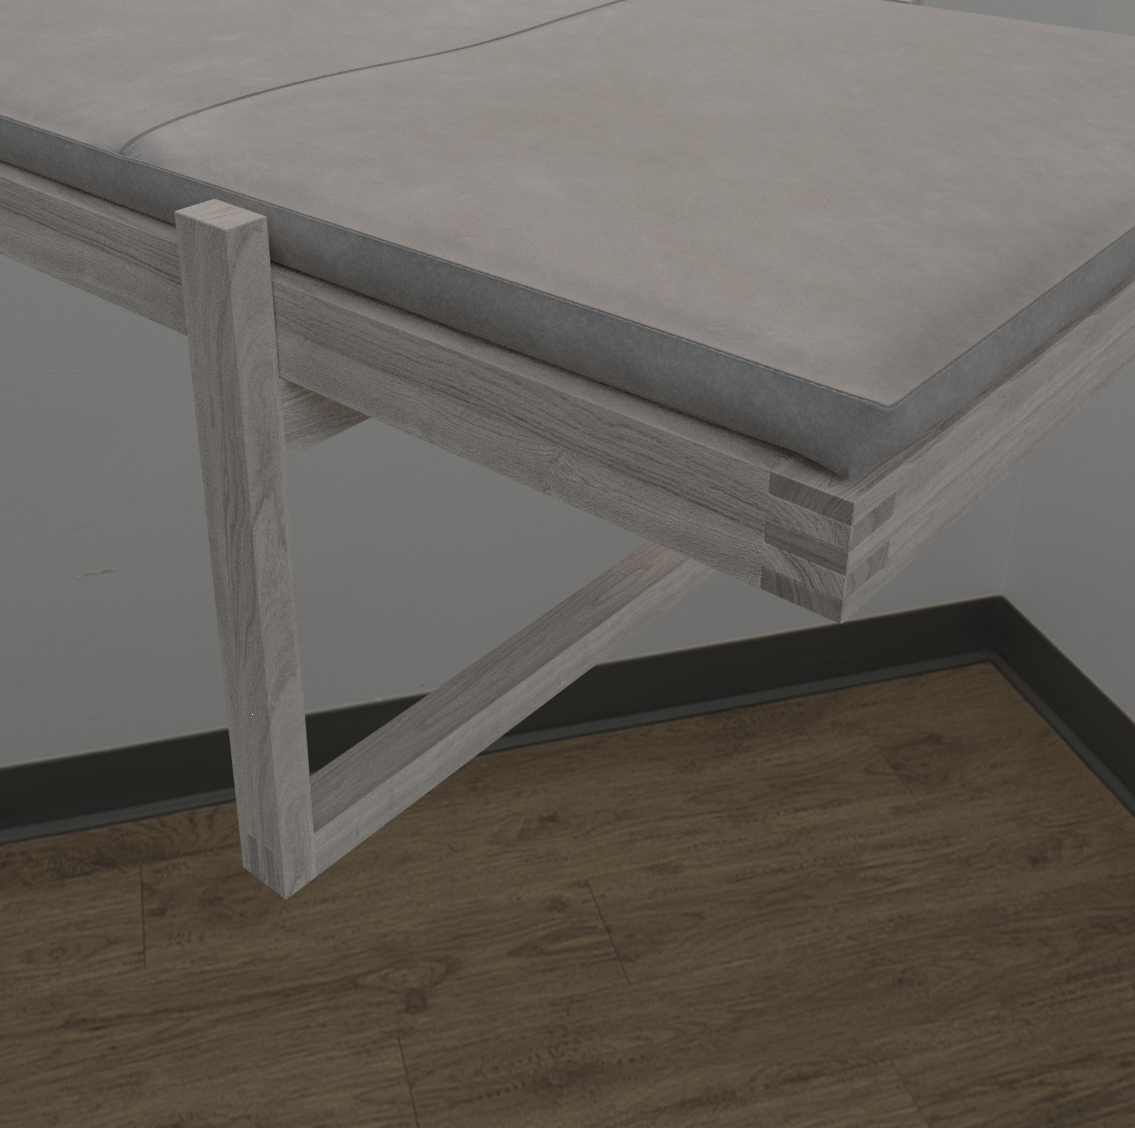
This piece of furniture didn’t use any crazy techniques and was mostly modeled in Blender. The round cushion was simulated in Marvelous Designer.
The ends of the wood were given a slightly darker wood shader to give the look of a slightly different wood grain. I don’t know why, but this is my favorite detail of the whole model.
I’ll leave modeling there otherwise I’ll be here all day. :P
Lighting
This scene used an HDRI from HDRI Haven—amazing work guys! The HDRI is not very bright and does not contribute much to the scene.
The rest of the illumination comes from a series of area lights.
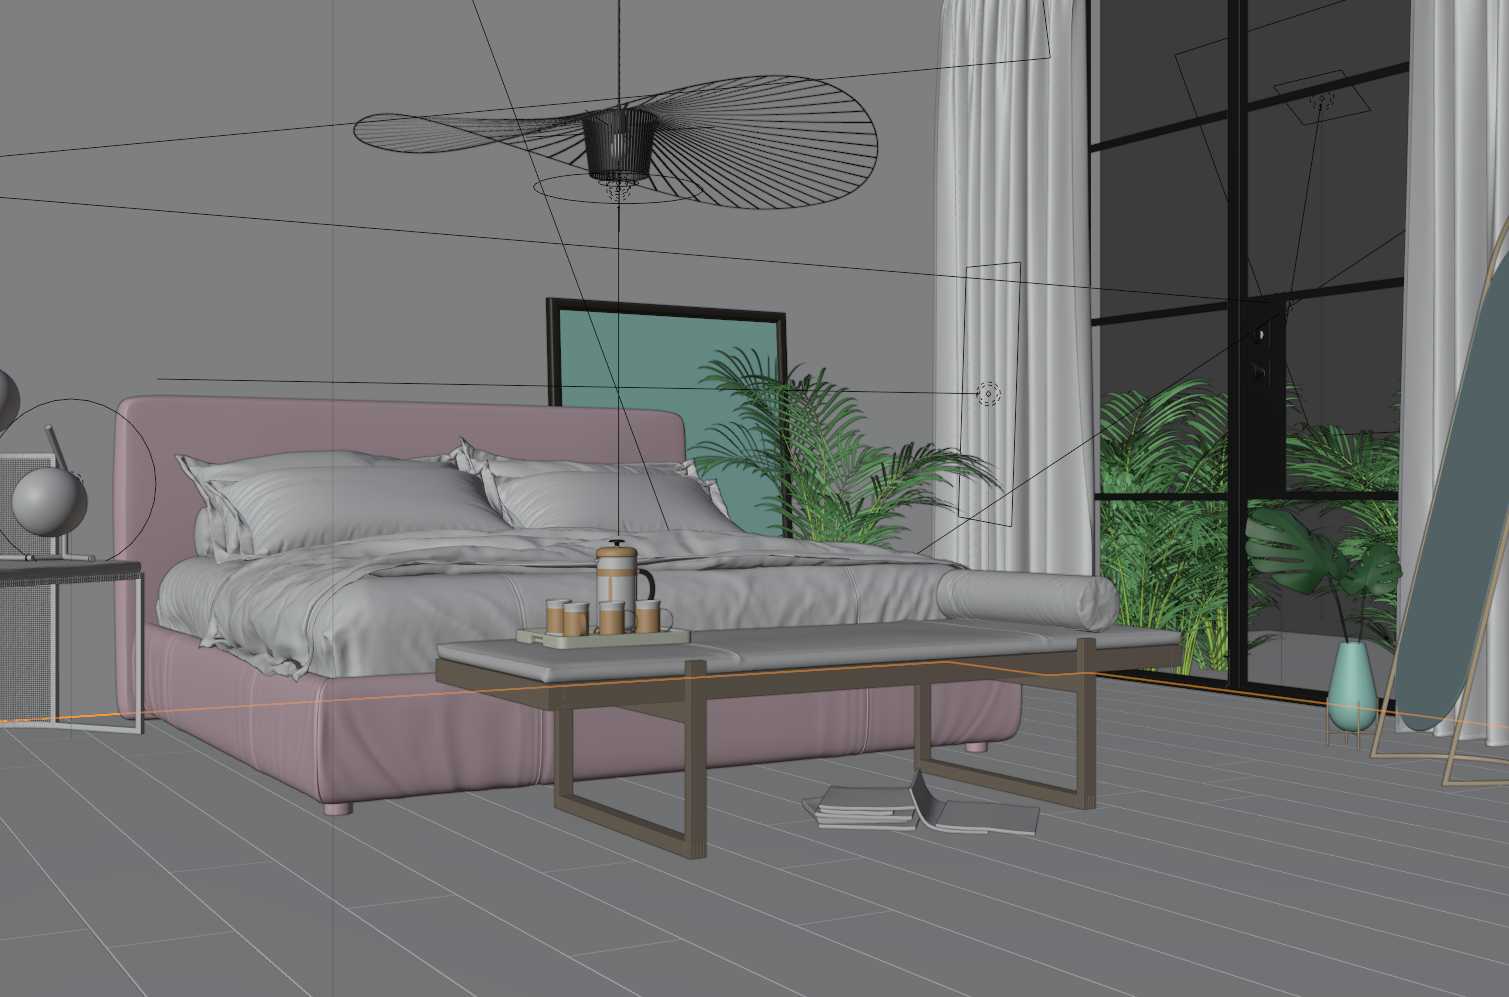
The image below is the scene with just area lights. Lights such as area lights and sun lights are the fastest and create the least noise. If you want to create an interior, I recommend just starting with an area light and slowly adding more to the scene where you need to.
Or go with an HDRI that is overcast.
**Note to Blender devs: please offer exclude/include objects from certain lights.
To list them out:
- A big fill light behind the camera to light this side of the bed, or it will be too dark
- A portal on the window
- An area light outside pointing 20 degrees down. This is to keep the light off the ceiling but keep it big enough to make a soft light. This light is the main light for the scene.
- A small area light outside facing down to create highlights on the plants (simulates a moonlight effect)
- A few point lights at the lamp locations. Don’t rely on emission shaders to light the scene. It will always be noisy. Just illuminate it enough so it looks good and then add a point light in its place to light the scene.
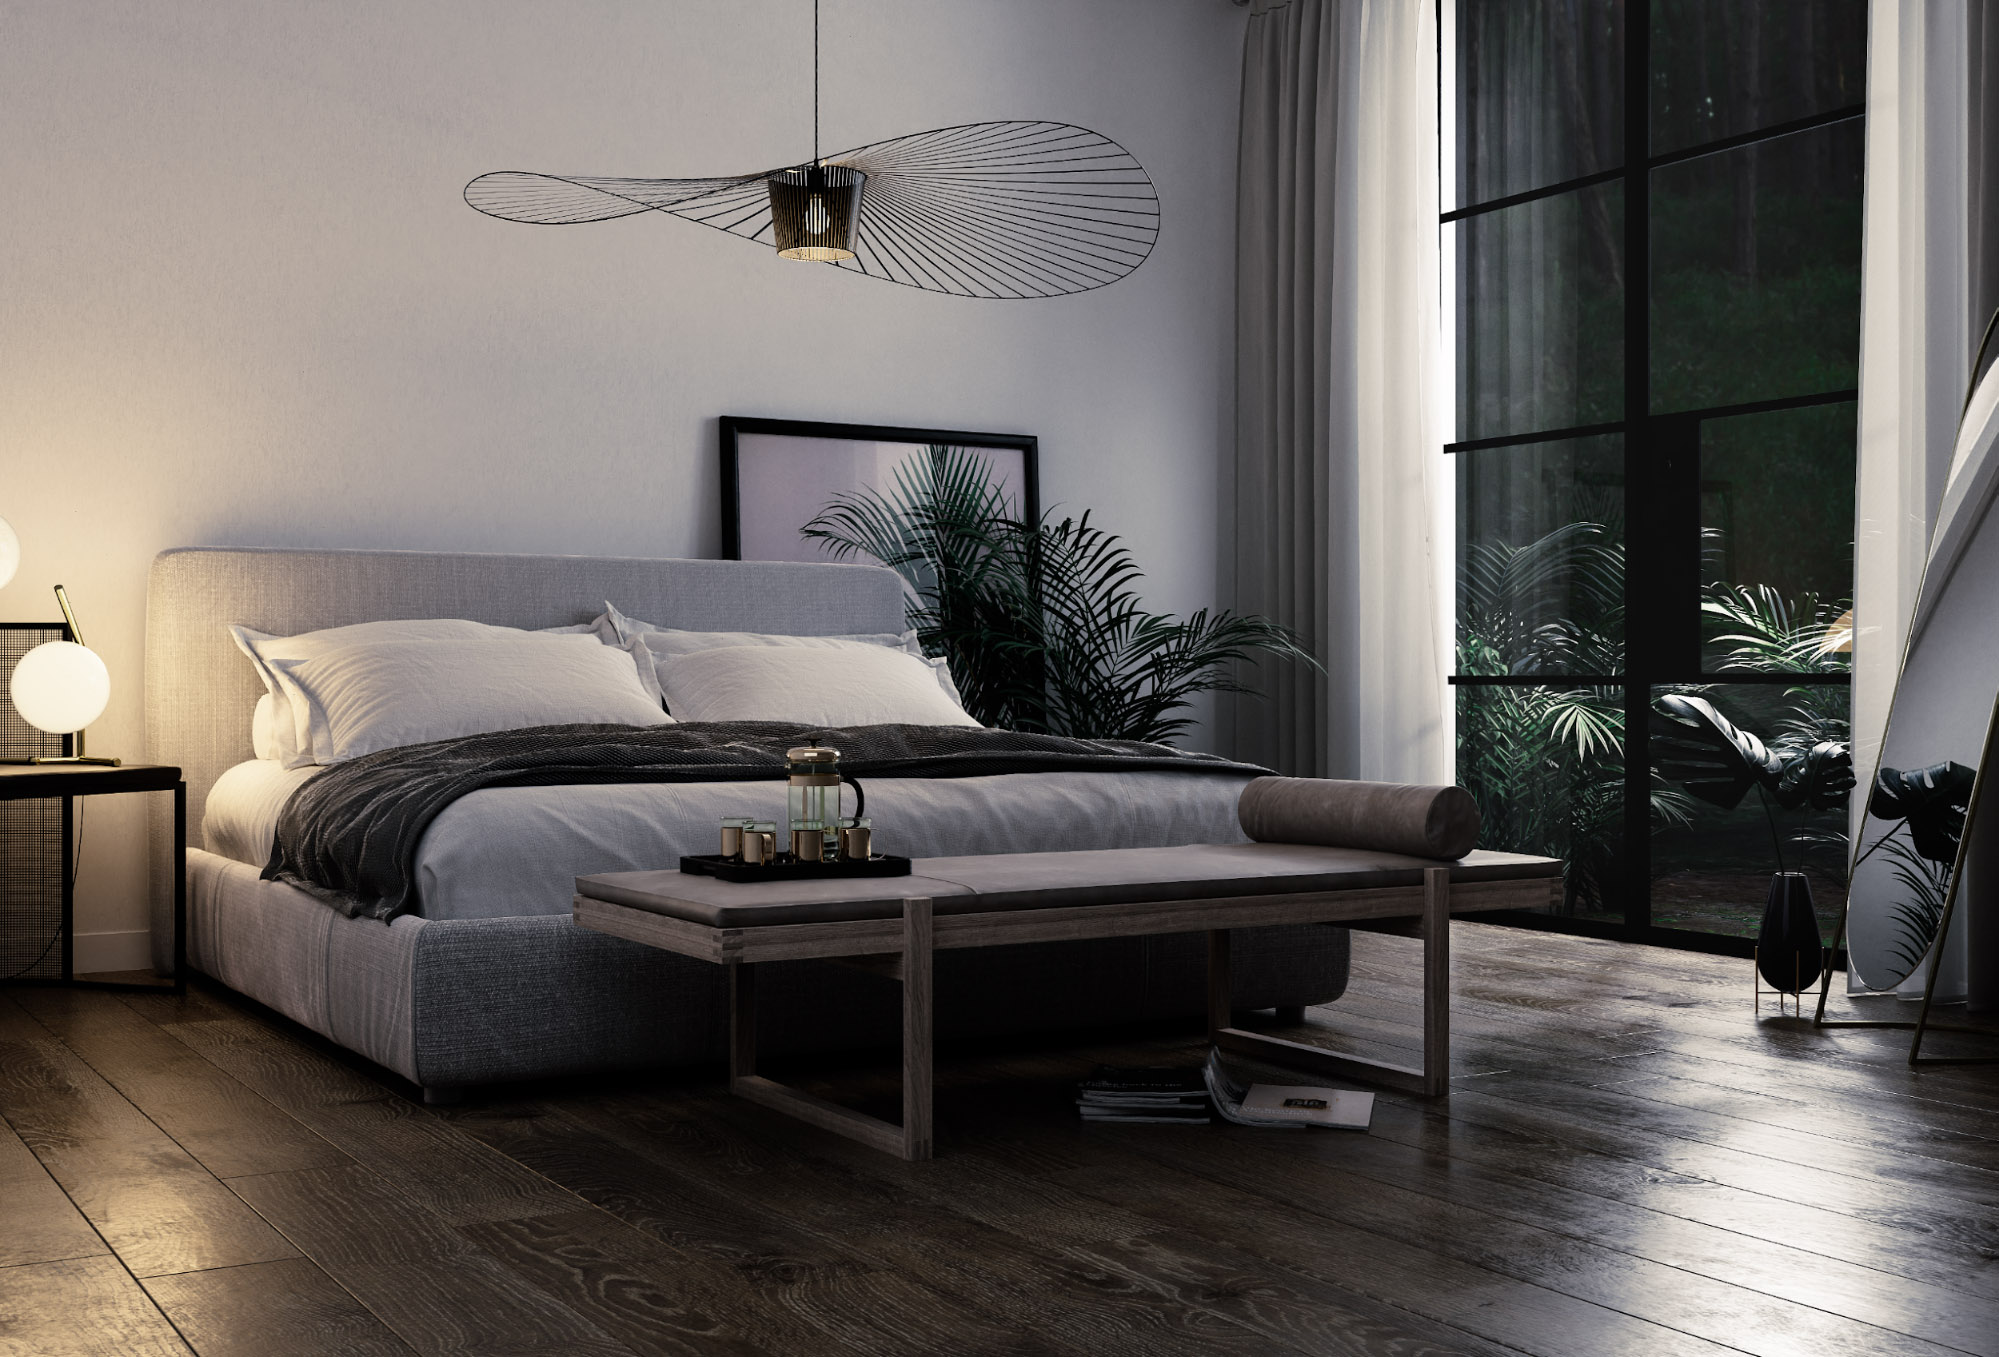
Cameras and Animation
The camera movements were meant to be slow and follow a simple path. Don’t try to overcomplicate camera movements or you end up distracting the viewer. And make sure the cameras don’t speed up and slow down, just one constant speed.
Each camera was bound to a particular frame. This means you can easily see the length of each shot, and see which camera is being used. This is an amazing feature.

Post-production
Post is often forgotten about, but it can easily push your renders to the next level.
Here I used Photoshop’s Camera Raw Filter, which allows you to adjust every aspect of the image, I guess much like Lightroom.
Here is a comparison between raw and edited.
I then copied the settings from the camera raw manually over to Premiere Pro to then allow it to be animated with the post-production.
If I were to do this again
I am missing something on the glass. I wanted to add water droplets but because I was putting this scene on iMeshh, every texture must be my own or CC0. So sadly, I have not yet found a water drop texture big enough to cover a large window without obvious tiling. I have started a Substance Designer project though. SO, I guess water drops are not far away. Here is a very small WIP.
Also, I think the floor looks a bit too glossy when the camera is closer to it. I’d probably reduce that. When looking at it from above it looks fine.
I think the framerate should be higher, I saved it at 25fps for speed, but next time I’ll try to go for at least 30. I feel there is too much of a stuttering effect in the final animation.
The mirror also comes with dust, which is built into the shader, but sadly we cannot see it in the animation. So I’ll probably try to boost that next time because I think it’s a nice detail.
Finally, I think some parts are just a little bit too dark. I love the contrast but in some areas, such as the Monstera leaf, it is a bit too dark for me.
Wrap up
I really love using Blender Cycles. Everyone’s always looking for “the most realistic” renderer. They may switch to Octane, LuxCore or others, but Cycles is a VERY capable renderer and I’ll be using it far more often going forwards.
This scene is actually available on iMeshh.com, if anyone was curious. :)
About the Author
 Kristian Hill, co-owner of iMeshh.com


Hey,
This artwork is awesome! I always searched how to make so good looking lampshade (next to bed in this case). It cause this nice warm feeling. So you mixed emission shader with glossy using Fresnel factor and add point lamp disabling visible of glossy and transmission to avoid glossy in windows?
Last time I tried to make it like this:
https://www.youtube.com/watch?v=aTpU-ESP3H8
But your version has much pleasant look.
Can you give me some advice hot to deal with milky glossy shade lamp?
Great modeling, lighting and rendering! Well done. The result is stunning!
PS:
+ **Note to Blender devs: please offer exclude/include objects from certain lights.
– Yes, please!