Behind the Scenes: Dresser Project Room

My name is Tomas Marcevicius. I am a self-taught retoucher, active in the field for the last decade. Now and then I came across projects that needed 3D rendering but I had neither the skills nor the hardware to meet the necessary 3D modeling requirements. Later on, I found Blender and, by the end of 2019, I had built my new PC. As I gained more skills I began to model my own furniture. The idea was to slowly build up my own asset library of furniture for future visualization projects.
I came across this particular dresser when I was searching for a piece of furniture for my next 3D project. At the time, it appeared quite simple yet elegant and distinct to my taste. Funnily enough, a Google search brought me to Etsy. I even contacted the buyer to ask about the materials she used when restoring it. The dresser is called “Gray and Wood Mid Century Dresser”.
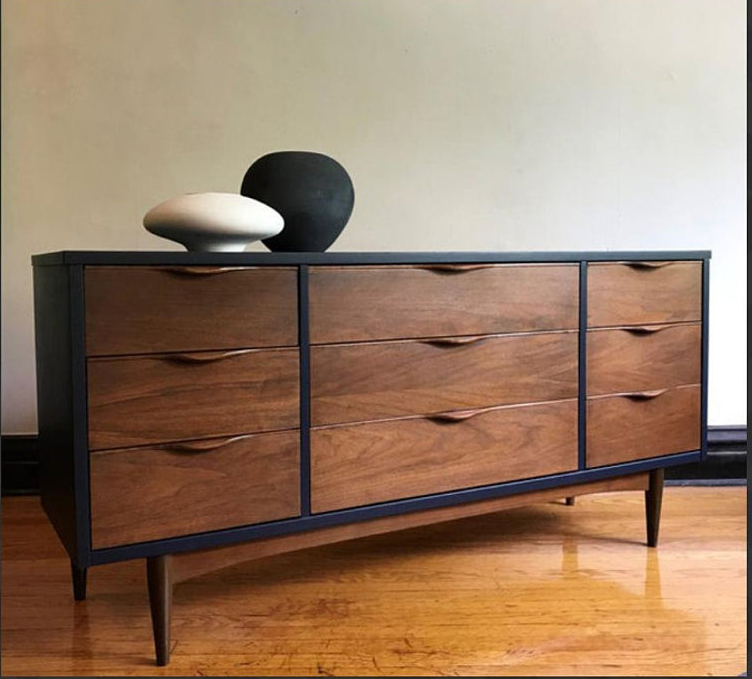
I used just a few textures while strictly adhering to the original measurements to maintain the correct scale. Soon after completing the dresser, I realized that by itself it would look somewhat like a piece from a catalog, so I decided to create a suitable small scene for it.
[sponsor id=’qarnot’]
Modeling
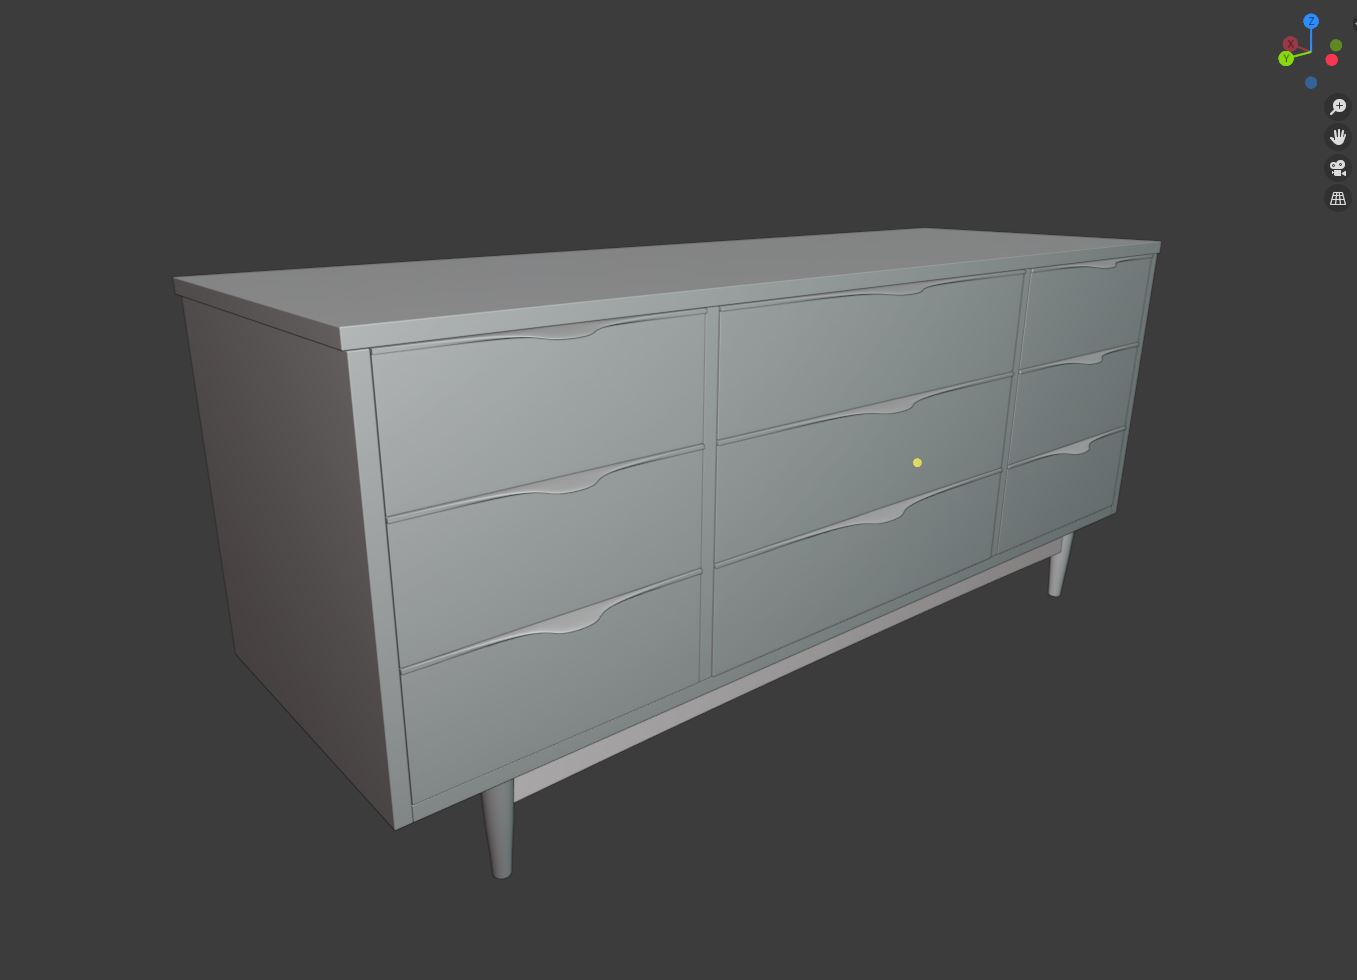
To begin with, I dismantled the original piece of furniture into many parts that provided me with flexible ways of swiftly and efficiently toggling on and off when required and assigning textures. Just like most models, this dresser was made from a basic cube form, further shaping it down to make different volumetric shapes. Only the legs were constructed using cylinders. There was always a reference image next to me either in Photoshop or dragged into Blender directly.
Texturing
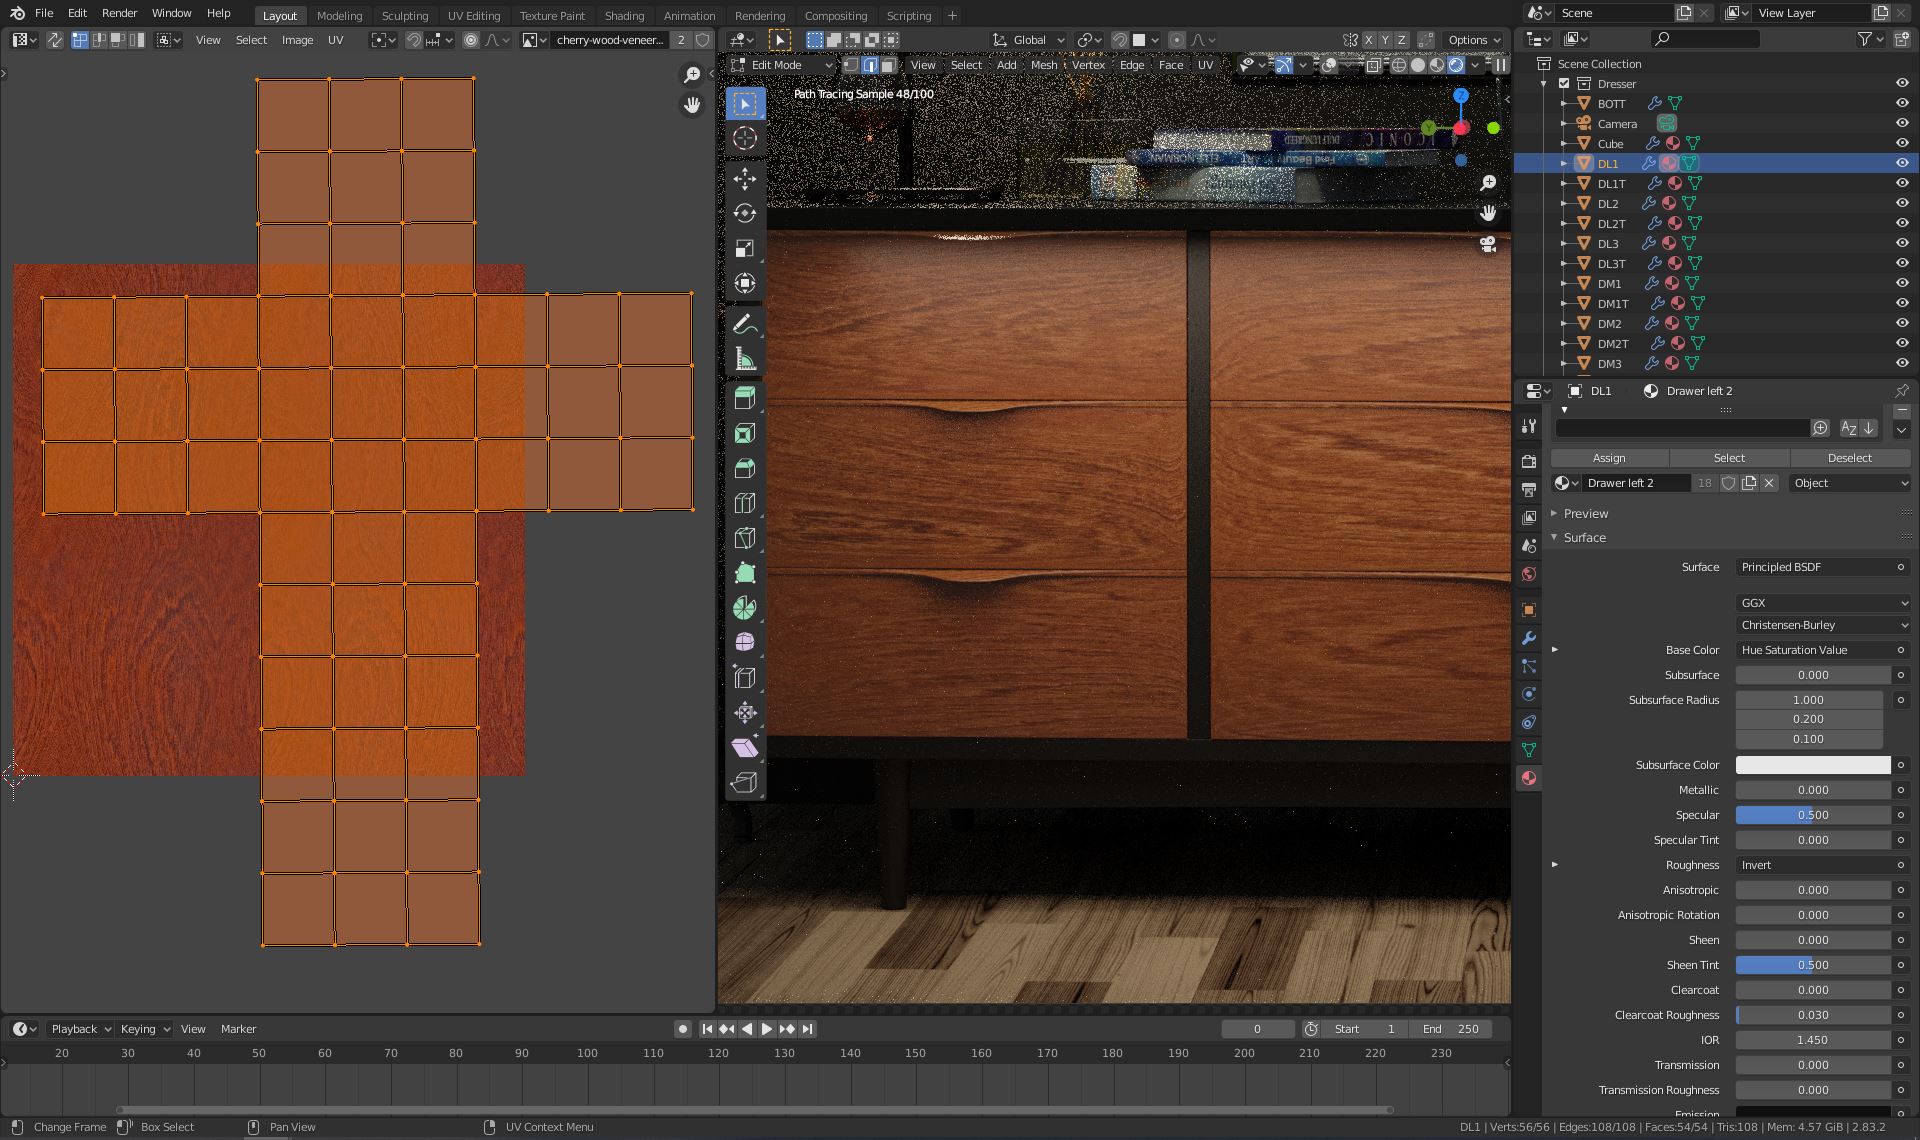
When the dresser was finally modeled it was time to apply textures. For this purpose, I chose prominent cherry wood. It is not exactly the wood I was looking for but it was close enough to make it work, in my opinion. To be honest, I used the same texture image for all the drawers, just randomized it for each different part using the UV Editor. Simple and effective. Again the same texture (cherry wood) was used for other wooden parts like legs, dresser housing, and supporting parts. Looking back at making the drawers, I spent most of my time making sure that the UV unwrapping was correct. Seams had to be made here and there to accommodate all parts of the dresser.

The next logical step was to create the floor, walls, bring in accessories, and find the right light balance. The floor was made using the Poliigon wood floor generator, which, I have to say, is an amazing tool for the price. I must mention, you can’t use it as an add-on in Blender—instead, you generate using the Substance program (free to run) and then export all necessary maps. Nevertheless, it’s still quite an easy way to create a wood floor. Floor color and intensity was further improved with the help of nodes.

For the wall, I used plaster and concrete textures, mixing them together to get the right feel. I wanted to add some roughness and surface variation to the wall.

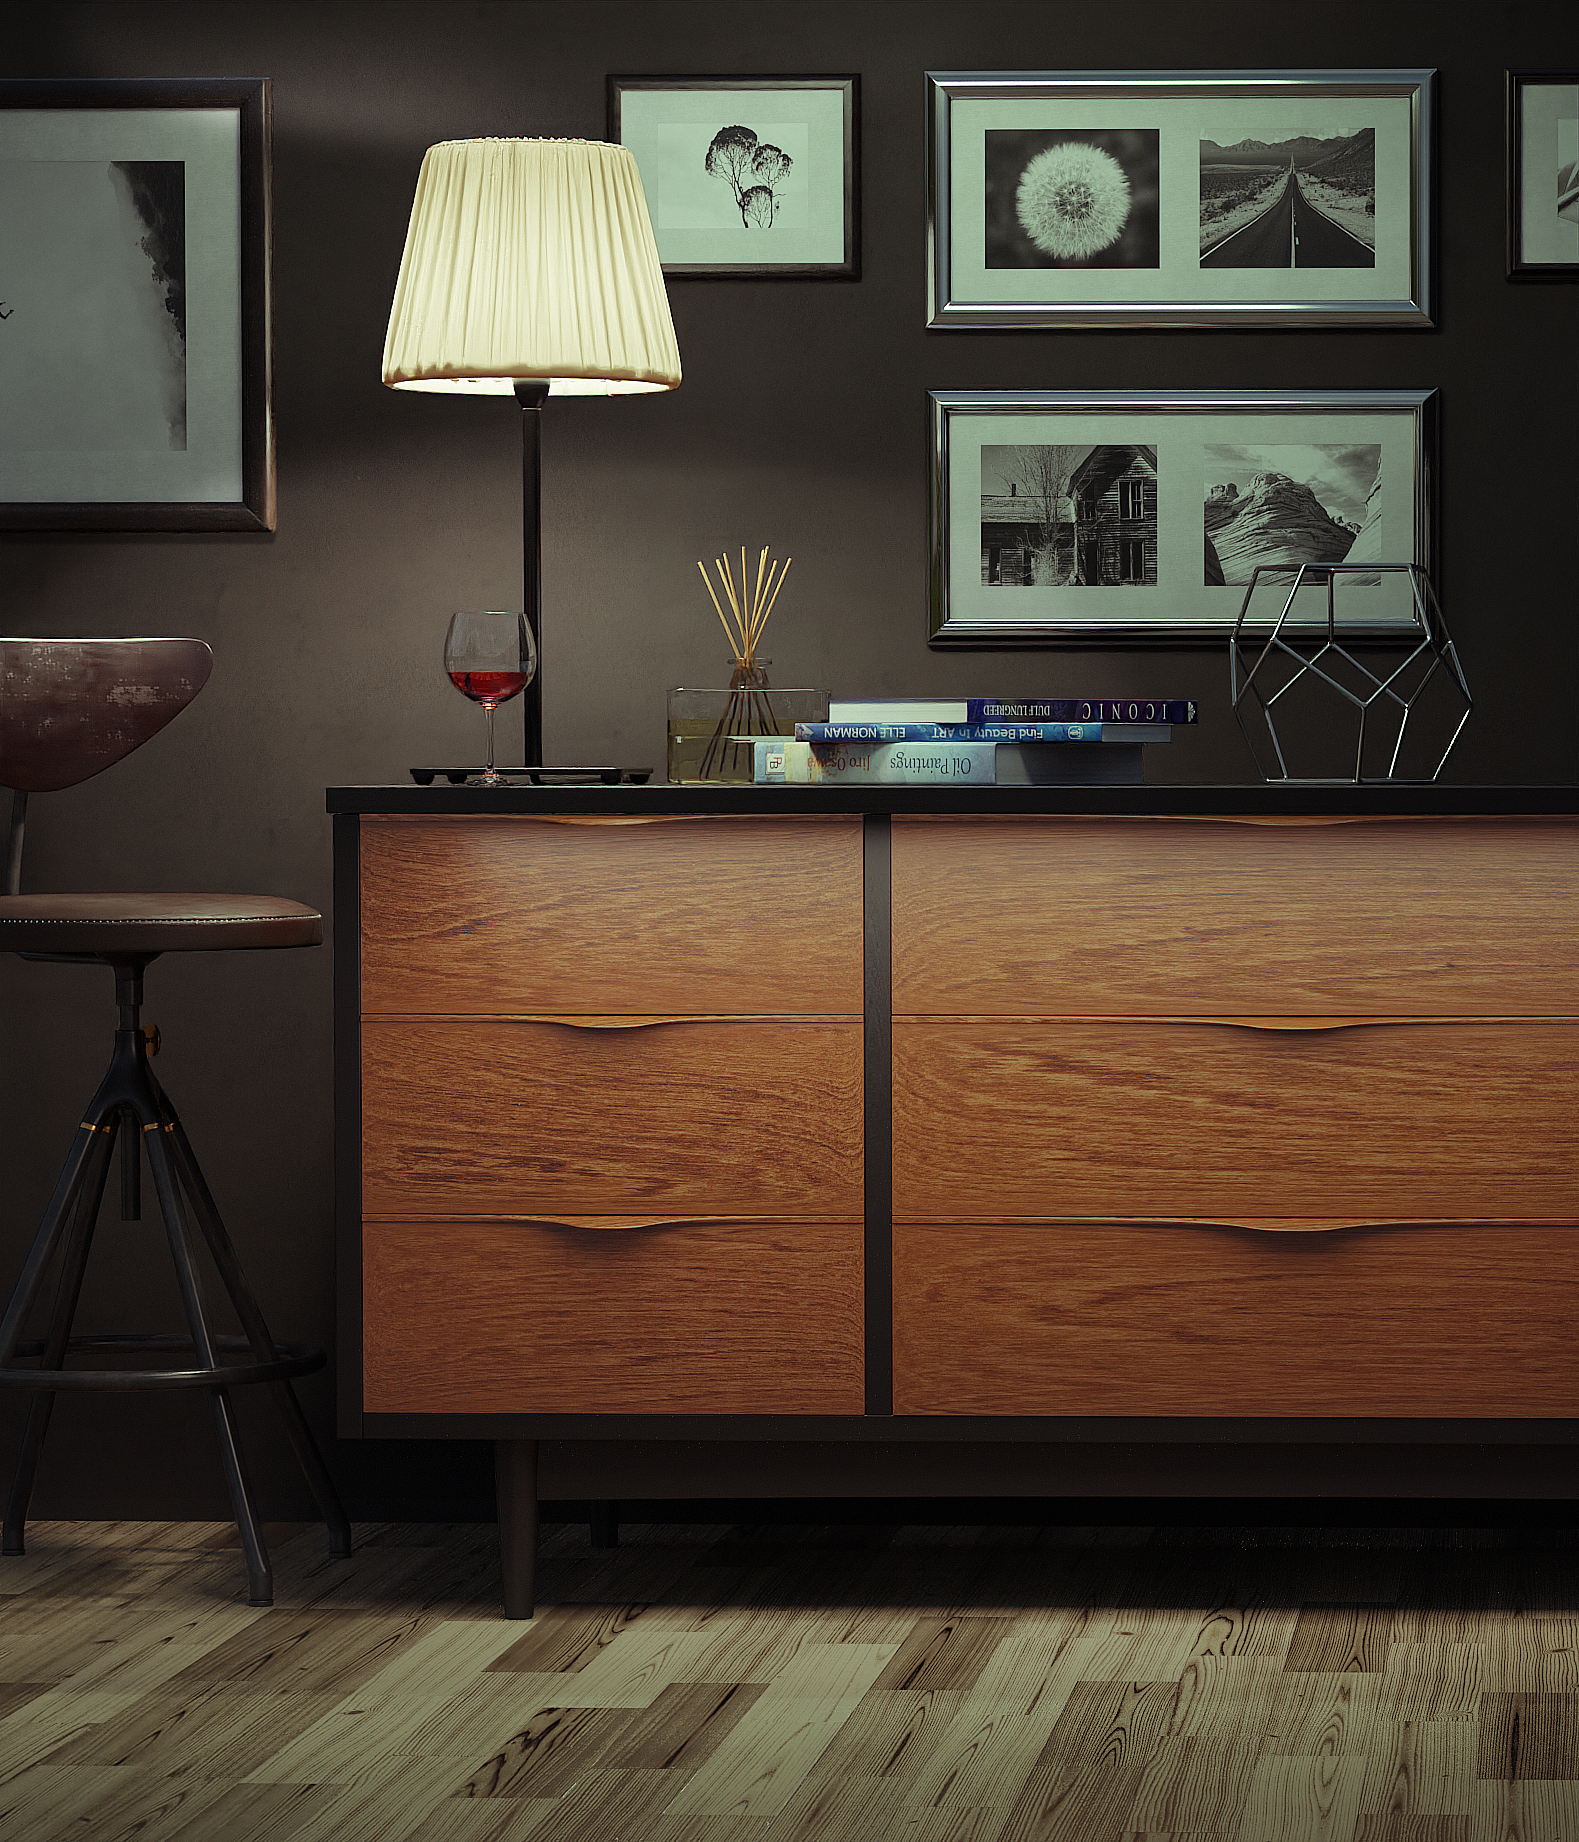
When I had the basic room structure ready and in place to accommodate the dresser, I began to hang different photo frames, added a bar chair, a side table lamp, and eventually a few light sources, including several area lights, the side table lamp, and, of course, an HDRI.
Lighting
Fine-tuning the light took a little while as I am not very proficient with Blender. Nevertheless, I managed to achieve the desired lighting effect using both an HDRI environment light and artificial light sources.


I spiced up the scene by adding a few randomly piled-up books, some geometrically shaped accessories, and a glass of wine. This place finally looked like it had become somewhat inhabited by humans, so I decided to call it a day. Finally, when all was set up and finished, I took the image to Photoshop and added a color filter. After that, it was done.
About the Author
 Tomas Marcevicius, Full-time retoucher. Currently studying 3D modeling and visualization.


