
Behind the Scenes: Diner
My name is Dennis Halbeck, I work and live in Bavaria, Germany.
In this article I would like to explain to you what my workflow looks like. When it comes to modeling and texturing, I don’t go into too much detail. At the end there is also a timelapse video for another project that shows the whole process.
Let’s get started!
[sponsor id=’qarnot’]
Preparation and inspiration
At the beginning, I thought about what I would like to have as a result: a still or an animation or something else.
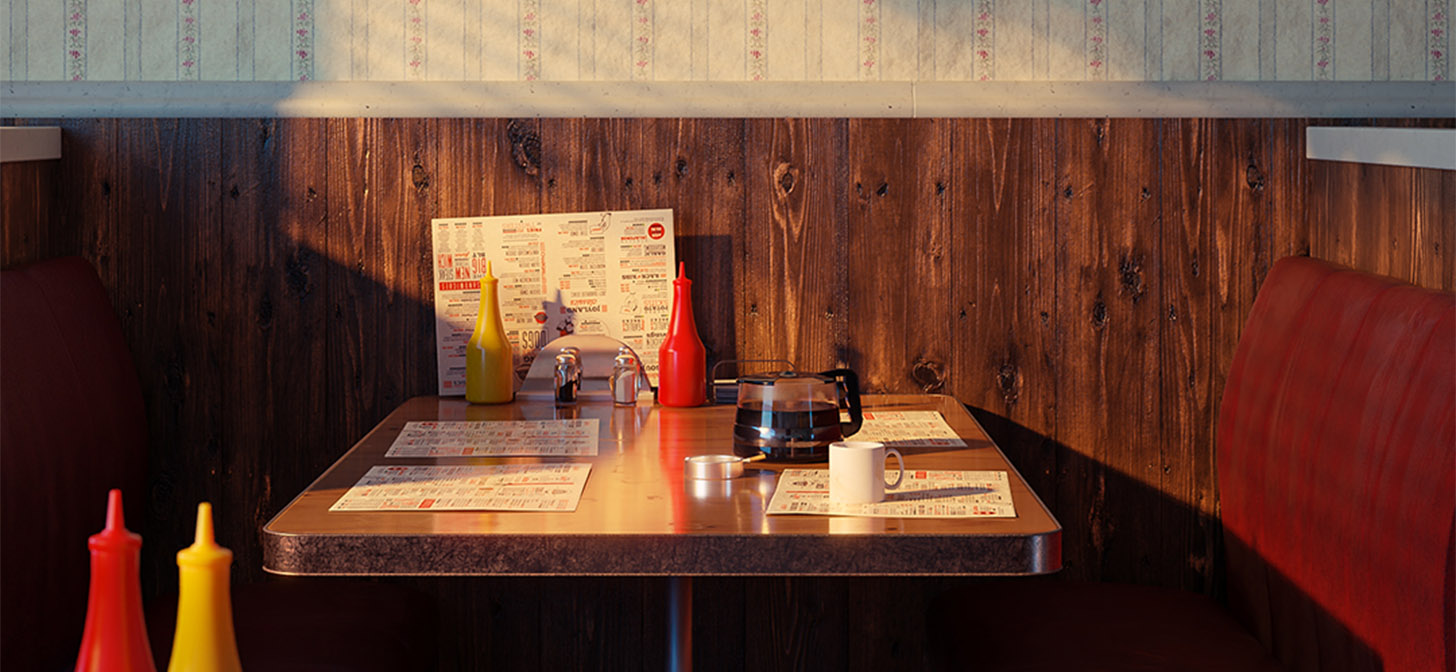
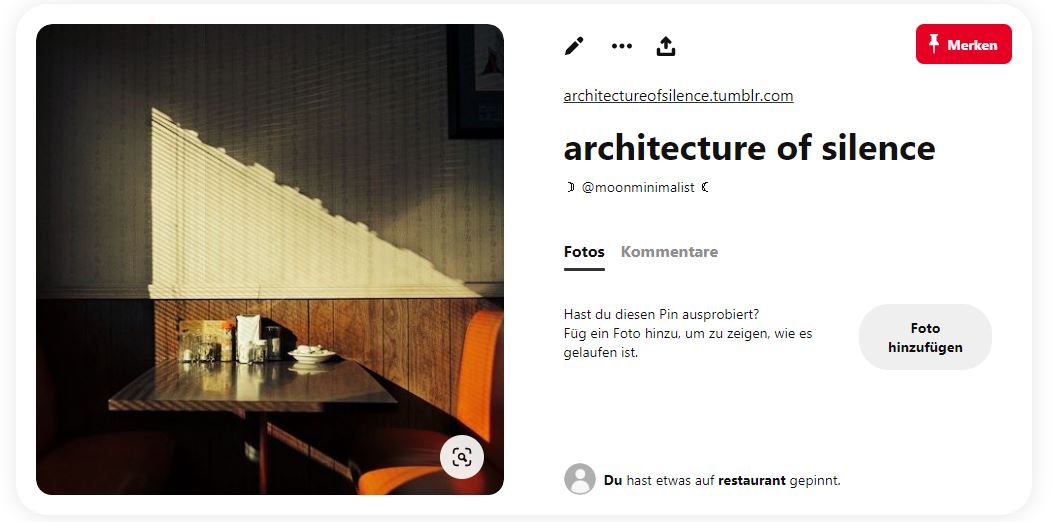
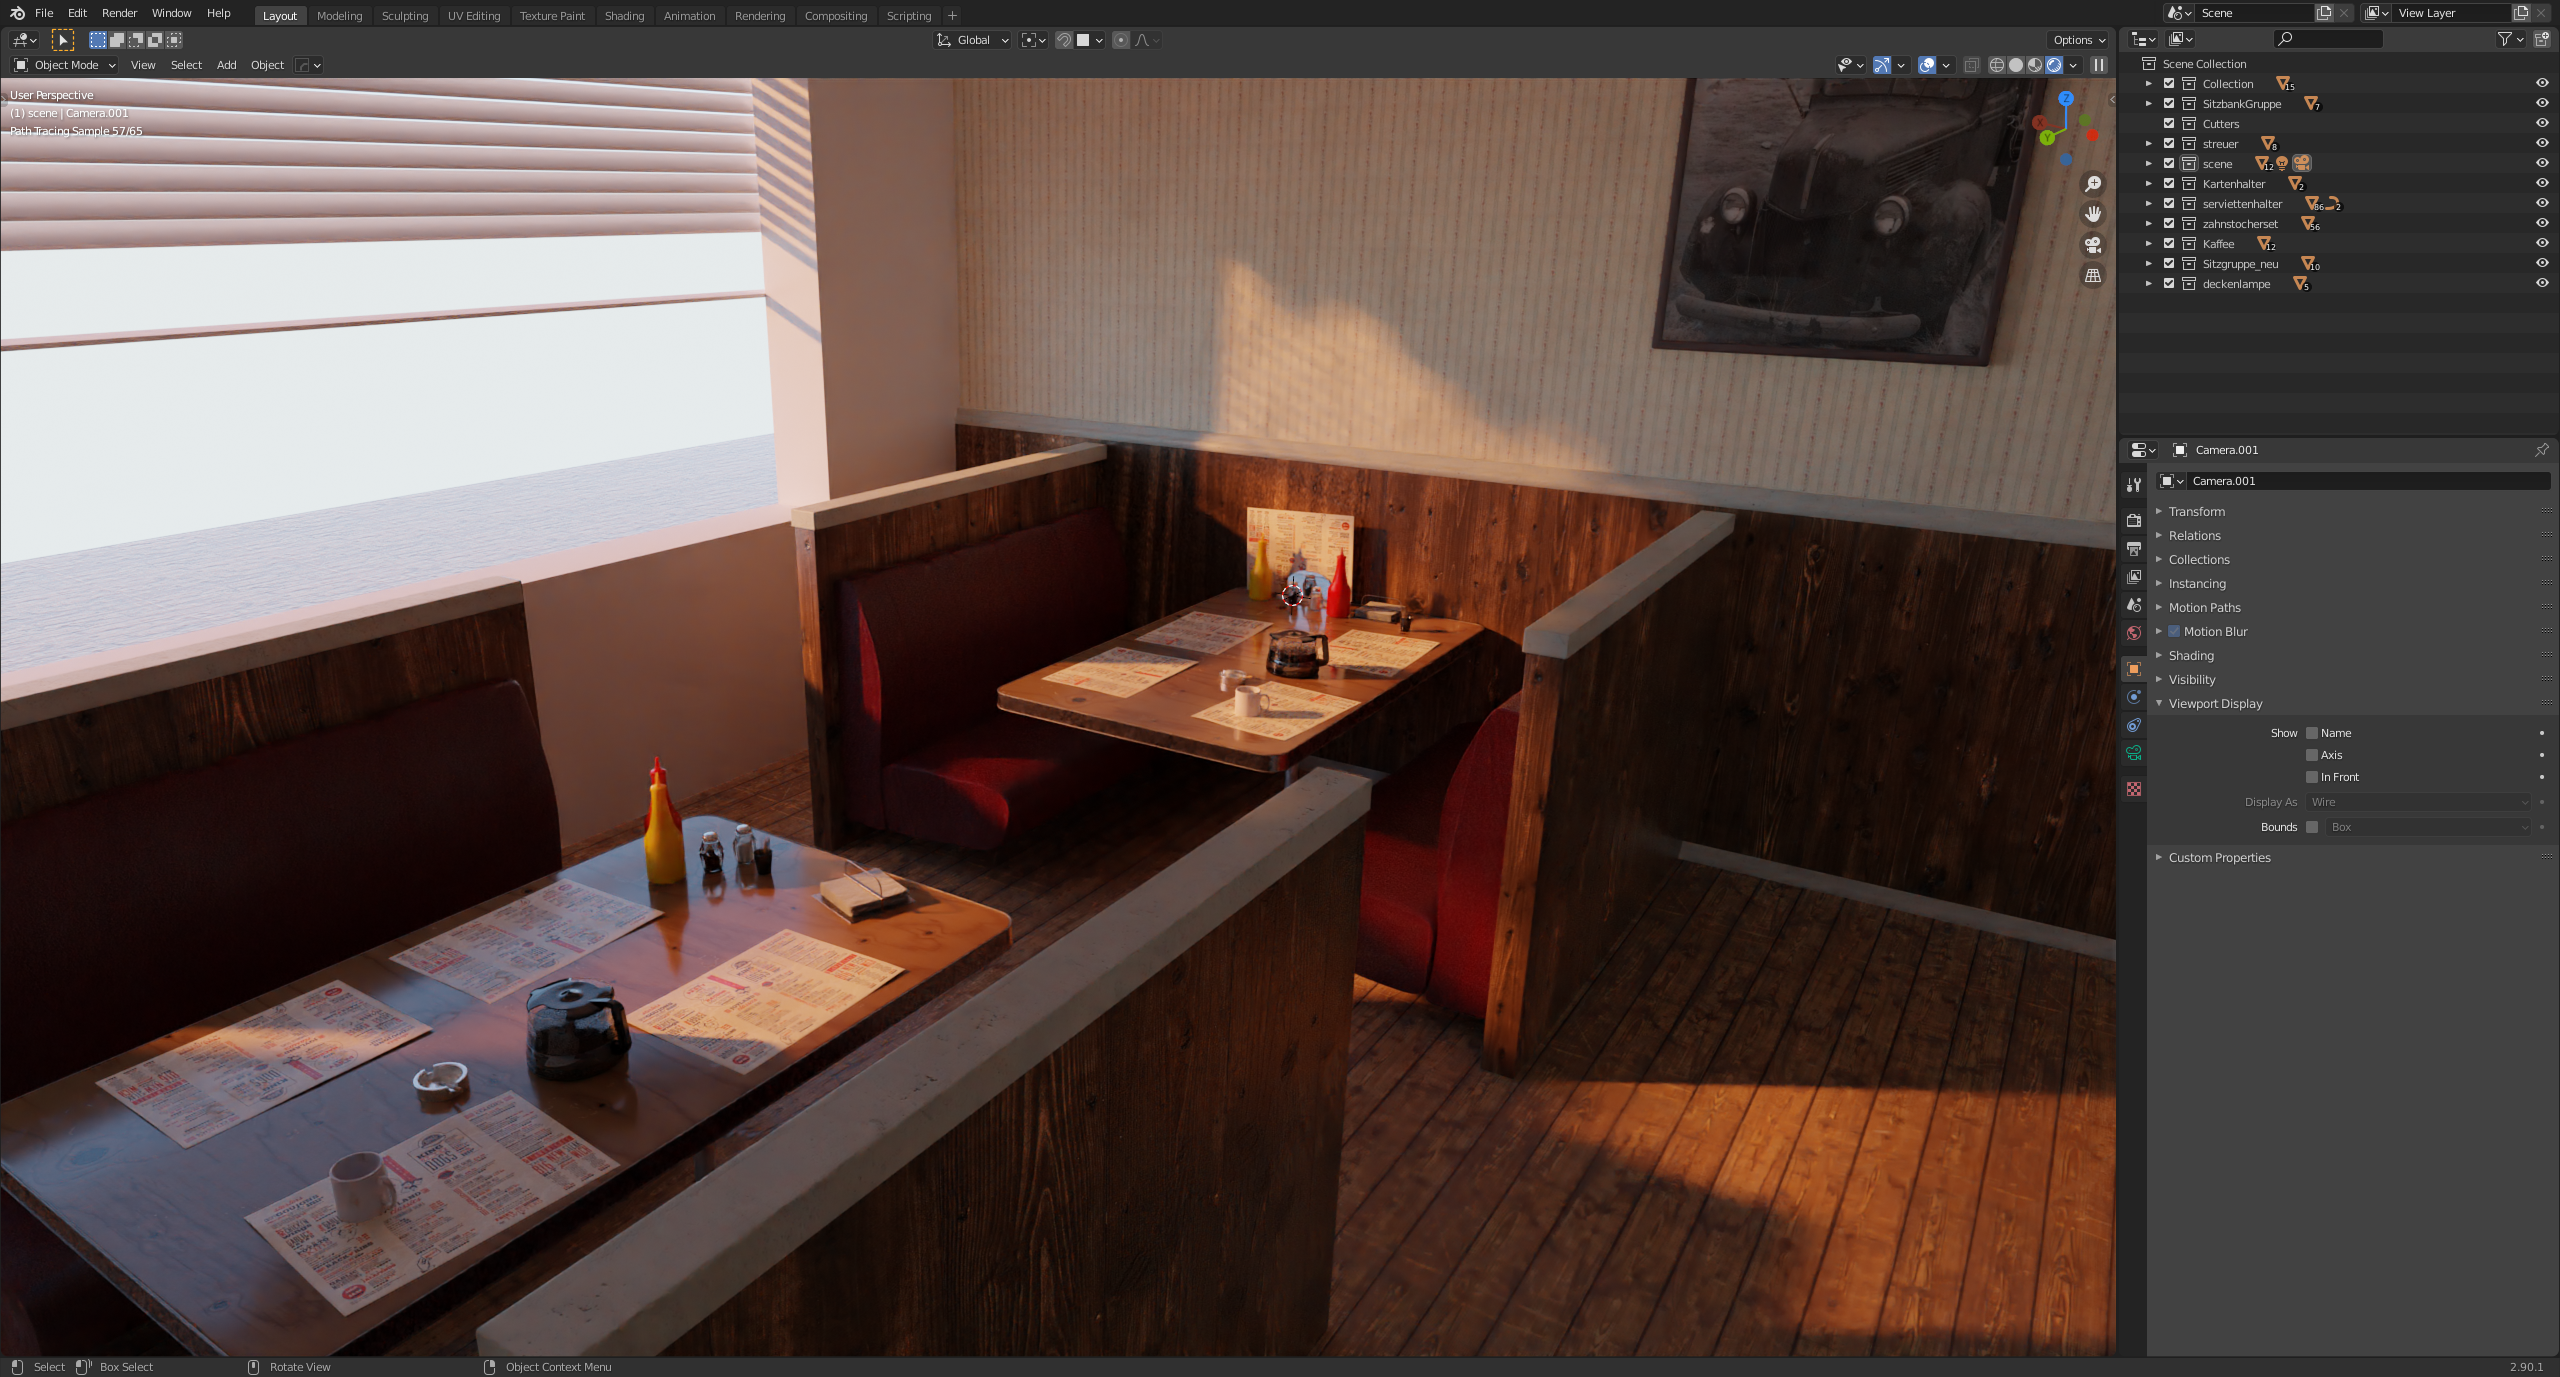
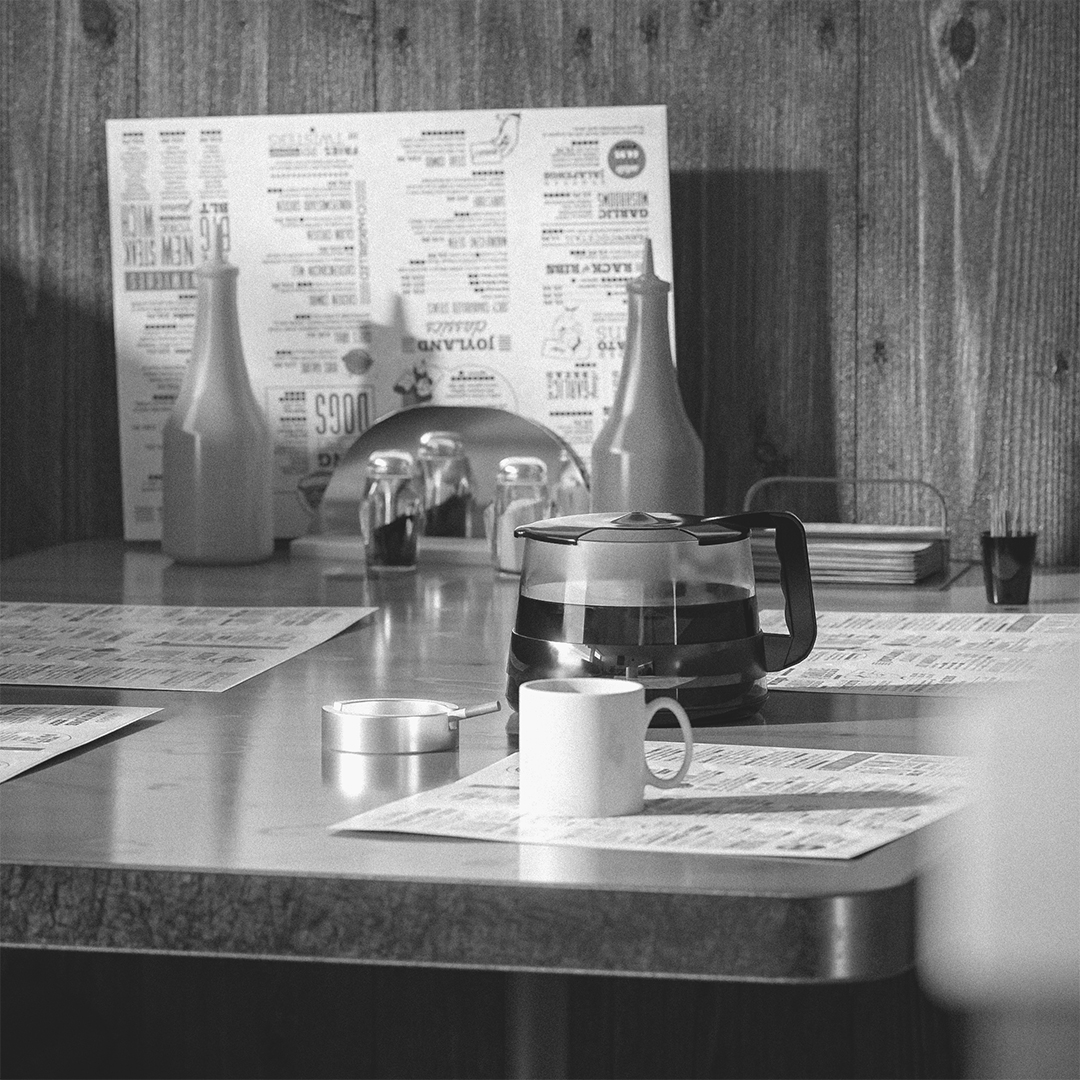
In this project, I set myself the task of recreating a picture that is as realistic as possible. Since I chose a reference for this, the camera and the viewing angle were already fixed. It wasn’t set in stone, but knowing what to see and what not helps to decide what to build and what not. Since I had an idea of the cutout, I was able to concentrate on it and leave out everything that wasn’t essential.
In summary: before I even start Blender, it is important for me to have an idea of what I want to achieve.
I chose this picture on Pinterest:
Modeling
I started building a room. Since I am not an architect and my scene will not be used in construction, I was relatively carefree with the geometry, I only needed walls, a floor, and a ceiling. On the left side of my scene, I added a hole in the wall to allow light to come into the room.
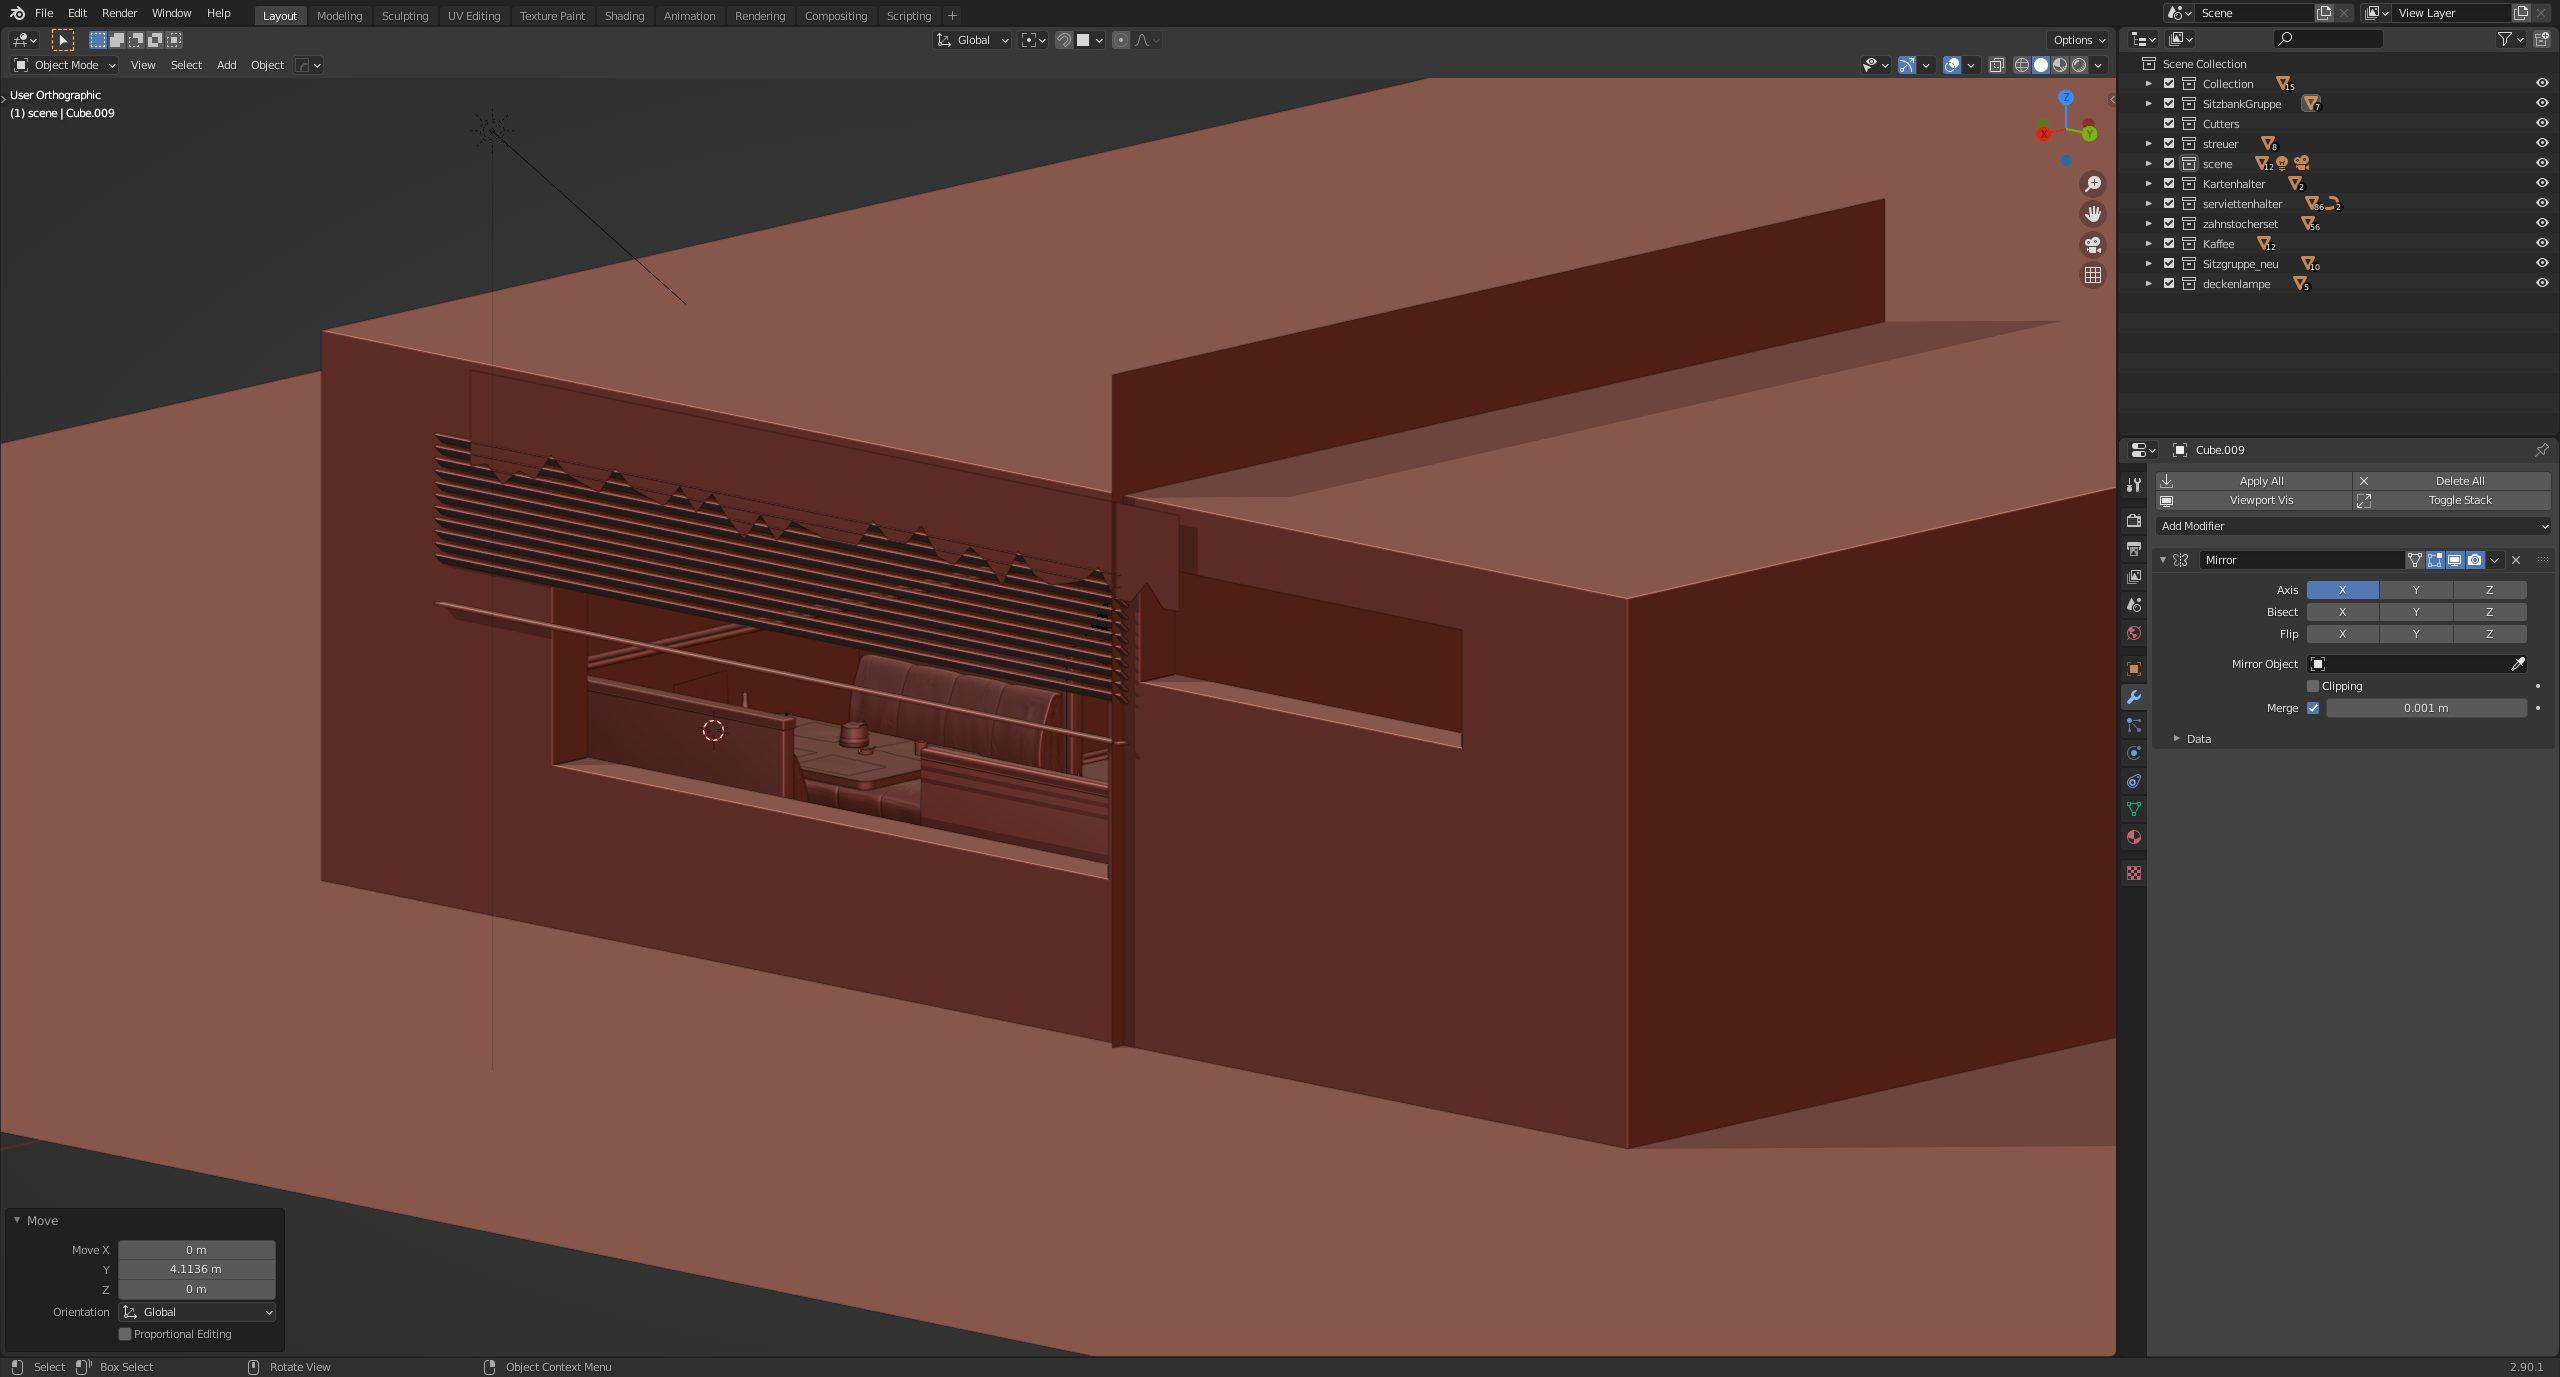
With the array modifier, I simulated a blind (it didn’t have to be perfect or technically work, I just wanted it to cast shadows on the wall inside). You won’t be able to see them in the picture.
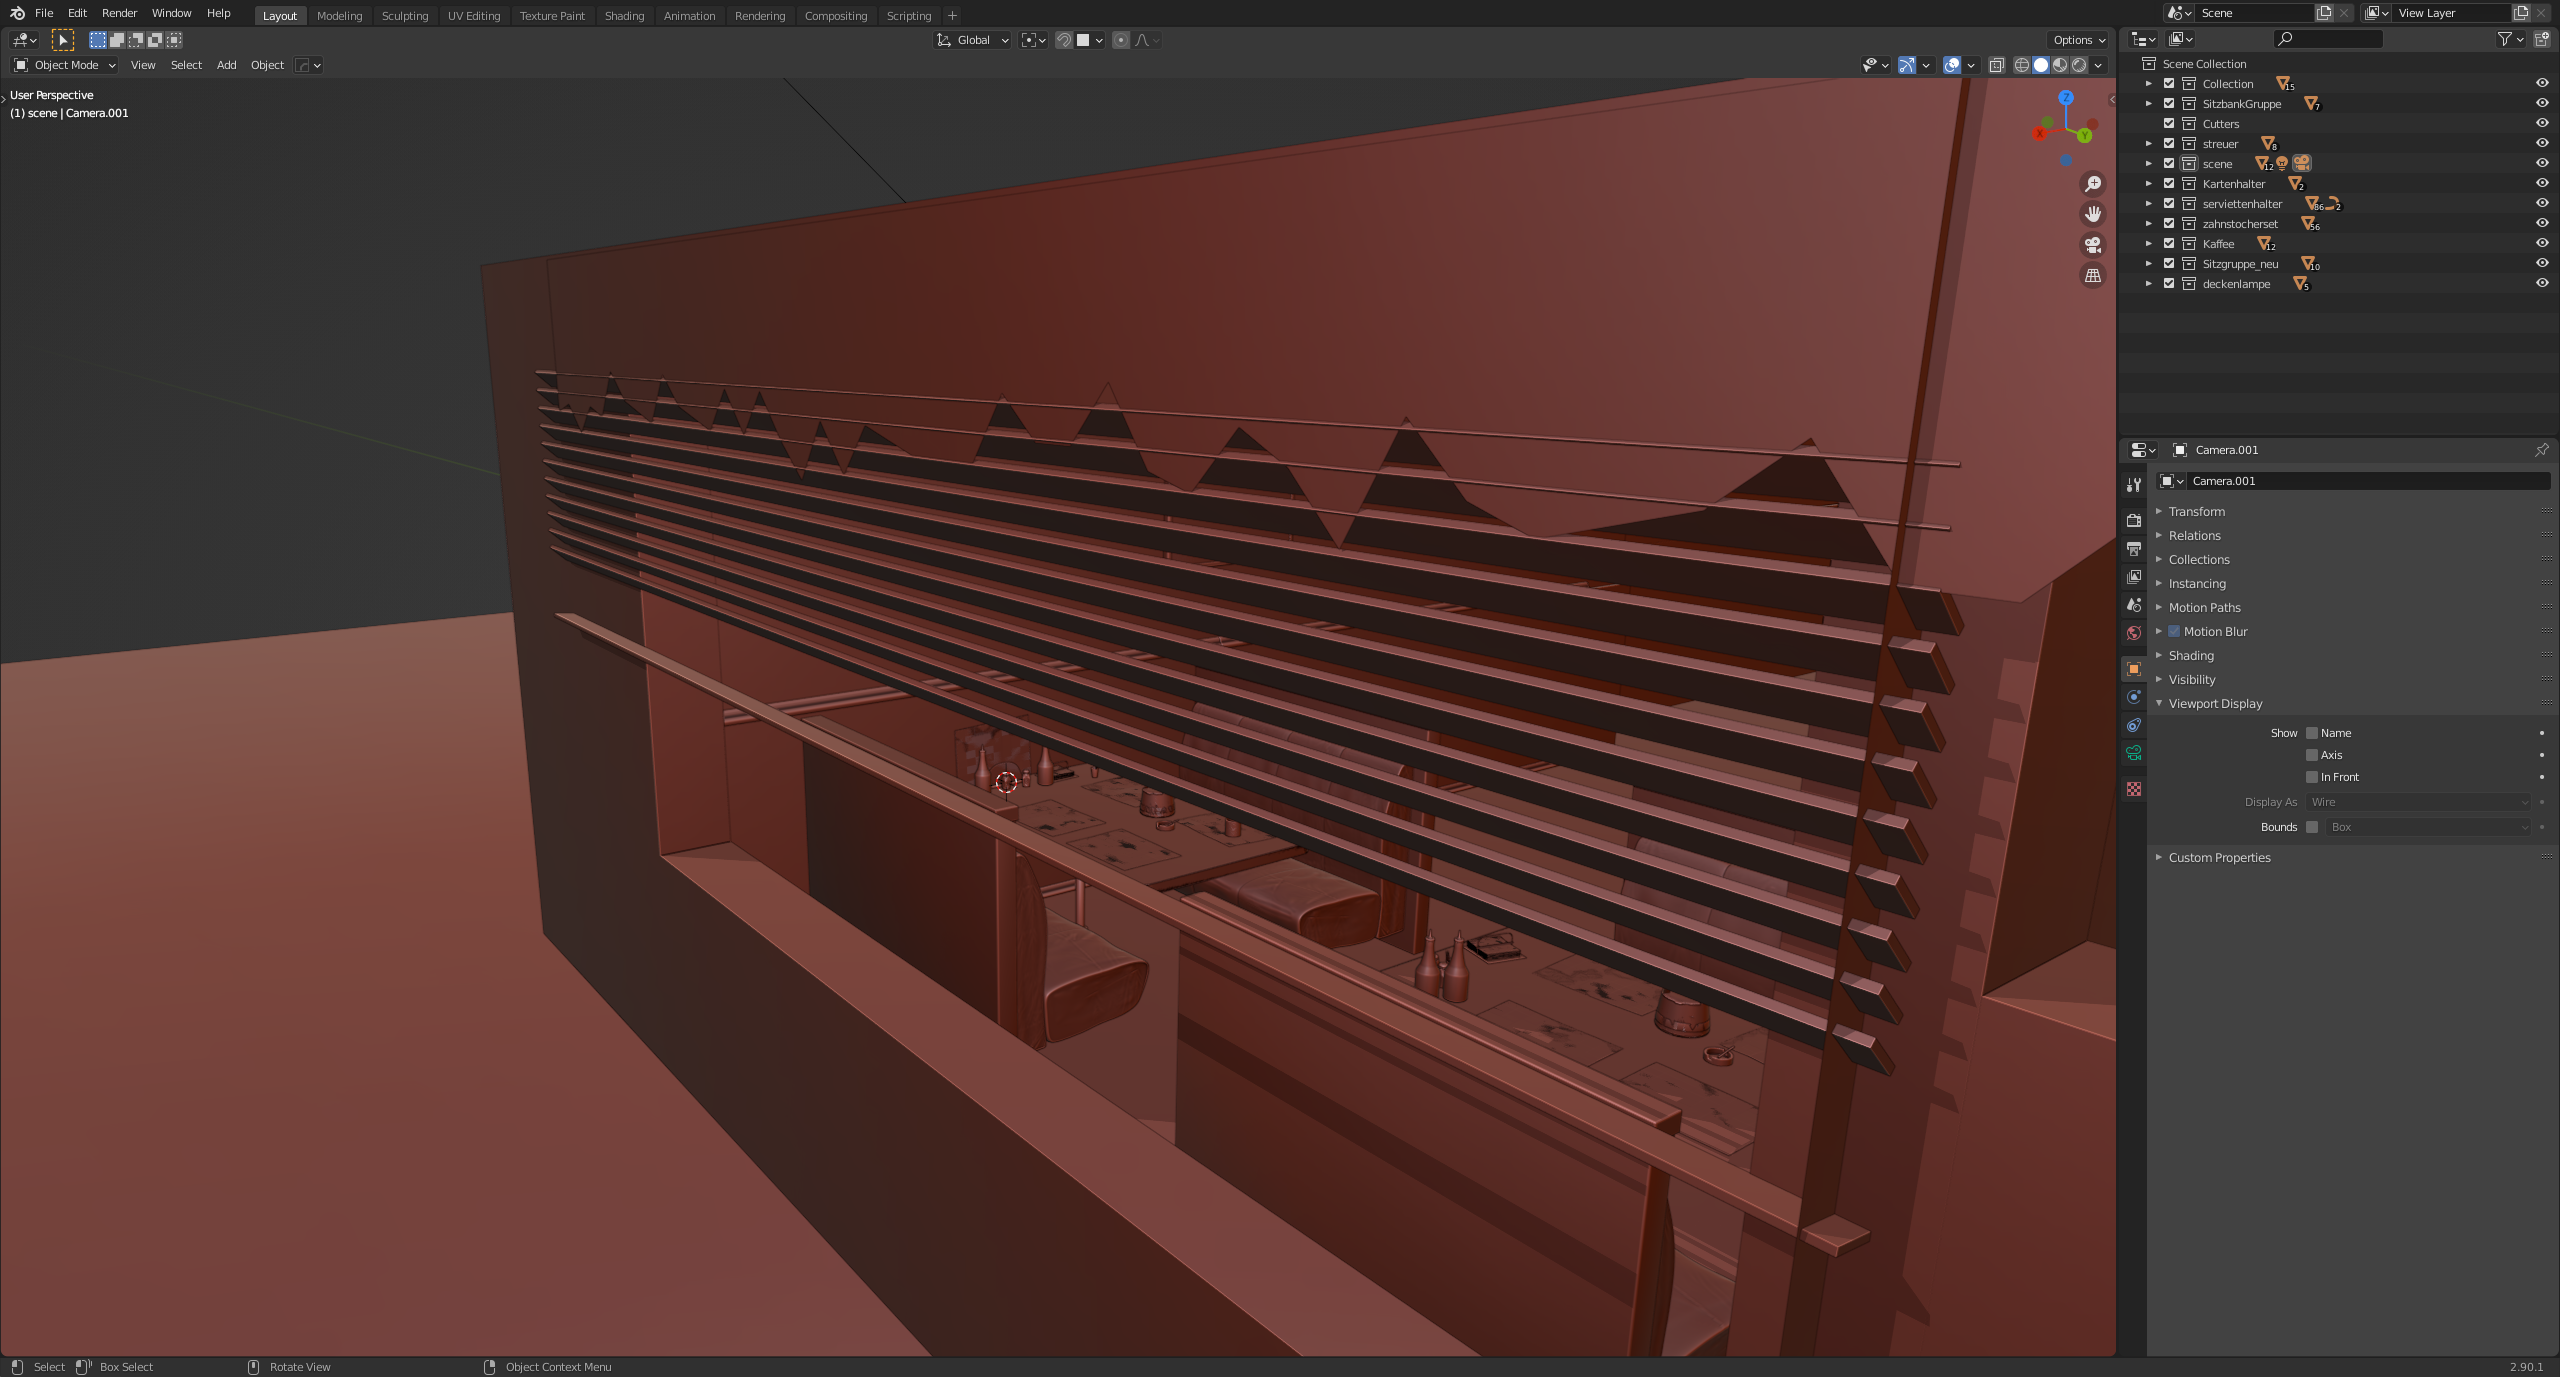
I made the wooden panels of the wall like this: with CTRL + R I added a loop cut to the wall at the desired height. I duplicated the faces gained in this way in edit mode with SHIFT + D and then separated them with P. In object mode, the new faces were now congruent on the wall. I selected this, switched to edit mode, selected the faces, and extruded into the room with E. I created the bar above the panels in the same way. Since the wall, the panels, and the bar were separate objects, assigning materials was a little easier. With that, the room stood. The interior was still missing.
I started with the blockout. The blockout helps you to see proportions better, you can also specify here what you want to add to the scene and get a feel for the composition of the image. As the name suggests, I really only used cubes here, which I scaled and positioned accordingly.
During the blockout phase, I often start with lights. We will get to the light in more detail later. In addition, this is also the phase in which I specify the cameras and views. I adapt the viewing angles and focal lengths to my new circumstances. Sometimes the blocking results in a new perspective.
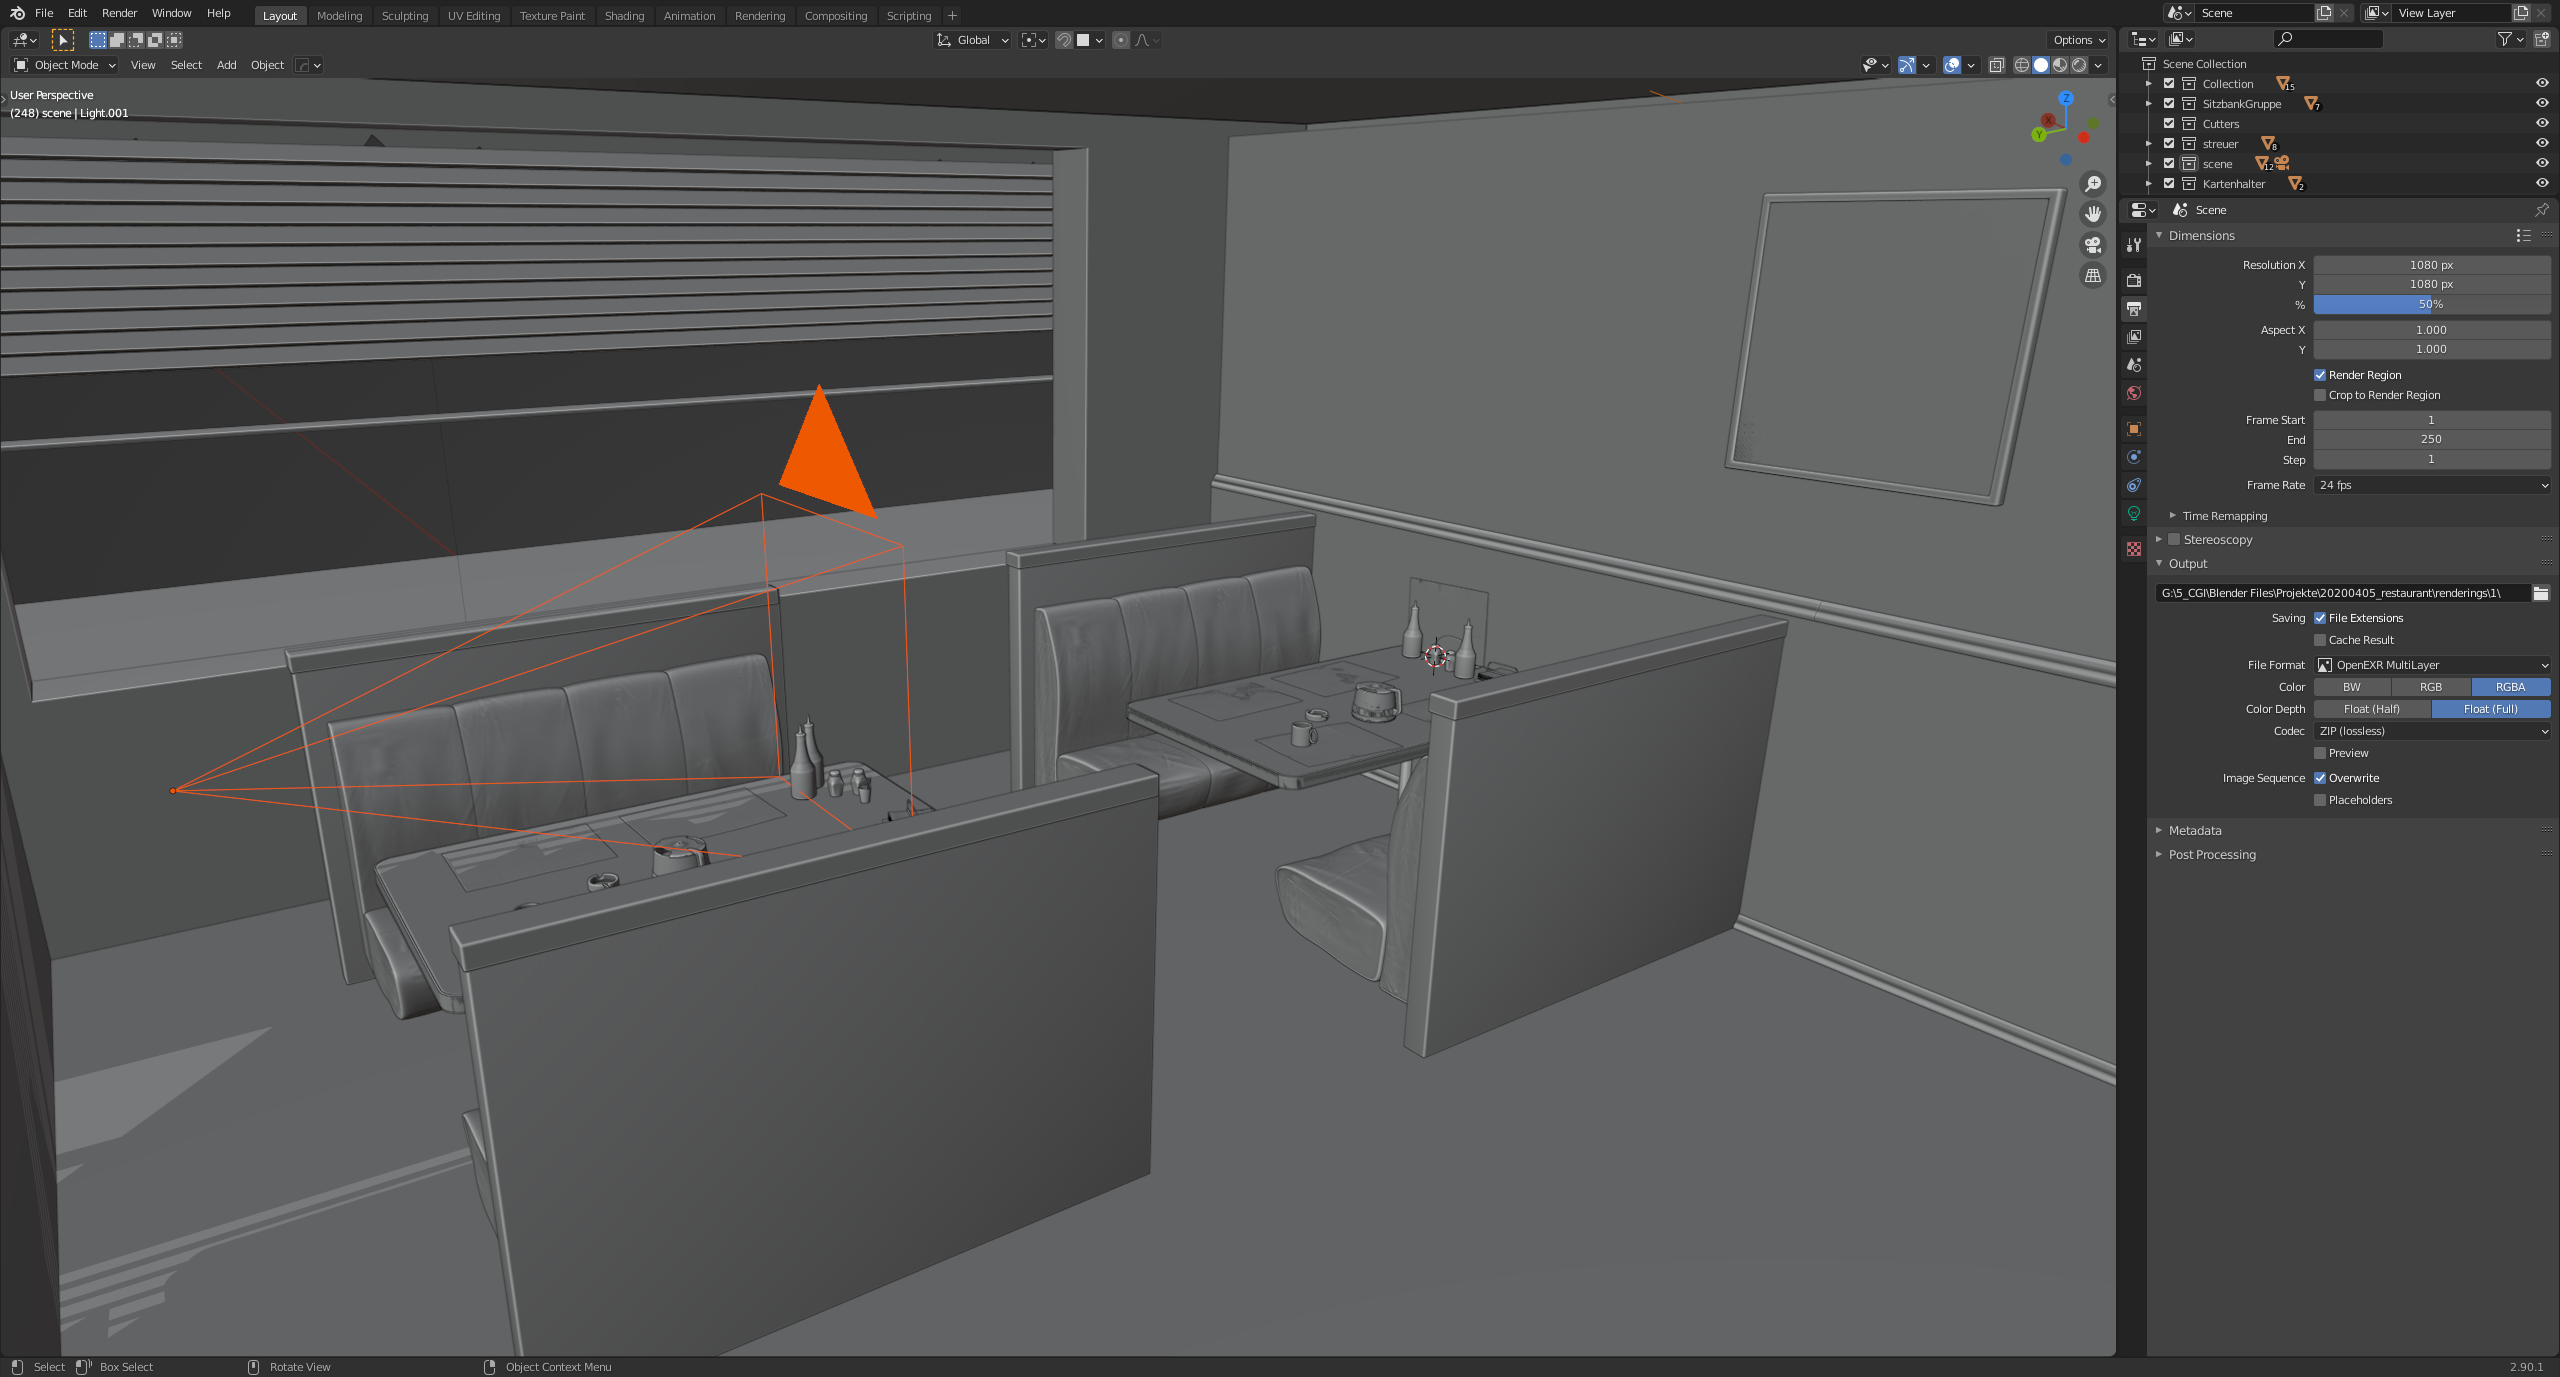
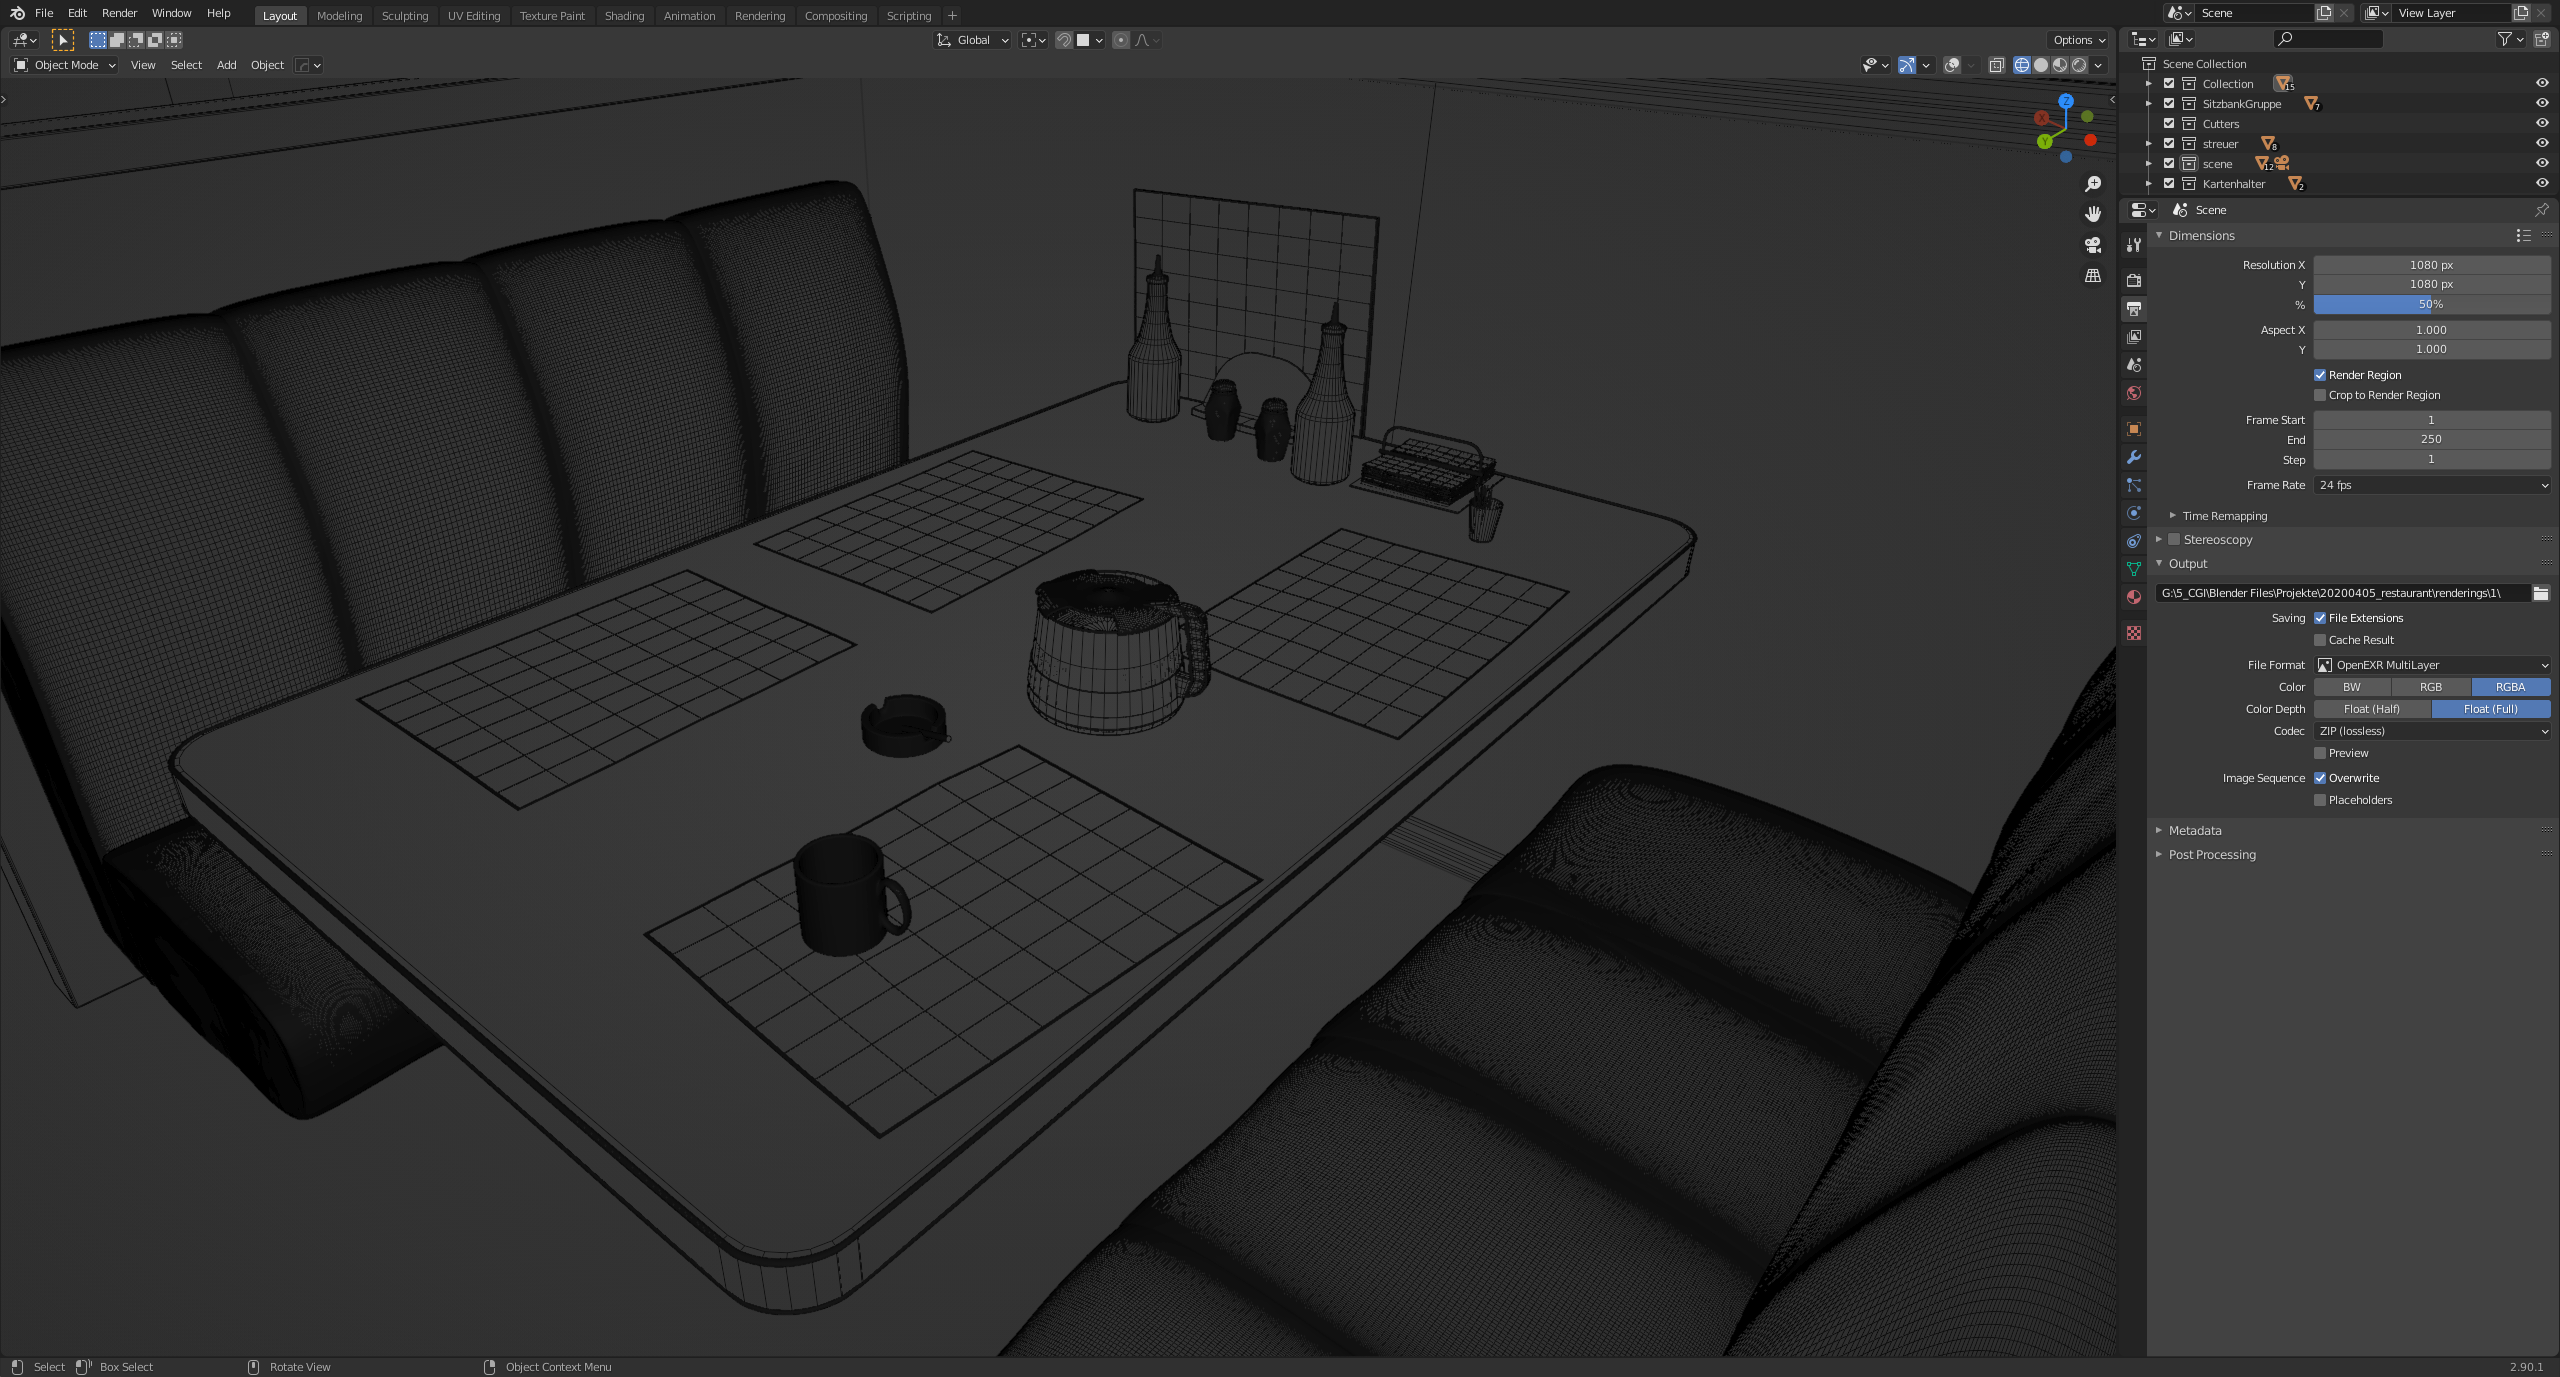
I understand the created blockout as a kind of to-do list. I started replacing all of the blocks. Either you have to model everything yourself, as was the case with me, or you have the option of using an asset library. Most of the objects in the scene are relatively simple. In this scene, modeling took up most of the time. Often, I start another Blender instance or scene to model an object in it and then add it to my main scene. Unfortunately, I don’t have a screenshot of the blockout phase. But you can imagine that wherever objects are now there were blocks.
Texturing
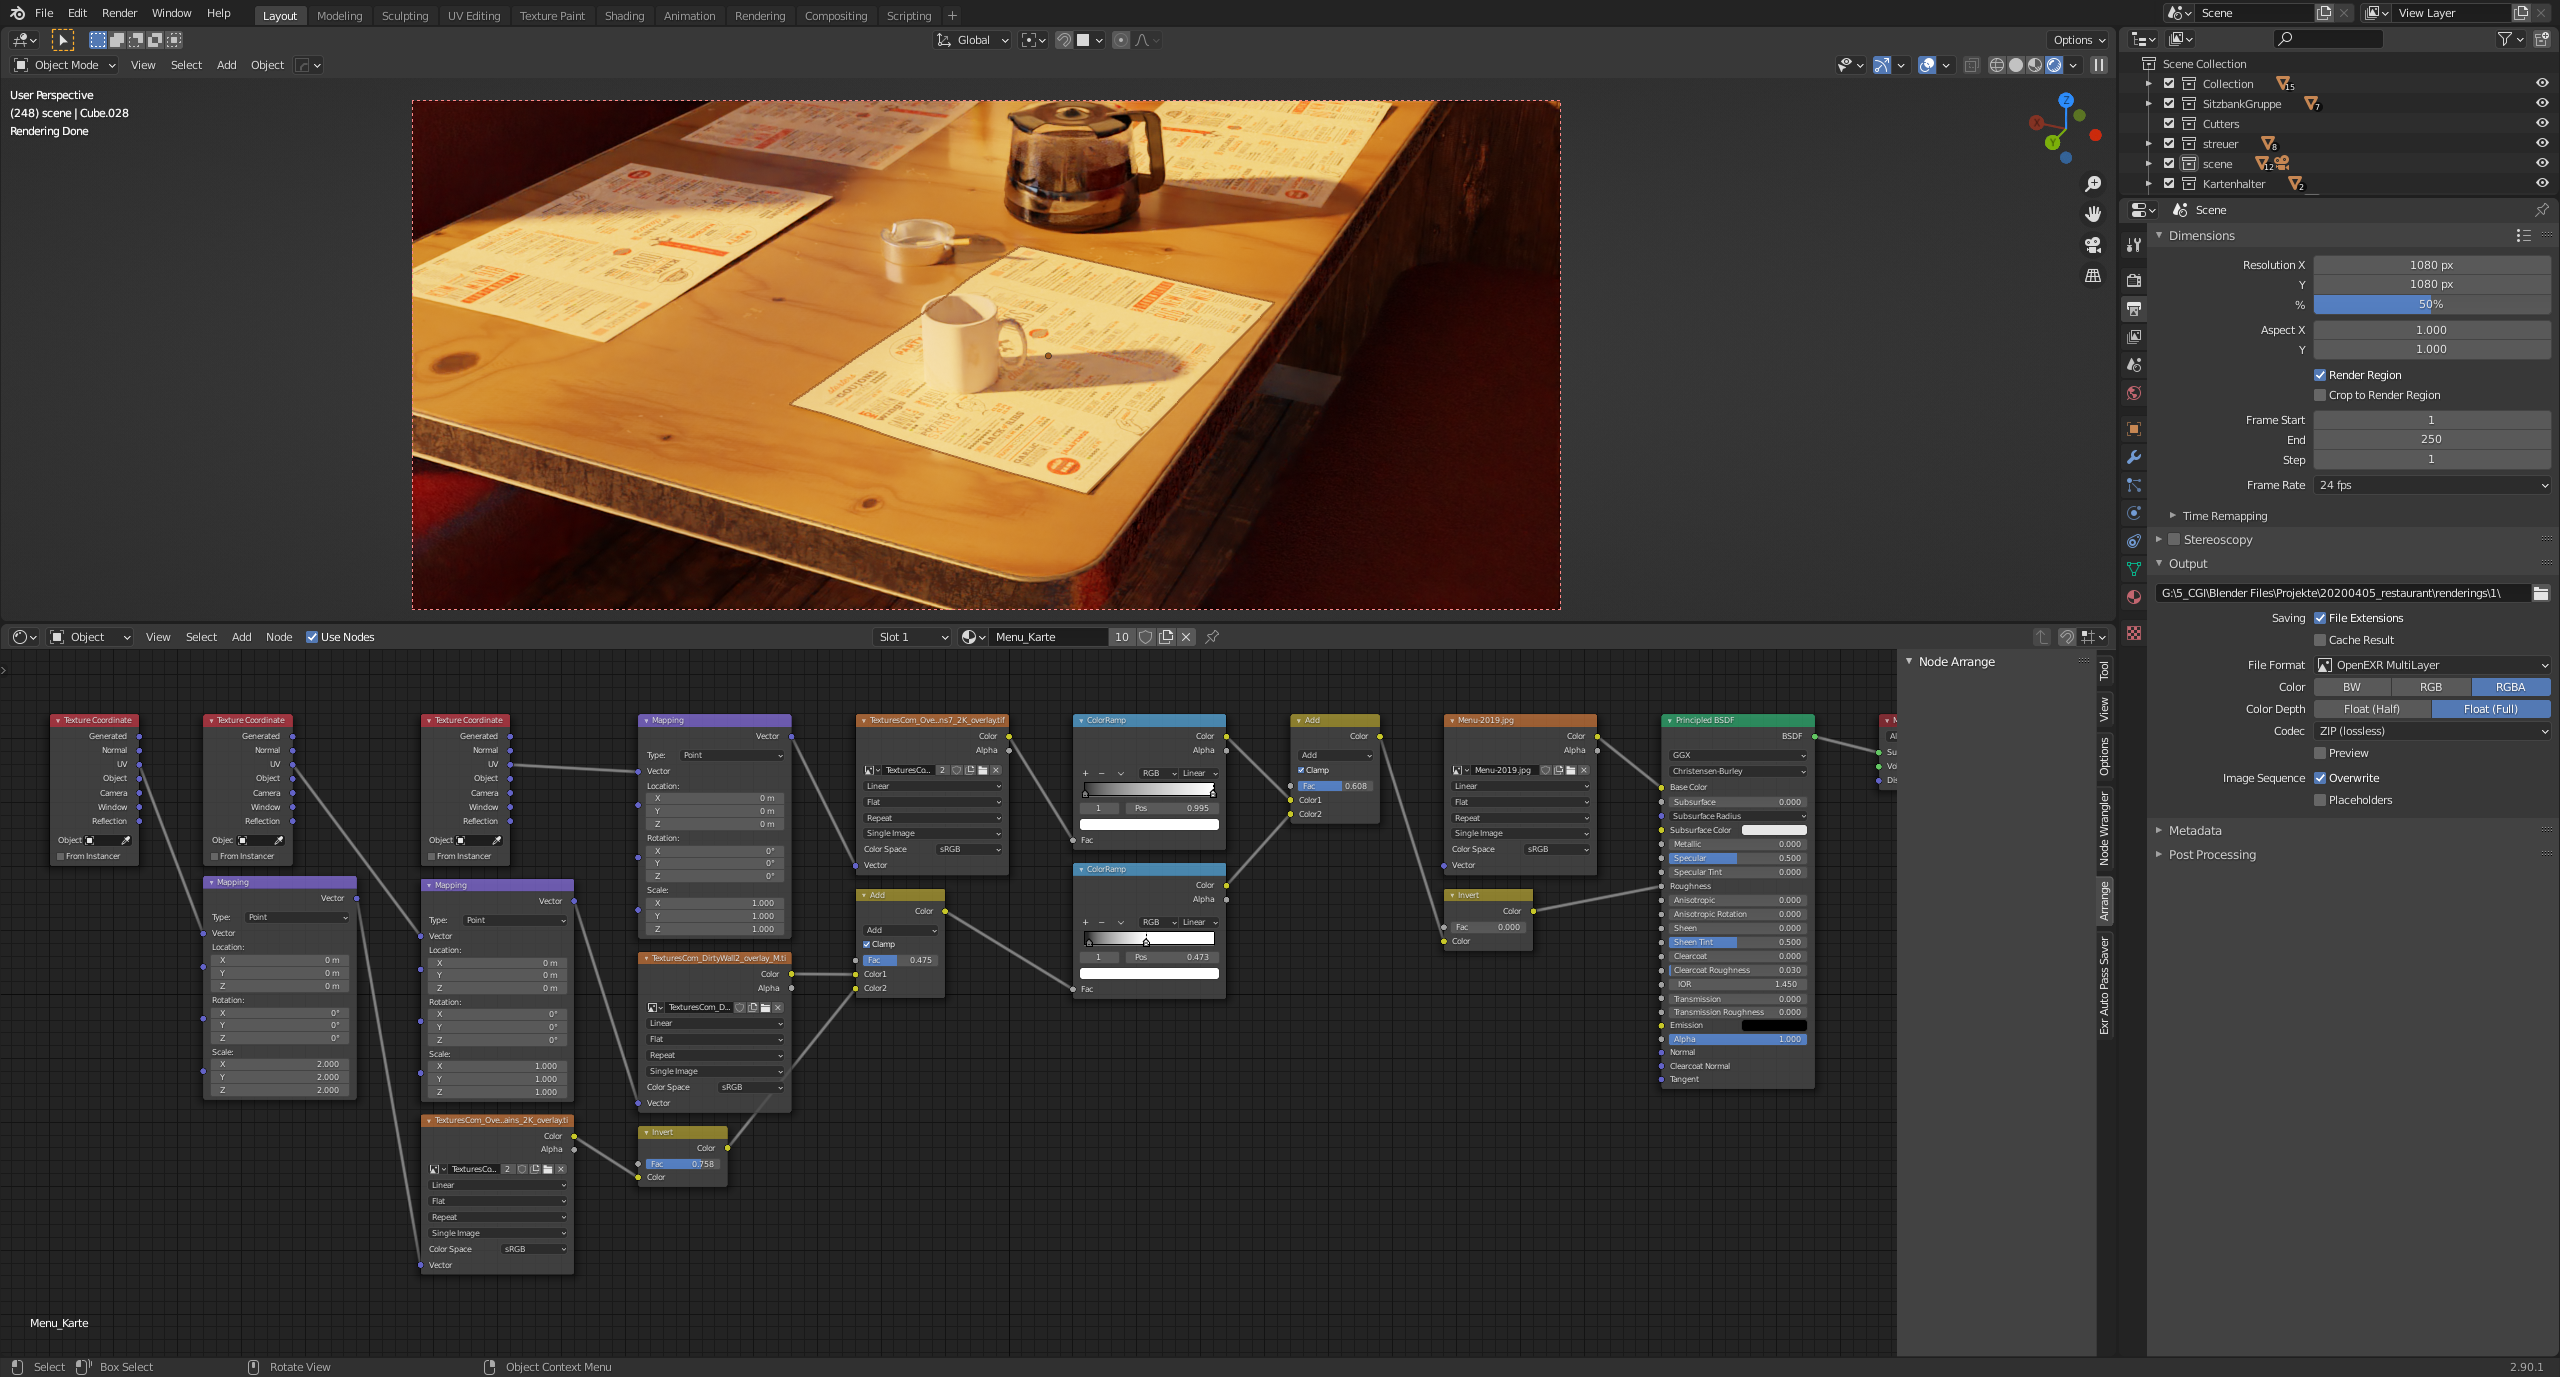
When I had removed all the blocks and replaced them with my models, I started with the textures. Since there were lights and cameras, I was able to render a test over and over again to see how the textures looked.
In some cases, I used textures from textures.com. What definitely helped me was photo mapping.
Lighting
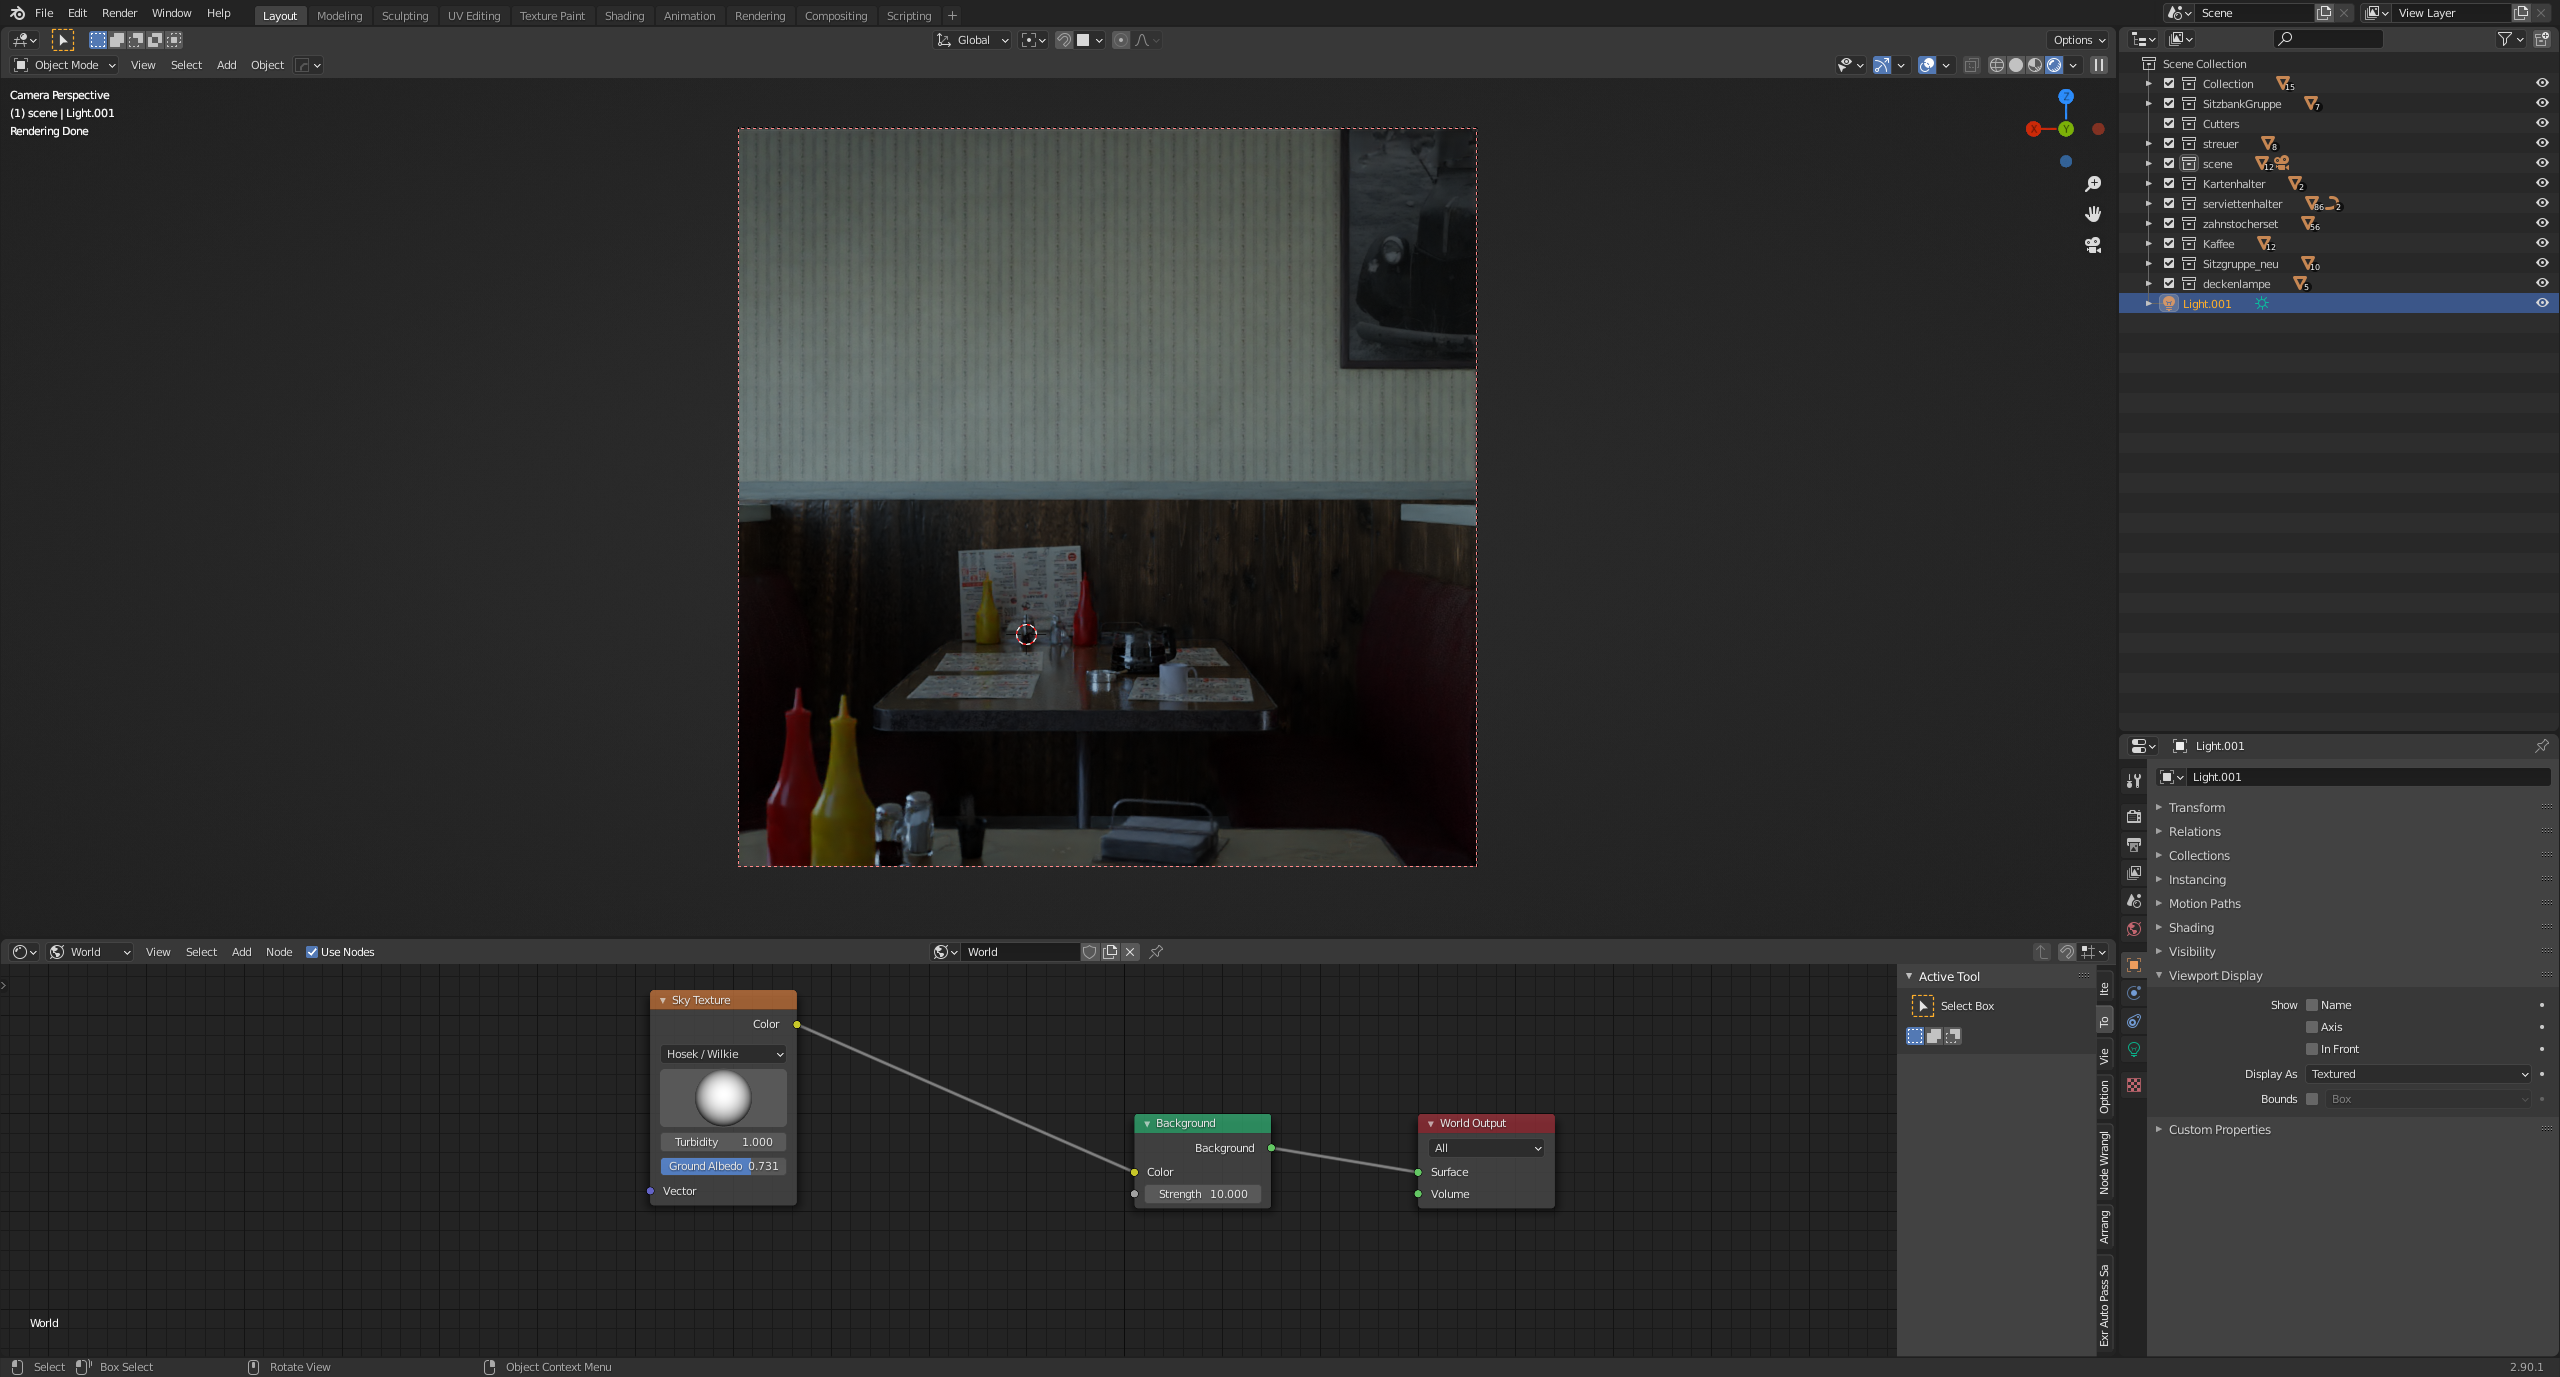
In my main view, I orientated myself heavily on my reference. It was important to me to show that there is one main light, namely the sun, which shines through the blinds and creates an evening or morning mood. The cooler part of the light comes from the HDRi / Sky Node, which in my case works as fill light and thus also forms the color contrast to the sun, which, in my opinion, brings the picture to life in the first place.
Working with the new viewport denoiser helped me to quickly get a rough idea of changes in the light. When setting the light, the details are less important to me; I find it even more helpful if the light is predefined using simple shapes and in the early phases of a project.
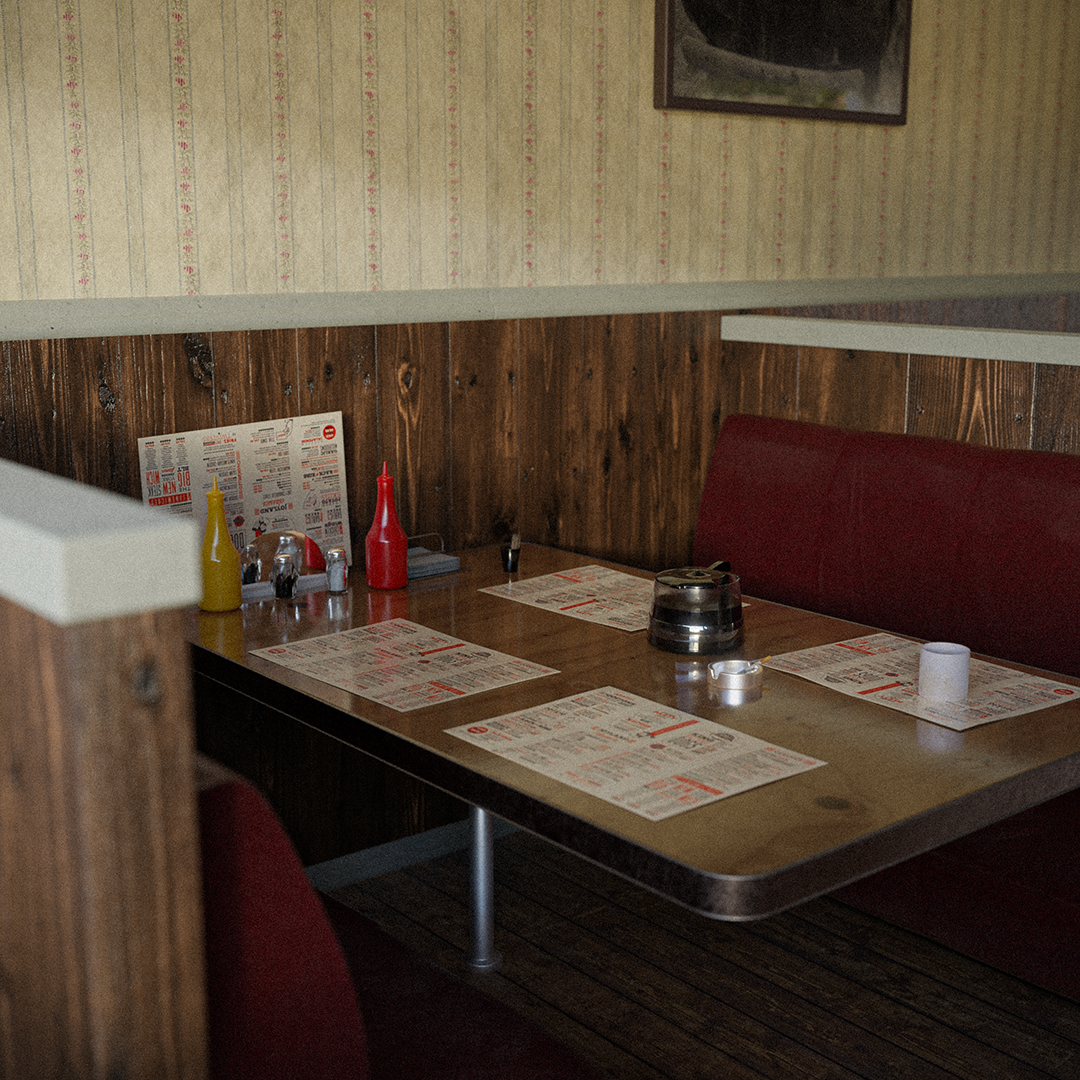
The fill light without sunlight:
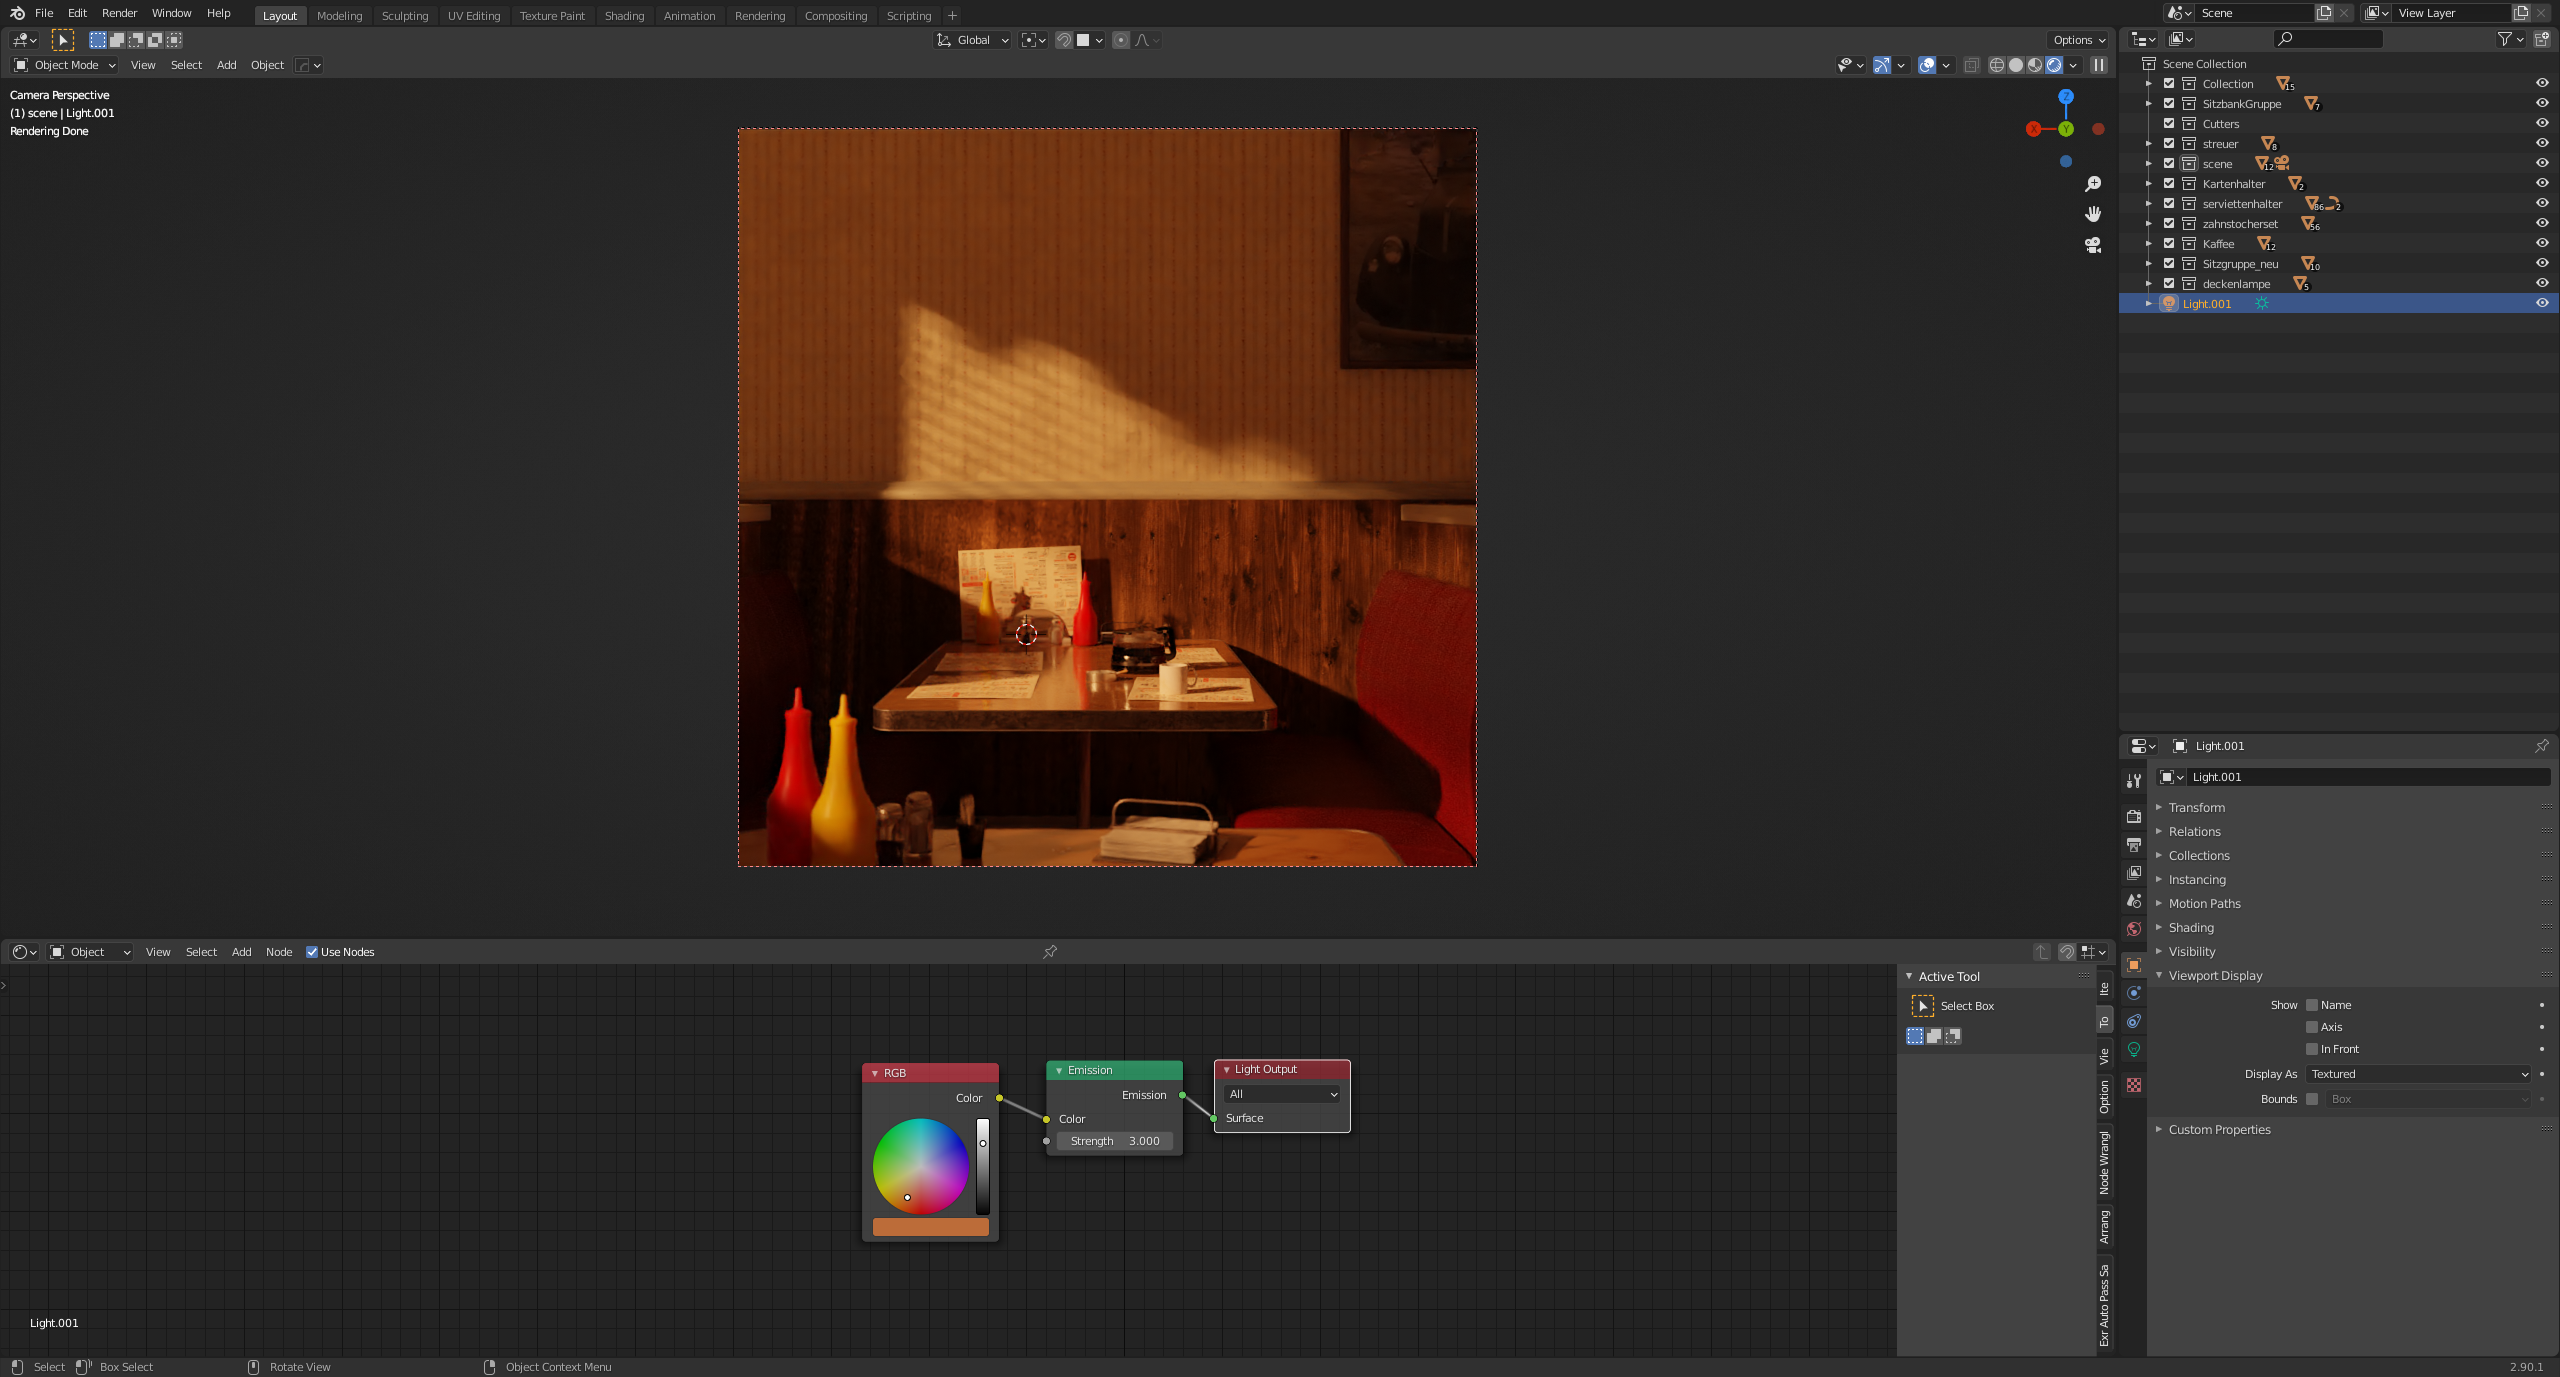
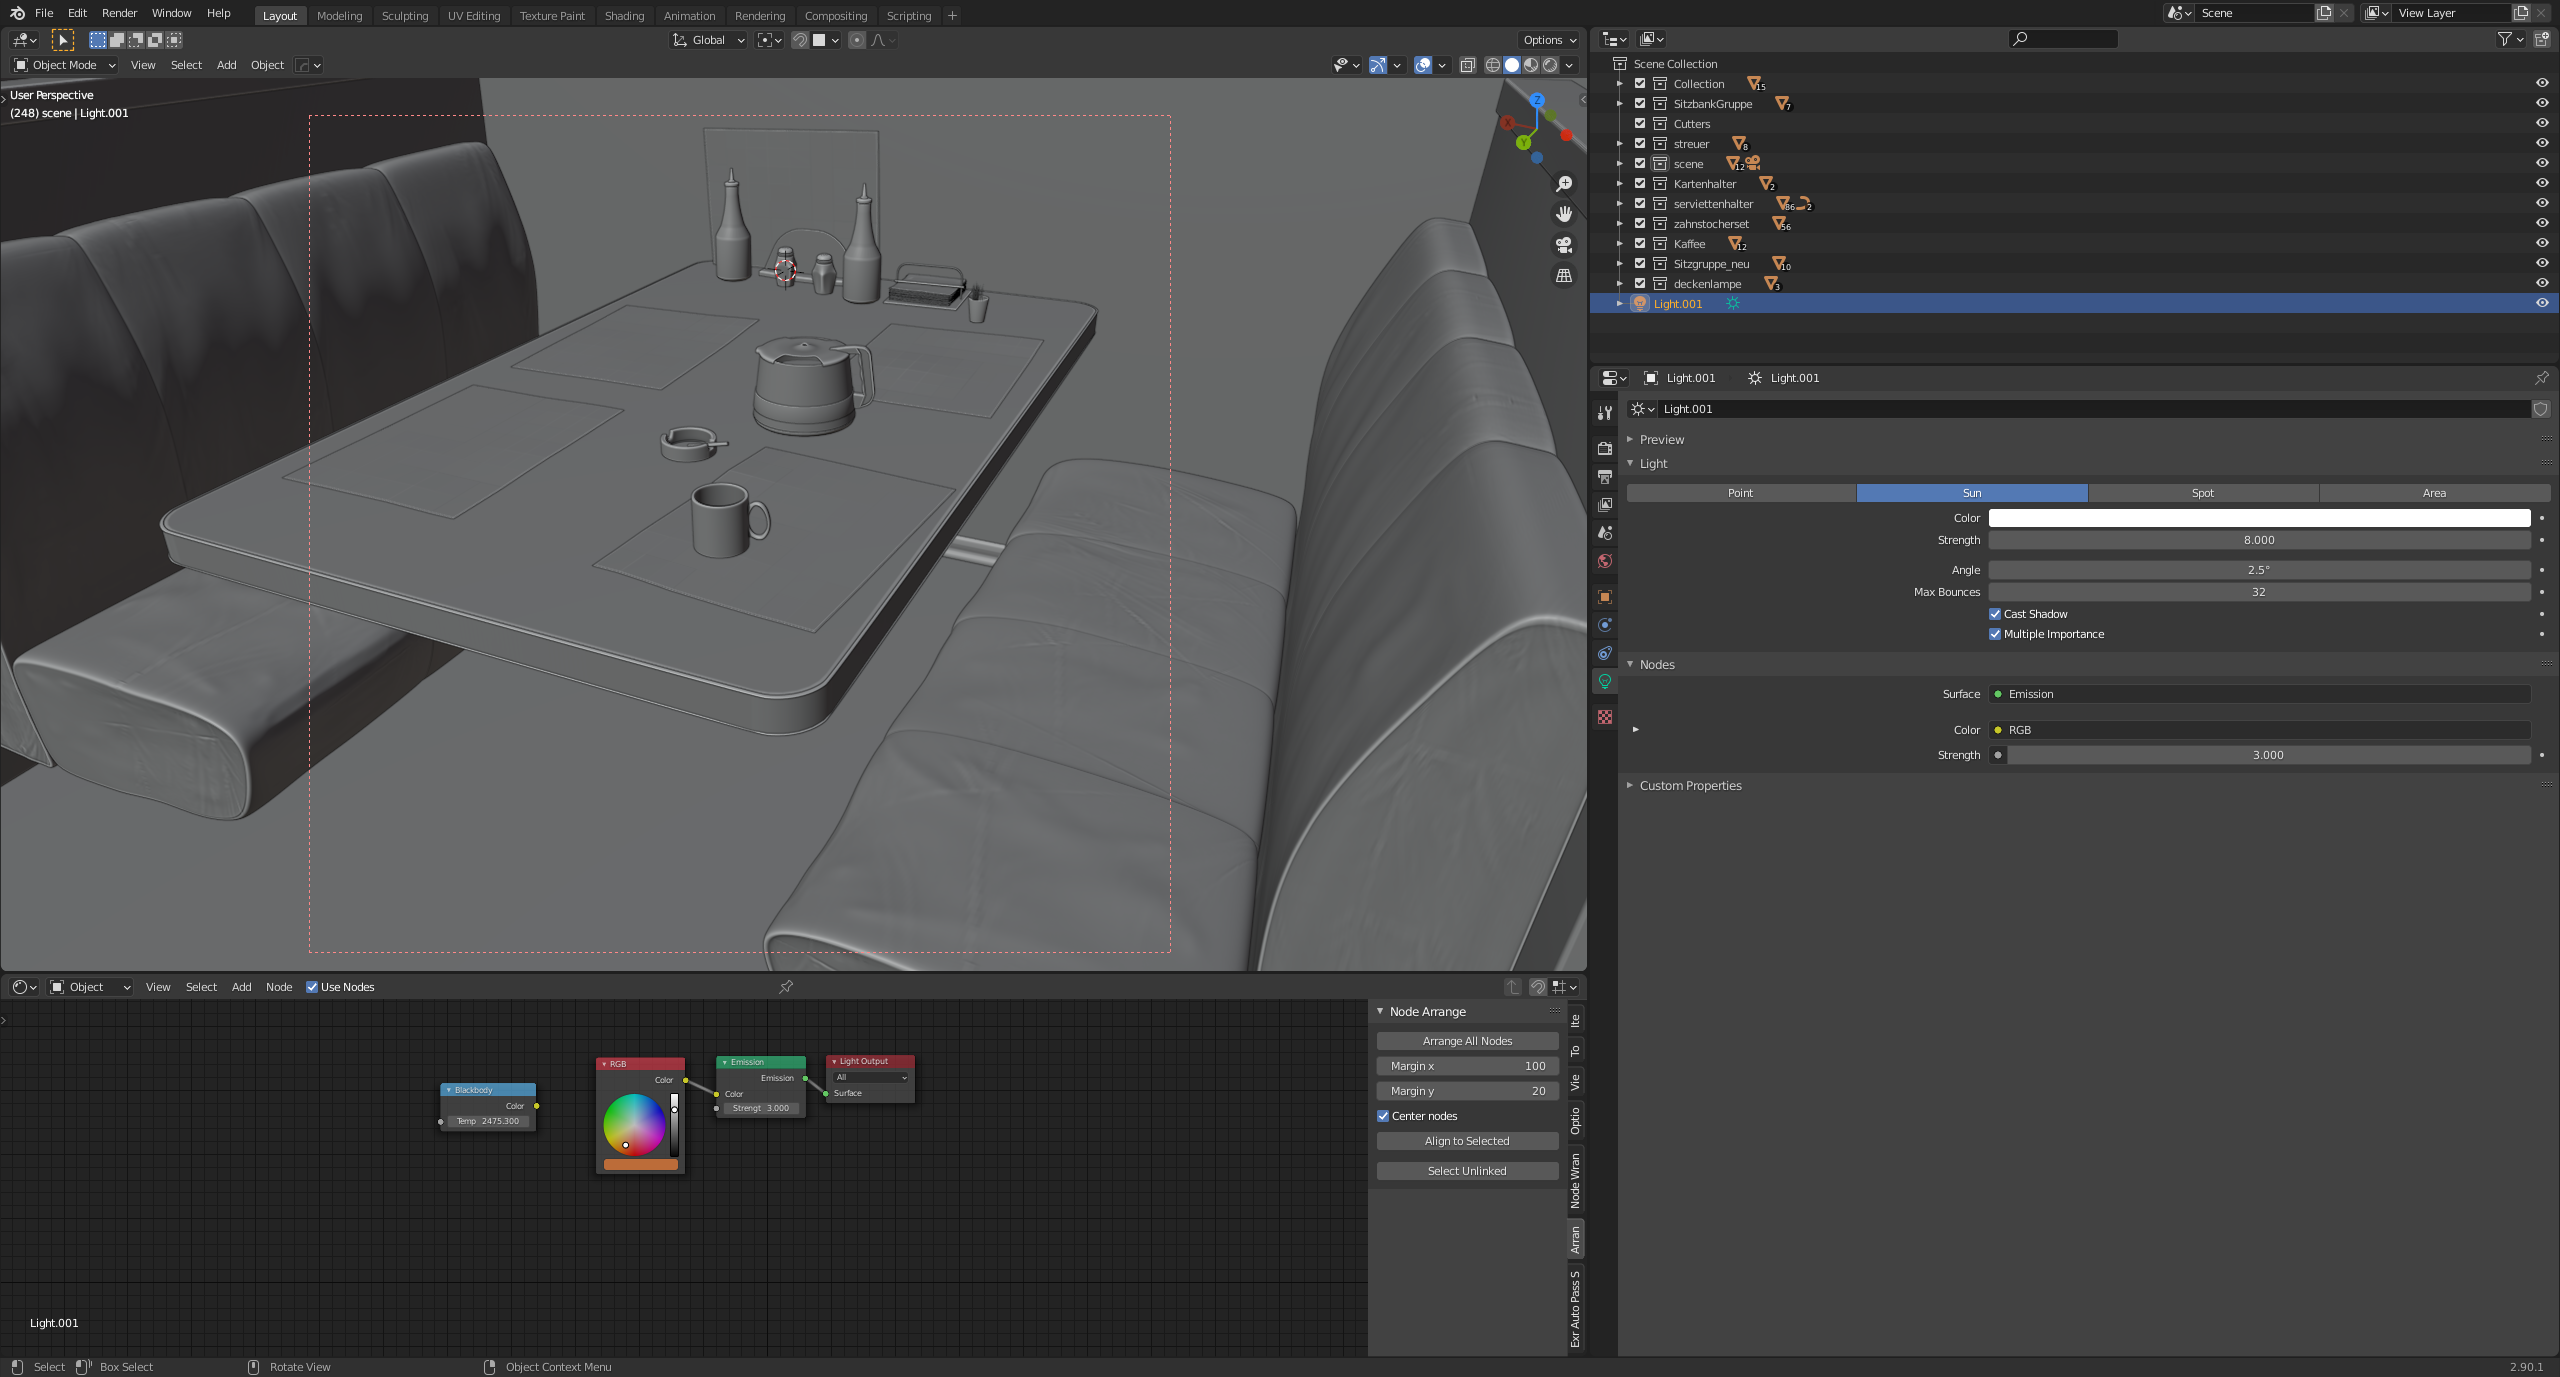
The sunlight. Instead of the RGB node, a blackbody node would also make sense. Seen here without the Sky Node:
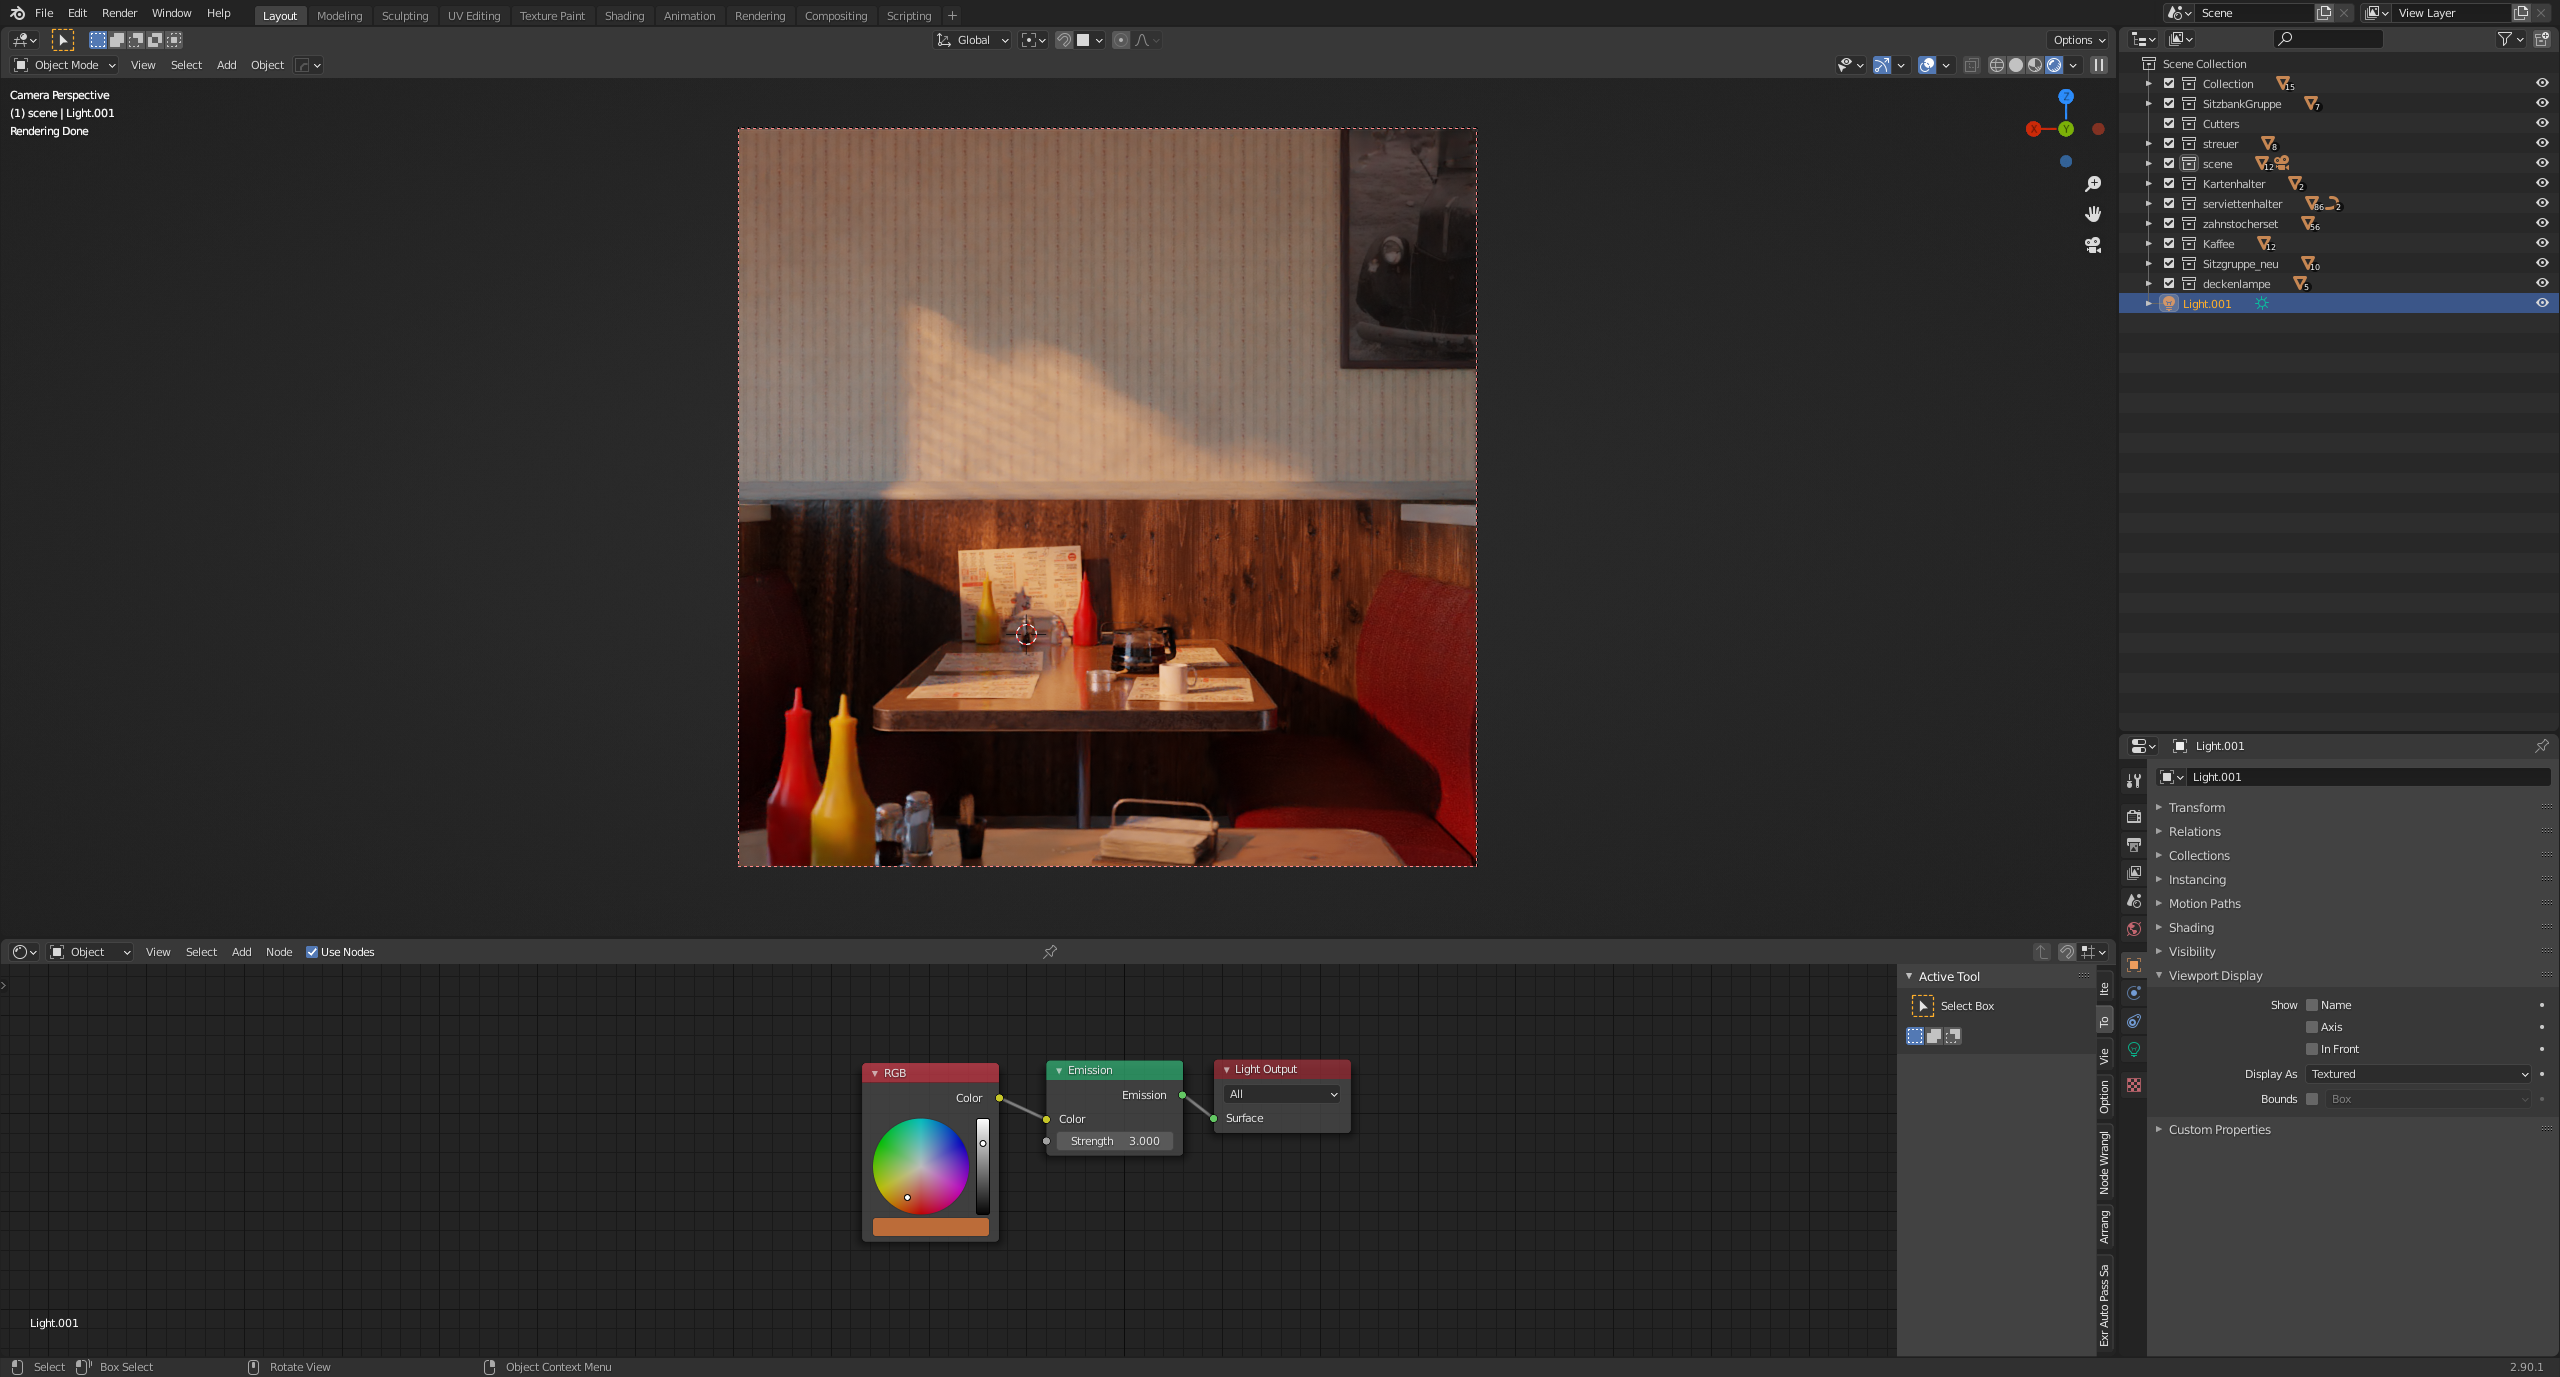
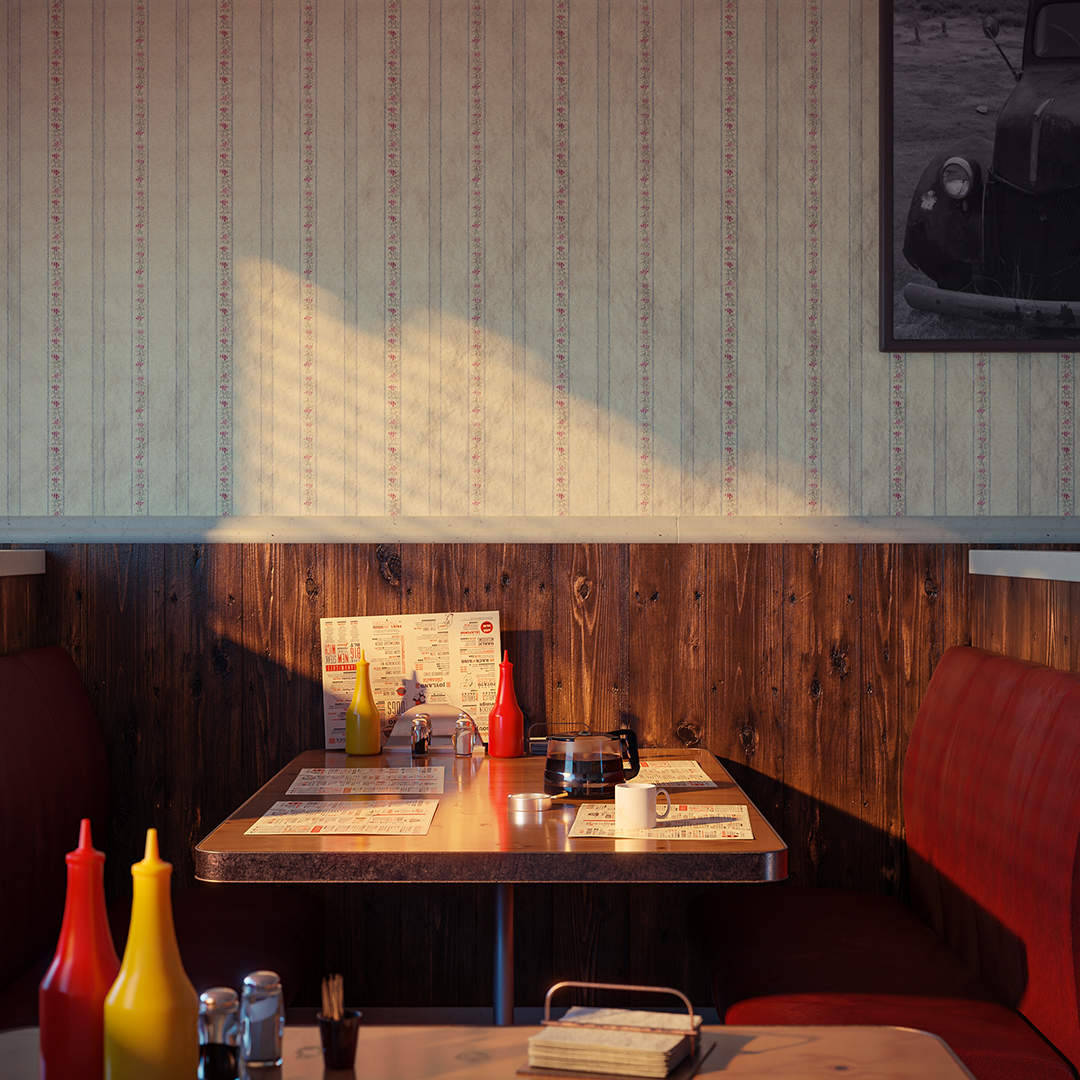
 When both are active, this mix results:
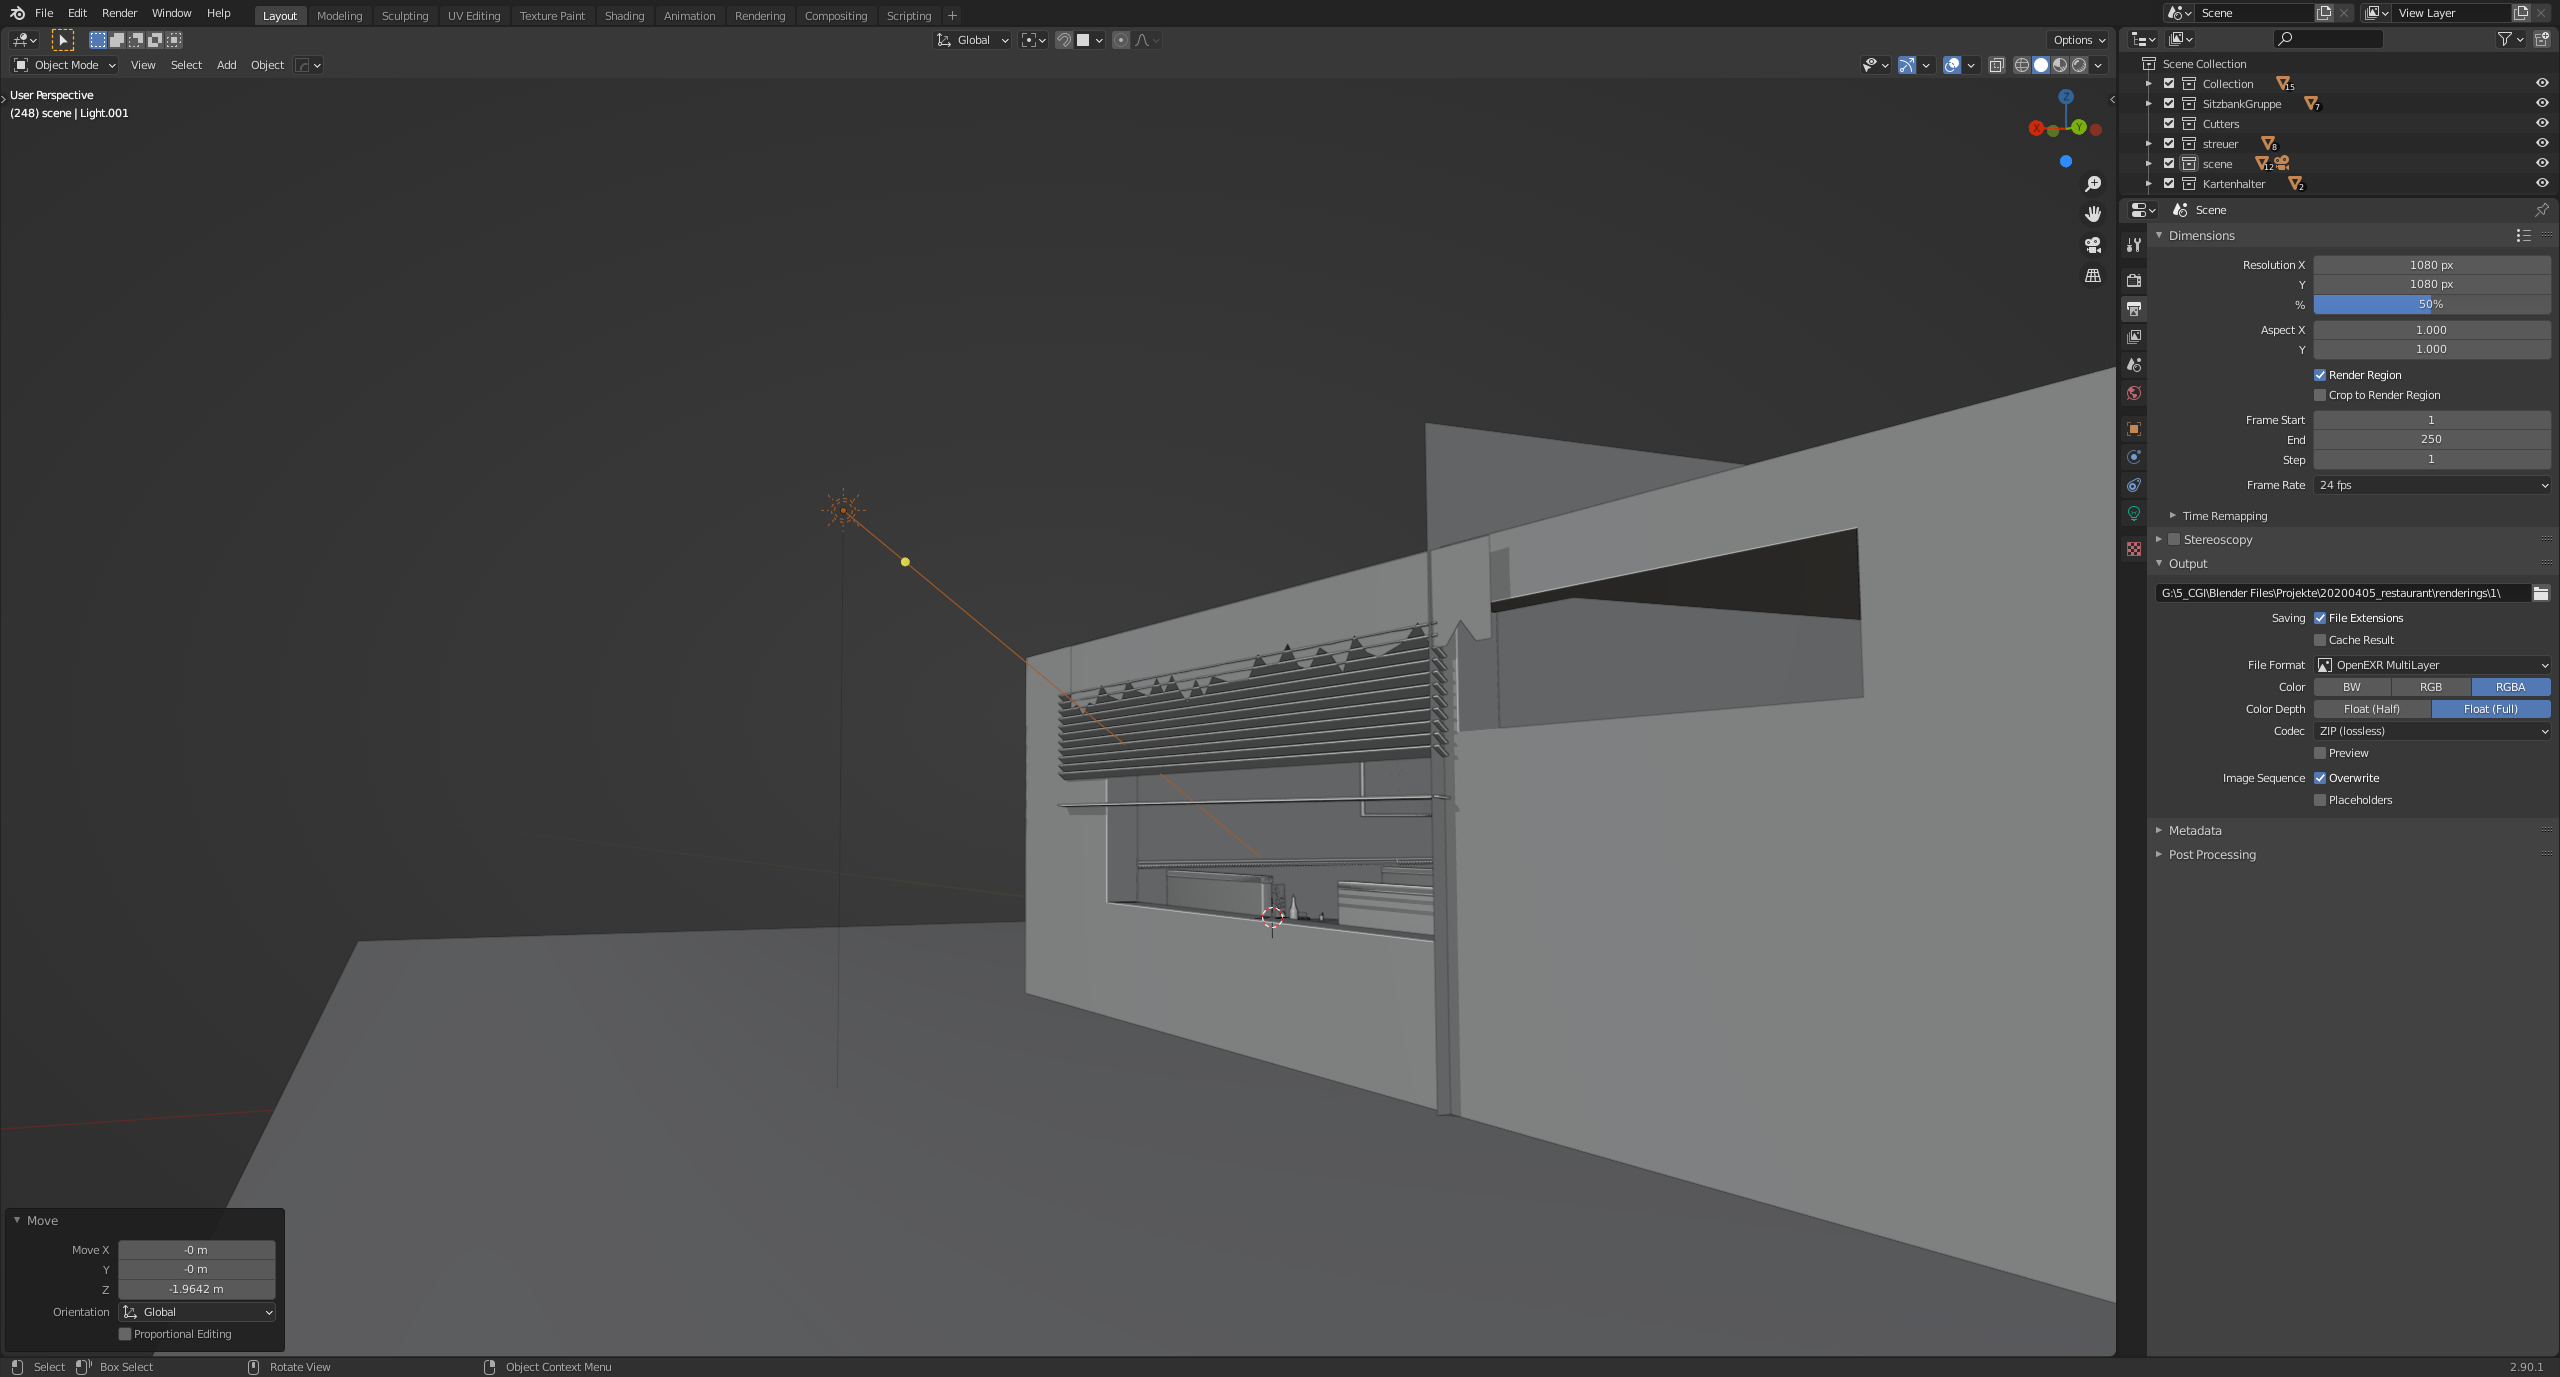
 Panel on the right shows the setting of the sunlight.
 Rendering
I rendered the image with 2500 samples at a resolution of 2160x2160px, even if the screenshot says something else :). I activated most of the passes. The screenshot shows the compositing of the passes that make up the beauty.
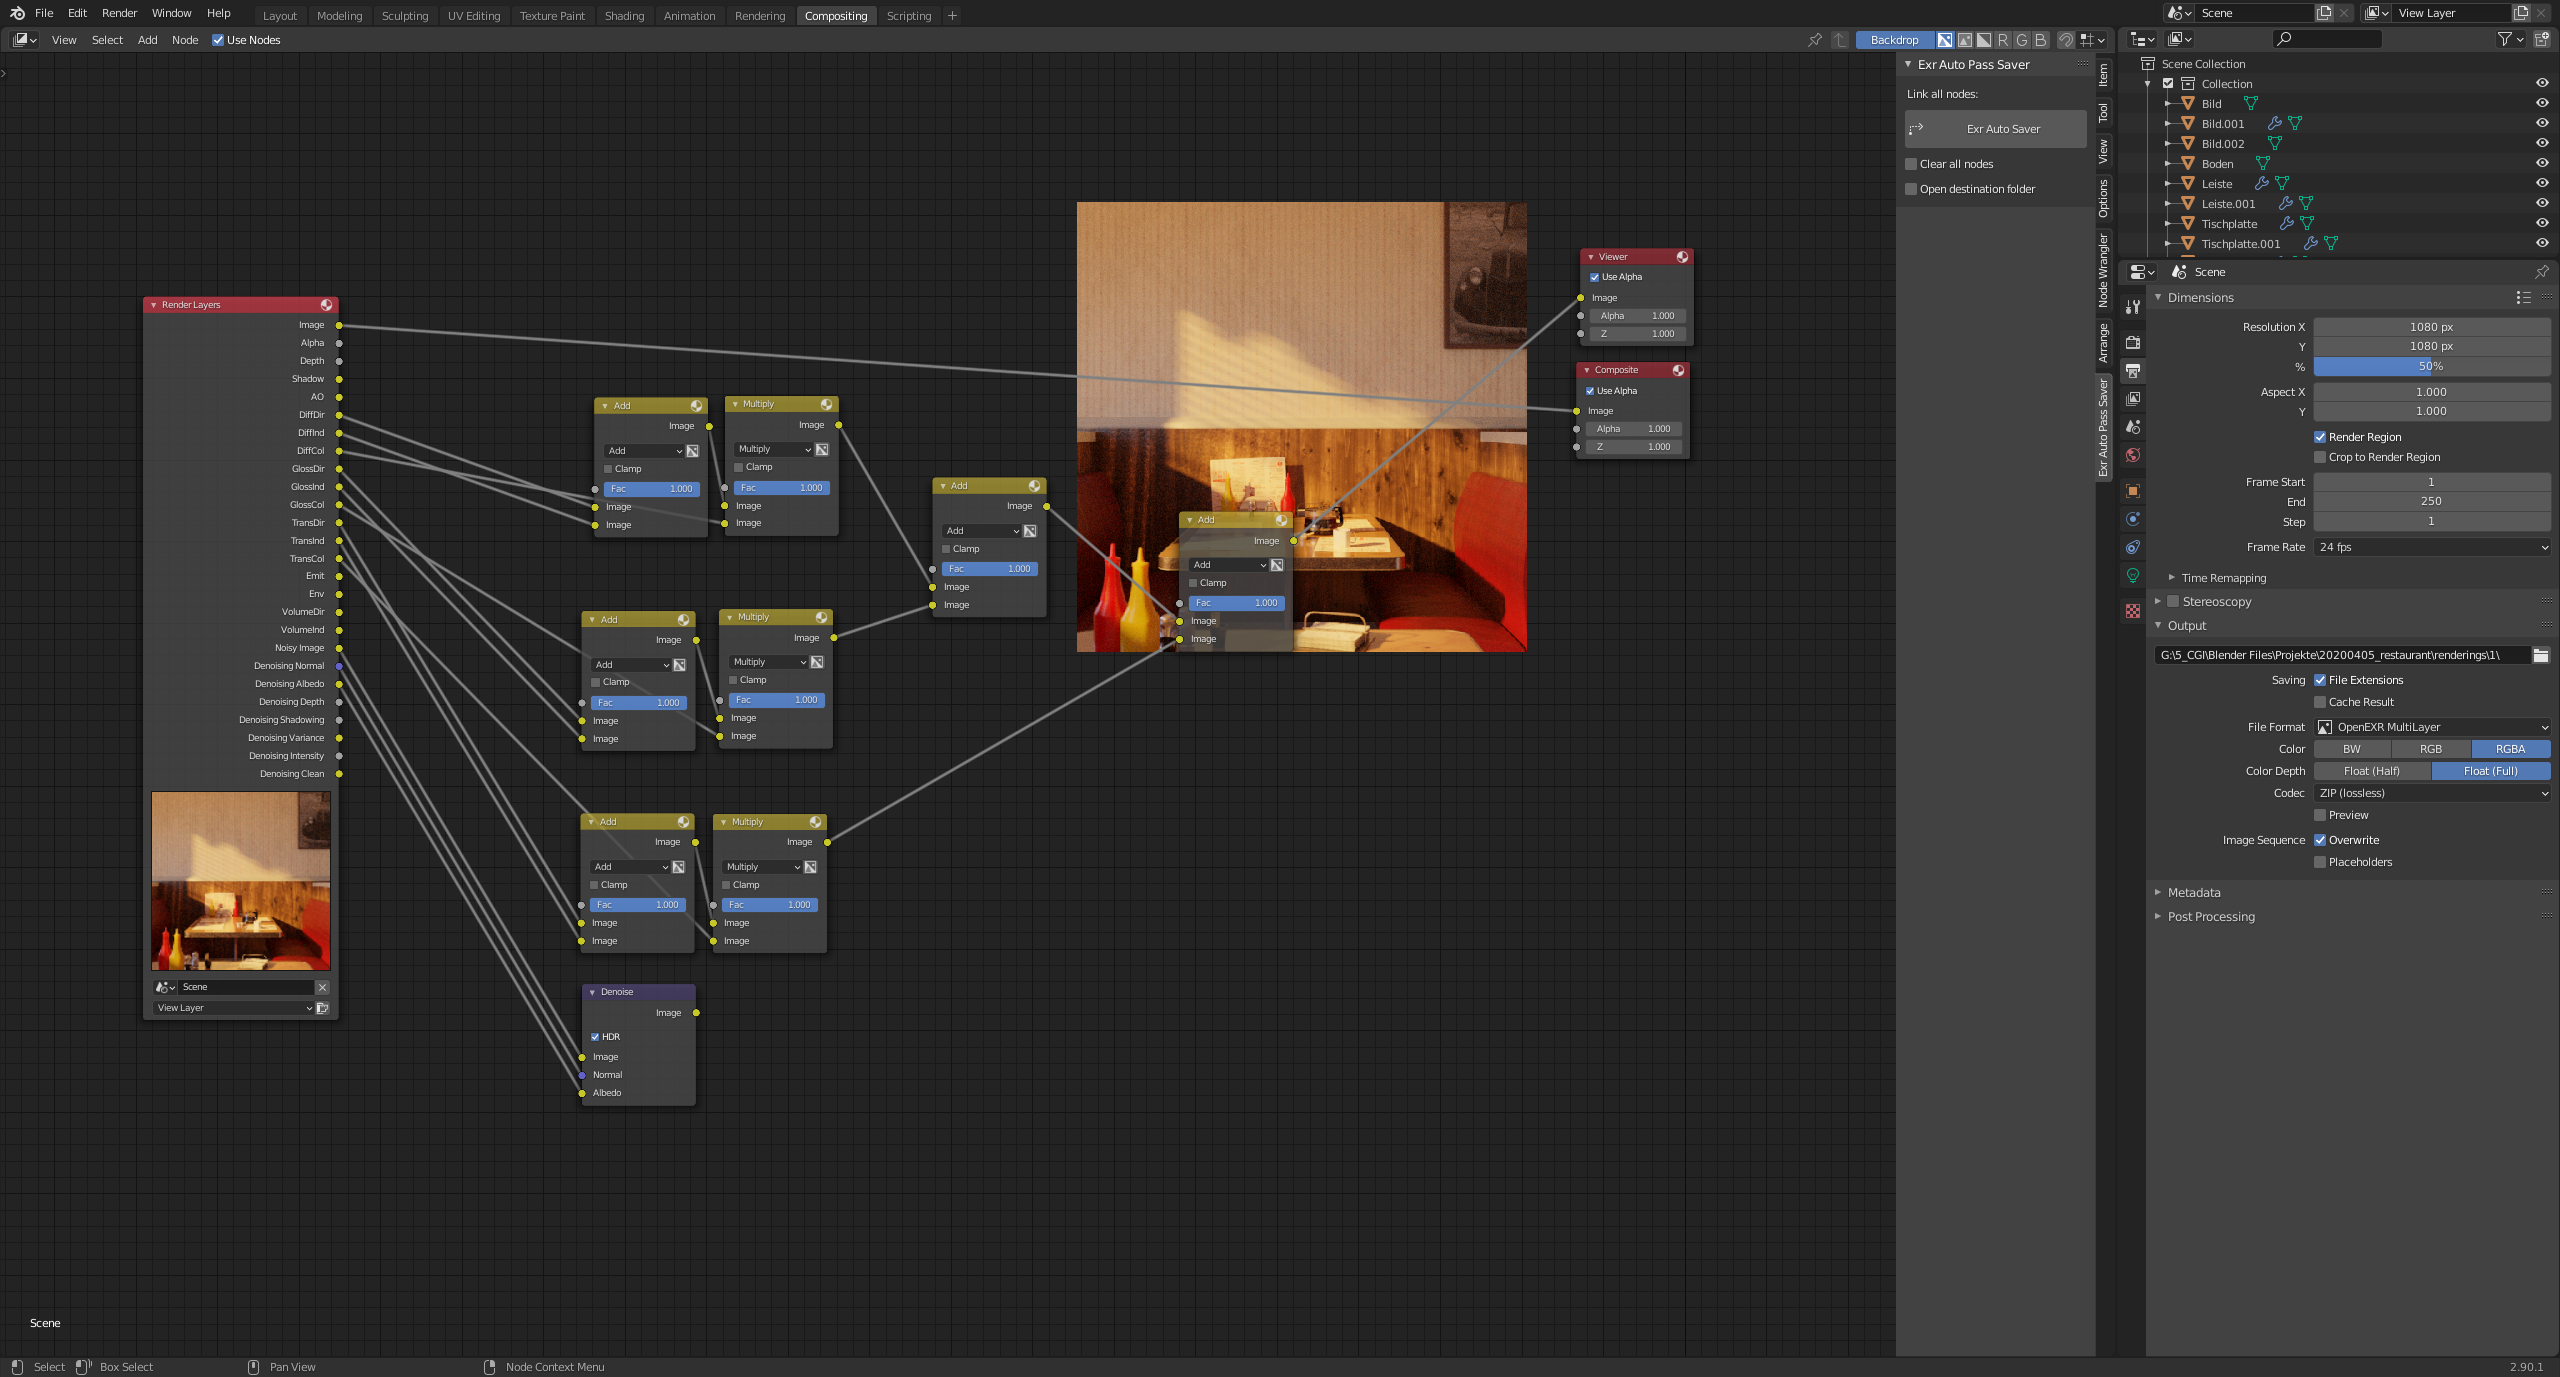
You could now add more nodes to edit the image (and passes) but I usually do this in Photoshop. This short video shows how compositing works there:
In summary:
At the beginning it is important for me to know what I actually want to do—also to know what I don’t have to do.
Then I start with the blockout, where I have a particular eye on scaling.
At the blockout, I start roughly with setting the cameras and lights.
Then I replace the blocks with the models that were intended for the space. If I haven’t already textured the models in another file, I’ll start now. During this phase, I also occasionally adjust the lights and the camera. Then it is rendered and, if necessary, I edit the image in Photoshop.
There is a timelapse video for another project of mine, Western Hope, in which you can see the complete workflow.
https://youtu.be/H1bPkzzK5mw
If you have any questions or suggestions, please feel free to contact me at Blenderartists.org or my Instagram profile. I am also on ArtStation. I look forward to seeing you there.
Thank you for your attention, stay healthy and have fun :)
About the Author
 Dennis Halbeck, 3D Artist


Here are working links:
https://www.instagram.com/xeonow/
https://www.artstation.com/xeonow