
About me
Hi guys, I'm Flavio and I'm a 3D freelance archviz artist.
My training path is purely artistic; I graduated in Applied Art, in the Graphic and Photography sector, with specializations such as Restoration of Wall Frescoes.
I met 3D by chance and it has been love ever since. I had been doing this job since 2007, always as self-taught. I have been using Blender for a couple of years now. I am one of the many orphans of XSI, but I found in Blender a means that fits me perfectly to be able to give light to my images. This is especially true since the advent of the Blender 2.80 release, which, in my opinion, manages to cover almost totally the needs of a 3D artist!

Learn more on qarnot.com.
Inspiration
This work was commissioned by the Art Director of a well-known Showroom that deals with Italian design furniture.
The inspiration, in this case, were all Blender users who post and share their magnificent works and who, thanks to BlenderNation, make their knowledge available, helping the whole community to grow.
It must be said that in my works I am always very experimental. I am never satisfied with the results, so I always try to improve. At least, I try. The beauty of this job is that you remain a student for life, you never stop learning and studying.
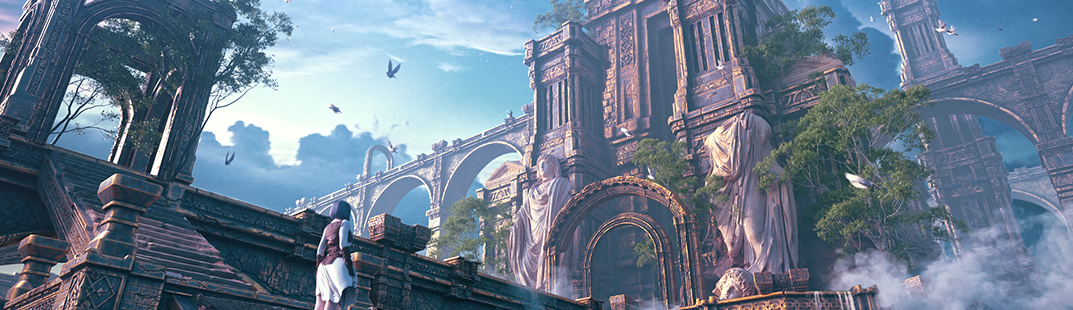
In this particular project, I was inspired by looking at some works by Caravaggio. The masterful use of light as well as shadows. In fact, I usually always try to illuminate—perhaps too much—my scenes. This time, I wanted to try to give more space to the shade, because light and shadow must have a well-blended and harmonious compromise to have a good result. I don't know if I succeeded, but the first step was very interesting.
The project
Many of the models in the scene were purchased on 3dsky.org, others come from the library made available by Chocofur (having purchased some of his courses...), and others are from my well-stocked personal library that I have accumulated over the years.
Unfortunately, customer requests increasingly require very tight deadlines, and you don't have the opportunity to dedicate yourself to modeling every detail. It's a shame because the very soul of 3D is missing, the polygonal creation of a model.
In fact, this project was carried out in 3 days.
The workflow, especially for the customers with whom we have been collaborating for years, is consolidated and we already know the guidelines and the needs that are now a standard.
Before starting to model or insert the objects, I prepare all the necessary materials, i.e., models to be purchased or obtained from the library and the textures (floors, wallpaper, plaster, wood, and so on), according to the designer's directives, so as to be able to work in an organized and smooth way.
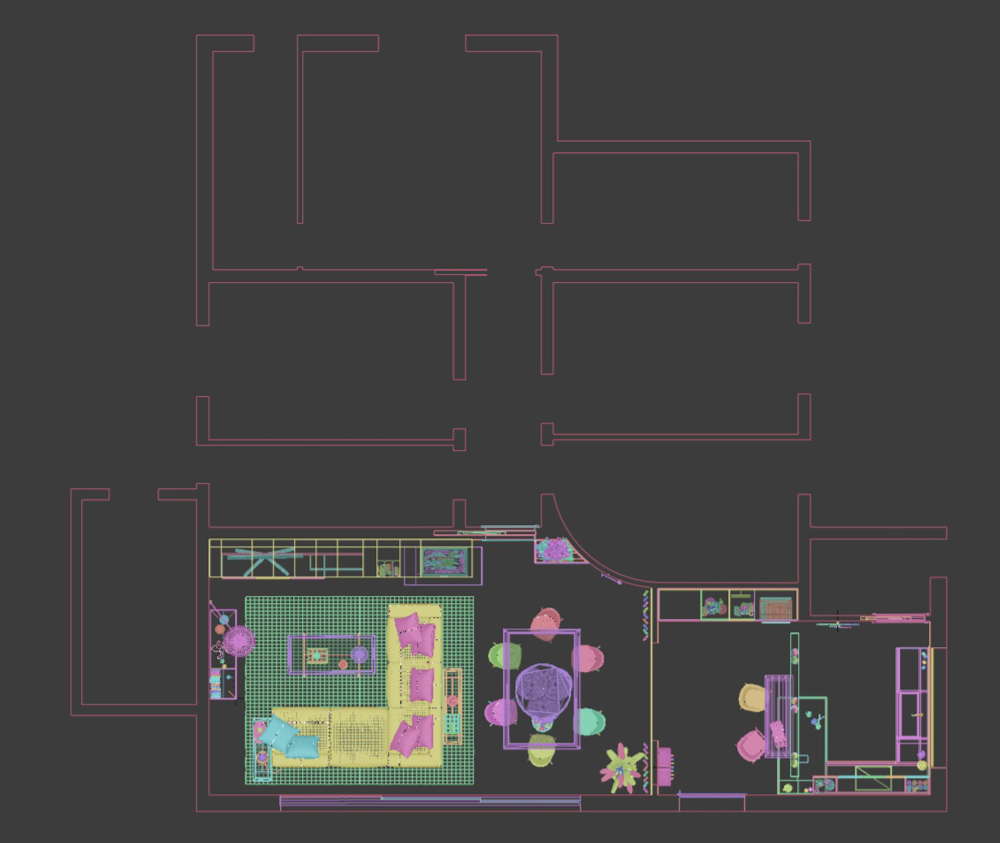
So from the floor plan, I build the scene that will contain the furnishings.
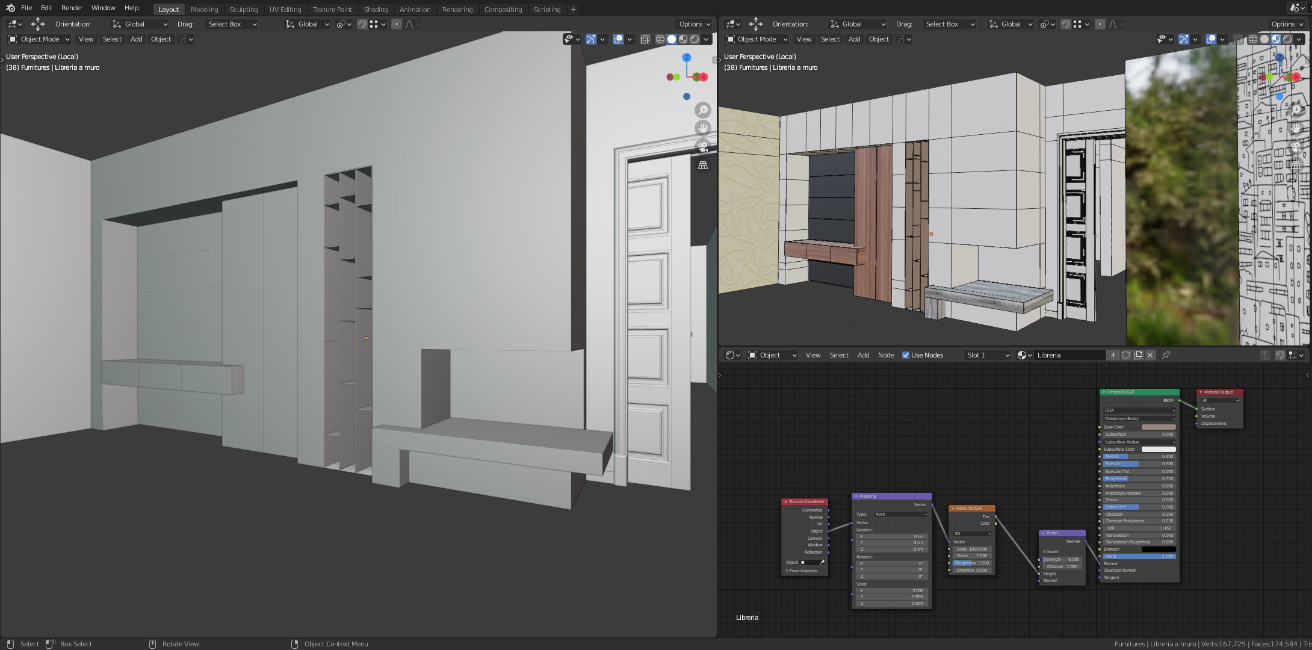
First I insert the fixtures, ready from the library and then this phase is over and I move on to modeling the missing parts or the furnishings that I have not found or that I do not have. In this case, the Presotto Hug Madia.
I take the information from the technical sheet and use the references to model it.

Then the area with the wardrobe, bookcase, and wall fireplace…
The Arrital kitchen had been entirely modeled for a previous job, so I had to "readjust" it to this new environment with the new materials and some modifications.

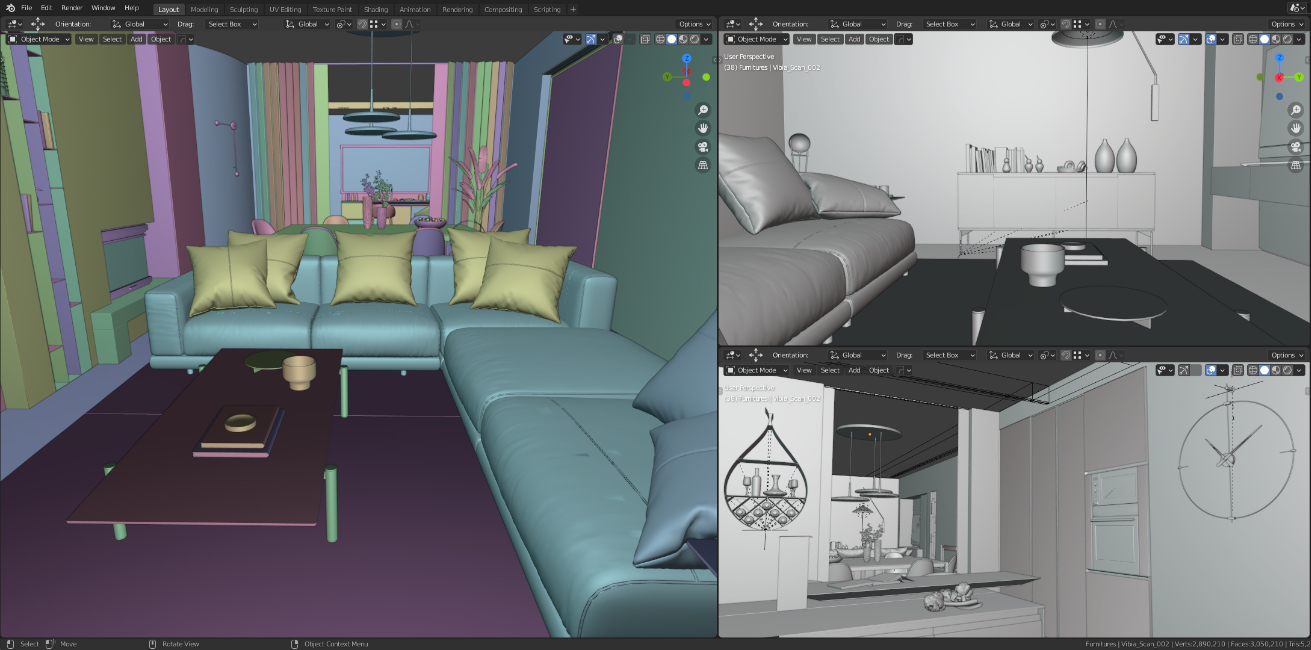
The final step was then to insert the remaining models into the scene.
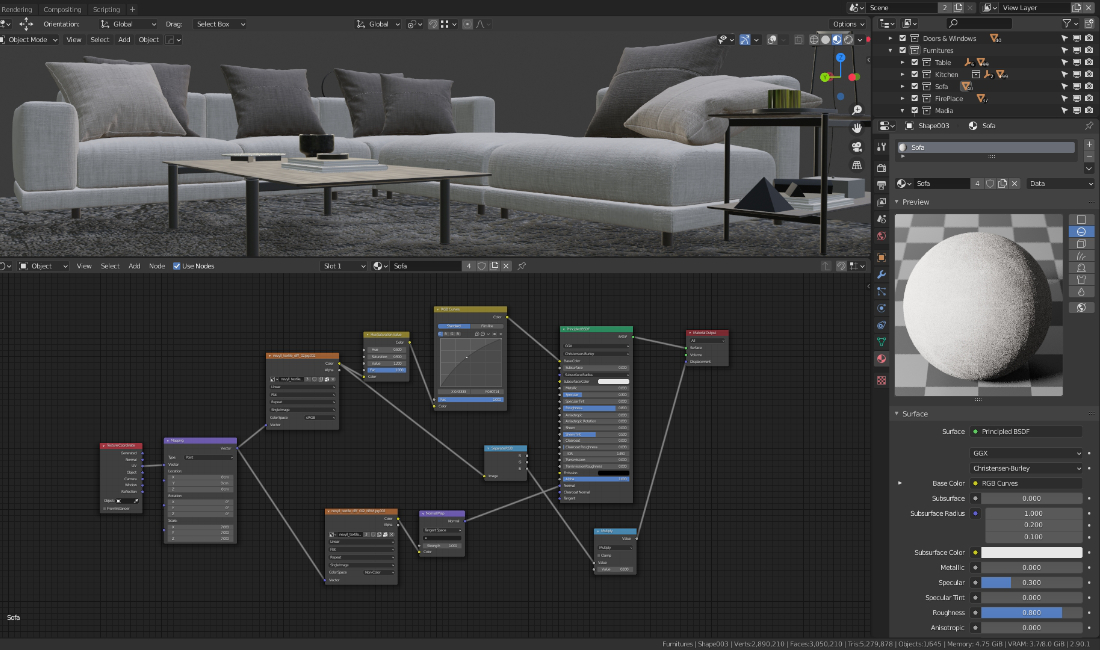
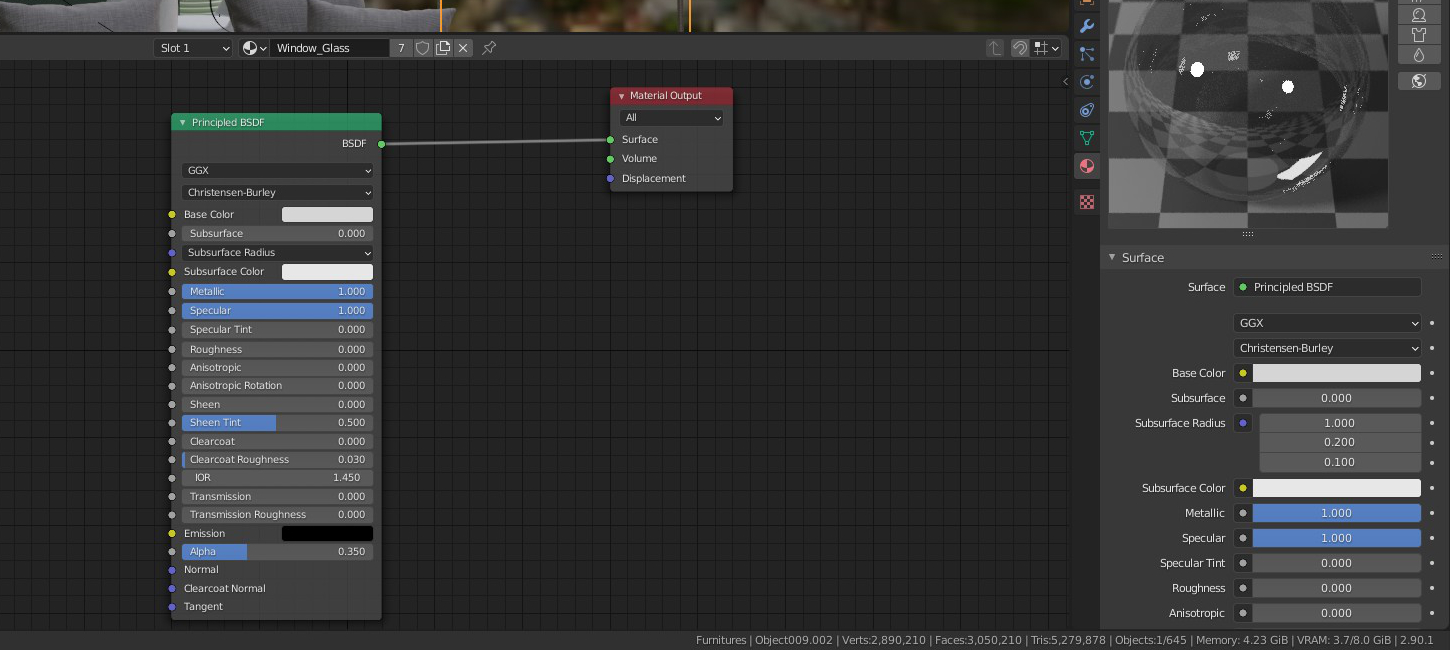
Shading
With shading, I try to reserve experiments for personal projects or on works where I don't have the sword of time hanging over my head.
Many times the shading is extremely simple in spite of what one might think.
For example, the fabric of the sofa.
Or the metal of the table.

Even glass.
Lighting
Lighting is the most difficult part for me. Each scene requires attention, a single rule cannot be applied to everything, also because there are basically no rules. It really depends on what you want to achieve.
Having a clear idea is an excellent starting point.
Basically, I don't like to use the Sun, I really prefer soft light and soft shadows. I rarely use the cuts of light that enter an environment with clear shadows, only if the furniture and the structure I'm working on allow me, making the play of light and shadow interesting.
In this case, the lighting is done with a simple HDRI (taken from HDRI Haven) and the addition of some Area Lights outside the window and door openings.


In this case, I inserted the Area Lights not so much to add brightness, having a low value of 30w, as to balance the strong and warm colors present. The Kelvin is set at 12,000.
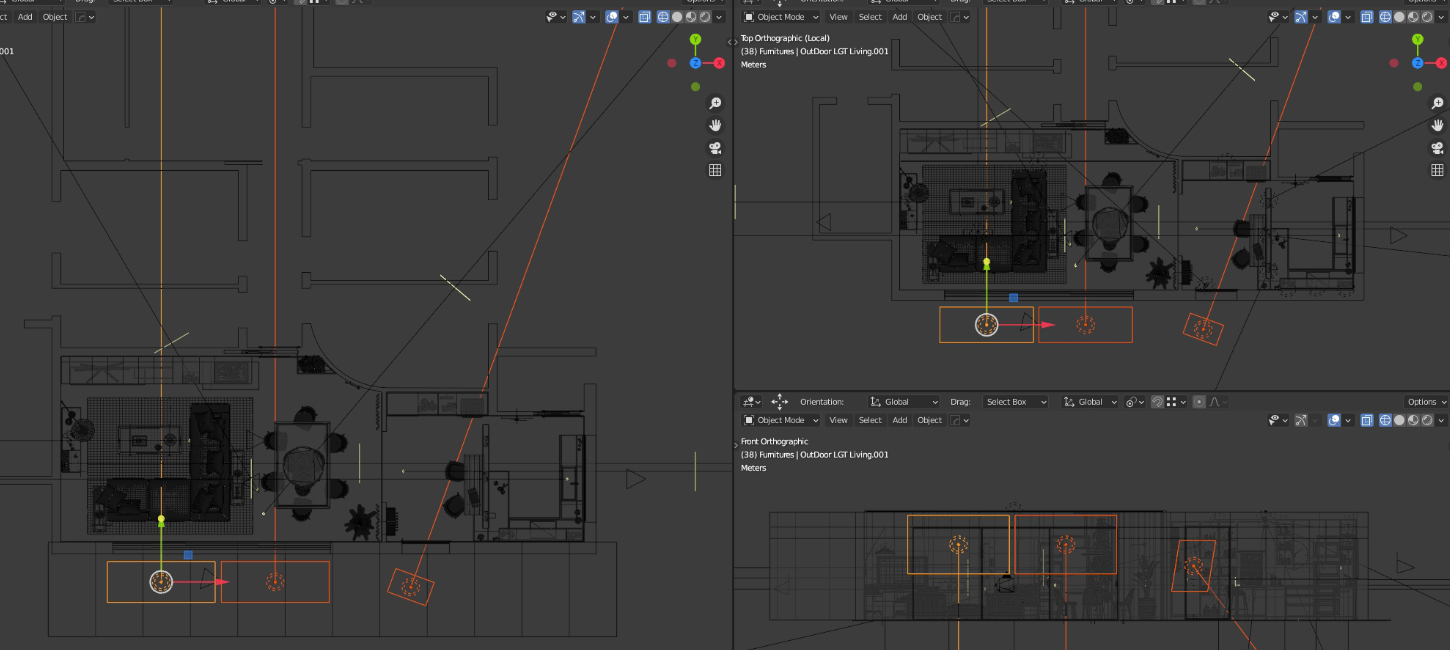
Extremely important are the lights located inside, which tend to give movement and balance the composition of the image.
In this case, I use an Area Light with Kelvin ranging from 2,700 to 3,200, a very warm light.
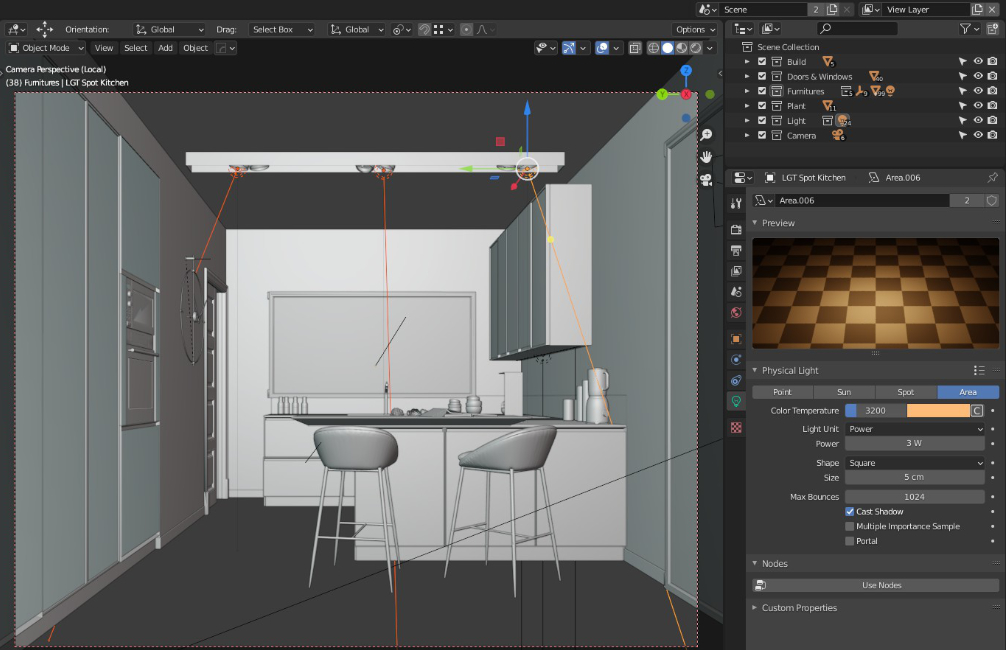
I usually tend to use IES lights in interior spotlights, in this case, for convenience and lack of time, I skipped this step.
Camera settings
The part that many tend to underestimate is the importance of the camera and the composition of the scene, the shot.
In framing the scene, the study of photography is essential and obligatory.
Composition rules help a lot, as does the rule of avoiding crooked, staggered or unlikely perspectives.
The lines of my shots are always perpendicular to the floor. I play a lot with the SHIFT Y and X of the camera, in addition to the Clip Start, especially when dealing with reduced environments, and I do not go beyond a focal length of 30mm.
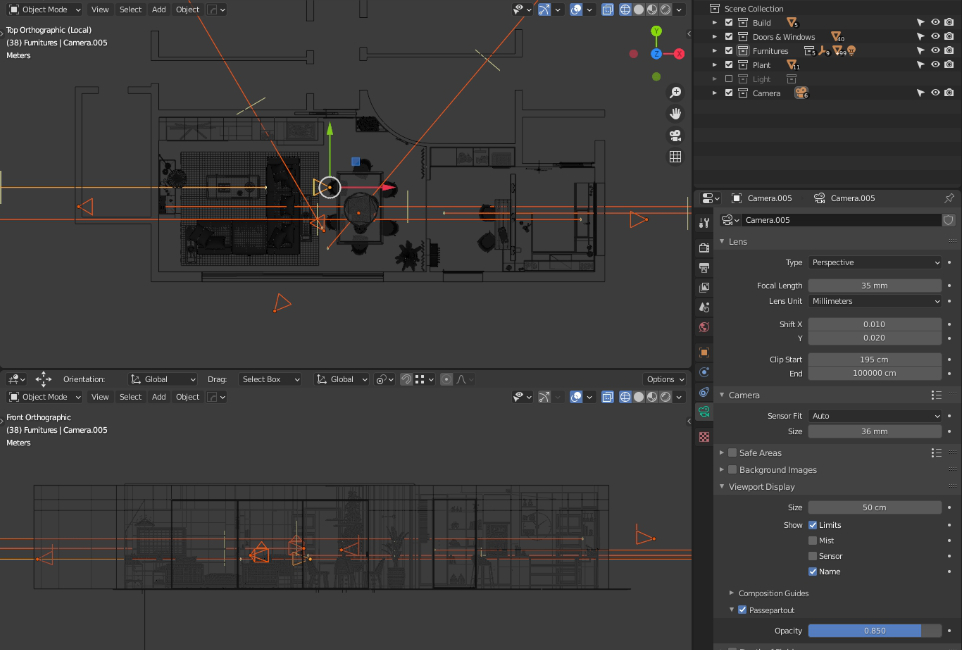
For the camera, I use the Photography add-on, which is extremely useful, user-friendly, and powerful!
It’s very useful, especially if you want to set different resolutions between the cameras. Convenient.


The scene settings are very simple, here is a screenshot.
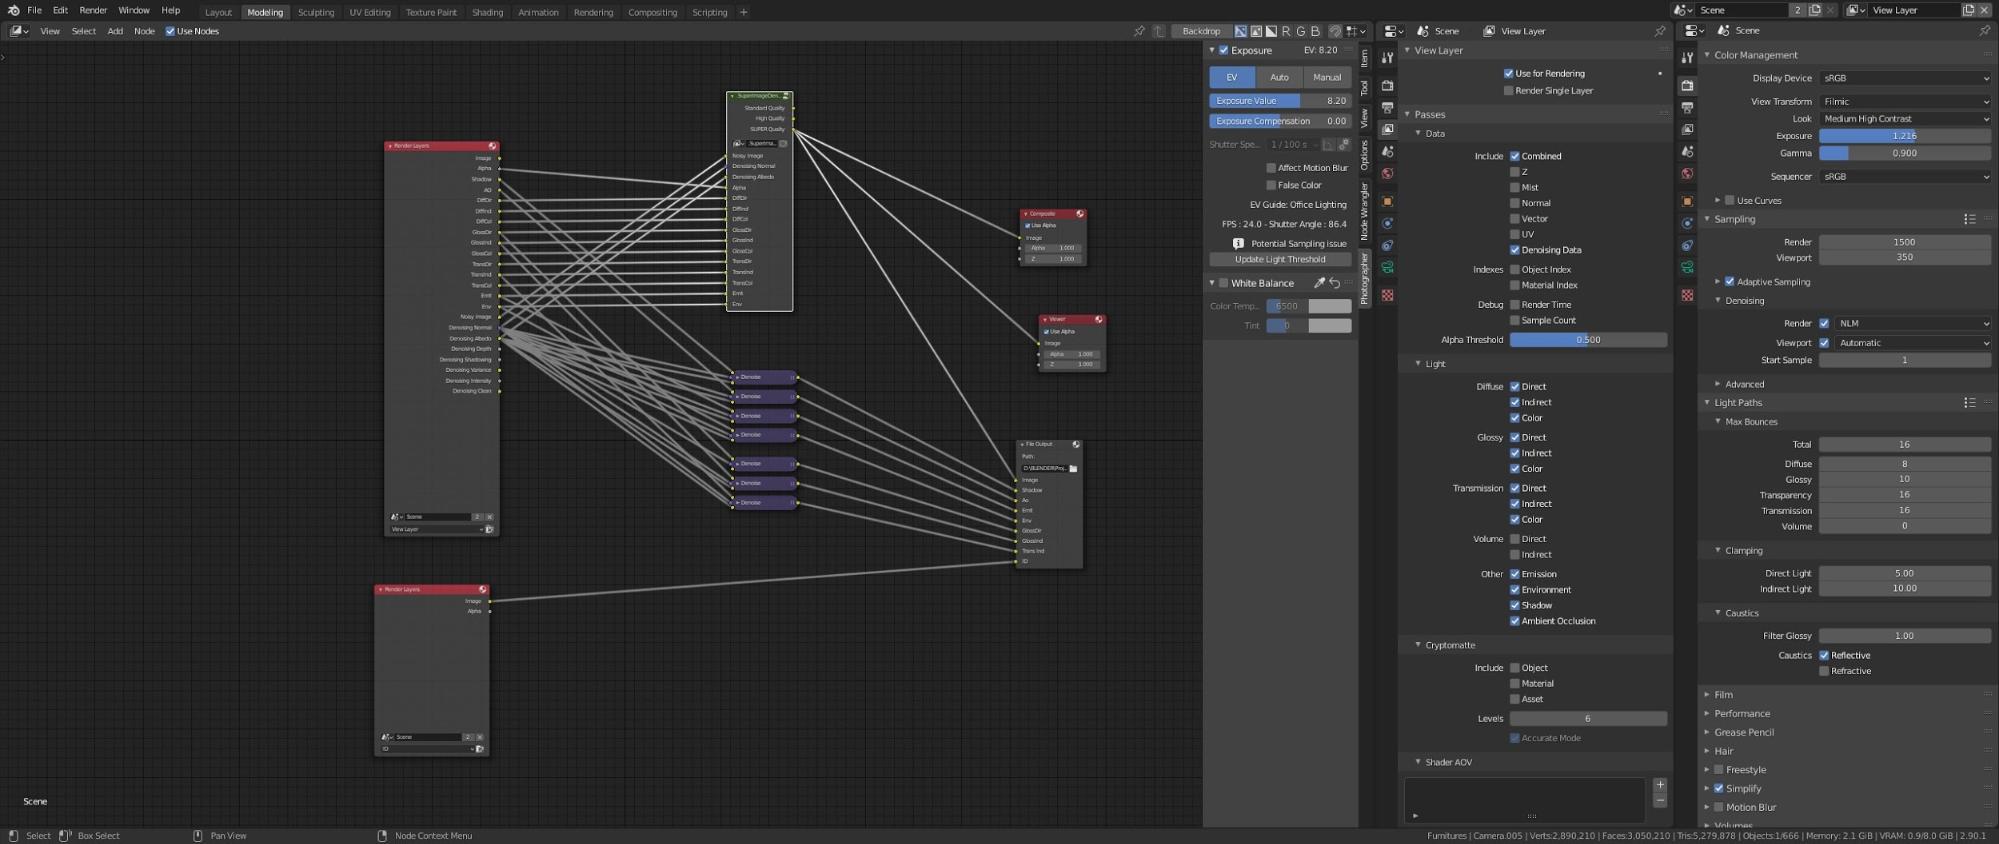
In this case, I calculated the scene with Blender's Denoise NML, so I left out Optix or the SuperImageDenoise addon that I often use. I often find that these denoisers flatten the scene too much and lose too many details.
2000 samples for 4000 px in size, then saved all in a .exr file.
As a habit, I create a new layer in which I insert an ID material into the Override with which I then calculate the ID map. This approach is extremely convenient in post-production!


Almost all these topics are dealt with in a Video Tutorial that I made where we start from modeling up to post-production. The videos are in Italian, but I intend to insert subtitles in English to allow everyone to enjoy them.
If anyone is interested I leave the video below.
My PC specs
- AMD Ryzen Threadripper 2950 x 16 Core/32
- 2 x RTX 2080
- 1 x GTX 1050Ti for monitor
- 32 GB Ram
About the Author
 Flavio Della Tommasa, 3D freelance archviz artist