
Hello my name is Ricky Purnell and I am a 3D artist and thought I would share my workflow that helped me create my latest work, hoping it will help others in the future.
The Sole
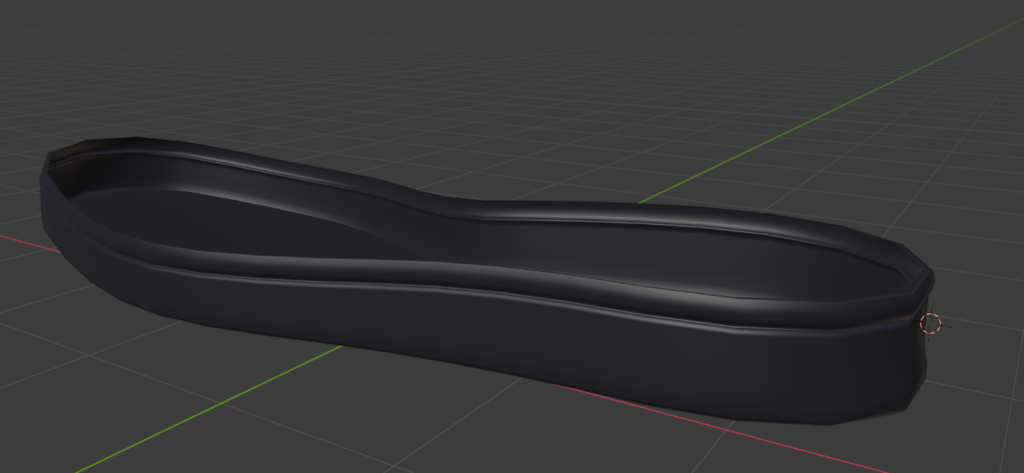
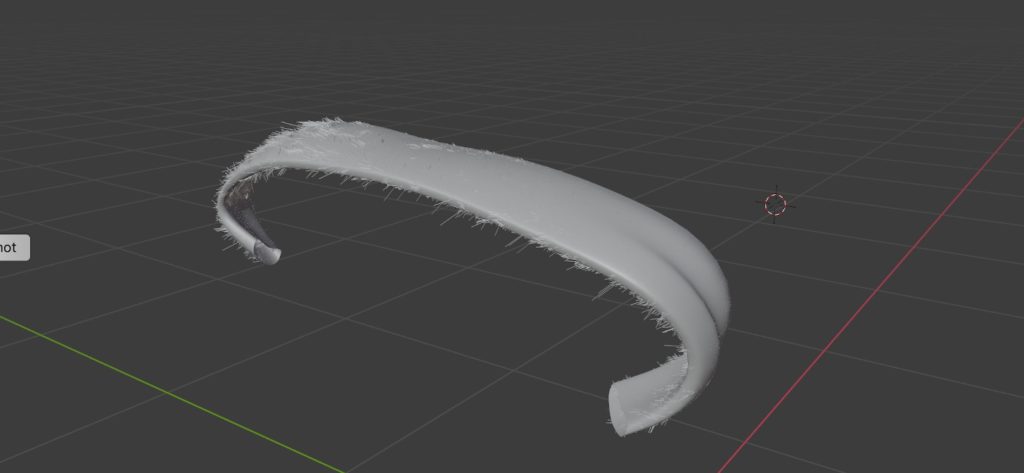
The first thing I like to start with is the Sole of the shoe. This part is always the same shape and shouldn’t be adjusted to the rest of the object. Its also in my opinion the most fun part.
I start in top view and map out a plane as a flat object and when happy extrude down and construct the sole. The other sole details can be added at this point also. As the sole is a flat object everything is much easier to build.


The Bottom studded details are created using multiple arrays. The cross sectioning worm like detail of the bottom of the sole is also added using a curve. A boolean is then added to the sole, this will make the studs cut away around the edges and also the cross section. The 2 Adidas logos are created with real geometry and the logo housing also making use of a booleans to make way among the studs.
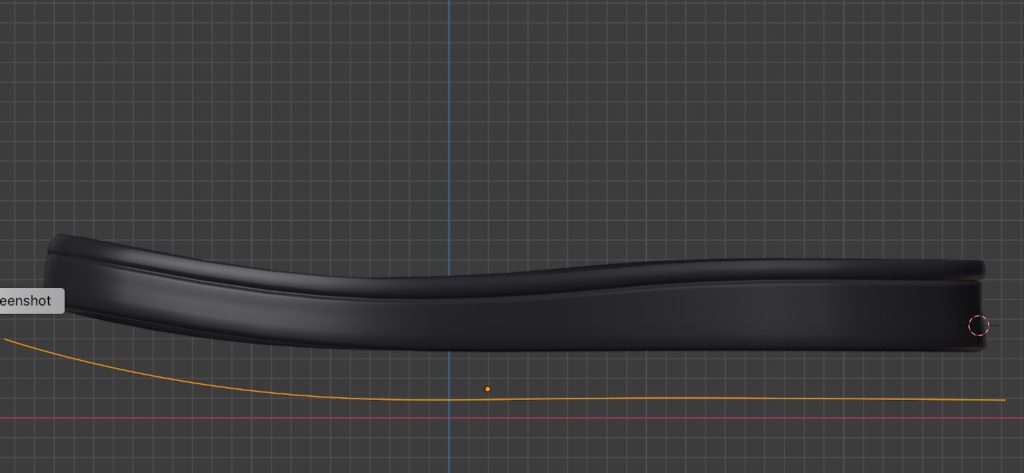
I add a curve and use the curve modifier to deform the sole to the upward curving shape. This allows for easy editing and adjusting later the flat object if needed without worrying about losing the curve. All other eventual sole parts and details will also use this curve.
The Shoe
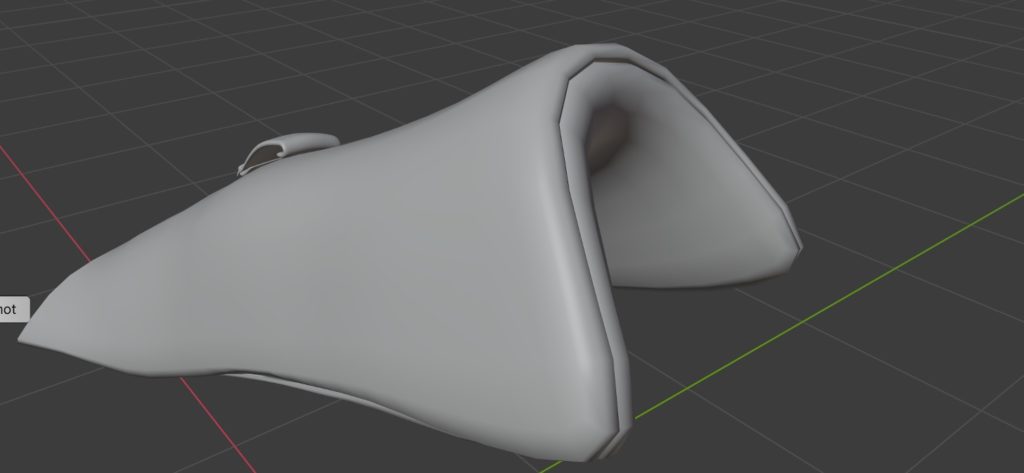
I like to create a template of the main shoe. This is the most important step and will allow everything after to be a smooth (er) process. This will allow any paneling to be shkrink wrapped to the template. I will also at this early stage add a displace modifier to the template to make the shoe appear softer and not a solid object. This is essential do add it here and not to the individual panelling if you don’t want to spend endless hours pulling around the panel edges to cover small gaps and holes visible near the end.
Eventual stitching will also use the template.
Depending on the shoe, you may wish to duplicate the template shape and use it as a base for the shoe. You can then design your topology as you wish with the shrink wrap modifier holding things in place.
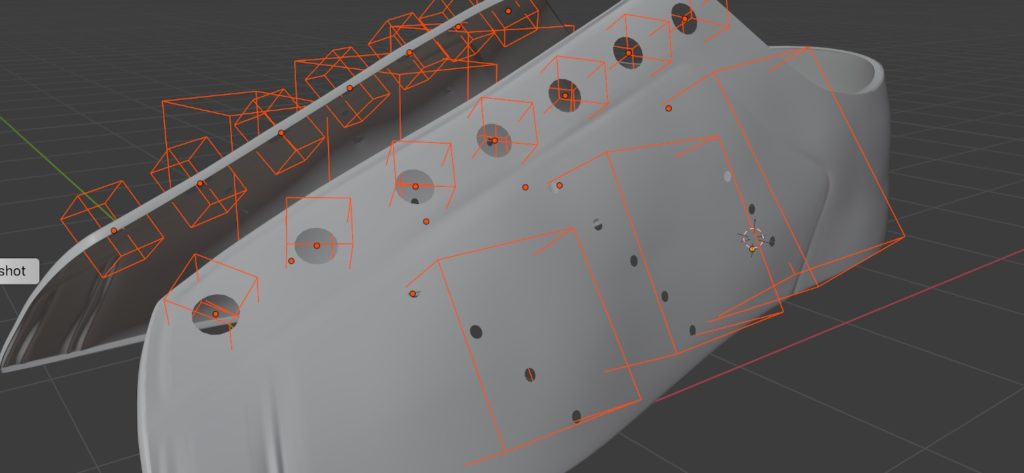
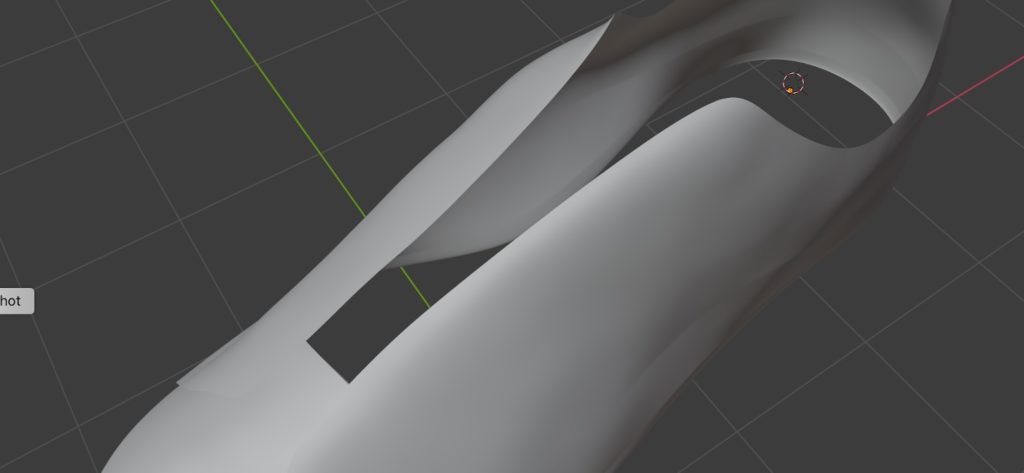
I create all the holes in the shoe using booleans. Because its easy to do and again allows for easy editing later and contributes a bit less geometry.
The tongue is a fairly simple object. With 2 separated meshes sitting close to each other. I created this early in the project but would recommend waiting until after the laces are complete. The intersecting tongue and laces issues were endless.
I created the laces using a simple short flattened cylinder attached to a small curve. This was duplicated multiple times for all laces. To avoid patterning you may need to go in and pull a few vertices. As I added the tongue early I adjusted the laces as a matter of need to avoid intersecting with the tongue. Maybe this was a good idea after all instead of randomly adding variation.
I also have 2 particle systems added to the laces although the effect is very subtle. One system is for very small amount of hairs which are a bit longer and random. The other system is for shorter hairs that are a bit more compact and of more quantity.
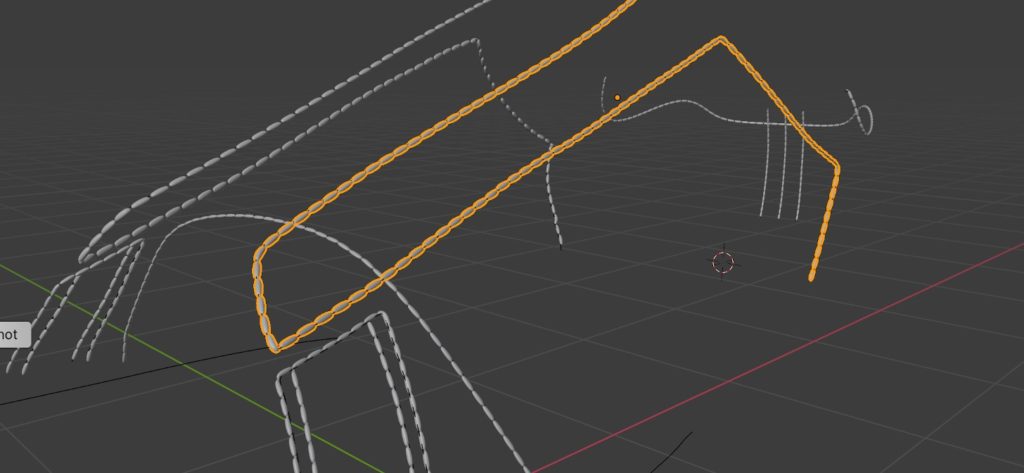
The stitching can be created in 2 different ways. One way is by duplicating the template mesh topology that lies close to the stitch path and converting to a curve, this will require a bit of planning as your original template mesh or the duplicated mesh will have to be planned and diverted to follow the stitch lines. This will also give you the added option of creating a valley for the stitches. Stitches on real shoes tend to push the leather into the shoe a little.
The other option is to create a new mesh line or curve specifically for the stitches and use the template as a shrink-wrap object. If you use this method the valleys can be created with a normal or displacement map.
The stitches are simply added to the curve, whichever method you choose.

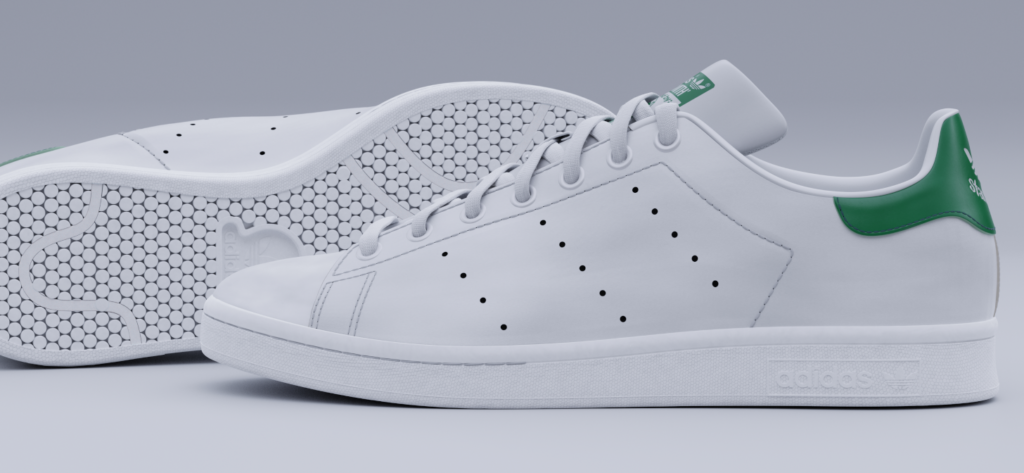
The final scene is simply a standard scene floor and a HDRI. No additional lighting is used. I dropped the lighting a tad so the whites could separate a little.
I hope this tutorial gave an insight into my process. Im sure there are other ways to make a shoe, this was my way after a bit of experimentation. Hit me back in the comments if you have have any other ideas or improvements on my method.
If you want to visit some of my other work go check out my art station.
1 Comment
Very nice work!