
About
Hi, my name is Marcel Luiz Stocker. I’m 24 years old and I am a 3D Artist based in Santa Catarina, Brazil.
I started to learn Blender almost 3 years ago when I completed my bachelor’s degree in Game Design in late 2017. I had some background experience with Maya in college but never liked it. After my graduation, I tried again to start learning 3D but this time with Blender (version 2.79 at the time).
Learn more on qarnot.com.
Inspiration
The main idea was to make a render for my sister, who is a pediatric dentist. So I started thinking about how to make a tooth 3D model cute. The challenge was to get a stylized visual with an adorable color composition, a loop animation that demonstrates a clean tooth after a brushing, nothing too complex.
I searched on Google images for some references for “cute tooth”. A few images gave me ideas, so I created a canvas on PureRef with some selected images to filter the art style I wanted to capture.
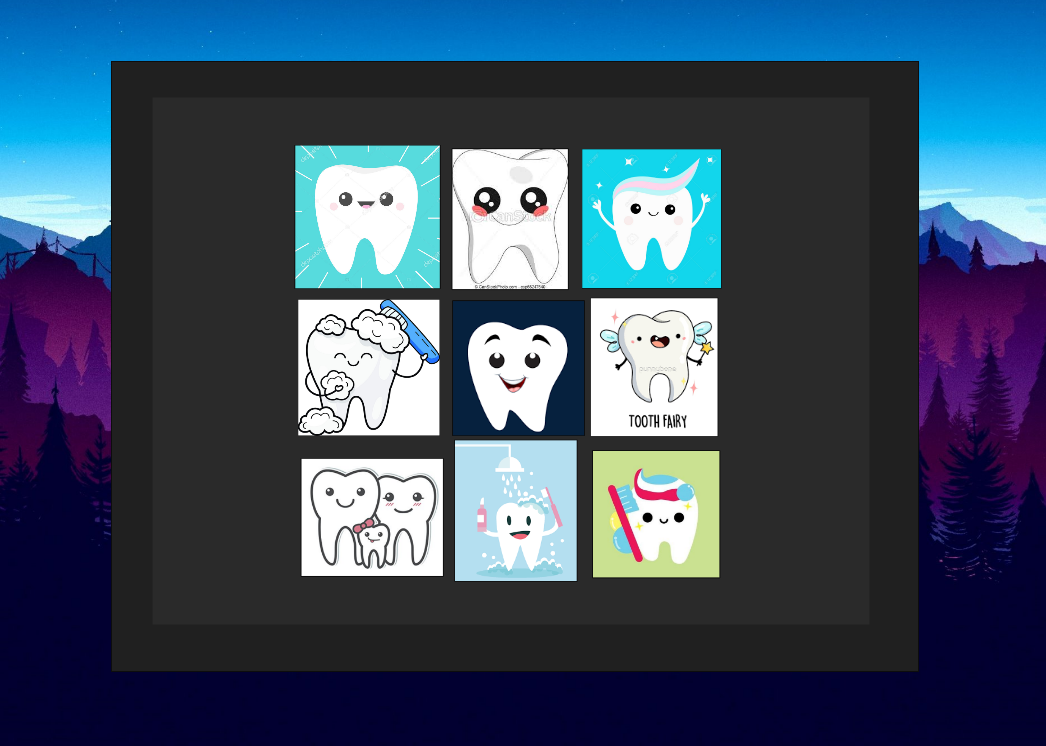
Yes, I use a lot of references :)
Tools
To create this art I used Blender to model and render, and PureRef to create a canvas for image references.
Modeling
For the modeling, I started with a cube and added some edge loops. I edited with proportional editing to get the shape as close to the references as possible. I added a mirror modifier to make it symmetrical and a subdivision surface modifier to create the smooth surface.
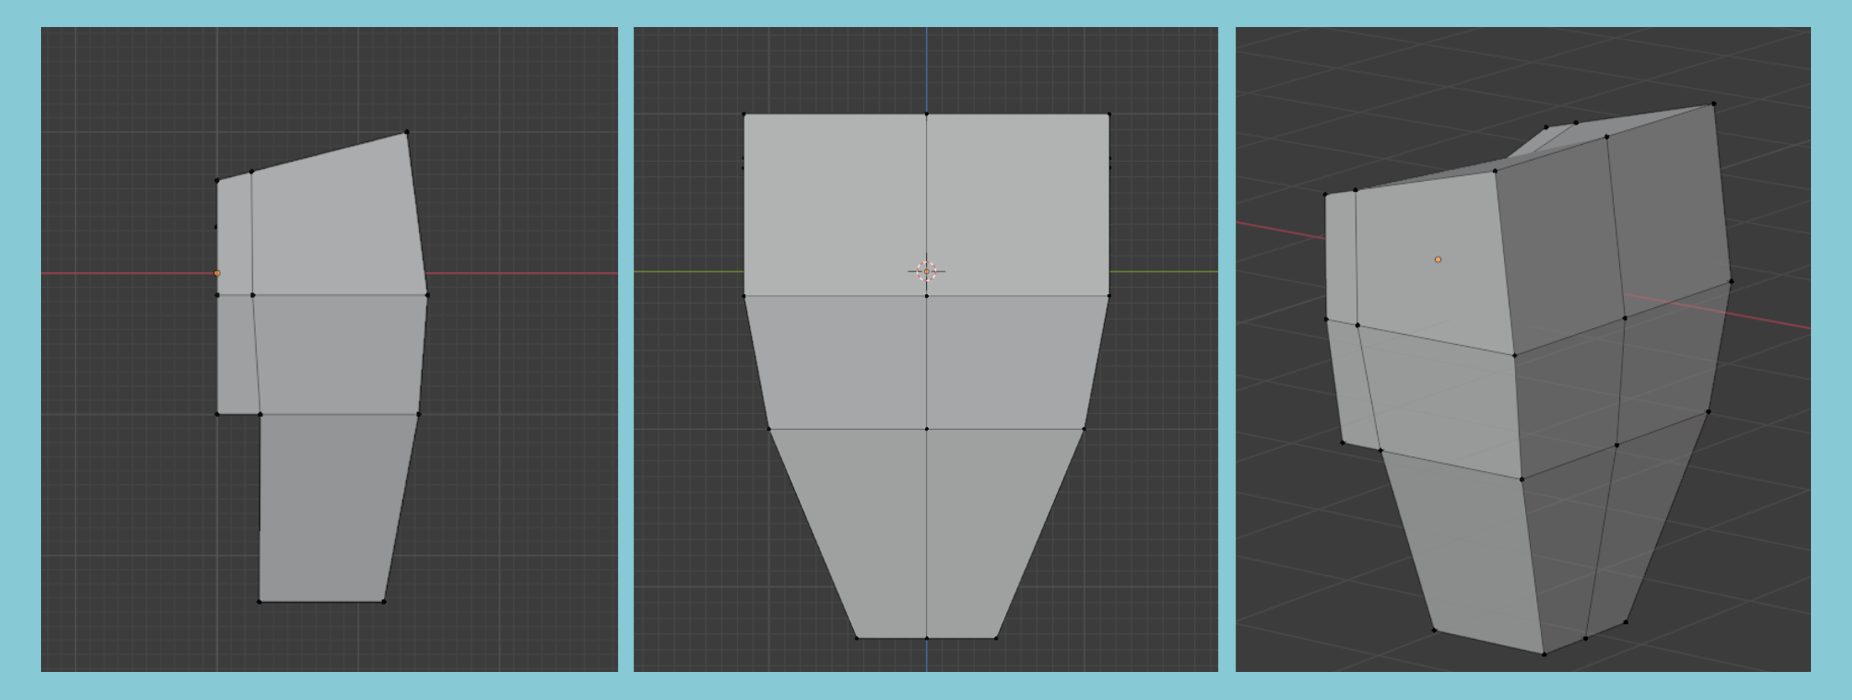
Don't delete the default cube, use him!
The objects used for the face are all basic shapes: the eyes are circles, and the eyes’ pupils are duplicated objects. To the cheeks, I added a sphere and used proportional editing to get the shape. To avoid having to duplicate work, I just added a mirror modifier to the objects that would be used on both sides.
For the smile, I added a torus and removed a little more than half the faces to create this “happy expression”. It was important to set as parents all objects that make up part of the tooth to help when doing the animation process. There’s the basic tooth modeling. Now let’s go to the moving platform.
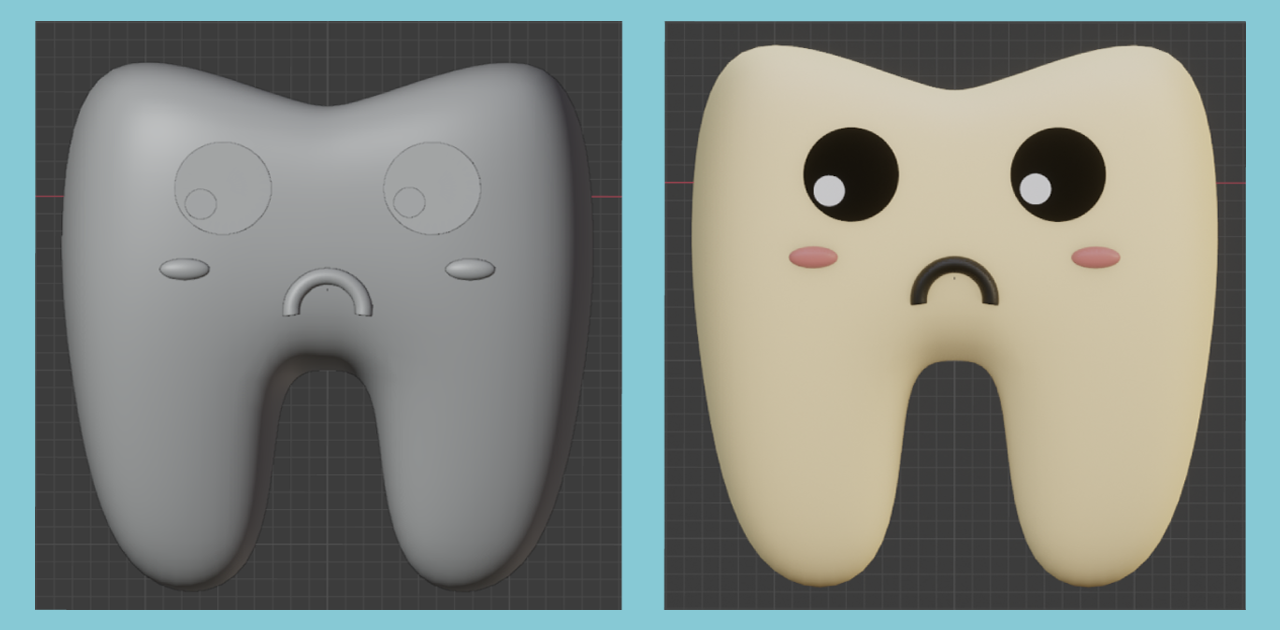
The tooth starts with this expression.
To add colors to the models I used Blender’s default Principled BSDF shader, changing some properties as needed. To change the object material colors when animating, I keyframed the shader properties.
To make the platform, I scaled a cube and added a bevel modifier to get nice edges; hard 90-degree edges are not comfortable for the eyes and do not match the rest of the modeling and the purpose.
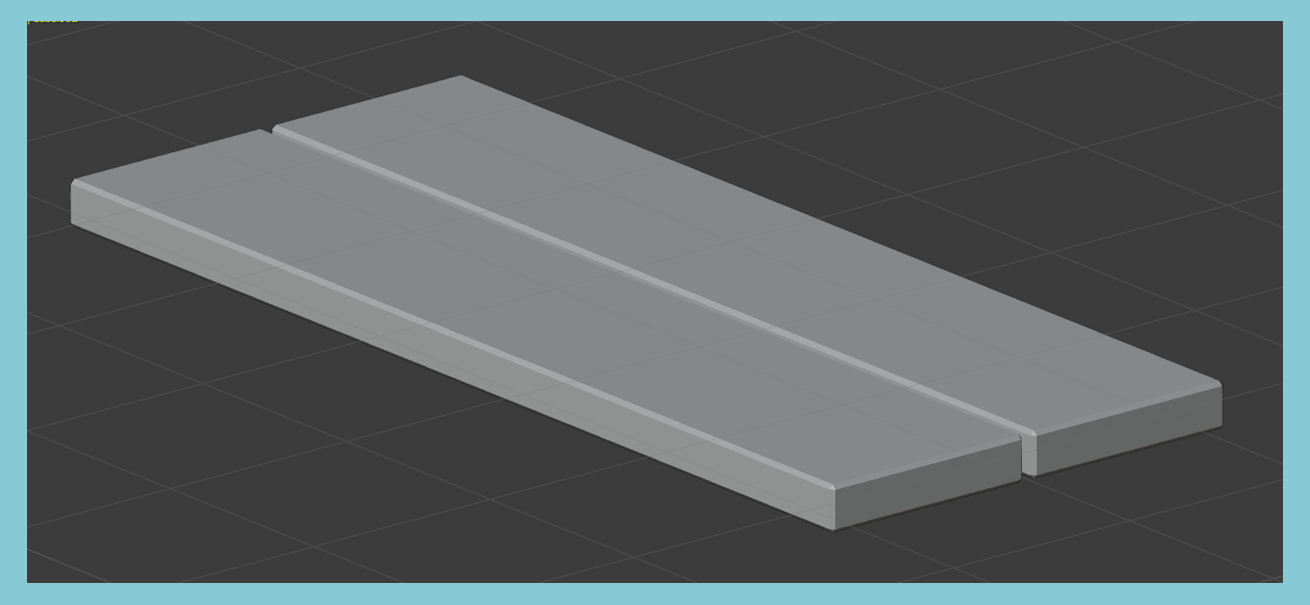
Bevel modifier gives a nice edge look.
An easy way to extend this platform was to use an array modifier instead of placing every piece one by one. As I had used two colors, I placed two different colored pieces side by side, with a small distance between them, and used a fixed count, as needed, with relative offset distance on the x-axis. Then the platform was ready to animate.
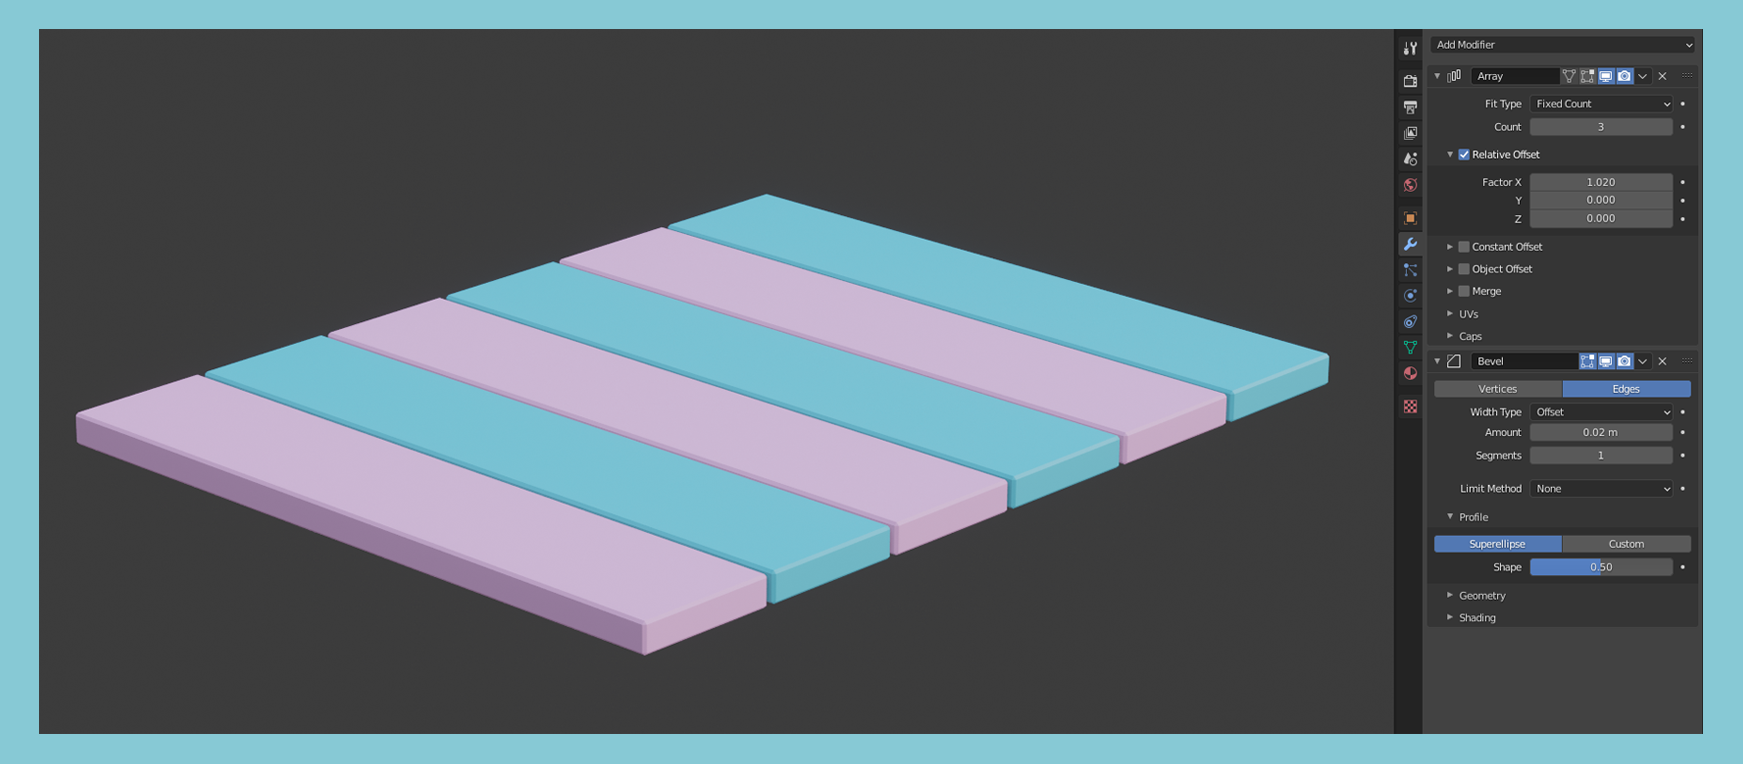
Array modifiers can save a lot of time.
To animate the platform, I just increased the array number and set the movement offset of the camera. For all the animations I used the default bezier curve.
The toothbrush is a cube with loop cuts and subdivision surface applied. The bristles are just a cylinder with some loop cuts, copied with the same principle as the platform—array modifier, but this time I used two of them, one for the horizontal position and the other for the vertical position.
For the bubbles, I created multiple spheres with random scales and positions, parented them to an empty object, and linked them as “Child Of” with the scale properties enabled.
On start, the empty object has a scale of 0.010, and when I want the bubbles to appear I just changed the scale values (x,y, and z) to give this random “grow-up” effect. When the bubbles have to exit, I just set the scale values to 0.010 again.
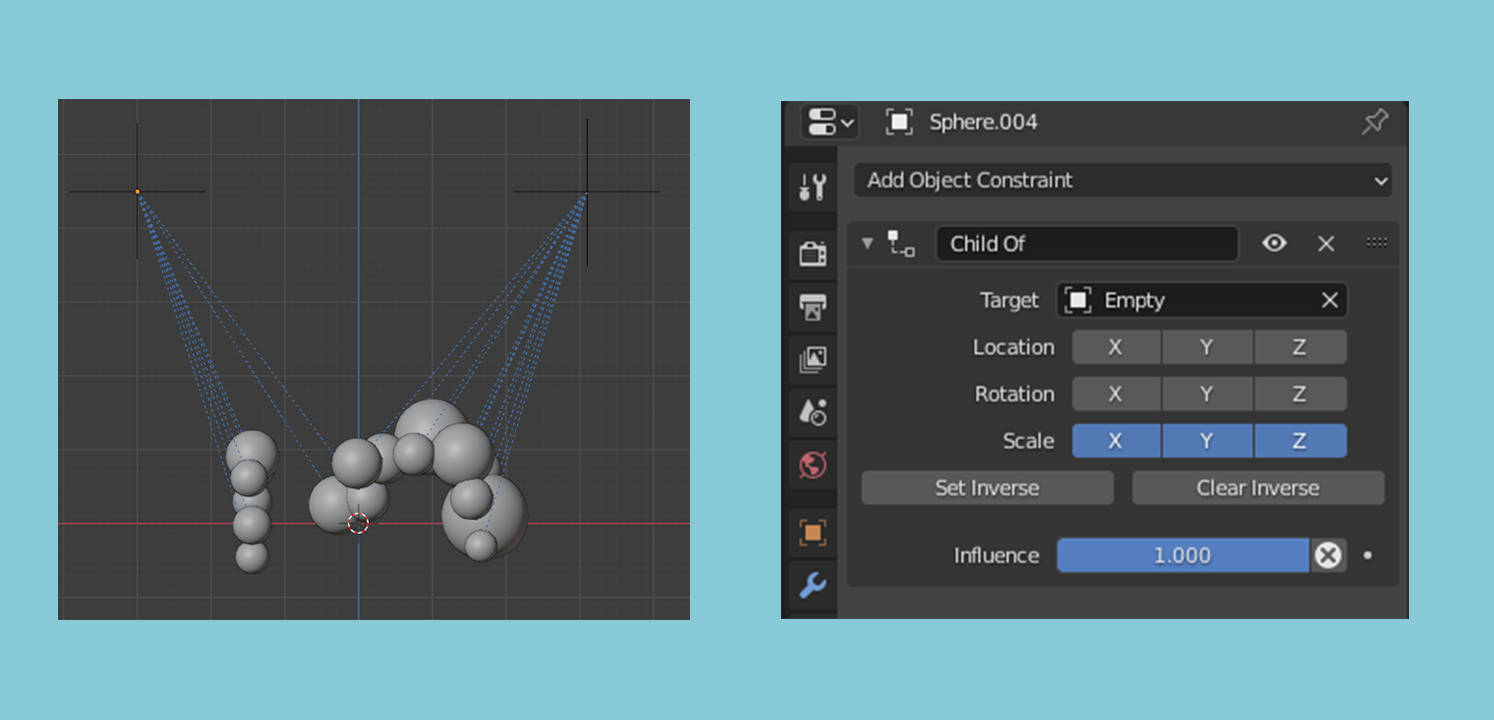
This trick makes bubbles alive :)
Every bubble sphere has shape keys to scale its size individually, thus the bubble spheres don’t exhibit uniform scale movement. For every bubble sphere, I randomly assigned shape keys values and animation time keyframes.
To change the facial expression, I didn't see a necessity to add bone armature to the model. It would have taken too much time. Besides, the movements do not deform the mesh, just turn around it or change scale.
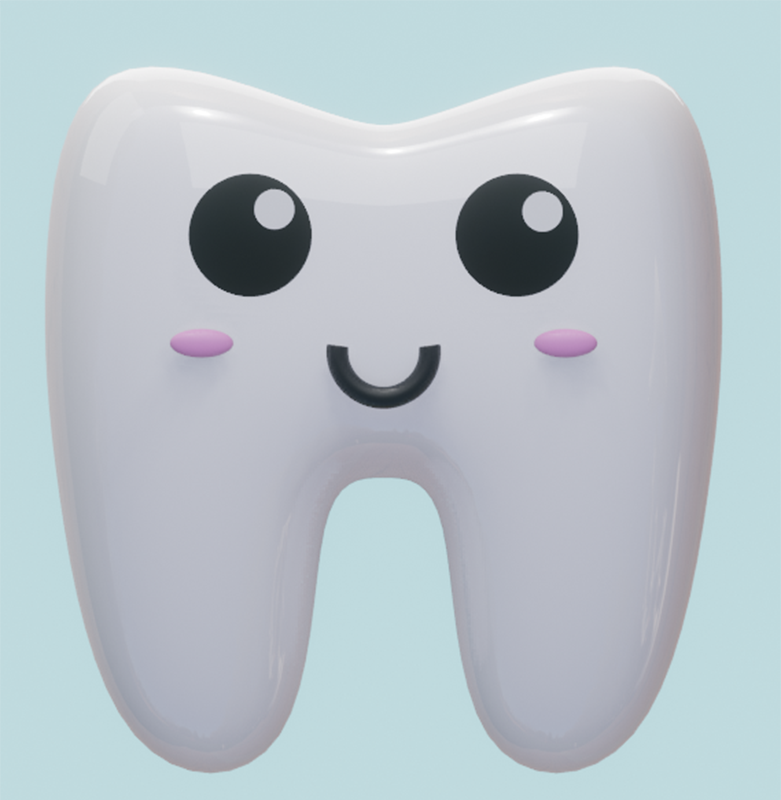
After the cleaning, I was happy. :)
For the blue background, I used a trick to combine an HDRI and a solid color: I added a mix shader node and a background node, on the “fac” input of the mix shader node I added a light path with camera ray connect. The mapping and texture coordinate node was just to get a better light position with the HDRI node. I added some area lamps at points that I felt that needed more brightness, but overall this setting worked very well.
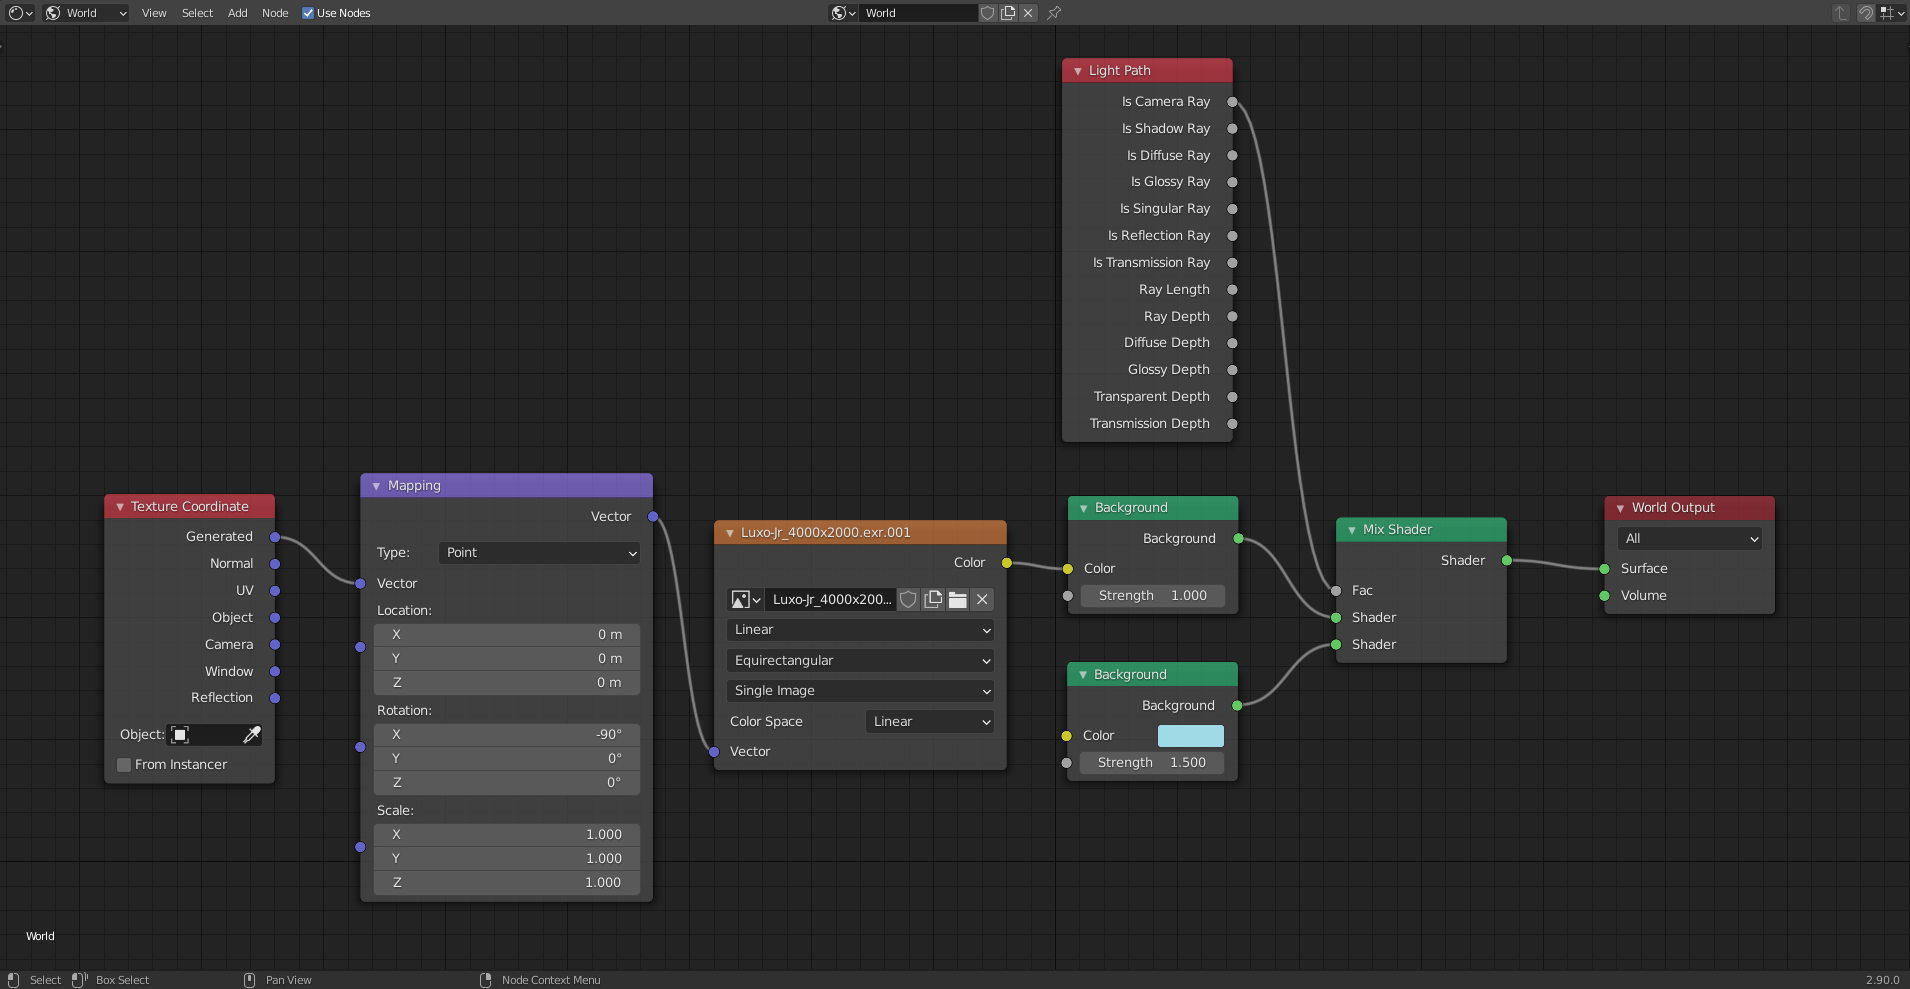
Easy way to combine HDRI and flat background colors.
To reach the loop effect, I just had to check if, on the first frame of the animation, everything was in the same place as on the last frame of the animation.
https://imgur.com/gallery/WNIA9tm/comment/1937044615
I used Eevee as a render engine because it combines more with the style of my animation. I always recommend trying different render settings and enabling/disabling render properties options to see what happens. Sometimes you discover something that makes your render even better.
As I did the animation thinking about publishing on Instagram, I rendered it in the resolution of videos for an Instagram feed (a quick search gave me a resolution of 1080 X 1350, frame rate 30fps).
I loved making this animation, and I’m sure it won’t be my last. Thanks, BlenderNation for the opportunity and Abby for the patience. :)
If you have any questions, please feel free to contact me through e-mail or social media. Thanks.
My Hardware
CPU - AMD Ryzen 7 1700
GPU - Gigabyte GTX 1060 6gb
RAM - 16gb 2666mhz
About the Author
 Marcel Stocker, 3D Artist
1 Comment
Thanks for the opportunity, it was a pleasure :)